DIY Halloween Floral Skeleton

Featured

DIY Halloween Floral Skeleton tutorial

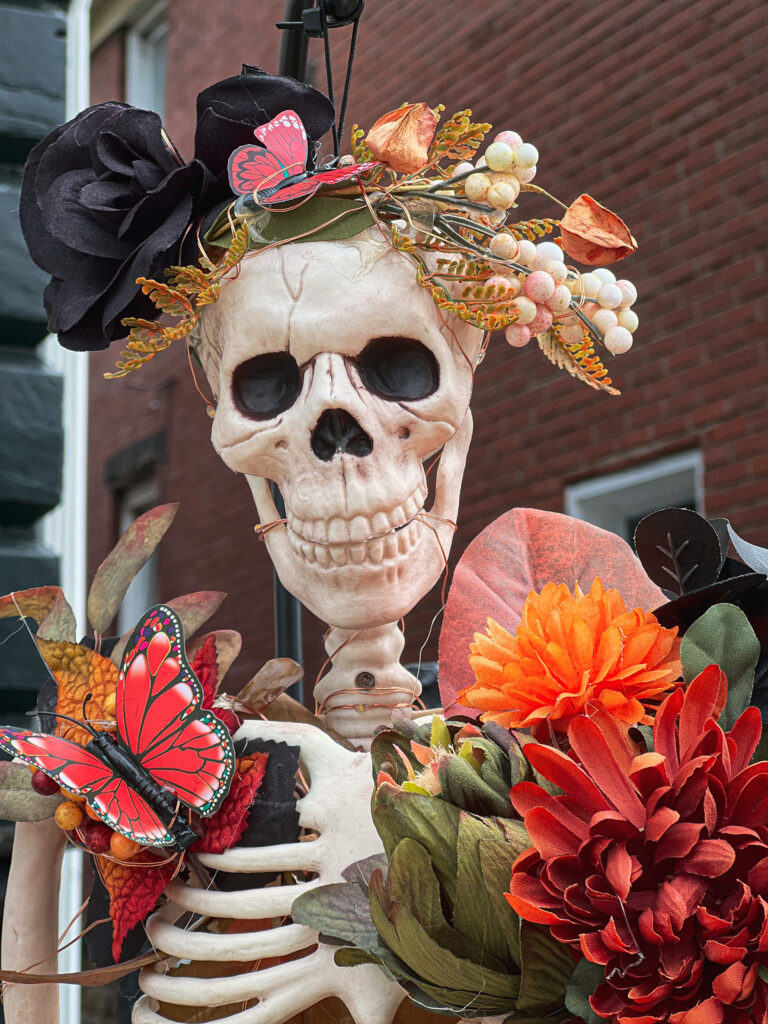
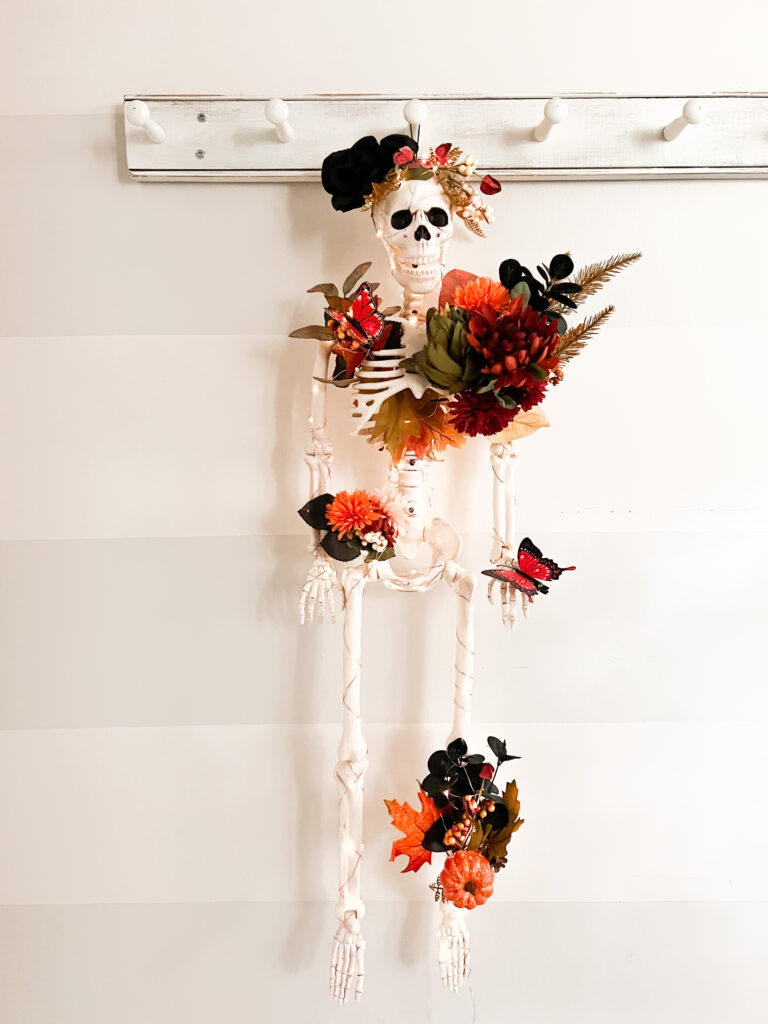
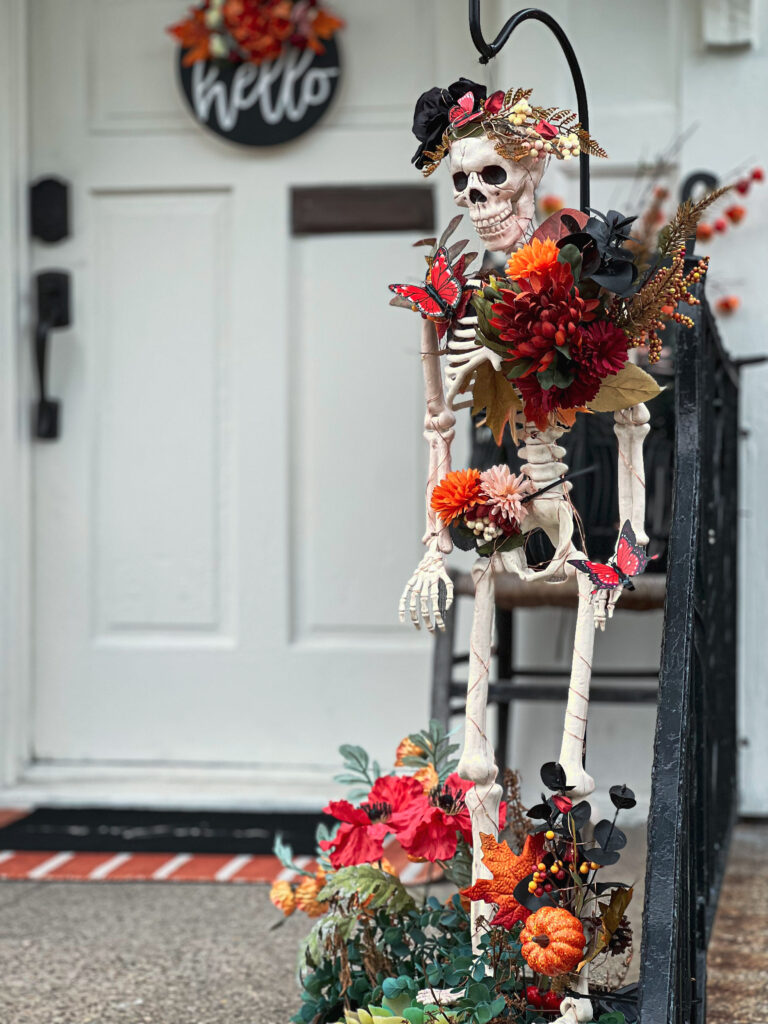
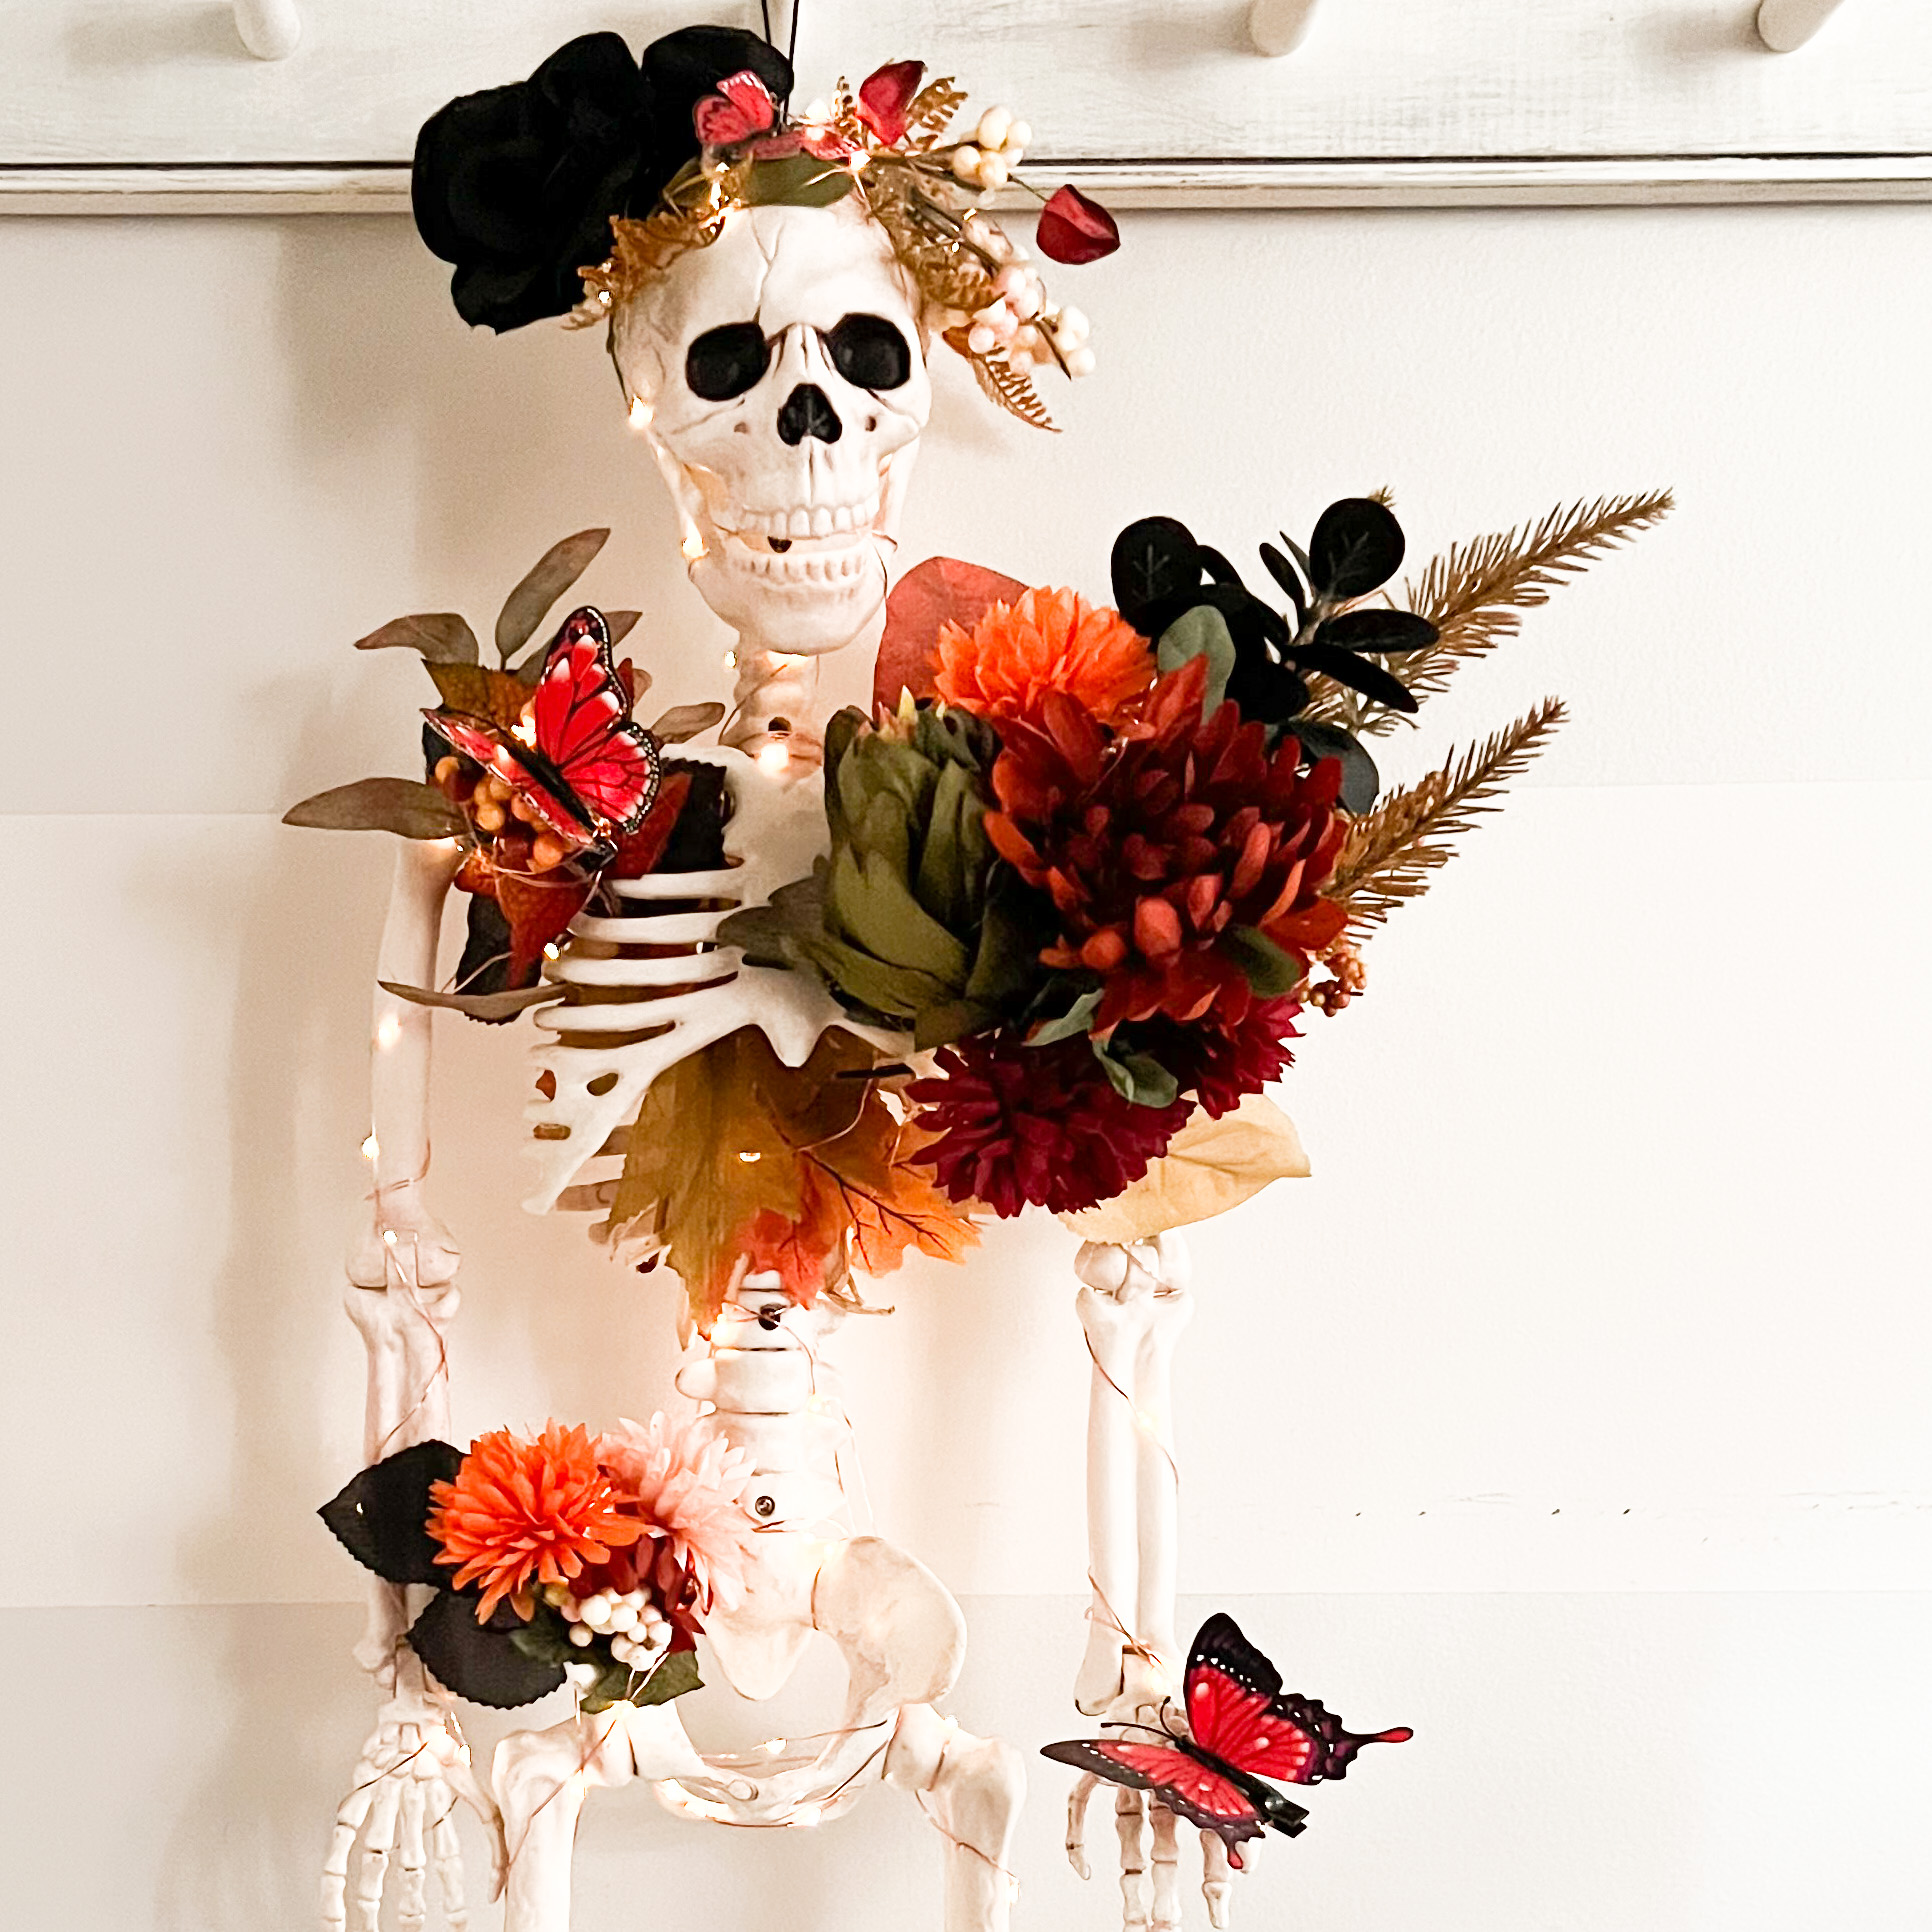
I am so in love this decadent and decay theme for adding a touch of Halloween class to the front porch! It’s a skeleton with beauty and style and solar fairy lights!
What I gathered:

Supplies:

  • artificial fall florals
  • 36″ skeleton
  • clip on butterflies
  • hot glue
  • solar fairy lights

Tools: hot glue gun, wire cutters

What I did:

Using wire cutters, I separated some of the florals and removed stems if needed. Then simply secured fall floral pieces and arrangements and accents onto my skeleton using hot glue. A flower crown, some florals over the rib cage and a few tucked within, a wrist and ankle corsage. I added a few butterflies too.

Once that was complete and all of my florals were securely in place, I started at the bottom of one leg and worked my way up the skeleton (there is a LOT of wire so be generous with wrapping and even going back over an area) then back down to the other leg with the string of solar fairy lights.

I used a shepherd’s hook to display in a planter where I could also easily tuck in the solar panel.

Decadence and decay!

Do you decorate for Halloween? Spooky? Creepy? Fun and cute?

Source List:

JoAnn Fabrics: florals and skeleton (after the fact, I also saw the same size skeleton at Family Dollar)

Amazon (affiliate links) ~ make your own kit with everything you need:

Easy DIY halloween floral skeleton decor tutorial

DIY Decorative Juju Hat Inspired Wall Decor Tutorial

Featured

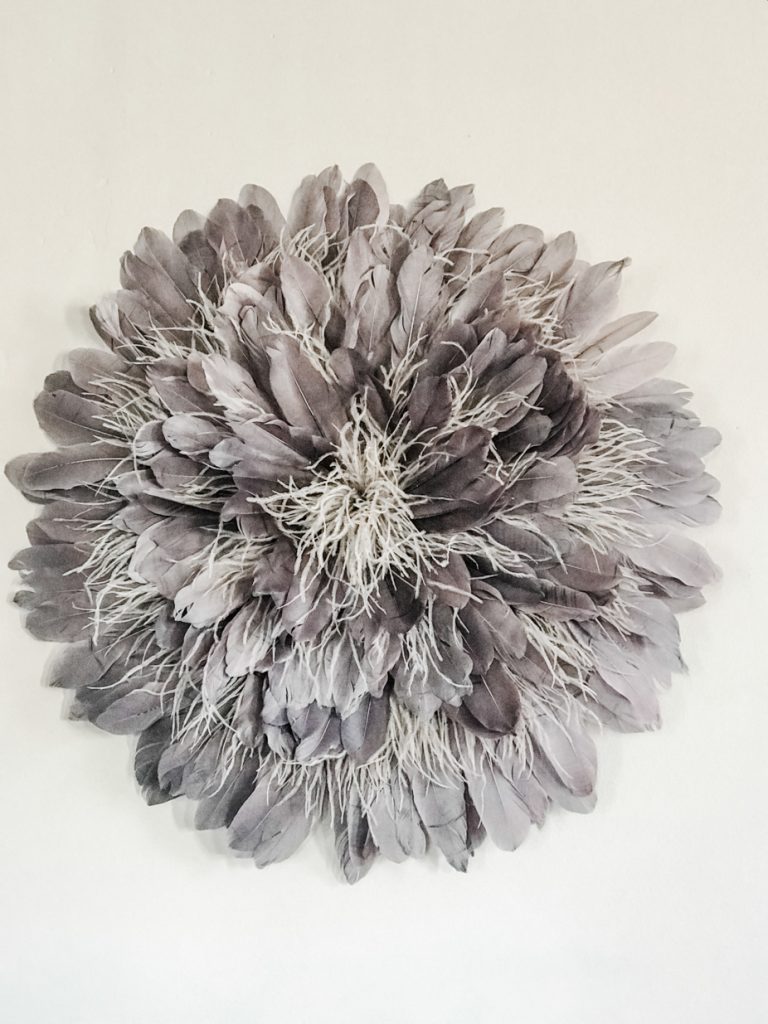
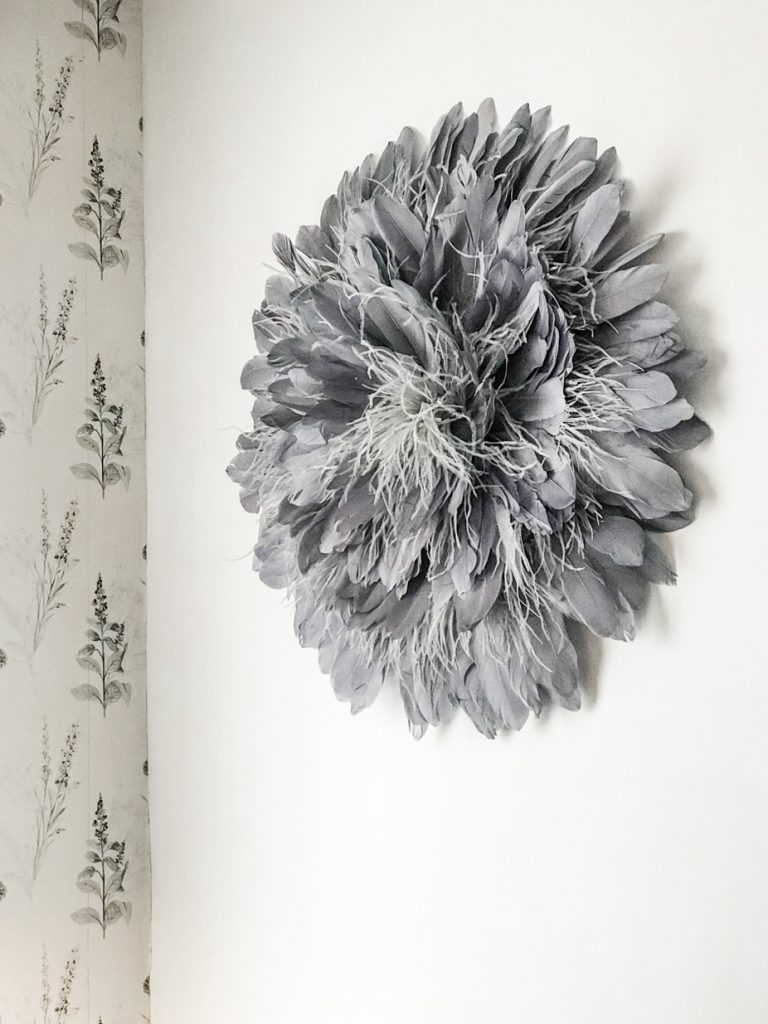
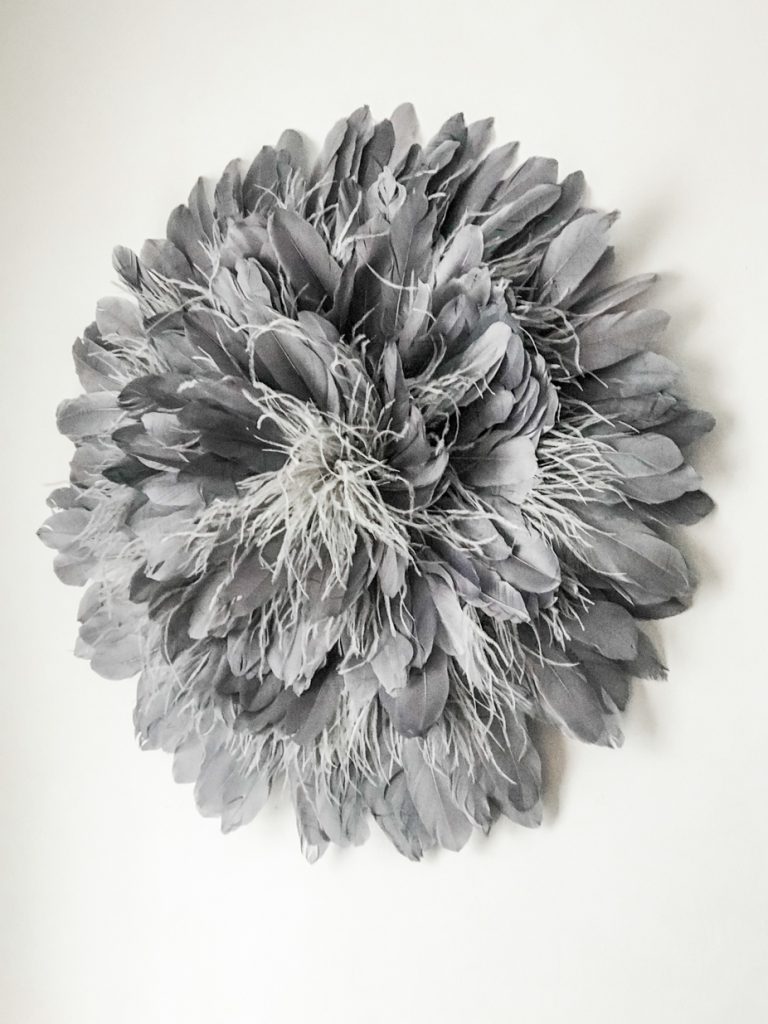
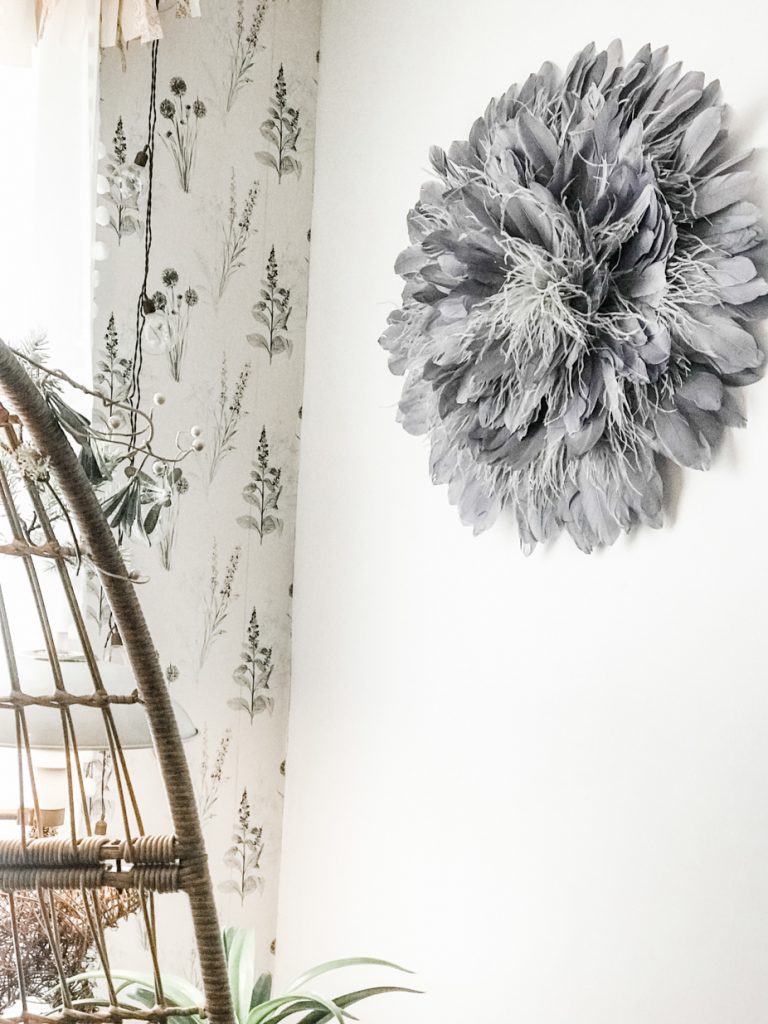
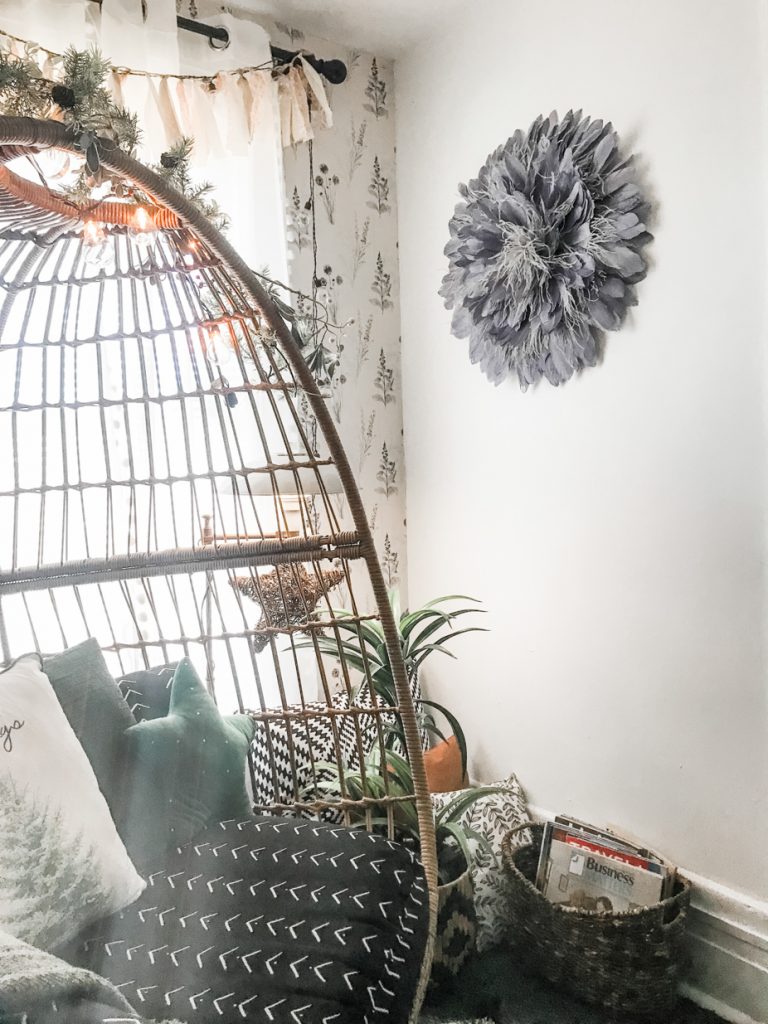
African/Cameroon Juju hats have been around as home decor for a few years. They’re so beautiful, artisanal/handmade (symbolize prosperity, worn by ceremonial dancers). DIY decorative Juju hat inspired tutorial:

DIYShowOff Juju hat wall decor tutorial

juju hat wall decor diy

When a friend of mine had to part ways with her African Juju hat wall decor (you don’t want to know), she was in the market for a replacement. It’s been a while since I’ve been crafty and what better time than the new year for a fresh start?! Perfect timing. A perfect opportunity to focus on the positive and to send some good juju to a friend. 

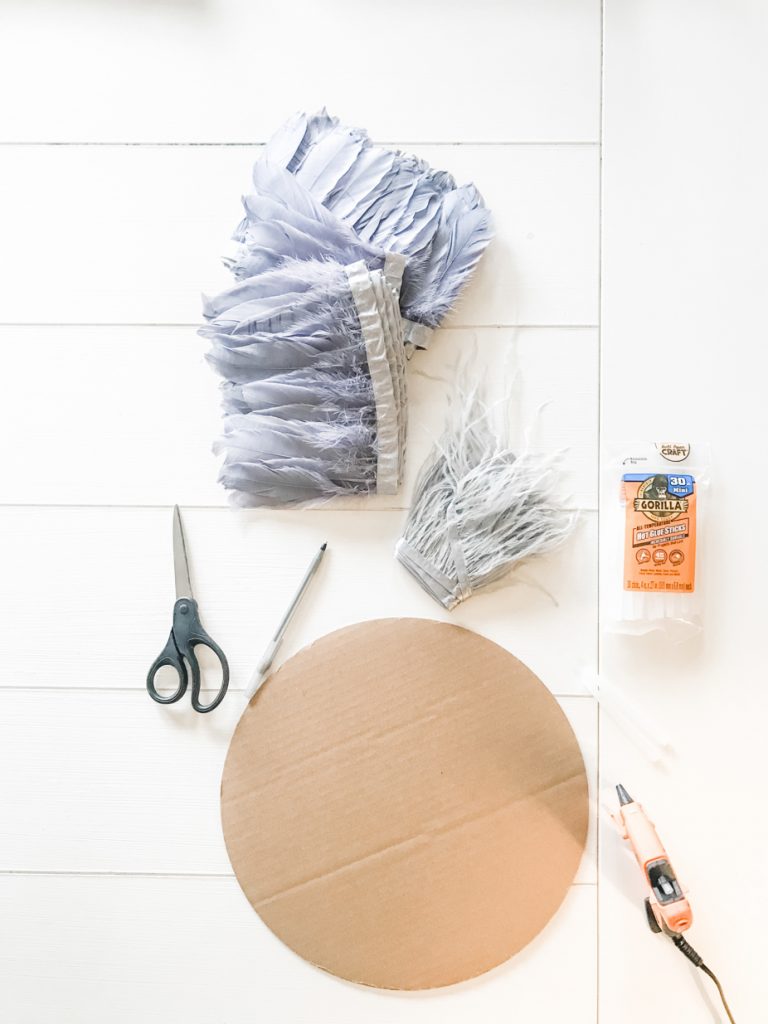
What’s your first DIY project of the new year? Looking for and easy, fun and “GOOD” DIY to jumpstart 2022? This is the perfect little project for you to try! I felt empowered and inspired so I opened up my Amazon app and ordered these supplies: 

diy materials for juju hat wall decor

Materials I used (referral links):

cardboard circle (could easily make one from recycled cardboard too, especially if you’ve been procrastinating the holiday clean up!)

• feather trim ( purchased 2 of this feather trim and 1 of this feather fringe trim)

• aluminum pop top (removed from can) to hang (could also use string or hang with push pins)

Tools:

hot glue gun/sticks, scissors

What I did:

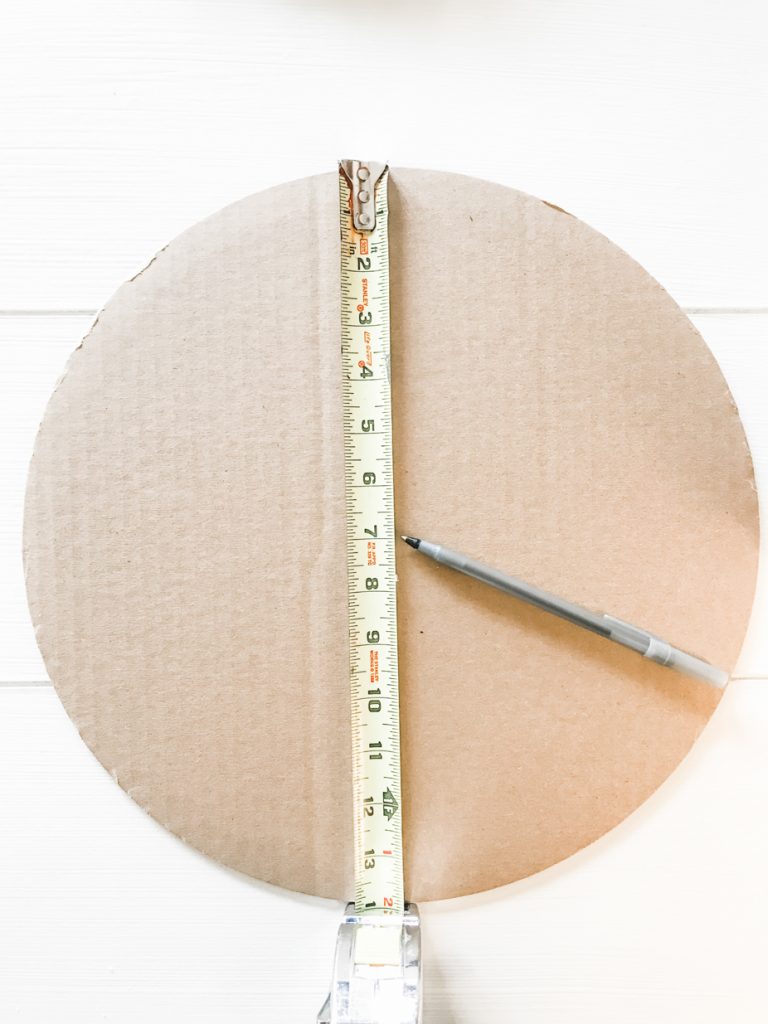
I found the center of my cardboard circle. From there, I drew a straight line to the outer edge. 

tape measure

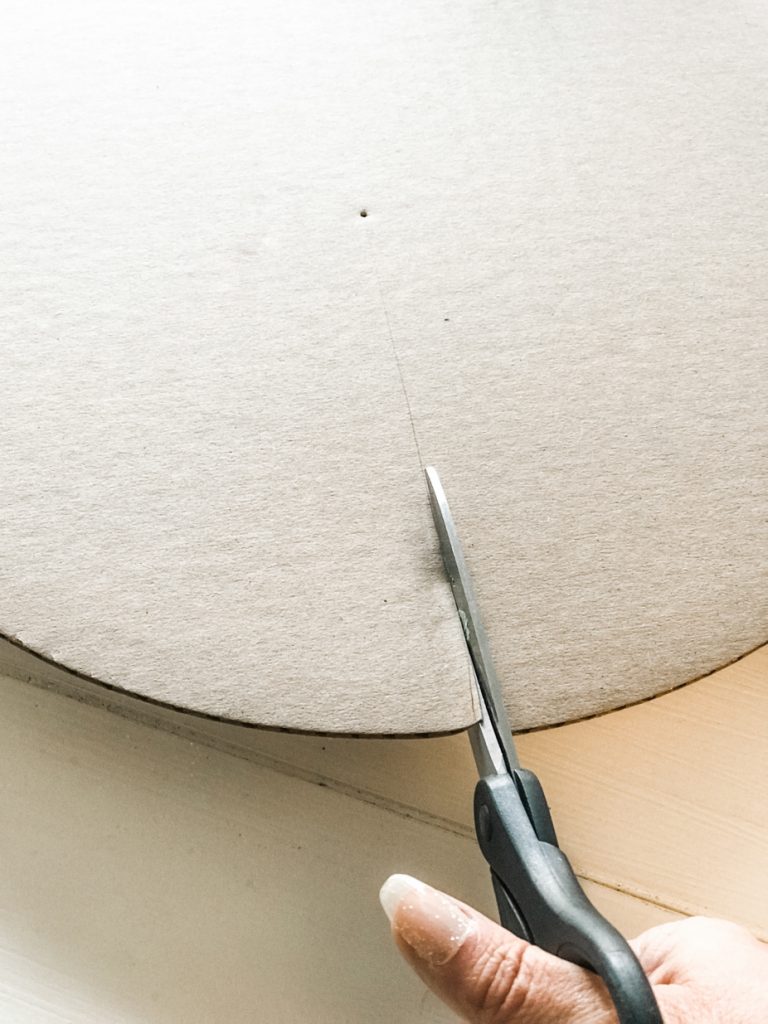
Using scissors, I cut along the line. 

scissors

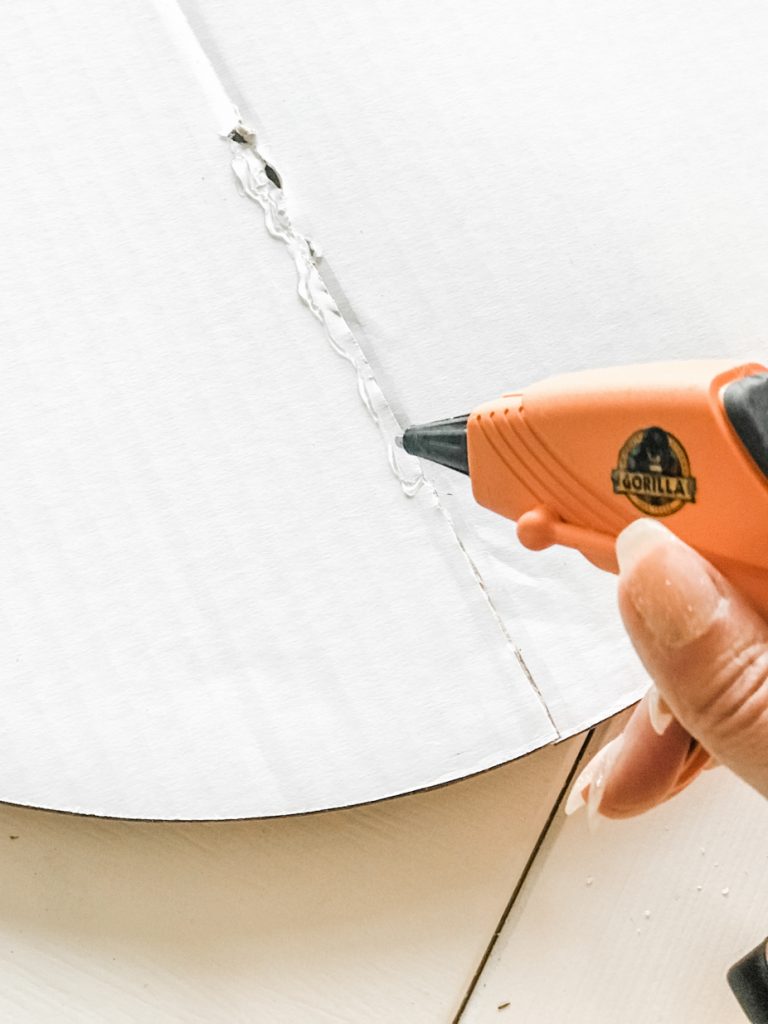
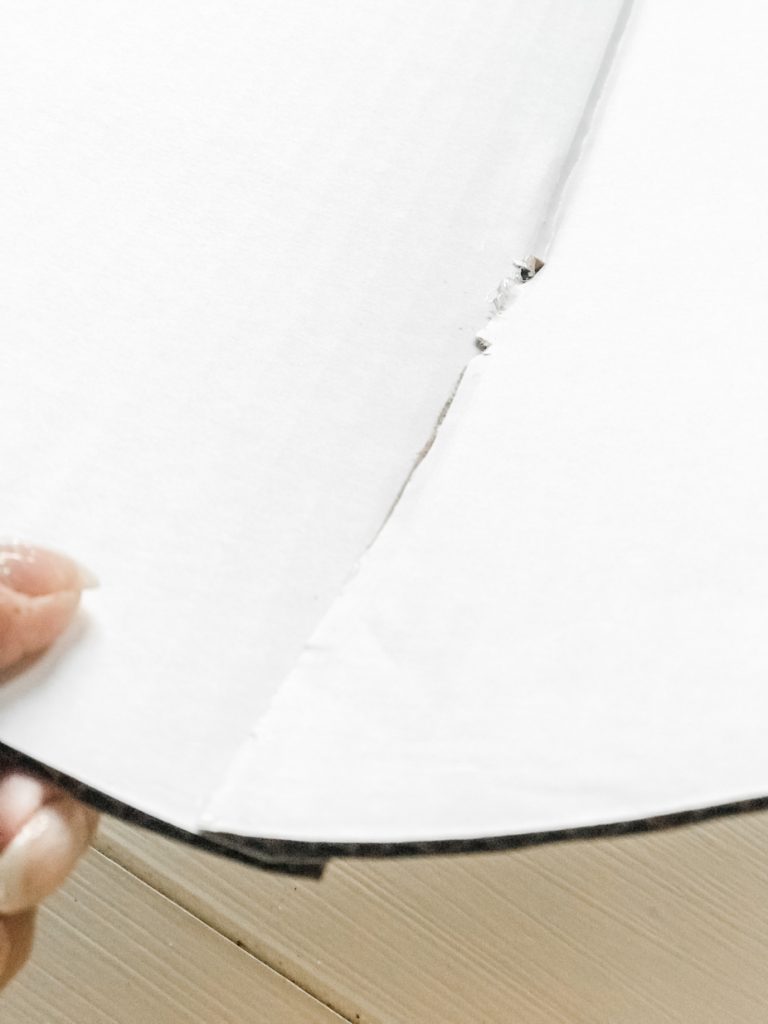
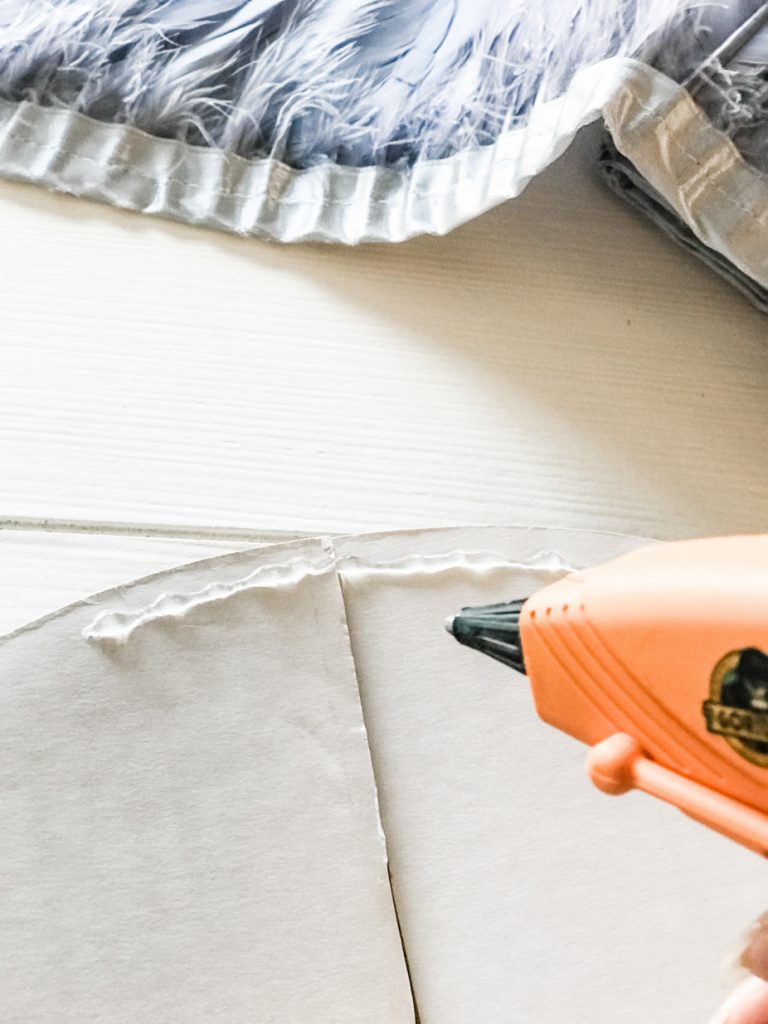
Next, using hot glue along one side of the cut, I glued the other side slightly on top to create a little bit of a ‘bowl’-shape. It’s very slight…just enough to give it a 3D look.

Gorilla Glue gun cardboard circle

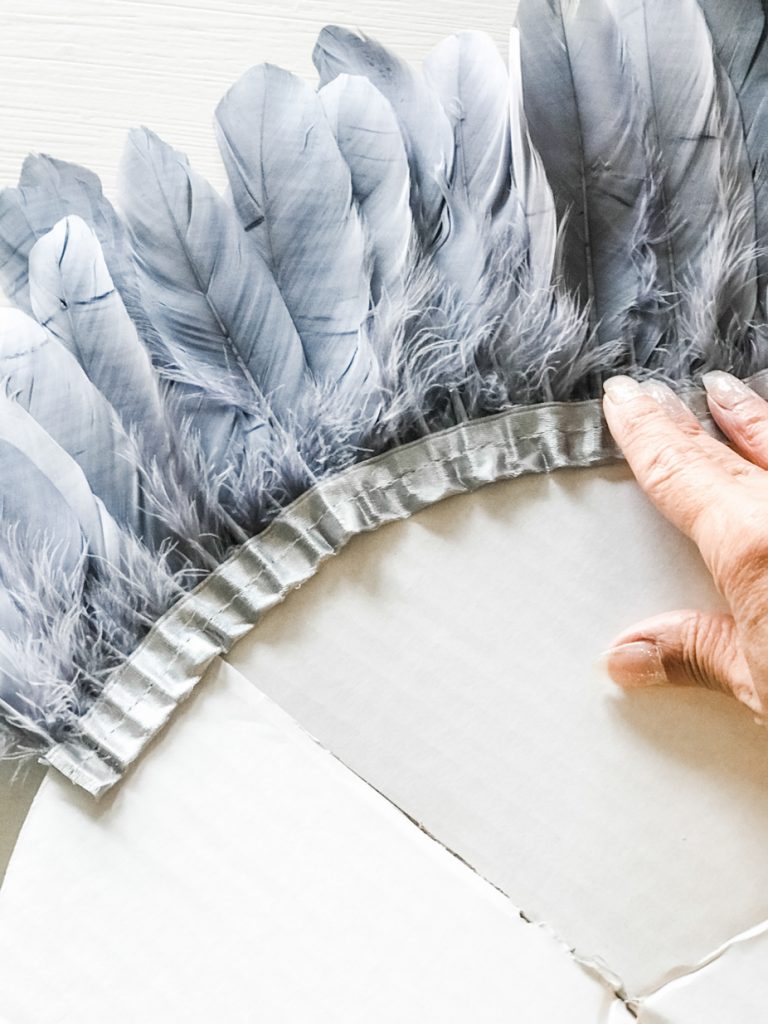
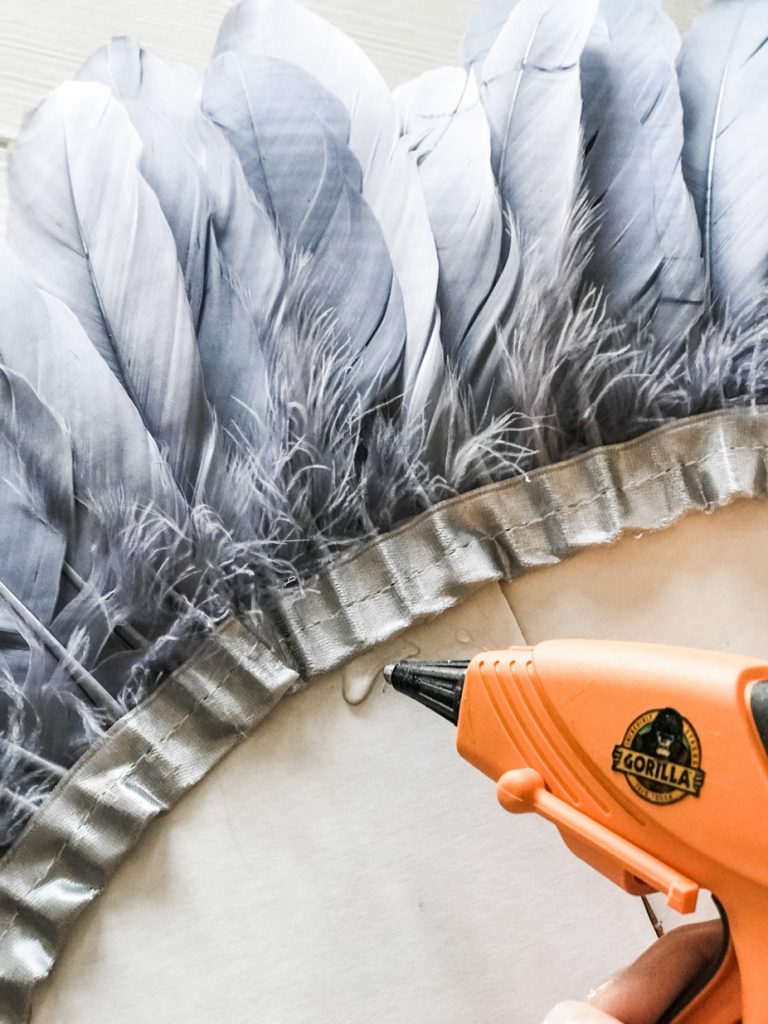
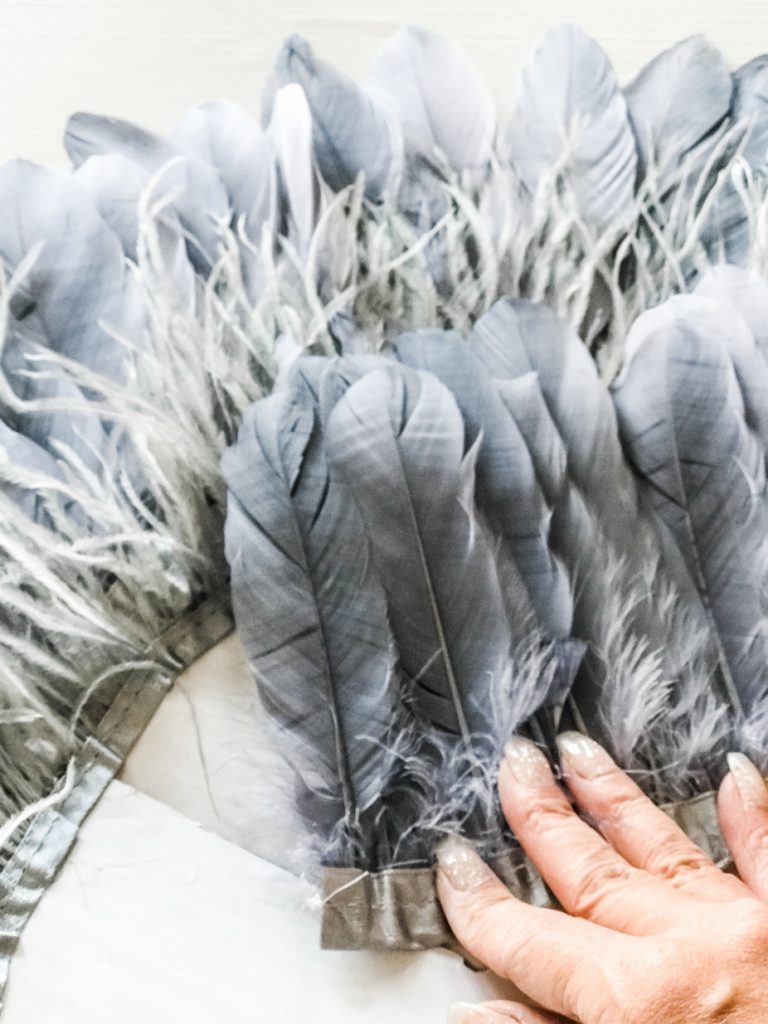
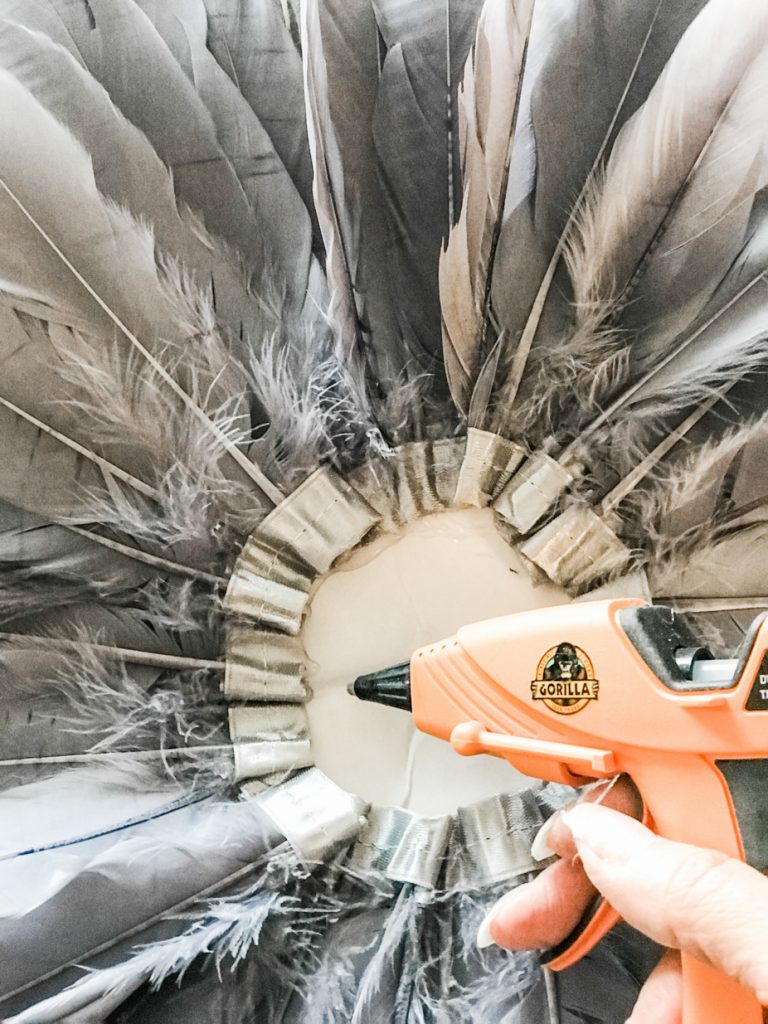
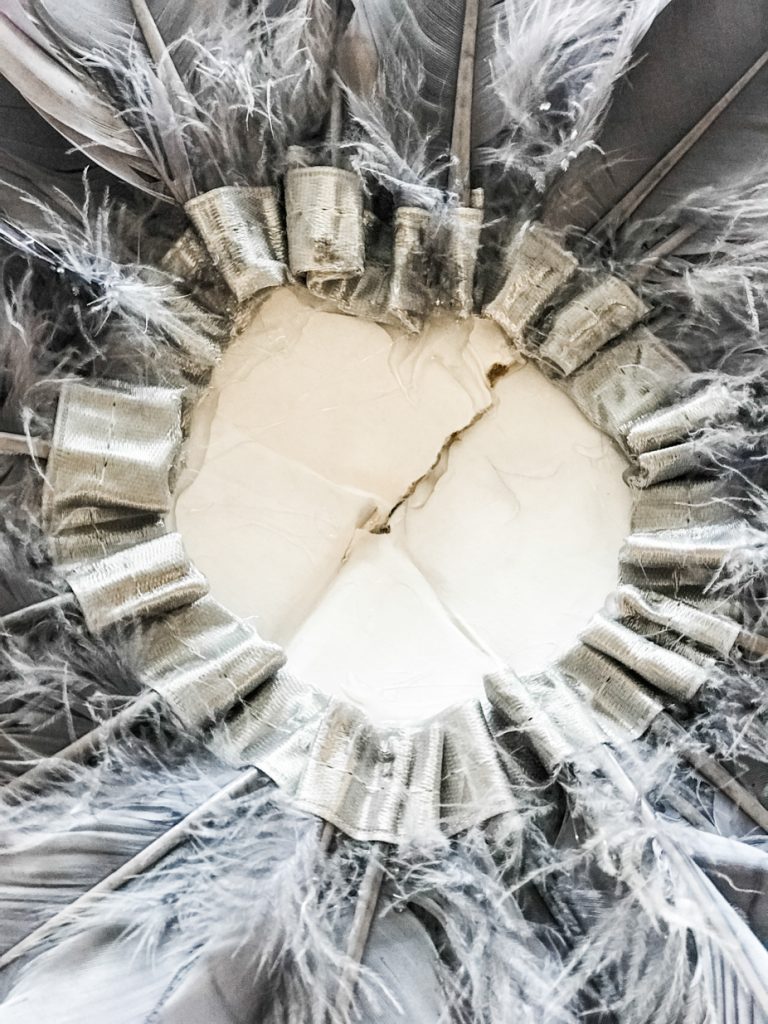
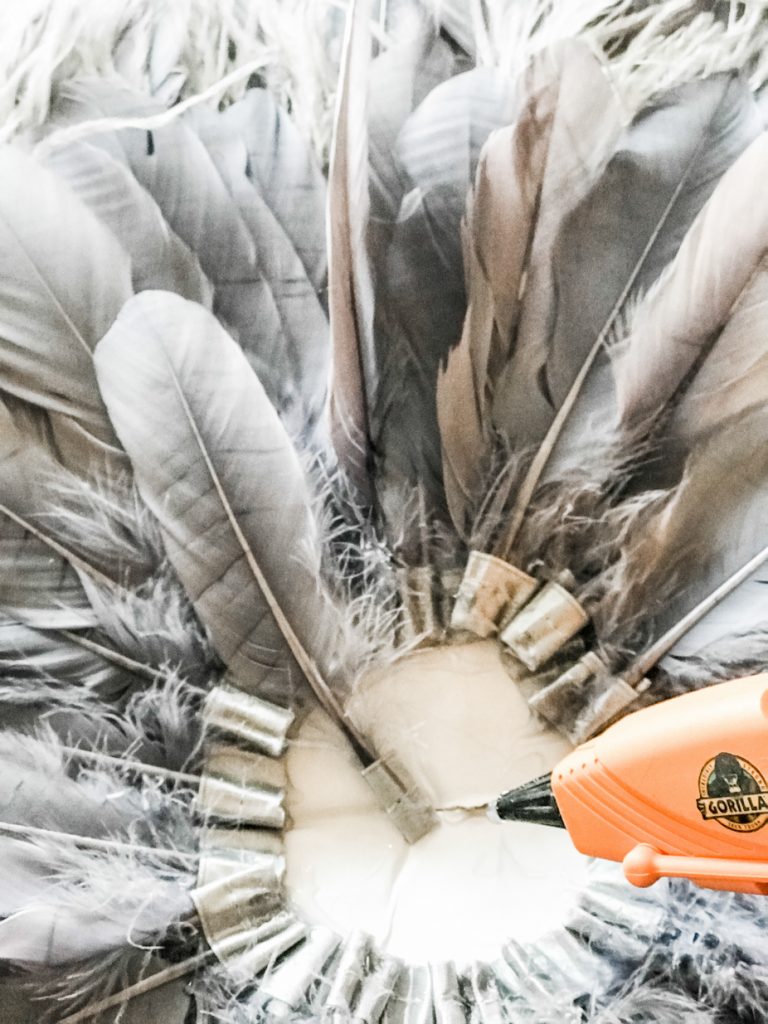
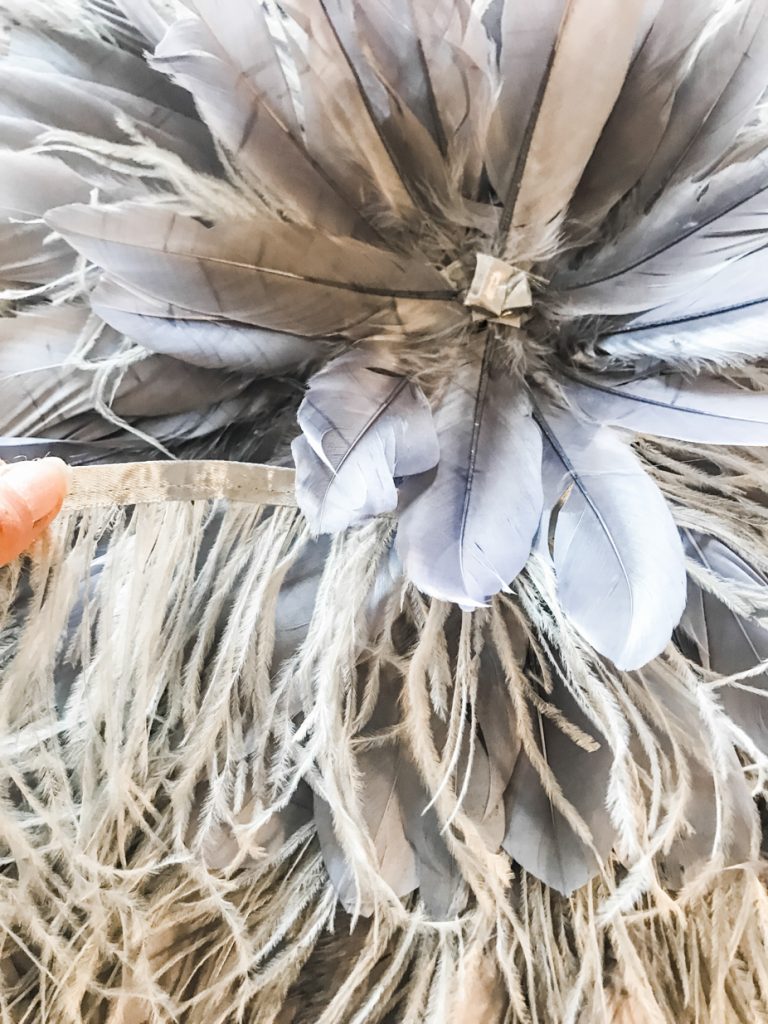
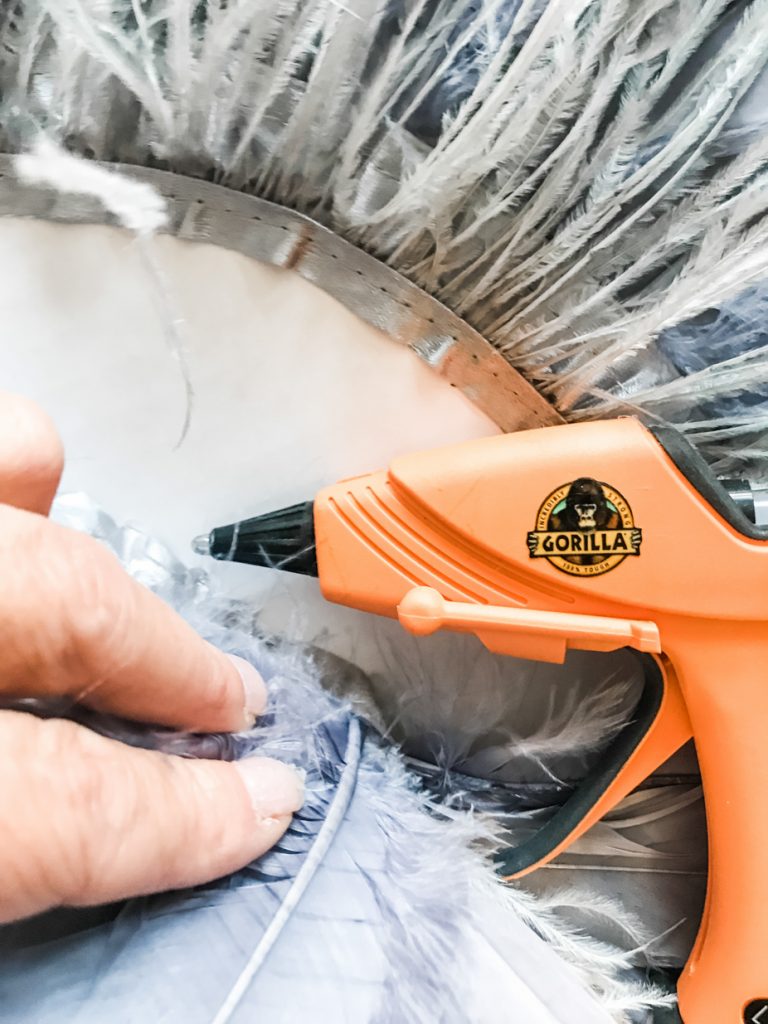
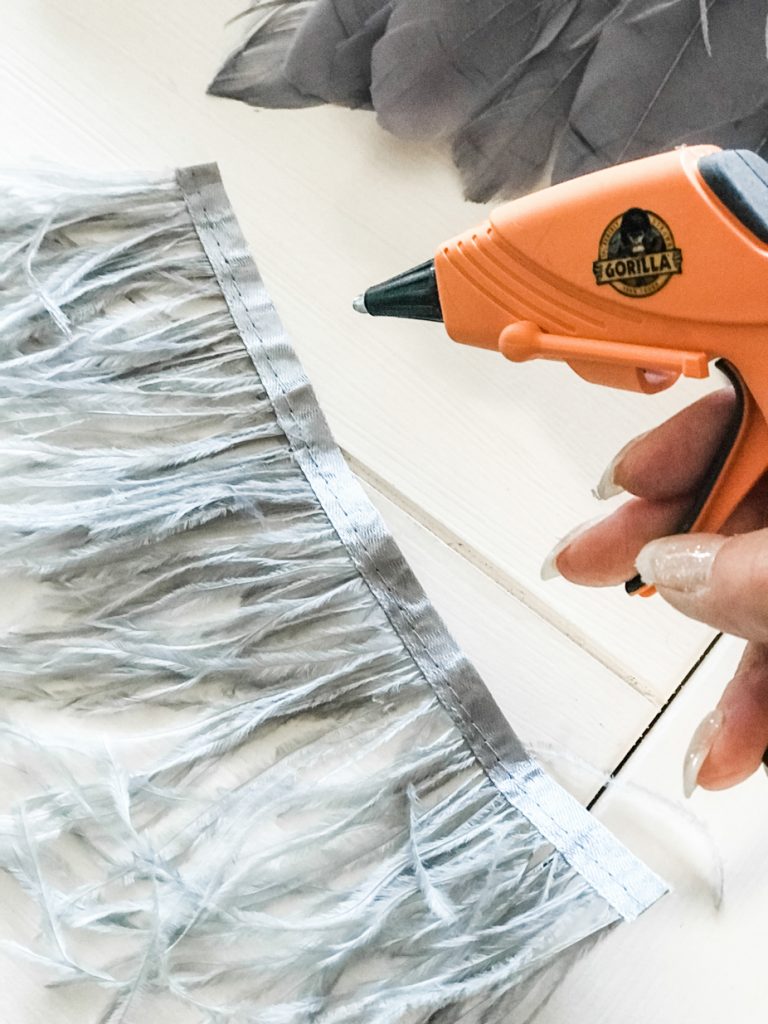
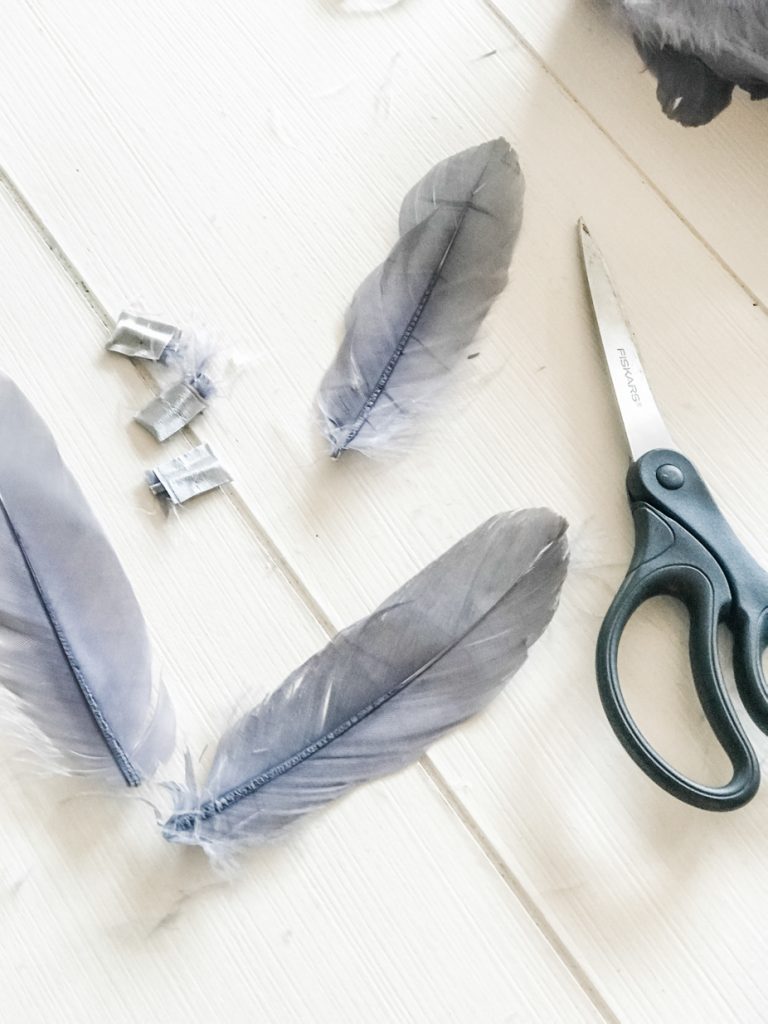
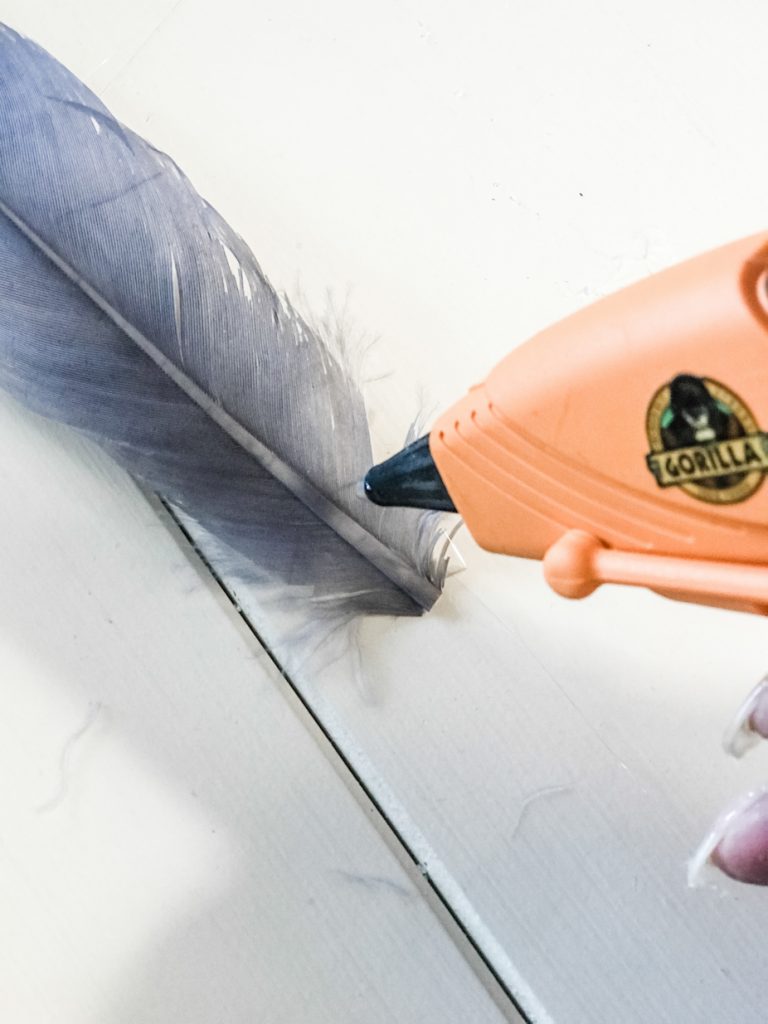
Then, protect your fingers ‘cuz that hot glue is HOT! Be careful! (I used a capped pen to hold down the ribbon as needed.) Determine placement and start attaching the bottom of the feather trip to the cardboard circle. I worked my way around the outer edge. 

hot glue feather trim feather crafts feather circle

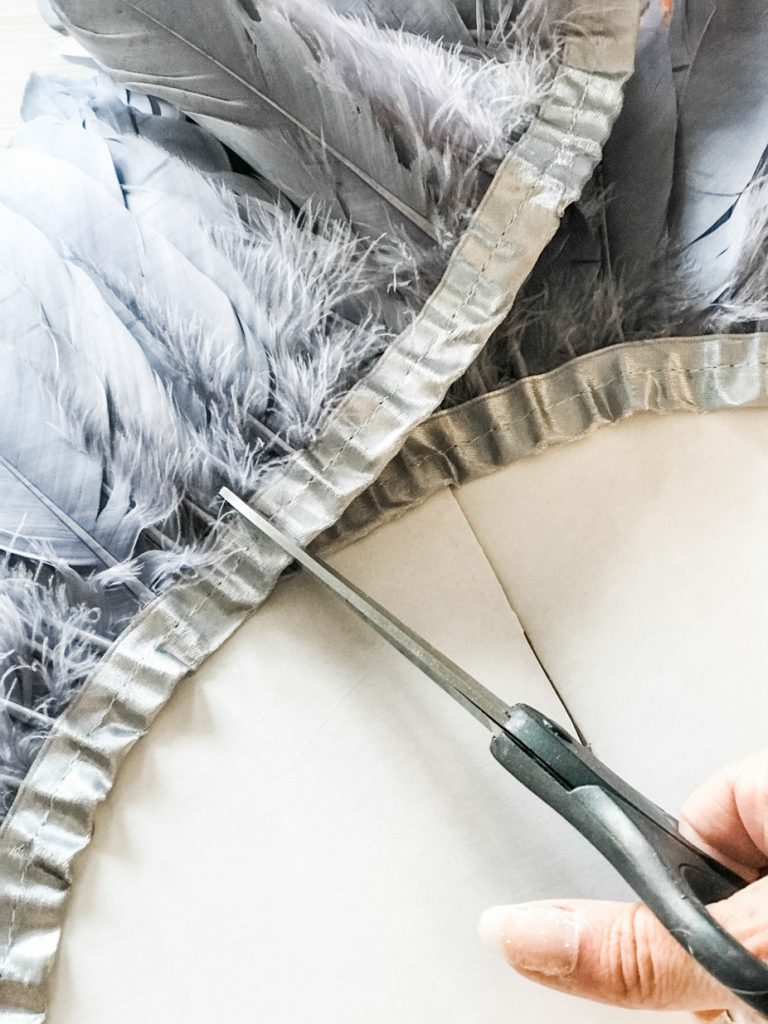
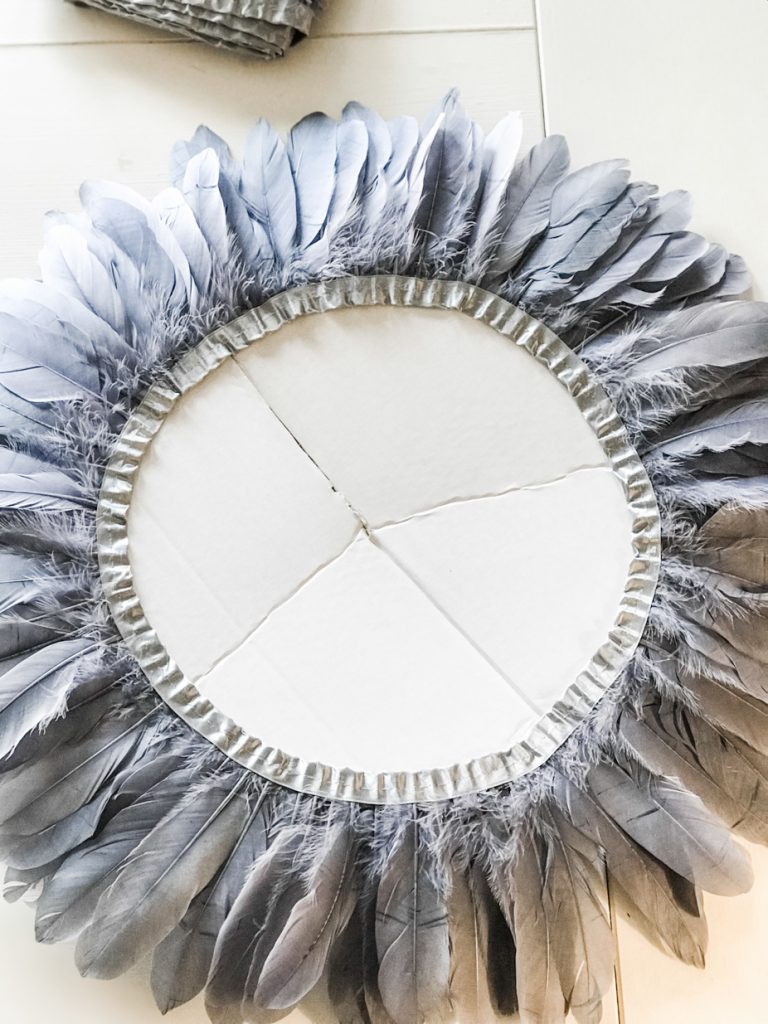
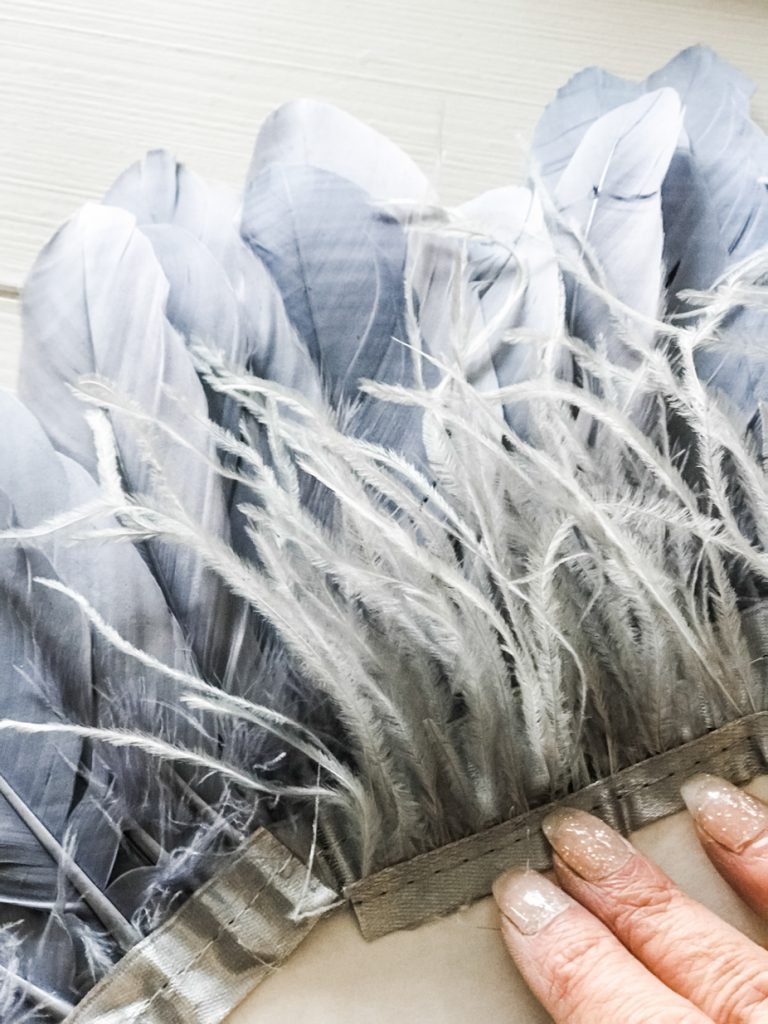
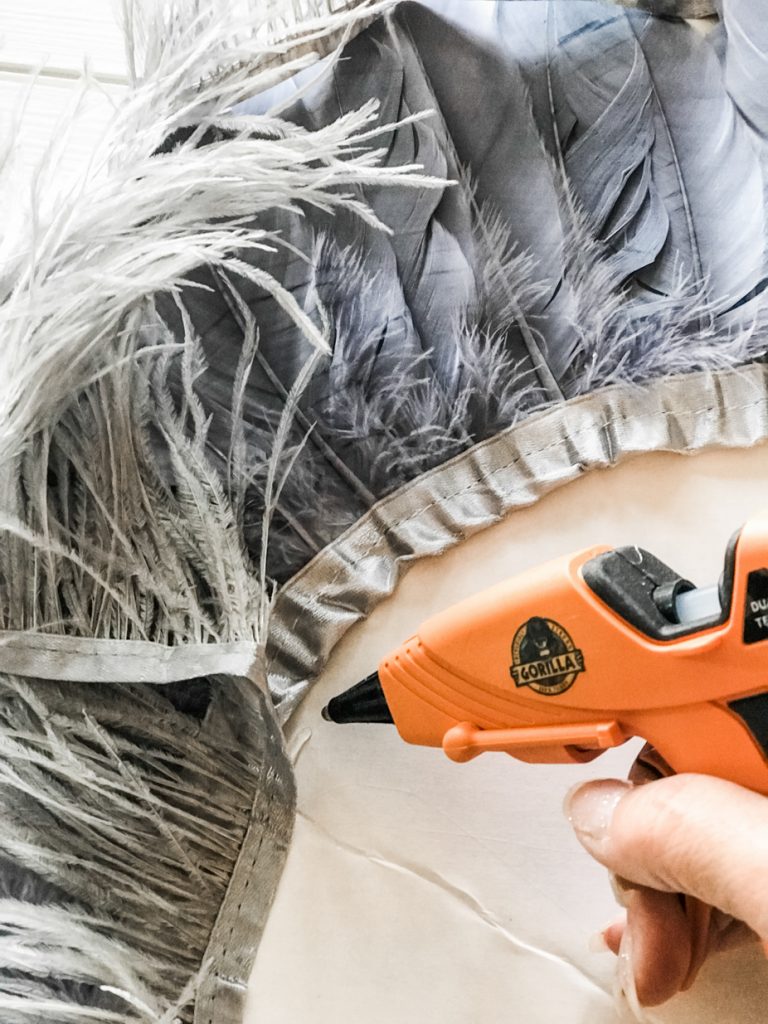
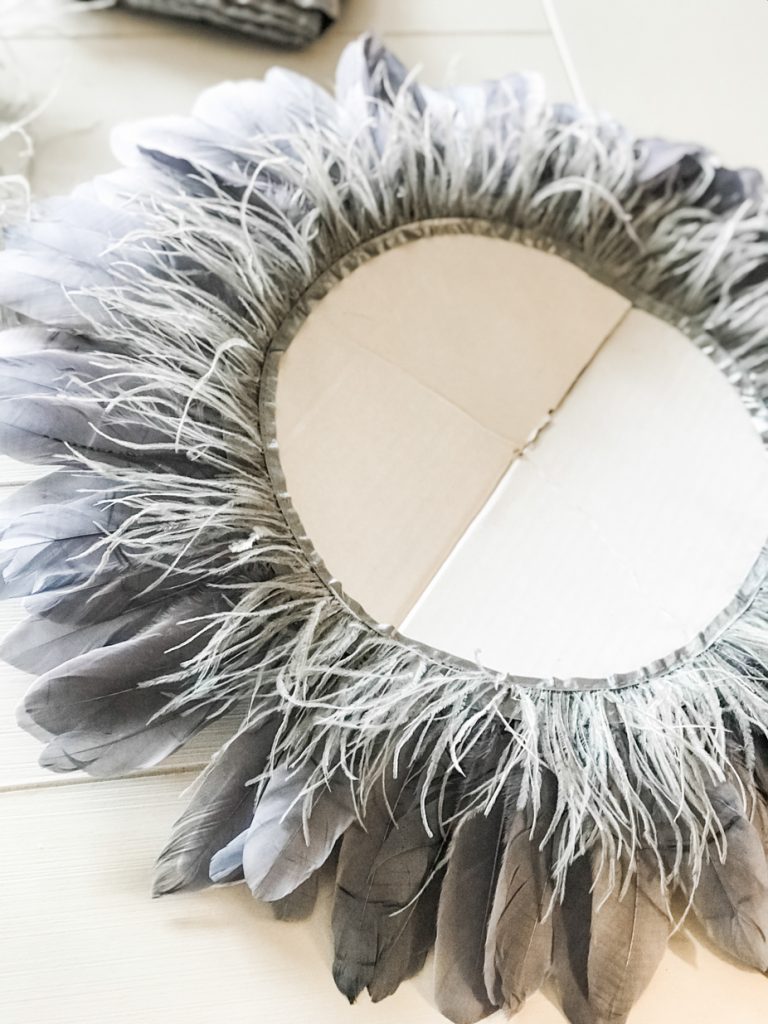
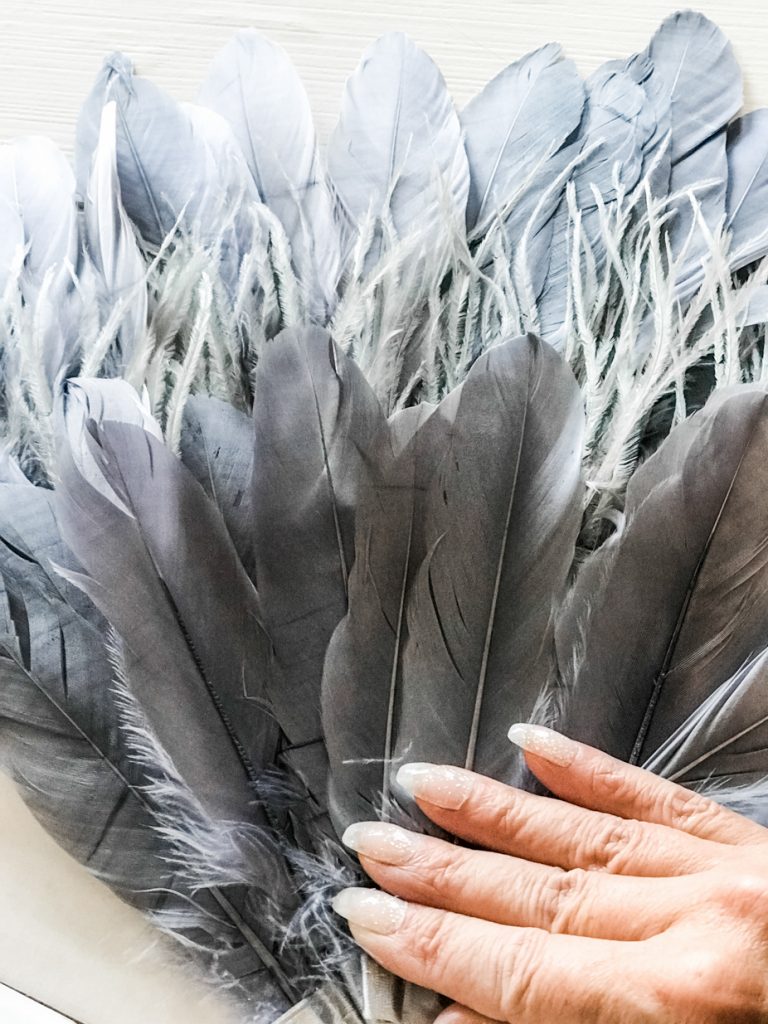
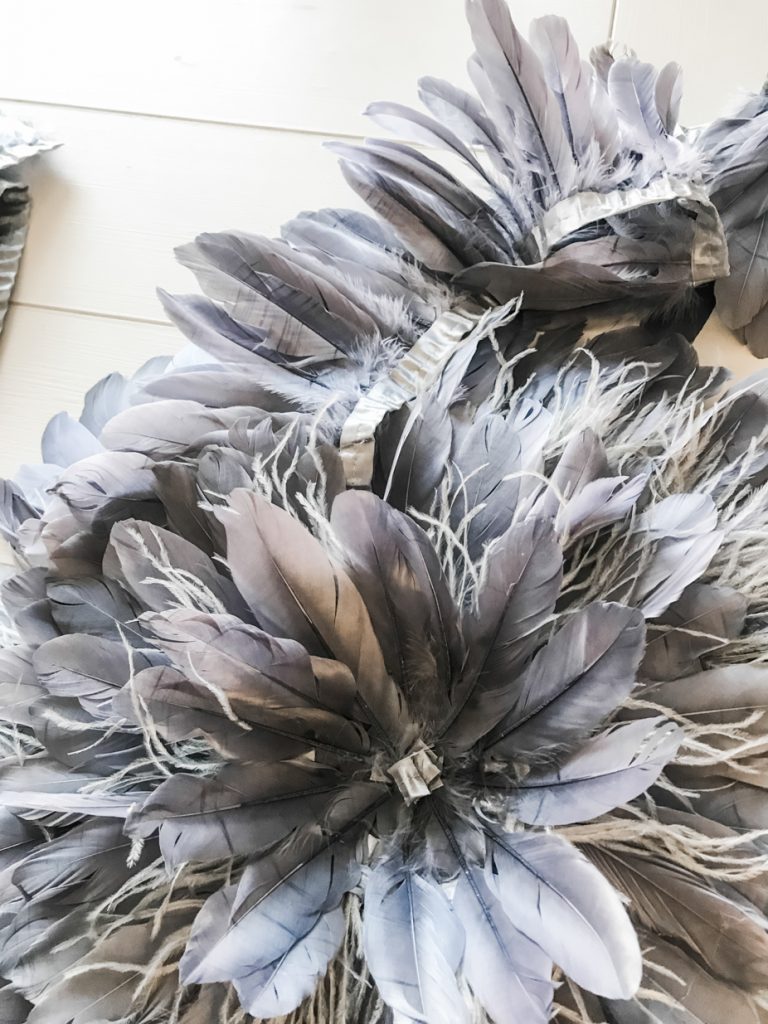
Repeat in circles for complete coverage. Based on your supplies, determine how close together to cover the cardboard. I alternated the 2 different feather trims. 

gluing feather trim feather ribbon juju hat craft project making a juju hat decoration gray feathers placing feathers circle of feathers juju hat inspired wall decor circle of gray feather trim cutting feather trim hot gluing feathers diy juju hat wall decor making a juju hat DIY juju hat tutorial easy diy feather project juju hat DIY

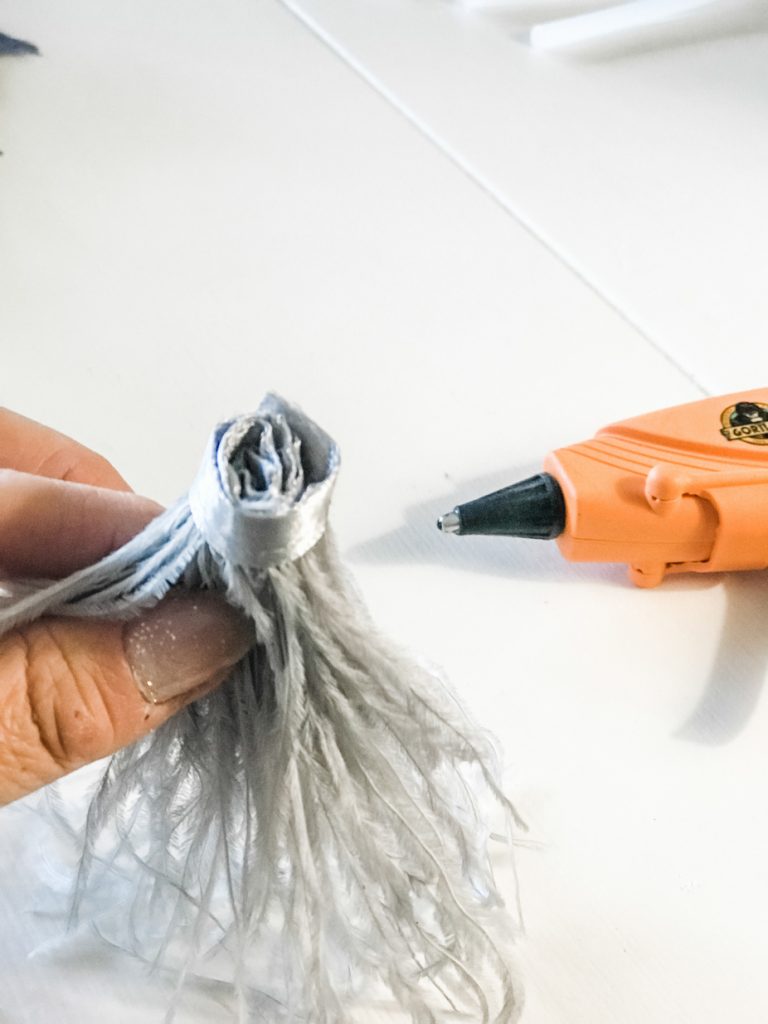
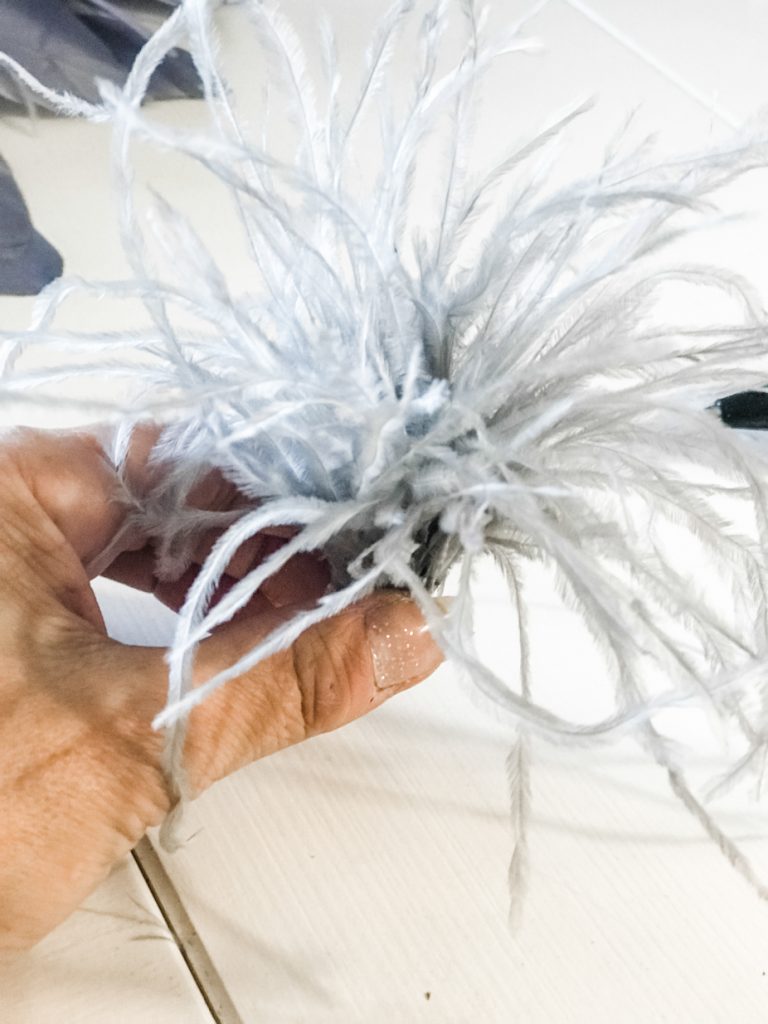
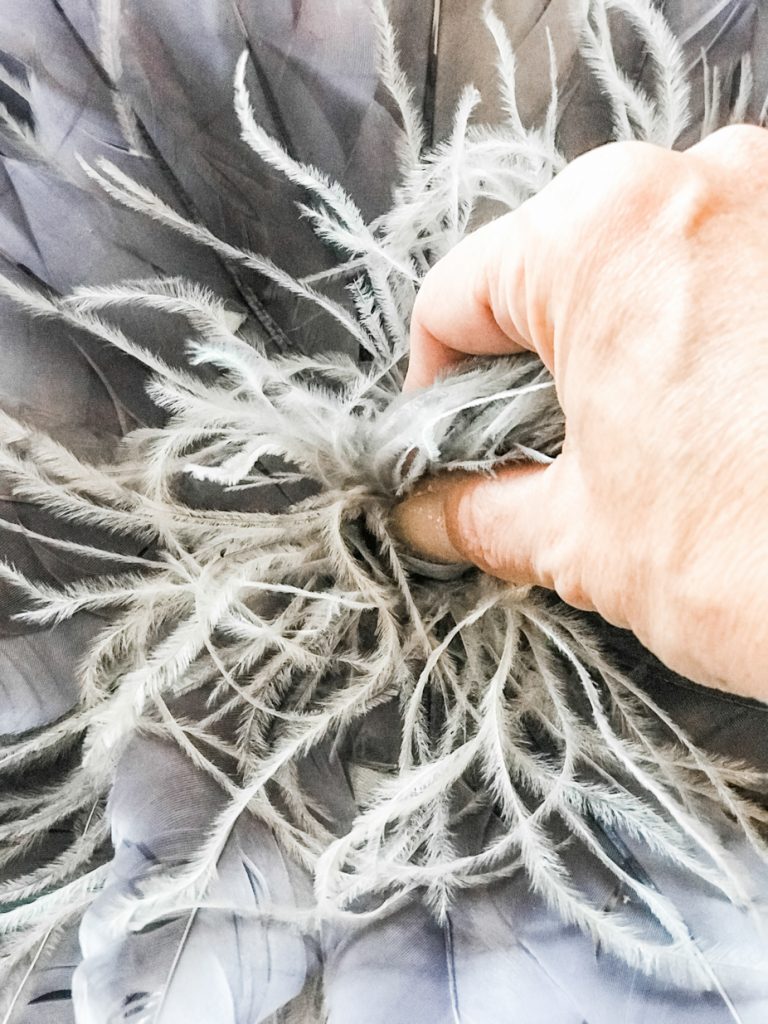
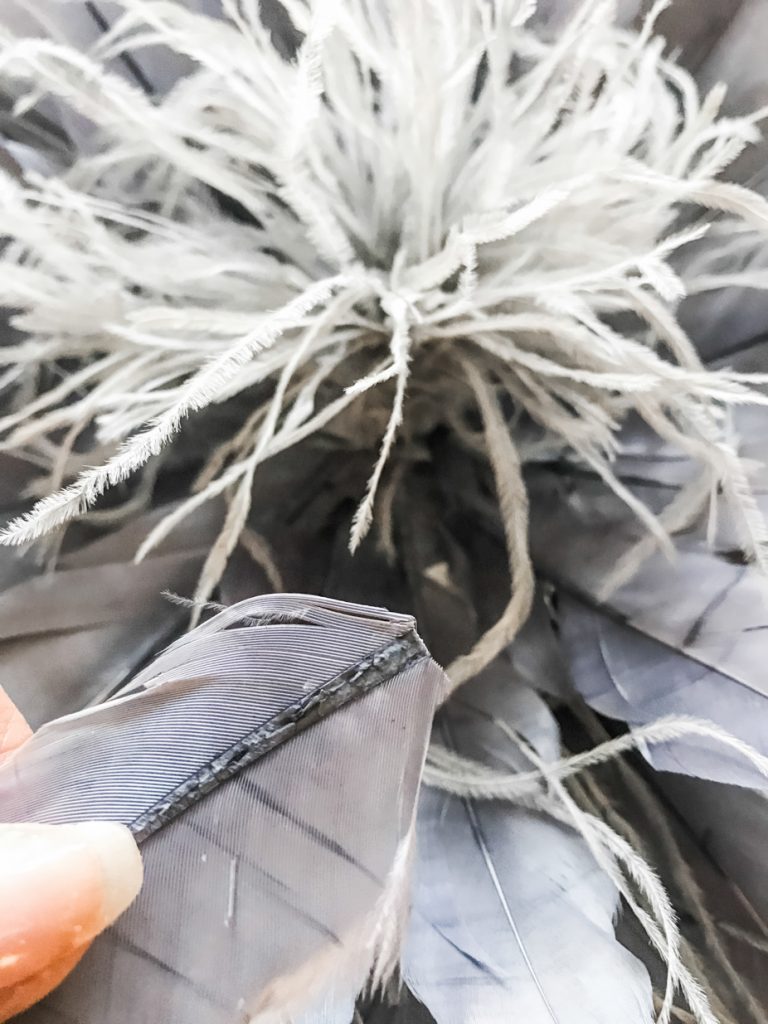
For the center, add a coordinating or same color silk flower. Or, like me, take a bit of leftover trim and roll to create a “center” piece. Attach with hot glue. 

glue gun and feather trim feather trim craft flower feather boa craft craft project with feathers

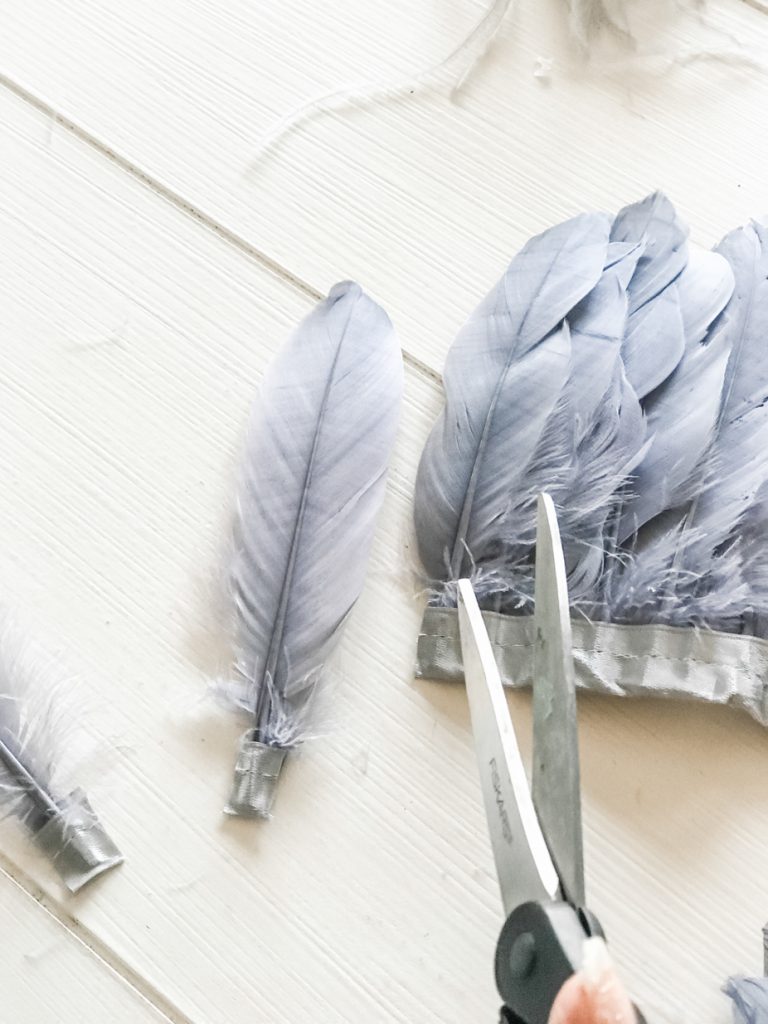
Fill in with individual feathers as needed.

scissors and gray feathers gray feather and glue gun gray feather craft idea

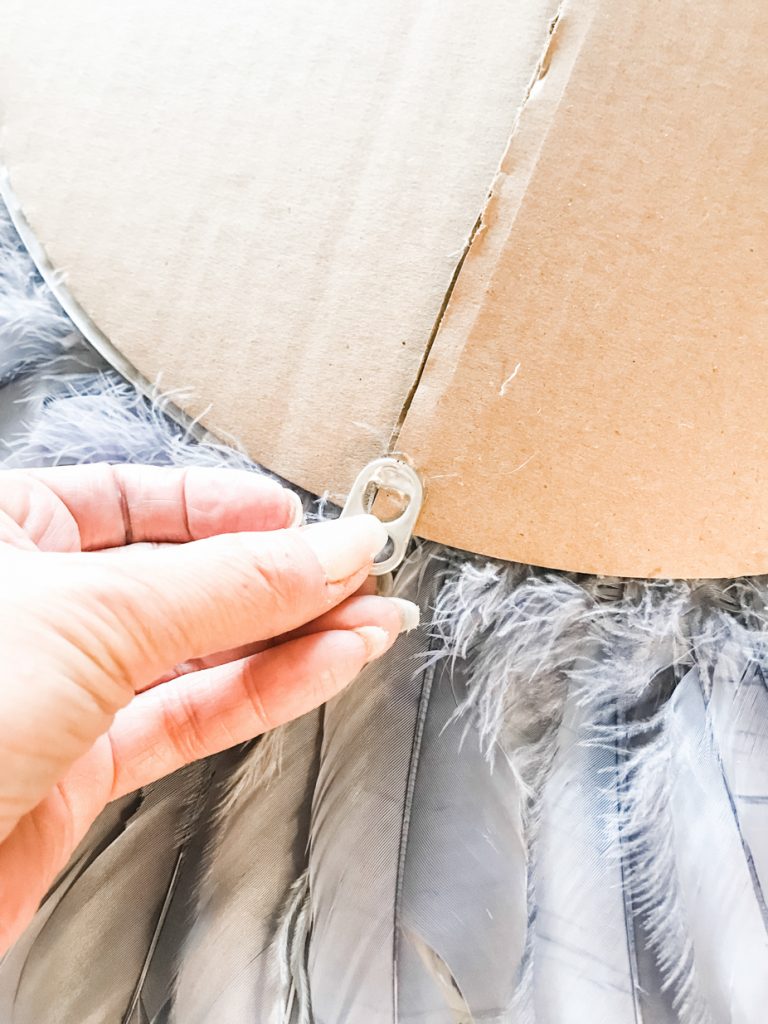
Attach hanging mechanism of choice to the back with hot glue. 

hanging wall decor with a pop top

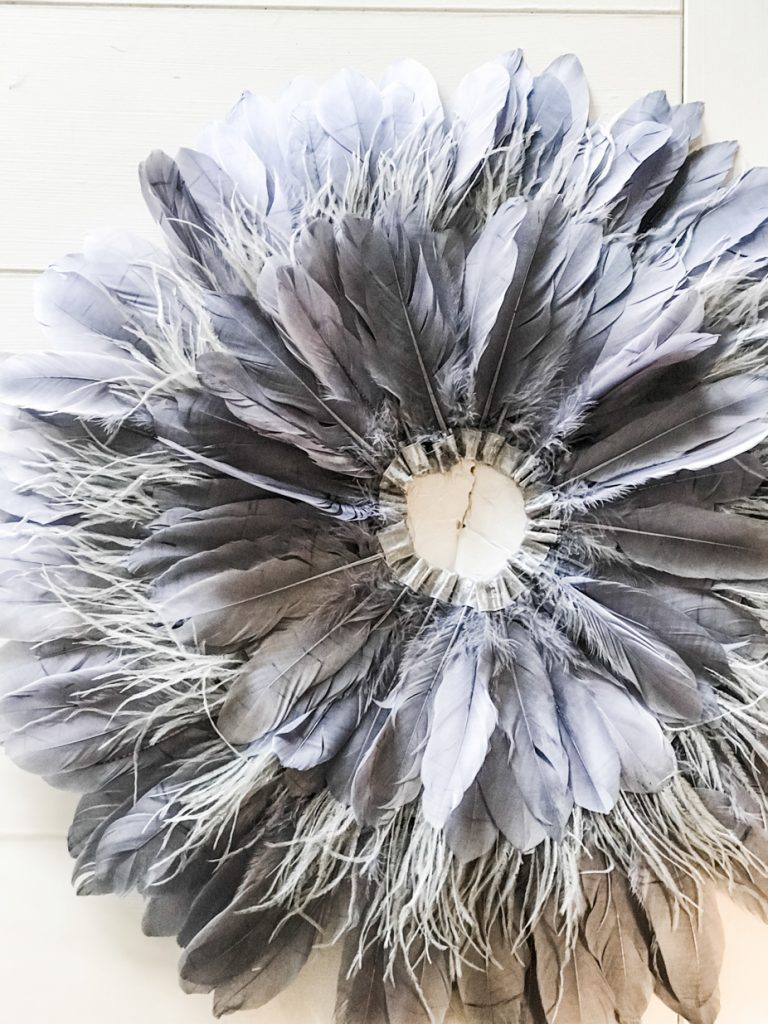
Easy peasy! Much lighter and not as detailed or heavy as the real thing but beautiful none-the-less and special because you made it yourself!

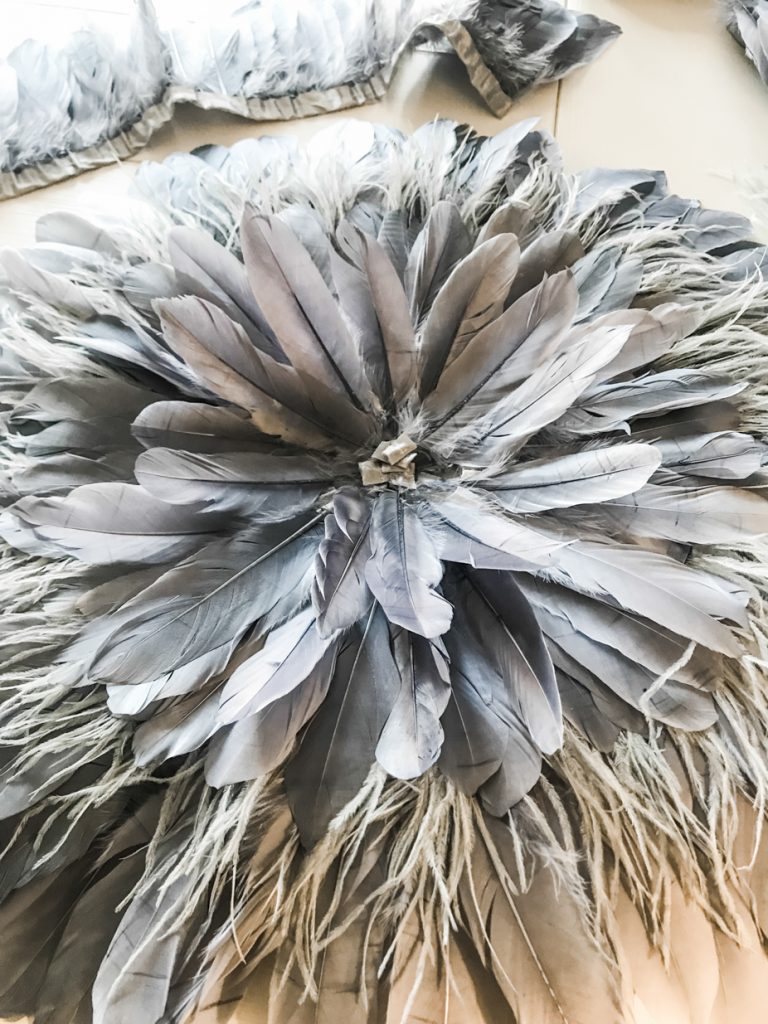
The result:

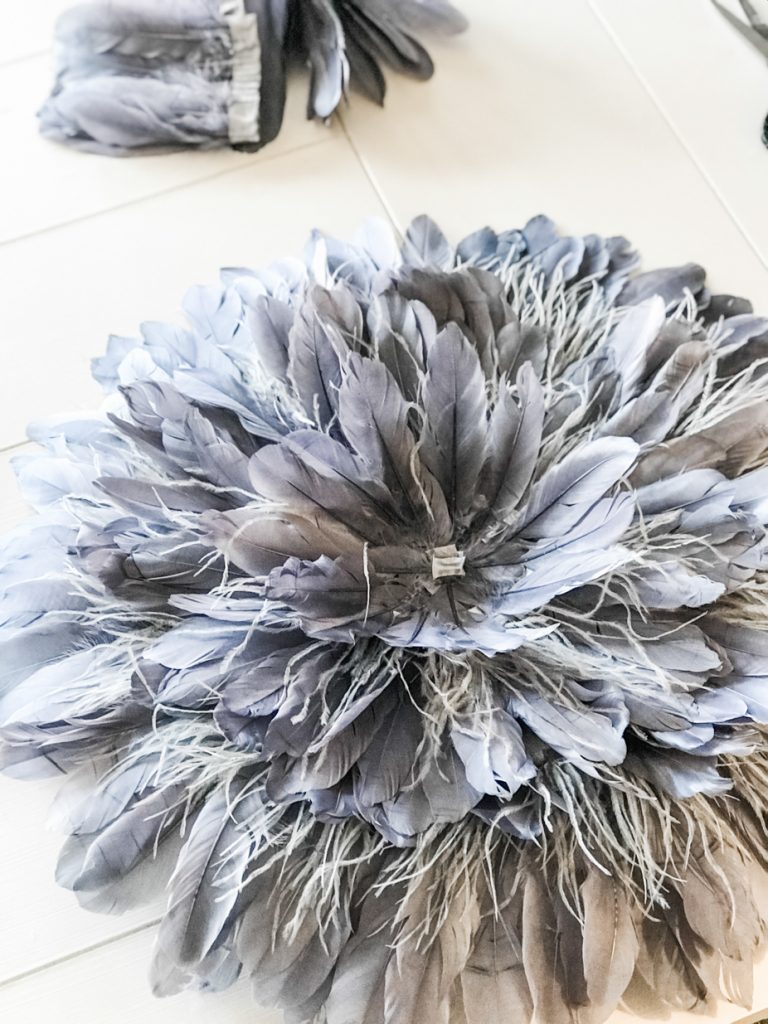
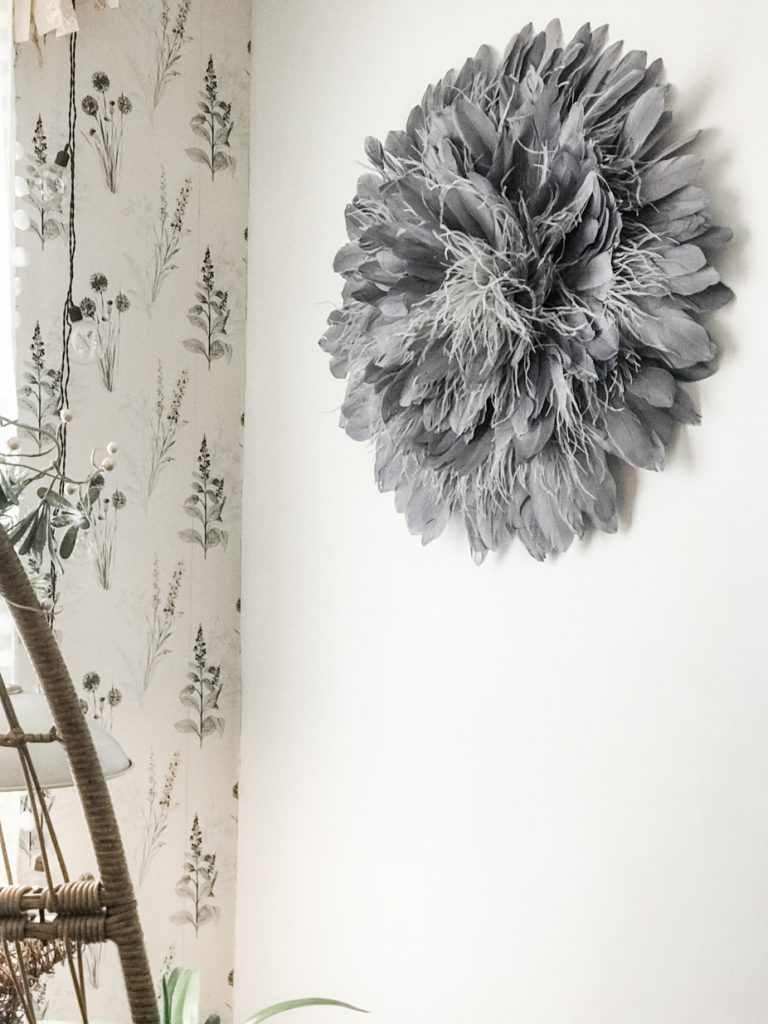
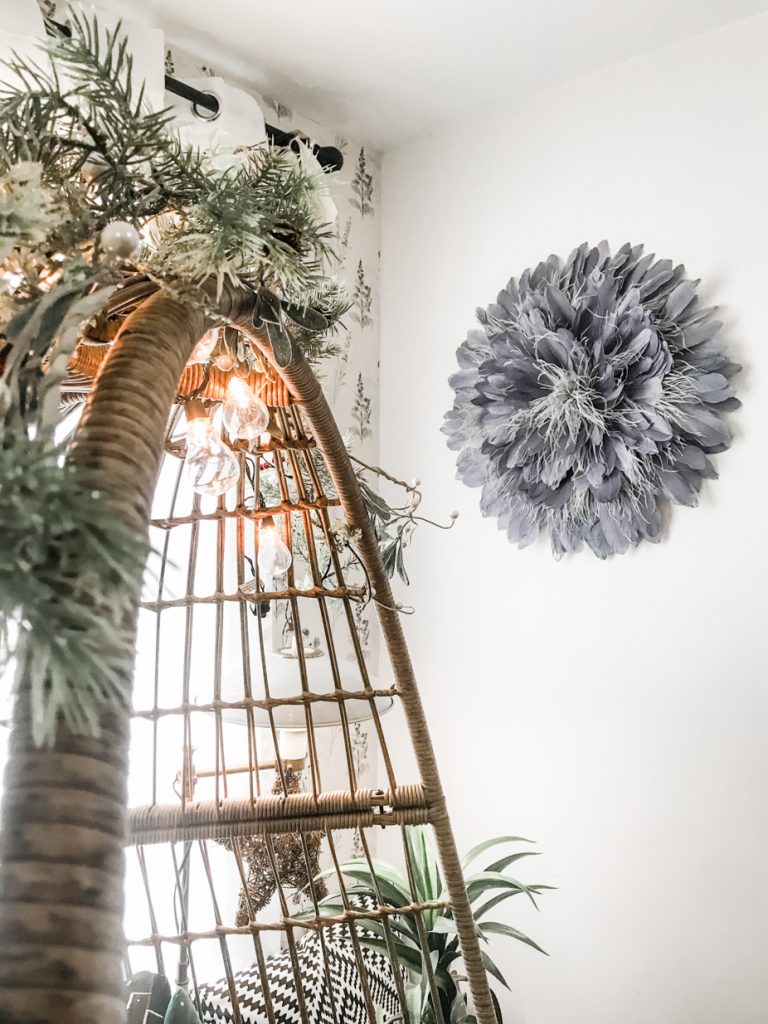
diy juju hat wall art diy gray juju hat wall art

Texture! Softness. Beauty!

poofy feather wall art sitting room wall art diy DIYShowOff Juju hat wall decor tutorialgray juju hat wall decor diy gray feather juju hat decor

I’m hooked and plan to create several more! More feather trim as been ordered! I need a fluffier one! A feather boa would work as well (although a little messier)! Maybe some rattan coasters for the center or a coordinating silk peony would be beautiful too. I’ll come back and post more pictures. Interested in adding yours to the feature? Submit your juju hat photo to thediyshowoff at gmail. 

How about you? Ready to get crafty, creative and inspired in 2022?


Project Diary #19 Bathroom Before & After Makeover Reveal

Featured

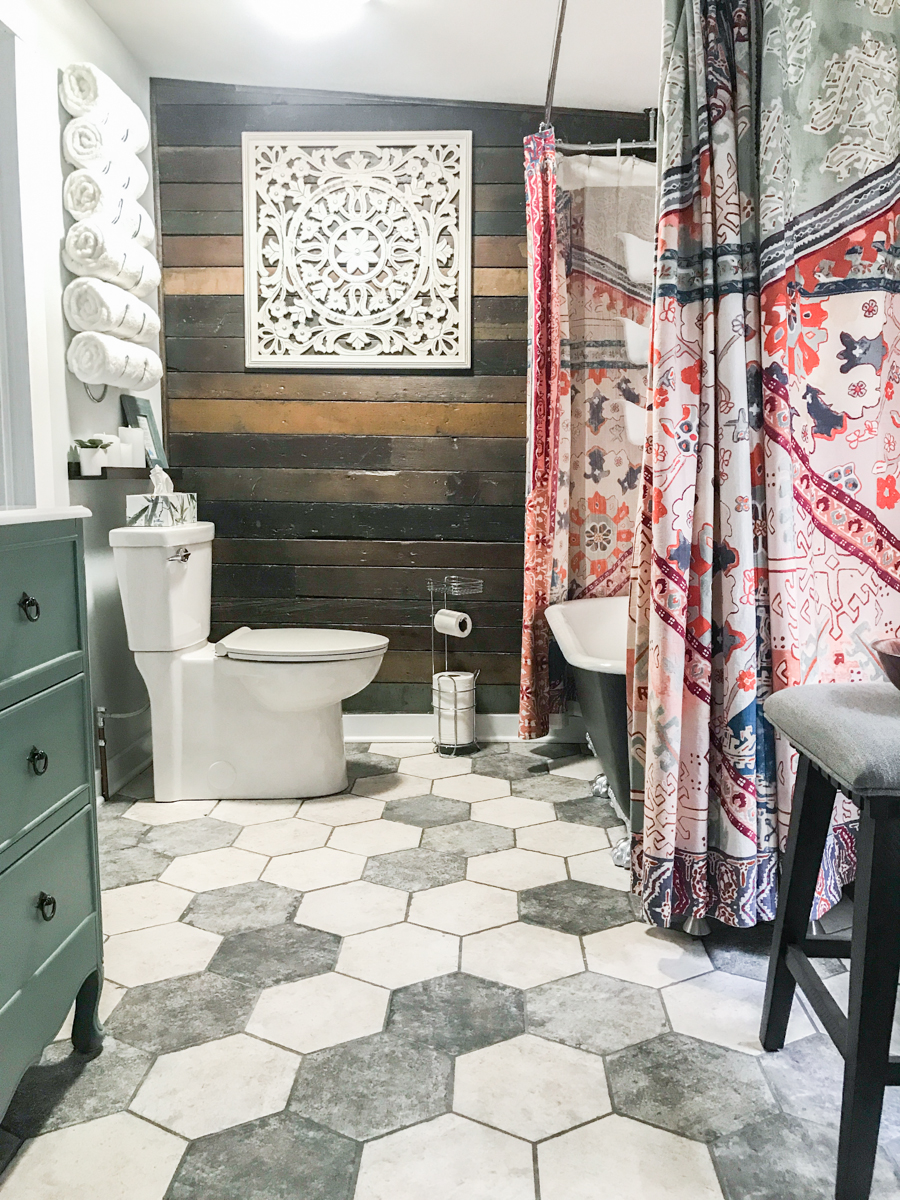
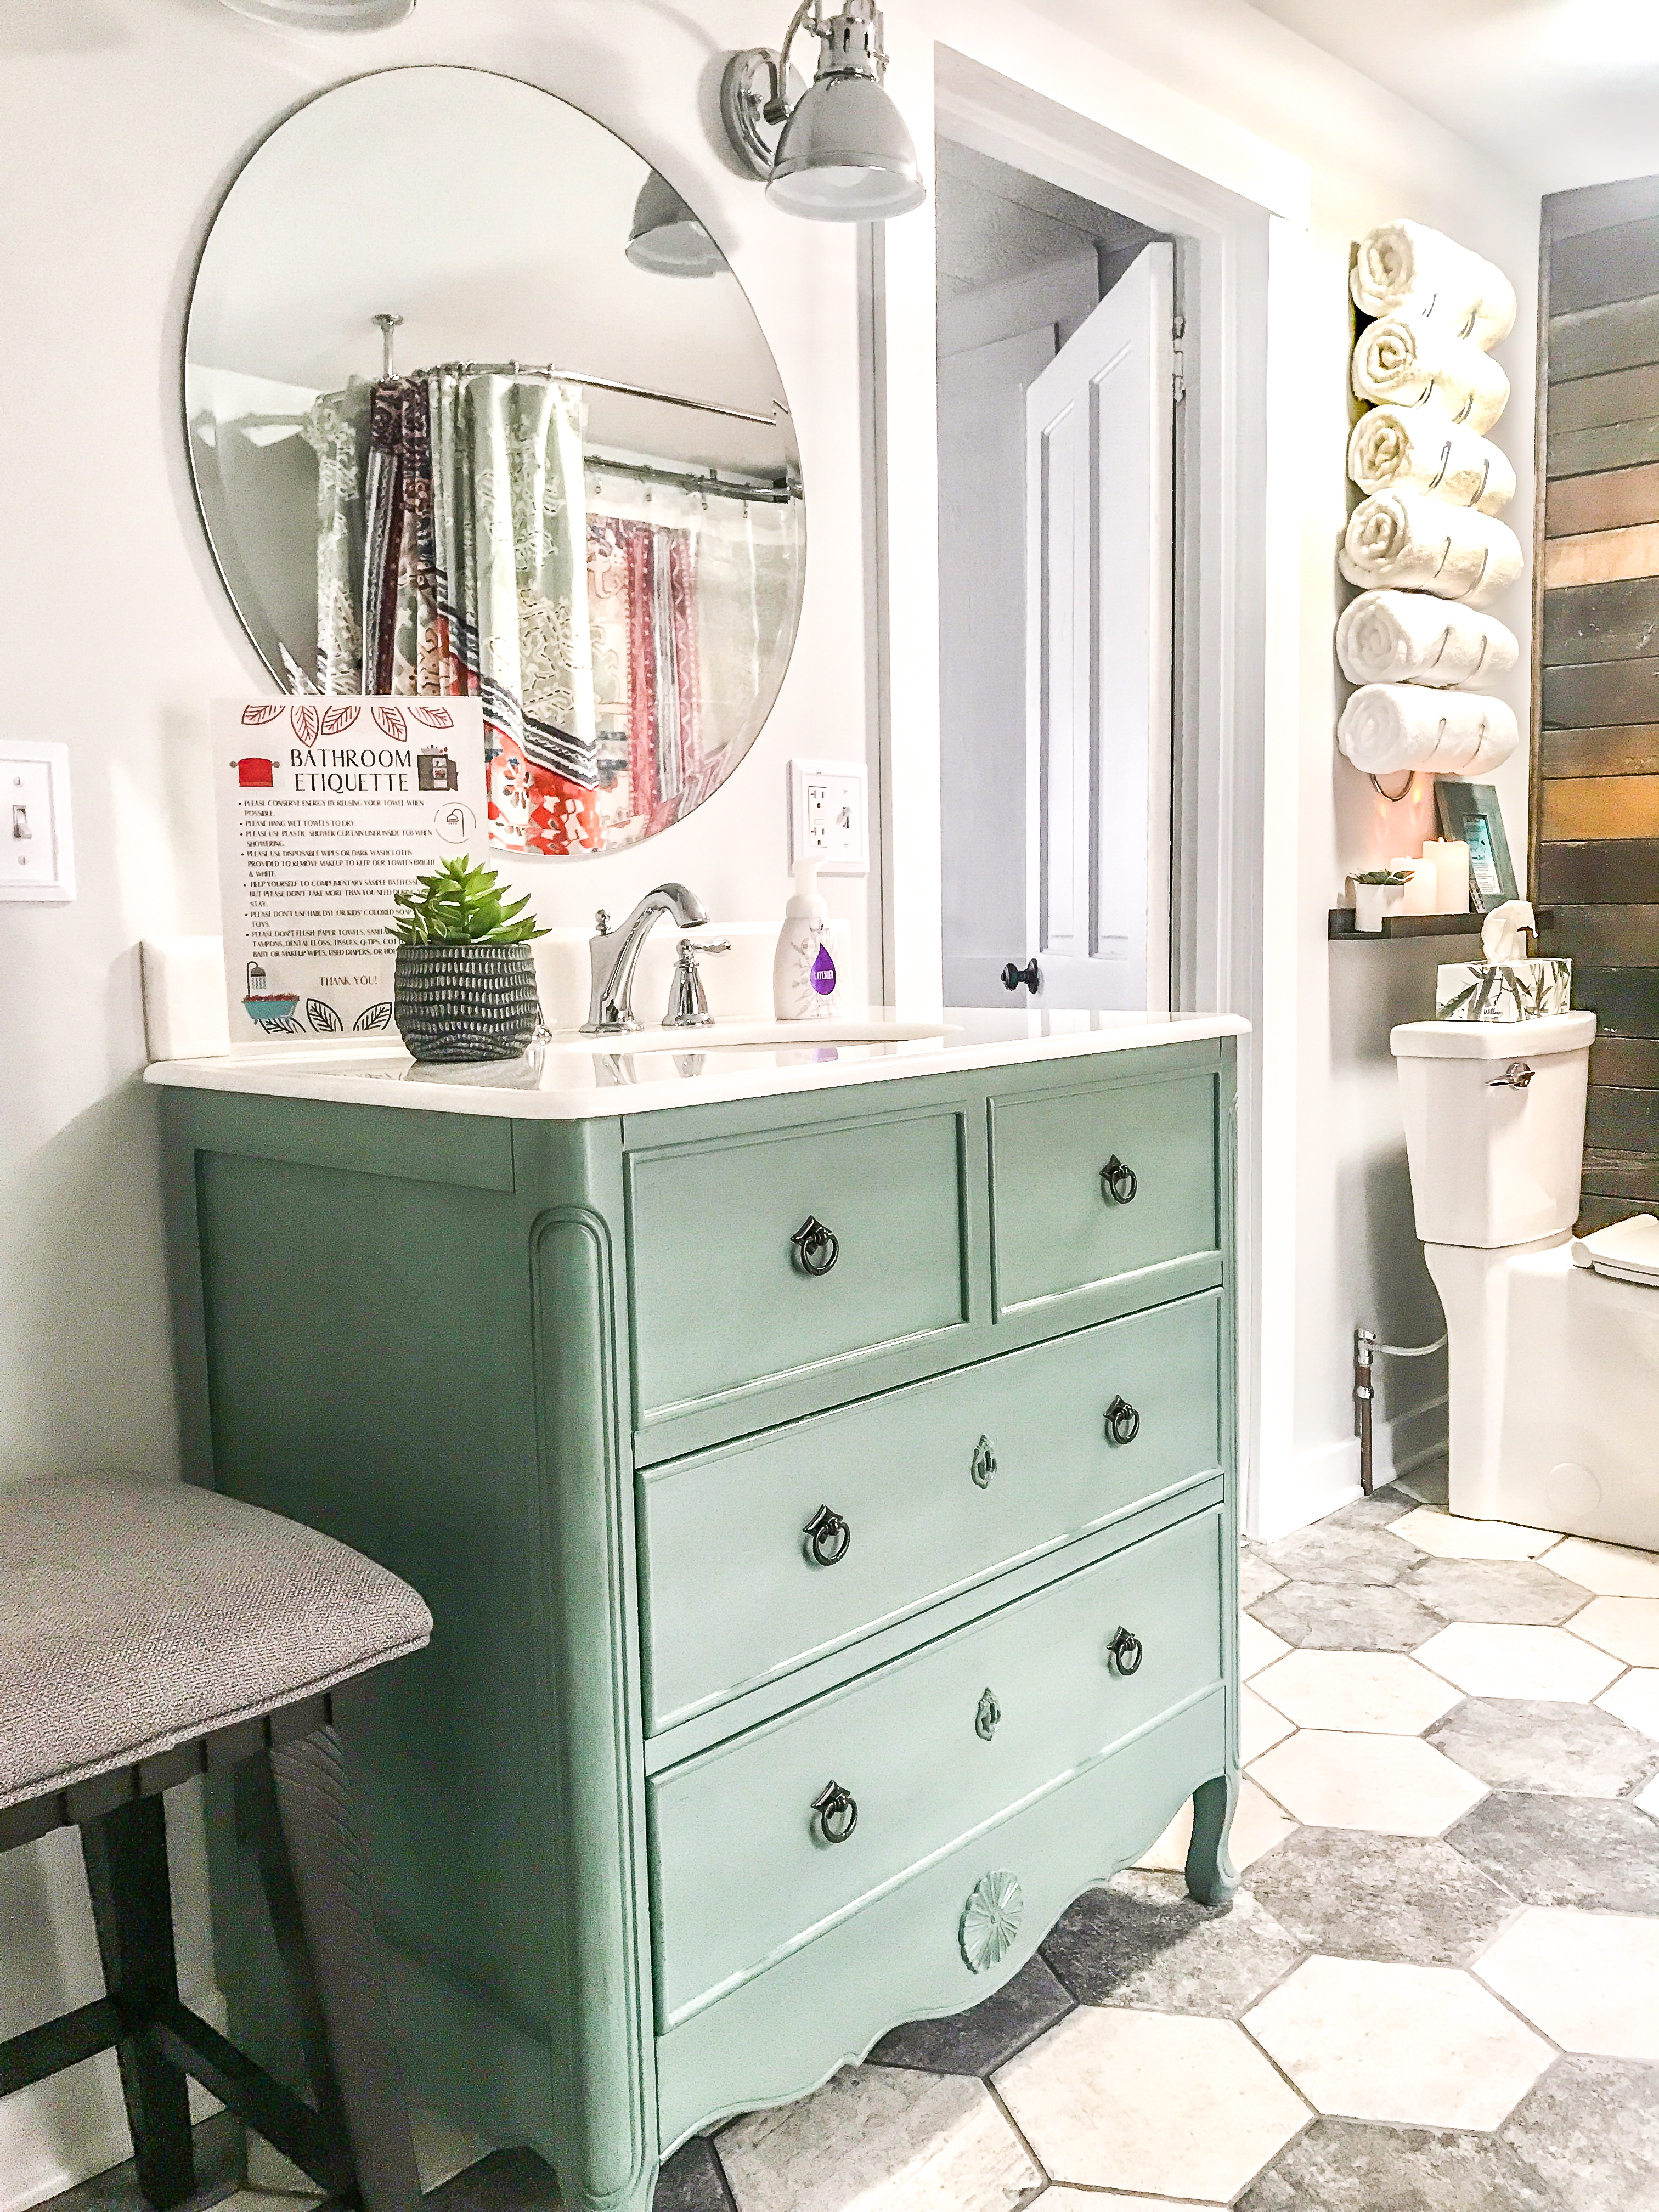
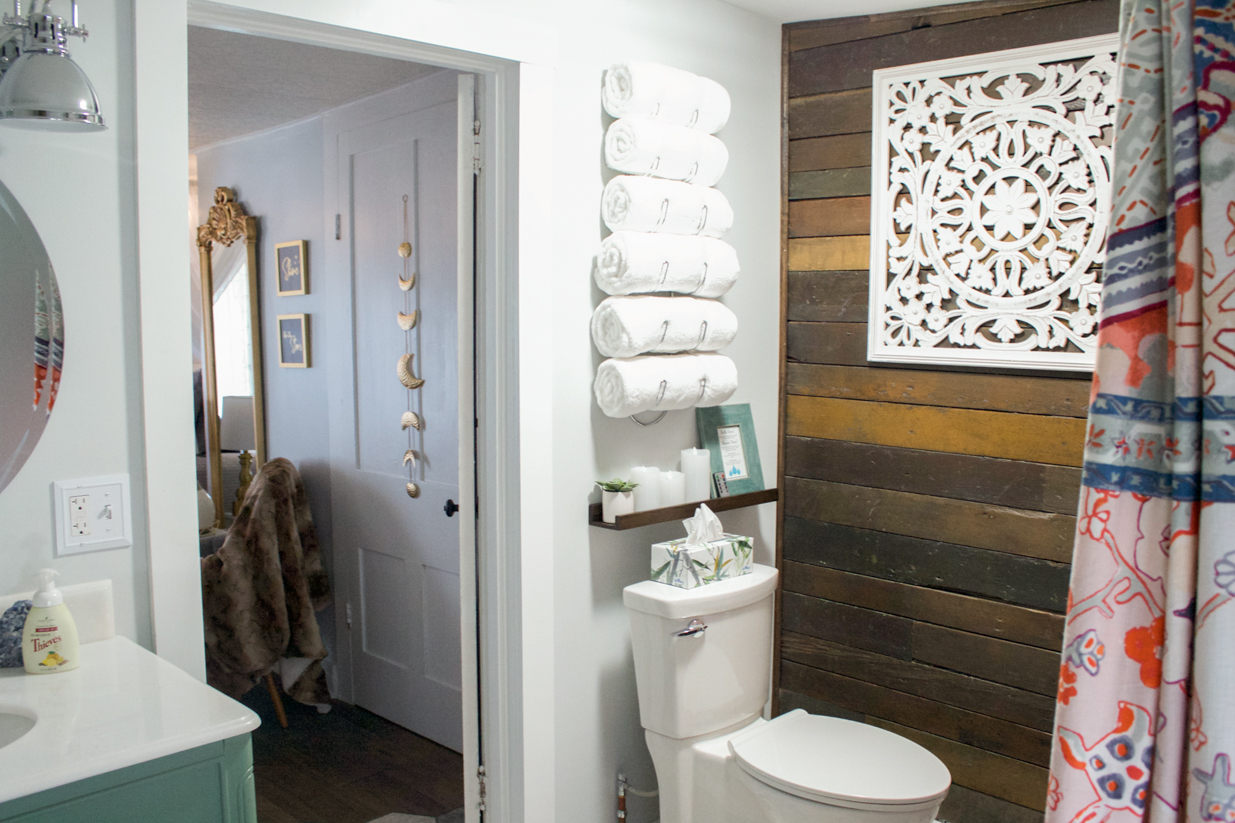
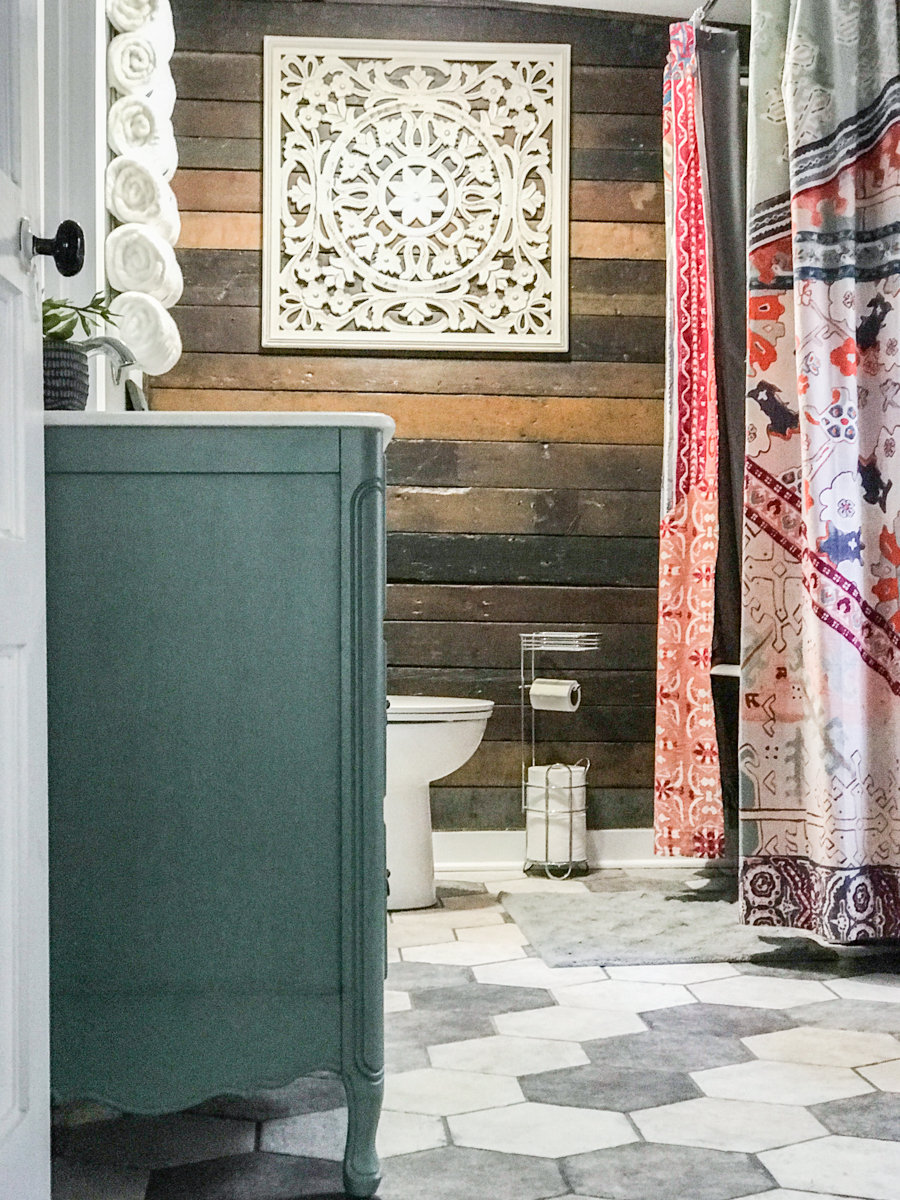
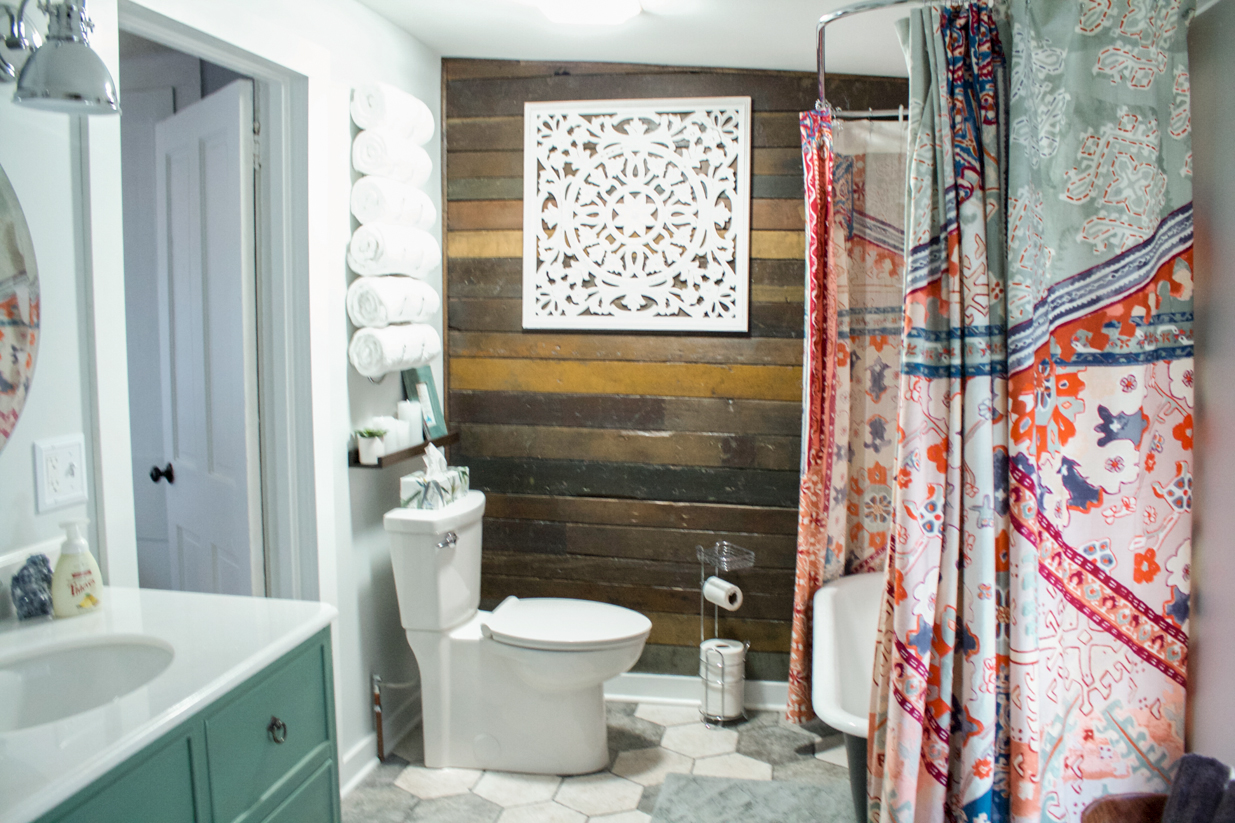
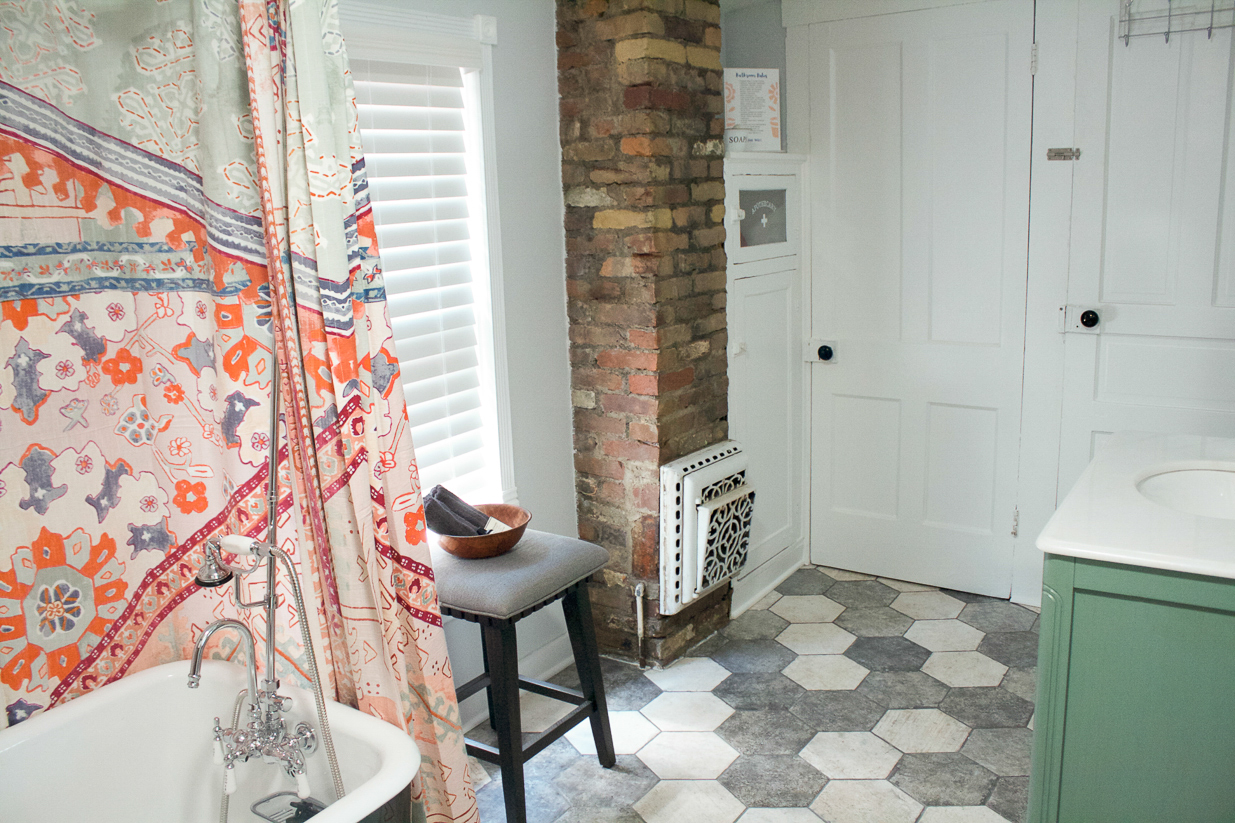
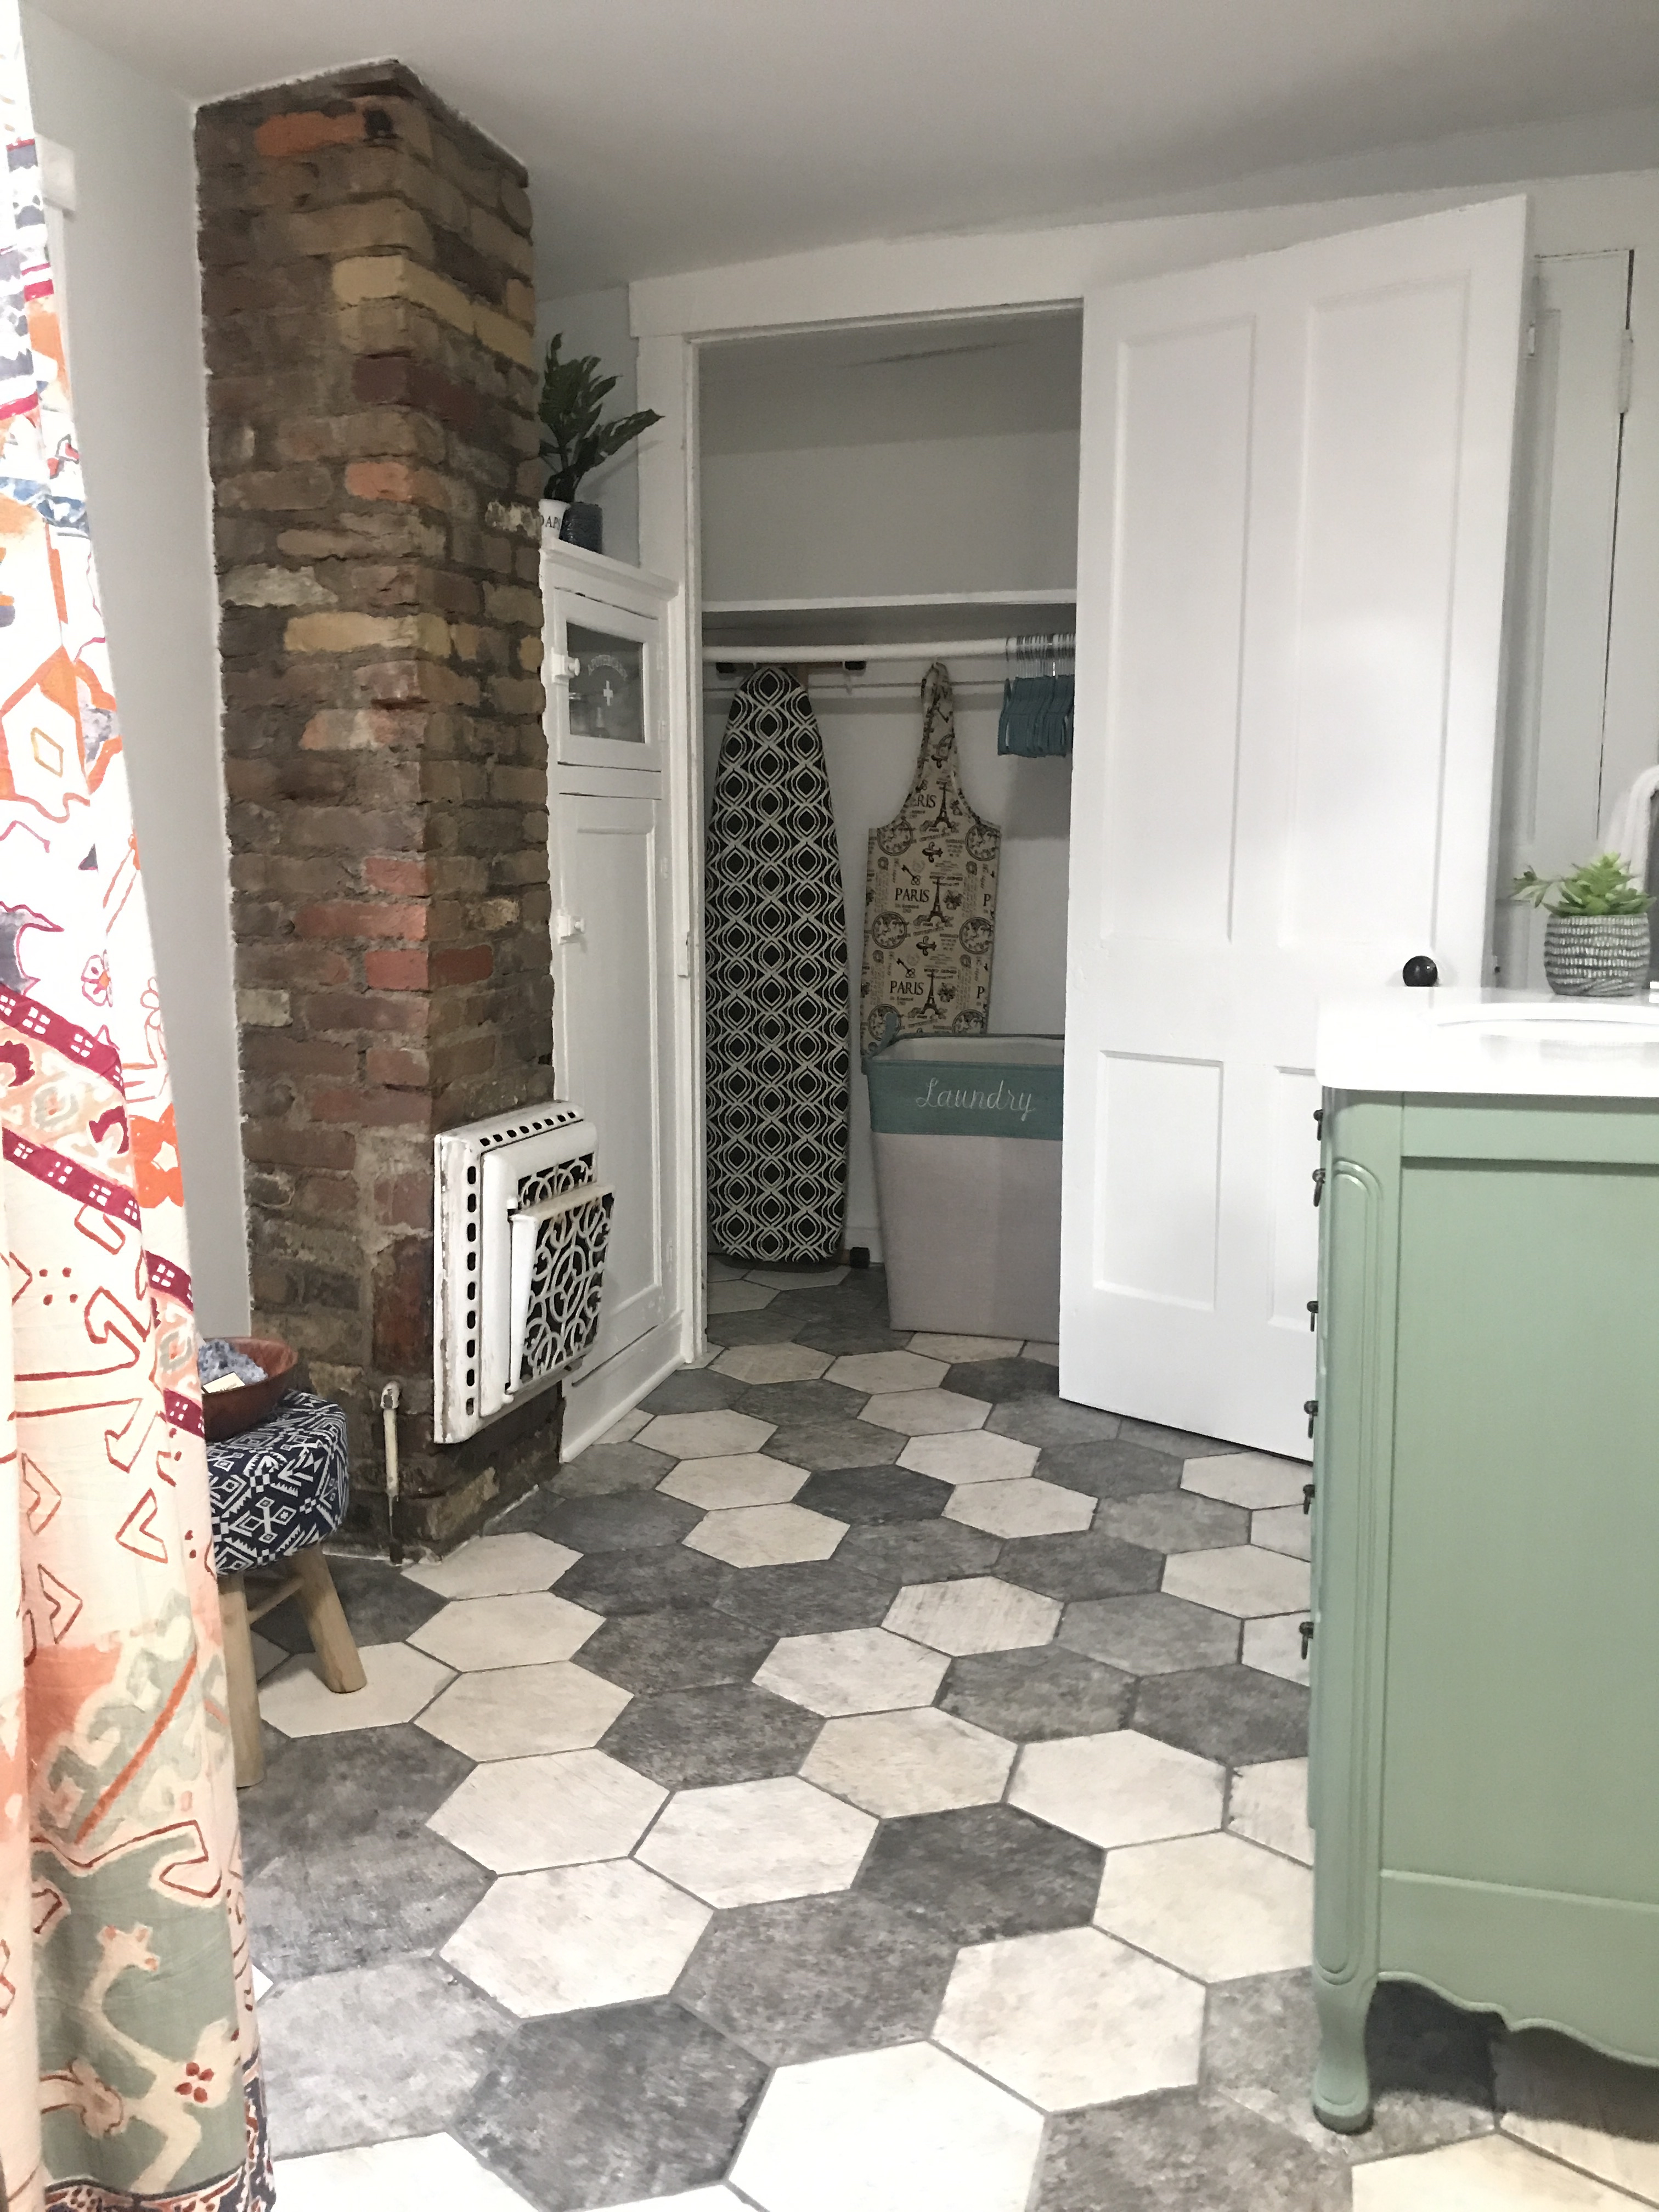
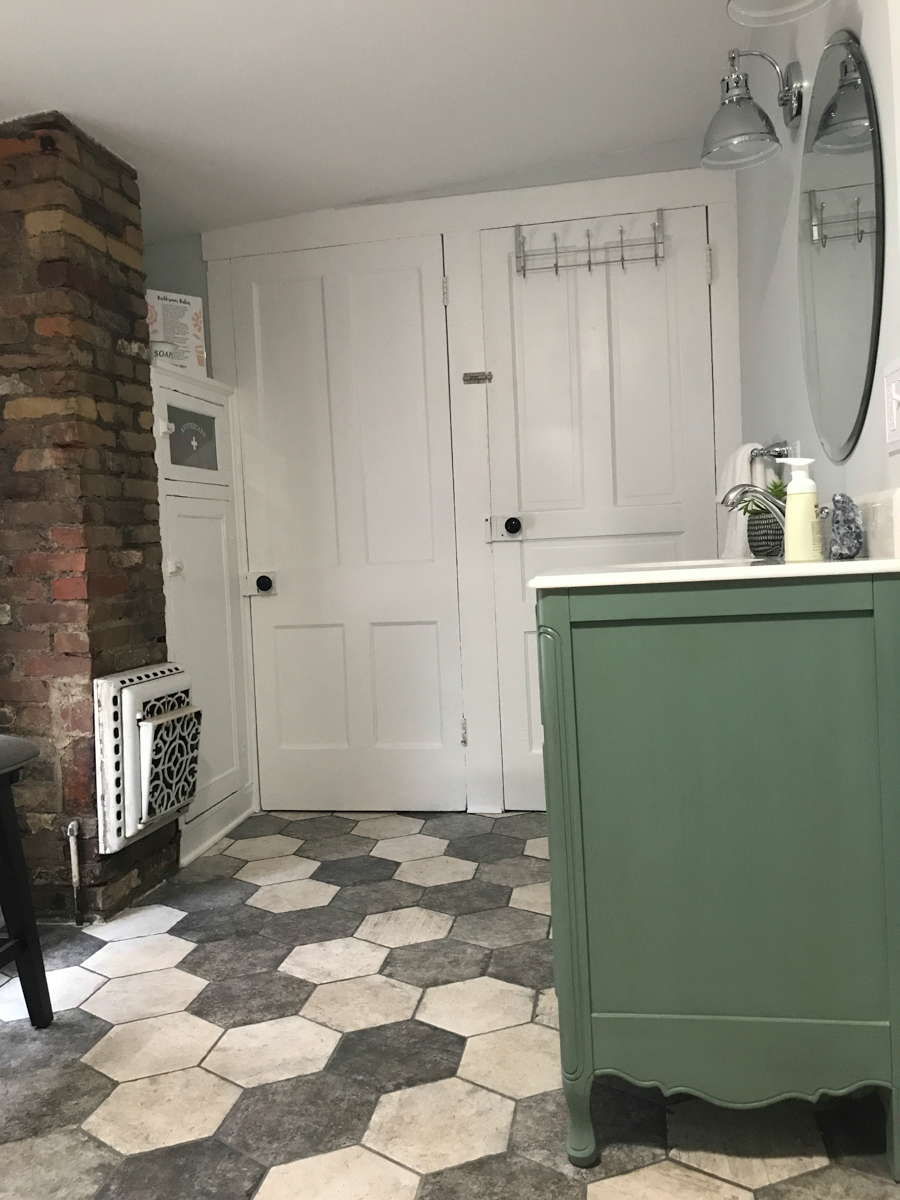
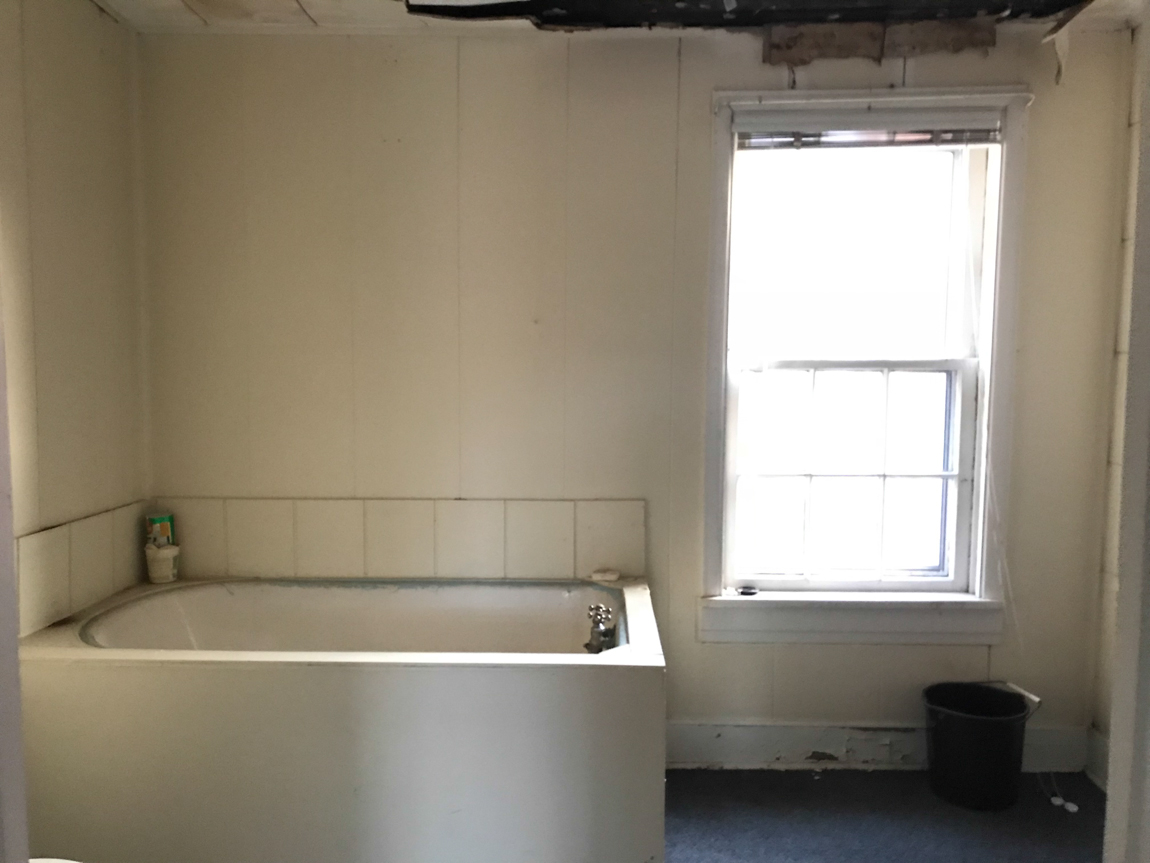
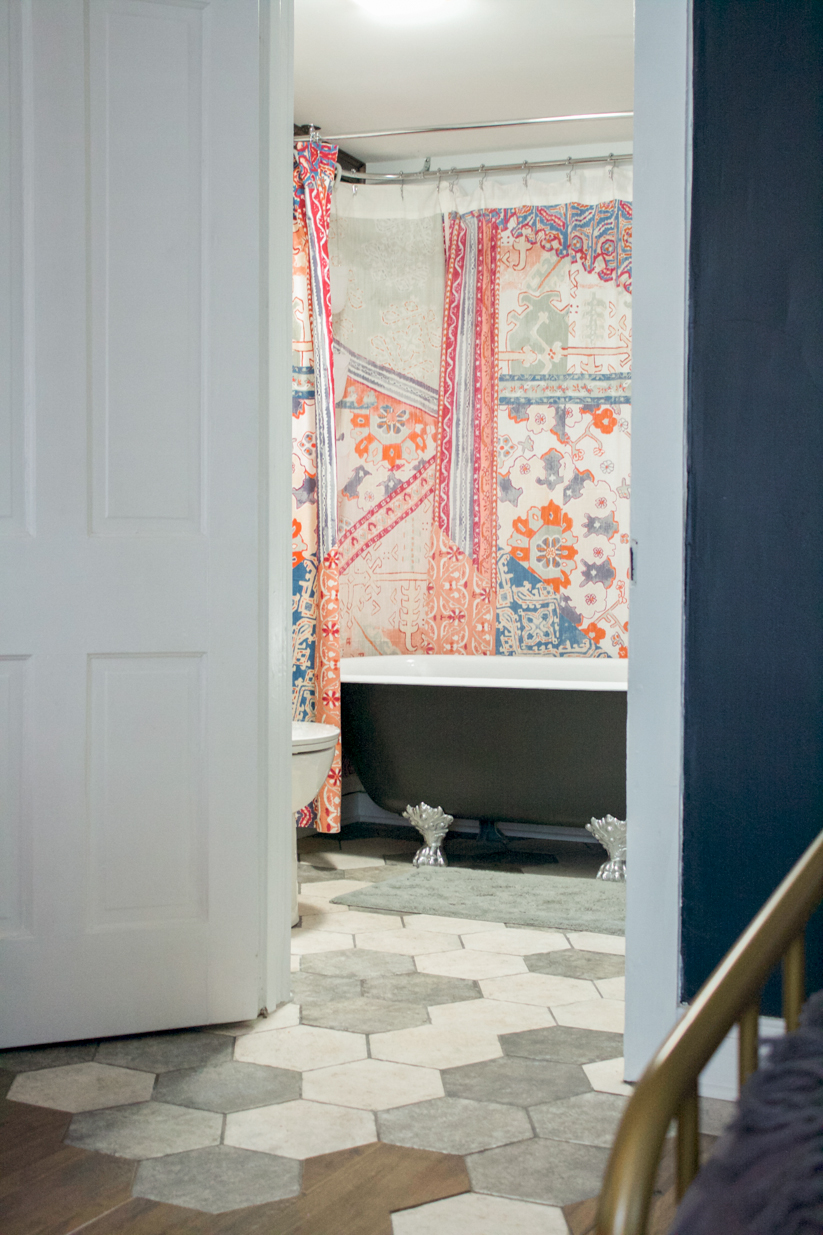
The bathroom before and after is the biggest transformation of the #helloredreno series. A lot of hard work, sweat, (thanks, Steve!), tears and love went into this space. Ready for the bathroom before and after makeover reveal? Check it out! 

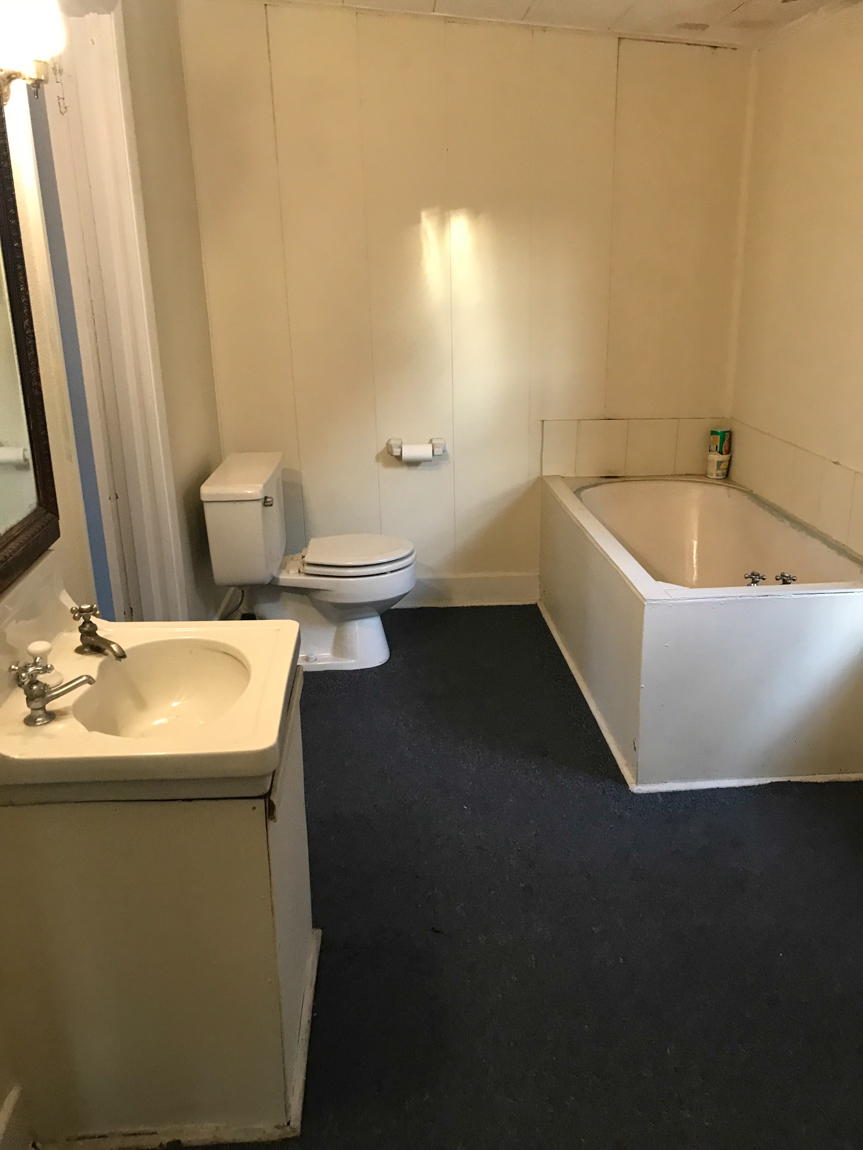
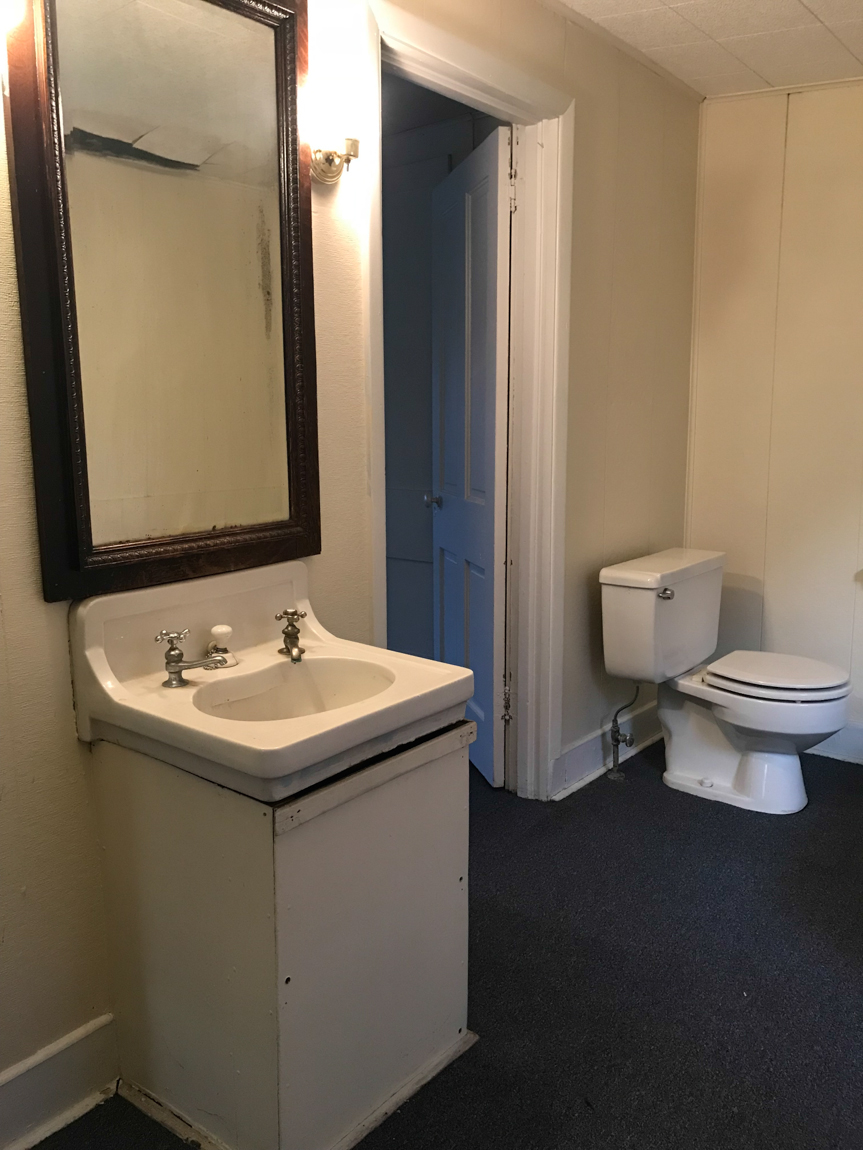
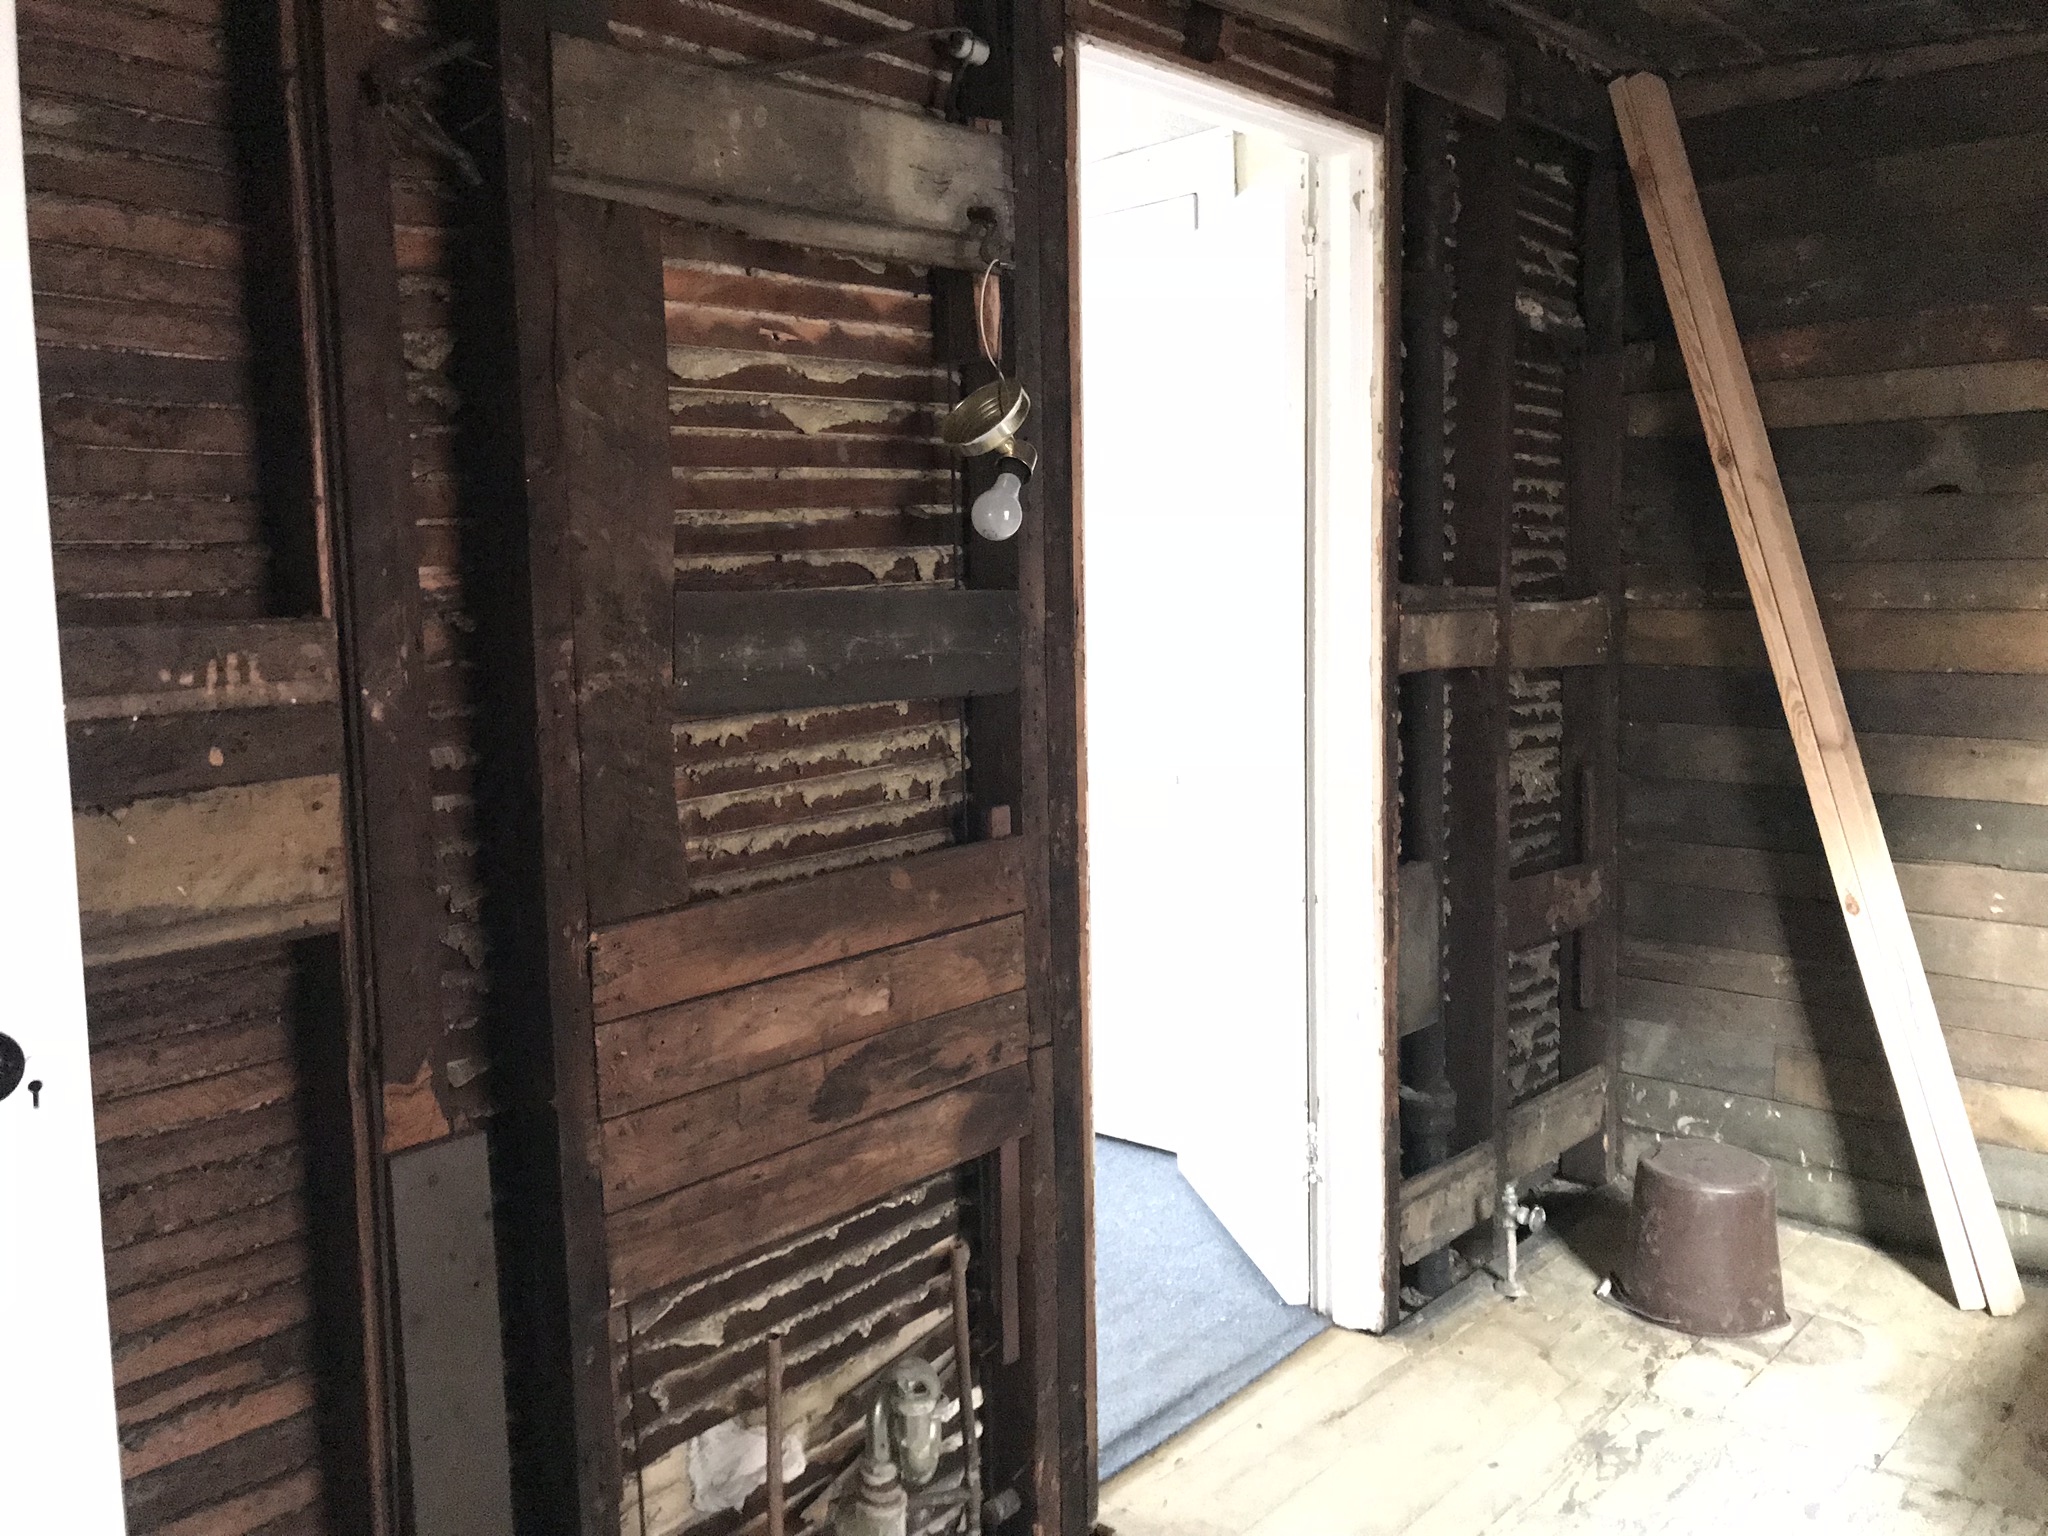
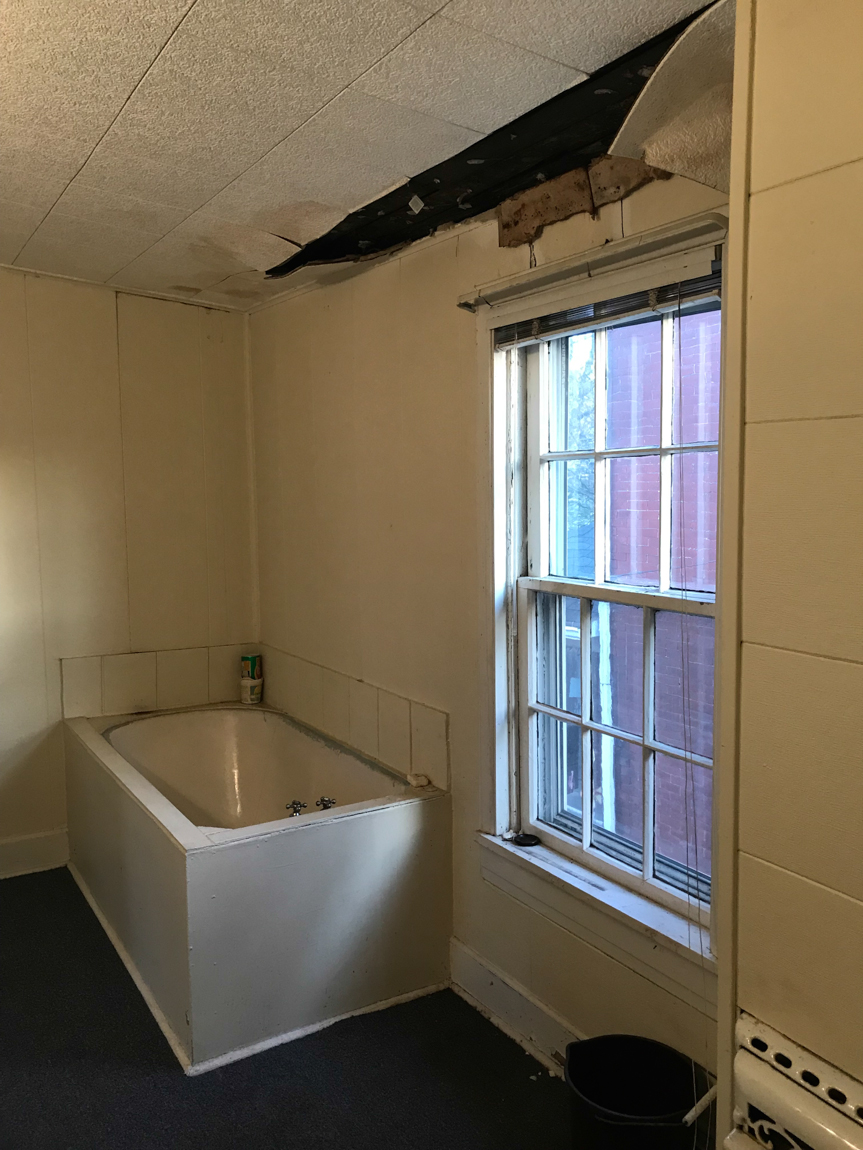
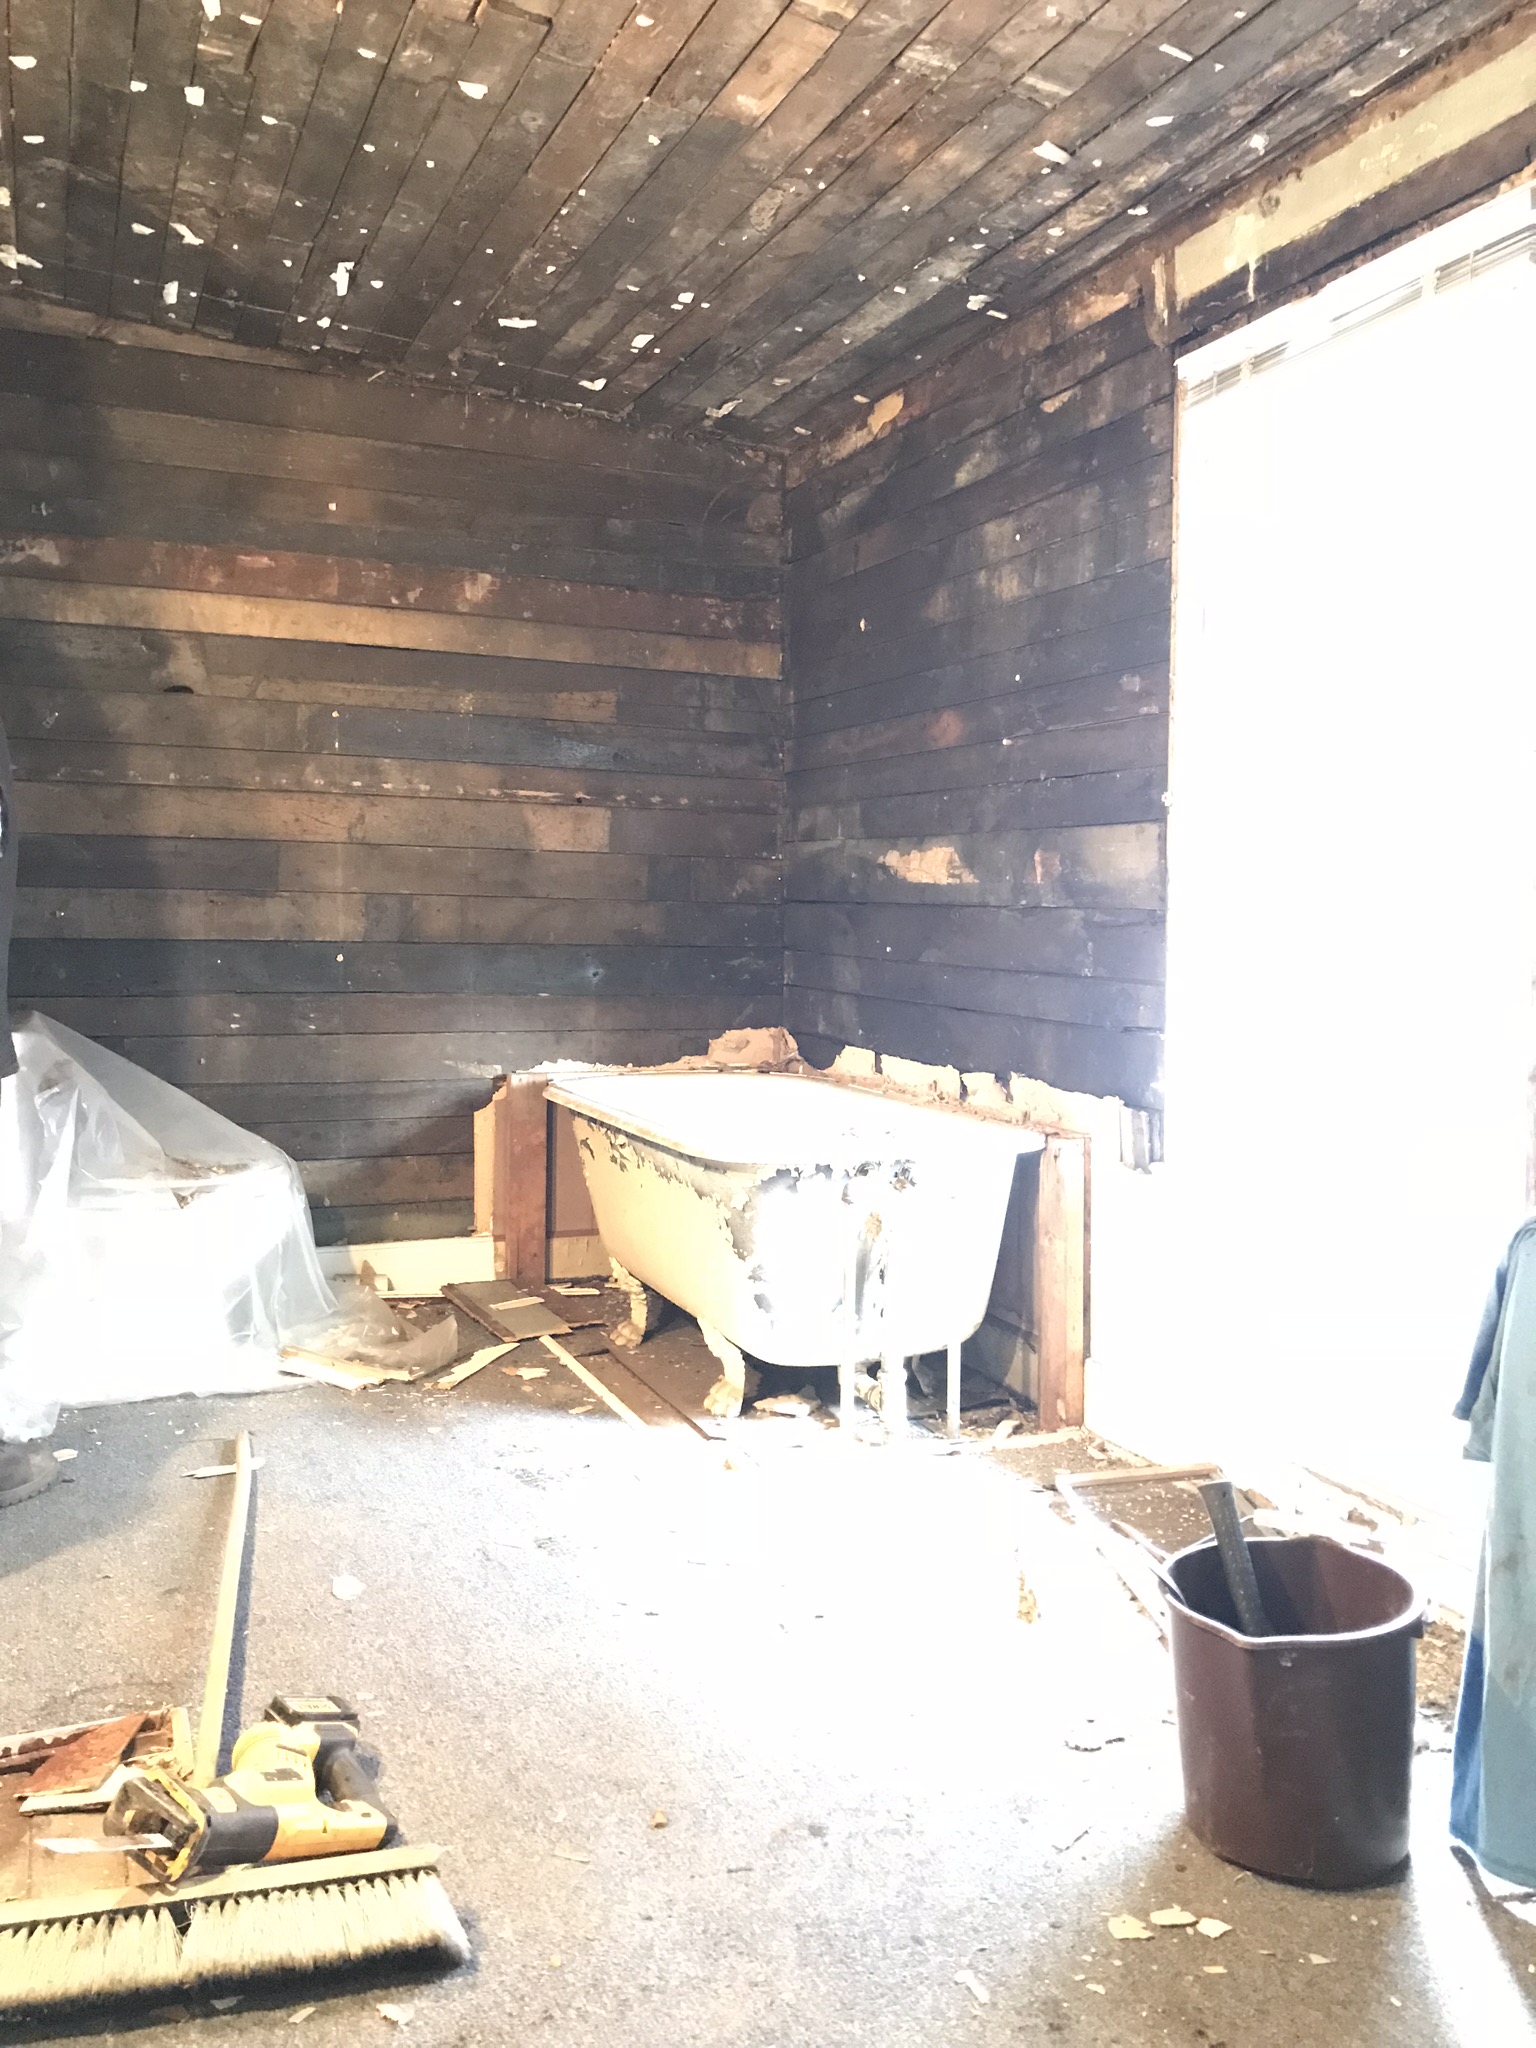
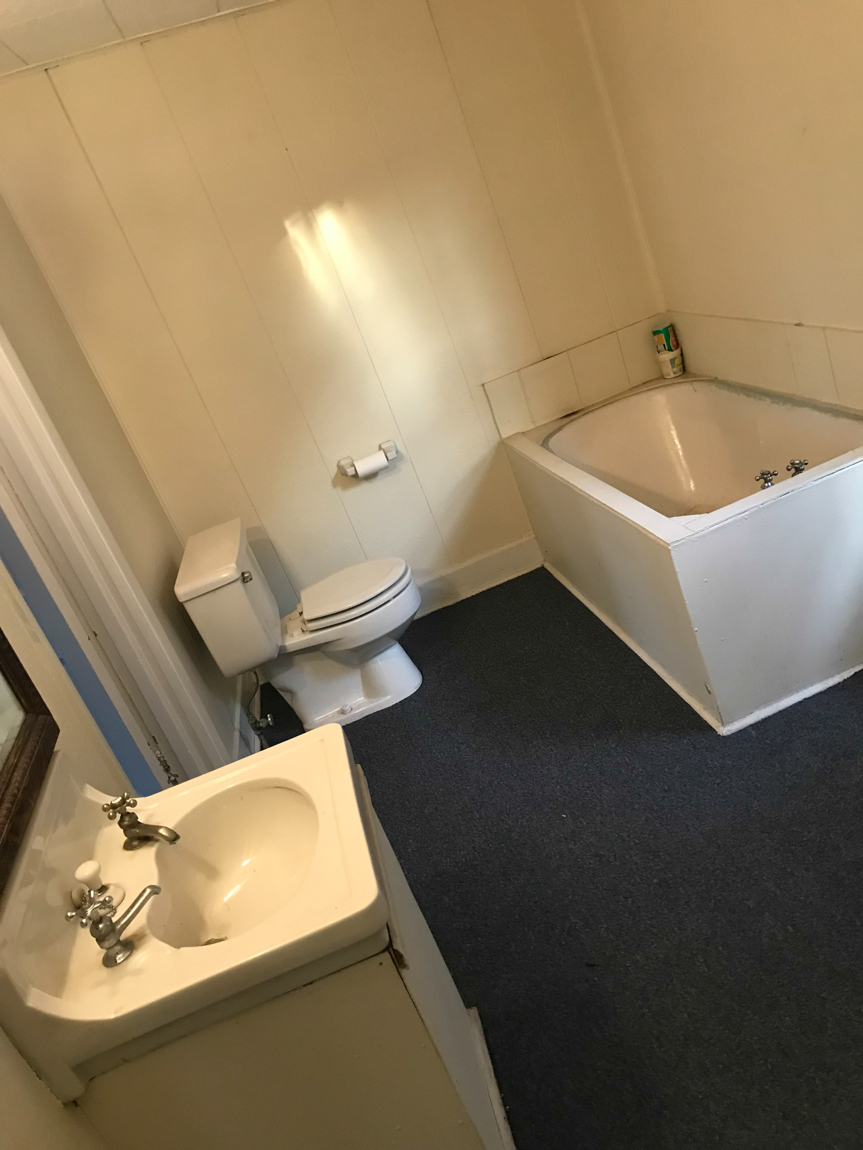
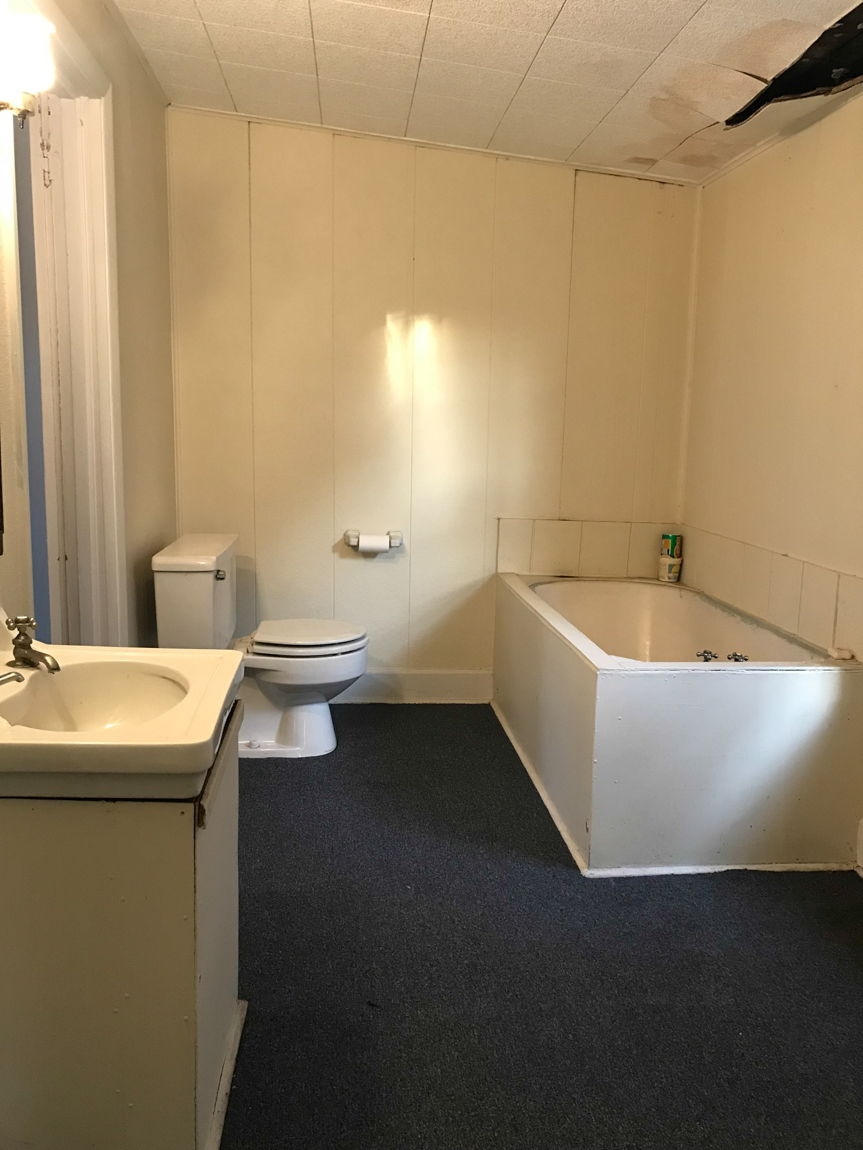
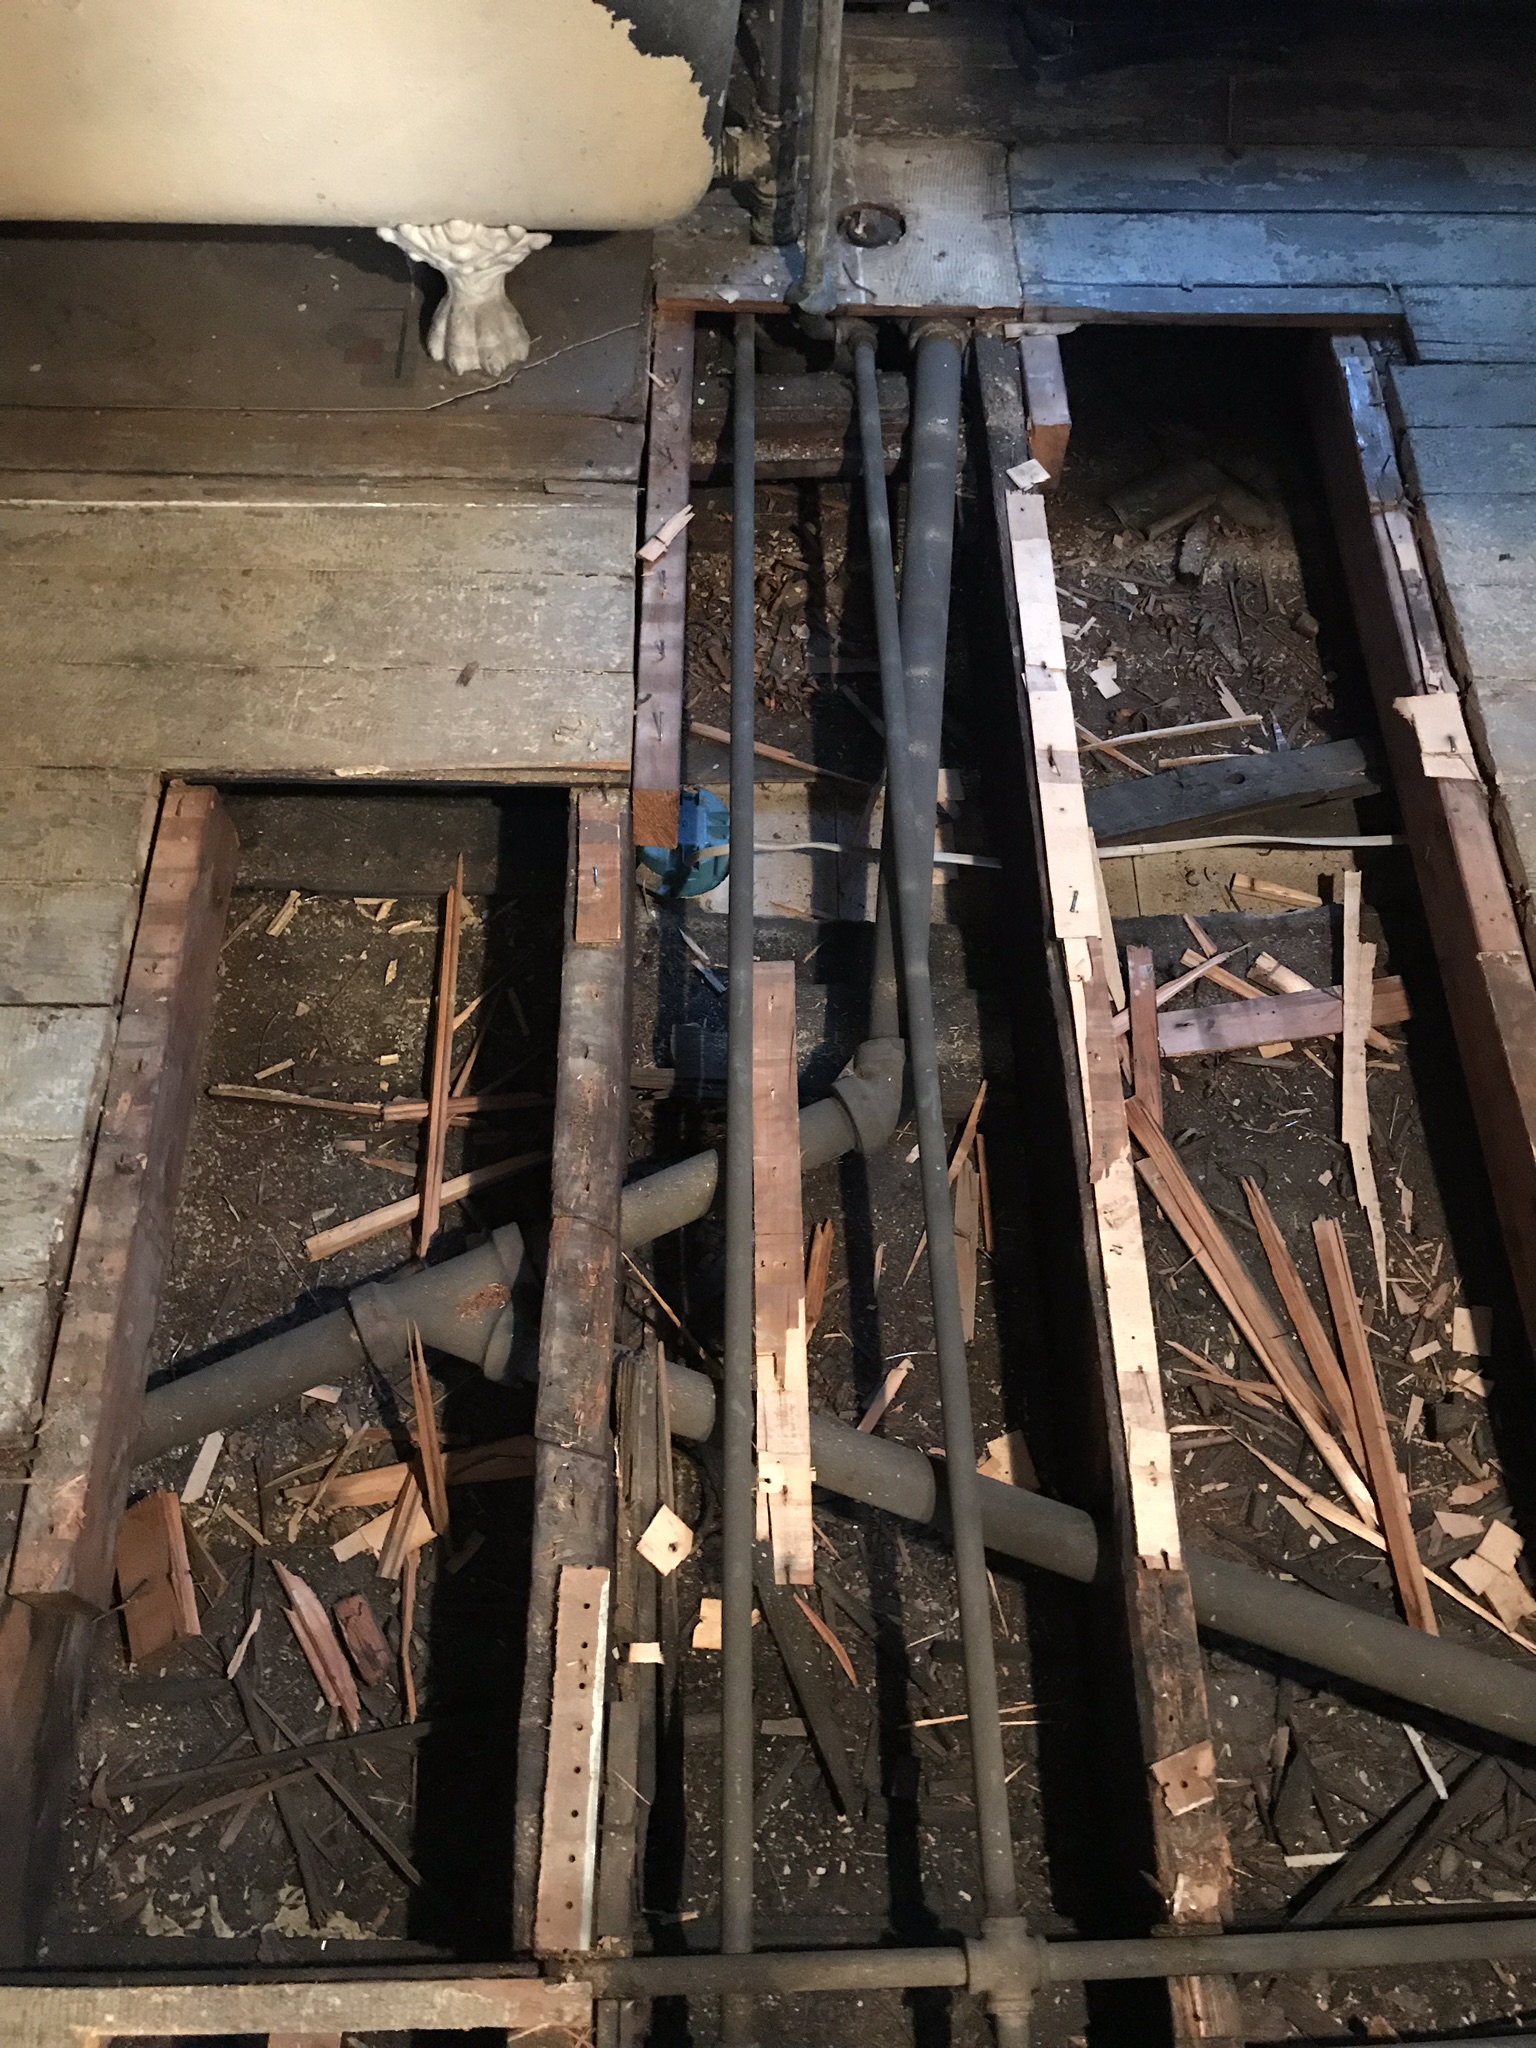
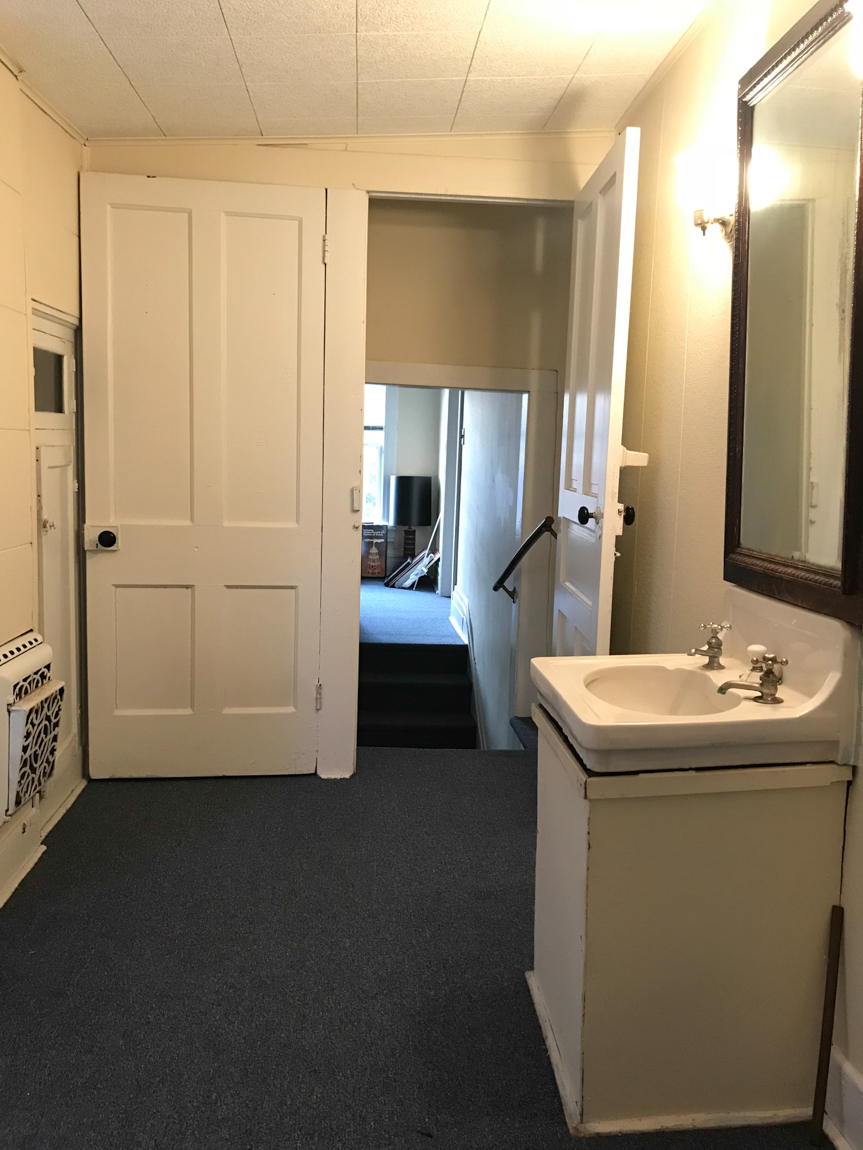
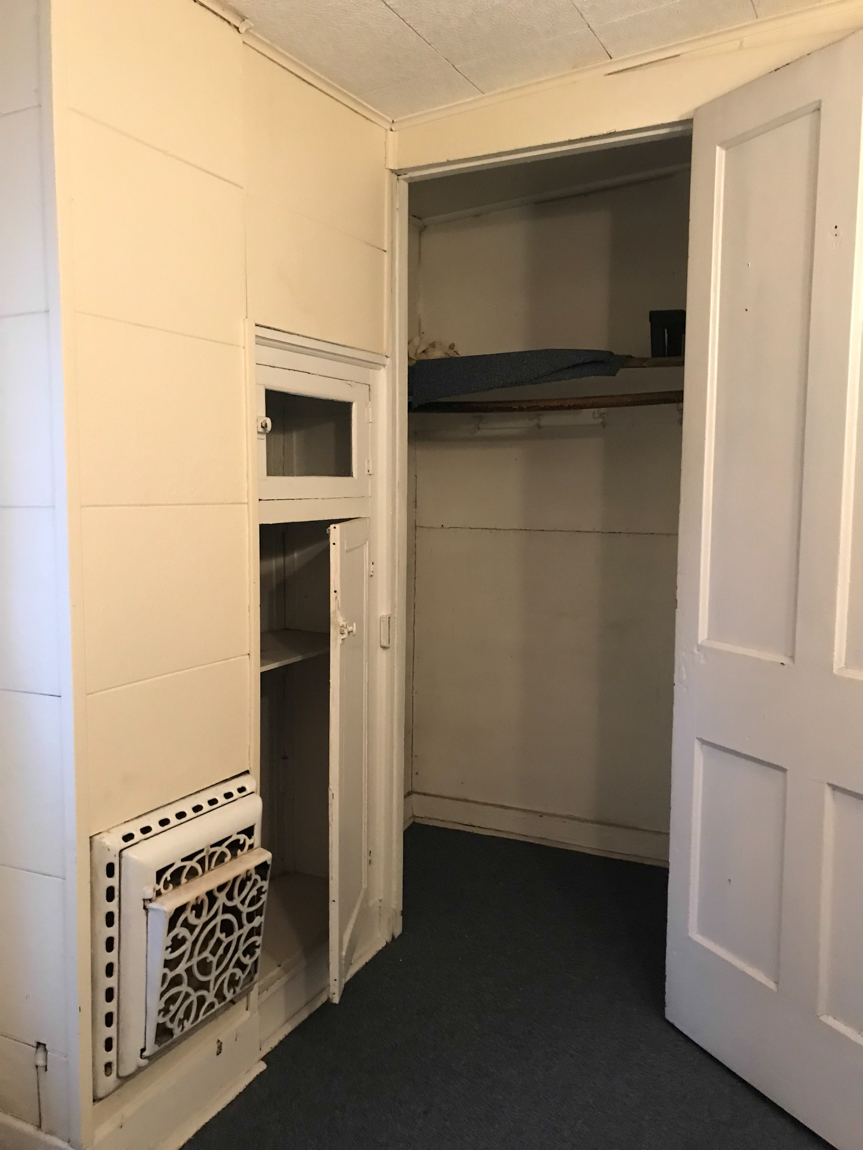
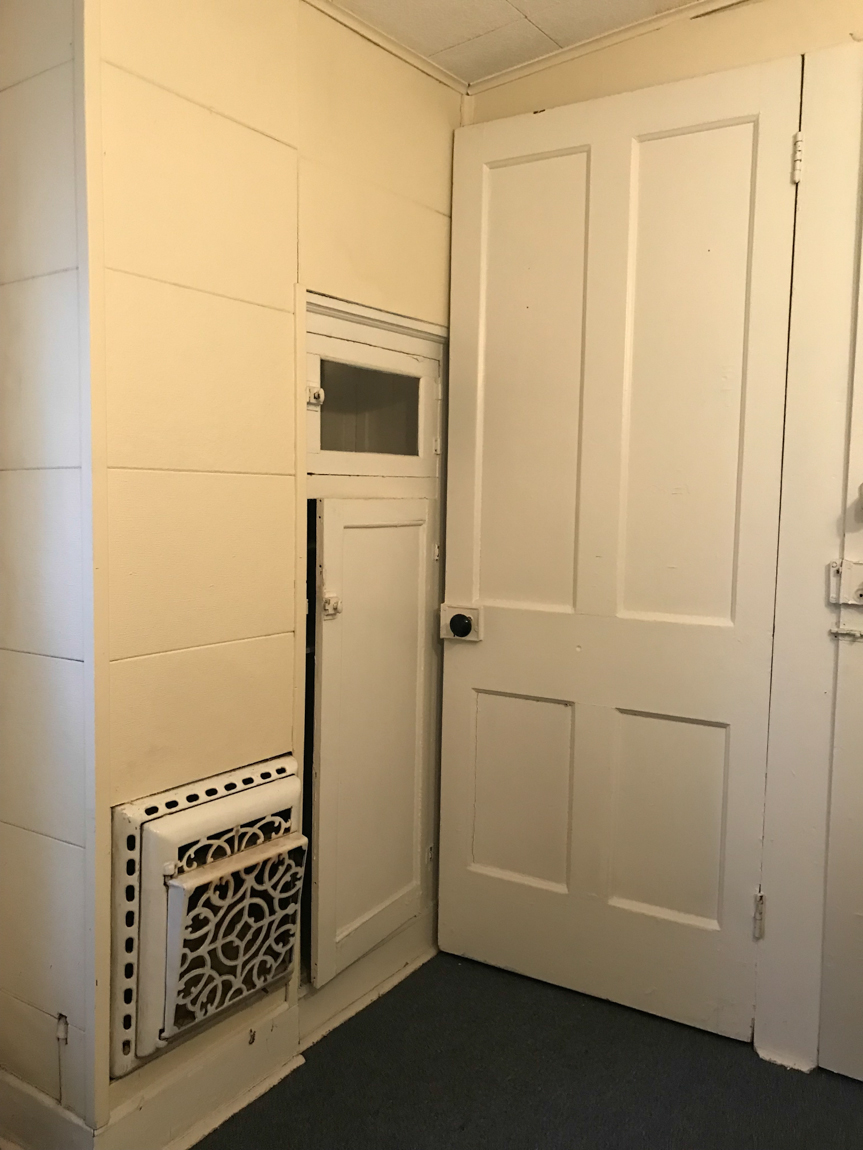
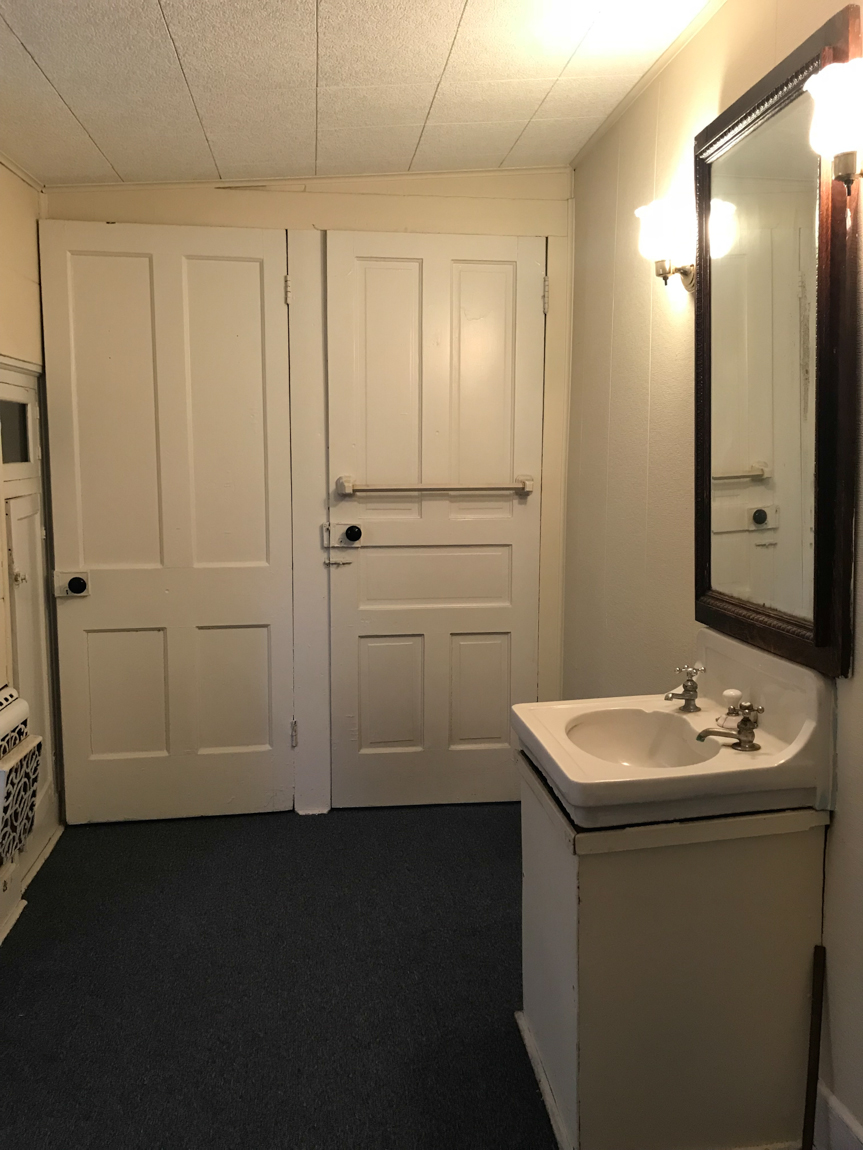
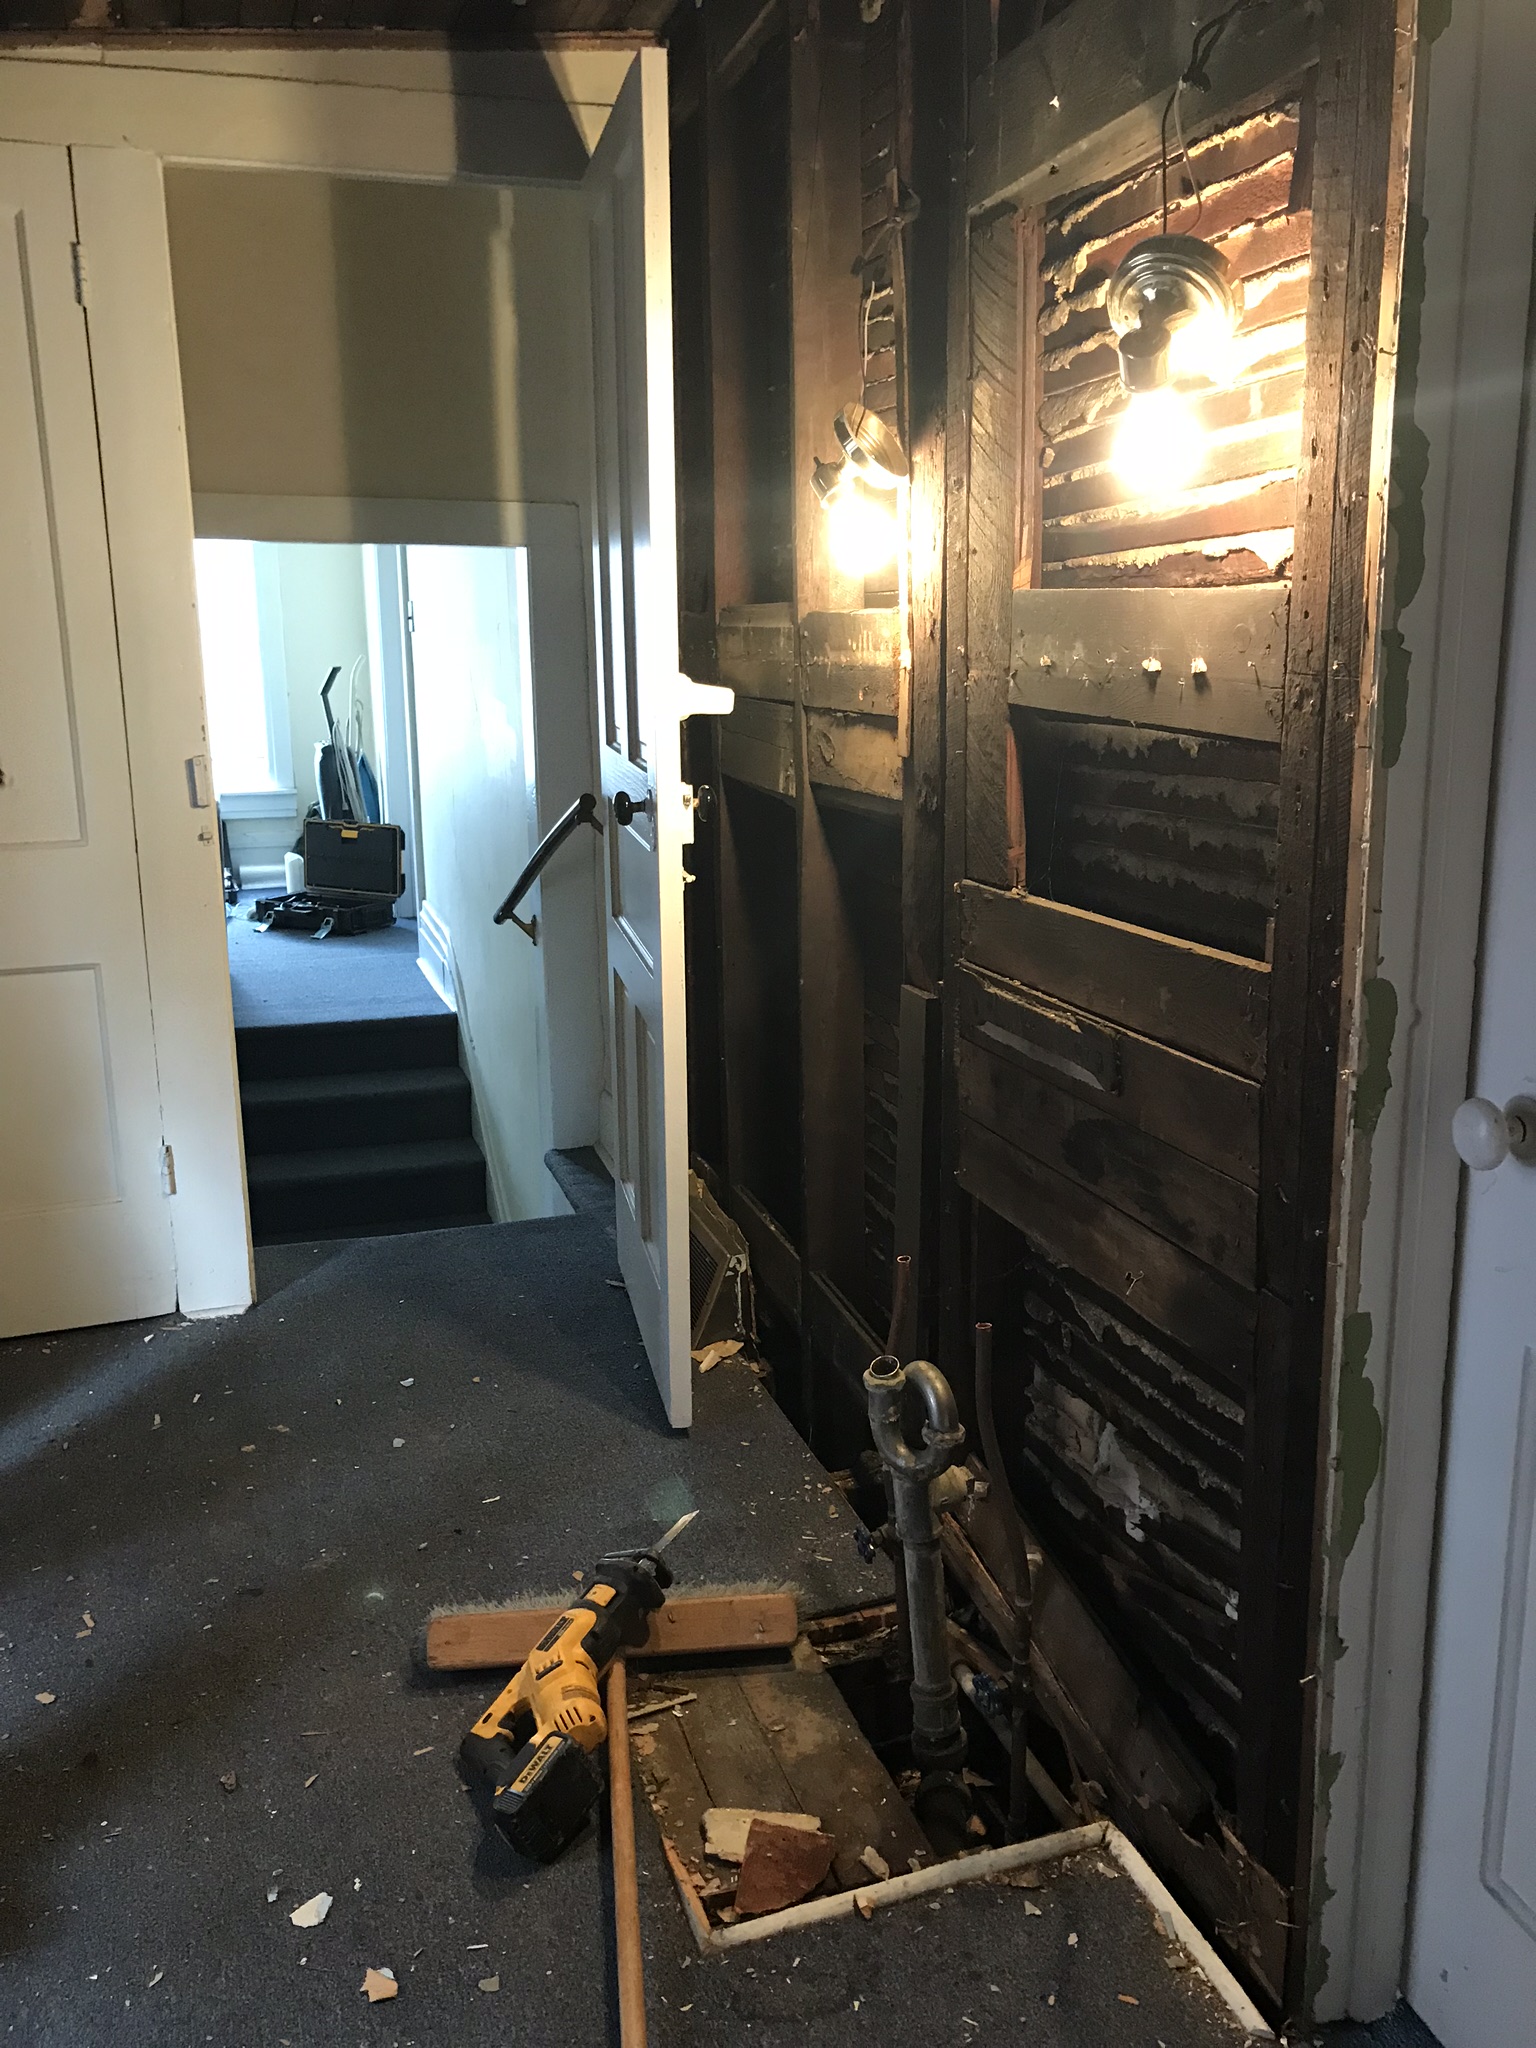
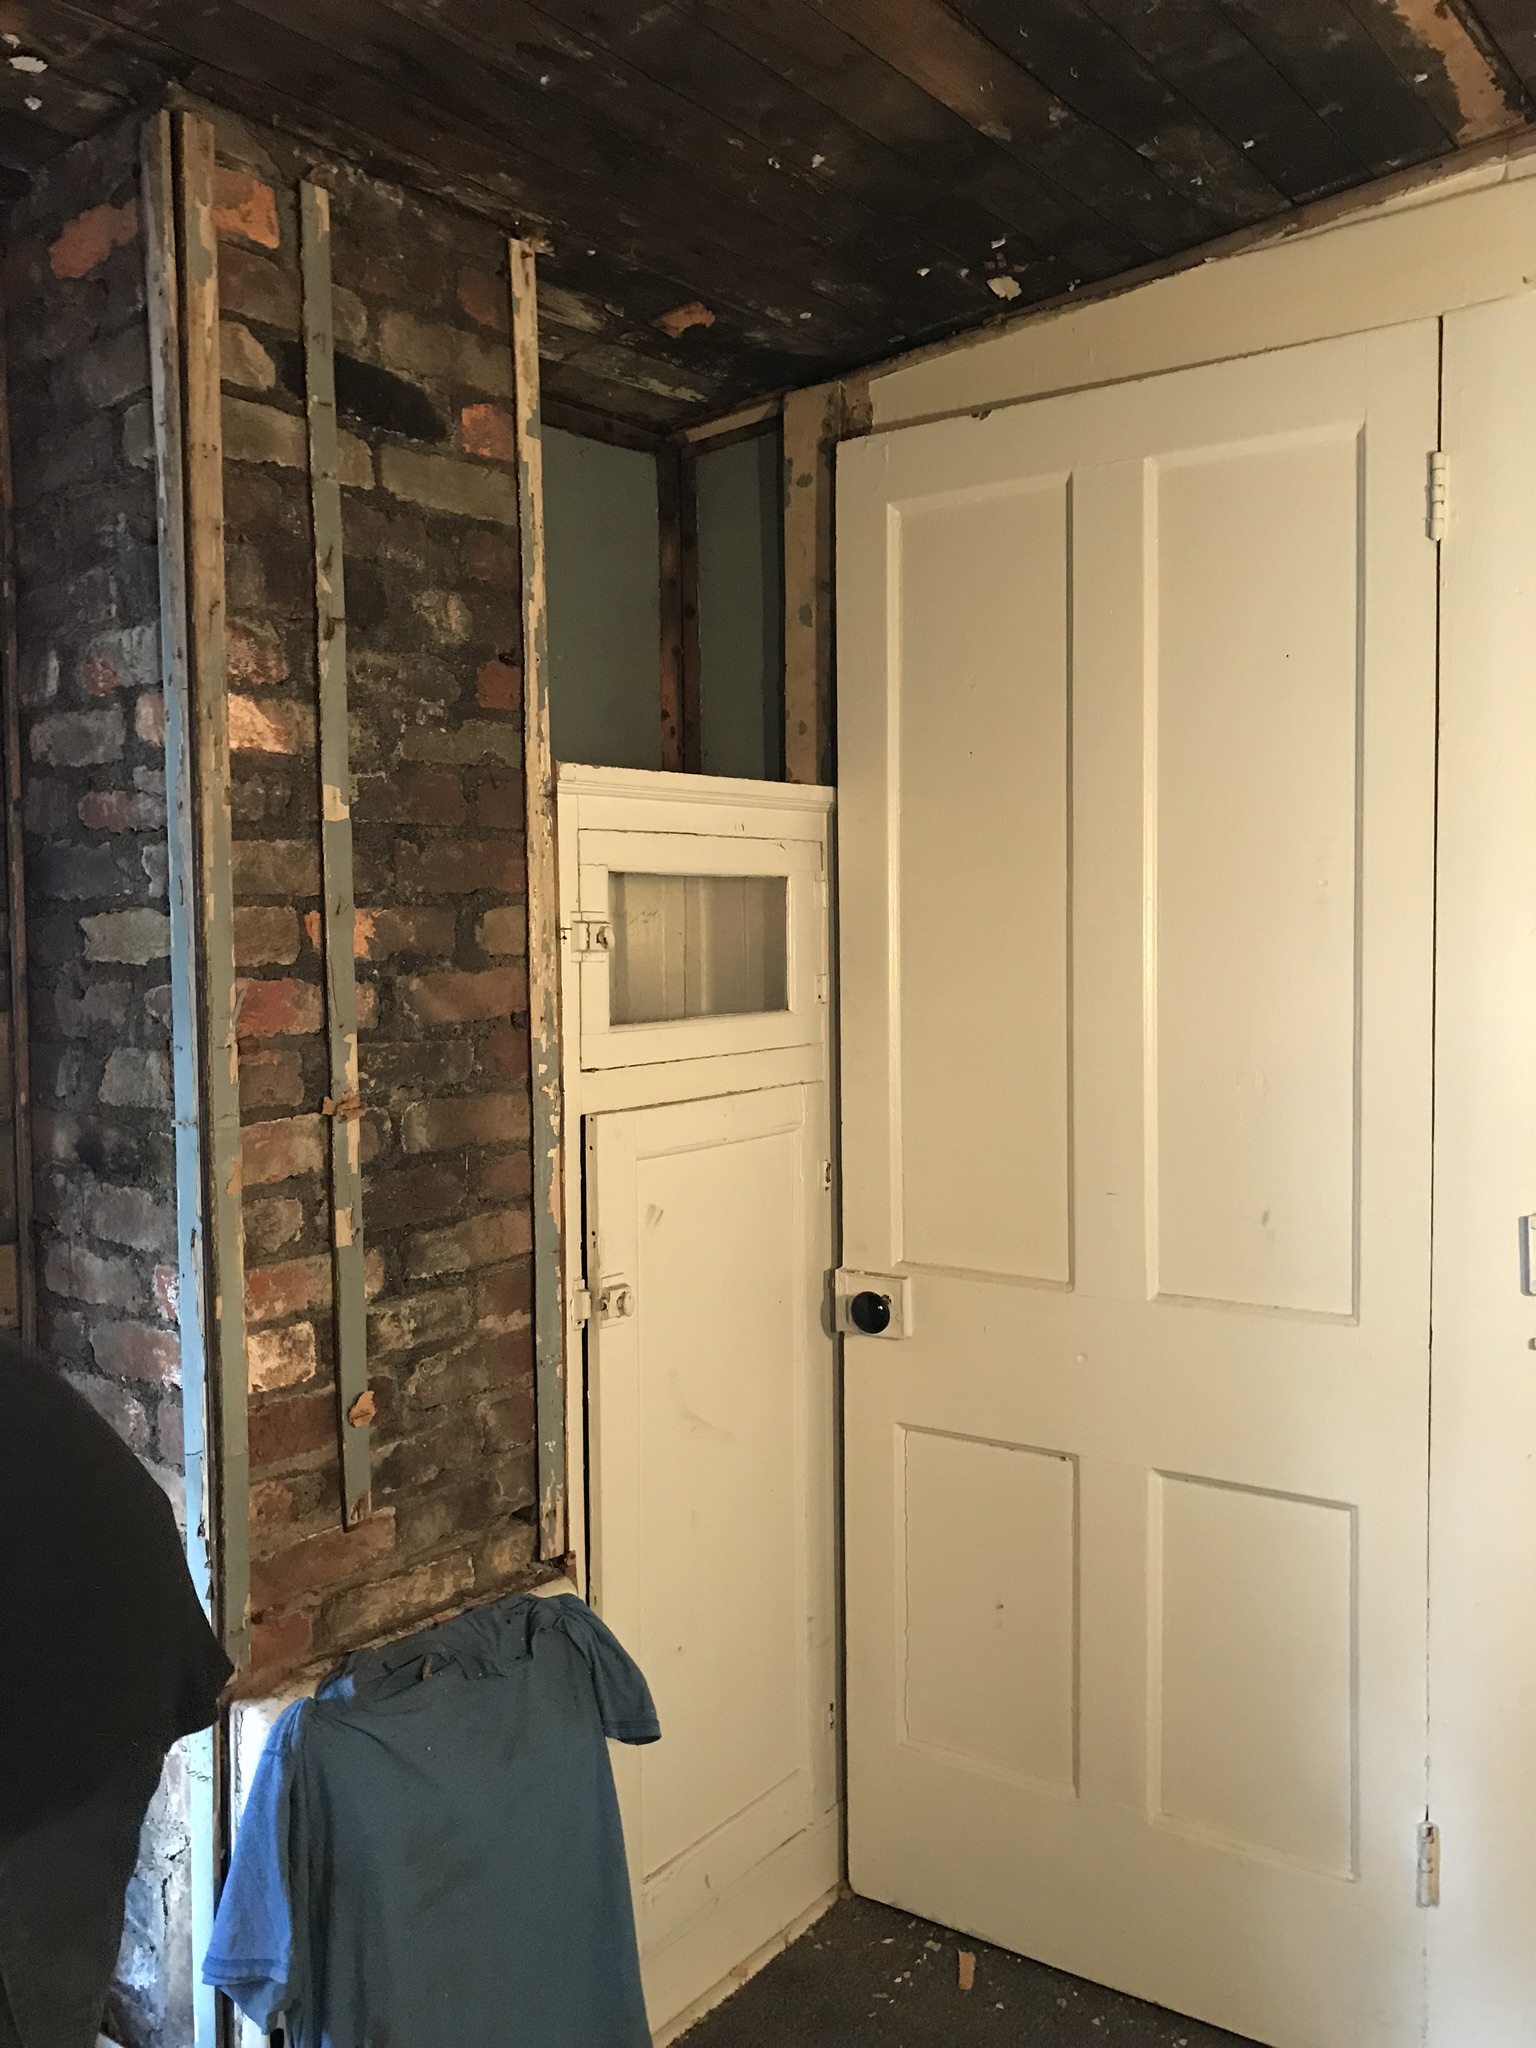
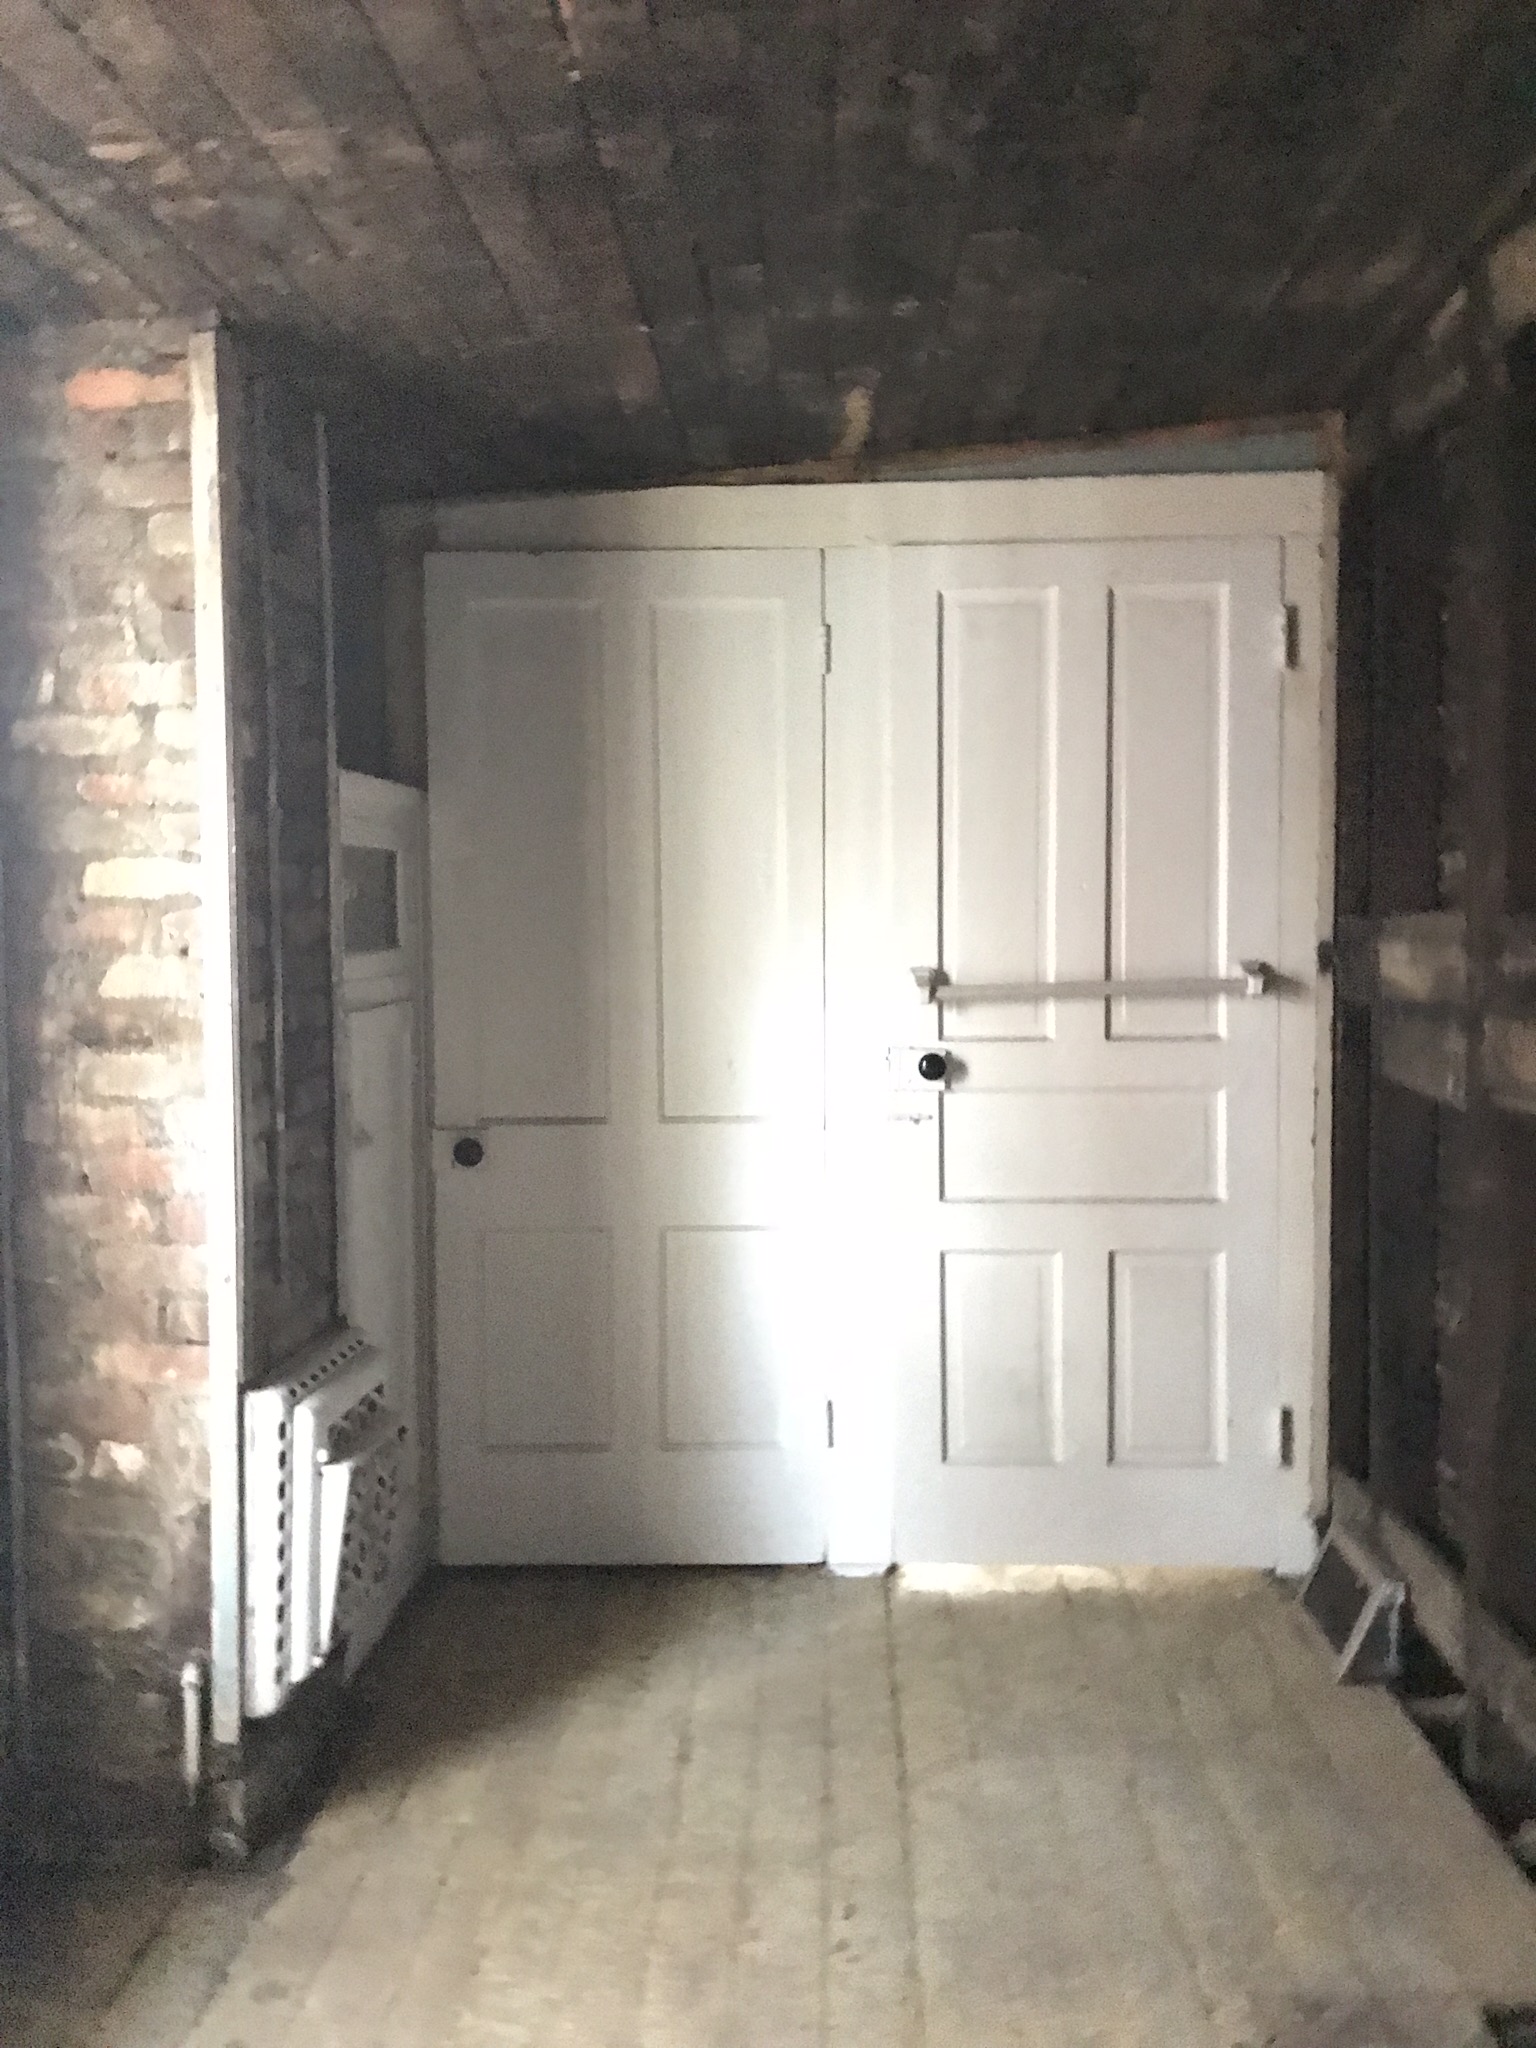
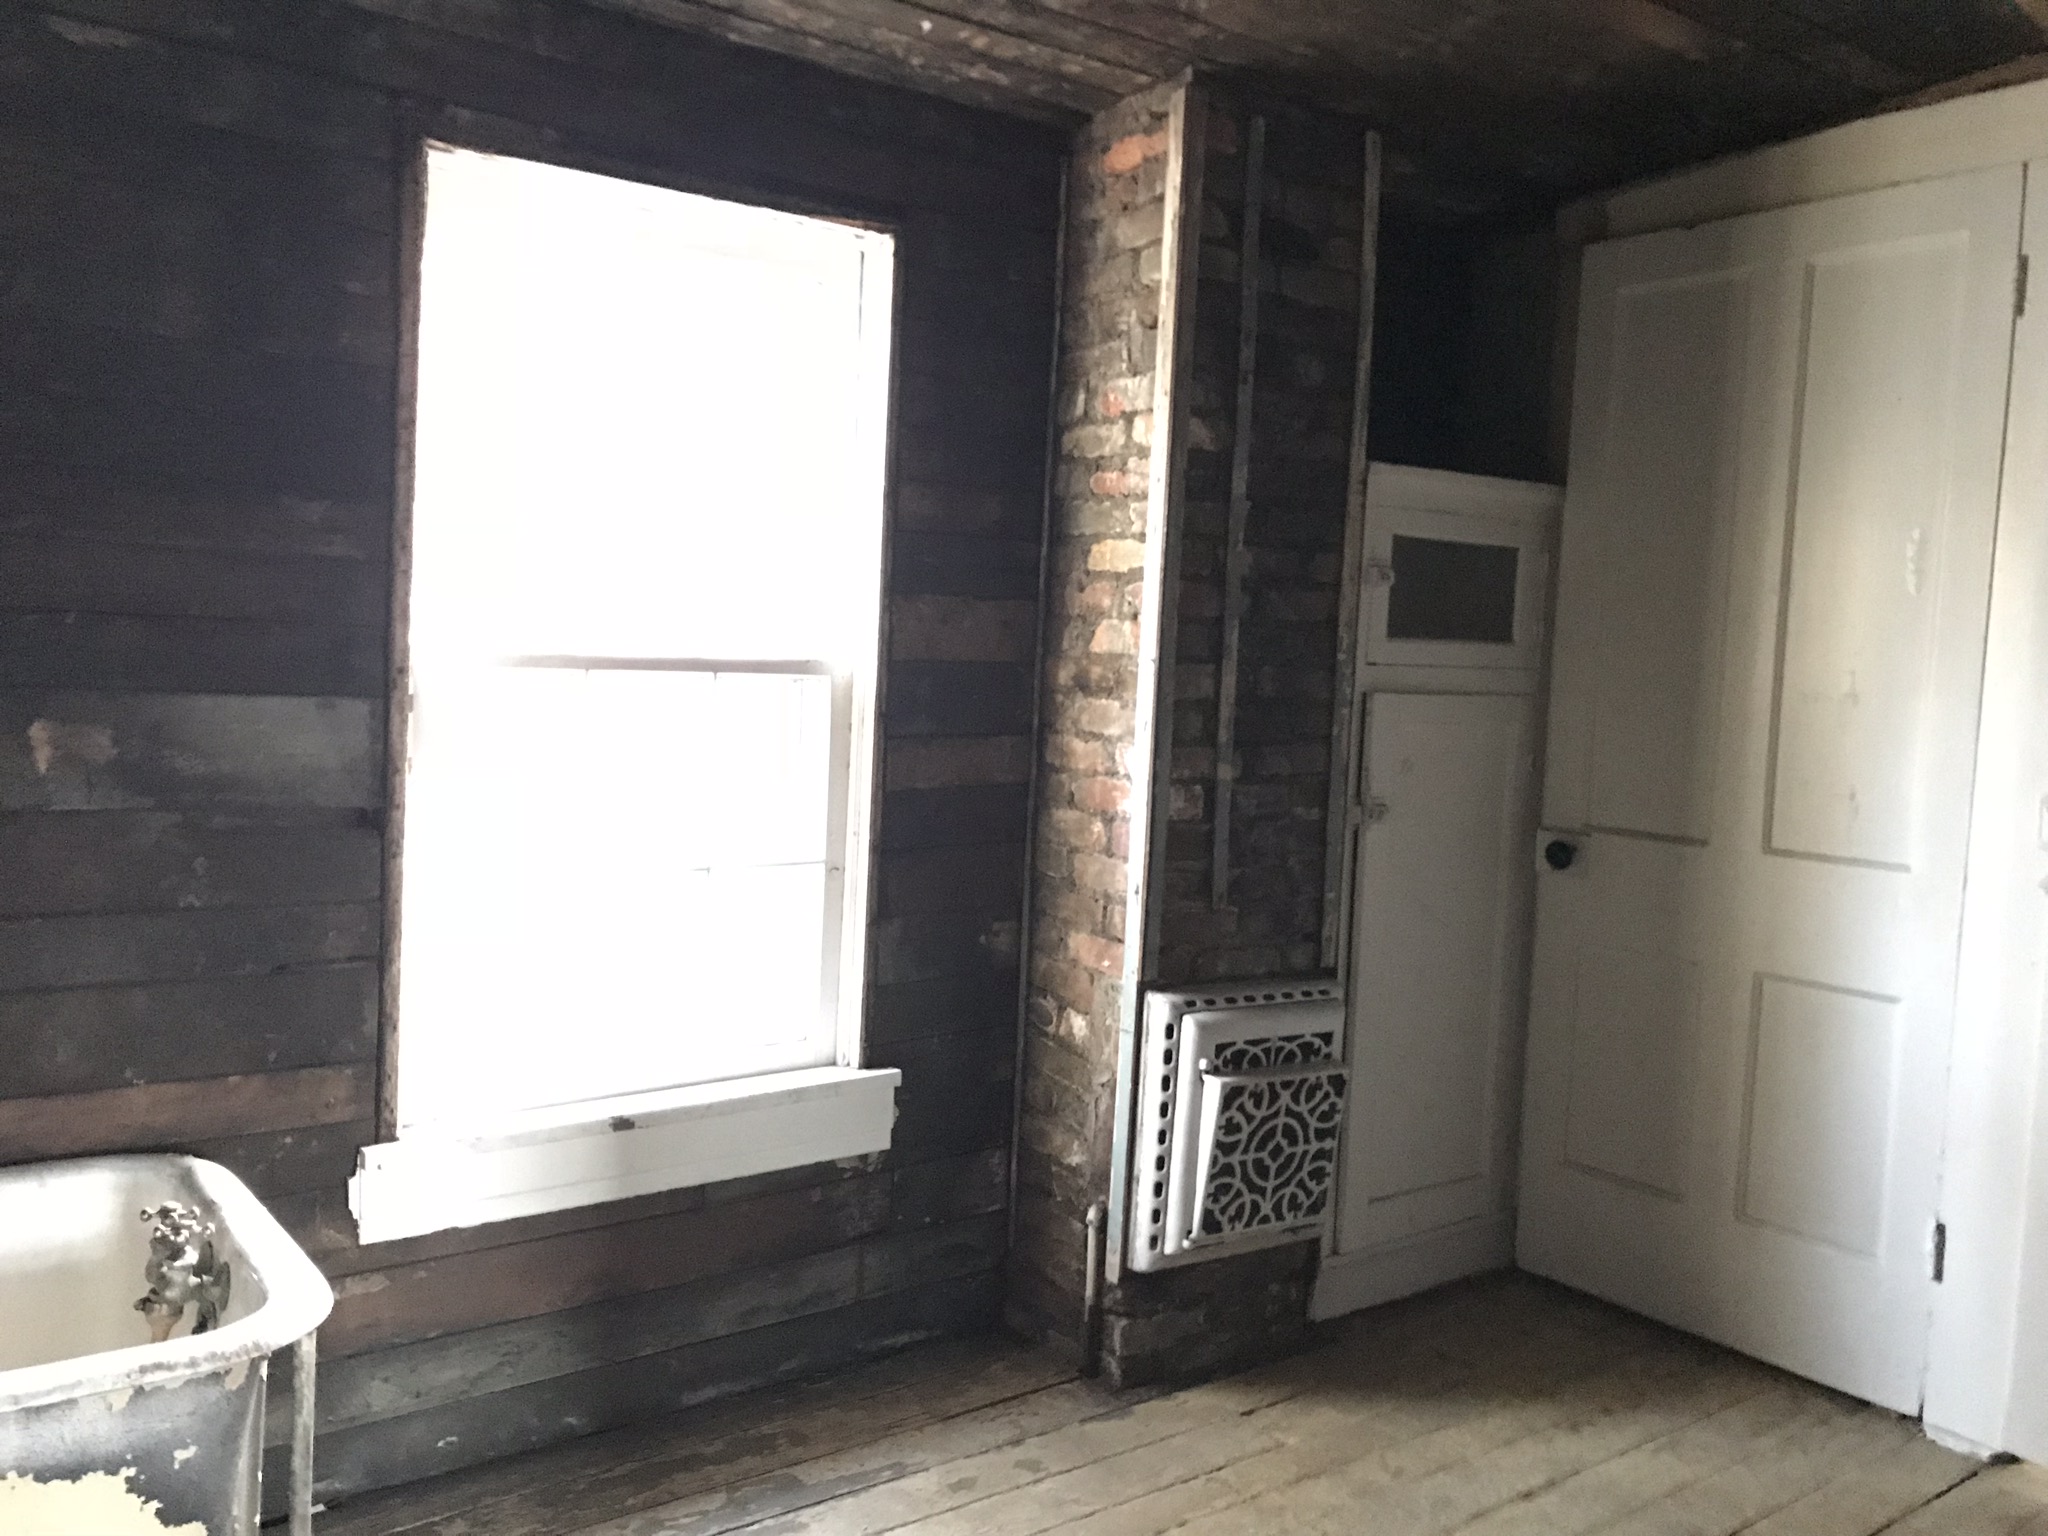
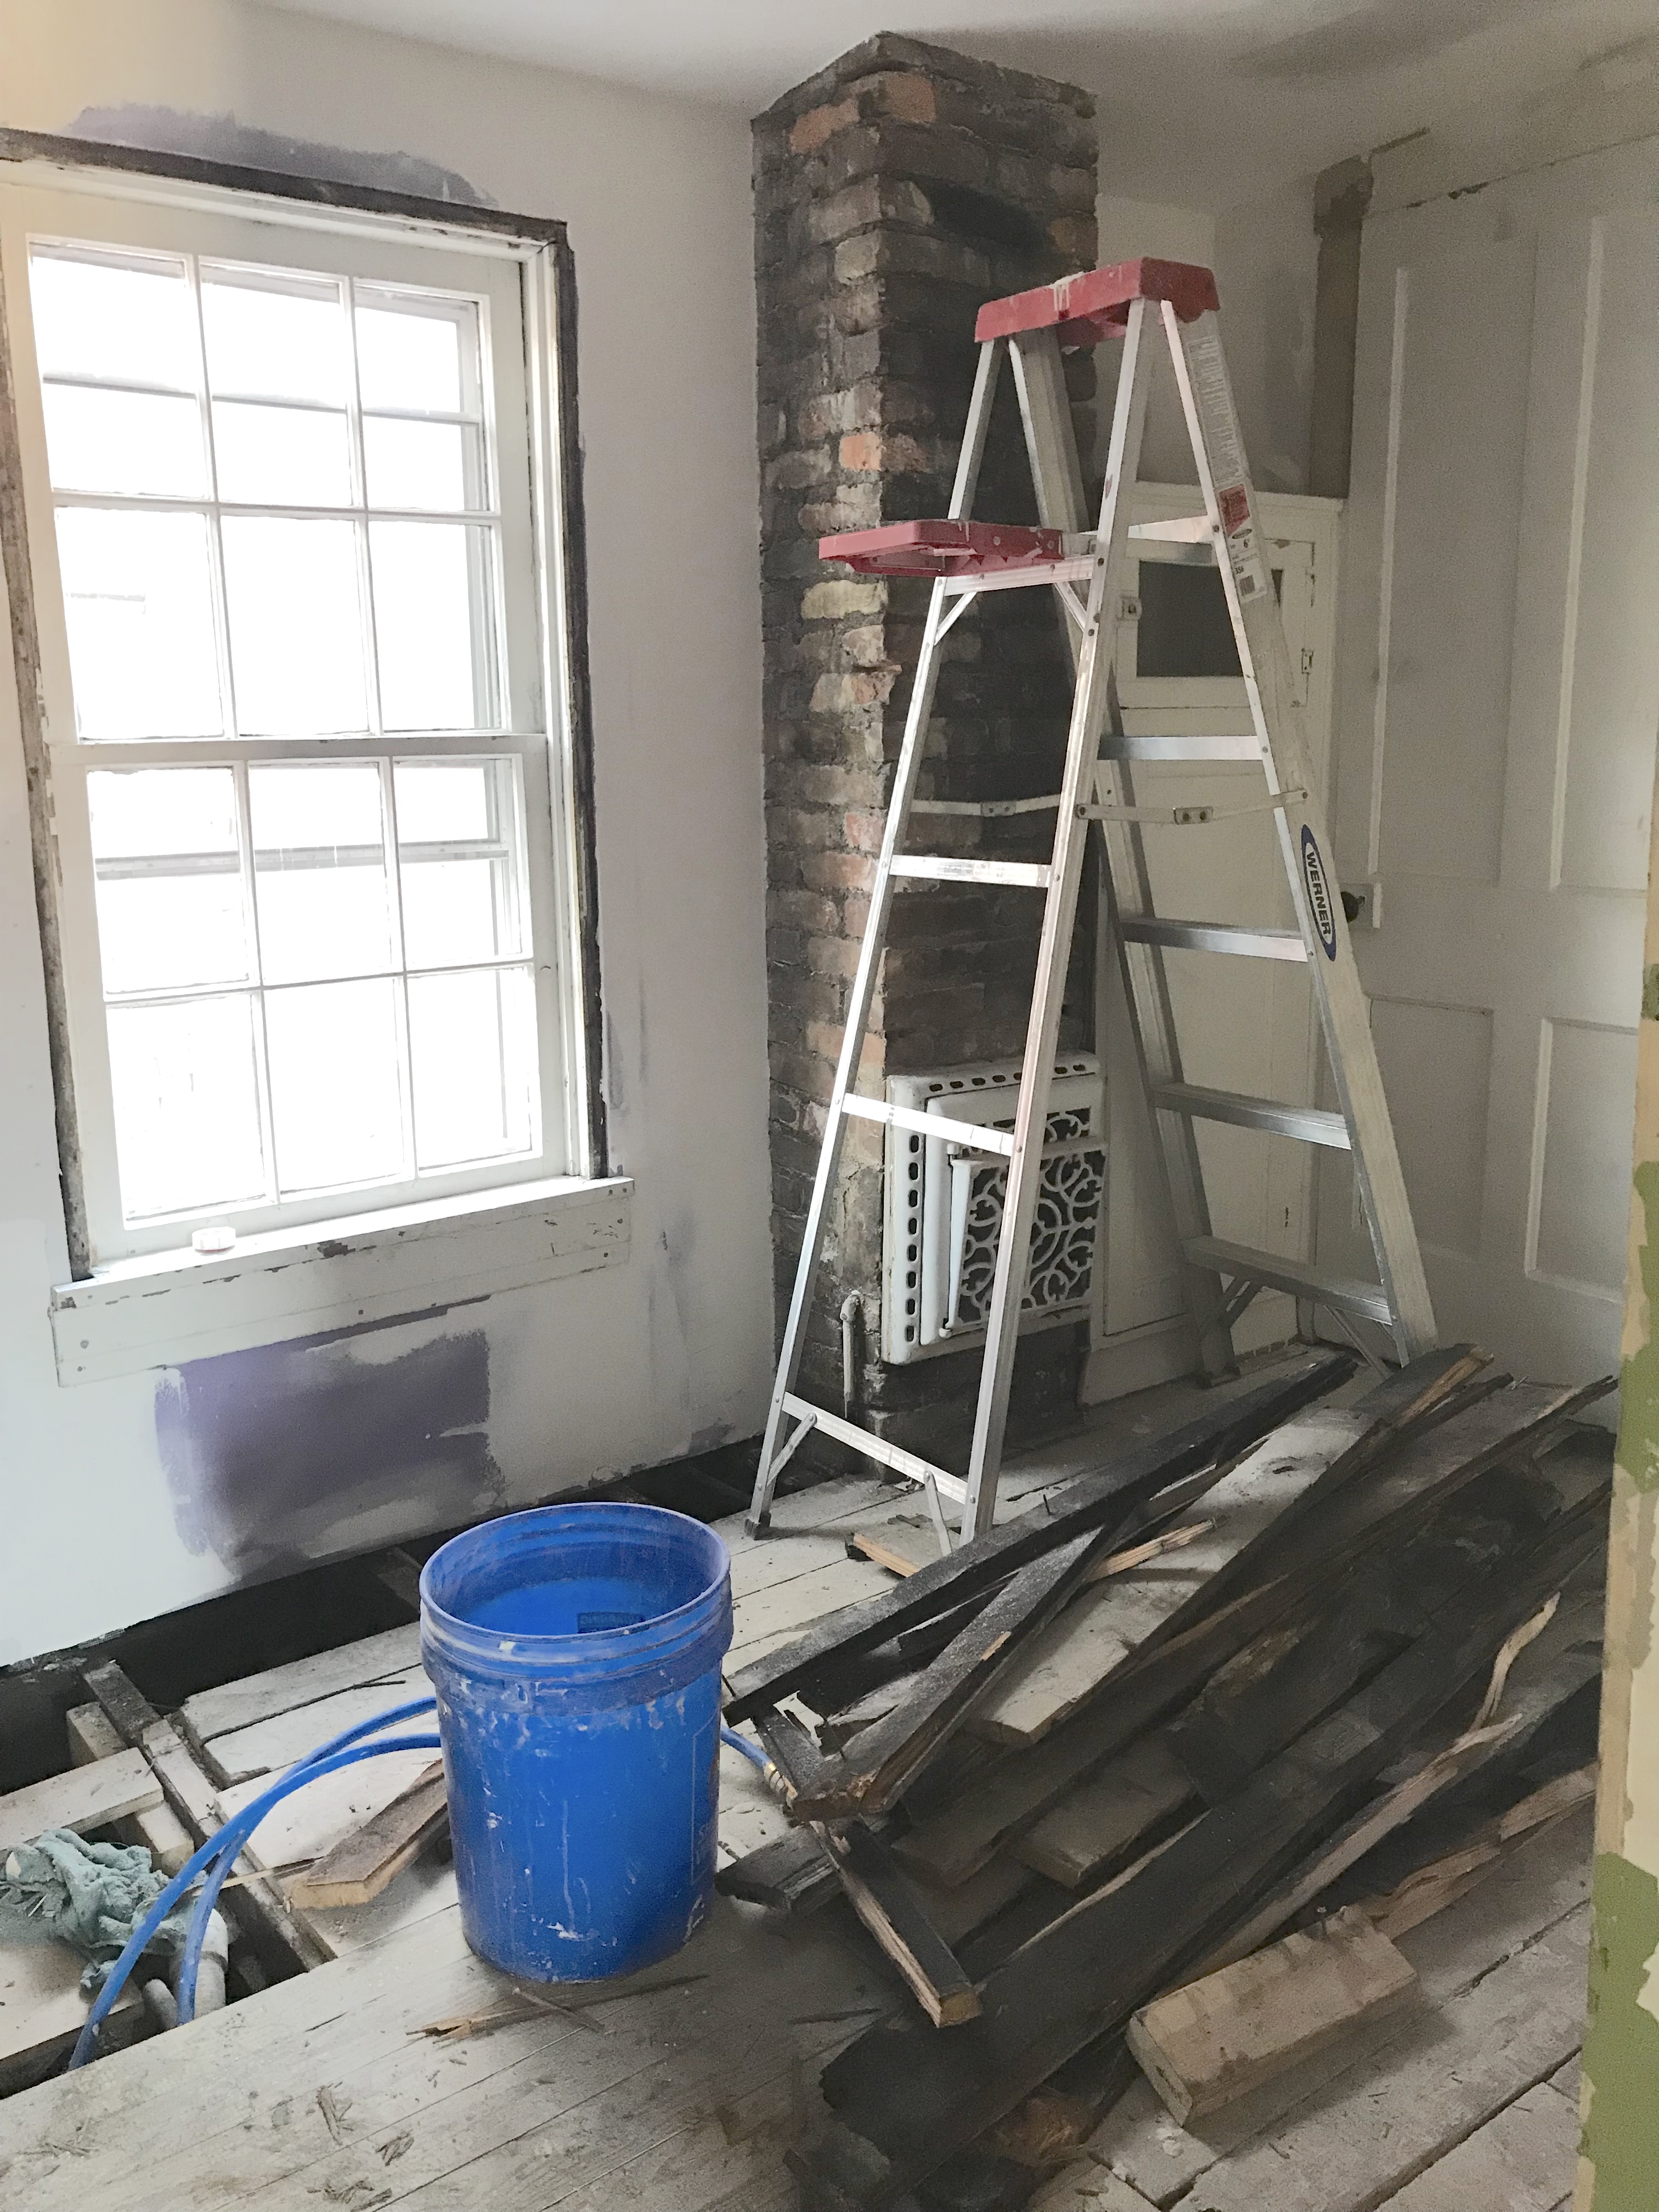
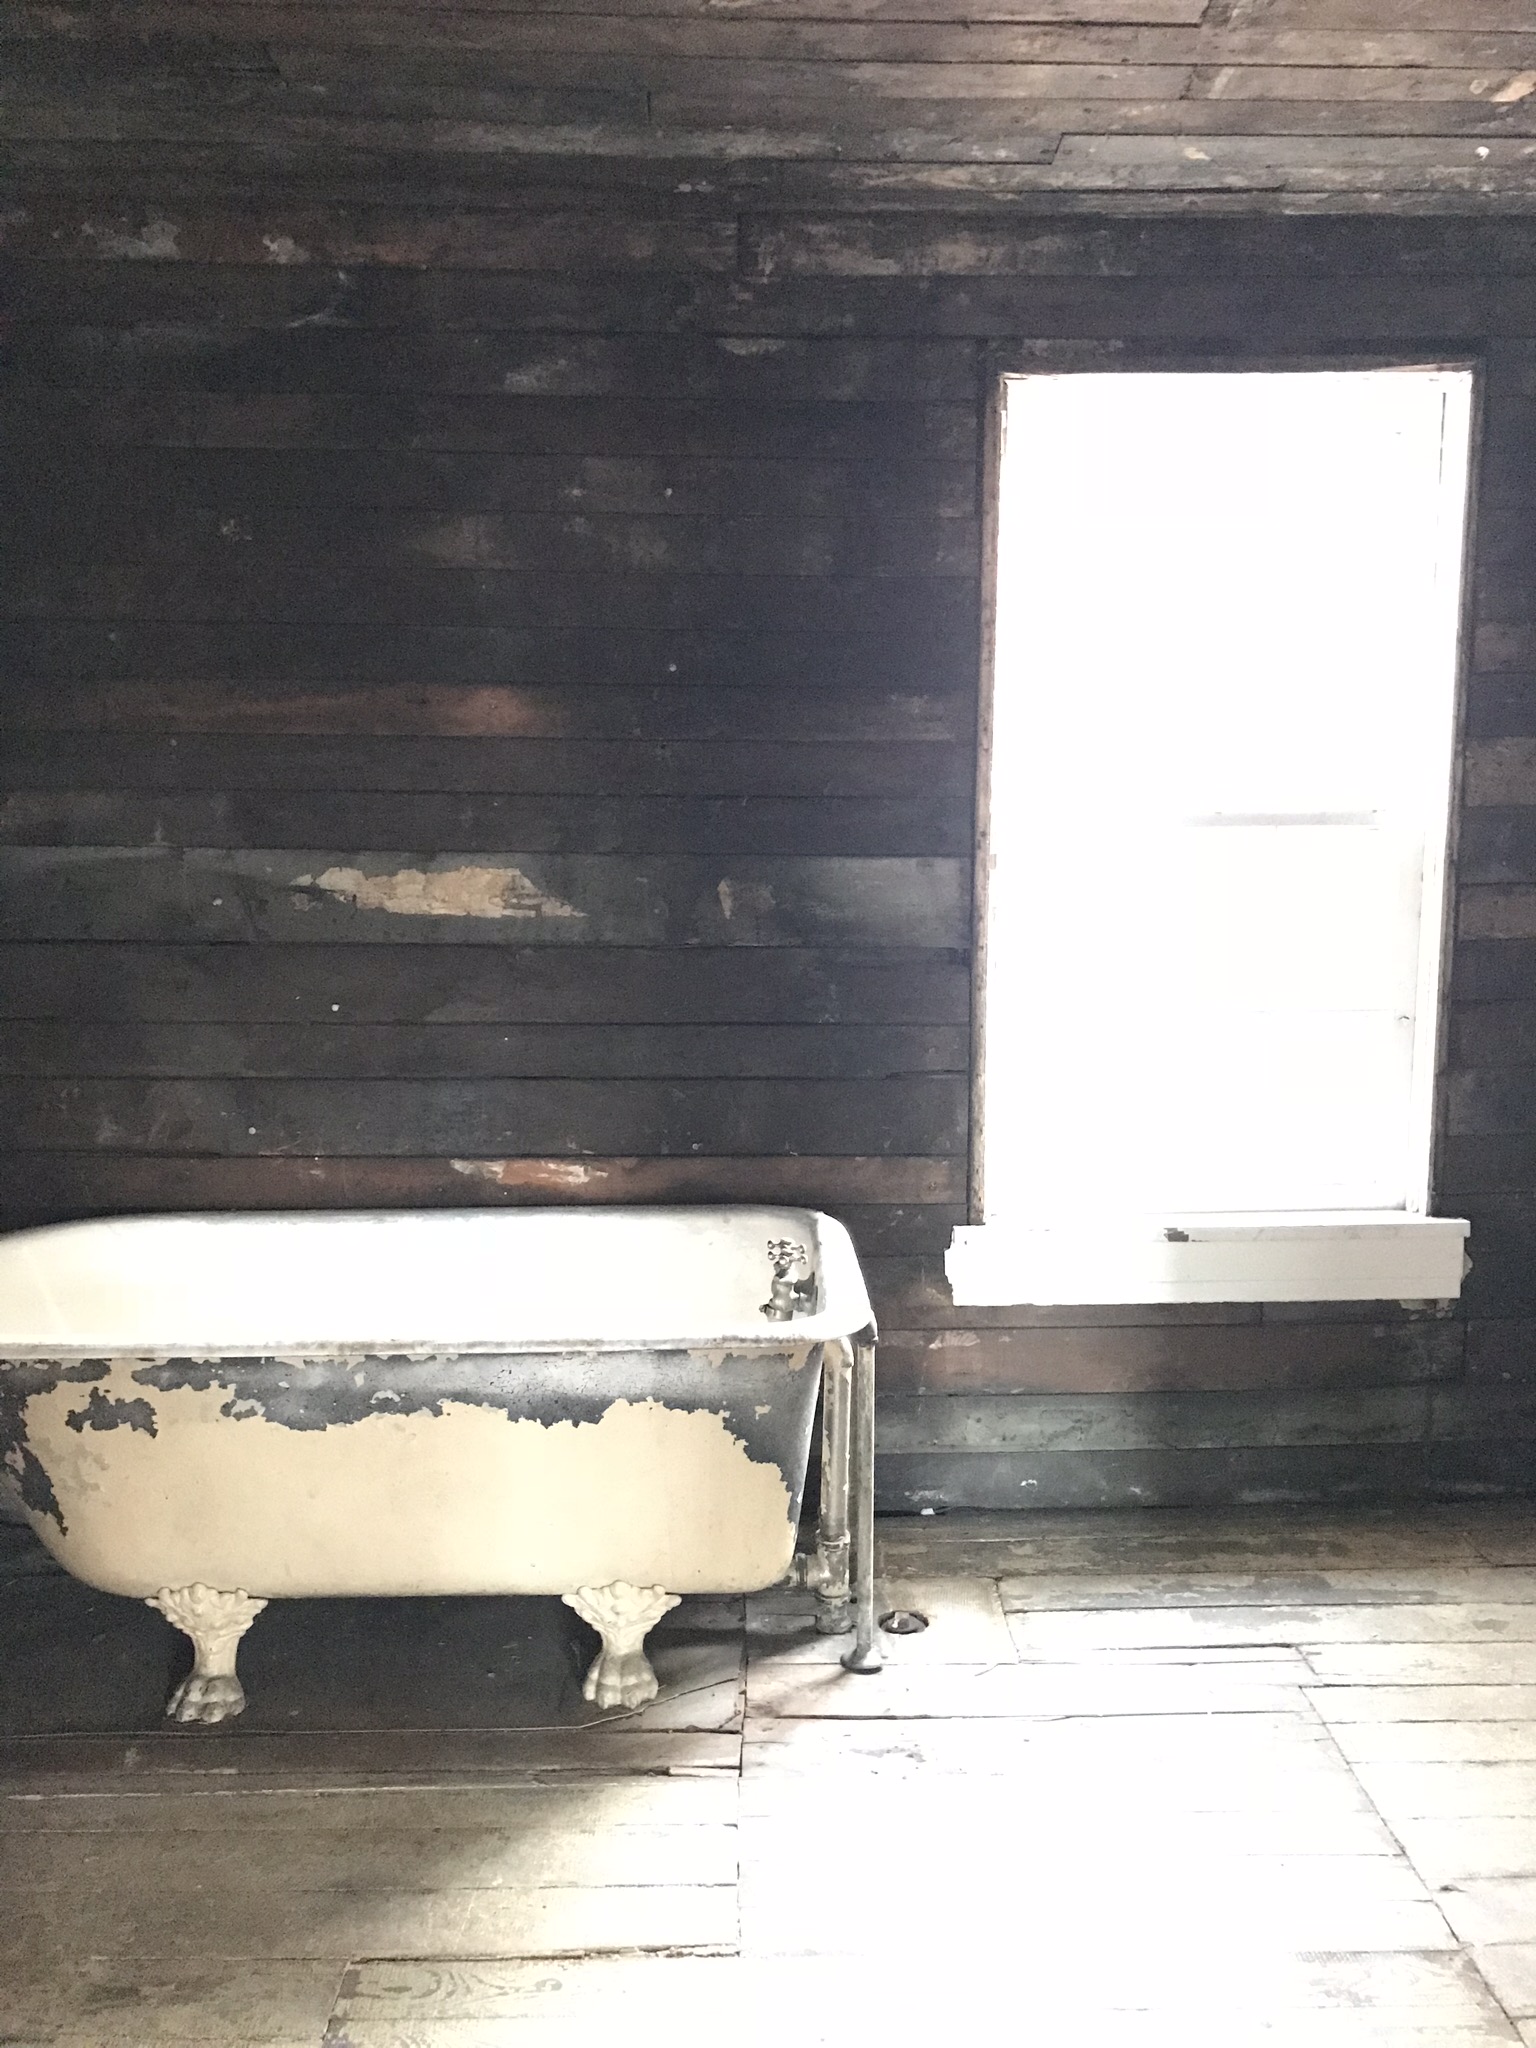
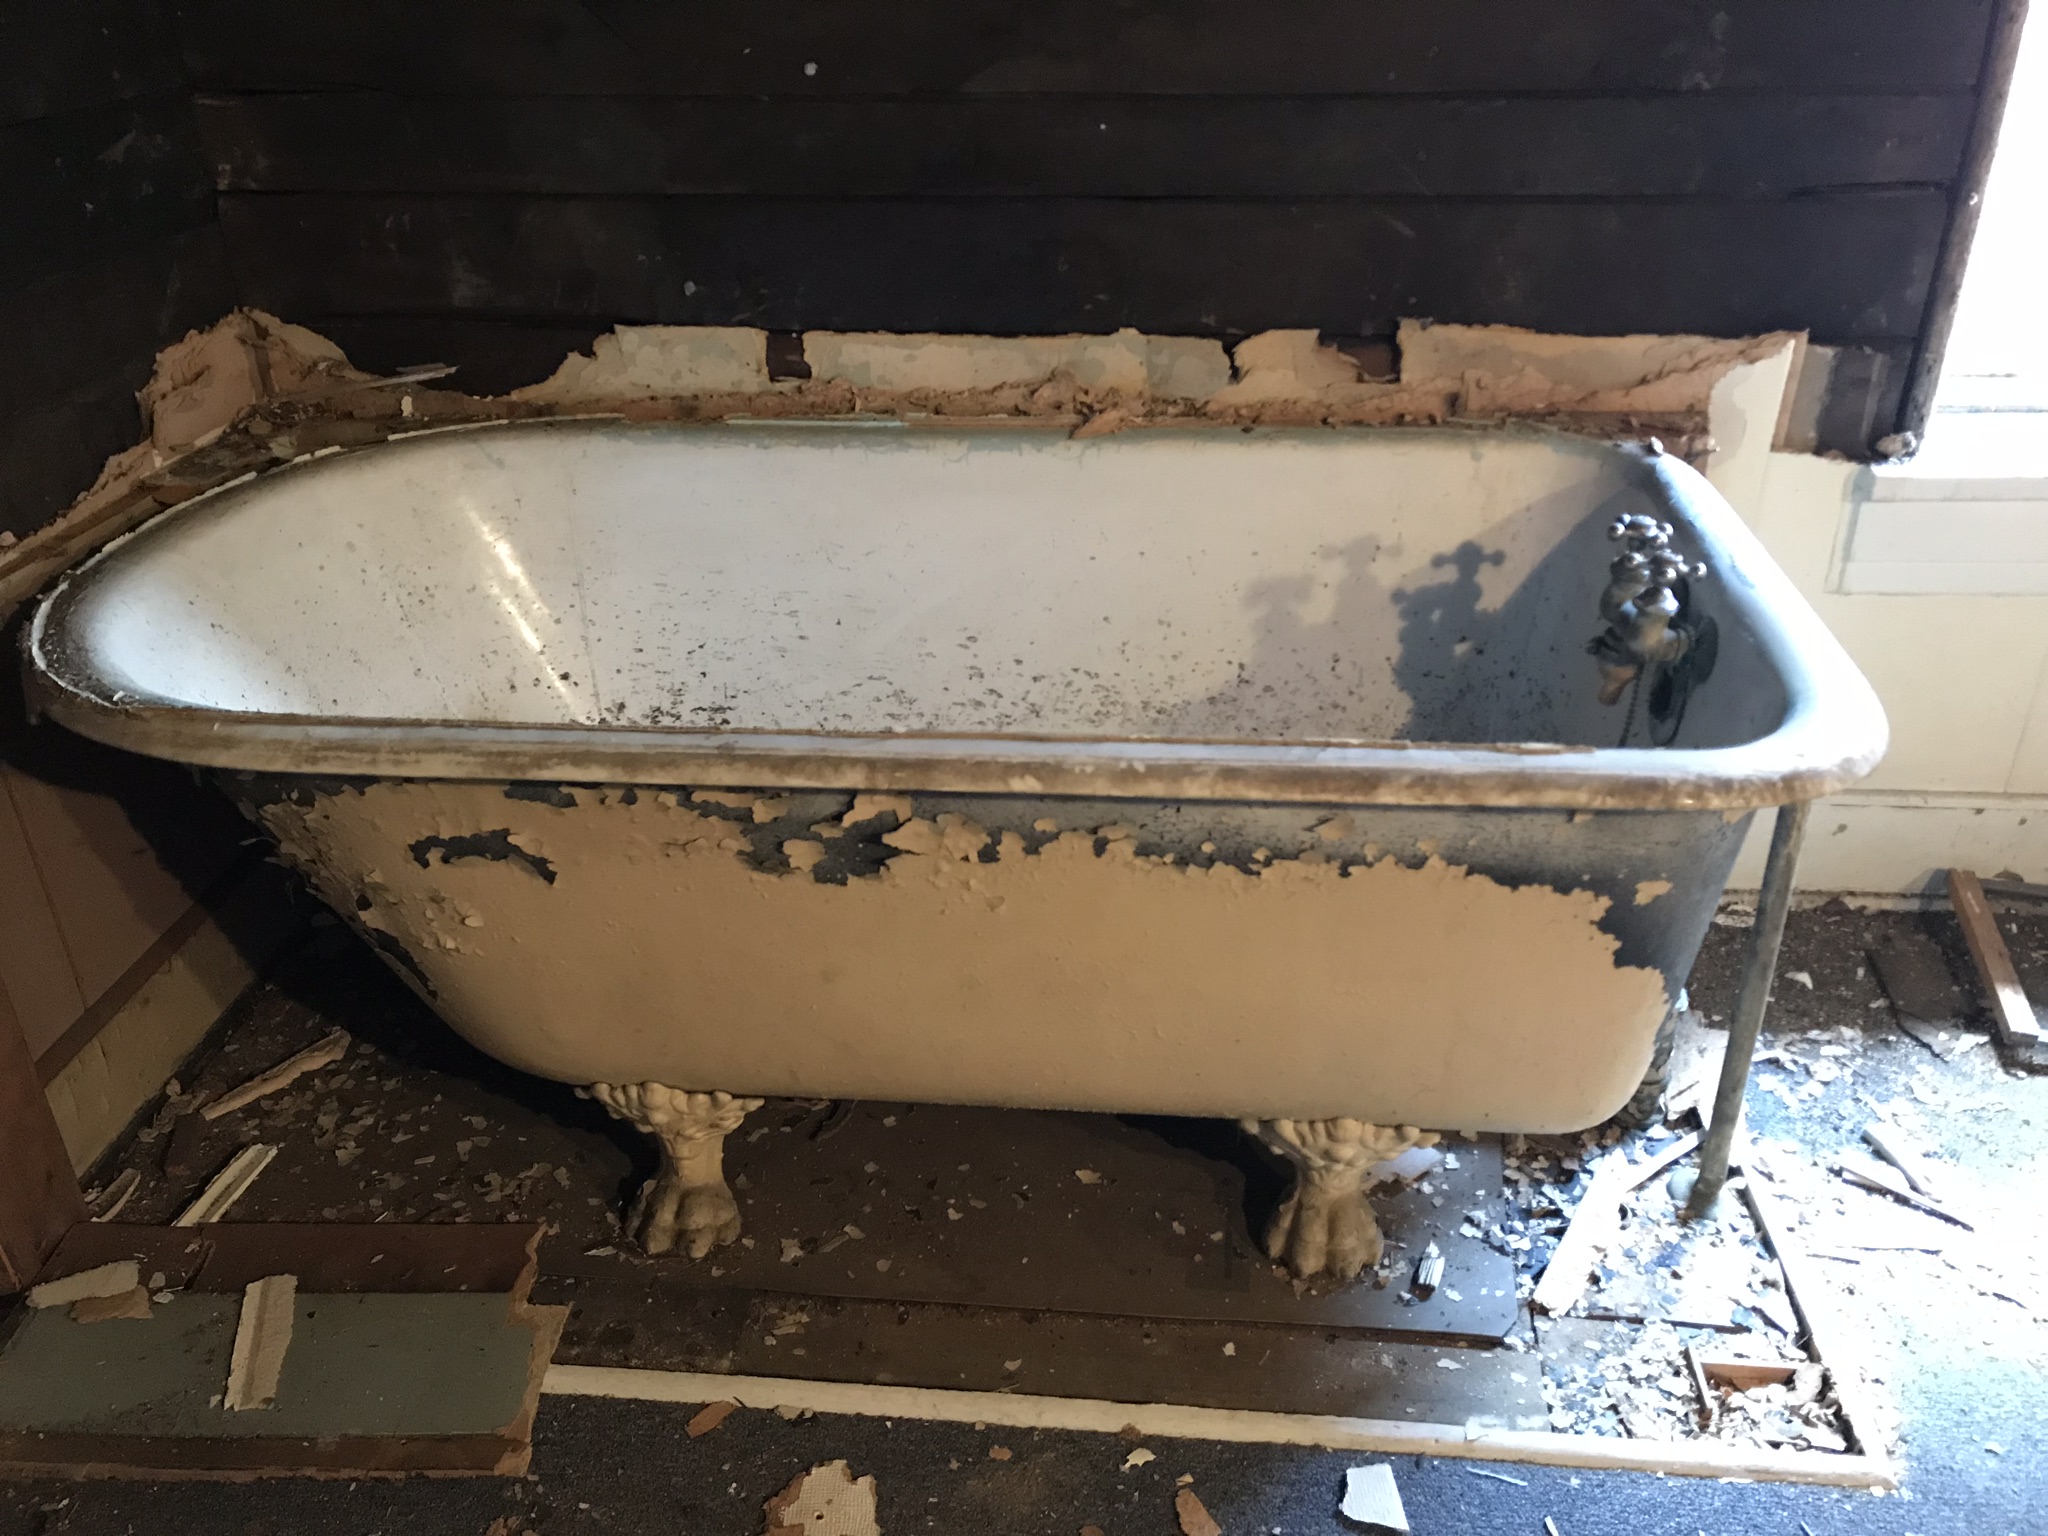
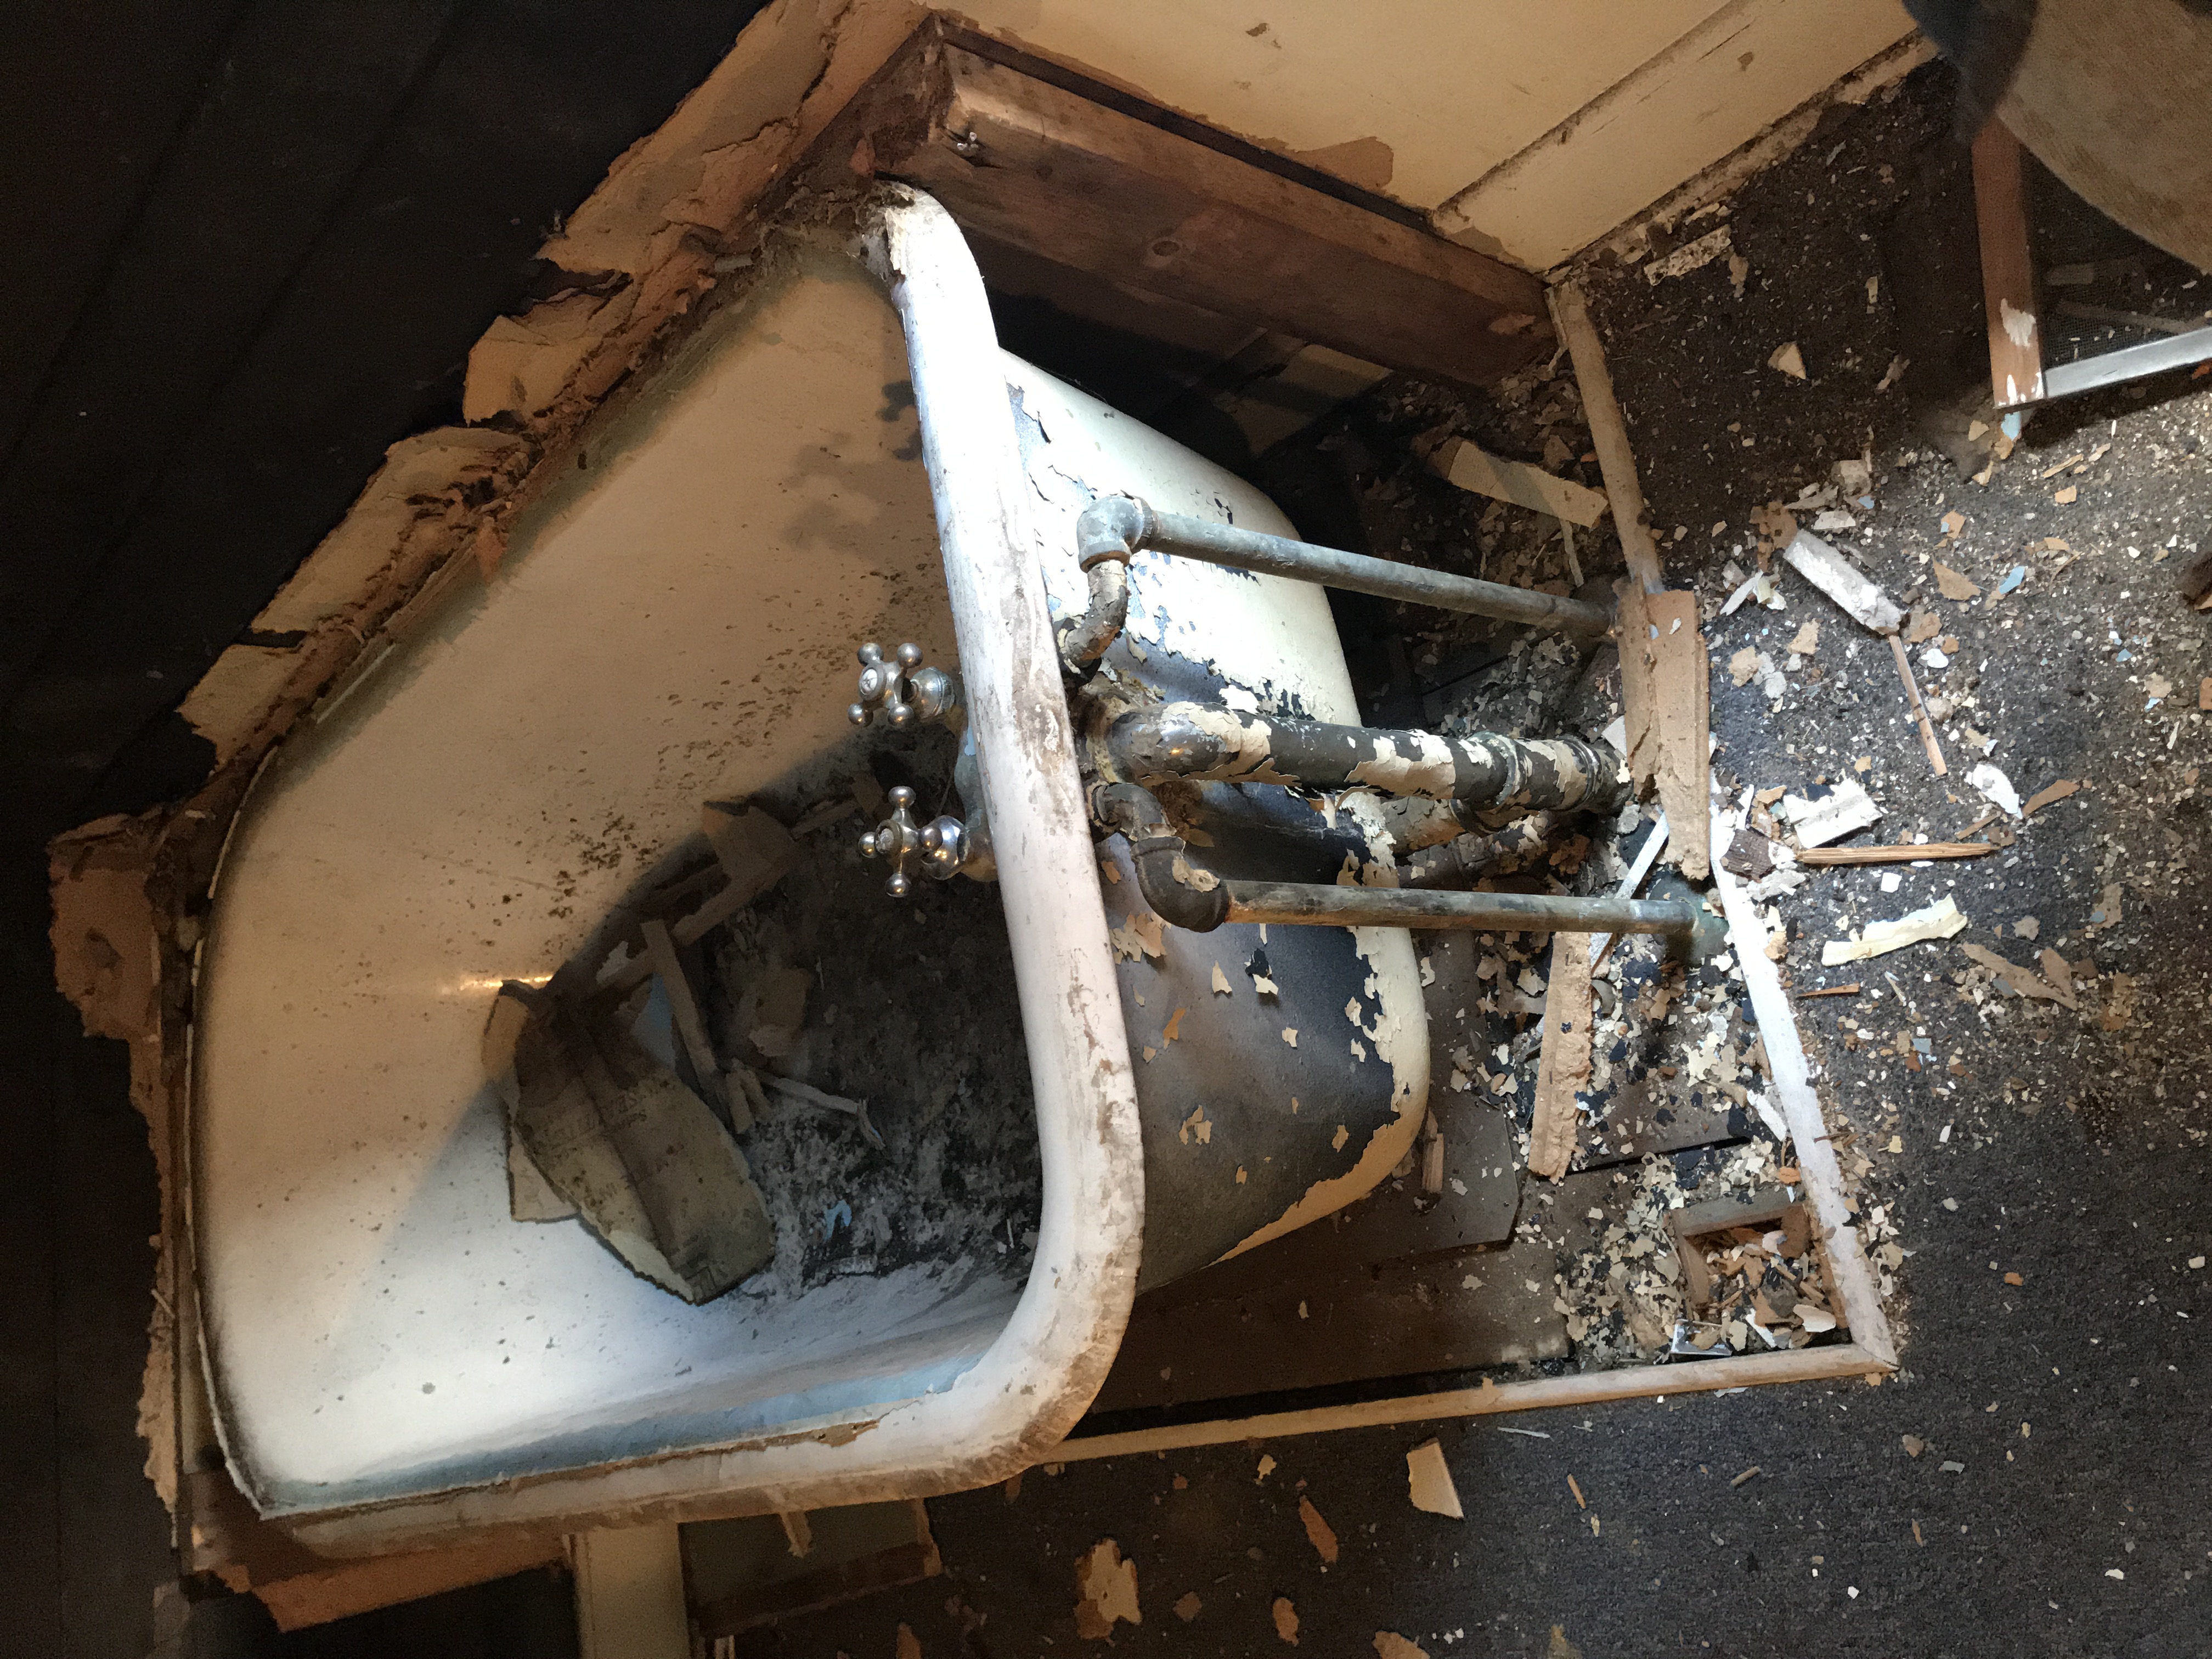
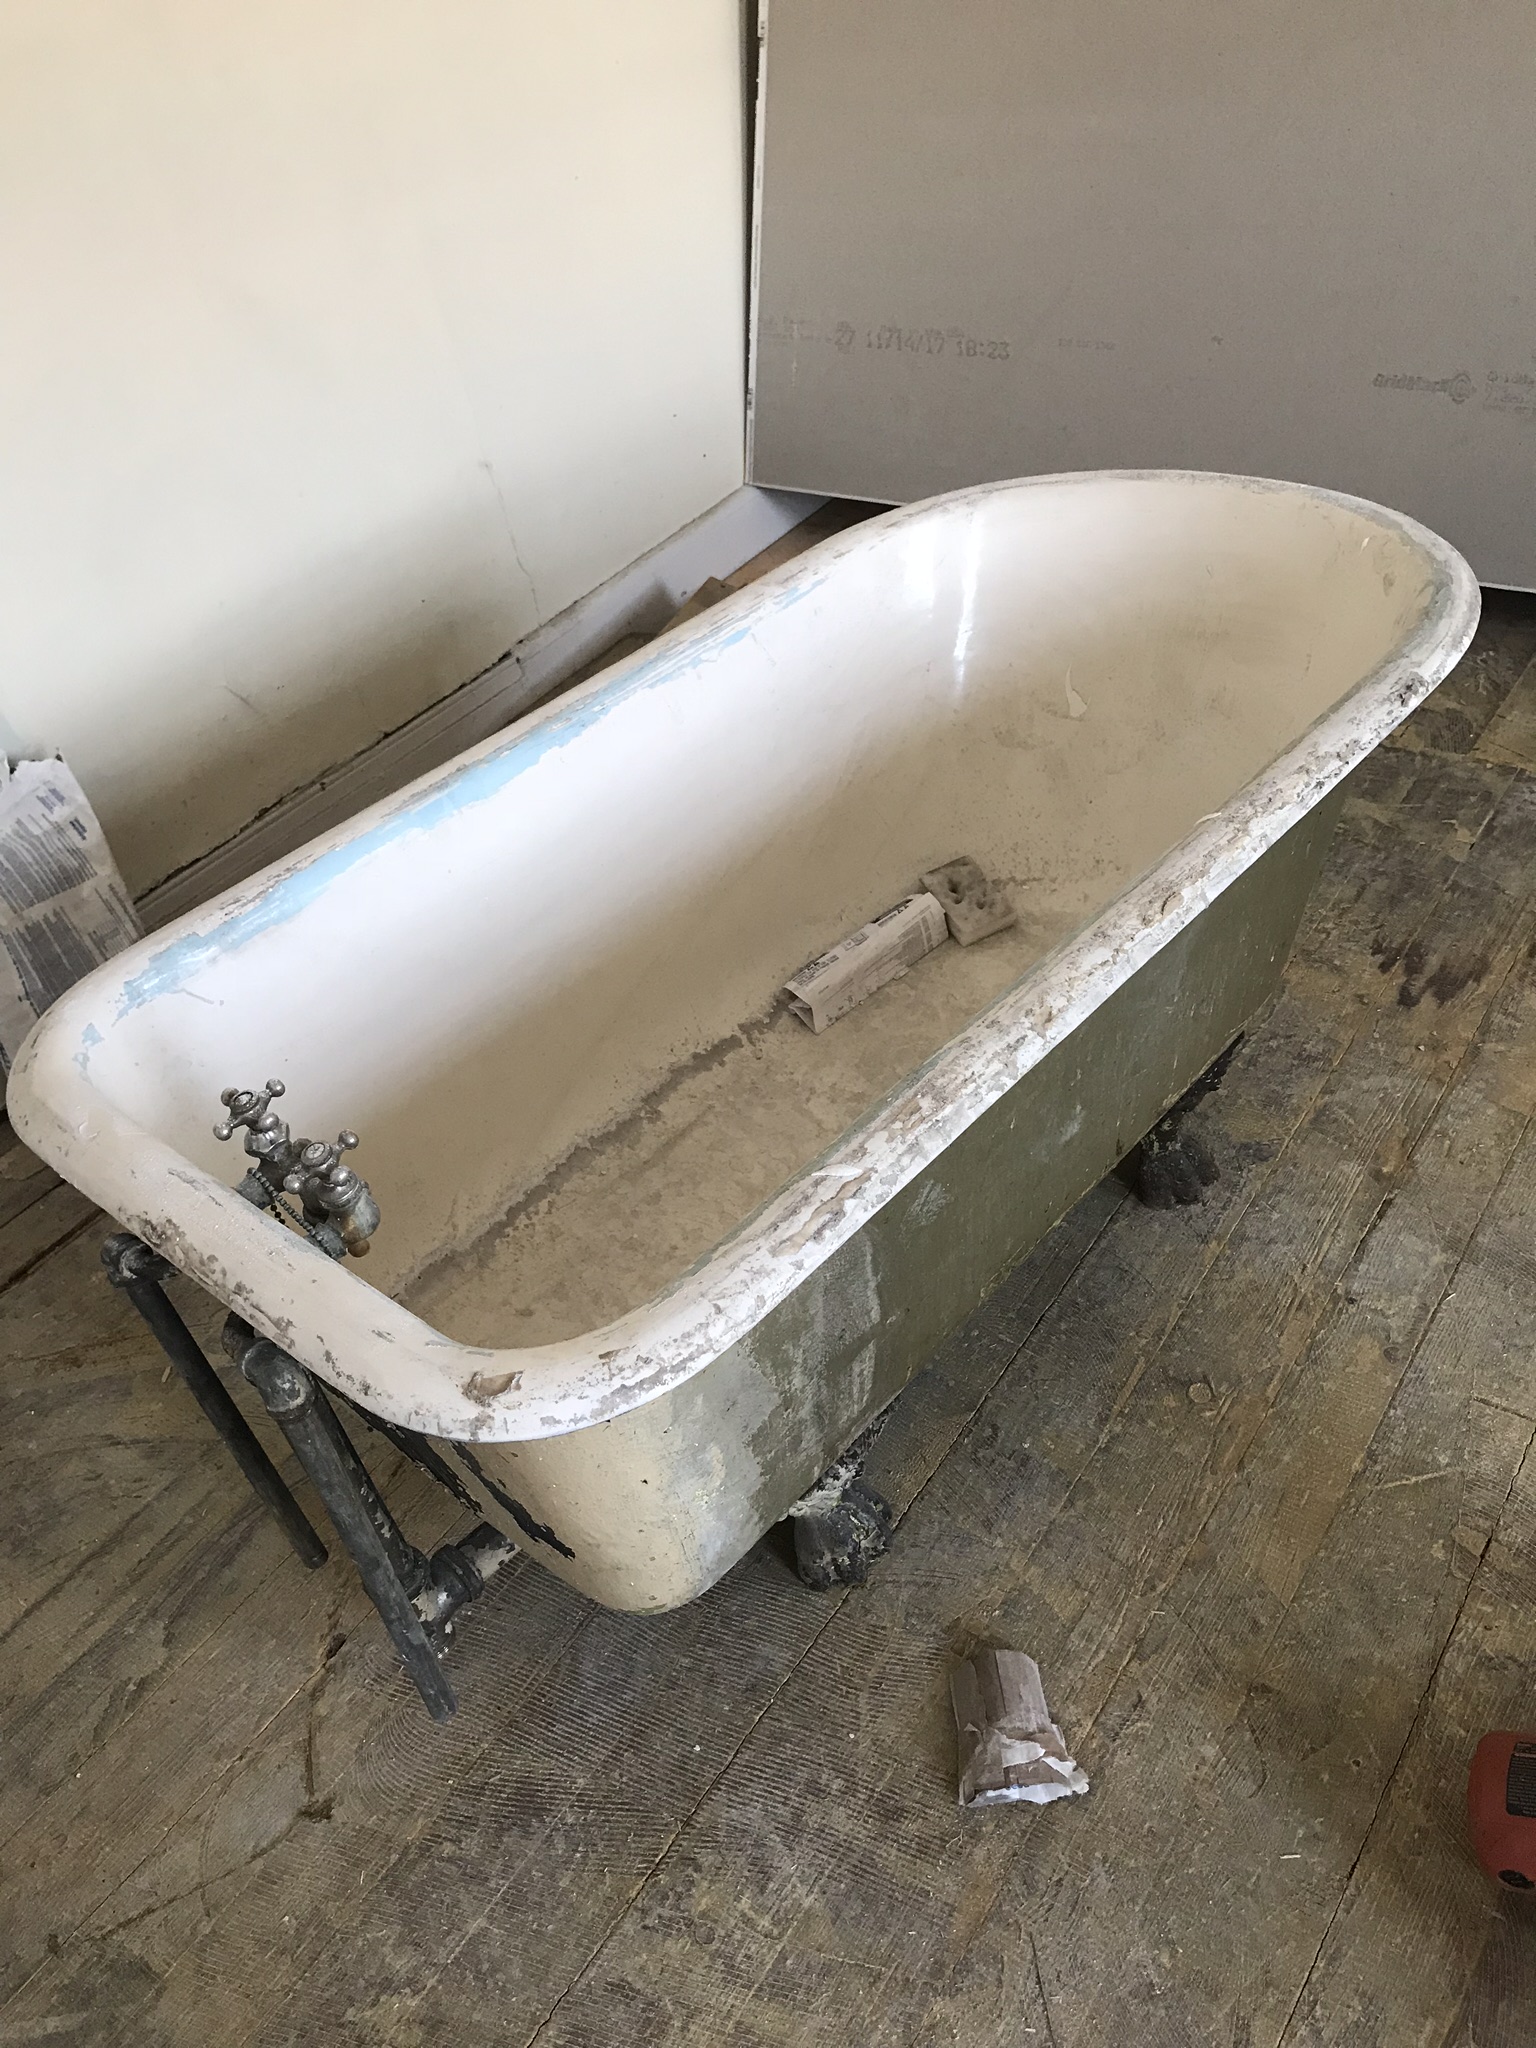
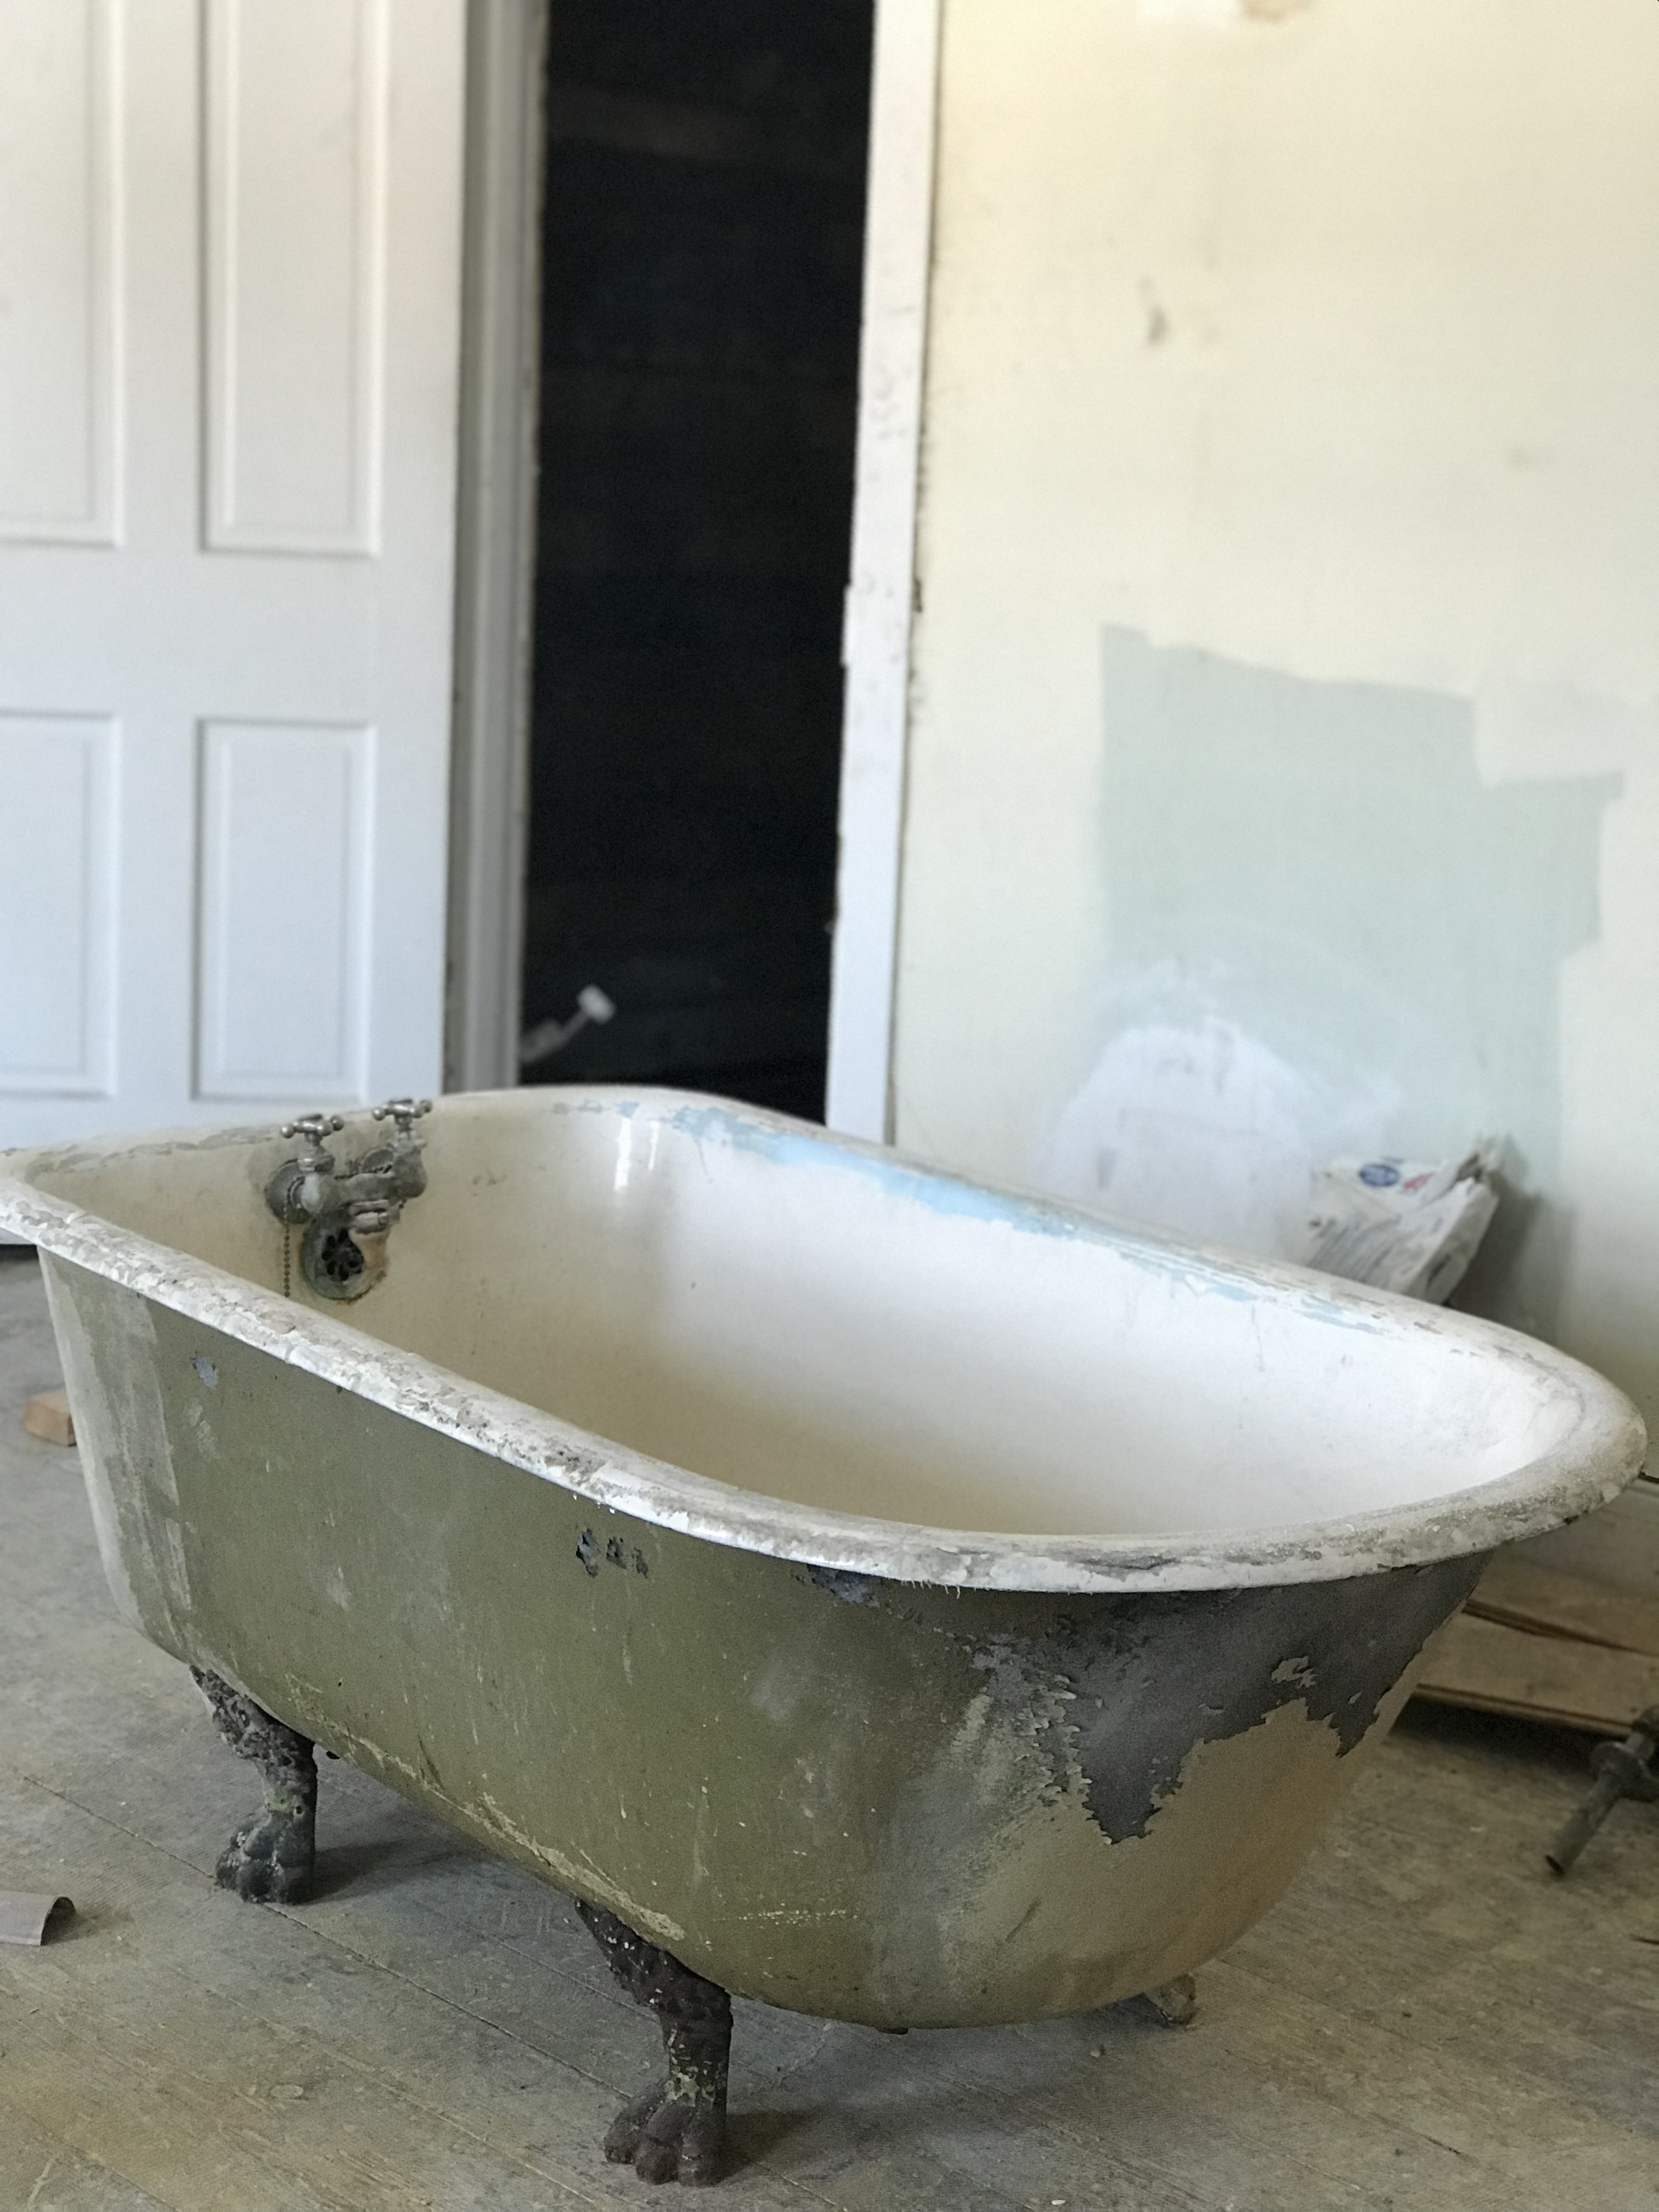
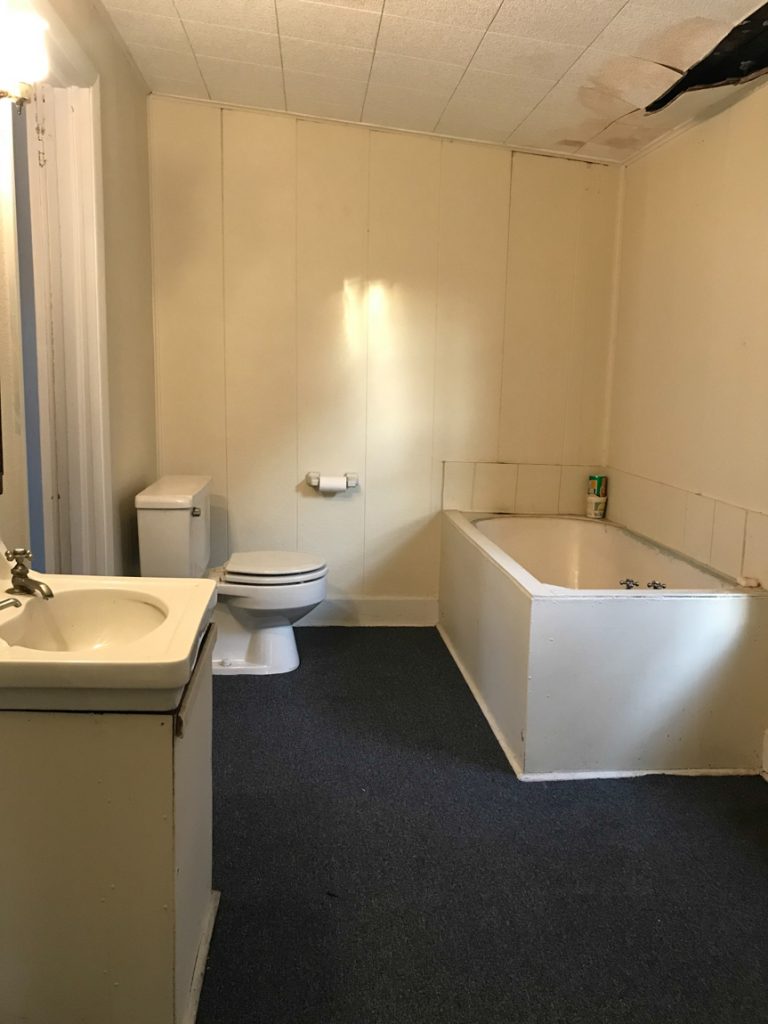
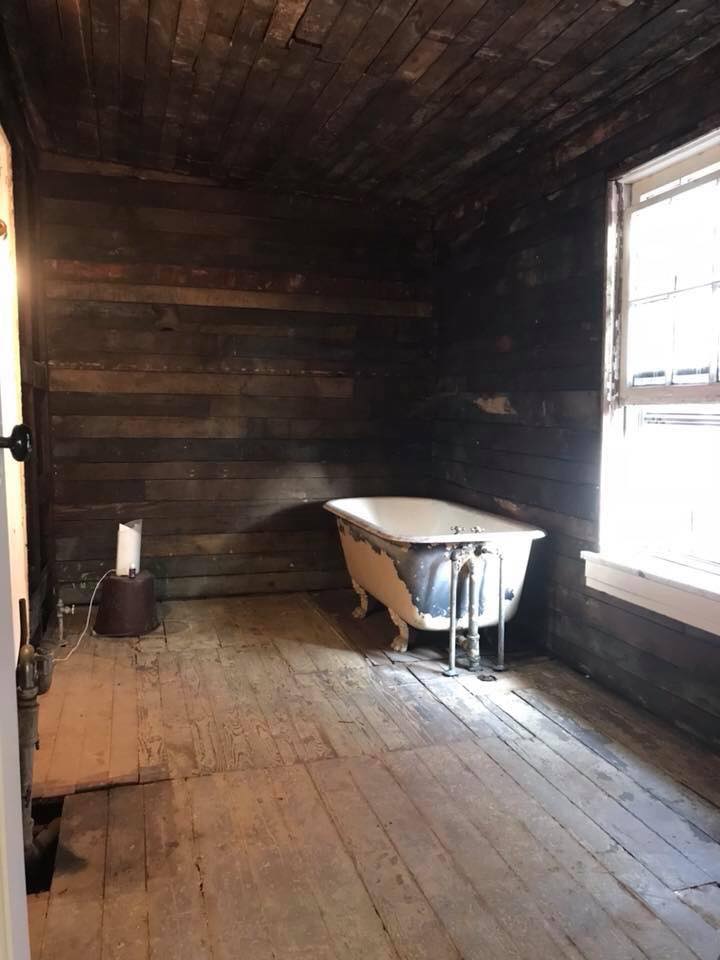
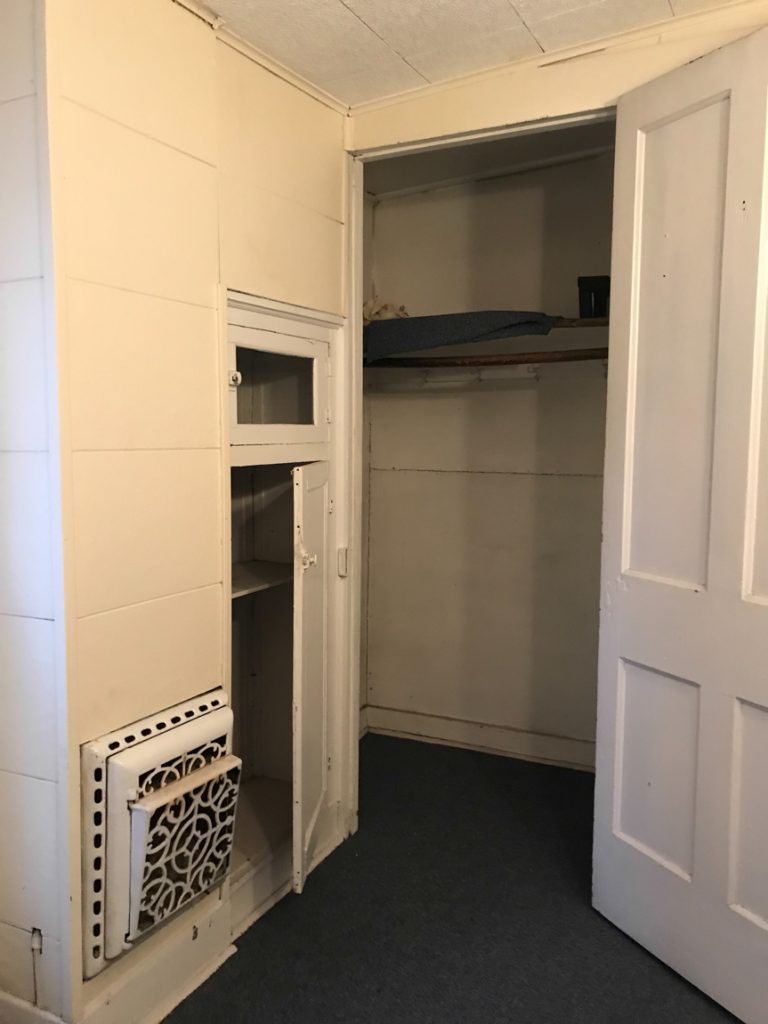
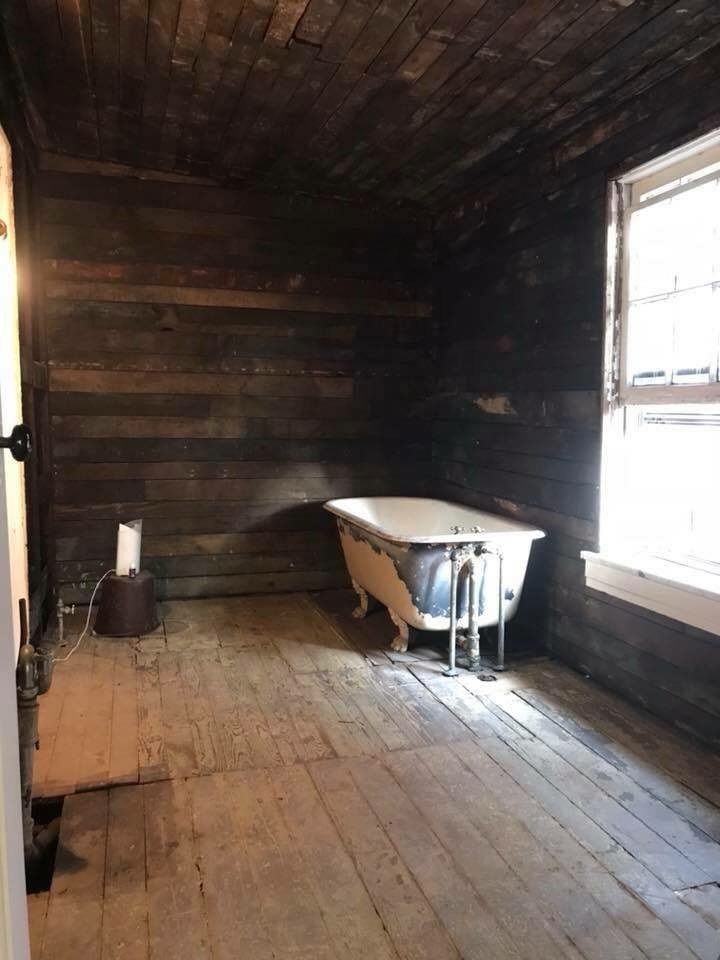
The before: A caving ceiling was the first project to receive some attention. There were paneled walls, boxed in pedestal sink and clawfoot tub (didn’t know that until we started the demo), blue industrial carpeting…the best plan of action was to gut it. 

DIY craft studio // workshop - before room makeover @diyshowoff

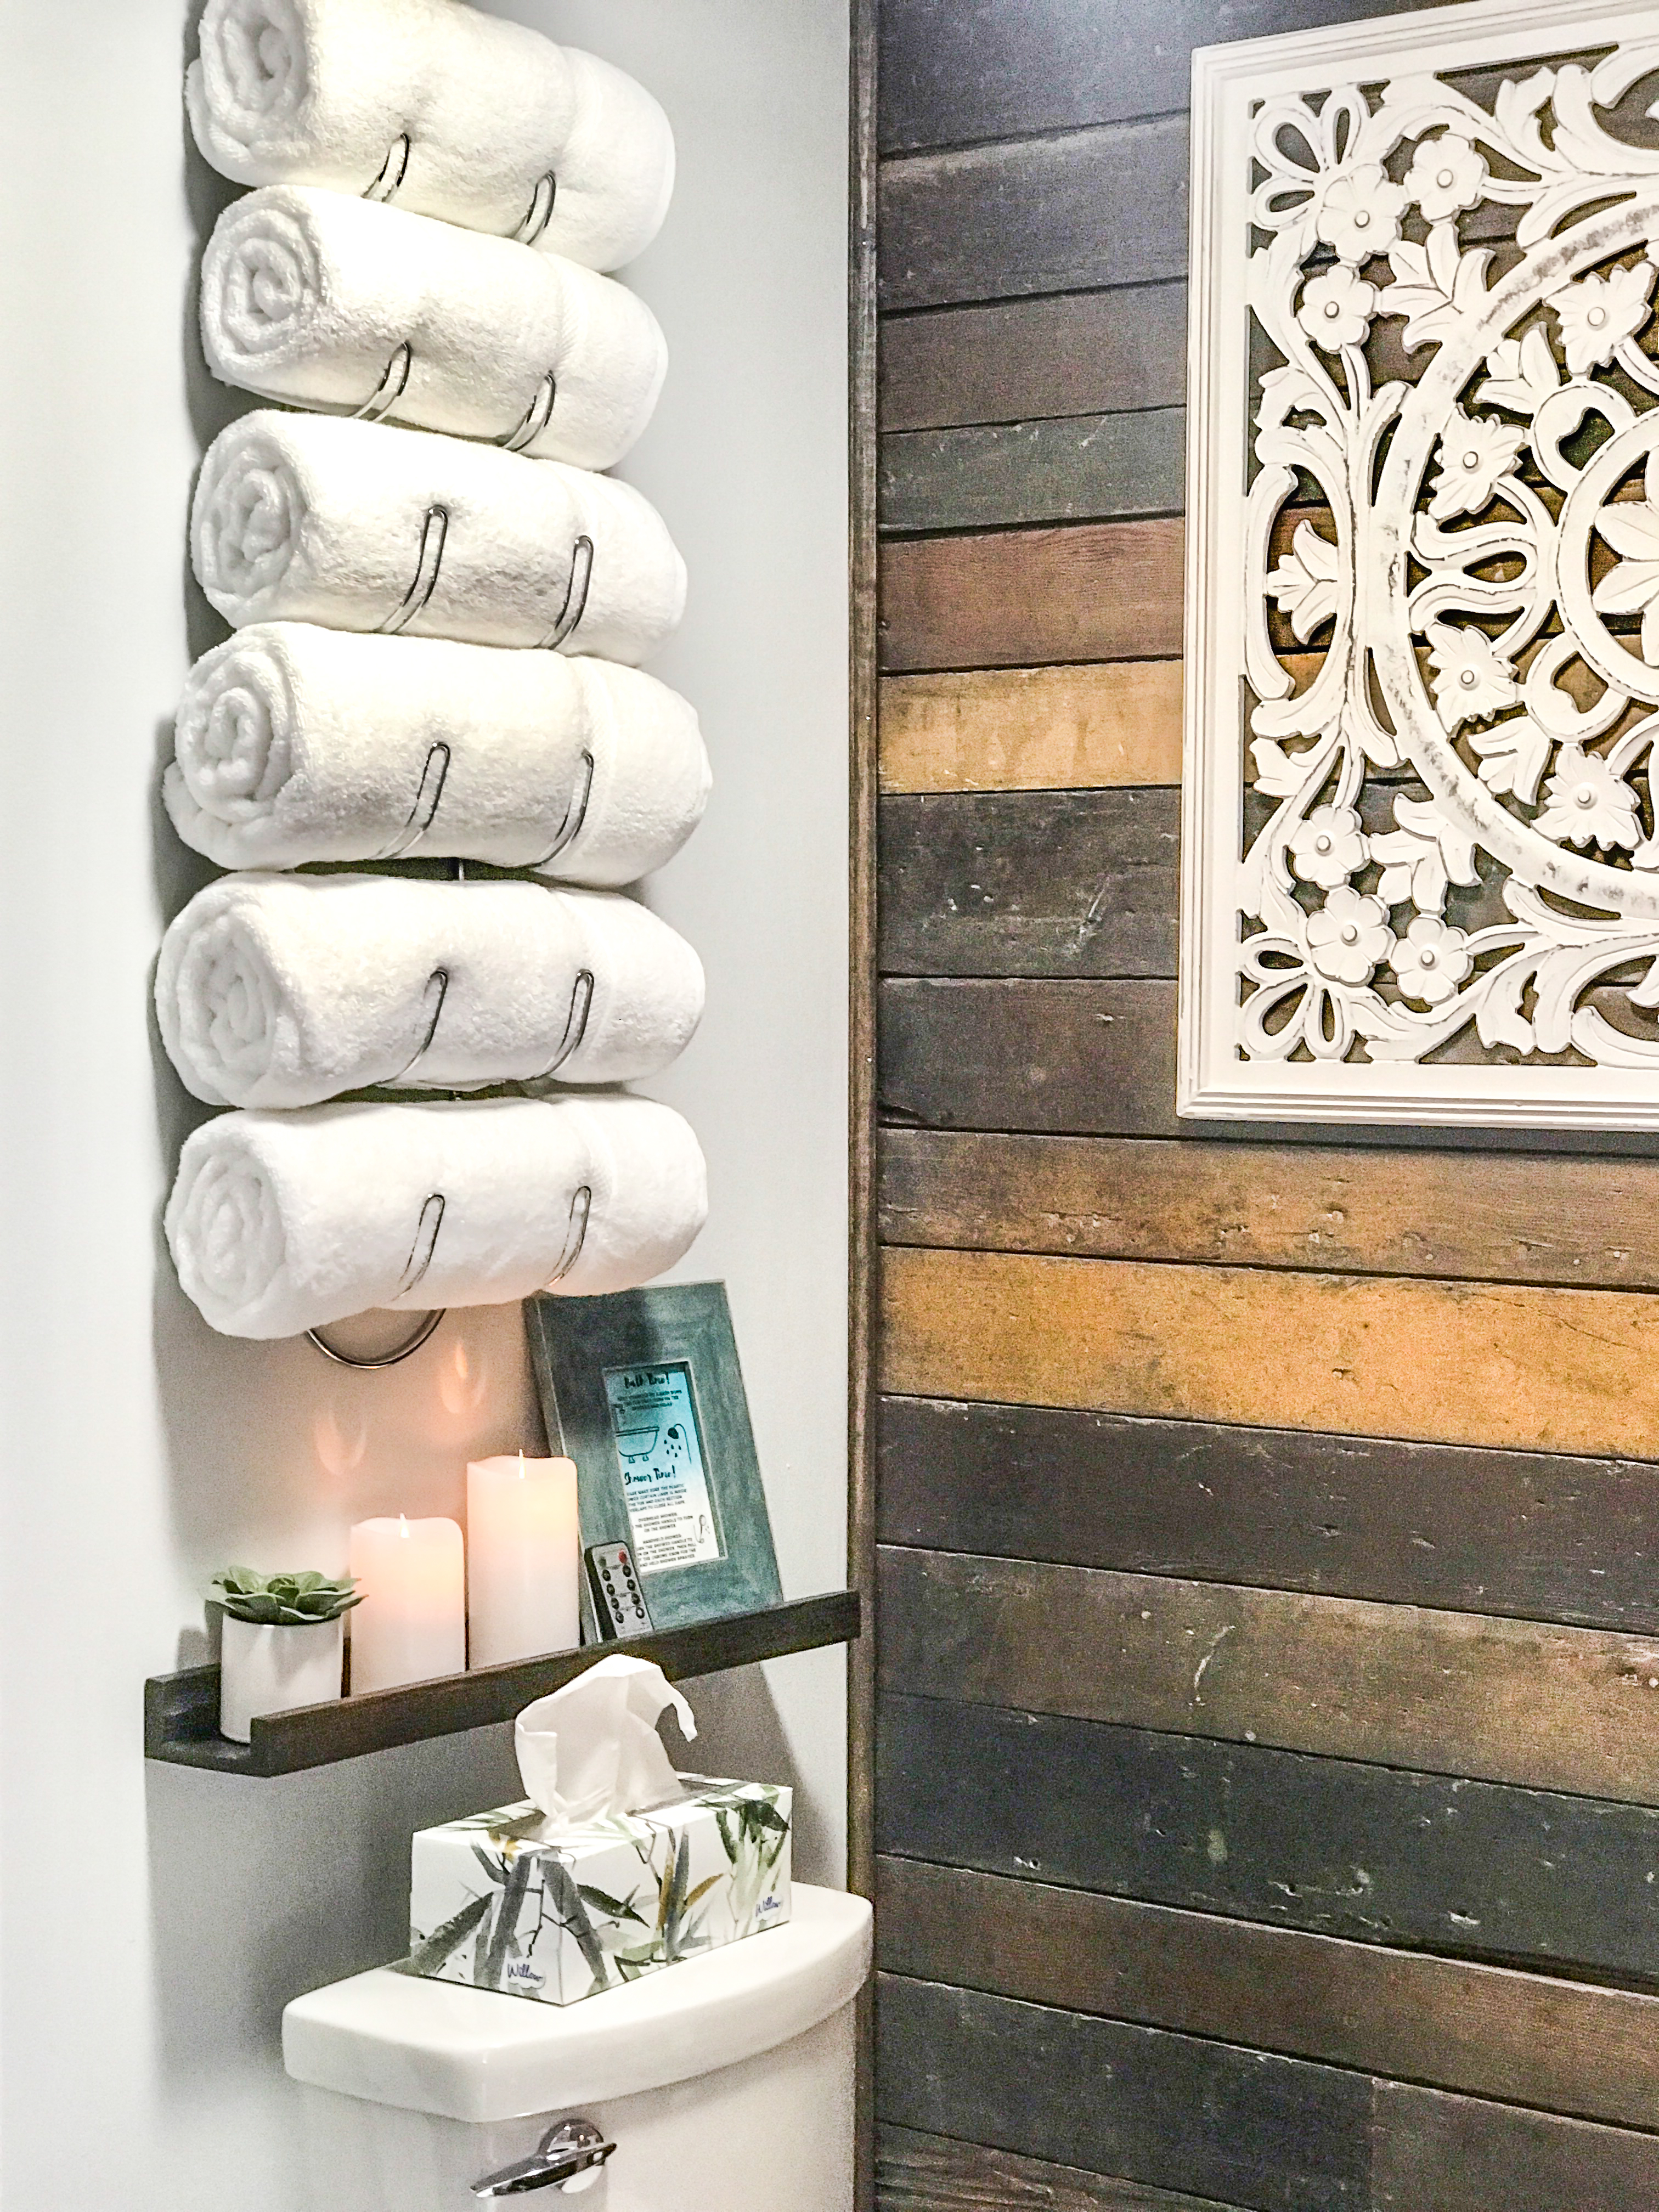
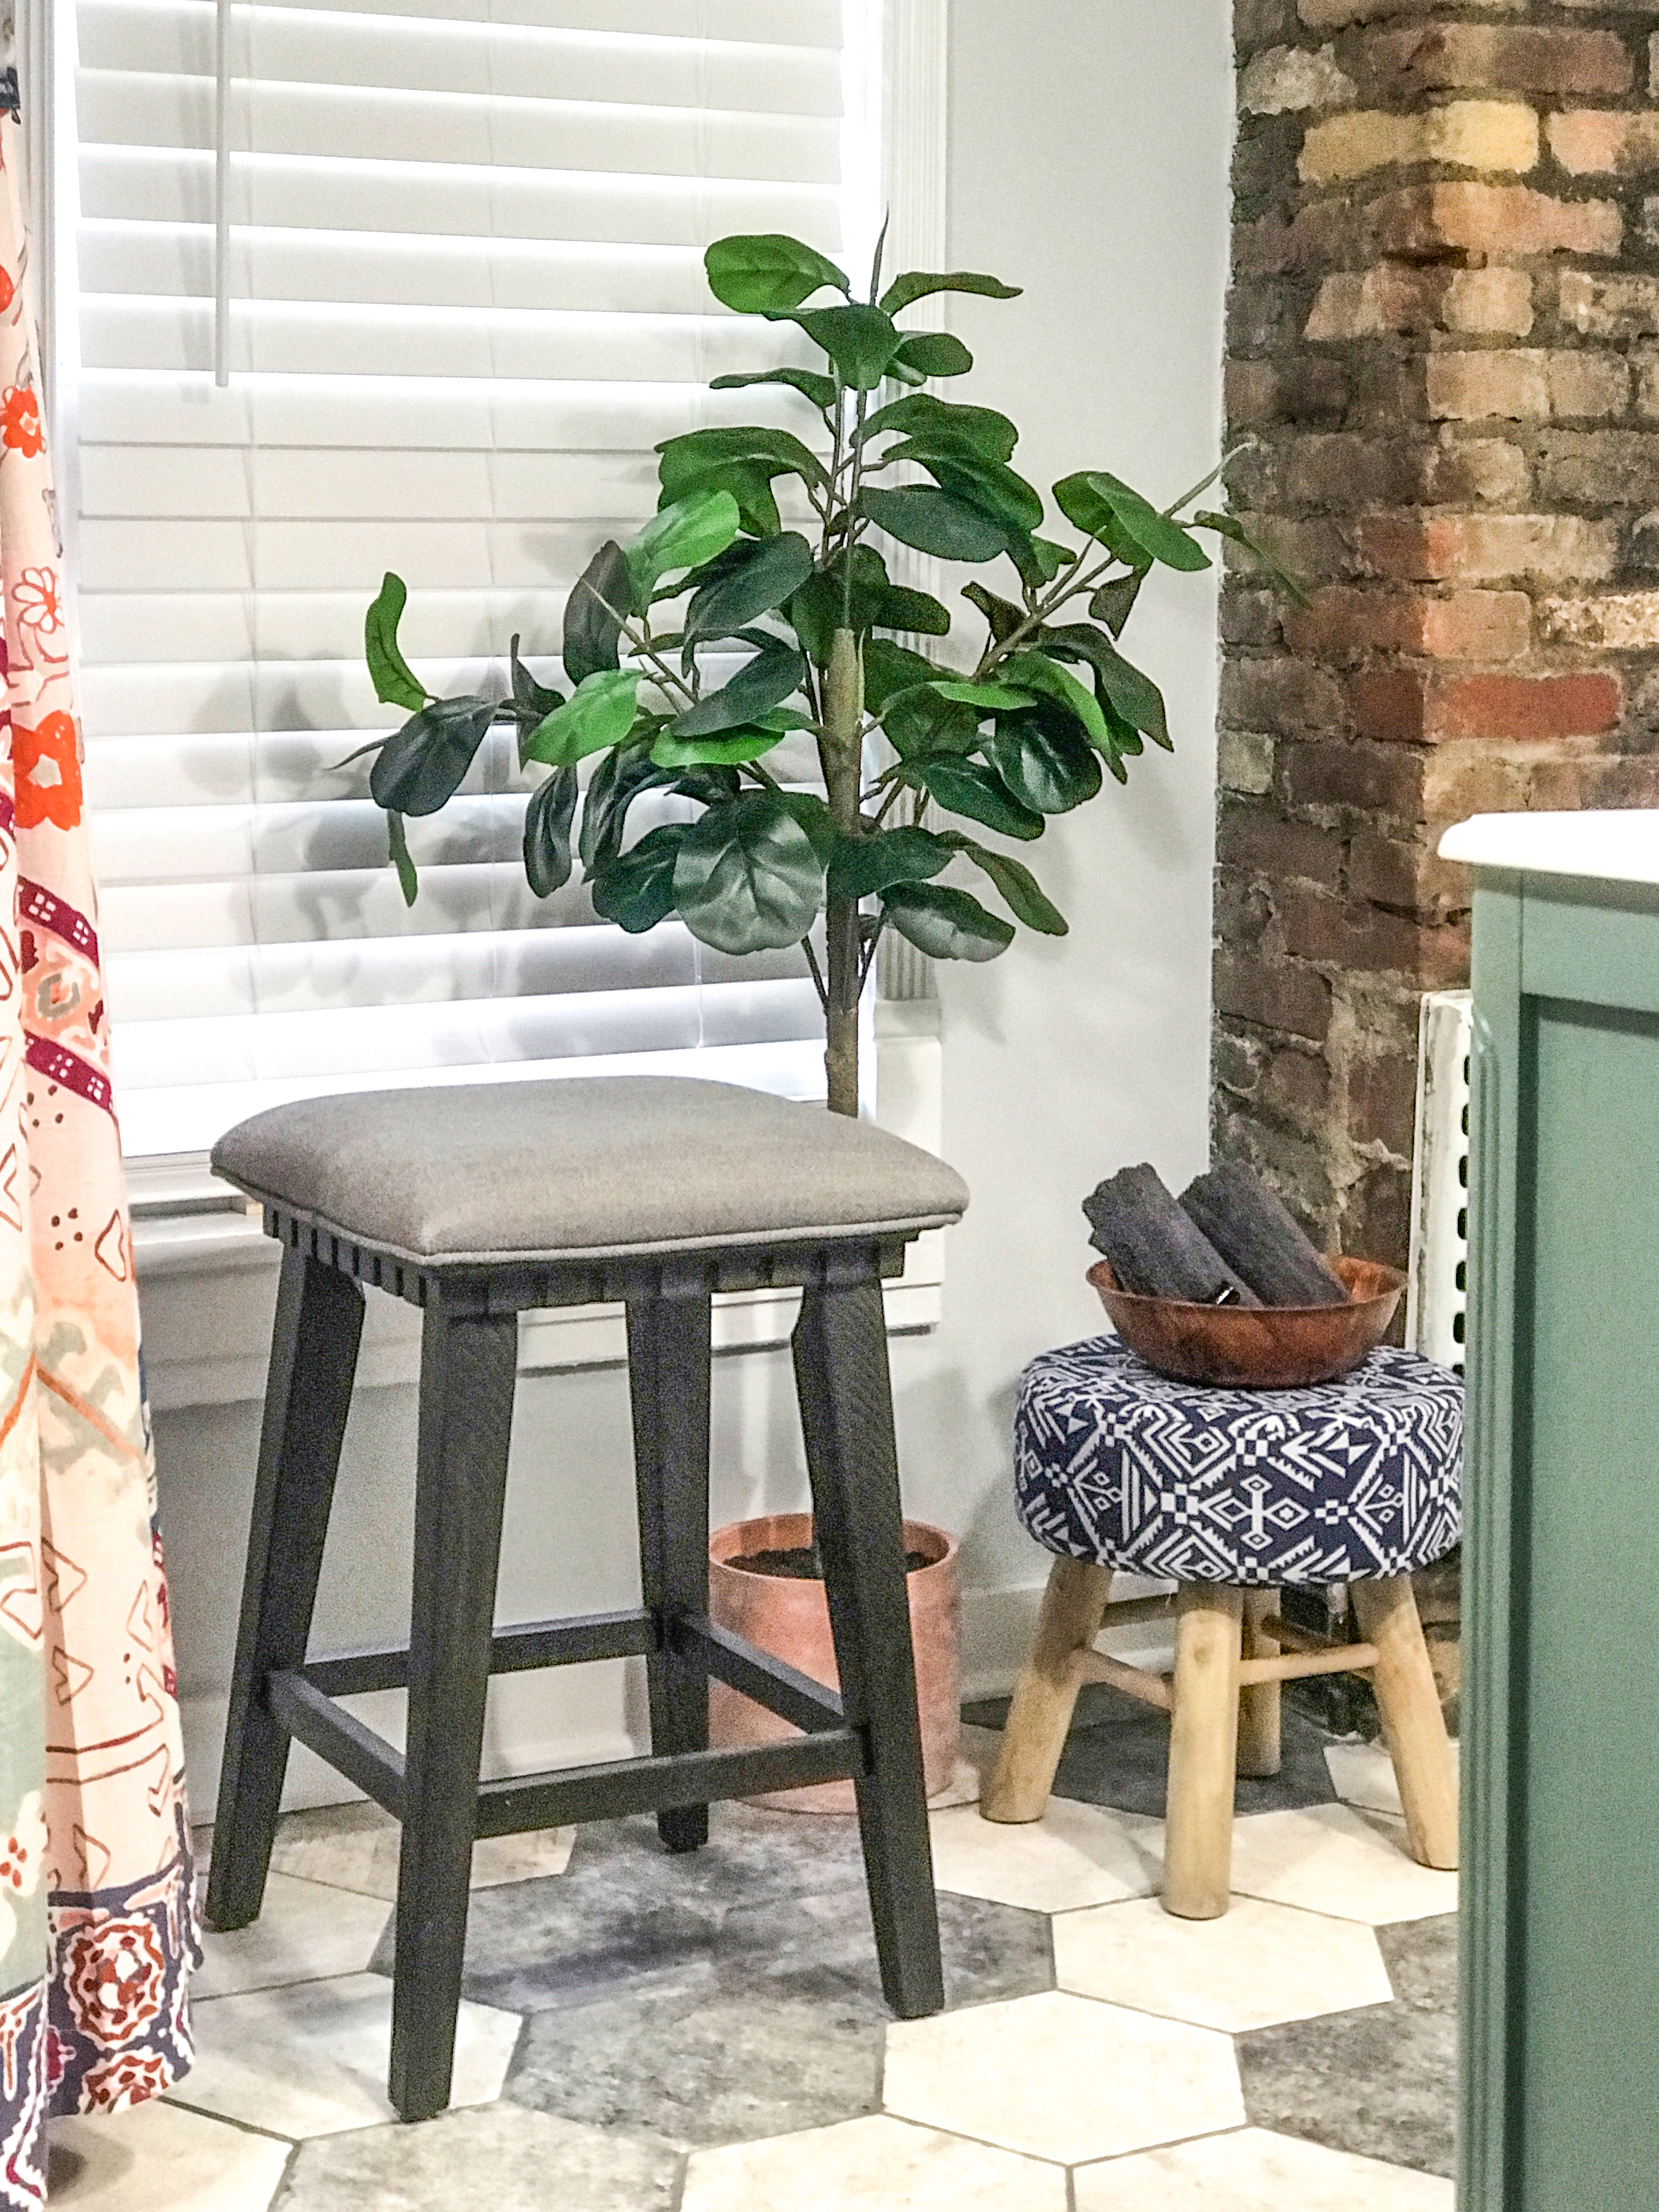
After:airbnb apartment bathroom makeover suite thyme

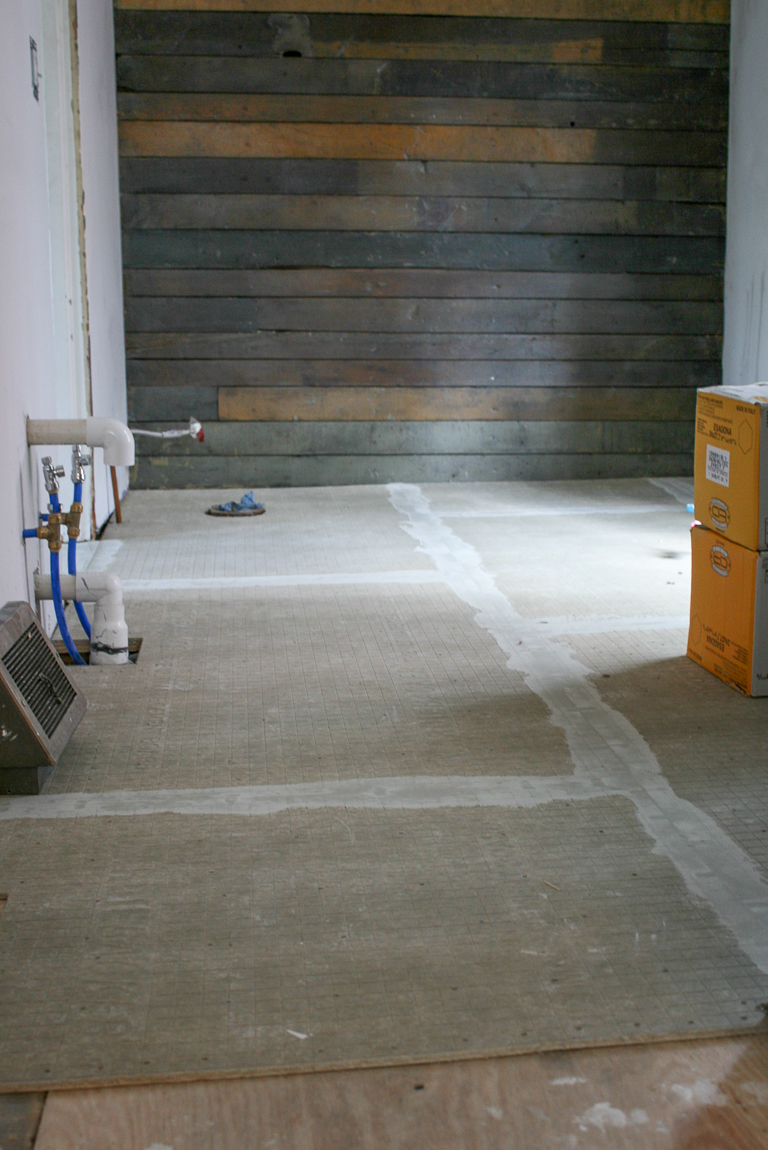
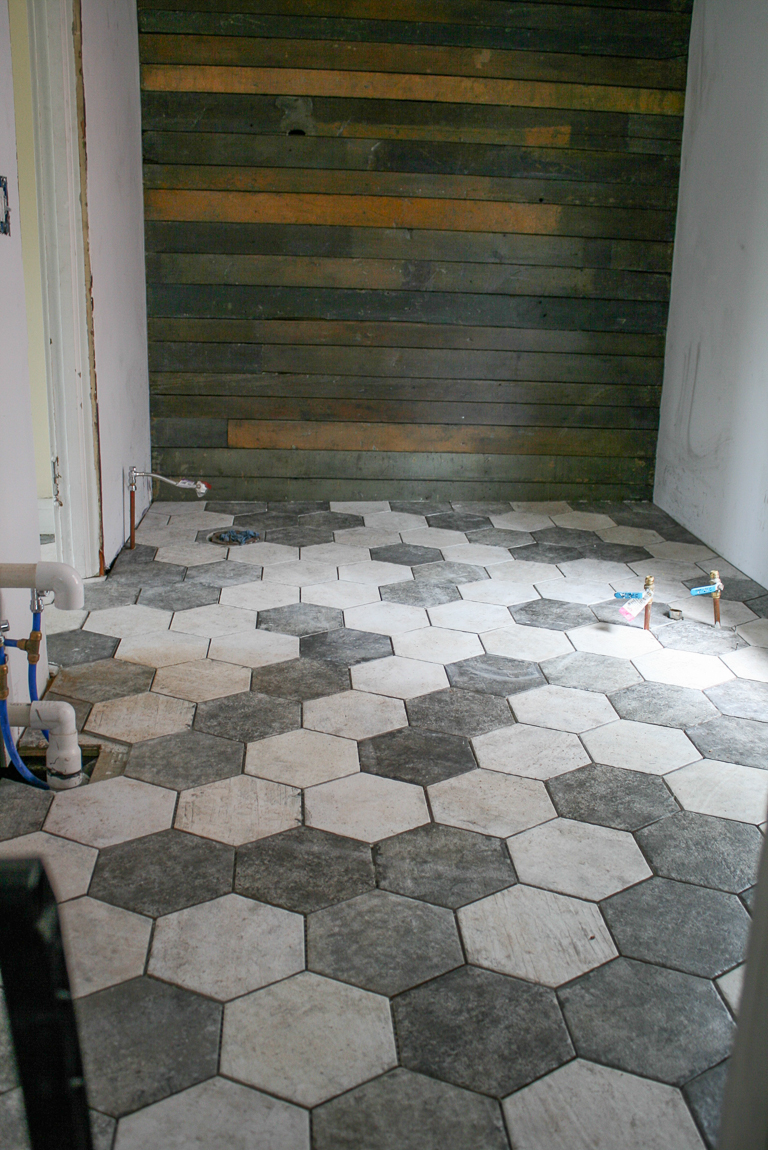
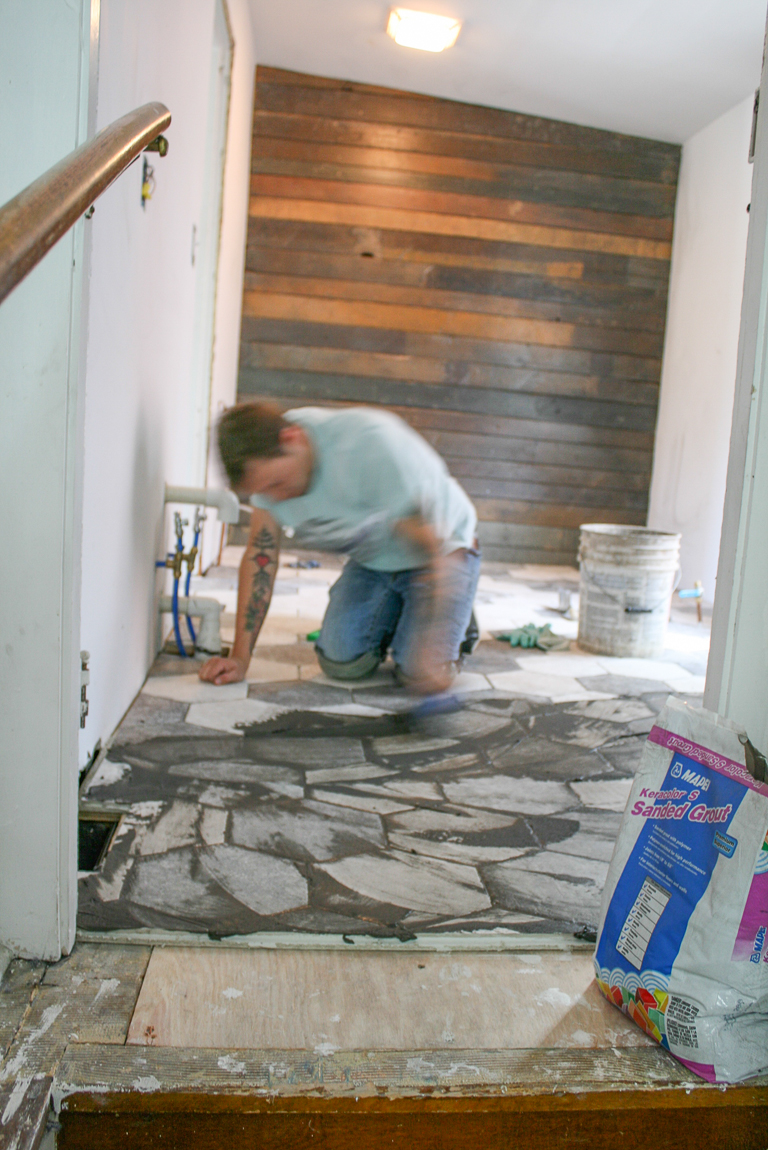
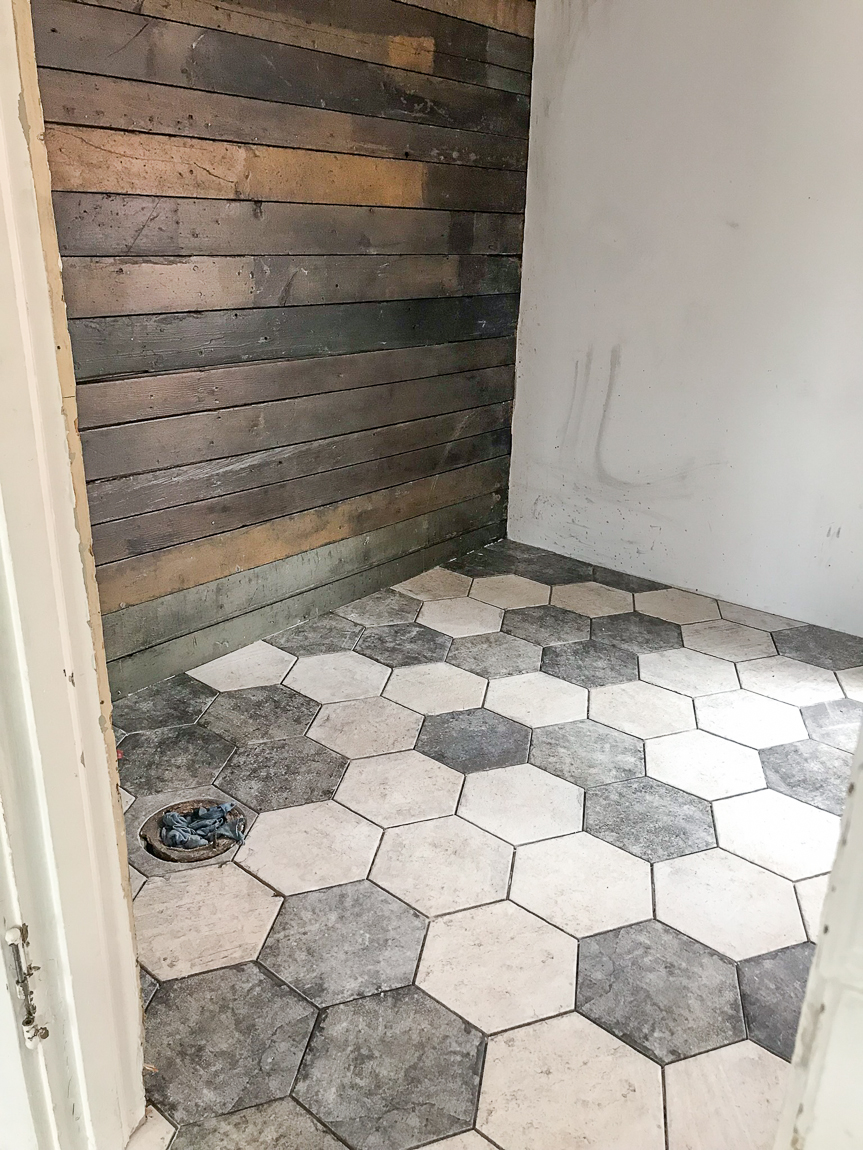
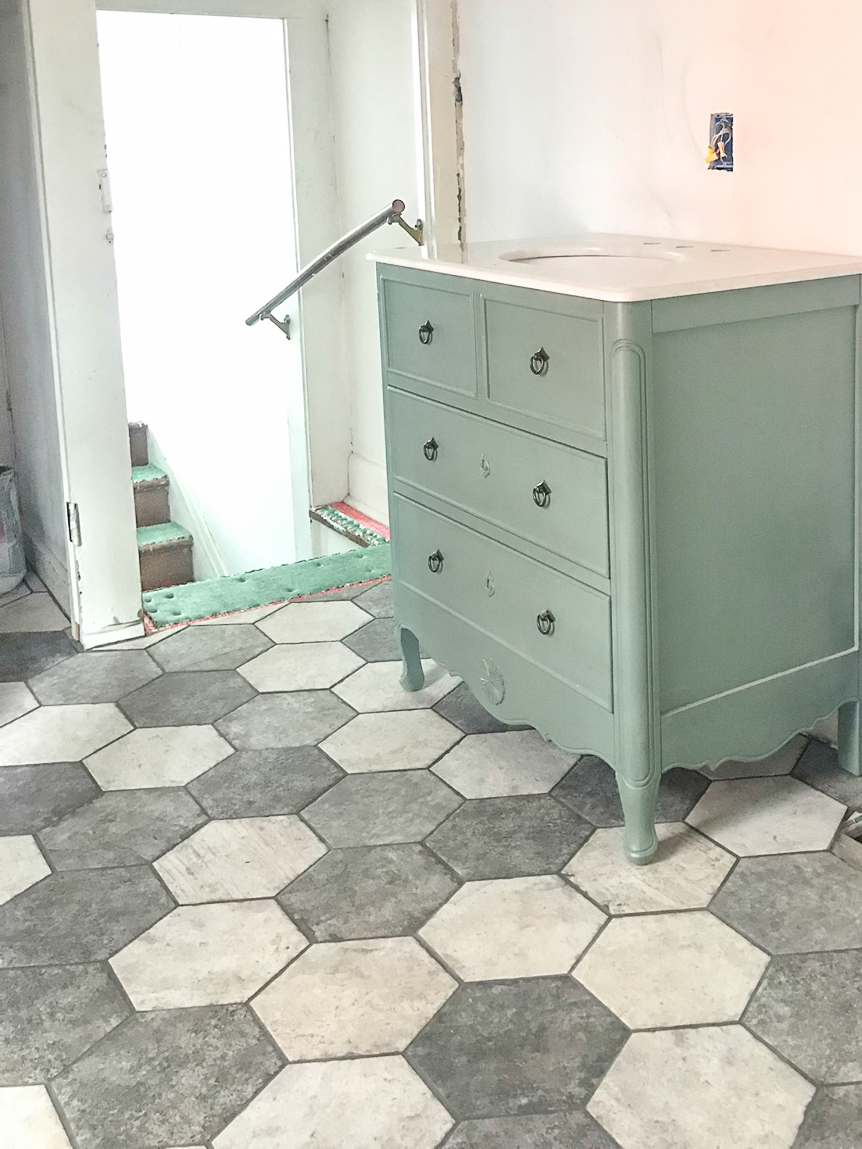
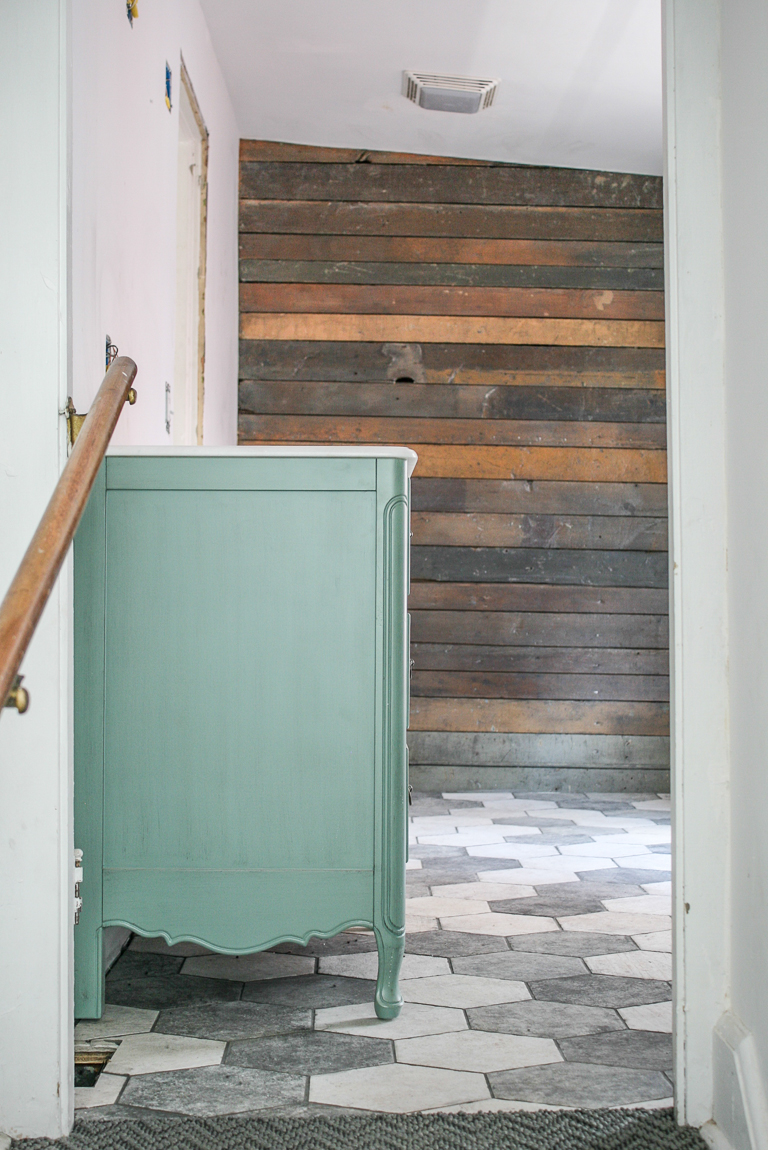
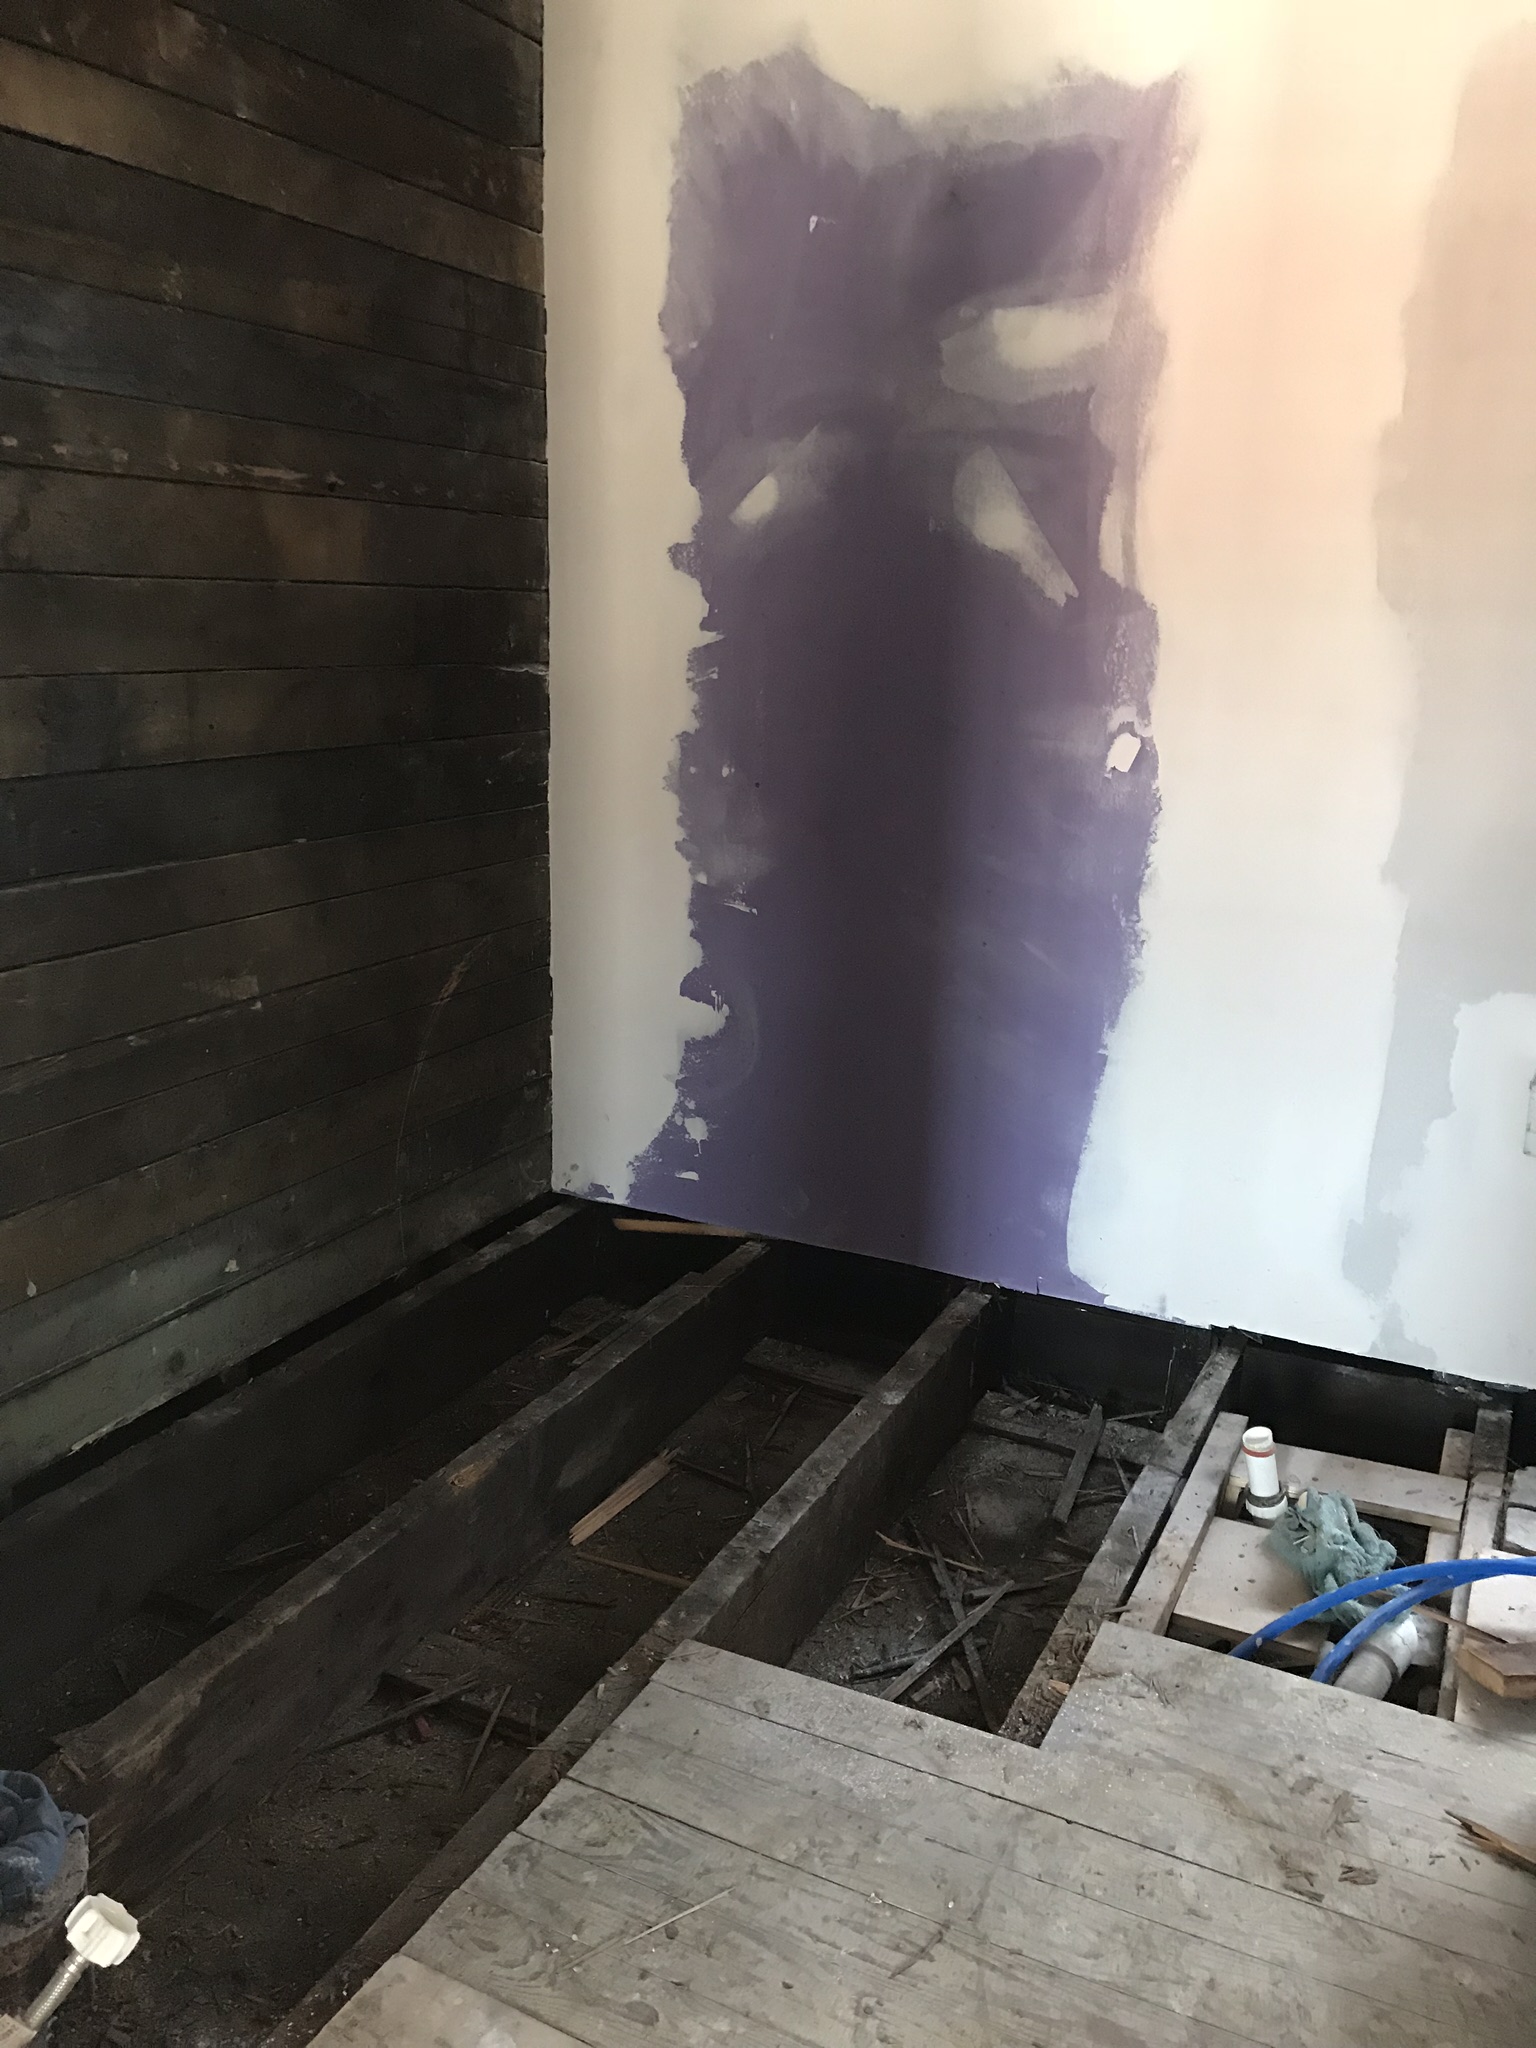
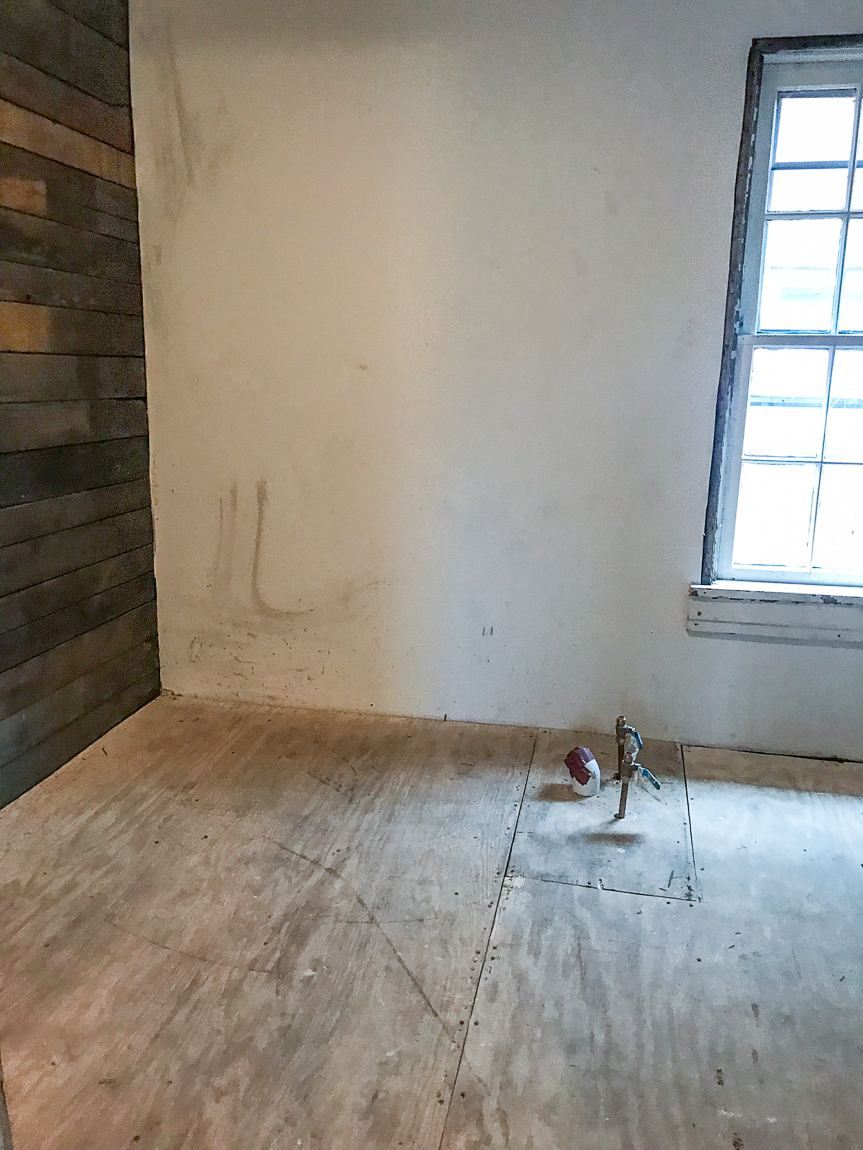
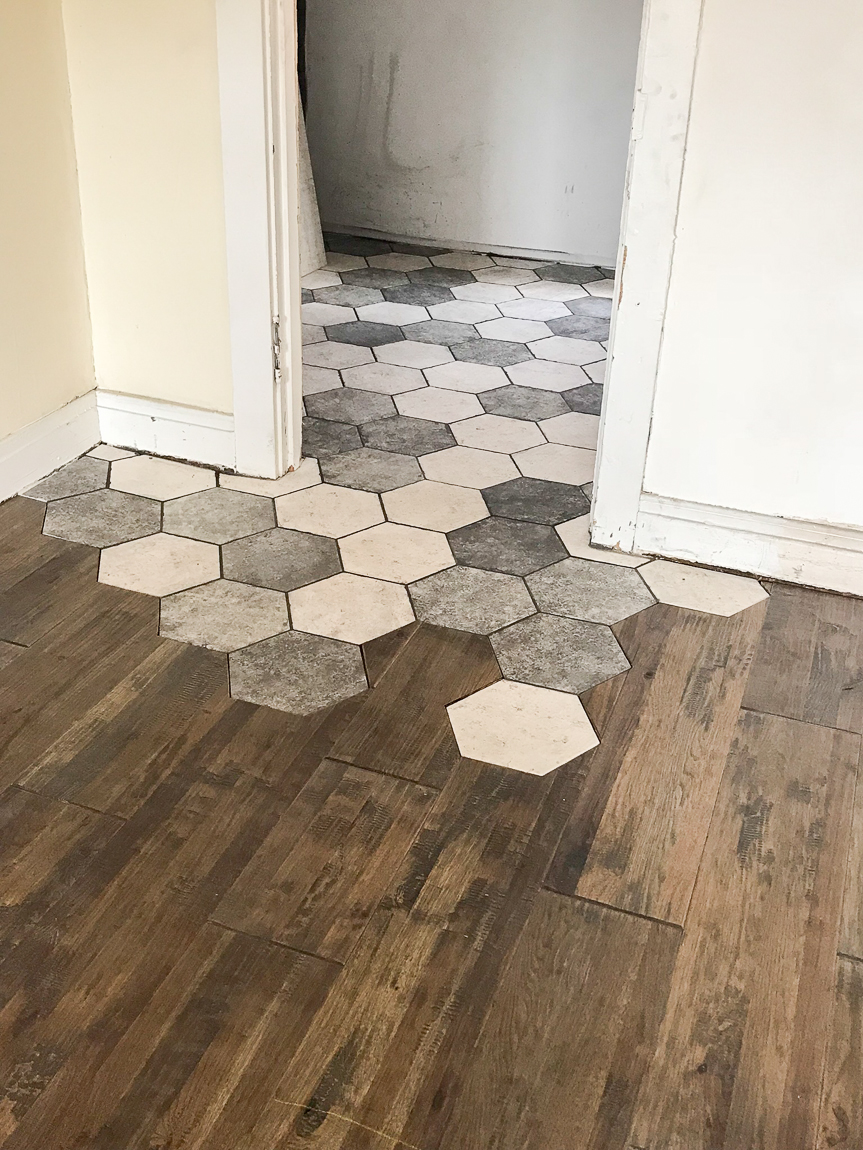
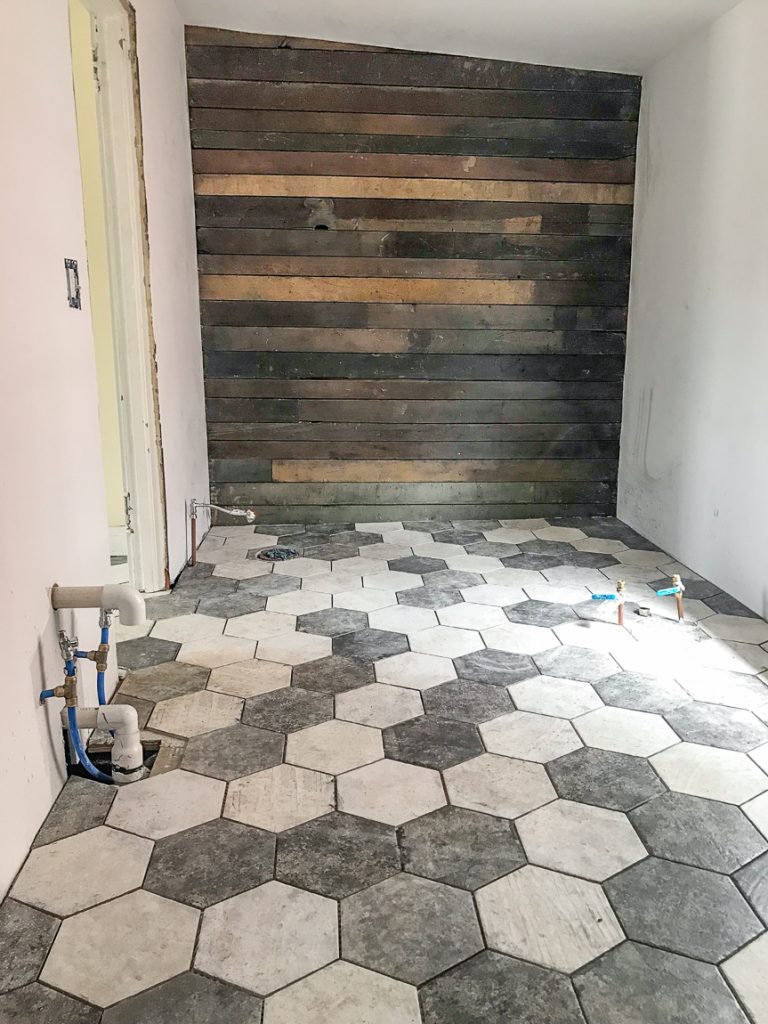
The floor – nothing is square or level but I insisted on installing tile. So, the floor was completely removed and a new level subfloor installed. You can see more about the gorgeous Shaw Floors tile I chose and installation here –> Bathroom Flooring

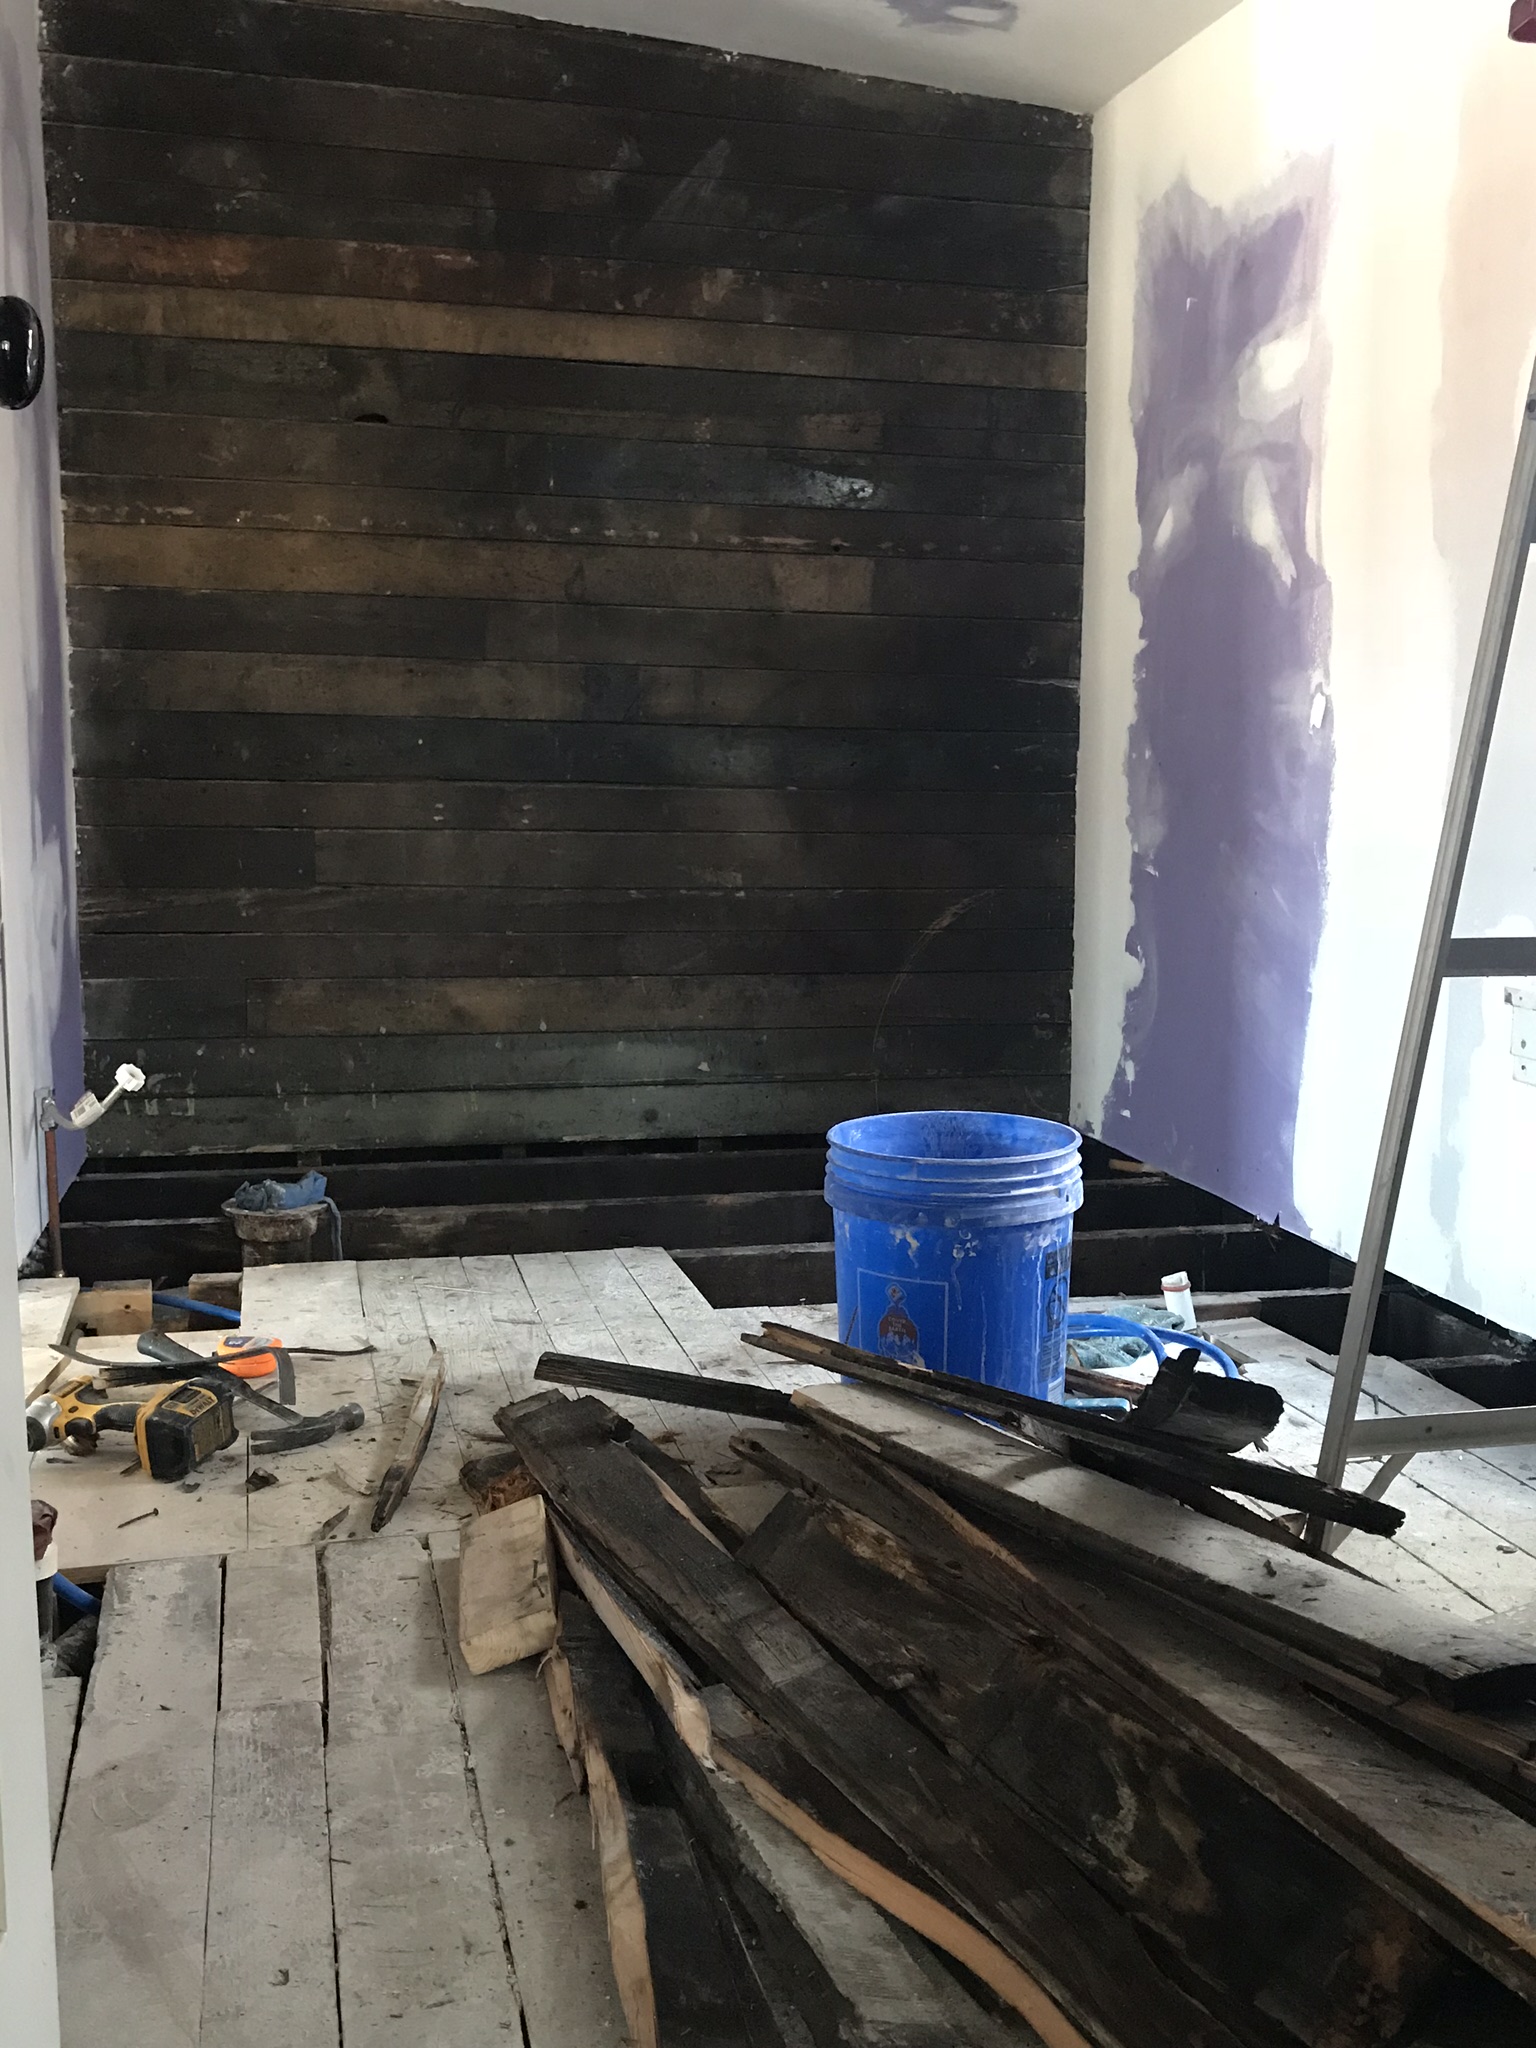
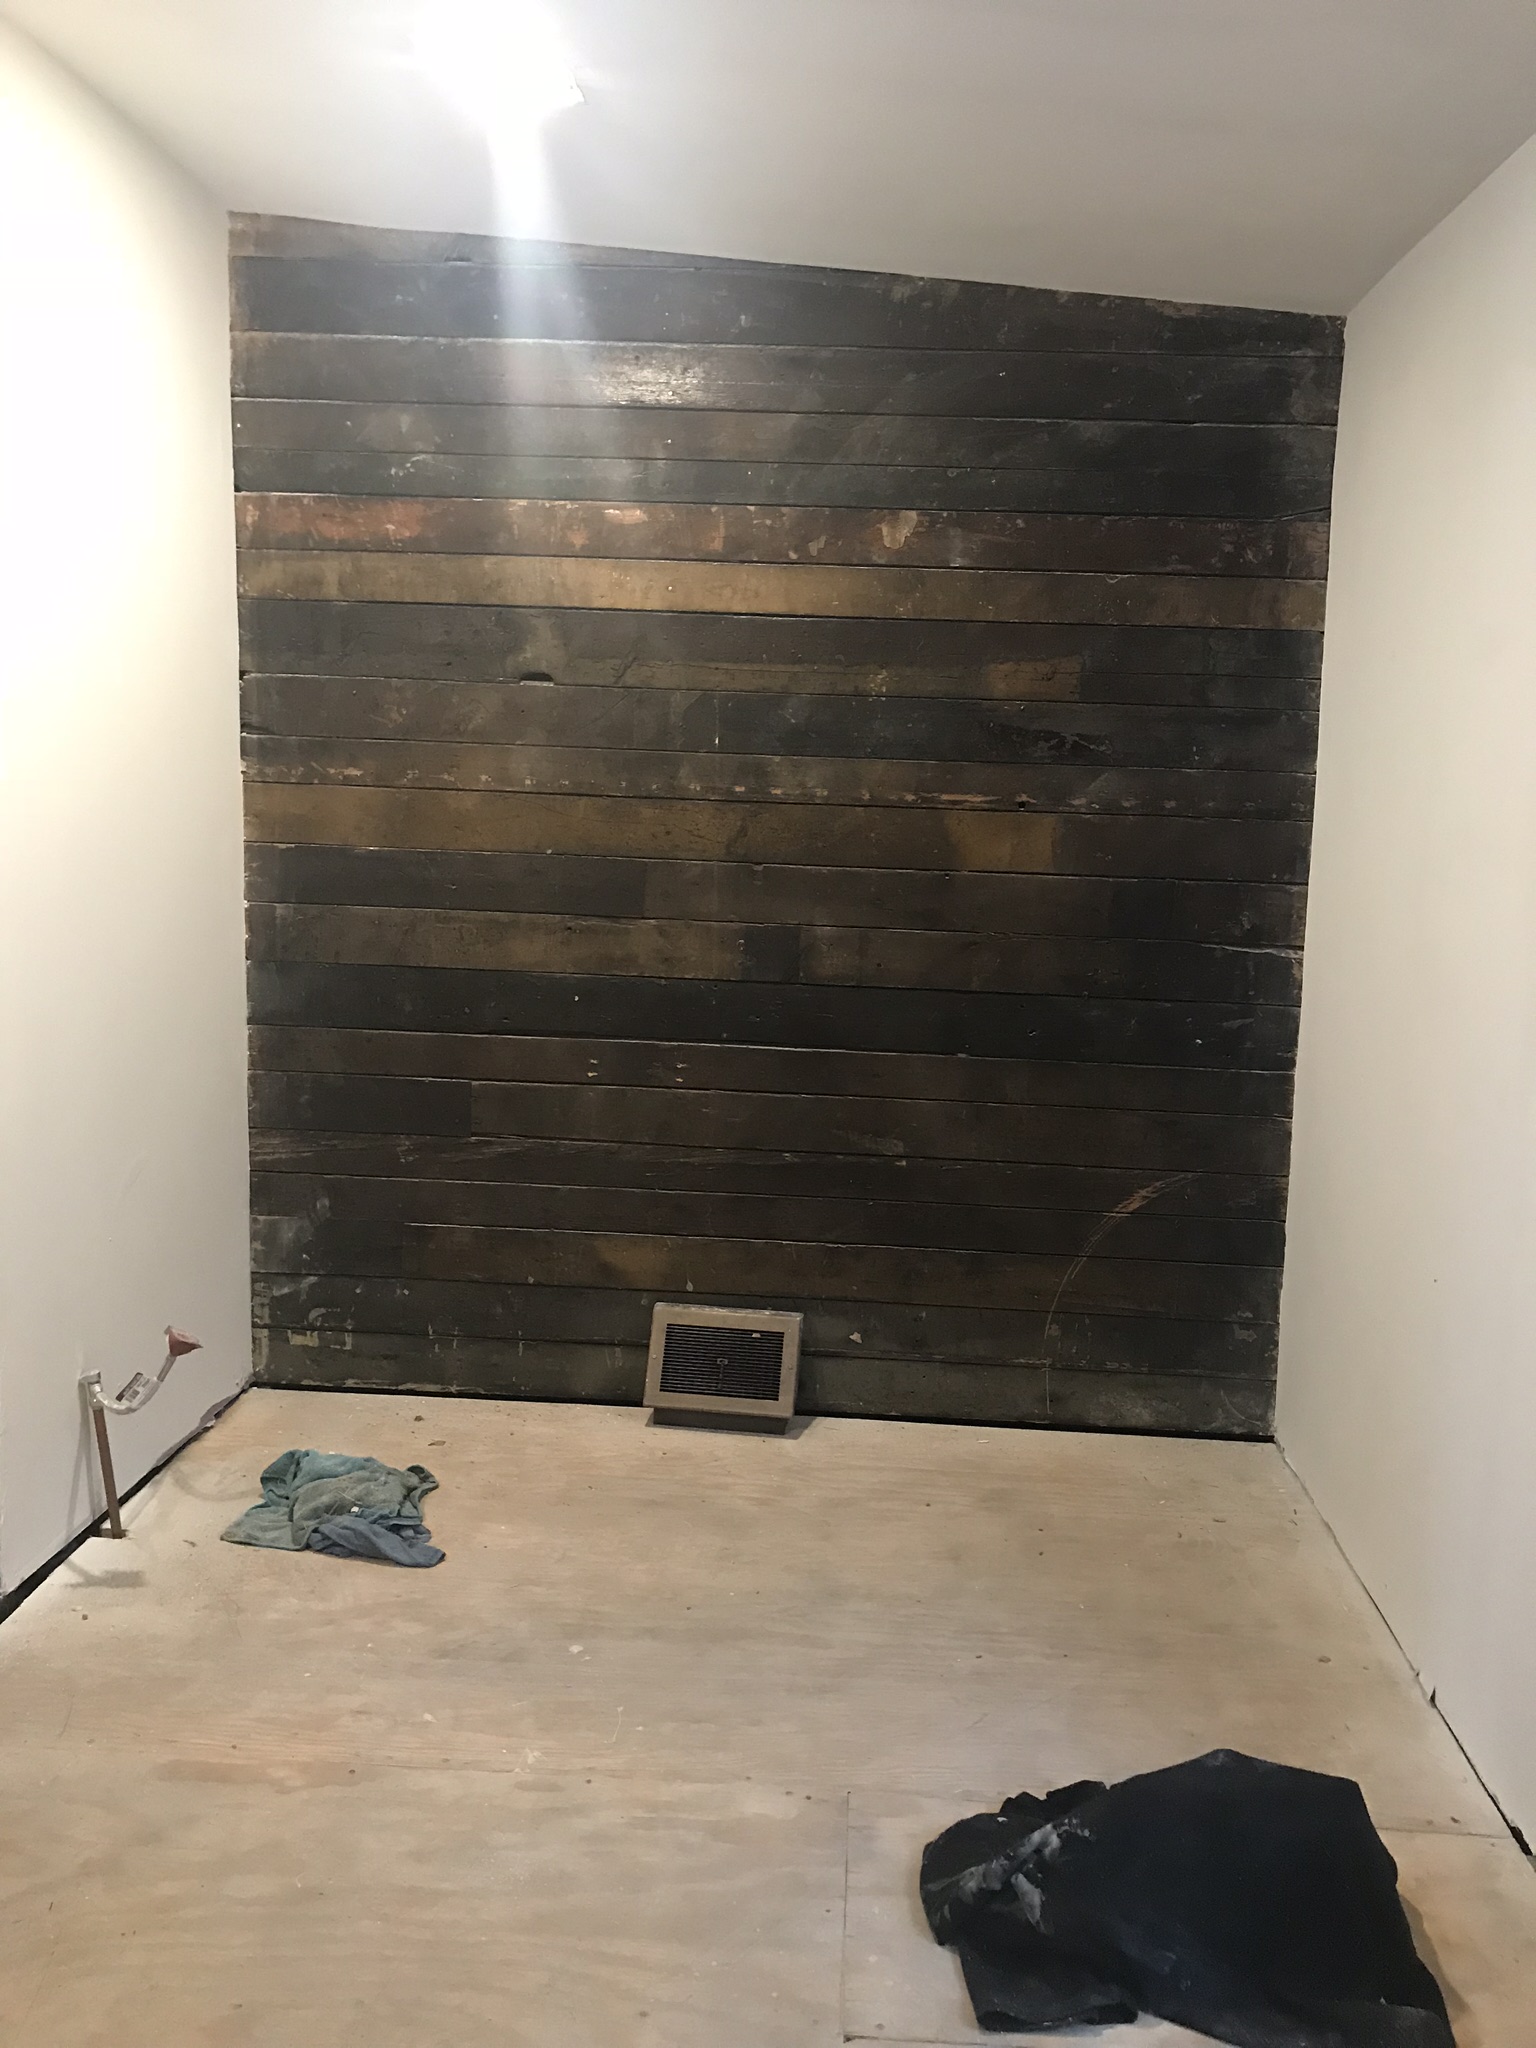
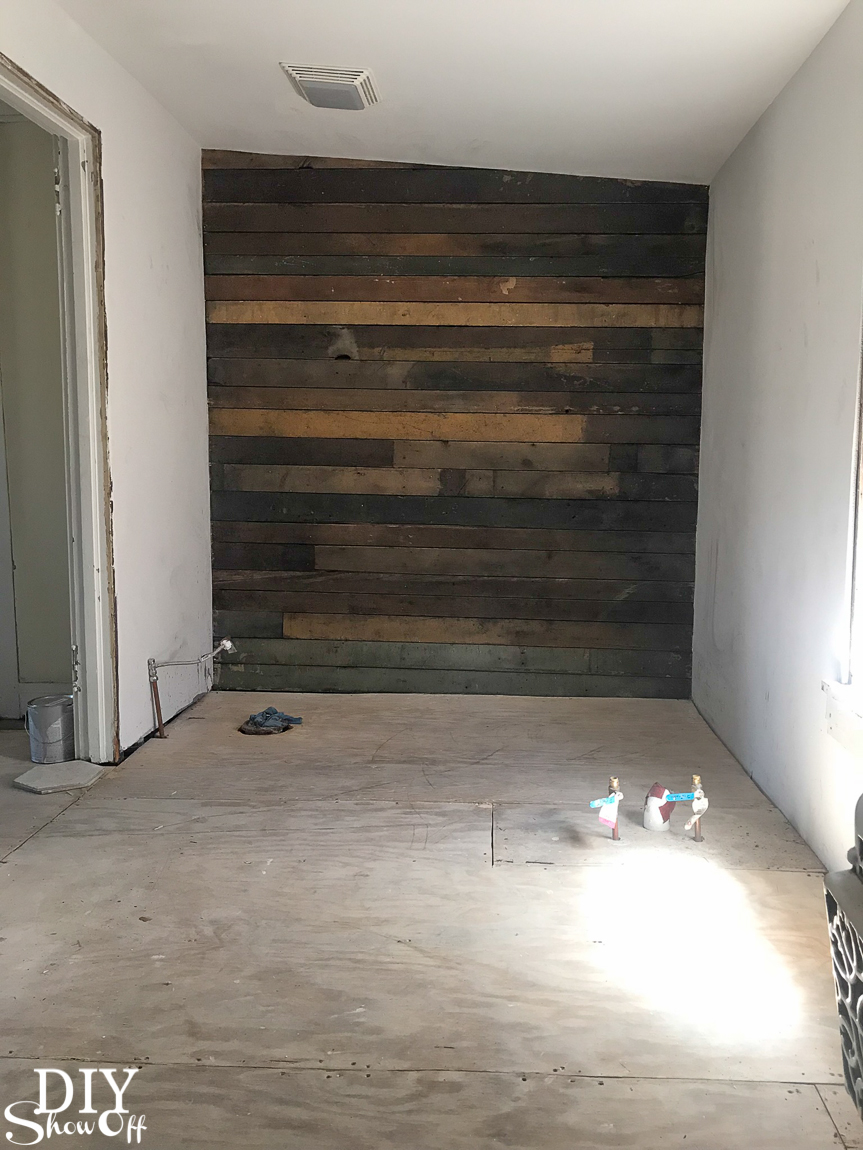
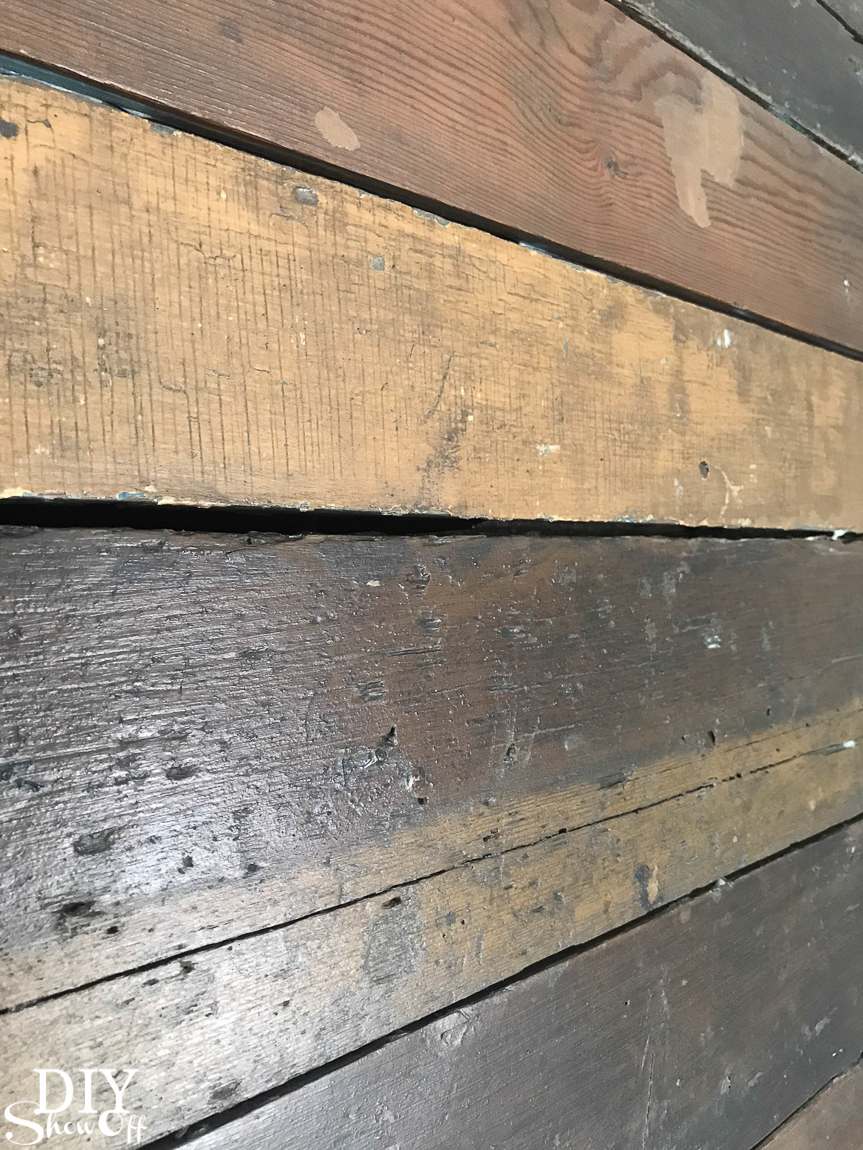
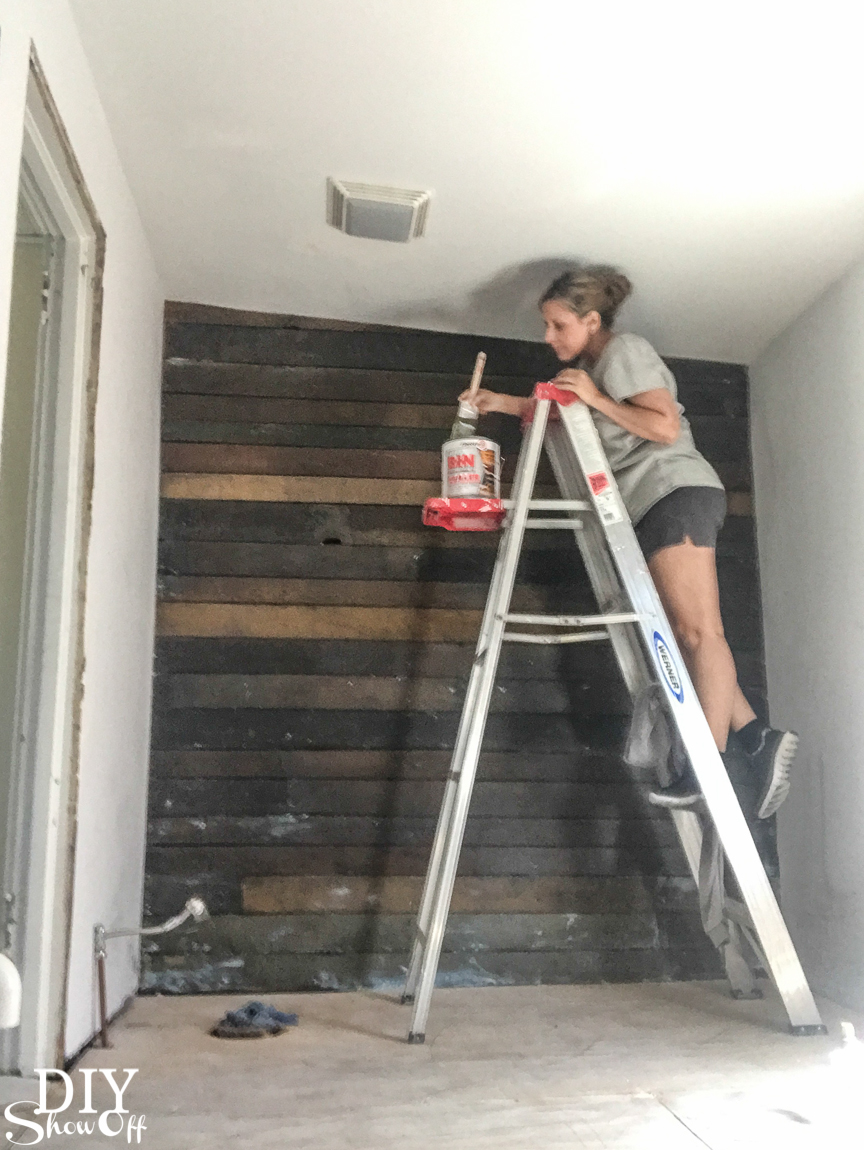
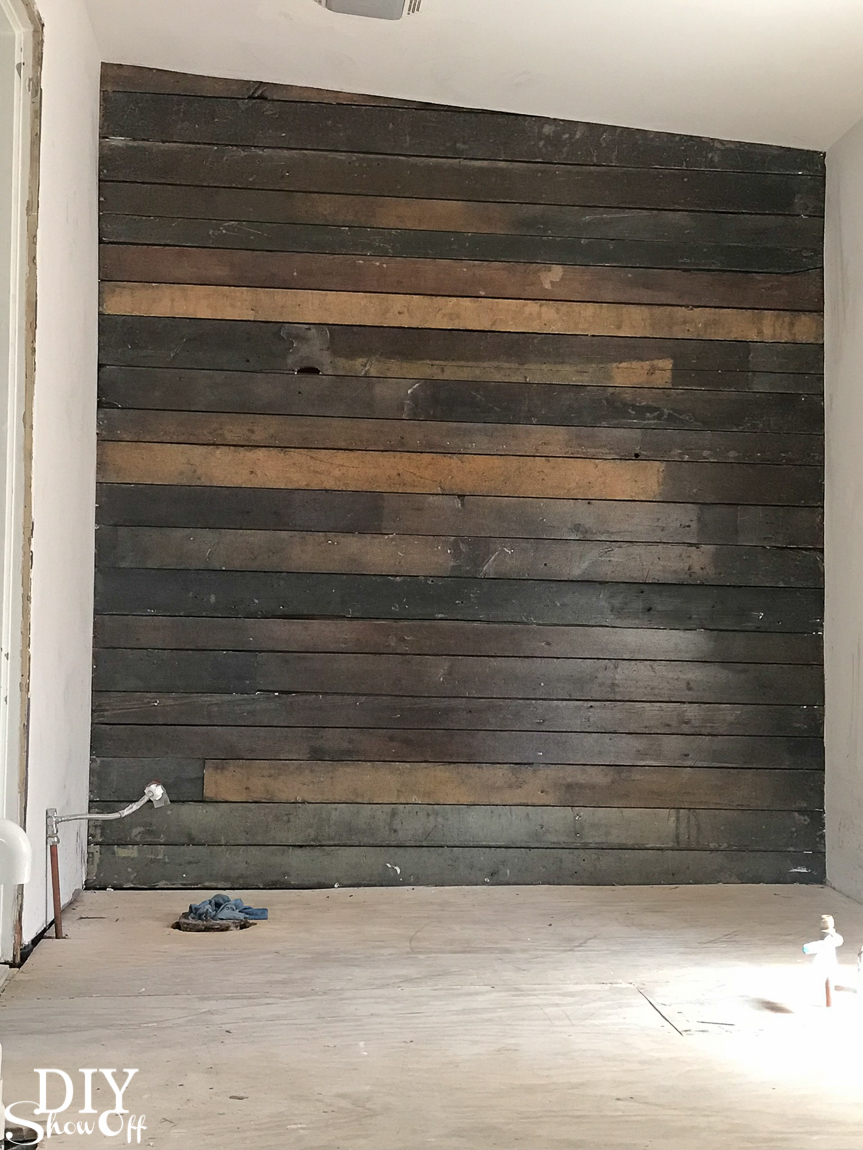
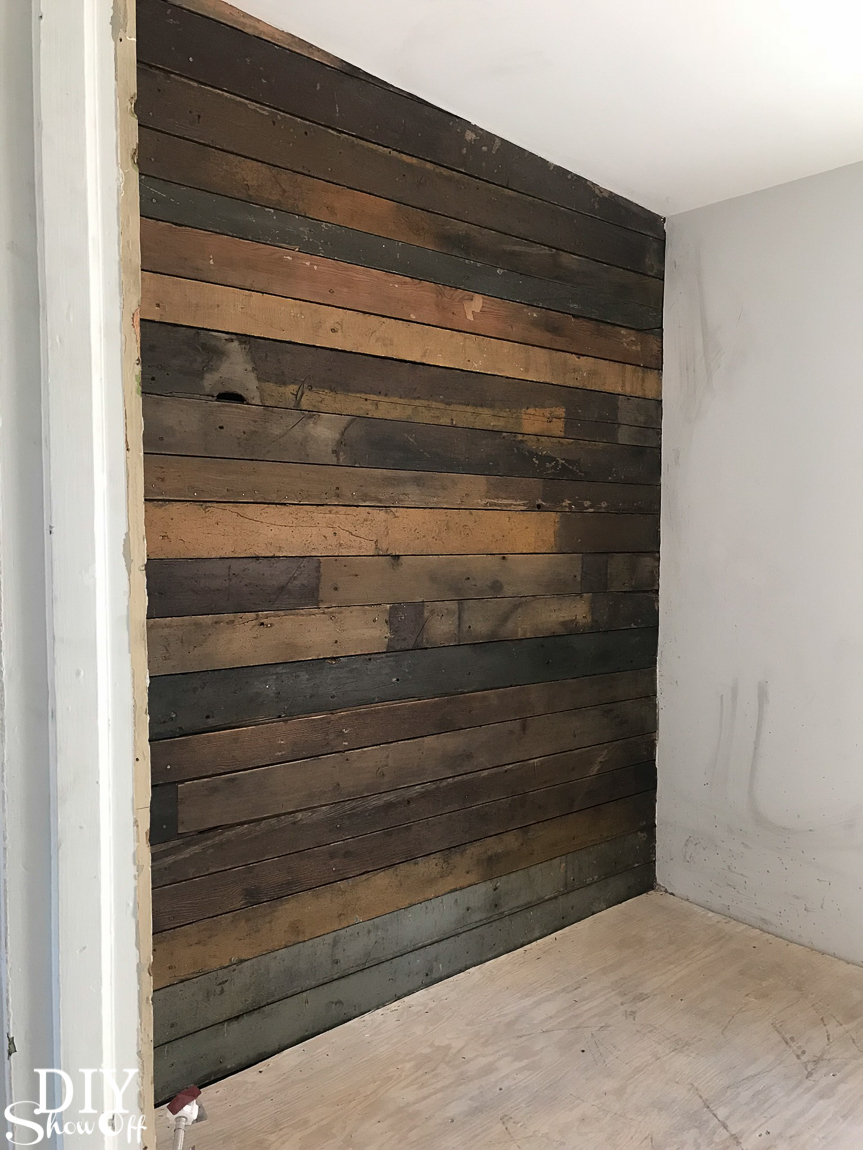
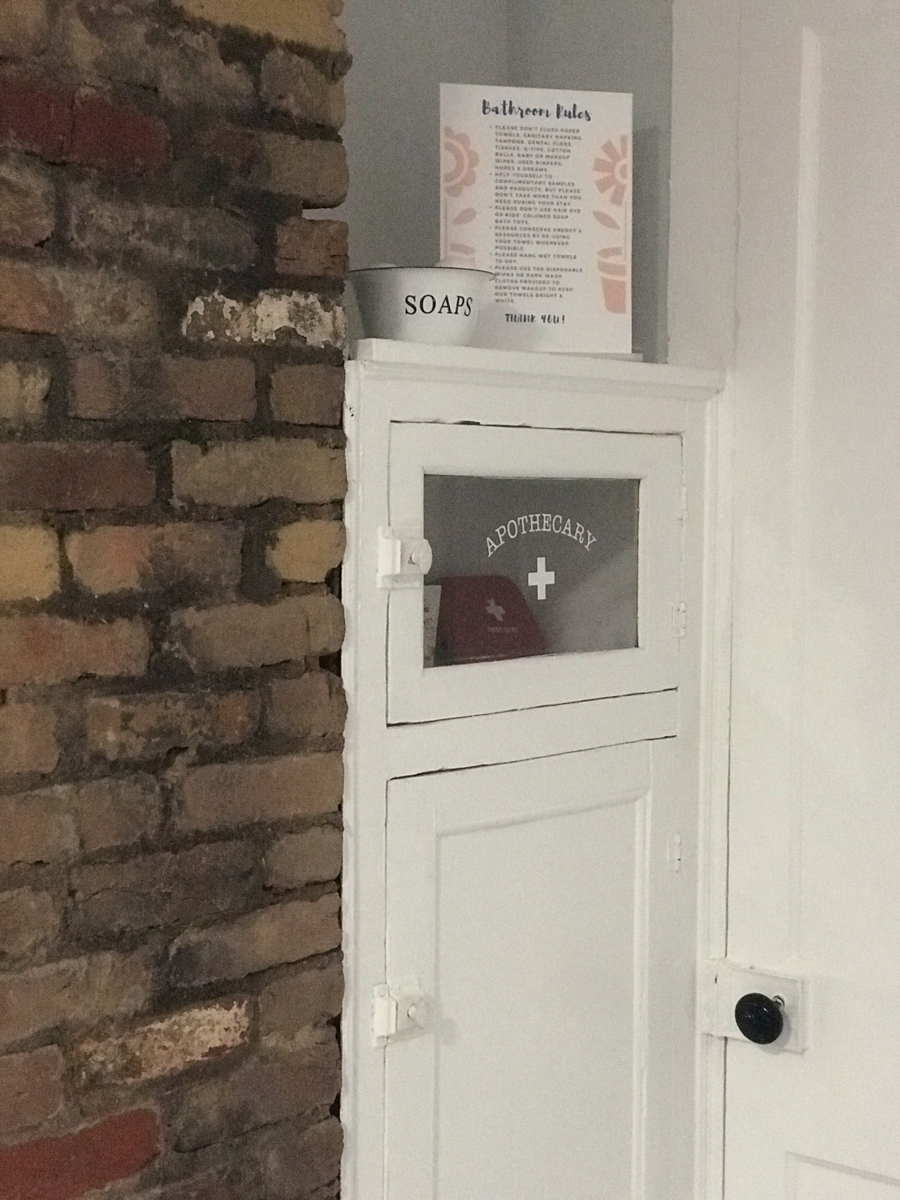
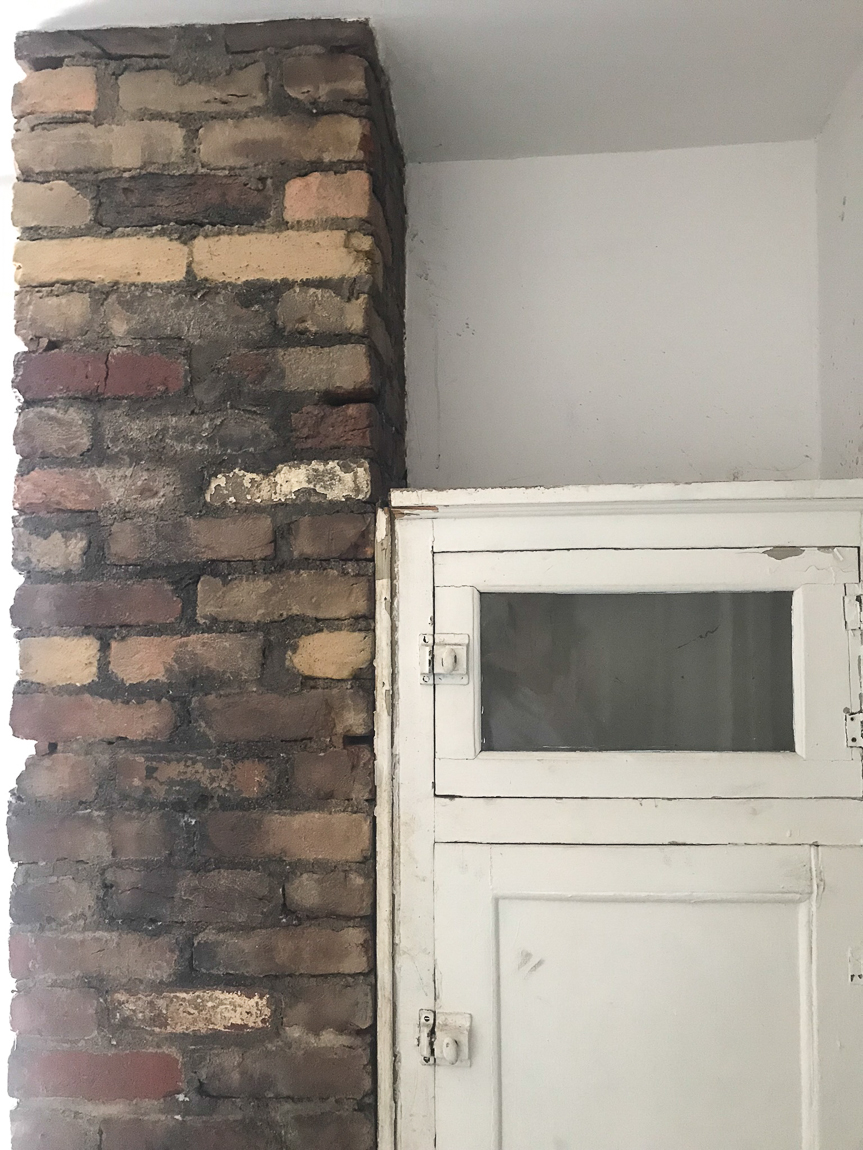
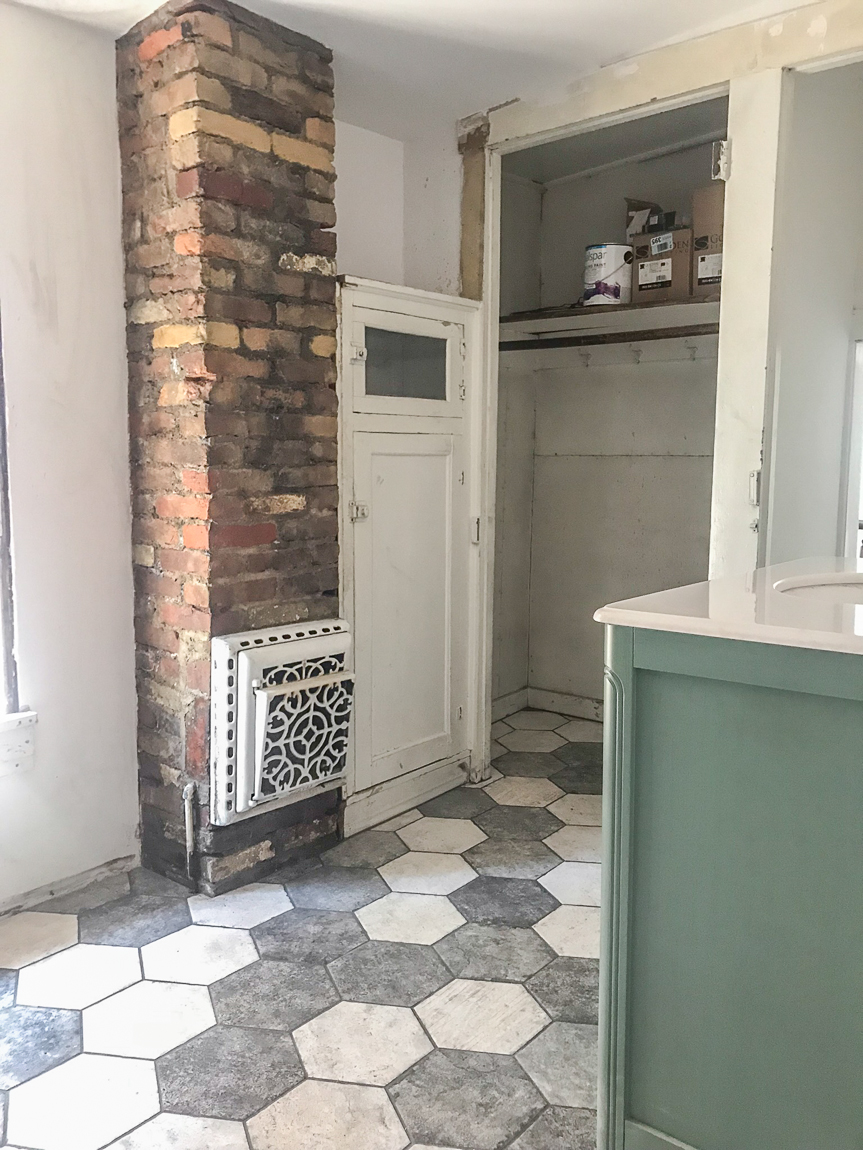
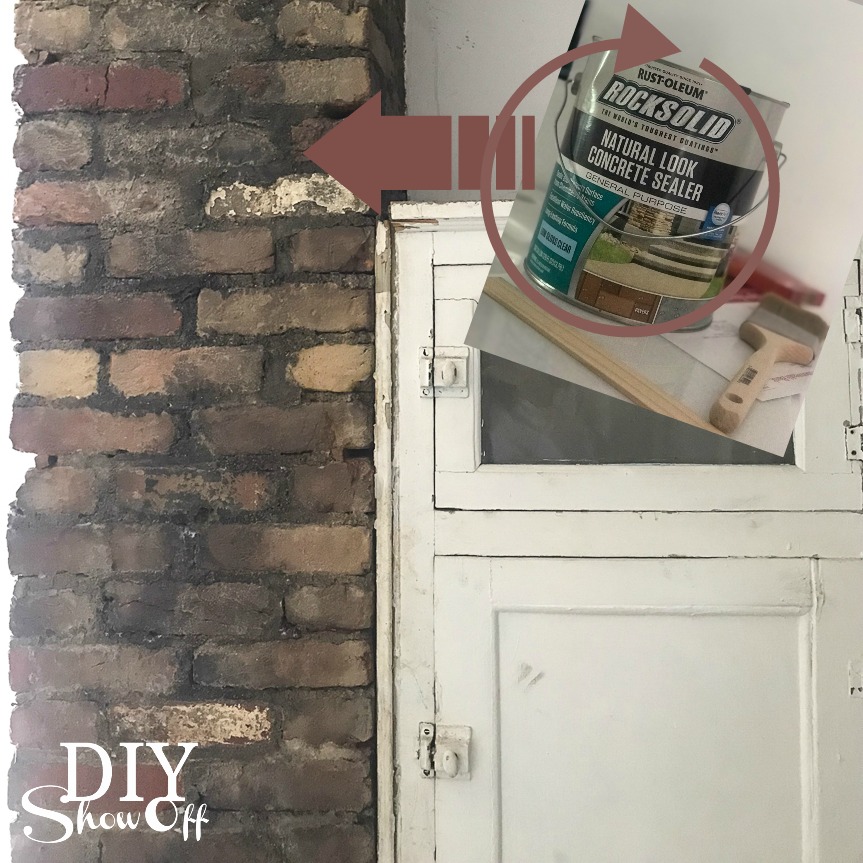
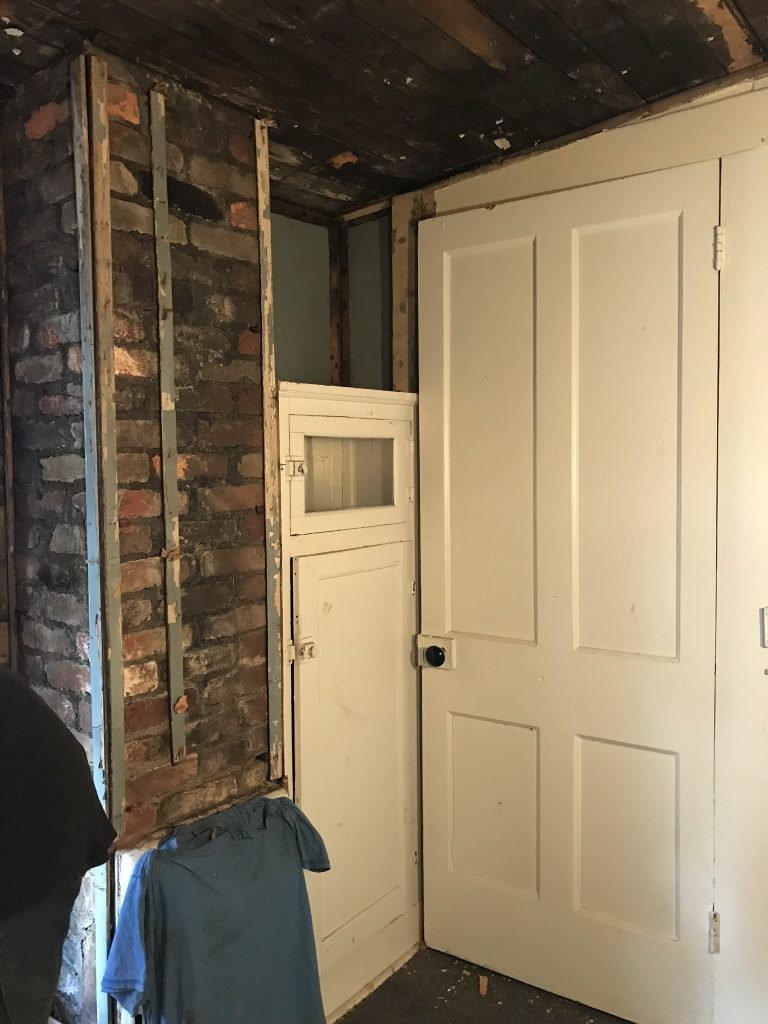
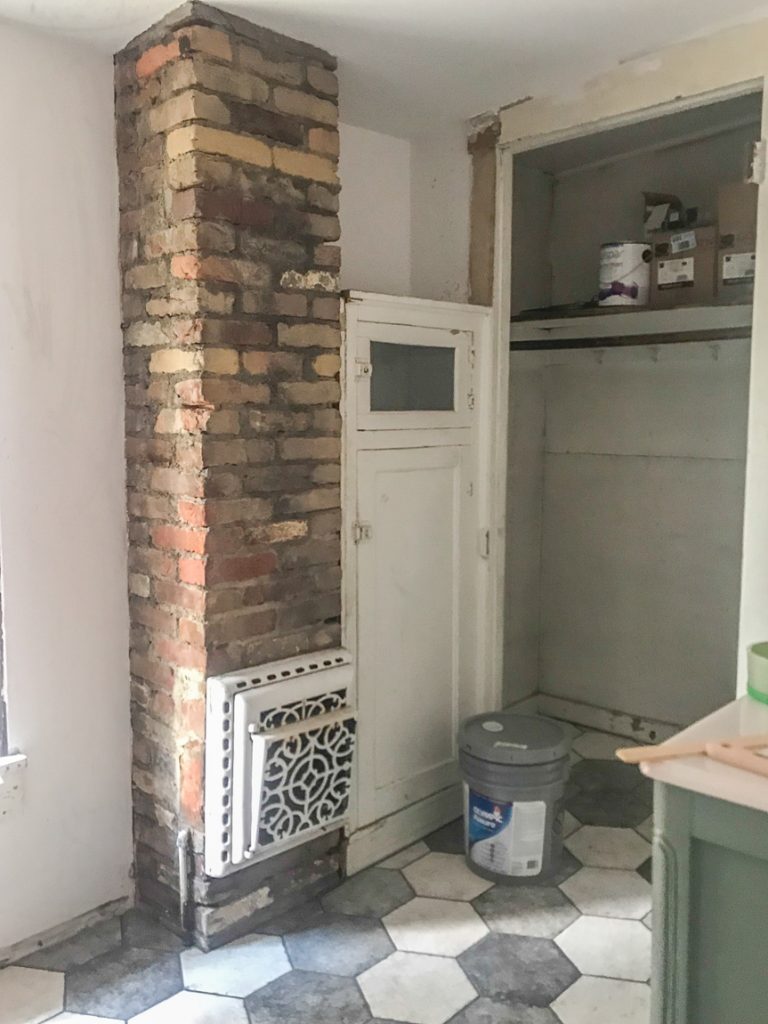
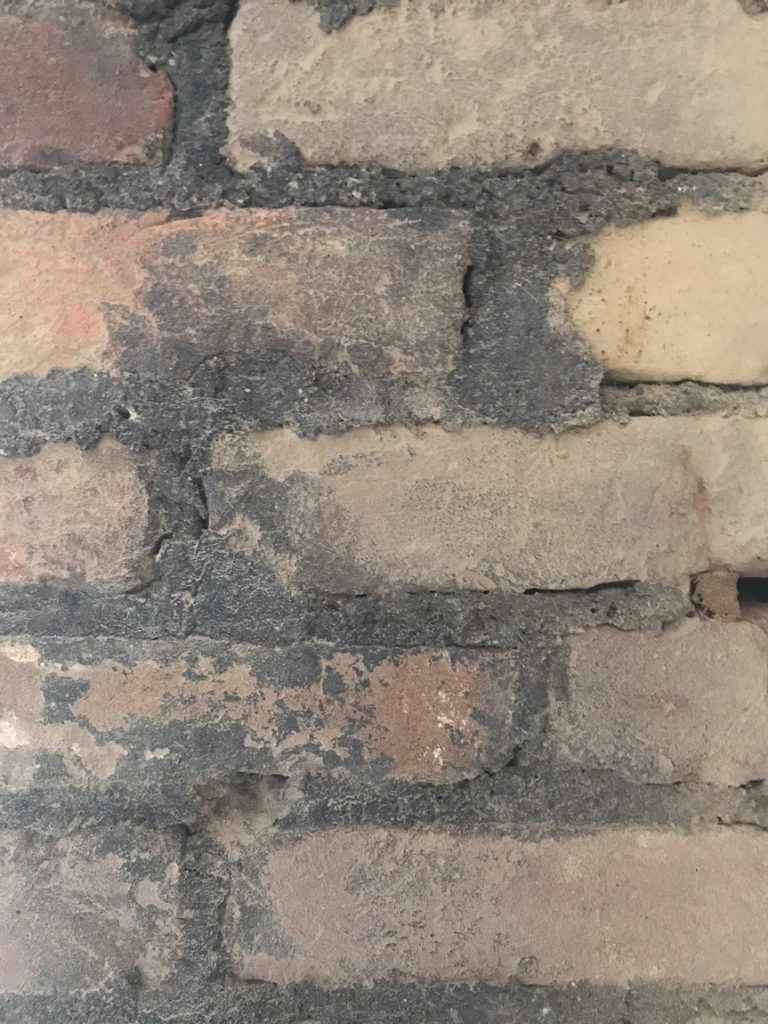
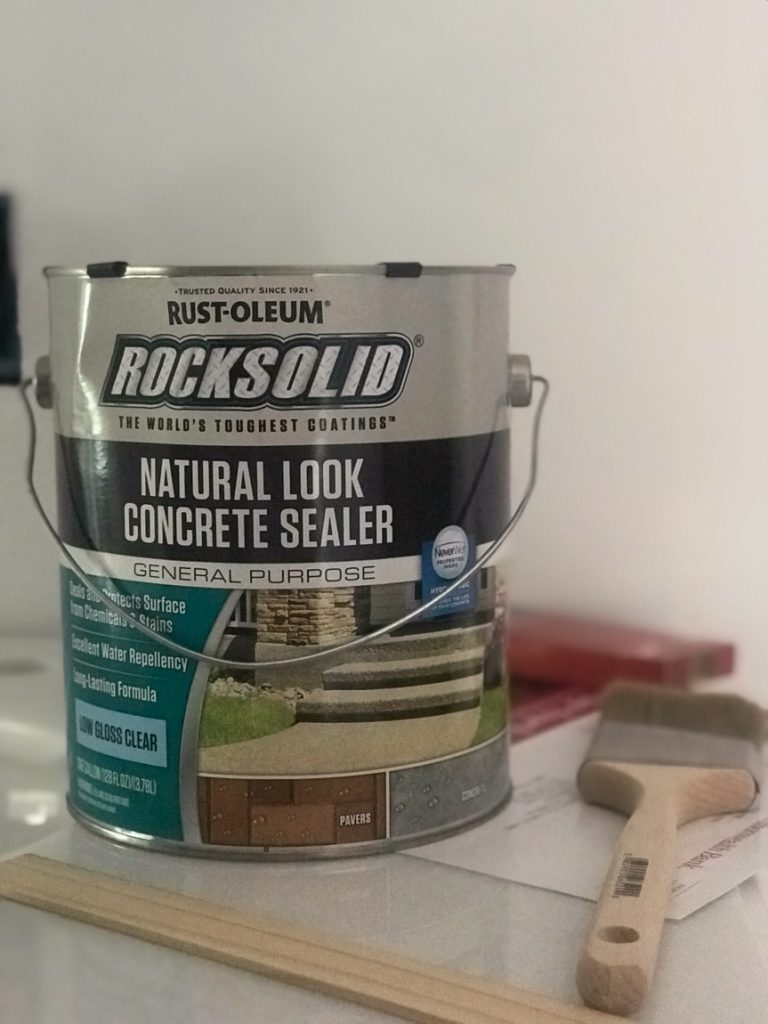
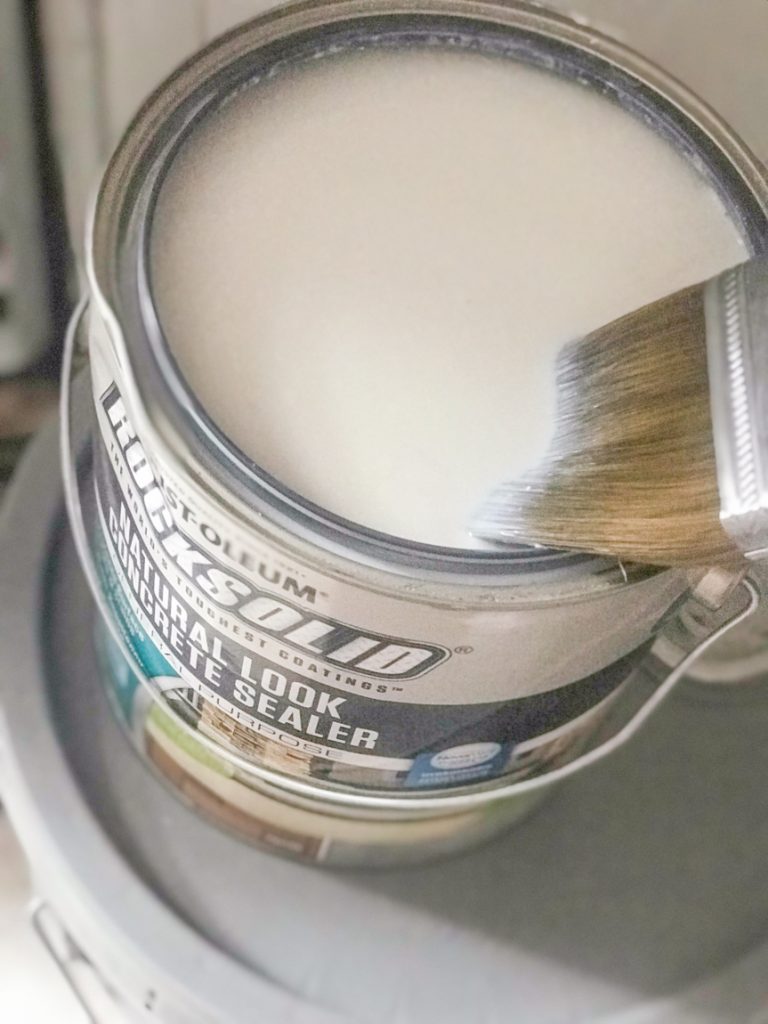
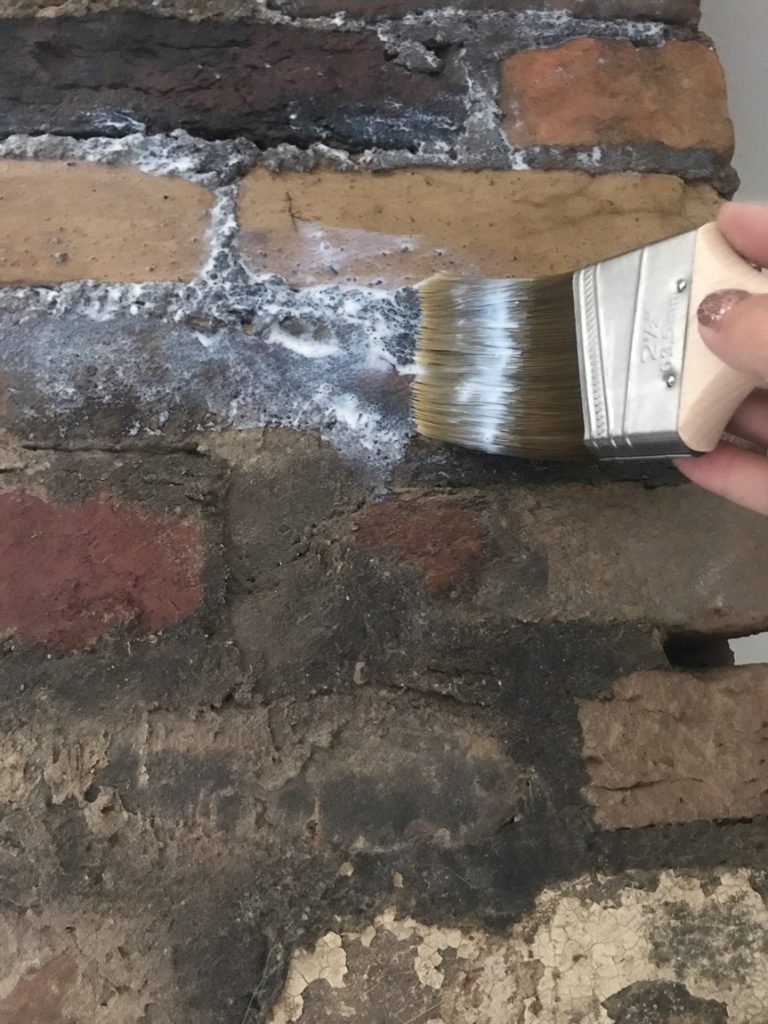
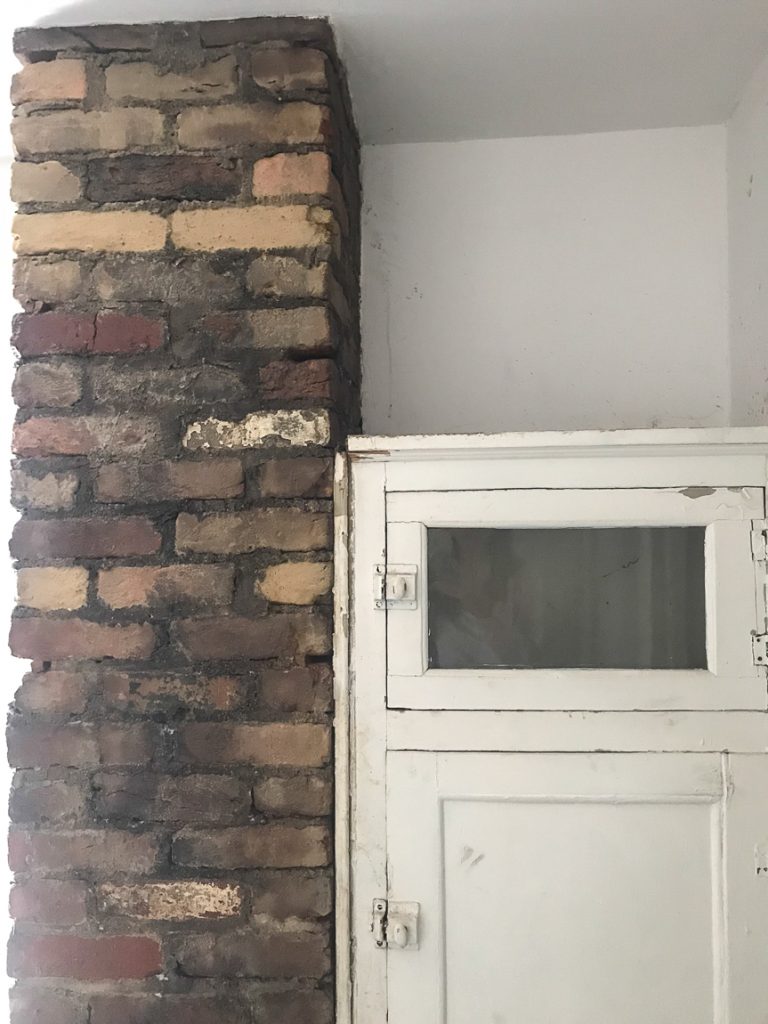
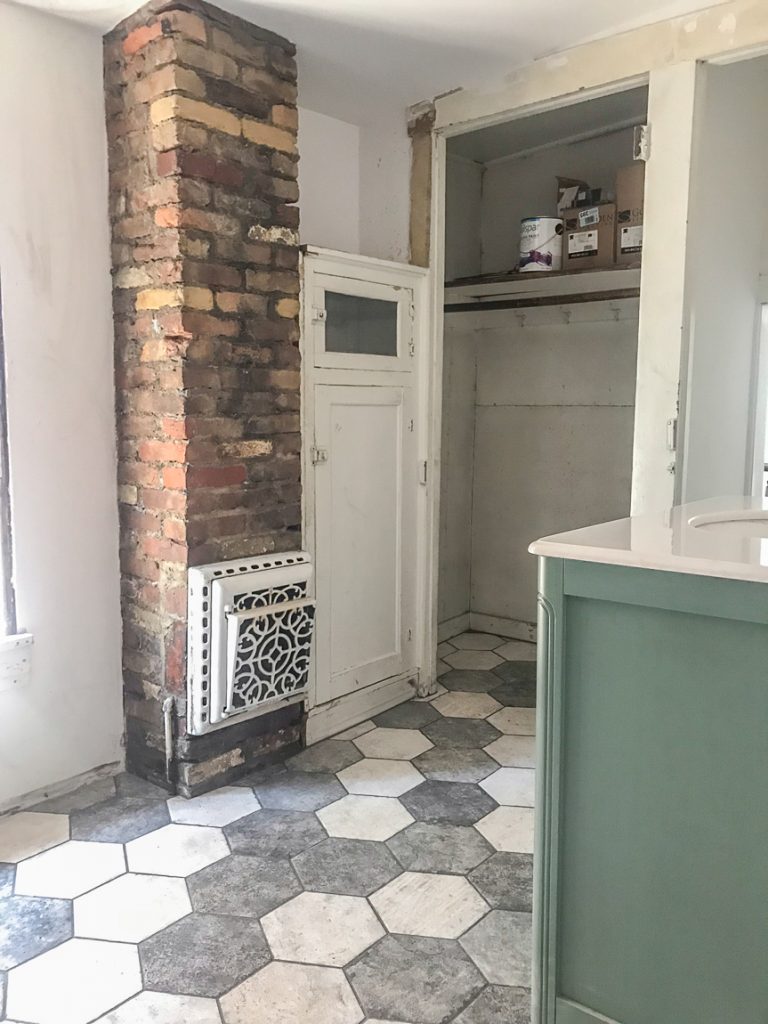
And the walls? That paneling. Gone! Down to the studs and very dirty ‘shiplap’. I just couldn’t cover up the beautiful back wall (Sealing a Wood Plank Wall) and the rest of the walls and ceiling was covered with drywall. I decided to leave the brick chimney exposed and sealed it (more on that with this post: Sealing Brick). I love that kind of original charm!

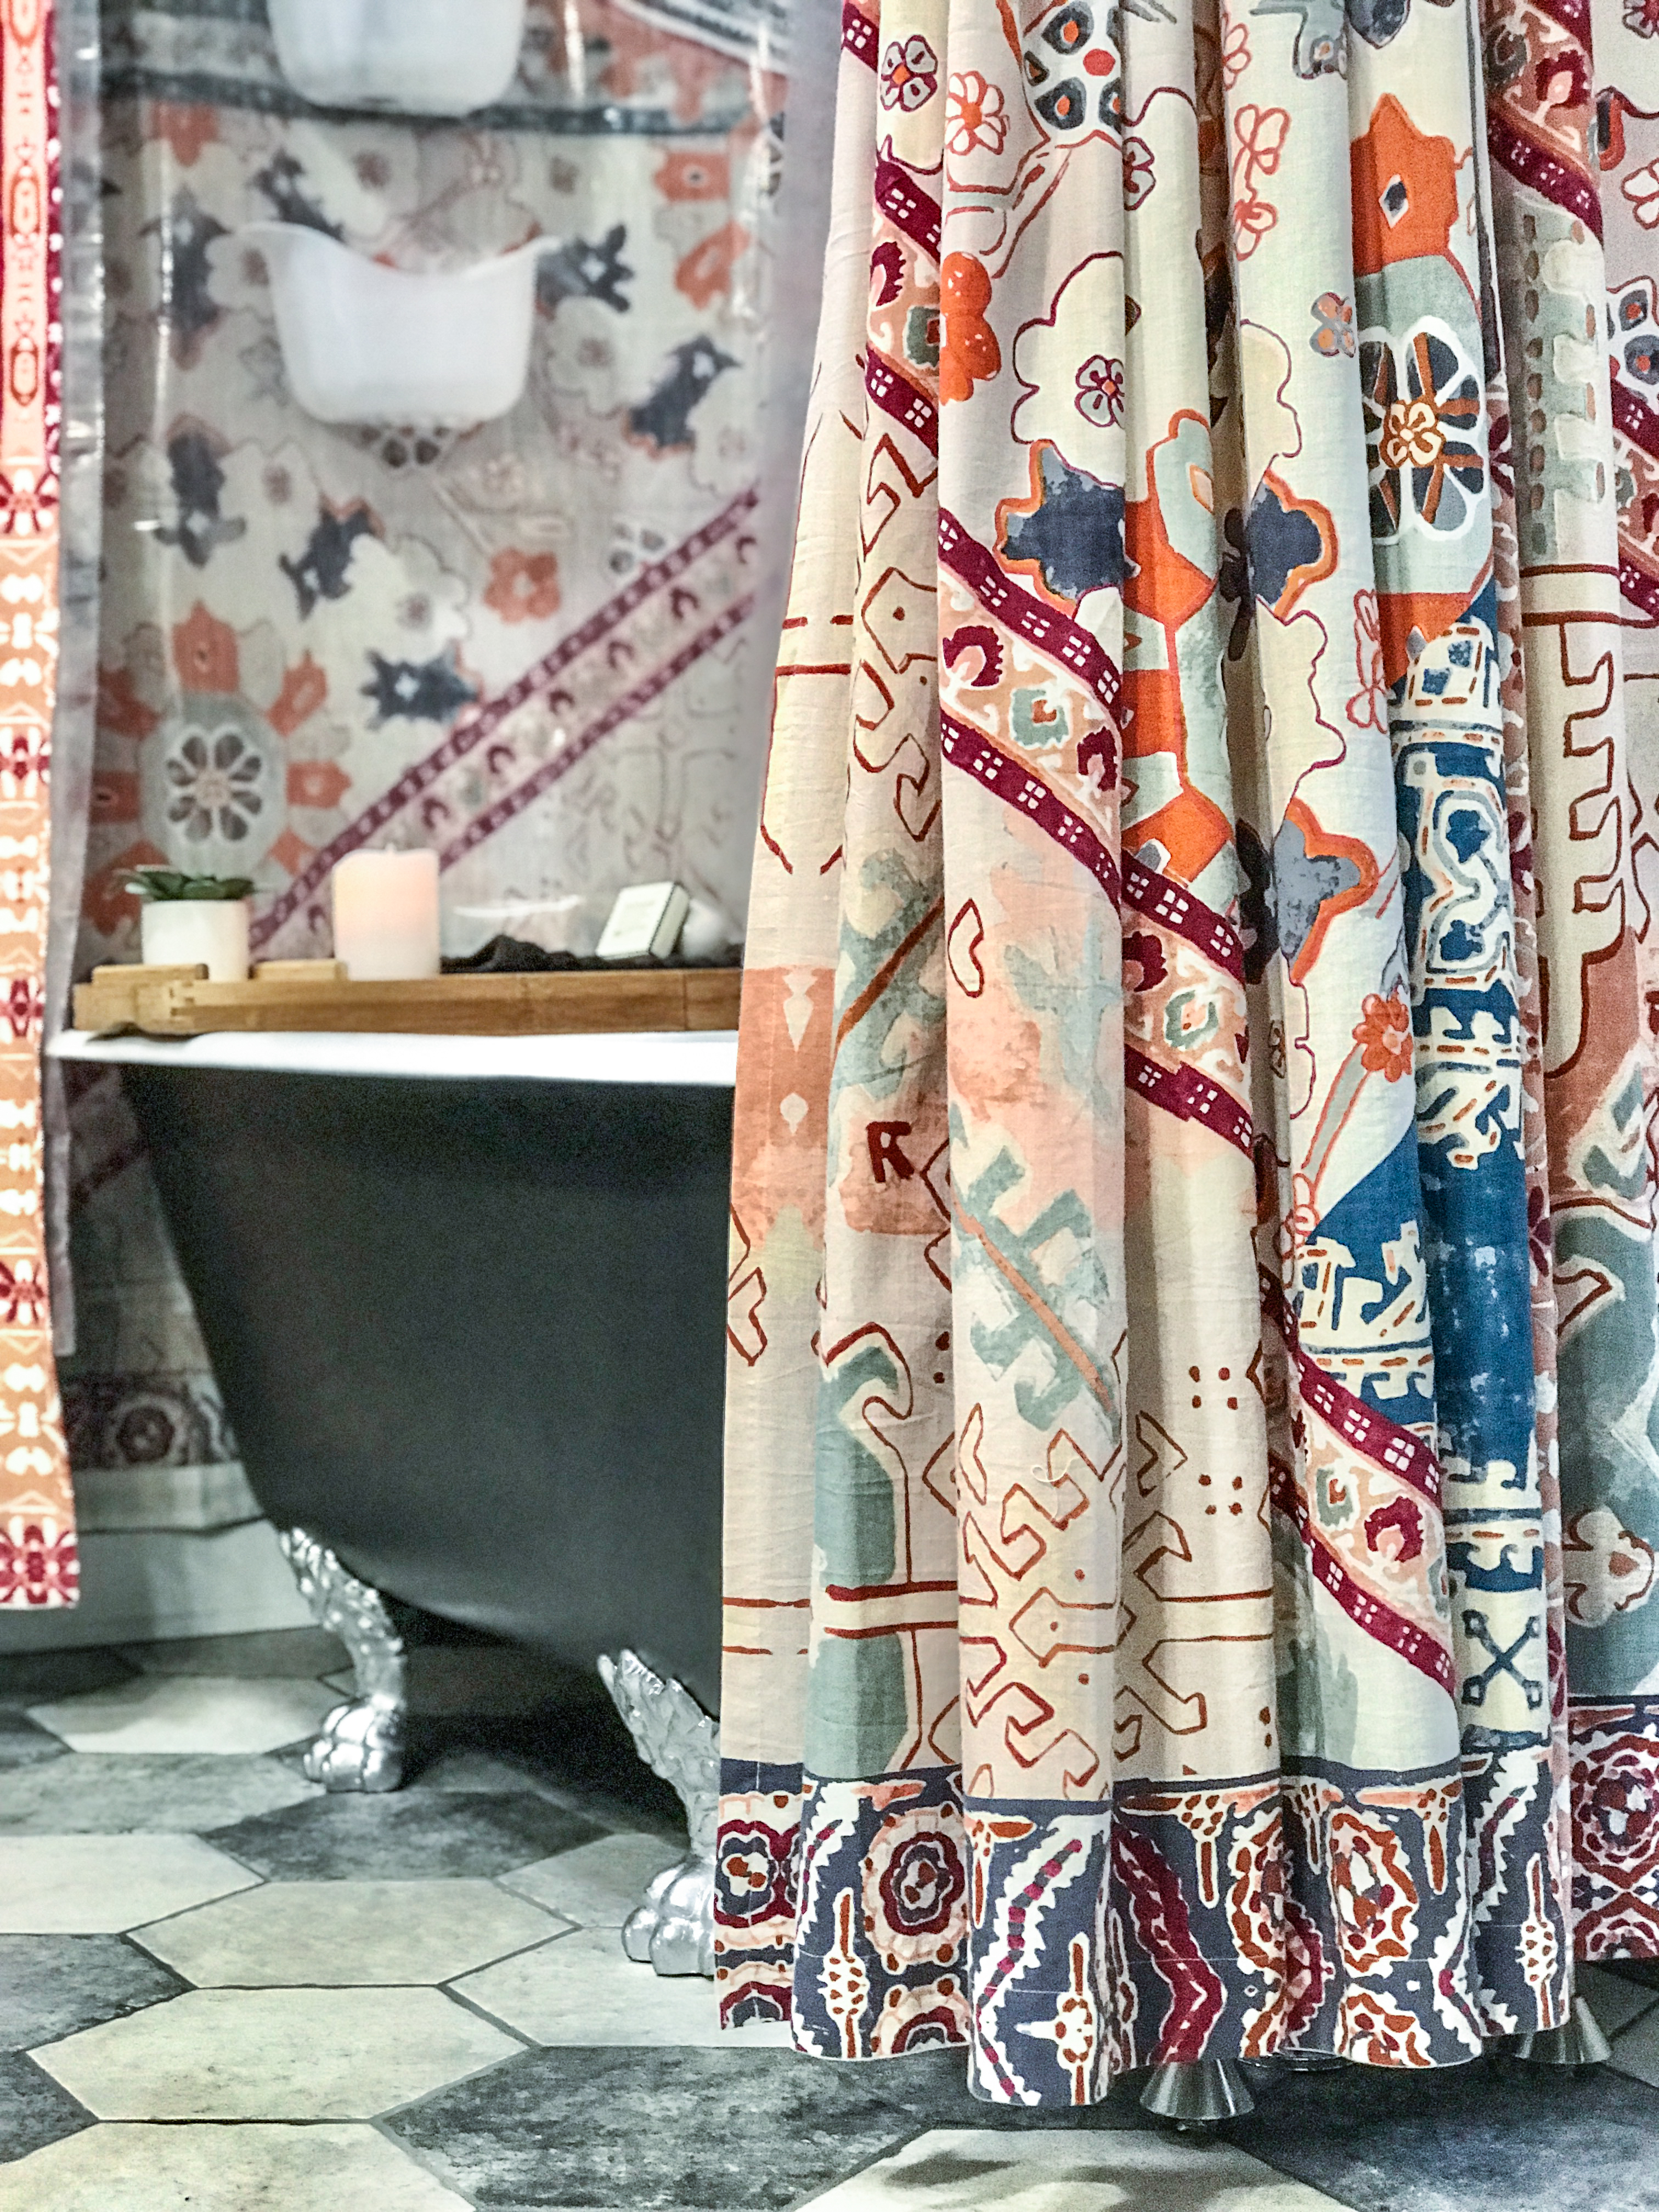
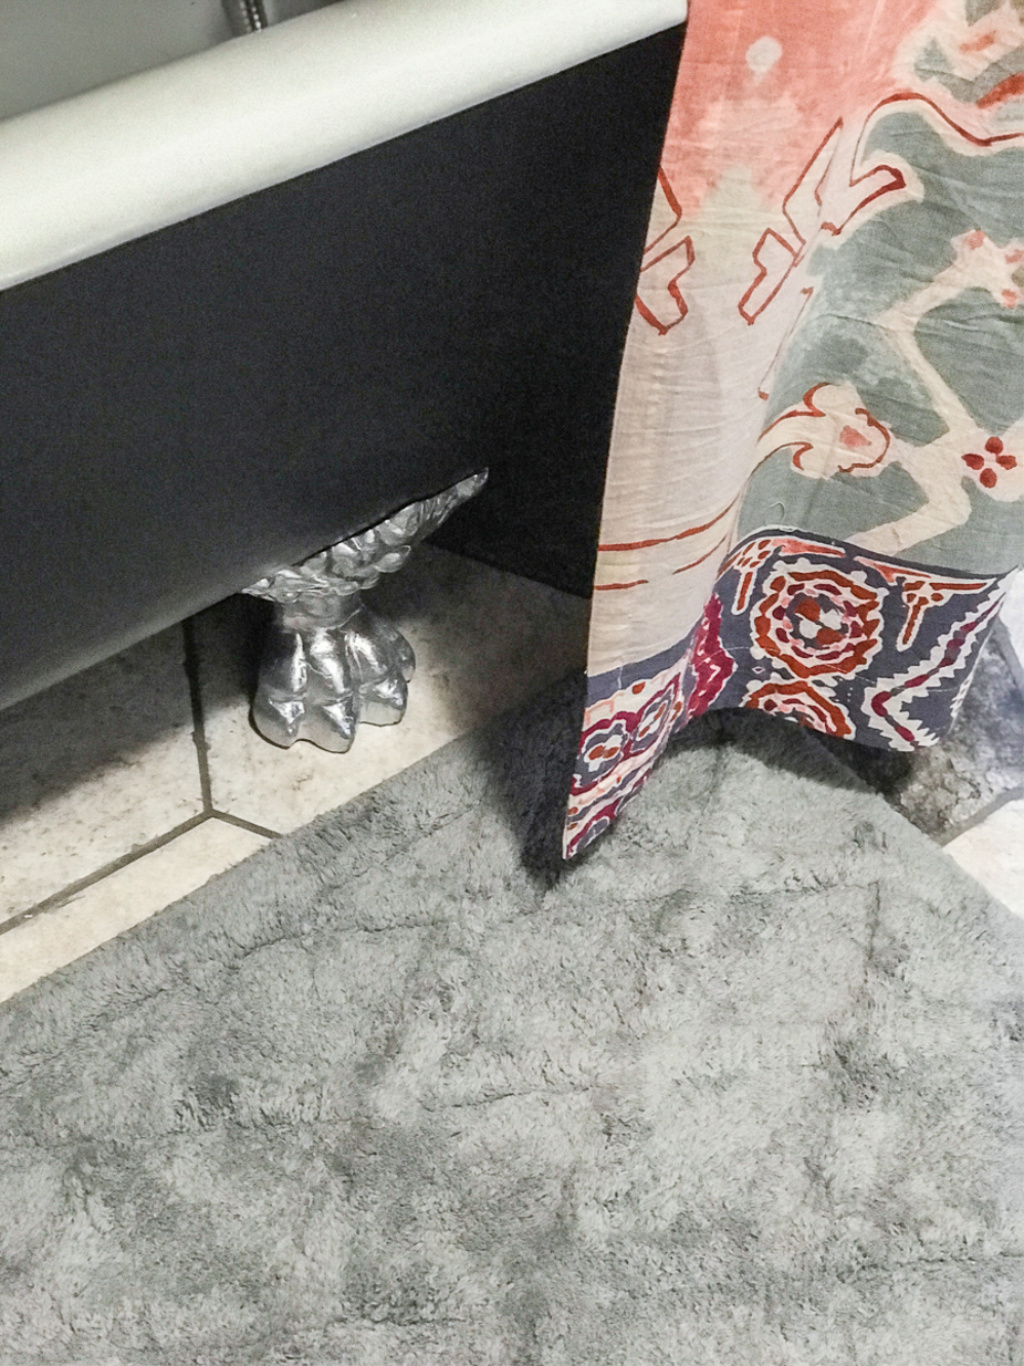
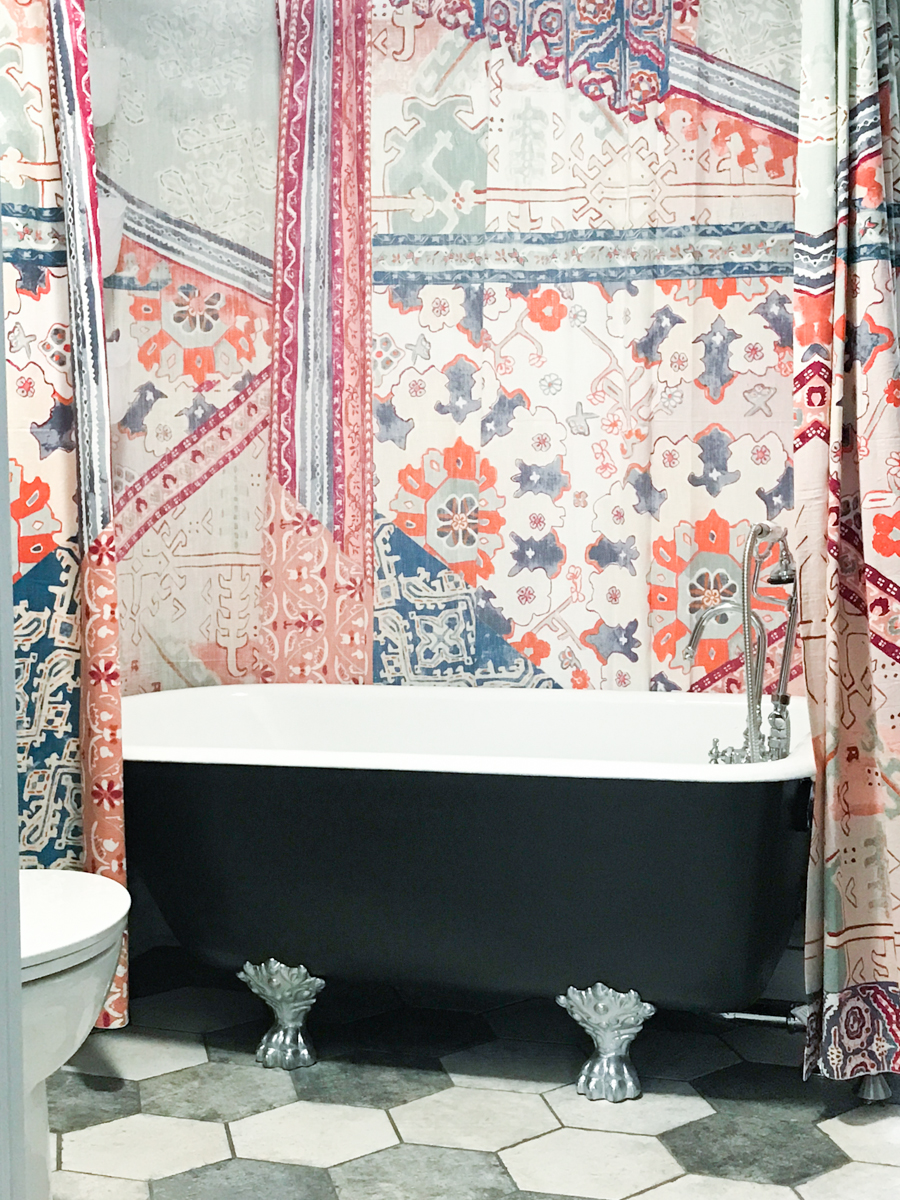
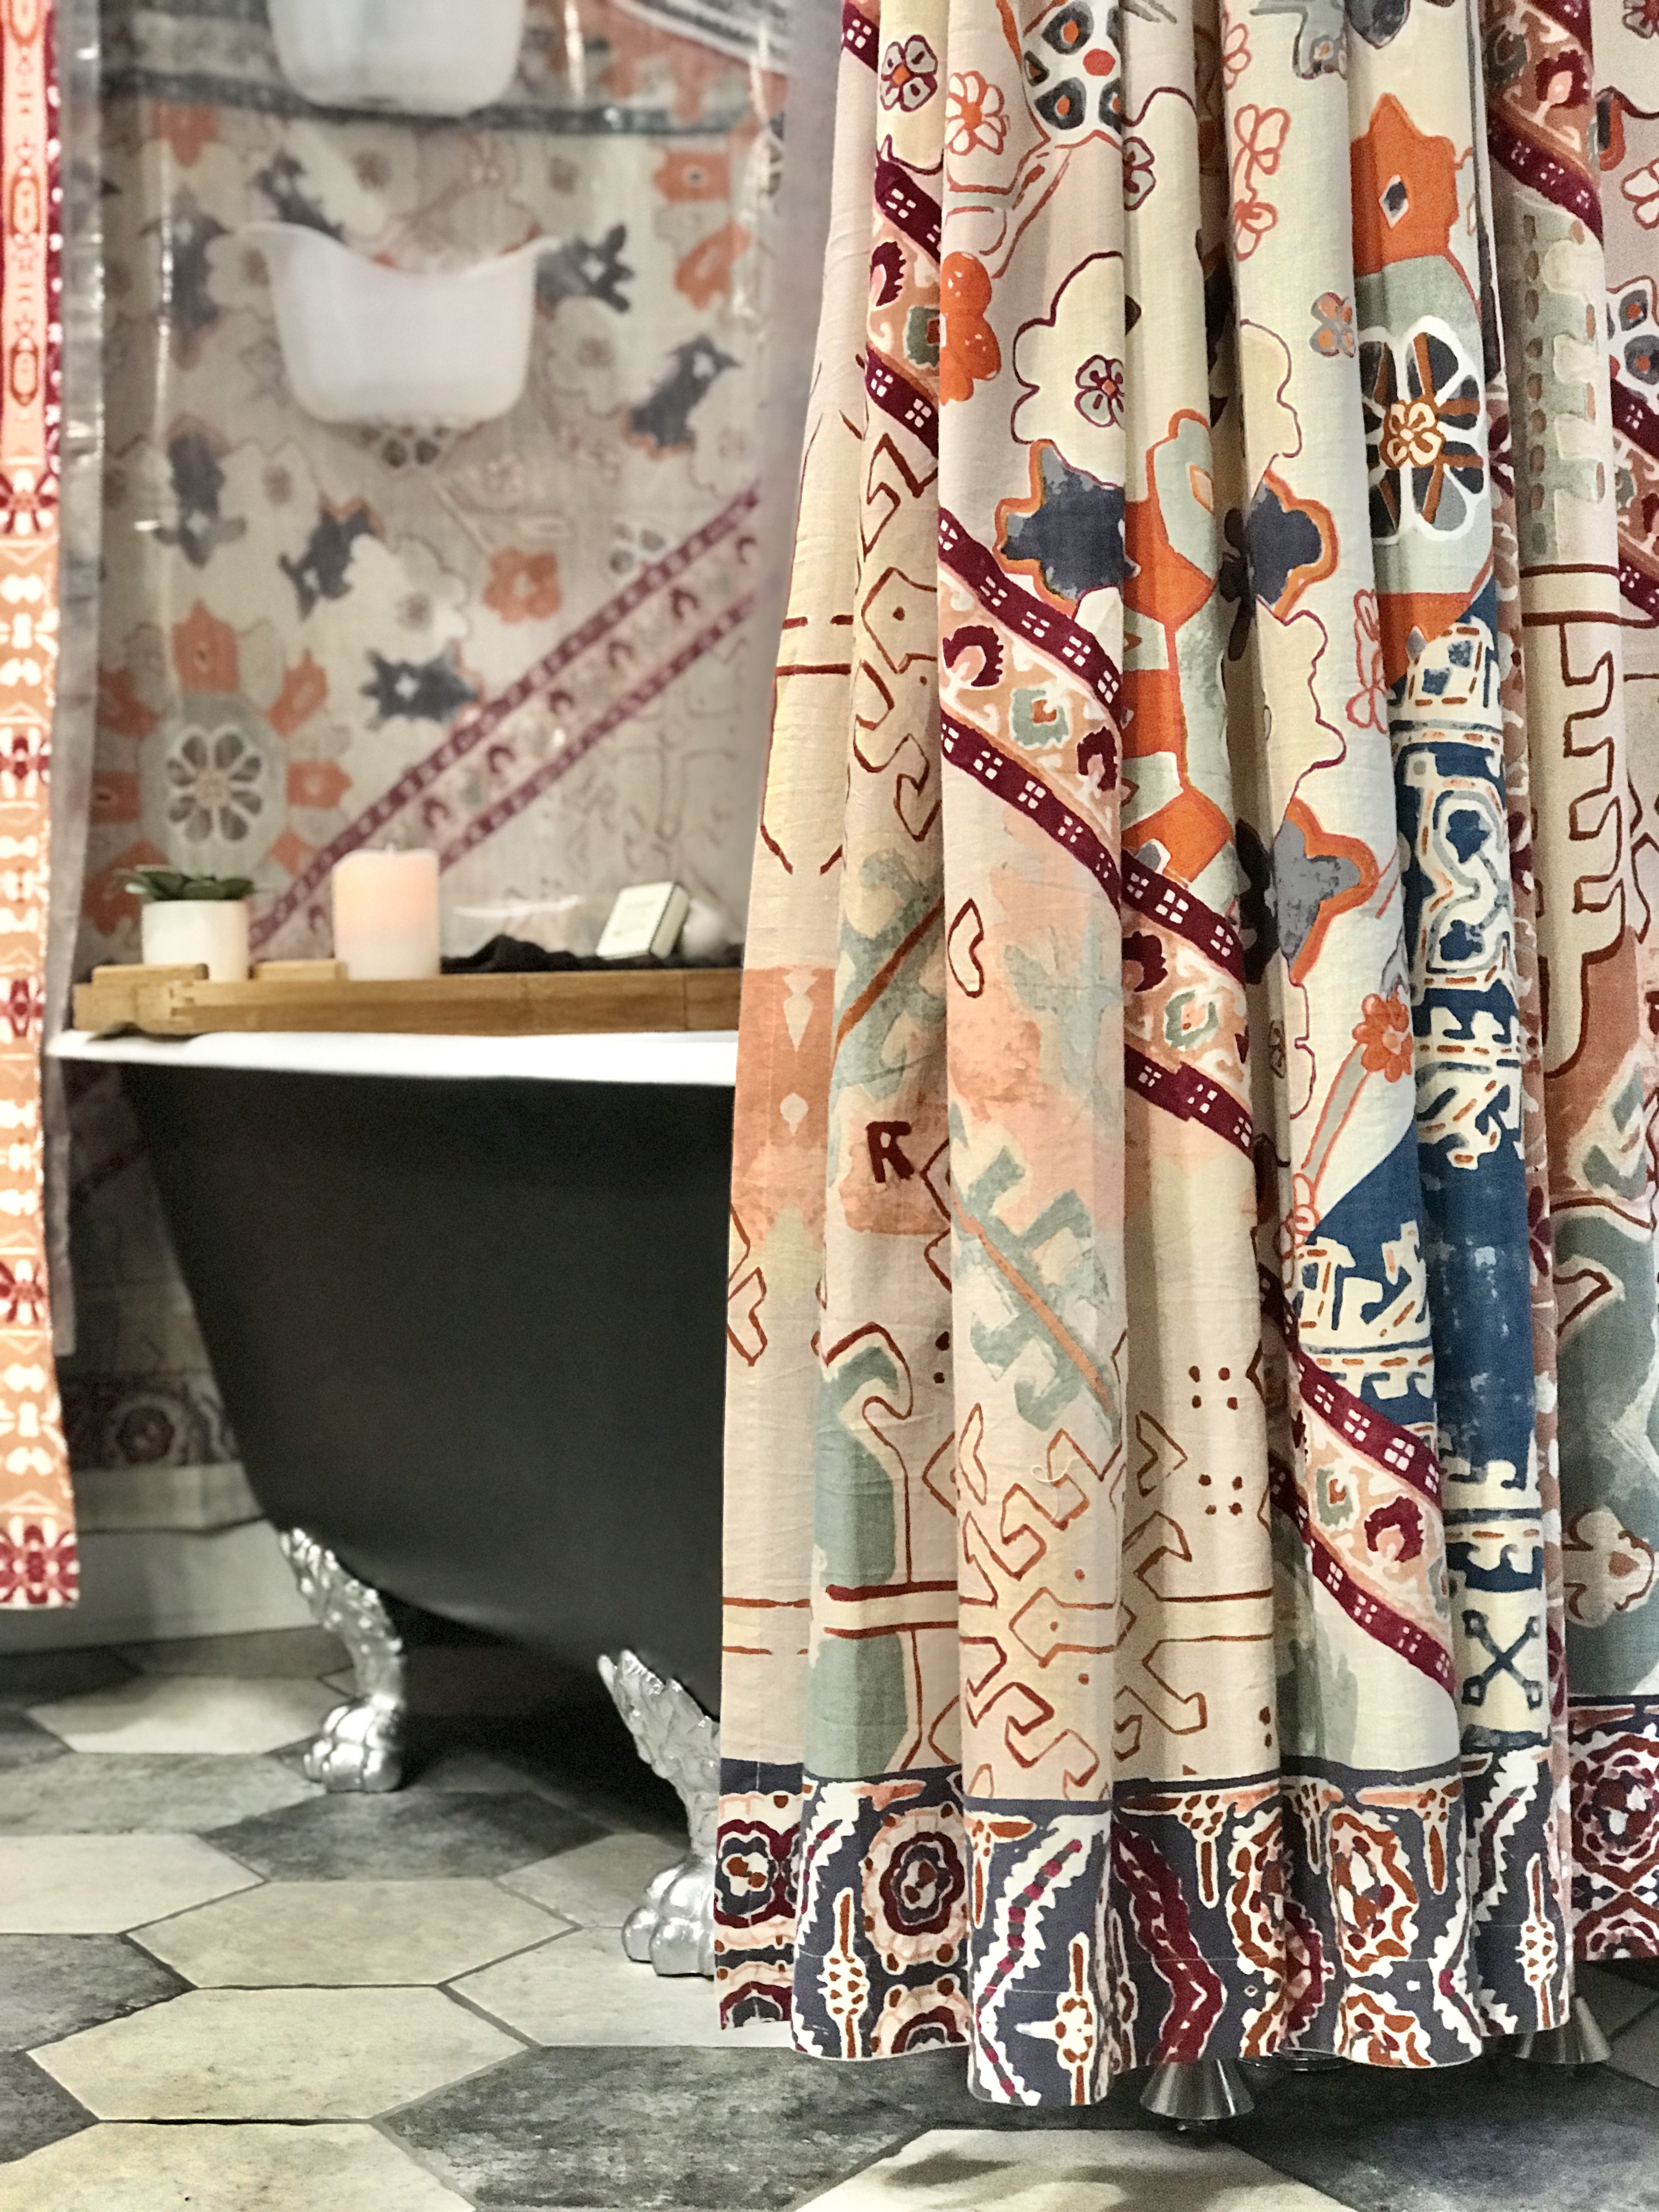
The tub. Oh man. I can’t believe it was boxed in! I did hire out refinishing the inside (David Gunn). Russ sanded the outside for me and I applied a couple of coats of primer and paint and gave those beautiful feet a fresh new look. Can you believe it was all originally hidden? it’s gorgeous!  

Before: 

DIY craft studio // workshop - before room makeover @diyshowoff bathroom makeoverblue bathroom vanity bathroom towel wall storage airbnb apartment bathroom makeover suite thyme airbnb apartment bathroom makeover suite thyme Before:DIY craft studio // workshop - before room makeover @diyshowoff bathroom demoBefore:DIY craft studio // workshop - before room makeover @diyshowoff  airbnb apartment bathroom makeover suite thyme Before:DIY craft studio // workshop - before room makeover @diyshowoff DIY craft studio // workshop - before room makeover @diyshowoff Demo time: bathroom makeover in progress A work in progress: bathroom renovation bathroom makeover bathroom makeoverPretty original wood plank wall becomes a feature:Sealing a wood plank shiplap wall with shellac #helloredreno @diyshowoff #ad Sealing a wood plank shiplap wall with shellac #helloredreno @diyshowoff #ad Sealing a wood plank shiplap wall with shellac #helloredreno @diyshowoff #ad Sealing a wood plank shiplap wall with shellac #helloredreno @diyshowoff #ad Sealing a wood plank shiplap wall with shellac #helloredreno @diyshowoff #ad Time for new tile floor!!!bathroom floor prep for tile San Francisco hexagon tile floor wood plank wall grouting tile floor hexagon bathroom tile and wood plank wallairbnb apartment bathroom makeover suite thyme airbnb apartment bathroom makeover suite thyme

Before:DIY craft studio // workshop - before room makeover @diyshowoff DIY craft studio // workshop - before room makeover @diyshowoff airbnb apartment bathroom makeover suite thyme bathroom makeover bathroom decorBefore:DIY craft studio // workshop - before room makeover @diyshowoff DIY craft studio // workshop - before room makeover @diyshowoffbathroomcloset Demo time: bathroom makeover vintage bathroom charm bathroom makeover A work in progress:bathroom renovationbathroom renovation bathroom makeoverKeeping the brick exposed and sealed…vintage brick exposed brickBeautiful new tile floor and vanity…hexagon floor tile blue vanity hexagon tile floor with shiplap wall airbnb apartment bathroom makeover suite thyme

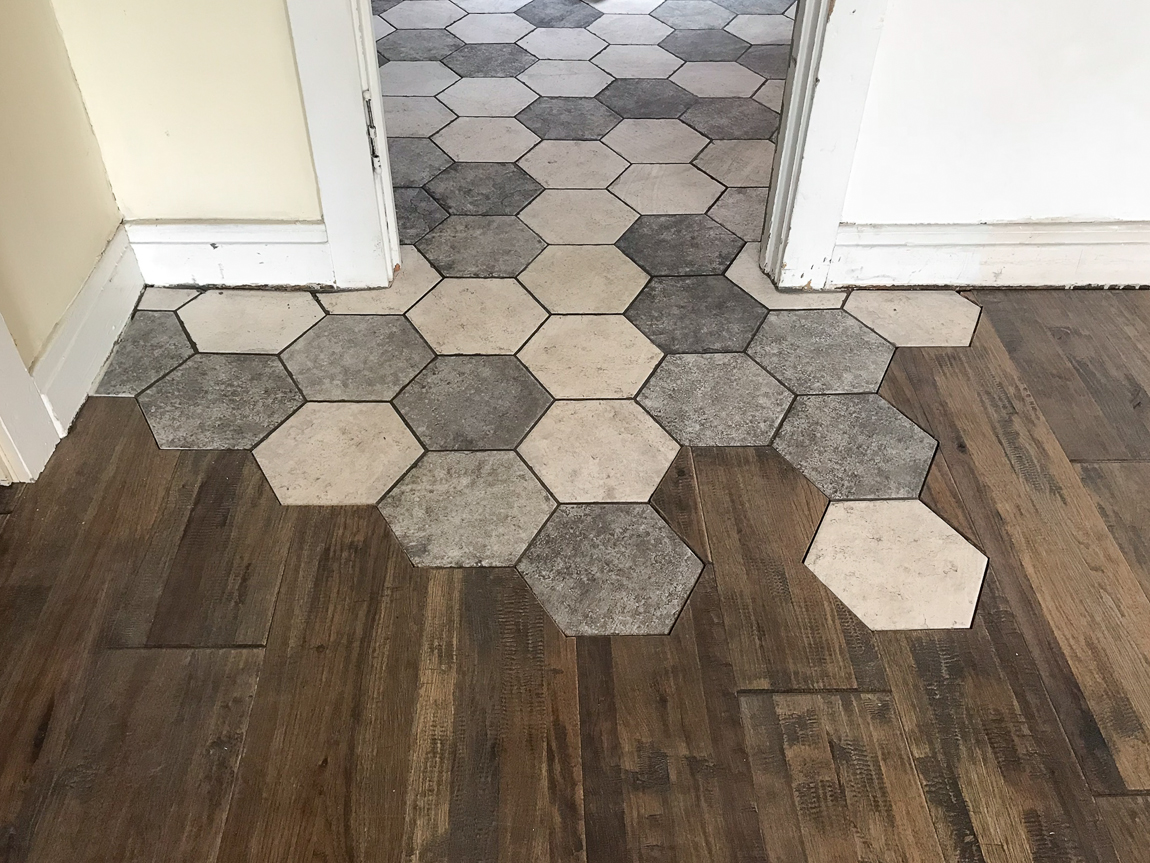
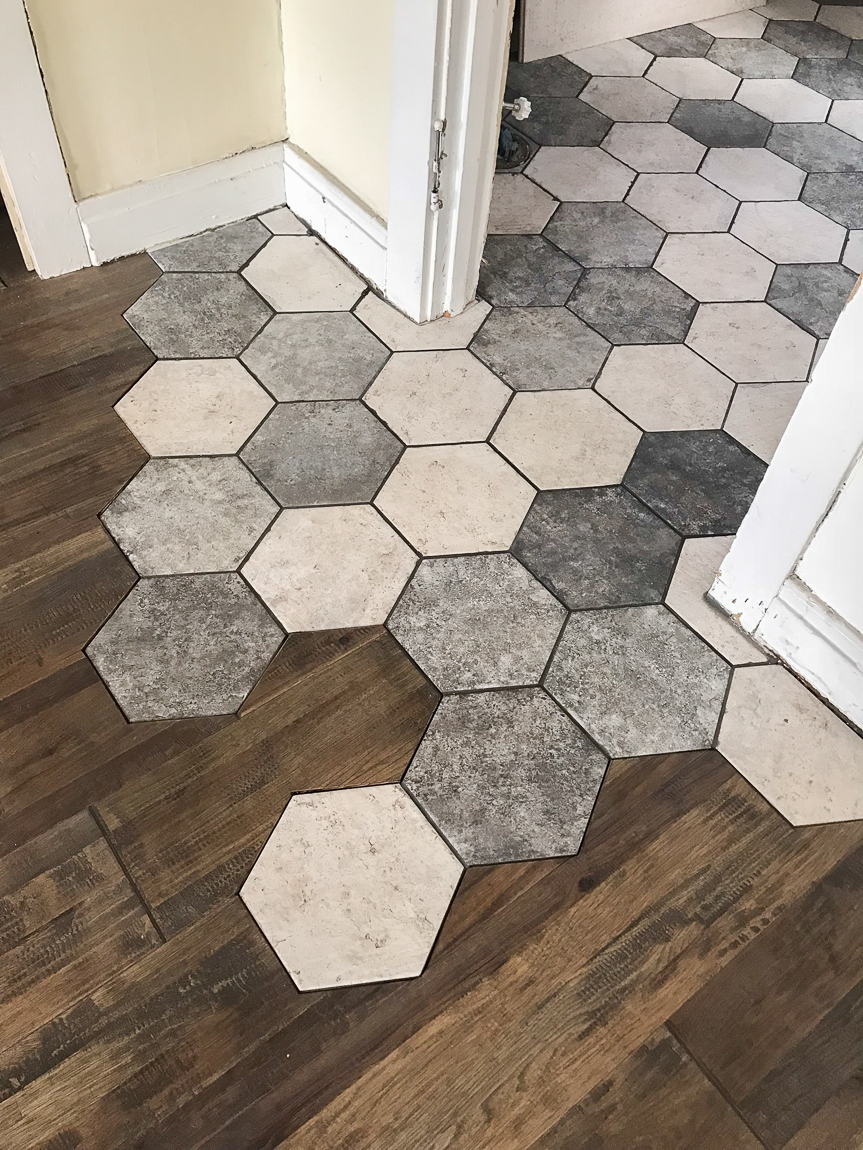
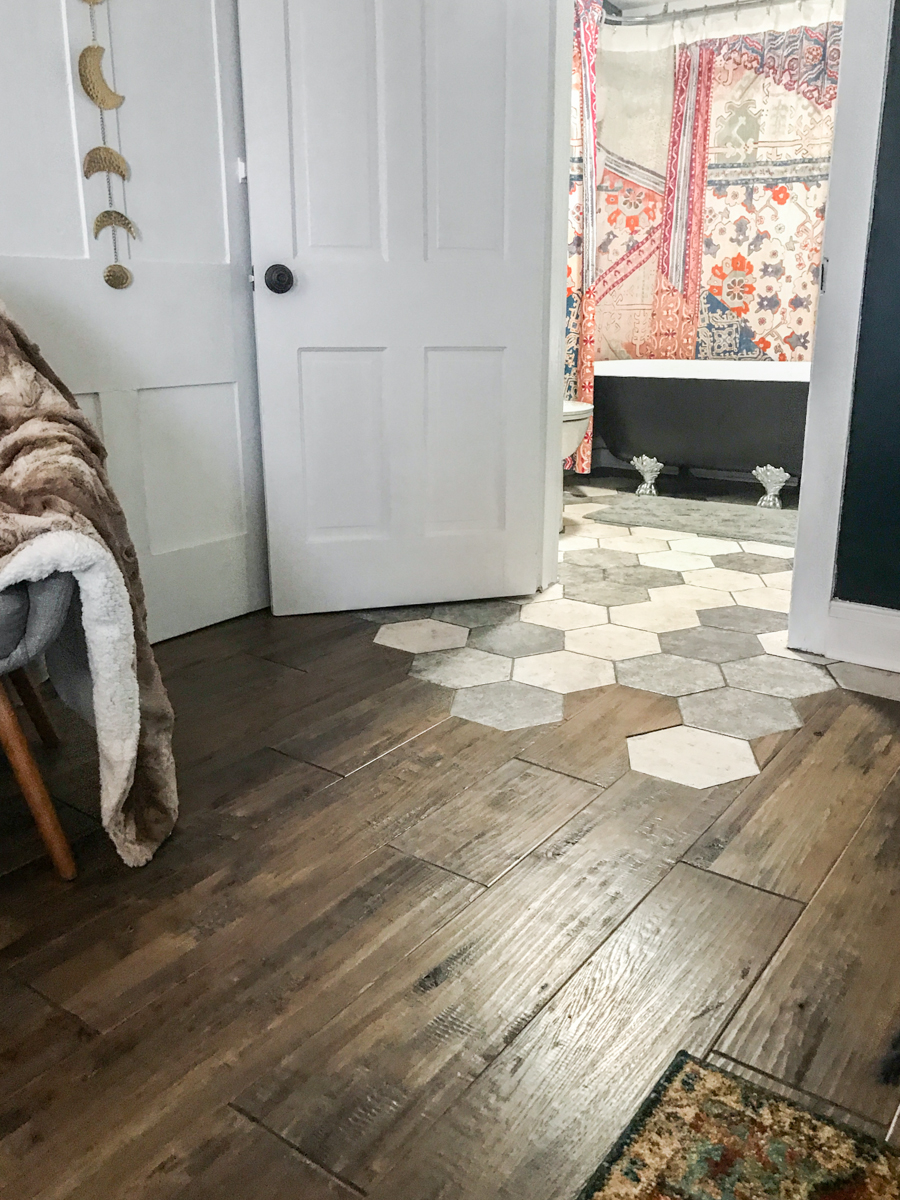
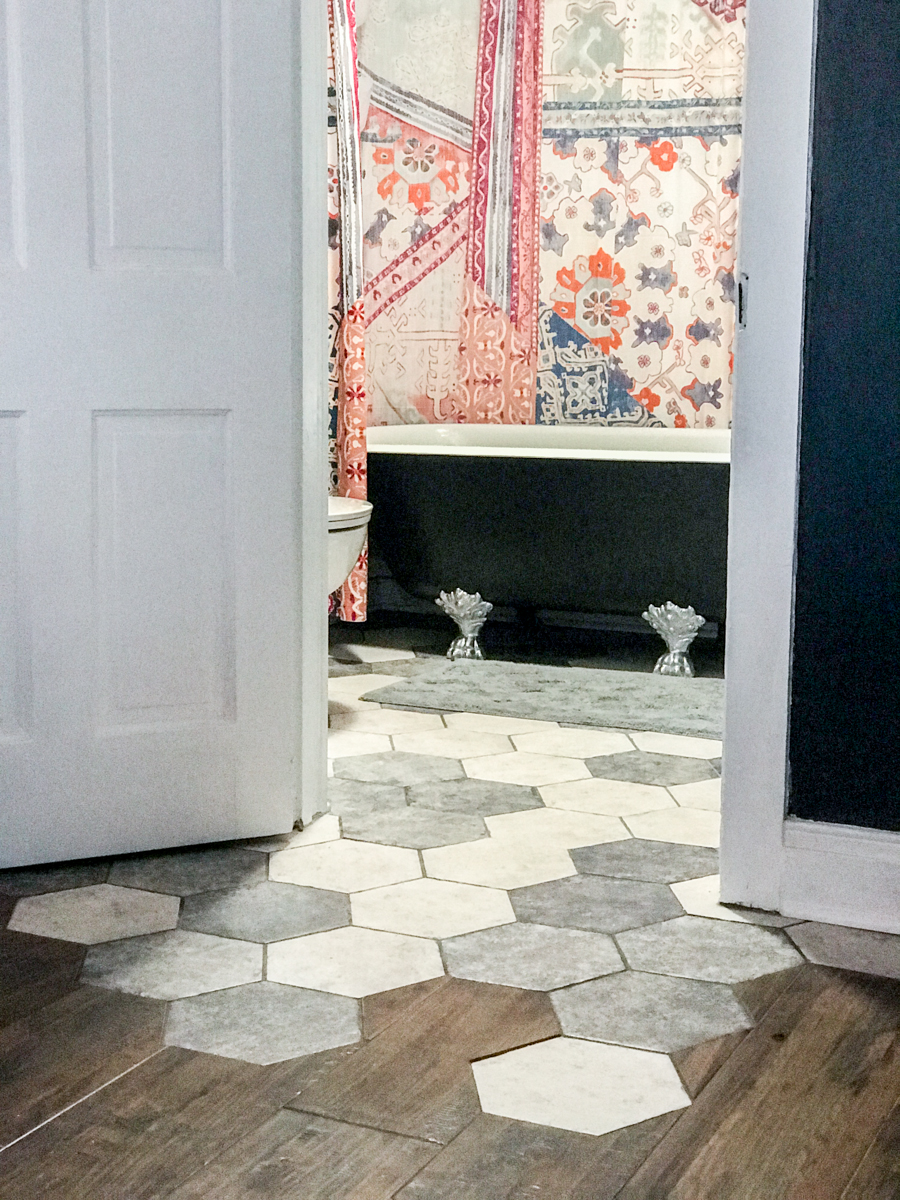
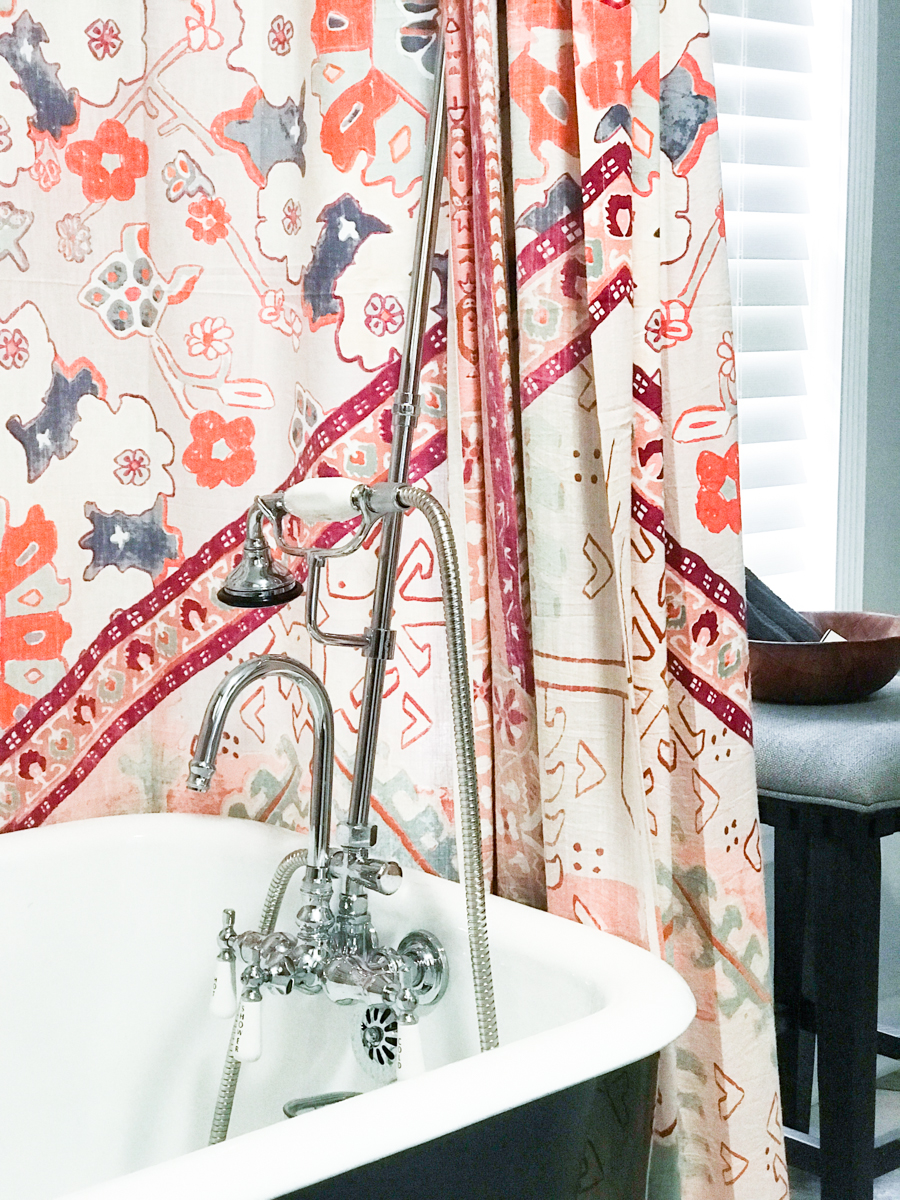
Before:DIY craft studio // workshop - before room makeover @diyshowoffTime for demo:clawfoot tub DIY bathroom renovation bathroom makeoverCleaning up:bathroom renovationbathroom renosub floorNew hexagon tile flooring spills into the hardwood from bathroom to bedroom. LOVE the creative freedom to do something different so much! hexagon bathroom tile and wood plank wall hexagon tile to hardwood transition hexagon tiles meet hardwood Shaw San Francisco tile Monterrey Grandview hardwoodairbnb apartment bathroom makeover suite thyme airbnb apartment bathroom makeover suite thyme airbnb apartment bathroom makeover suite thyme anthropologie boho rise shower curtain clawfoot tubVintage clawfoot before:bathroom makeover bathroom makeoverclawfoot tub makeover airbnb apartment bathroom makeover suite thyme airbnb apartment bathroom makeover suite thyme anthropologie rissa shower curtain clawfoot tub

Whew! What a LONG hard job! But what a beautiful transformation! I have yet to soak in that tub but it’s on my list of things to do this weekend! 

Share your thoughts! 

What do you think? Quite a difference from before to after, right? Ready for a relaxing get-away?

Next up:

Things left to do: build a shed door for out back (I did create a beautiful small seating area … I’ll share a few pictures of that next). I also need to build a door for a sliding barn style door between the bedroom and kitchen/dining/livingroom area. But other than that, it’s pretty much done! All decorated and furnished from dishes to bed linens, great amenities and attention to detail. I’m so proud of how my vision came together and look forward to hosting LOTS of guests! Let the bookings begin! 

More about #helloredreno

You can book Suite Thyme if you’re traveling to the western PA area! I’d love to meet you! The building has so much historical charm. It’s about one block from our town’s Main Street. The bus stop is literally steps away. There’s an antique shop nearby. There are breweries, the YMCA, shops, restaurants, salons, florists, candy/coffee shop, holiday parades and festivals within walking distance. So fun! If renovation from blah to ahhhhh is your thing, come and check it out in person!

Ready to book a stay away at a home-suite-home for a Suite Thyme? Book Suite Thyme! Mention DIYShowOff and we’ll include a special gift with your stay. 

So subscribe and be reminded of updates as the renovations progress! I’ll share before and after photos, projects underway and updates, plans and design boards, sources and links as they relate as well as fun events going on in and around the downtown area. I’ll be using a specific hashtag on social media to keep things all neat and tidy and organized.

#helloredreno and #suitethyme

I welcome your thoughts and ideas! And as always, thanks for your encouragement and support and for sharing in my joy and vision! 

The #helloredreno project diary:

Project Diary Entry #1 – Hello Red Reno!

Project Diary Entry #2 – Efficiency Apartment

Project Diary Entry #3 Color Passive Paint

Project Diary Entry #4 – Full Bathroom Demo Day

Project Diary Entry #5 – Sealing A Wood Plank / Shiplap Wall

Project Diary Entry #6: Bathroom Flooring

Project Diary Entry #7: Sealing Brick

Project Diary #8: Hardwood Floors

Project Diary #9: Carpeted Stairs

Project Diary #10 Vinyl Floor Tiles

Project Diary #11 – Living Room Before & After

Project Diary #12 – Christmas at the Studio

Project Diary #13 – Wallpaper Mural

Project Diary #14 – Entryway, Stairs & Landing Before & After

Project Diary #15 – Apartment Living Room Before & After Reveal

Project Diary #16 – Dining Nook & Coffee Bar

Project Diary #17 – Apartment Kitchen Reveal

Project Diary #18 – Boho AirBnB Bedroom

Project Diary #19 – Bathroom Before & After Makeover