DIY Decorative Juju Hat Inspired Wall Decor Tutorial

Featured

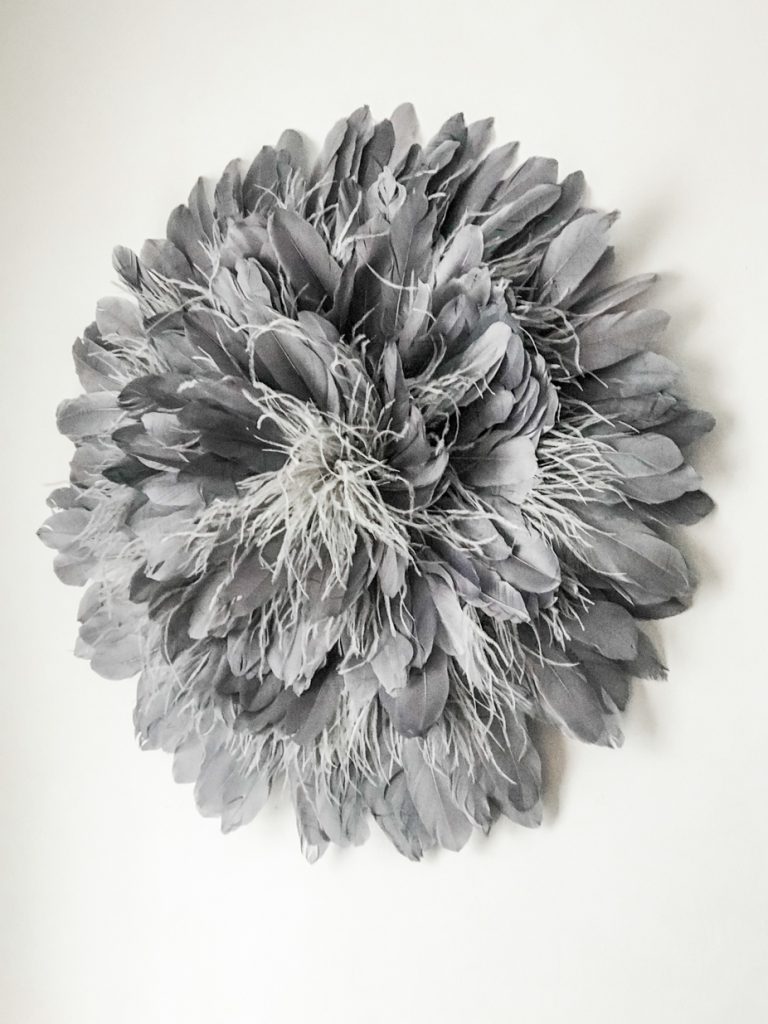
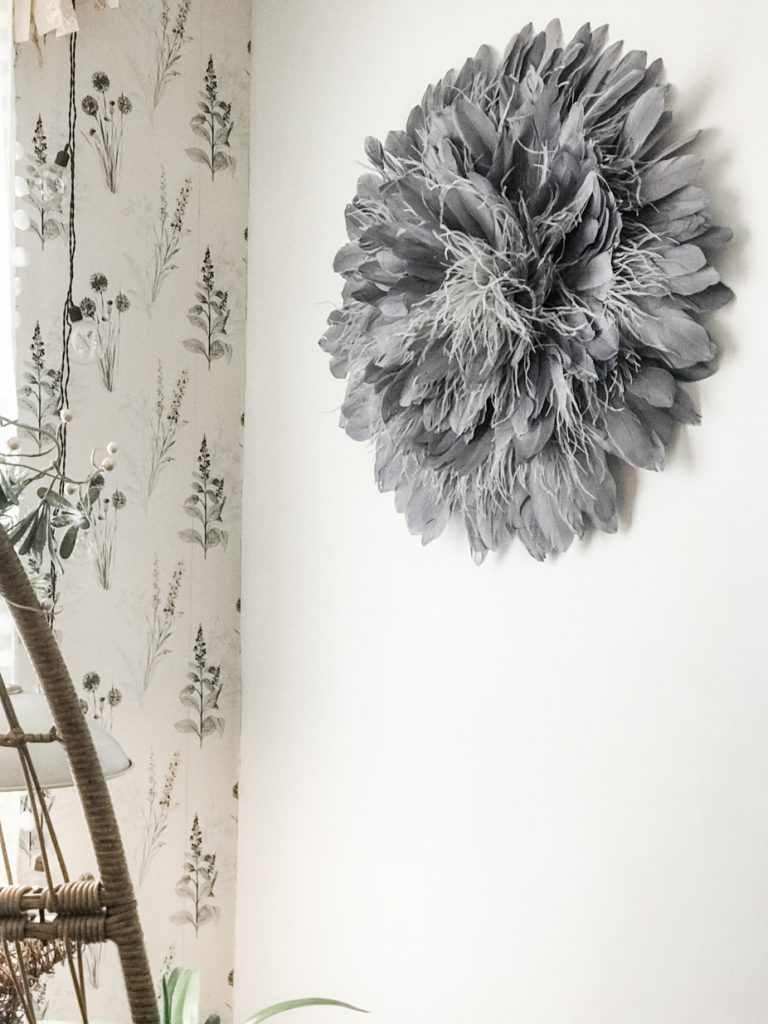
African/Cameroon Juju hats have been around as home decor for a few years. They’re so beautiful, artisanal/handmade (symbolize prosperity, worn by ceremonial dancers). DIY decorative Juju hat inspired tutorial:

DIYShowOff Juju hat wall decor tutorial
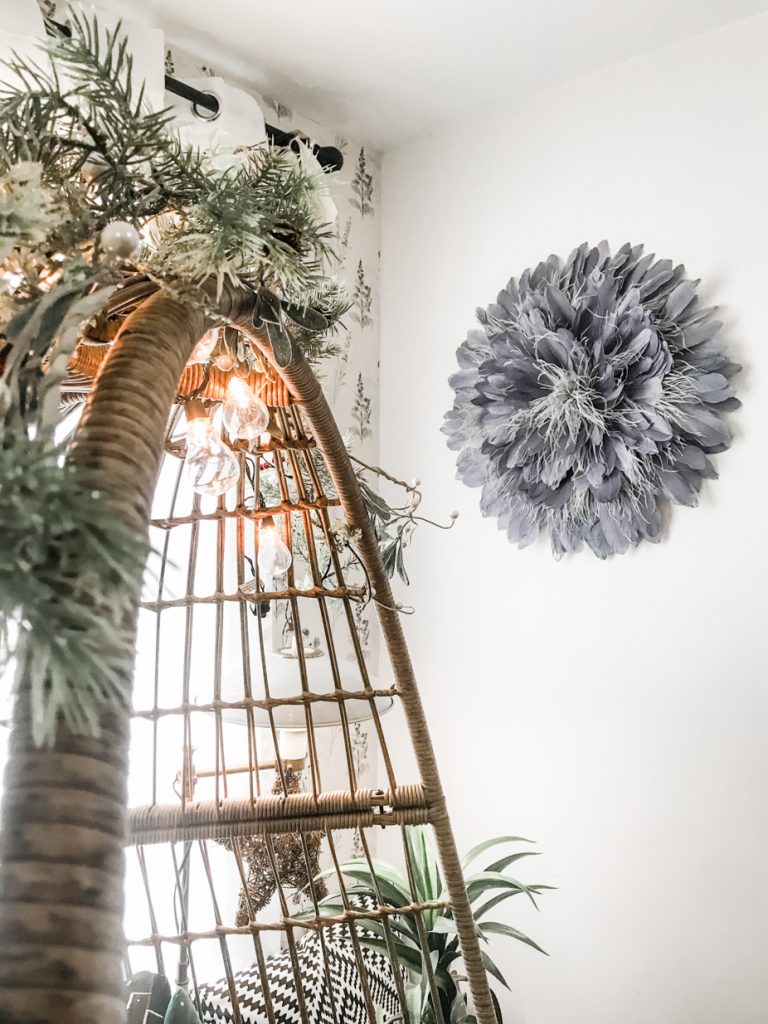
juju hat wall decor diy

When a friend of mine had to part ways with her African Juju hat wall decor (you don’t want to know), she was in the market for a replacement. It’s been a while since I’ve been crafty and what better time than the new year for a fresh start?! Perfect timing. A perfect opportunity to focus on the positive and to send some good juju to a friend. 

What’s your first DIY project of the new year? Looking for and easy, fun and “GOOD” DIY to jumpstart 2022? This is the perfect little project for you to try! I felt empowered and inspired so I opened up my Amazon app and ordered these supplies: 

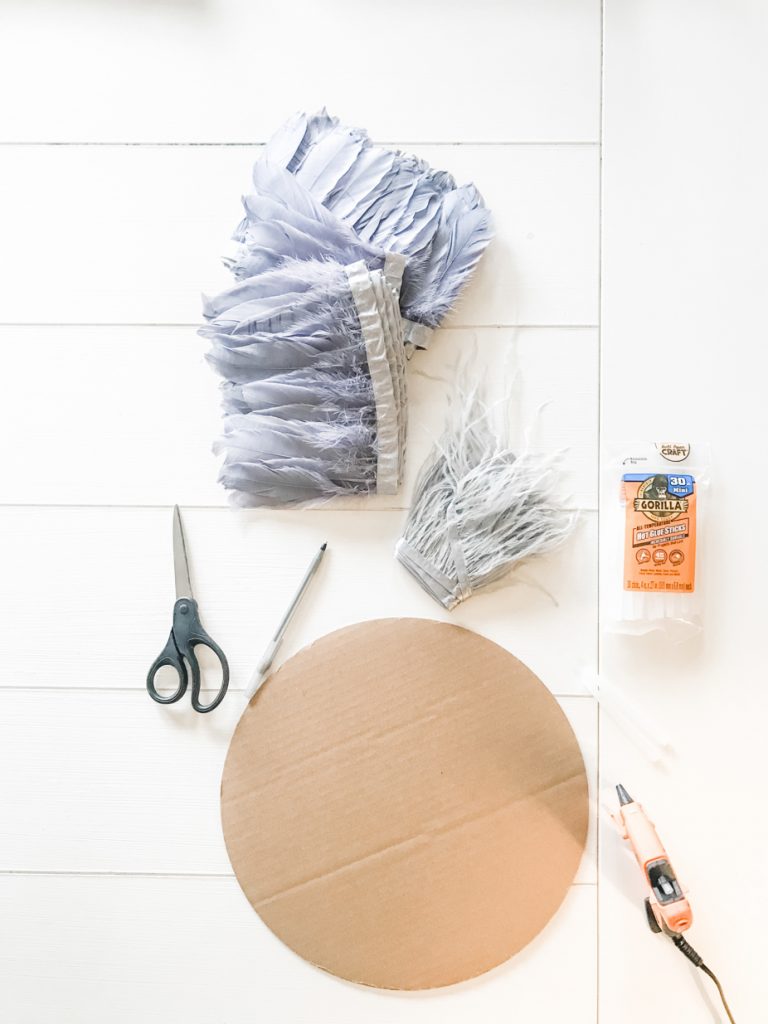
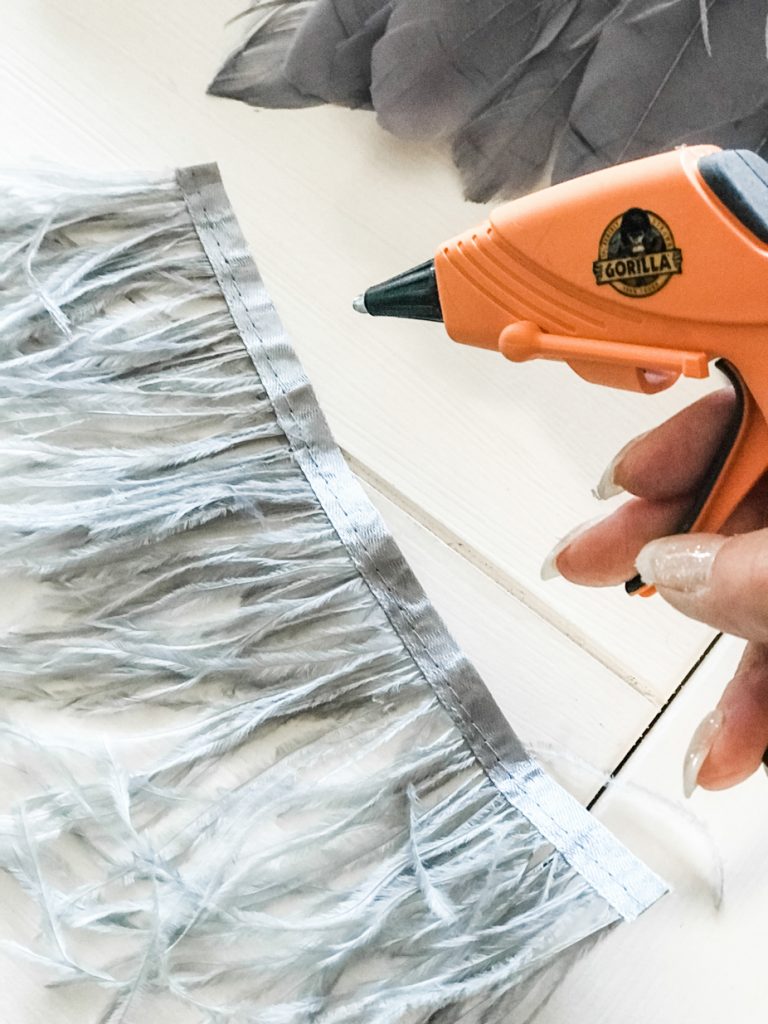
diy materials for juju hat wall decor

Materials I used (referral links):

cardboard circle (could easily make one from recycled cardboard too, especially if you’ve been procrastinating the holiday clean up!)

• feather trim ( purchased 2 of this feather trim and 1 of this feather fringe trim)

• aluminum pop top (removed from can) to hang (could also use string or hang with push pins)

Tools:

hot glue gun/sticks, scissors

What I did:

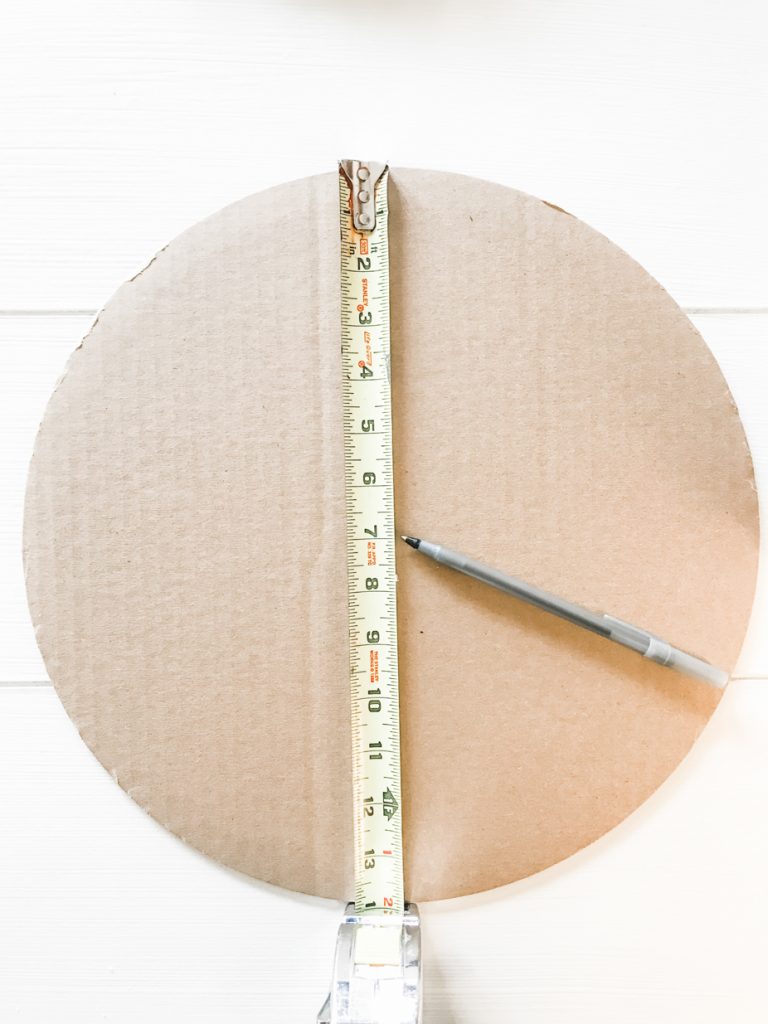
I found the center of my cardboard circle. From there, I drew a straight line to the outer edge. 

tape measure

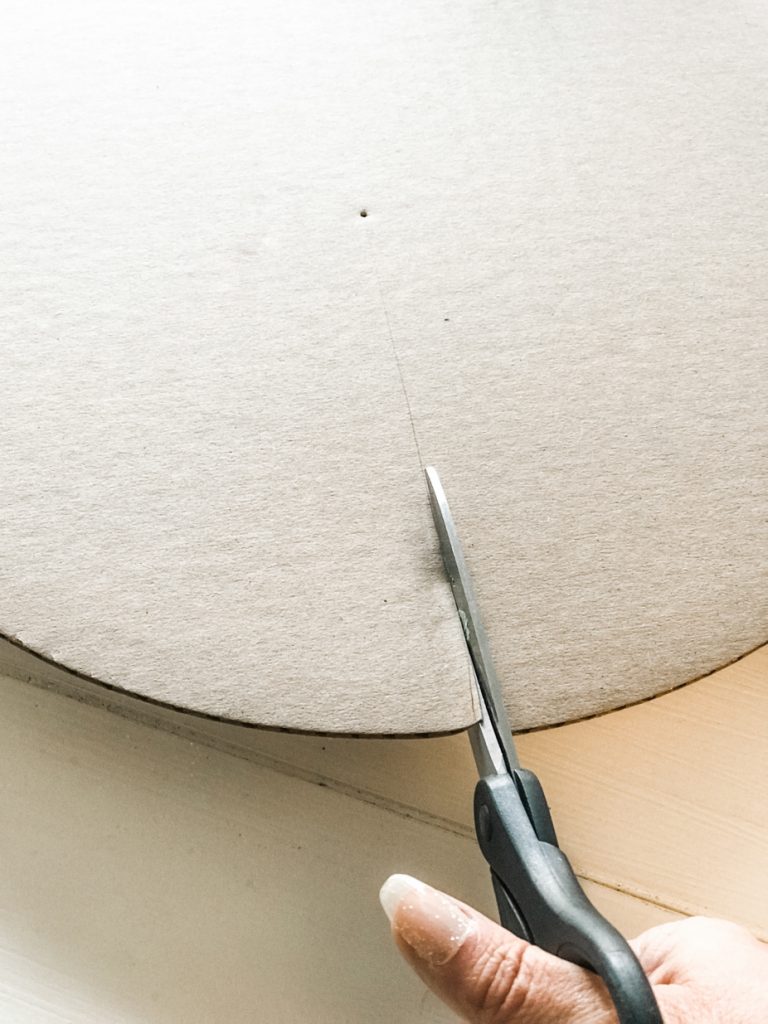
Using scissors, I cut along the line. 

scissors

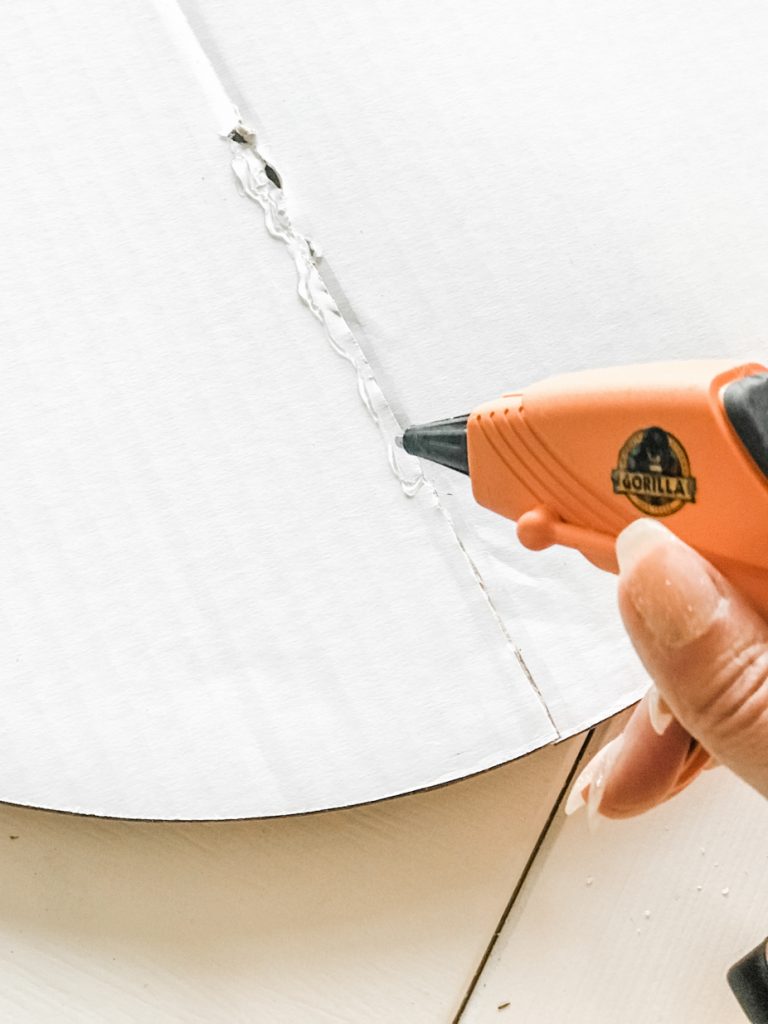
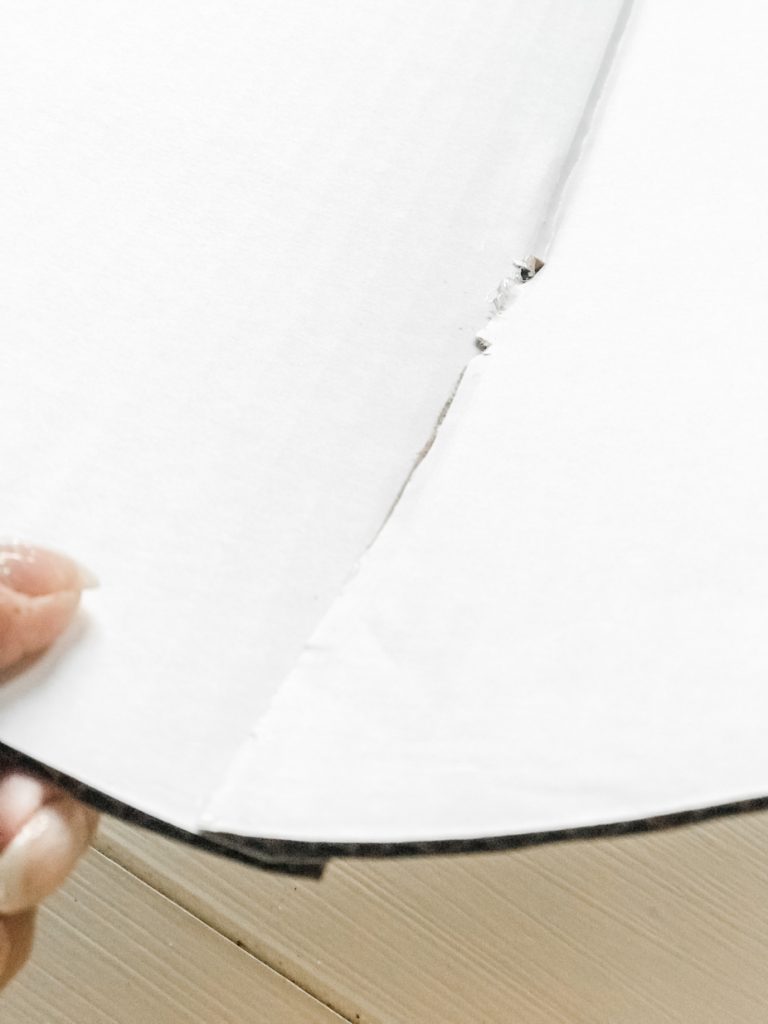
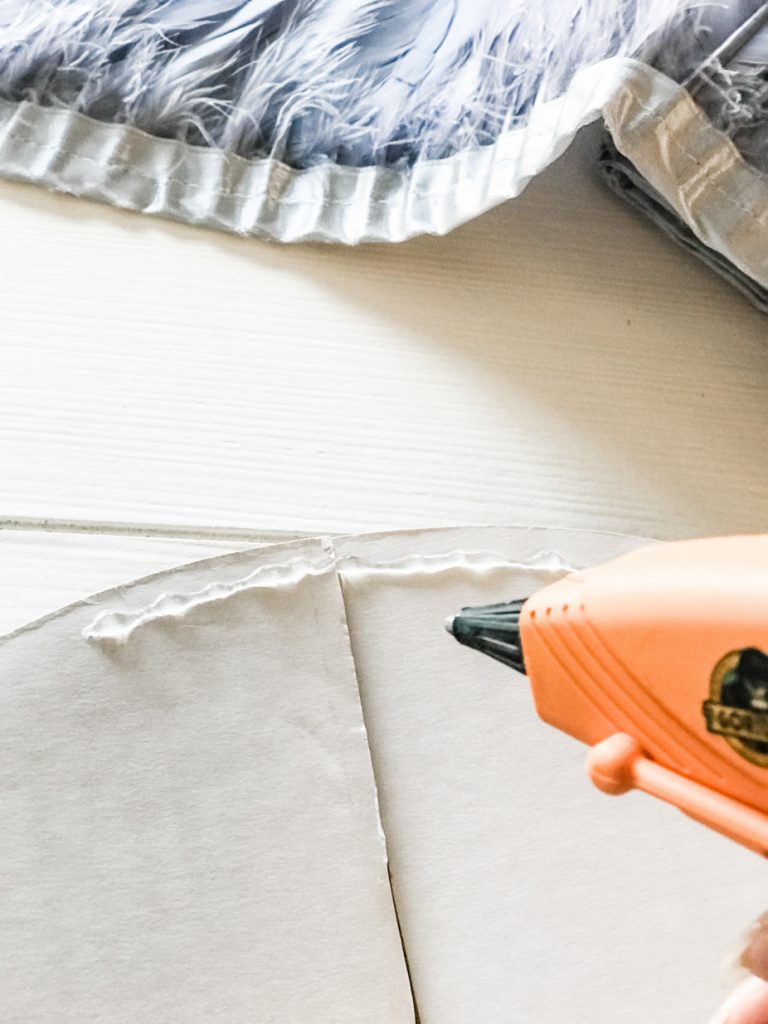
Next, using hot glue along one side of the cut, I glued the other side slightly on top to create a little bit of a ‘bowl’-shape. It’s very slight…just enough to give it a 3D look.

Gorilla Glue gun cardboard circle

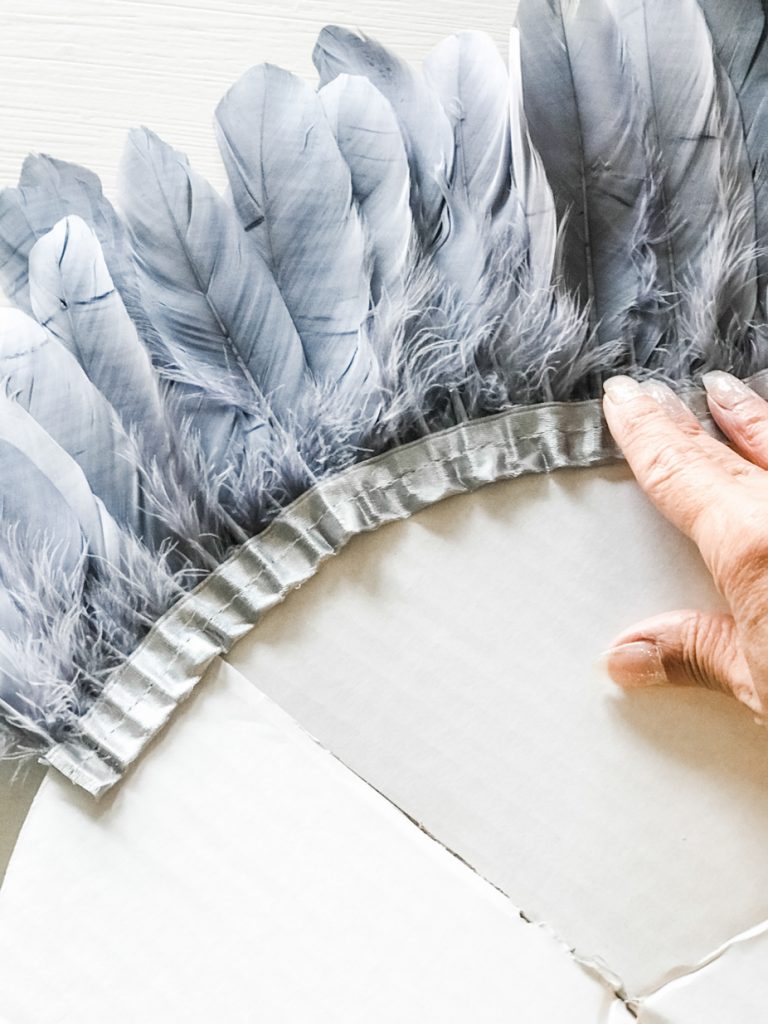
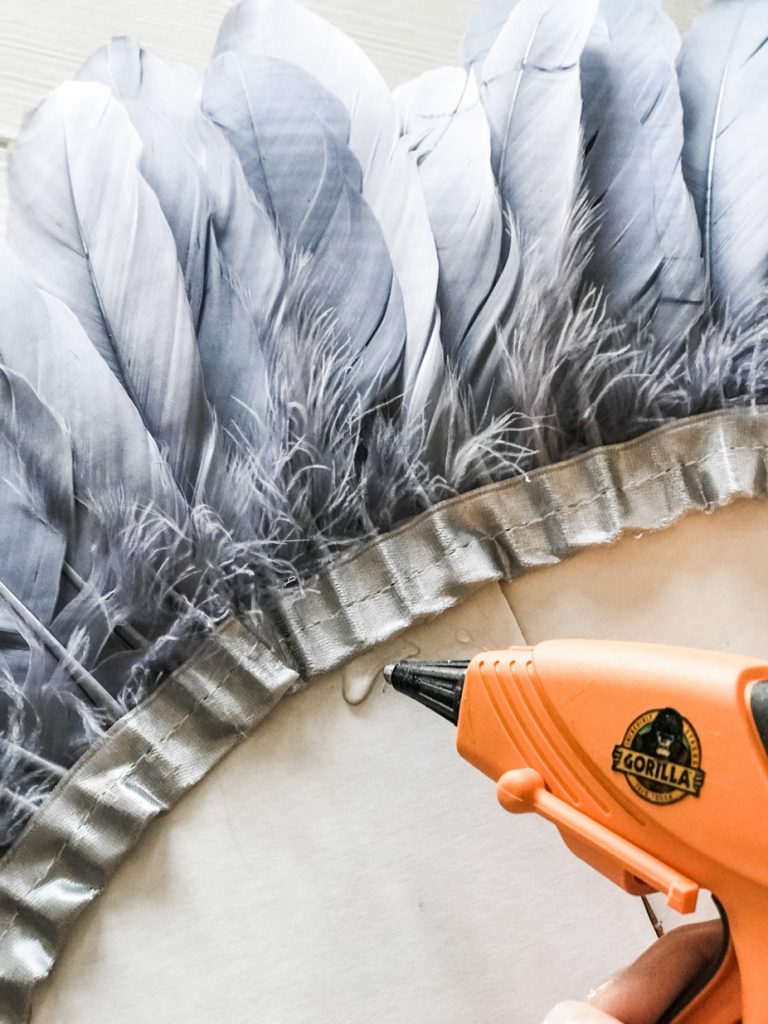
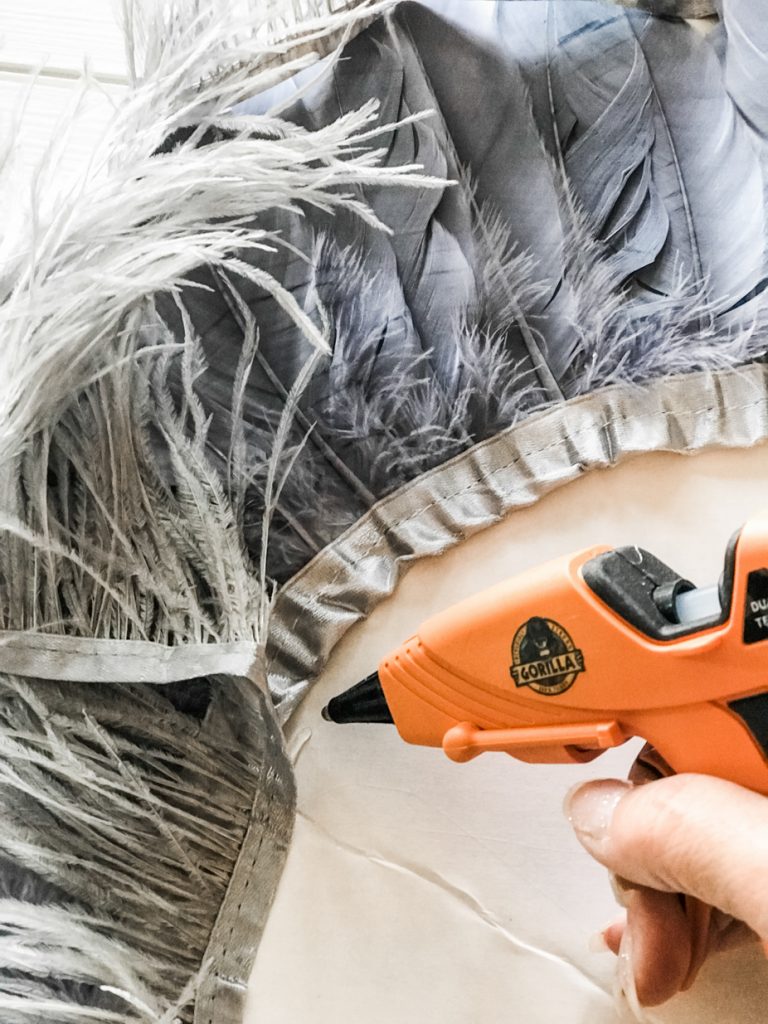
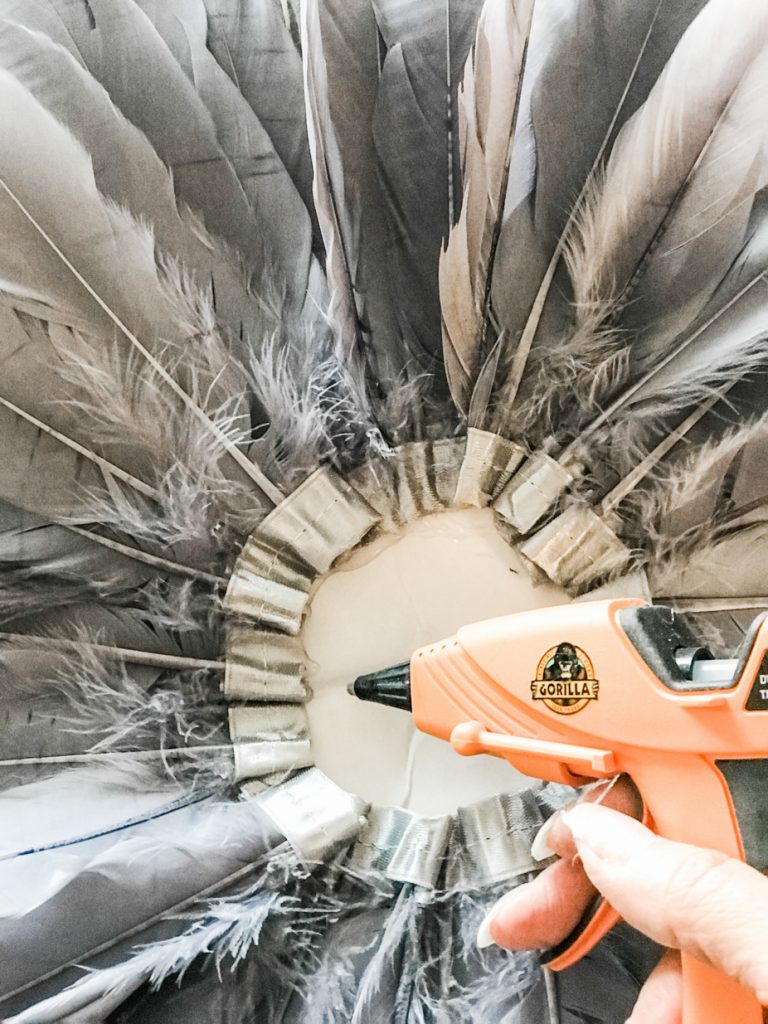
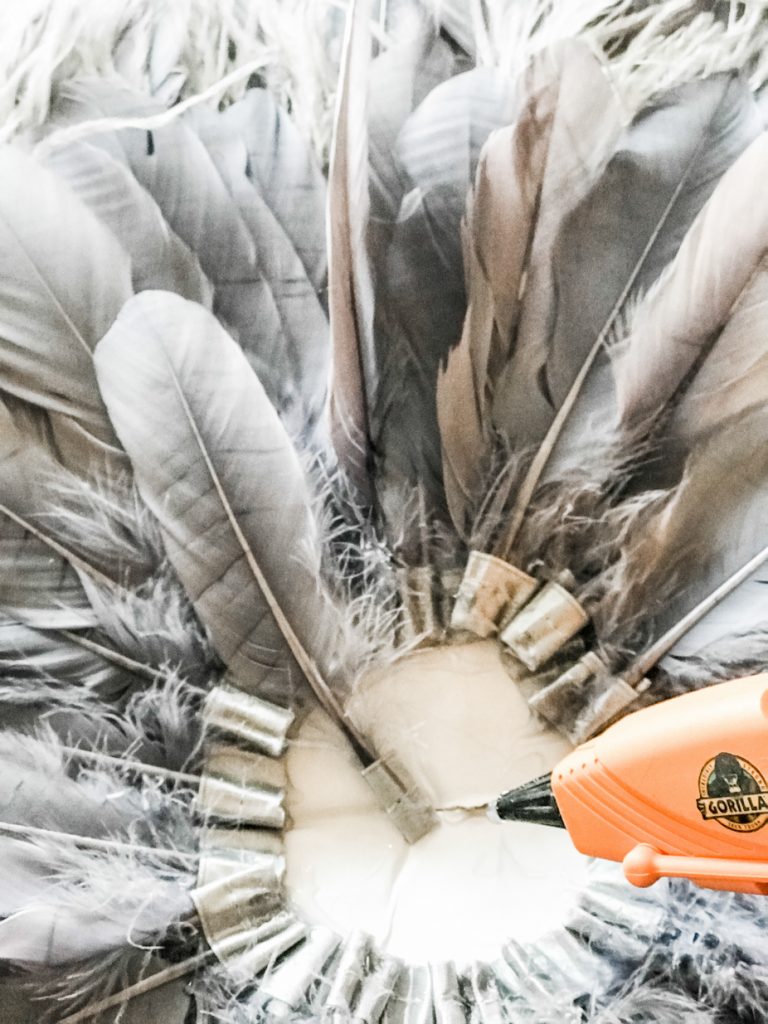
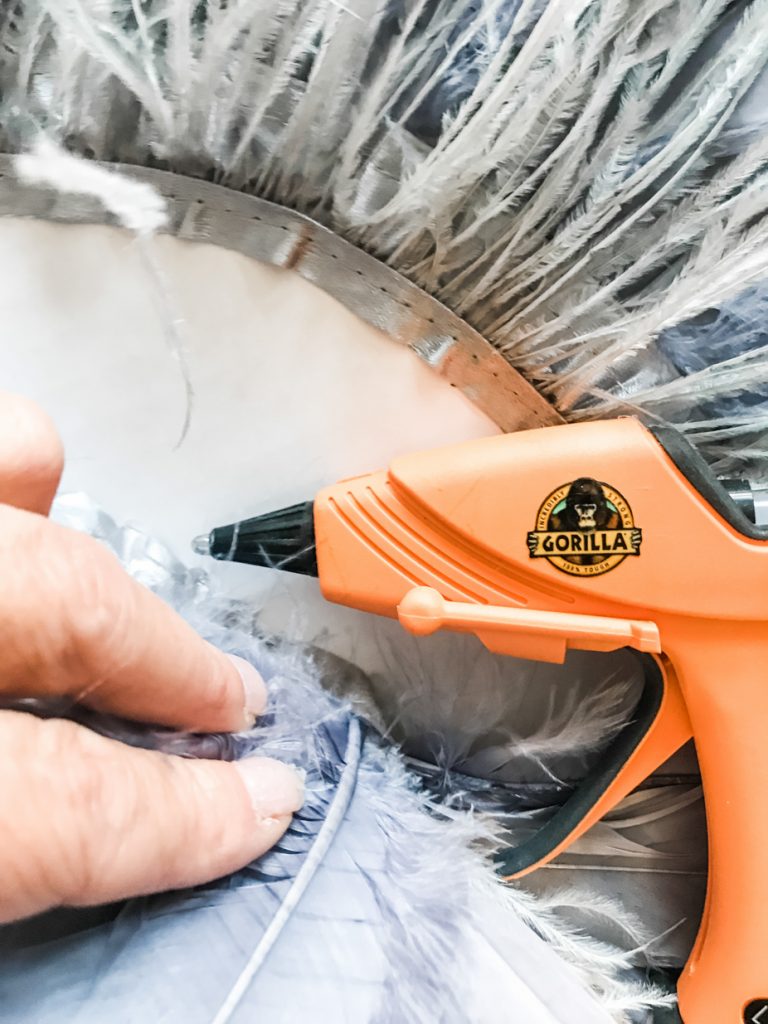
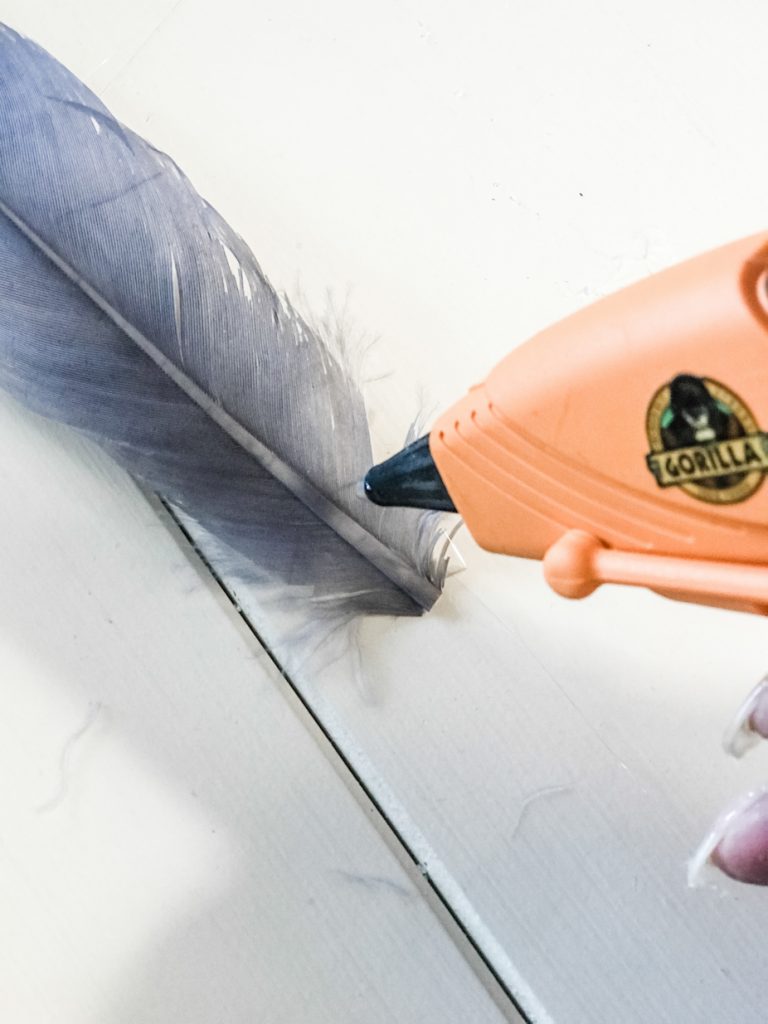
Then, protect your fingers ‘cuz that hot glue is HOT! Be careful! (I used a capped pen to hold down the ribbon as needed.) Determine placement and start attaching the bottom of the feather trip to the cardboard circle. I worked my way around the outer edge. 

hot glue feather trim feather crafts feather circle

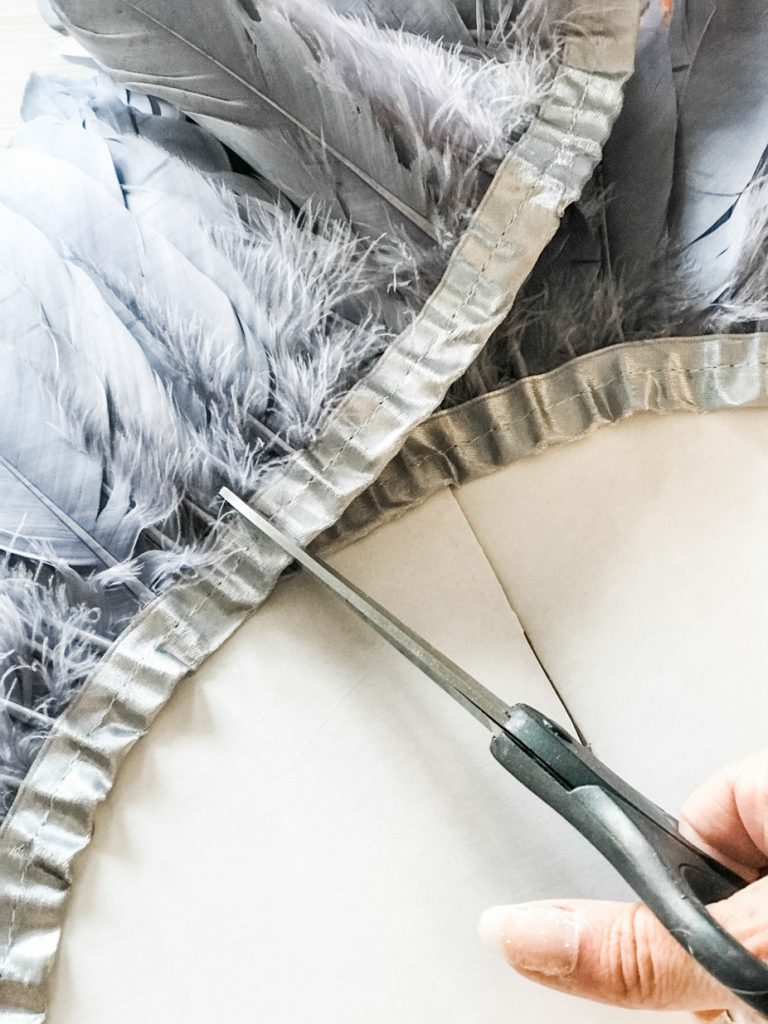
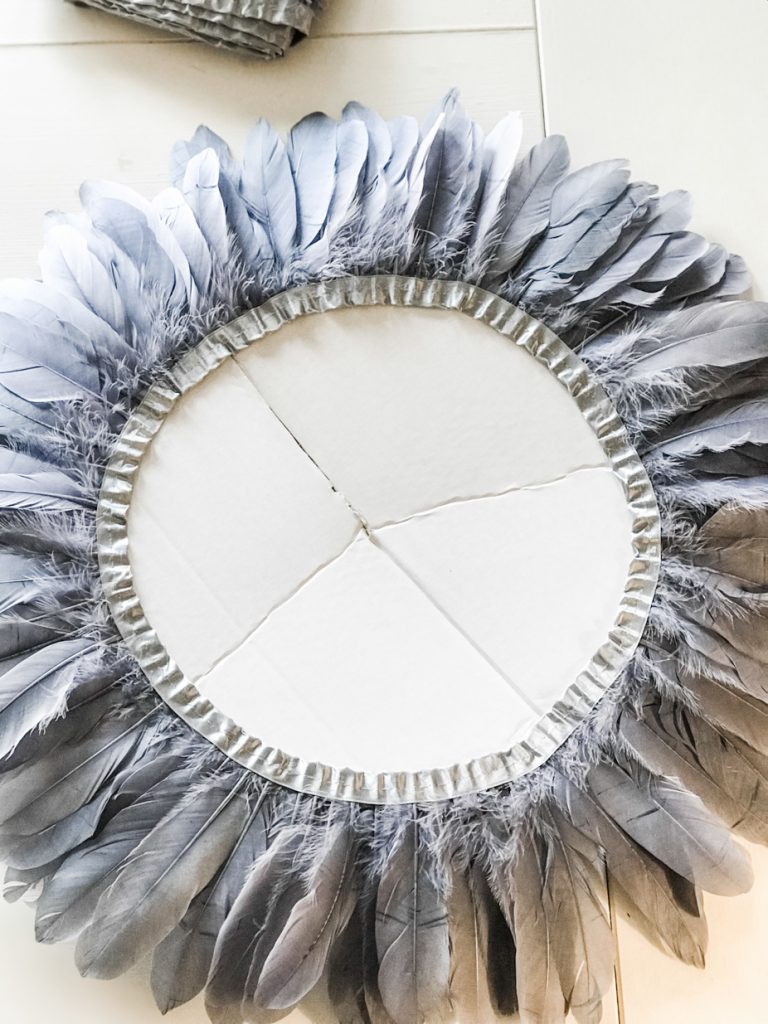
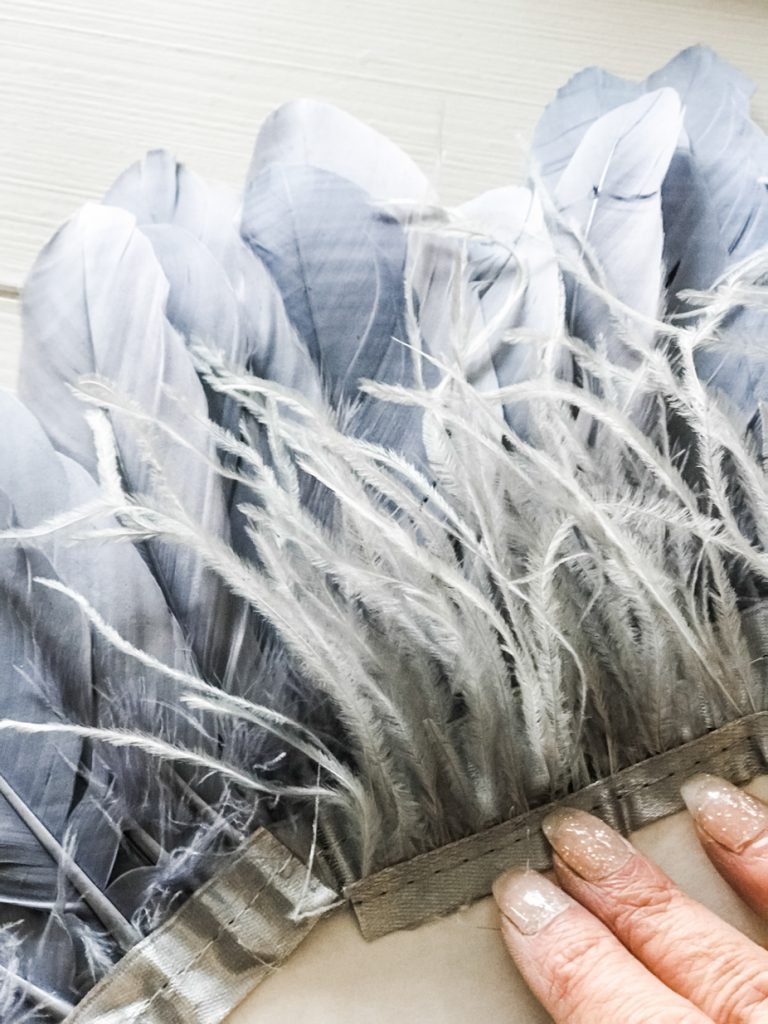
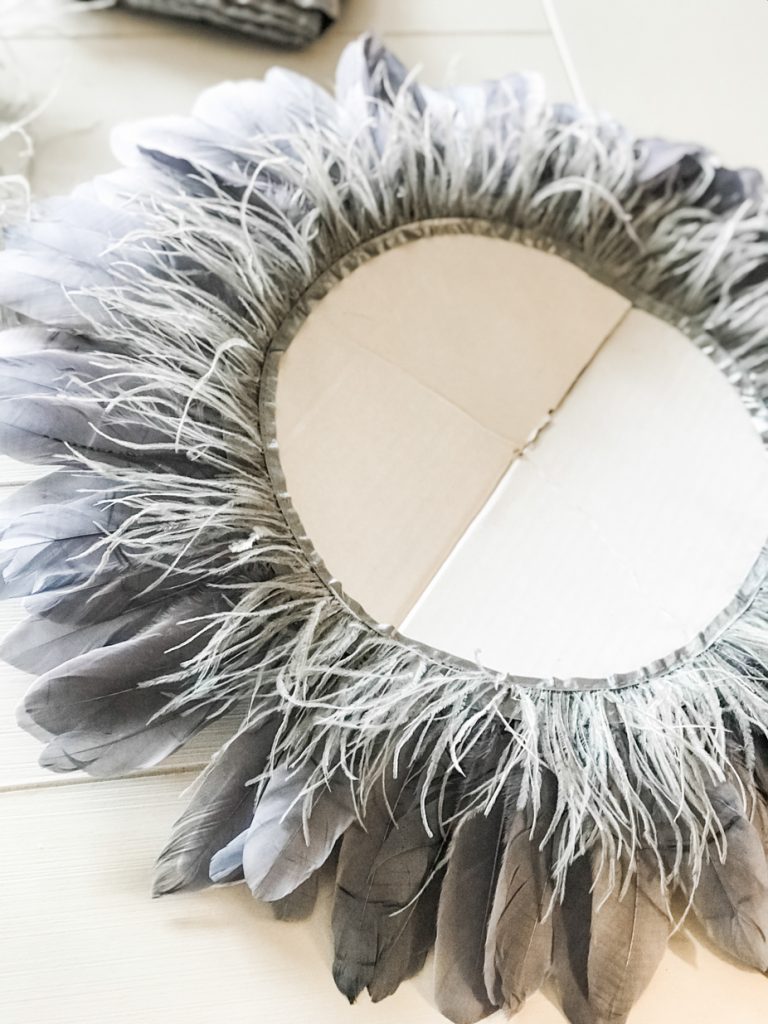
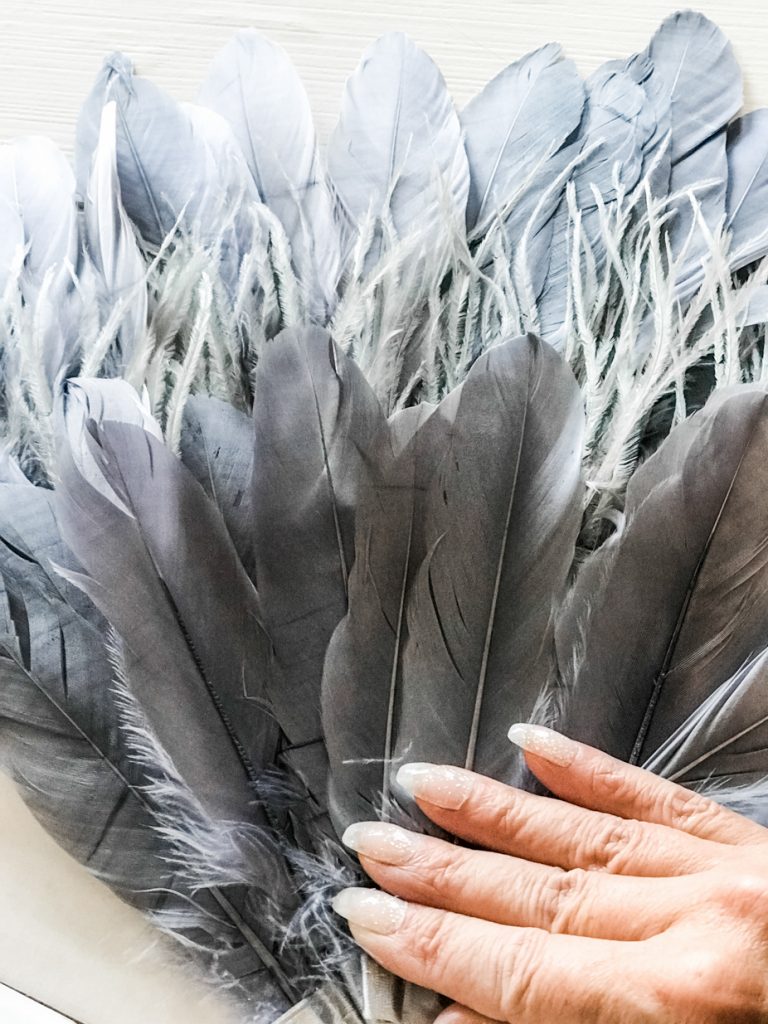
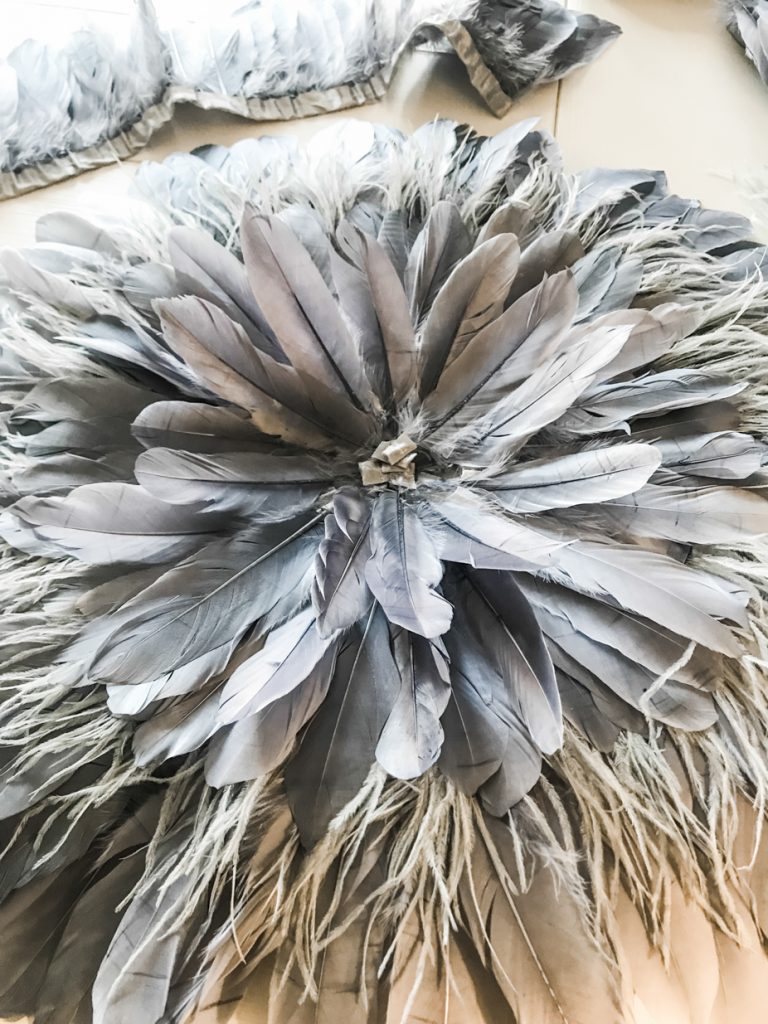
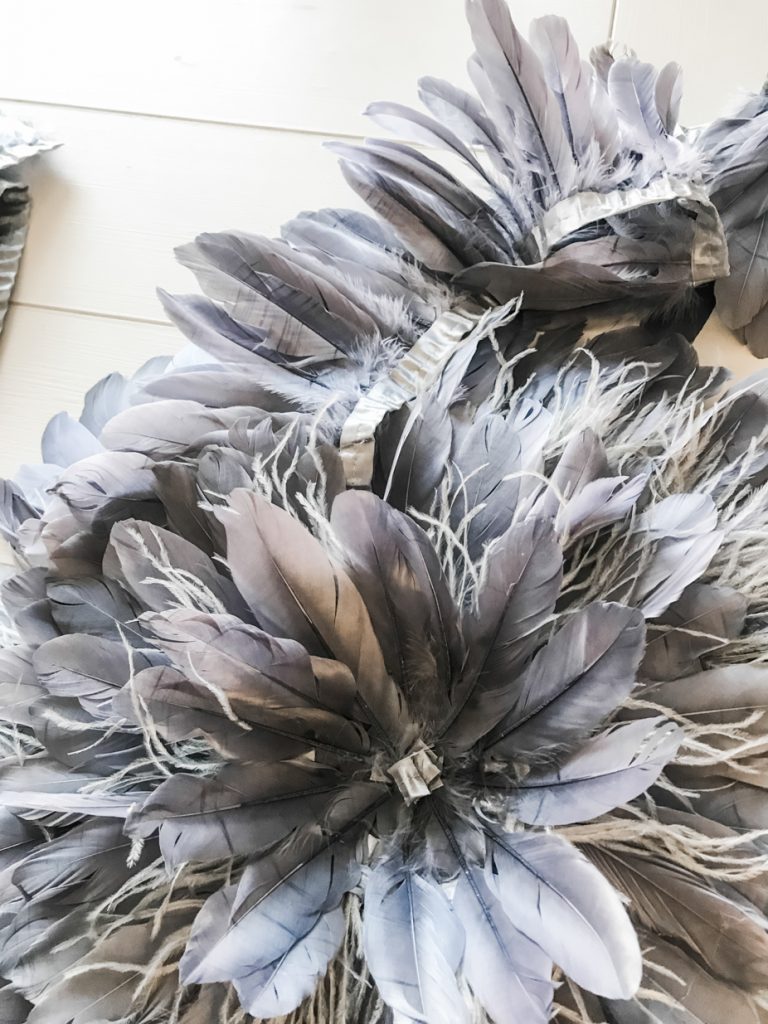
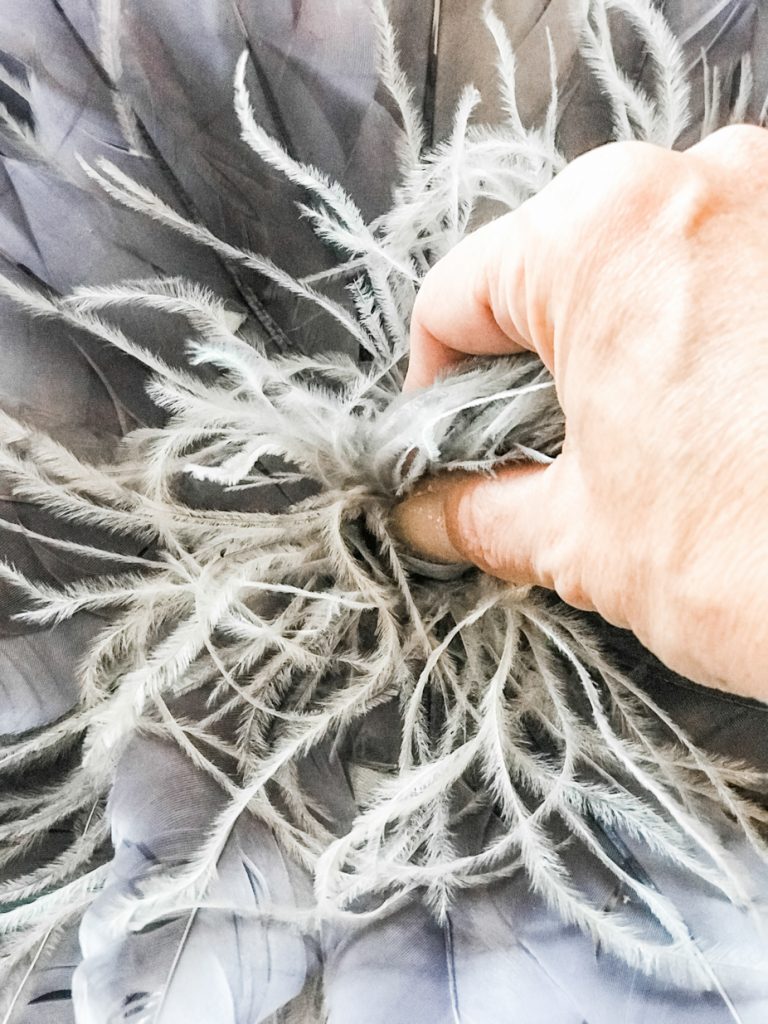
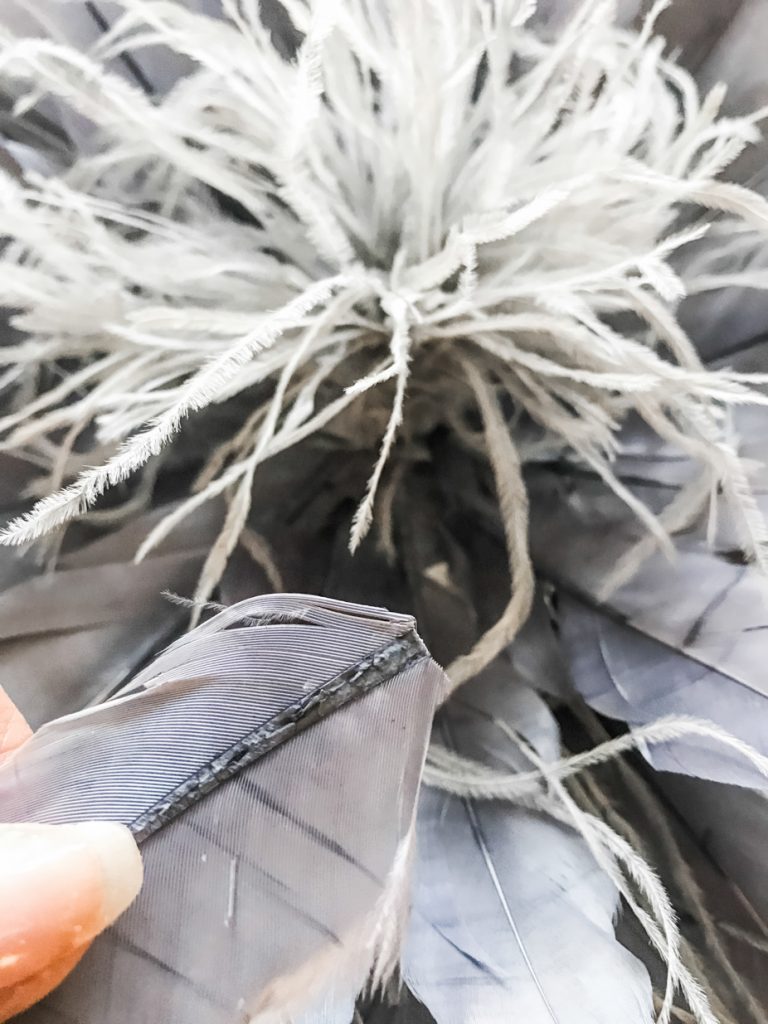
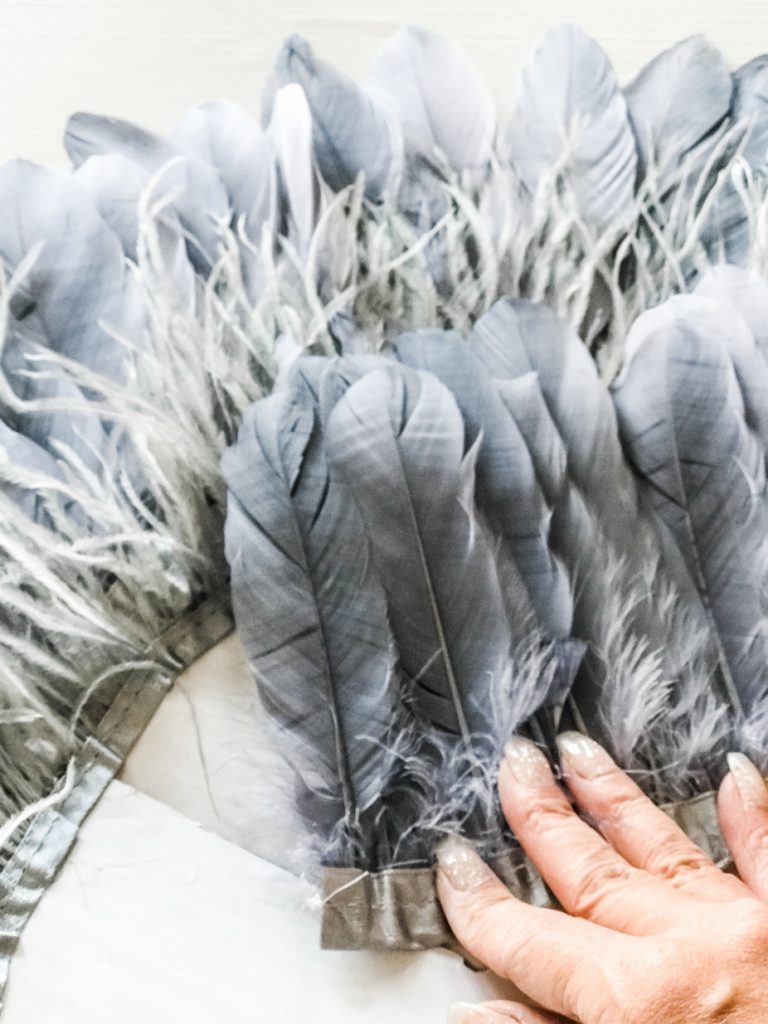
Repeat in circles for complete coverage. Based on your supplies, determine how close together to cover the cardboard. I alternated the 2 different feather trims. 

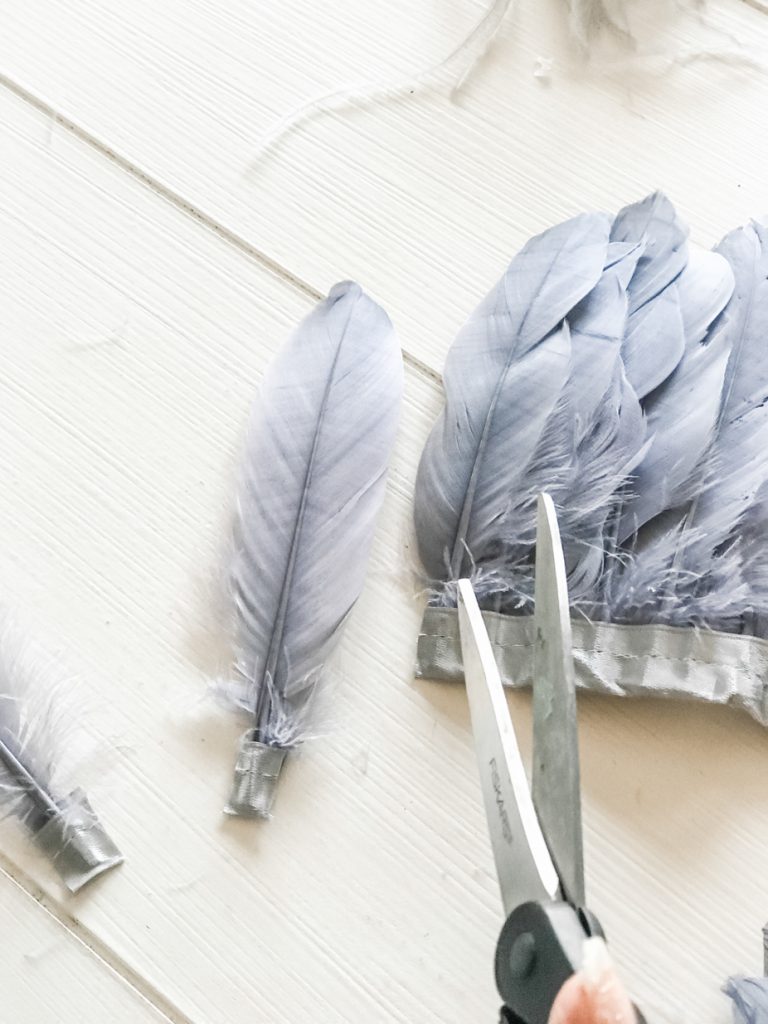
gluing feather trim feather ribbon juju hat craft project making a juju hat decoration gray feathers placing feathers circle of feathers juju hat inspired wall decor circle of gray feather trim cutting feather trim hot gluing feathers diy juju hat wall decor making a juju hat DIY juju hat tutorial easy diy feather project juju hat DIY

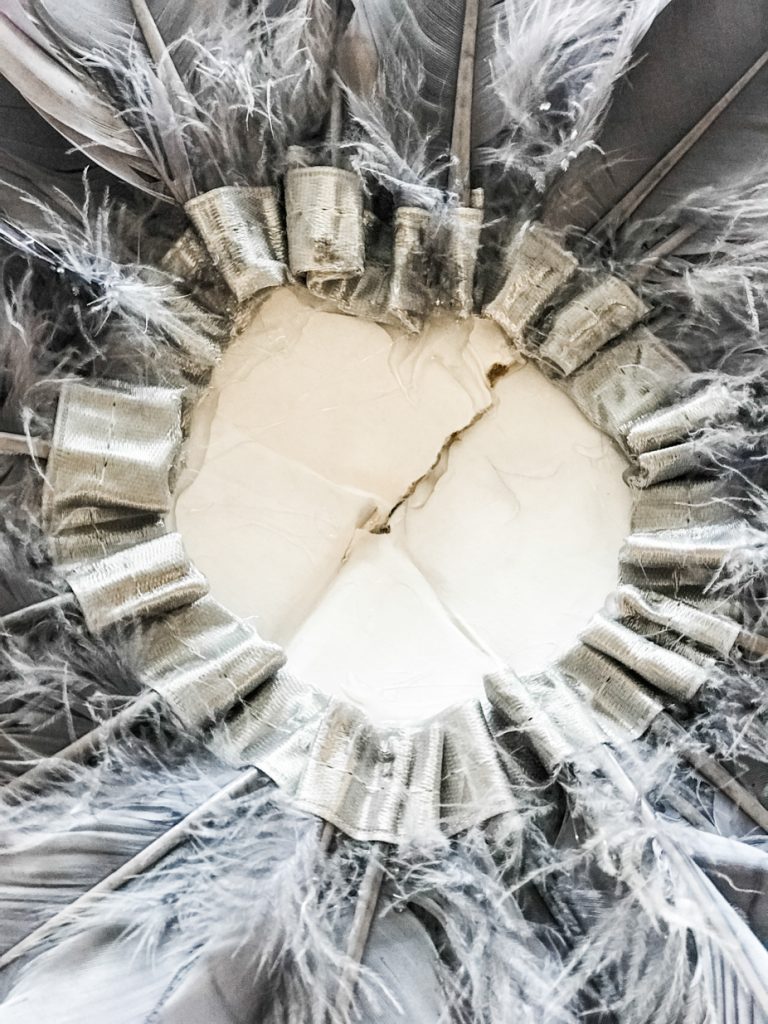
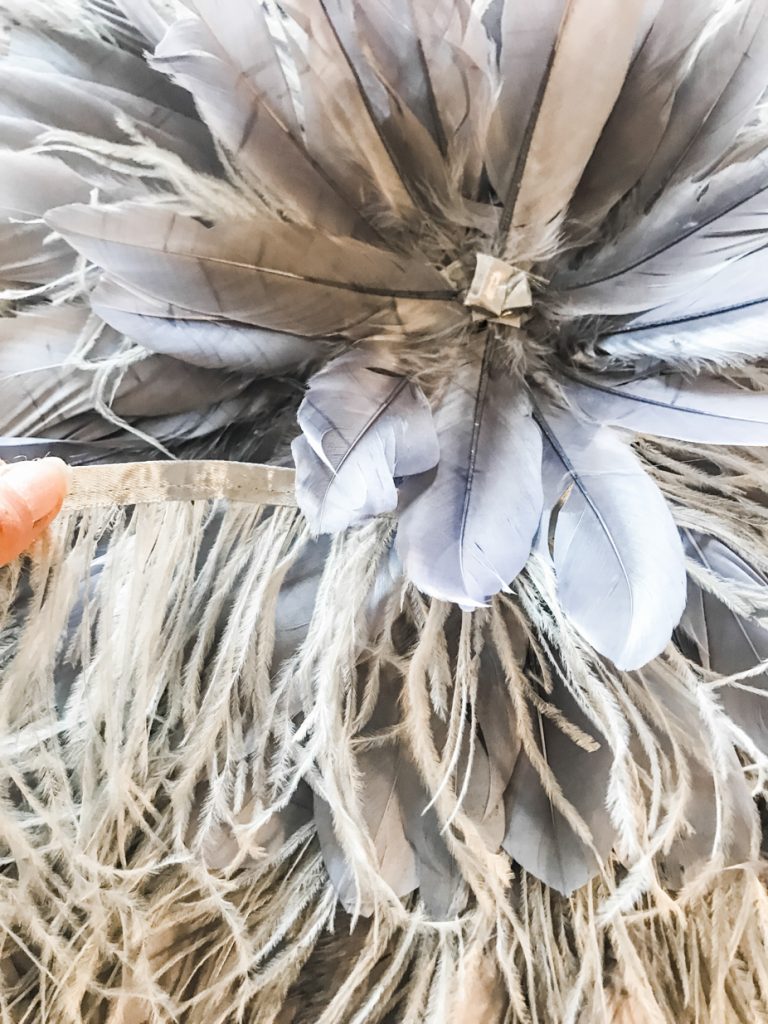
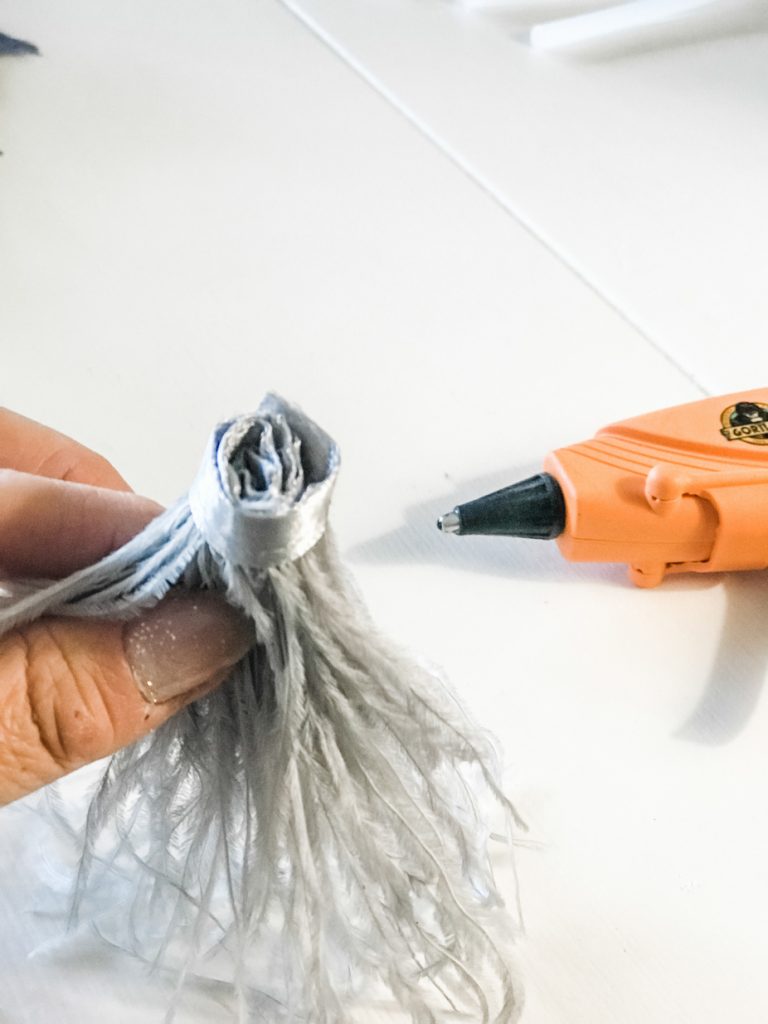
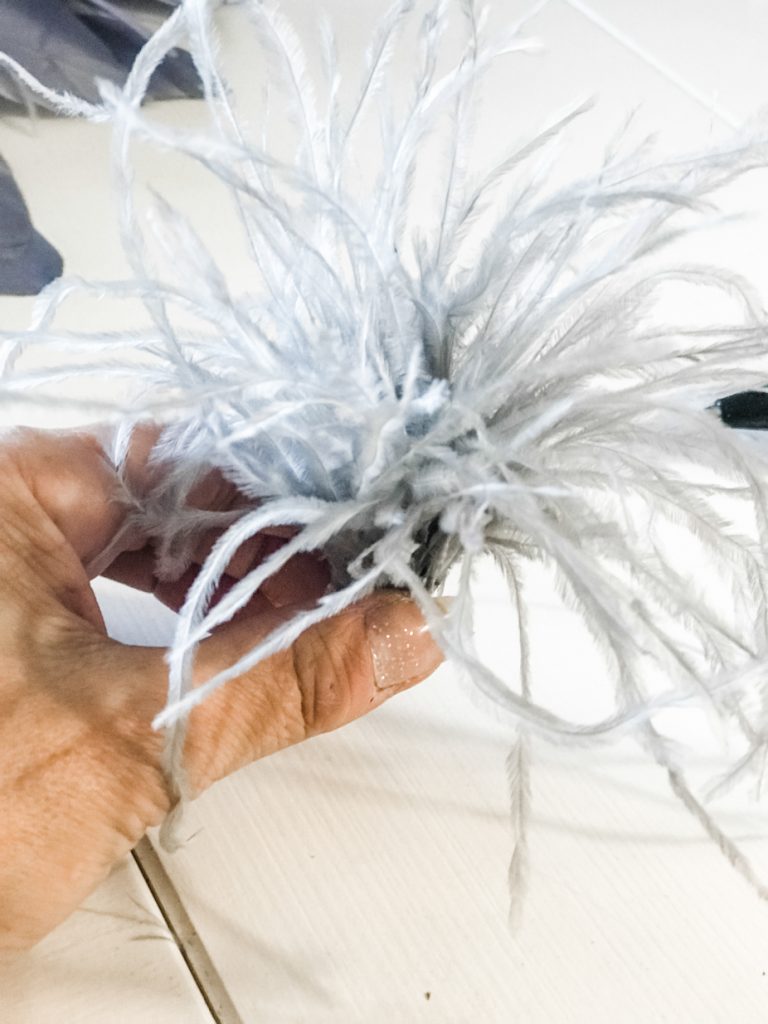
For the center, add a coordinating or same color silk flower. Or, like me, take a bit of leftover trim and roll to create a “center” piece. Attach with hot glue. 

glue gun and feather trim feather trim craft flower feather boa craft craft project with feathers

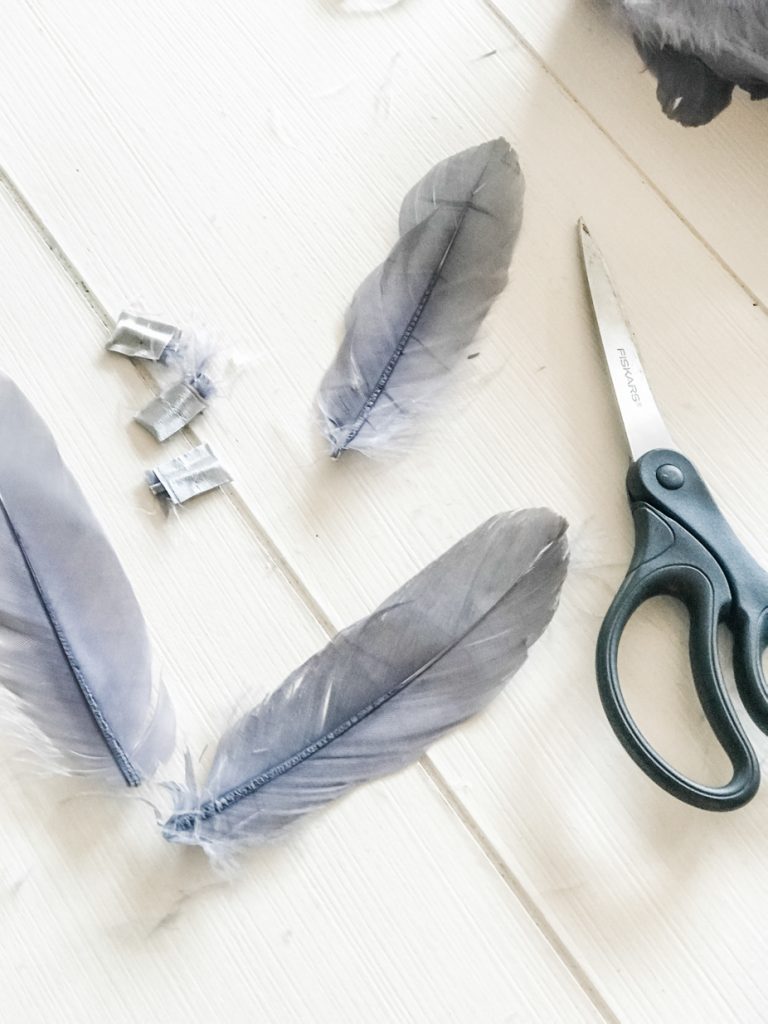
Fill in with individual feathers as needed.

scissors and gray feathers gray feather and glue gun gray feather craft idea

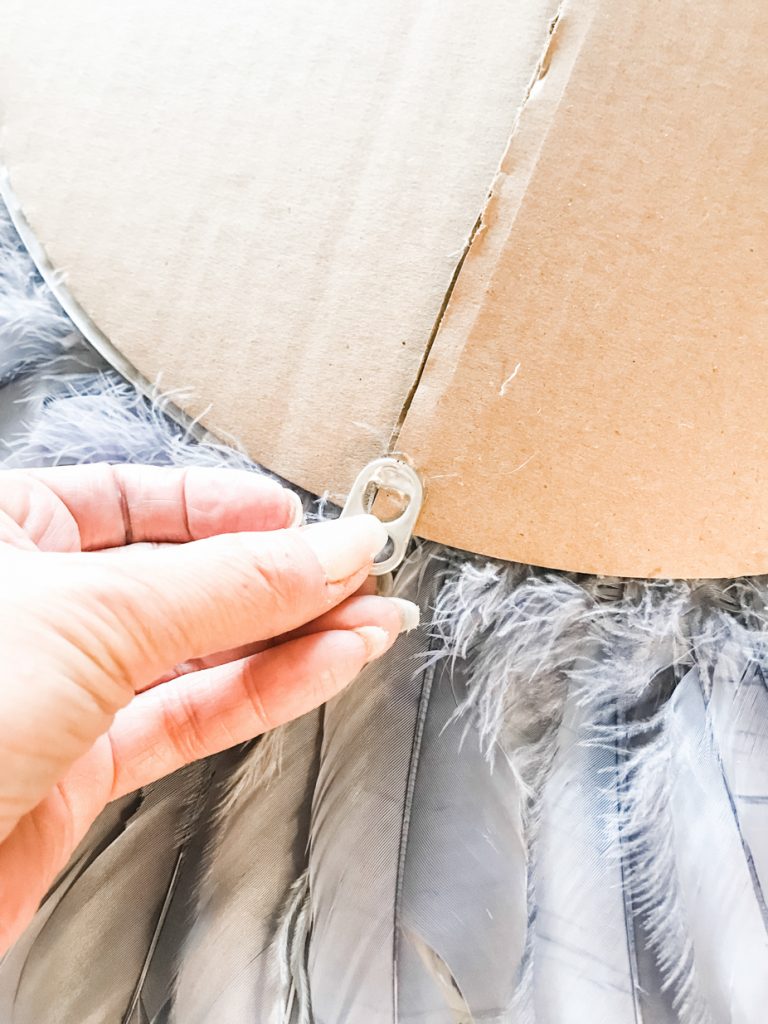
Attach hanging mechanism of choice to the back with hot glue. 

hanging wall decor with a pop top

Easy peasy! Much lighter and not as detailed or heavy as the real thing but beautiful none-the-less and special because you made it yourself!

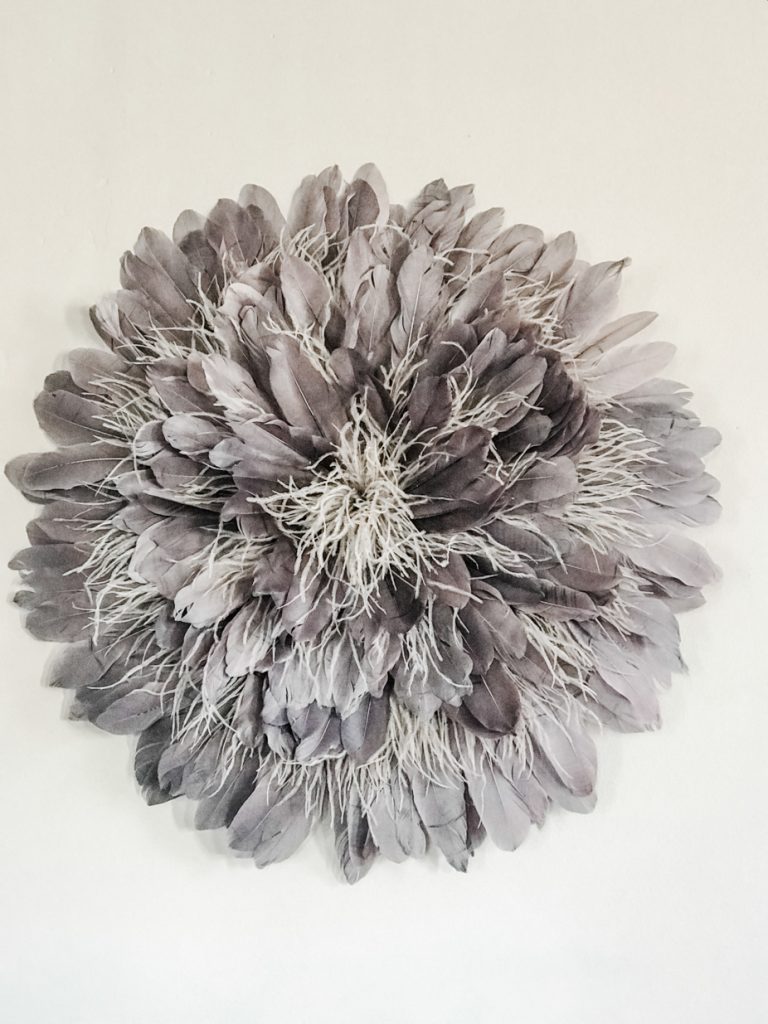
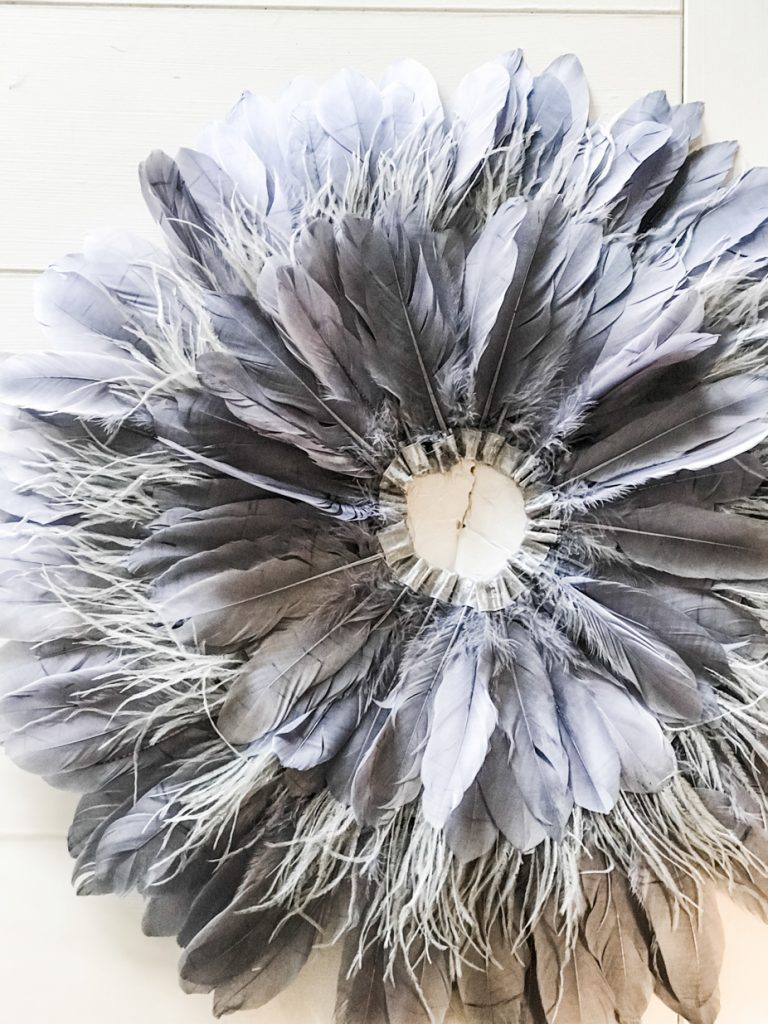
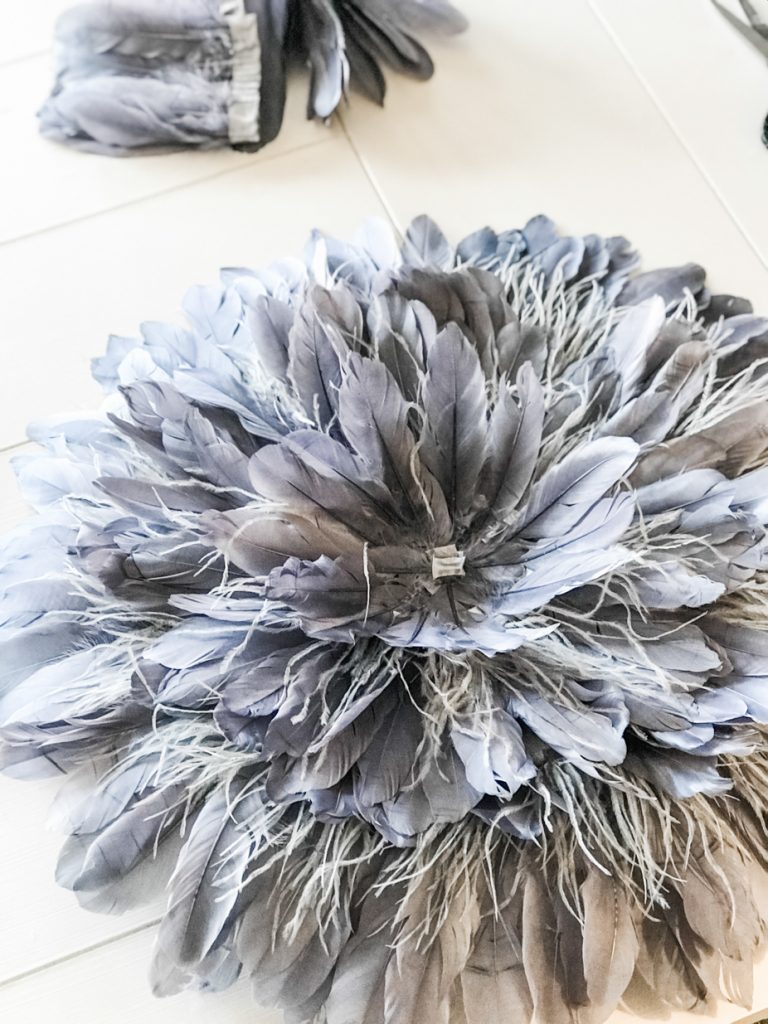
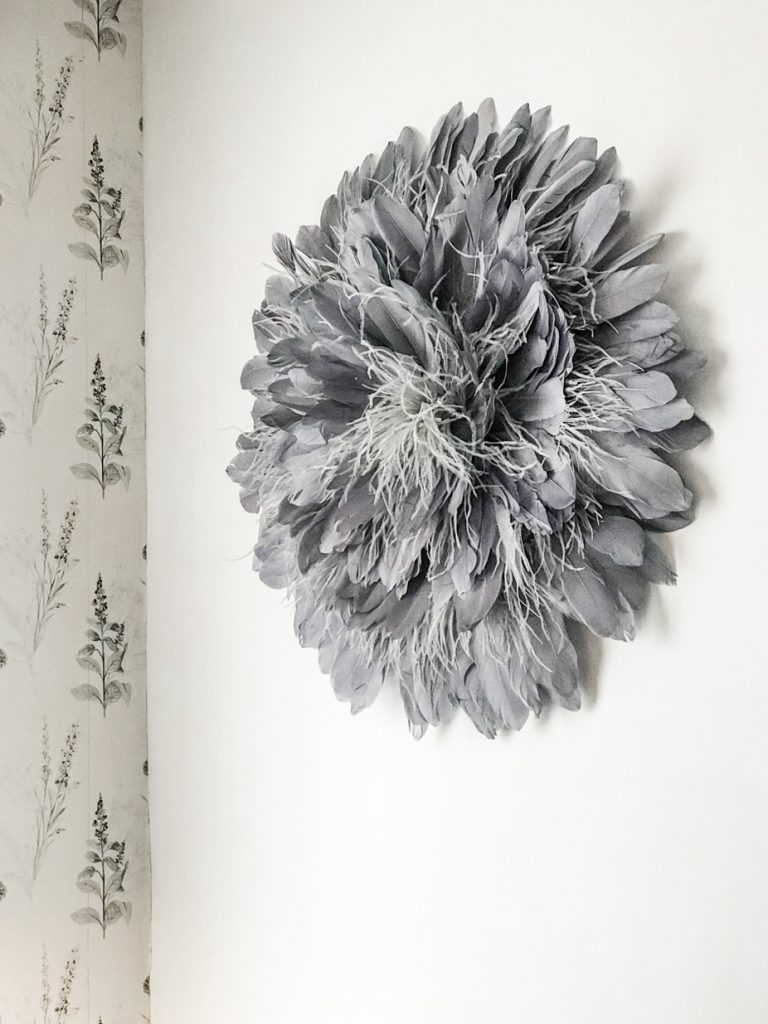
The result:

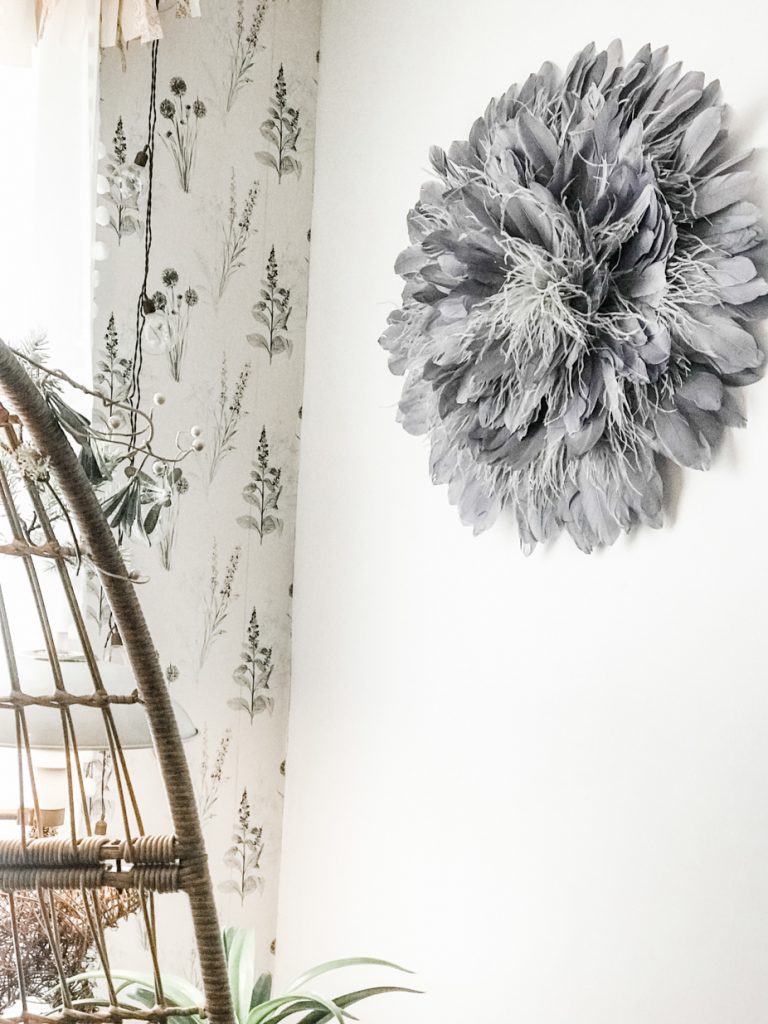
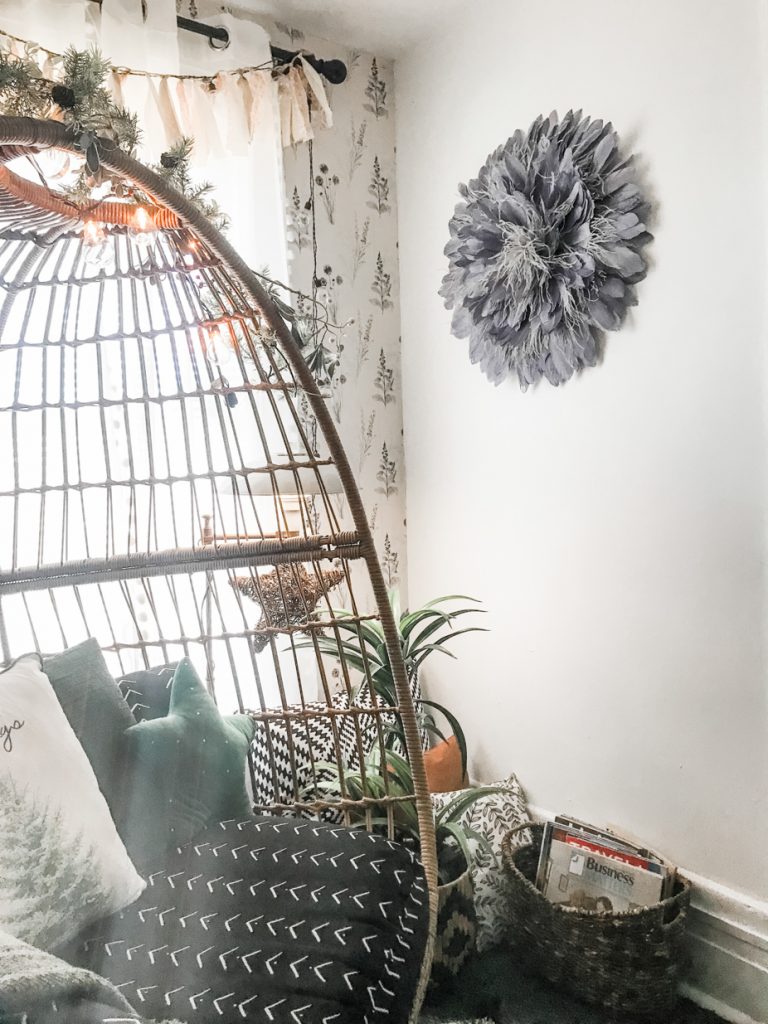
diy juju hat wall art diy gray juju hat wall art

Texture! Softness. Beauty!

poofy feather wall art sitting room wall art diy DIYShowOff Juju hat wall decor tutorialgray juju hat wall decor diy gray feather juju hat decor

I’m hooked and plan to create several more! More feather trim as been ordered! I need a fluffier one! A feather boa would work as well (although a little messier)! Maybe some rattan coasters for the center or a coordinating silk peony would be beautiful too. I’ll come back and post more pictures. Interested in adding yours to the feature? Submit your juju hat photo to thediyshowoff at gmail. 

How about you? Ready to get crafty, creative and inspired in 2022?


DIY Nursery Wall Decor

I’ve been giving our guest room a bit of a makeover to include a little nursery space for my very first grand child who is scheduled to arrive next month. I can’t wait! You guys, a sweet baby boy will be here soon! I’m so excited, I can’t stand it! 

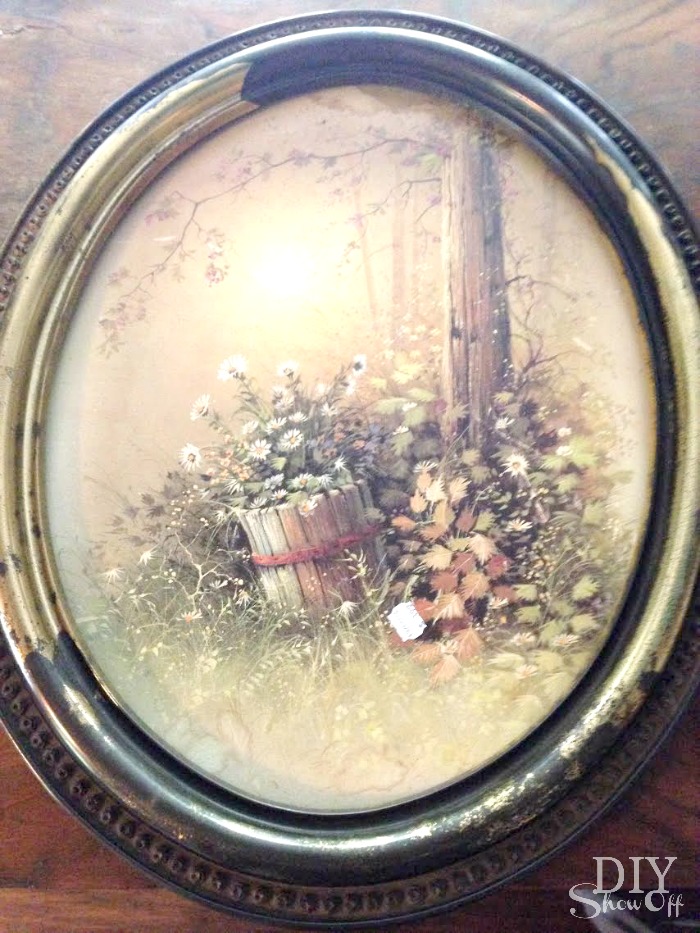
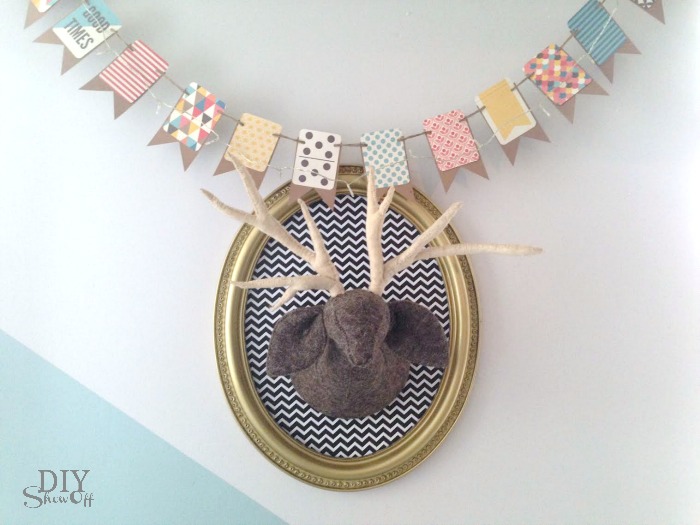
Materials: I found this old oval wall art at the thrift store for 3.99.

DIY nursery wall art  tutorial

I had the wrapping paper and felted deer head (used in our stairwell/landing makeover originally. I looked and it’s no longer for sale…sorry but I did see awesome paper mache deer heads at Michaels that would work well too…plus you can paint/decoupage to coordinate with your room.). So this is a thrifty treasure for me…just $3.99 for the dusty framed print + shopping the house since I had the spray paint on hand already too. 

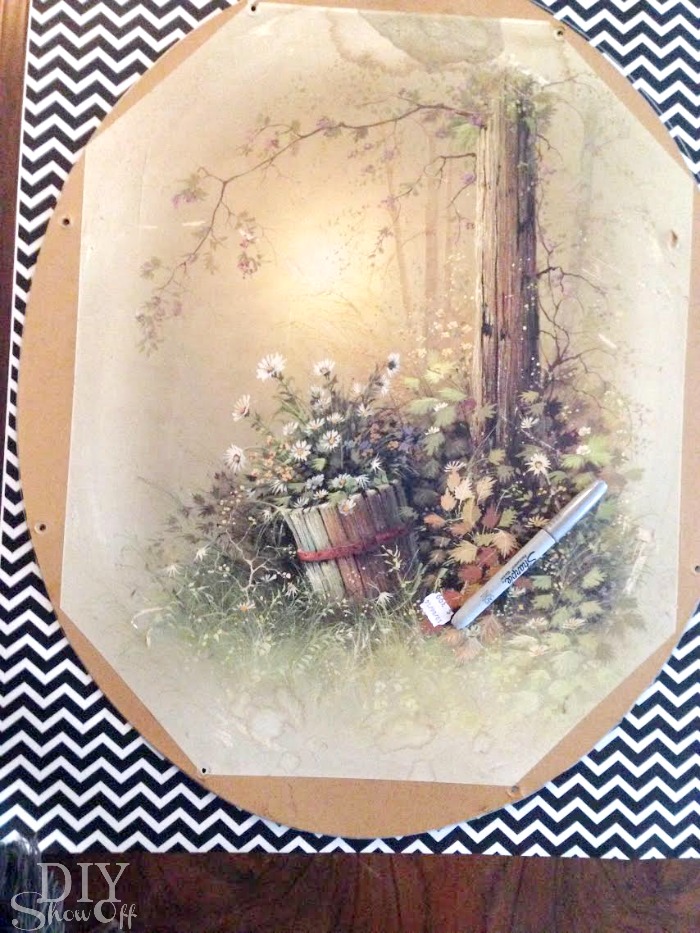
What I did: Gave everything a good cleaning and removed the backing from the frame (set aside). 

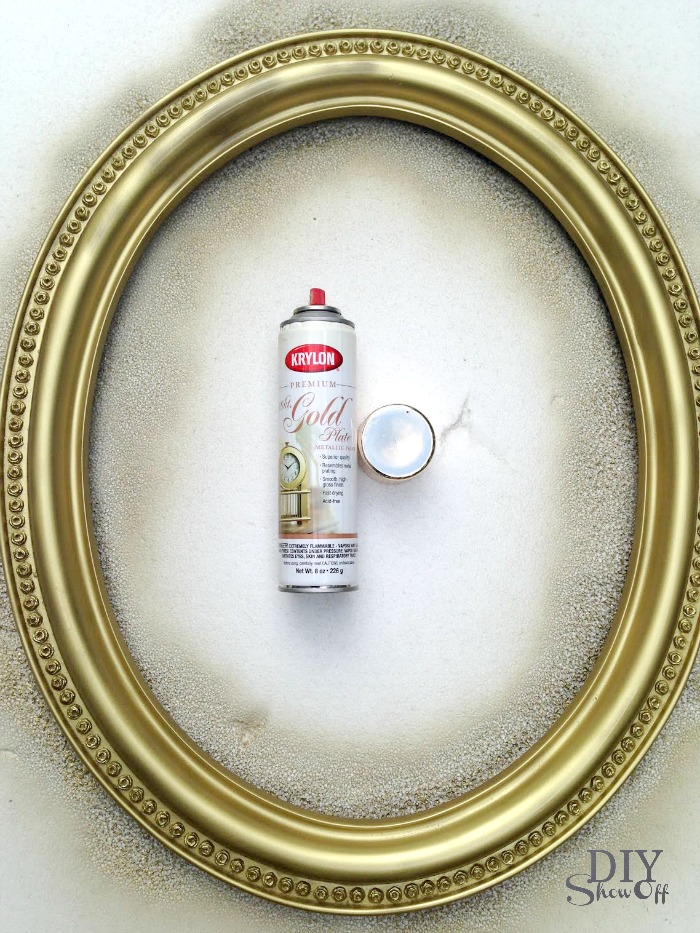
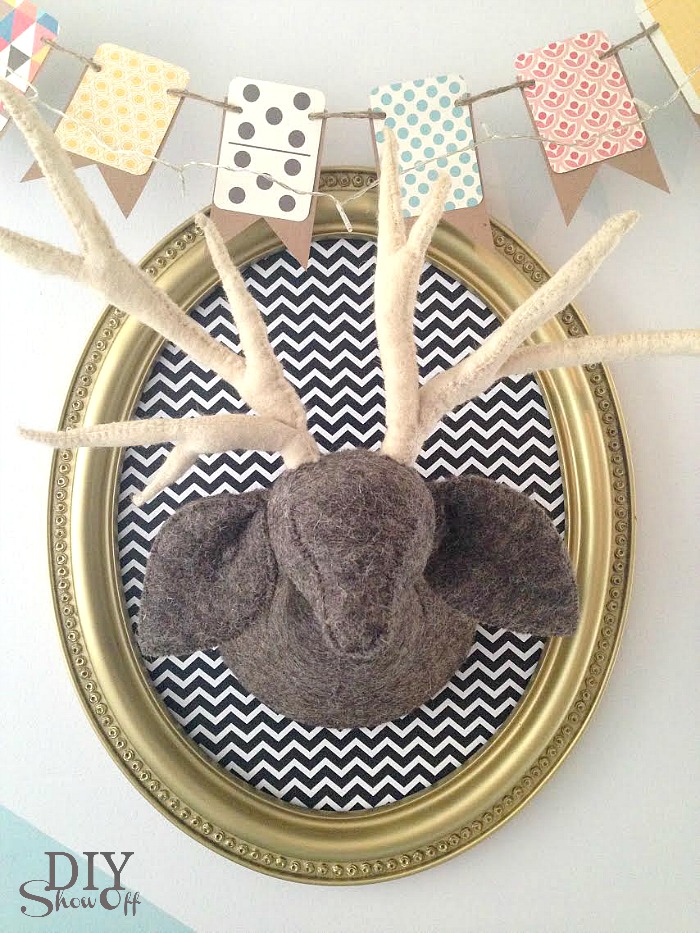
I spray painted the frame gold and let it dry. 

DIY nursery wall art  tutorial

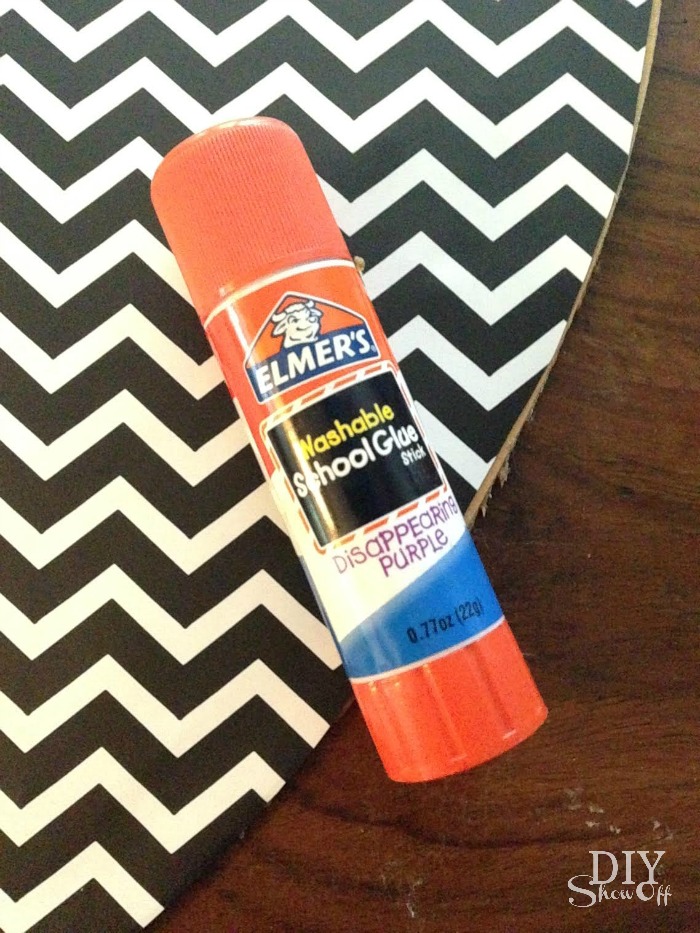
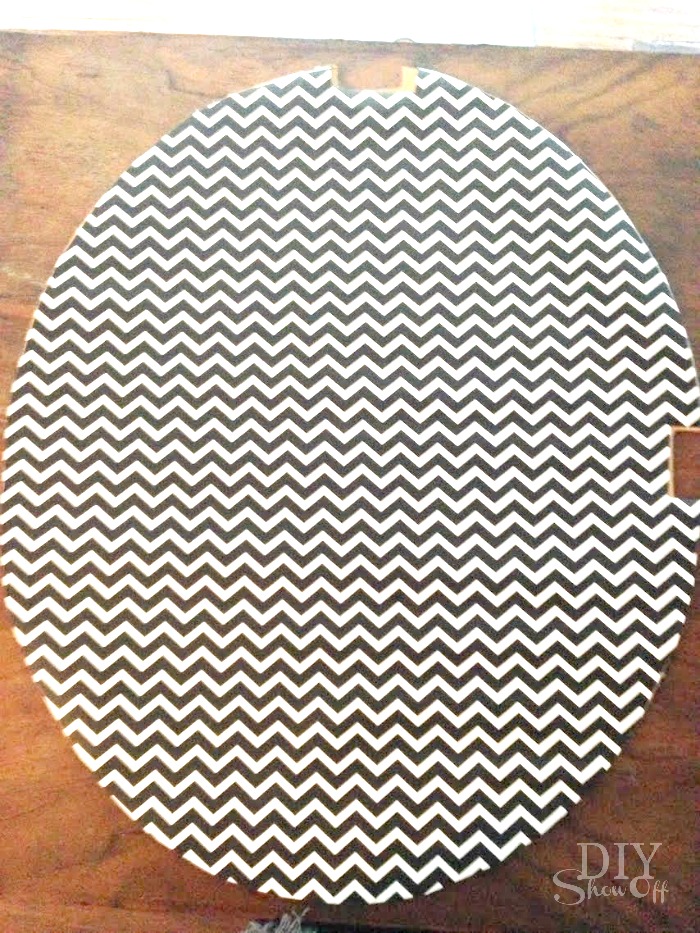
I traced the oval backing onto chevron wrapping paper. I did glue the wrapping paper over the print on the front. However, it’s not required if you’d like to preserve the print.  DIY nursery wall art  tutorial DIY nursery wall art  tutorialDIY nursery wall art  tutorial

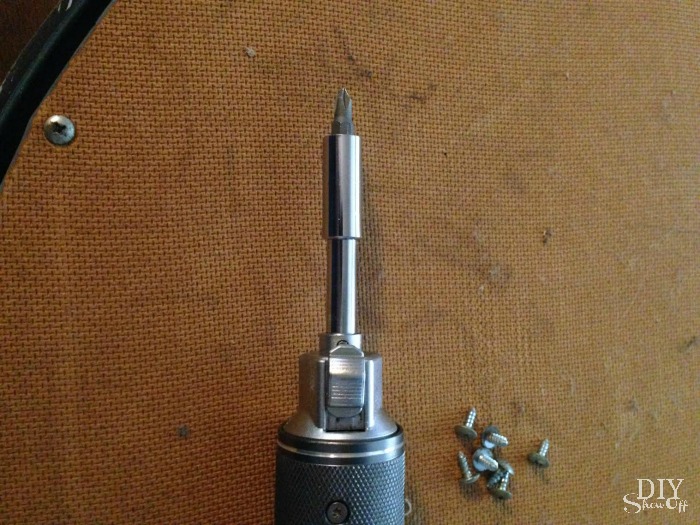
Then just reattached the backing to the frame. 

DIY nursery wall art  tutorial

I hung it on the wall and hammered a nail in the center to hang the felted deer head and added a DIY banner…just card stock, Project Life cards (scrapbook section at Michaels) and twine. I added a string of mini LED fairy lights too. 

nursery wall decor tutorial @diyshowoffnursery wall decor tutorial @diyshowoff

See my guest room nursery space for more nursery ideas:

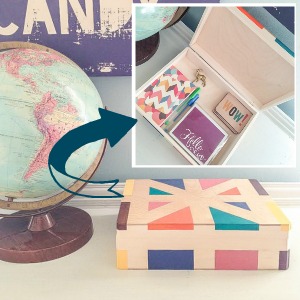
combined guest room nursery reveal @diyshowoffDIY nursery wall decor at diyshowoff.comeasy diagonal wall paint design tutorial @diyshowoffpainted craft box DIY at diyshowoffDIYShowOff Michaels Makers back to school book ends feature

*This post is sponsored by Happy Crafters. Tutorial, experience and opinion is my own.  Check out all the supplies at Happy Crafters for inspiration for your next project. 

And yes…it’s crazy here. From Halloween to baby shower to some Christmas decorating, a guest room/nursery makeover, an entire home before/after in progress (family members), always Young Living recipes, events and sharing my story, and another small apartment nursery nook. There’s a LOT going on and DIYShowOff is ALL over the place! You may want to subscribe to get reminders to check back often! 😉 

Have a great week!

Silhouette Scrap Wood Wall Art

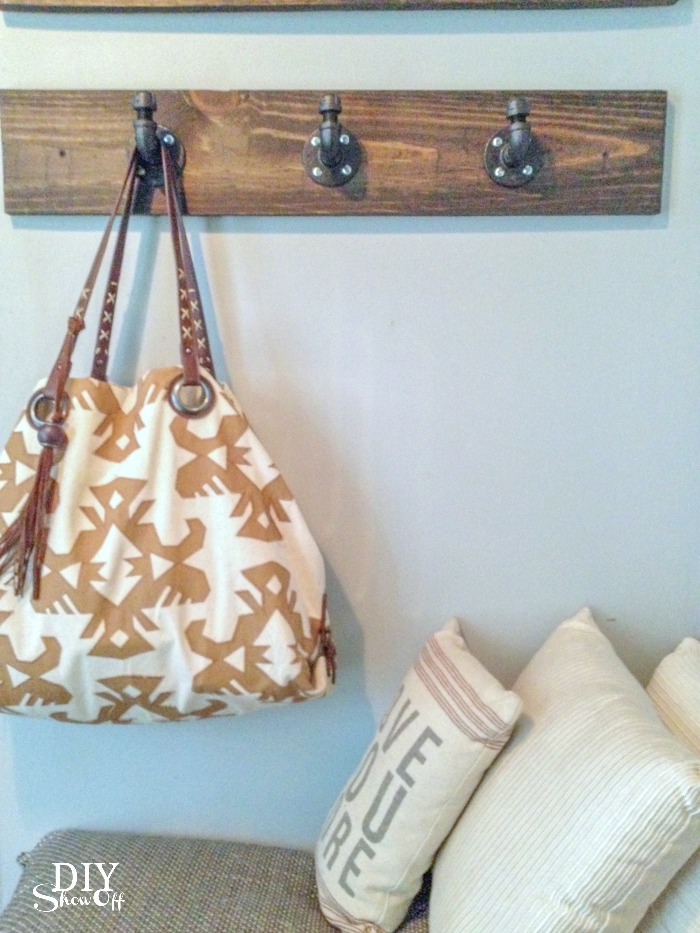
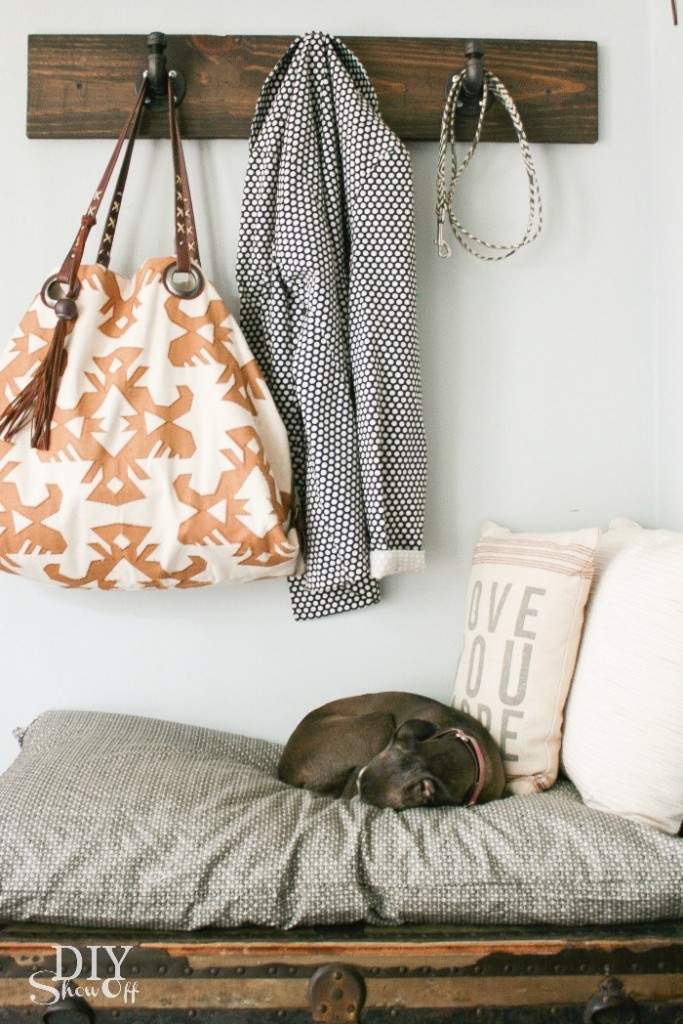
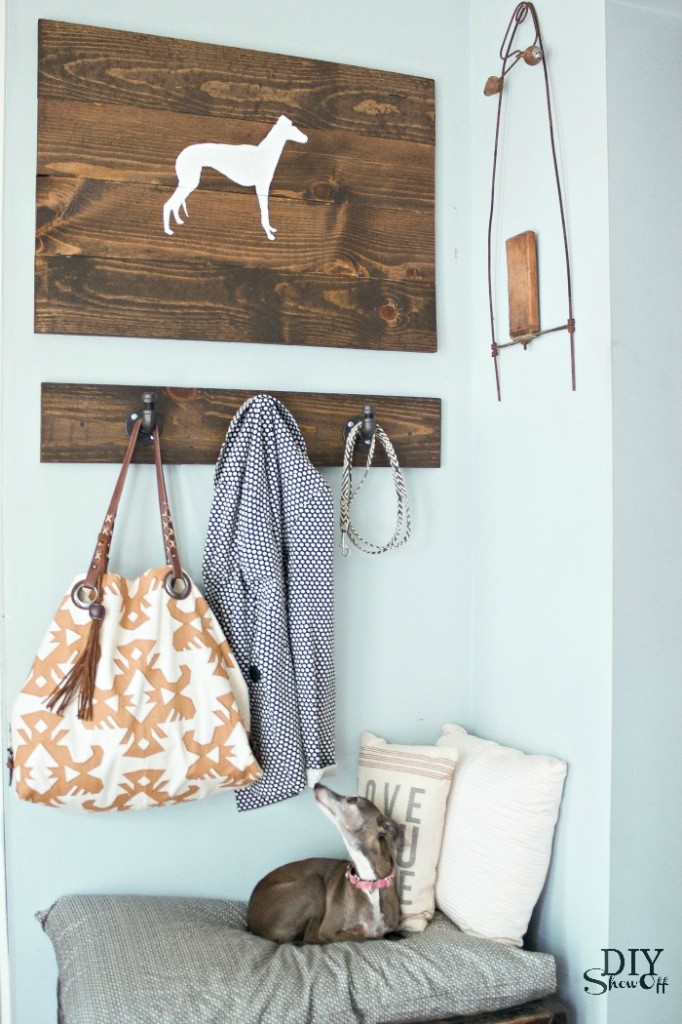
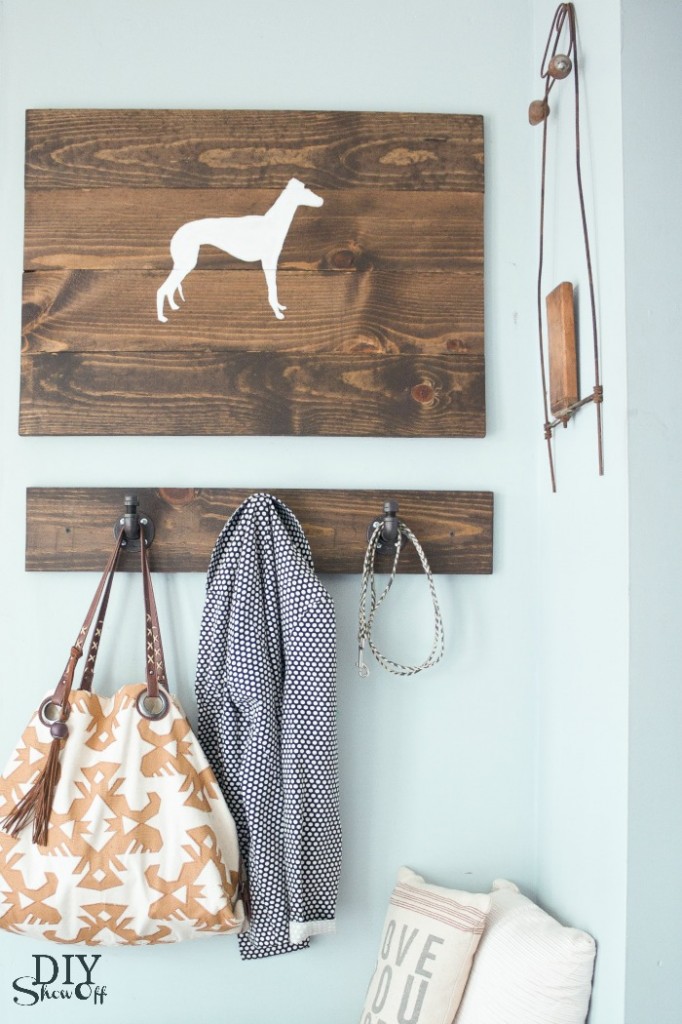
I recently shared the DIY coat rack we’re now utilizing in our sitting room above a vintage trunk used as a bench…

DIY pipe coat hooks @diyshowoff

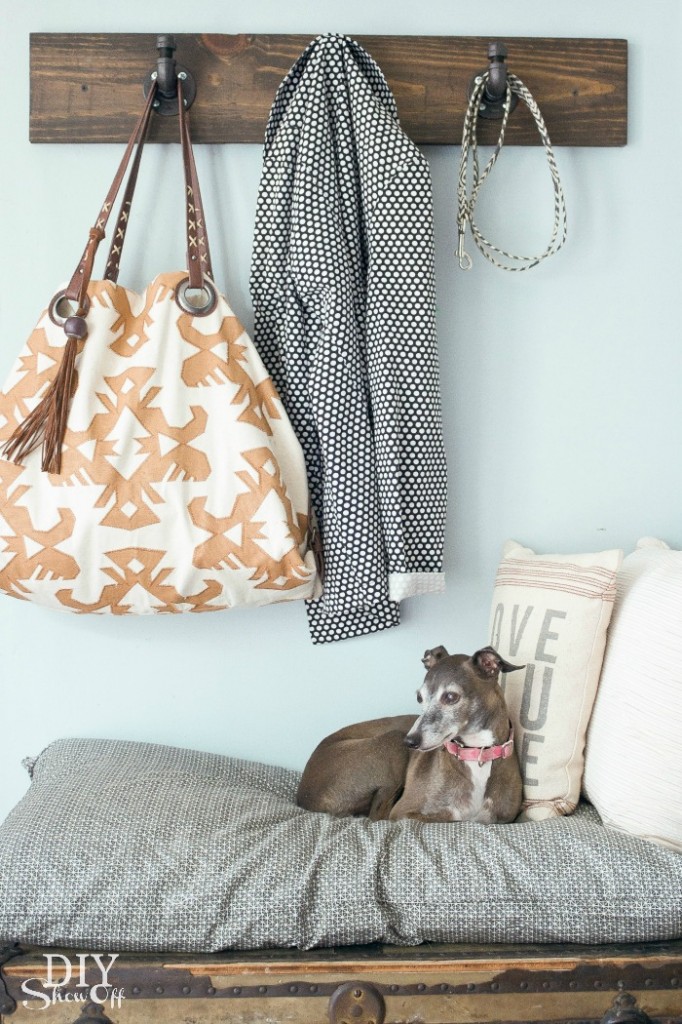
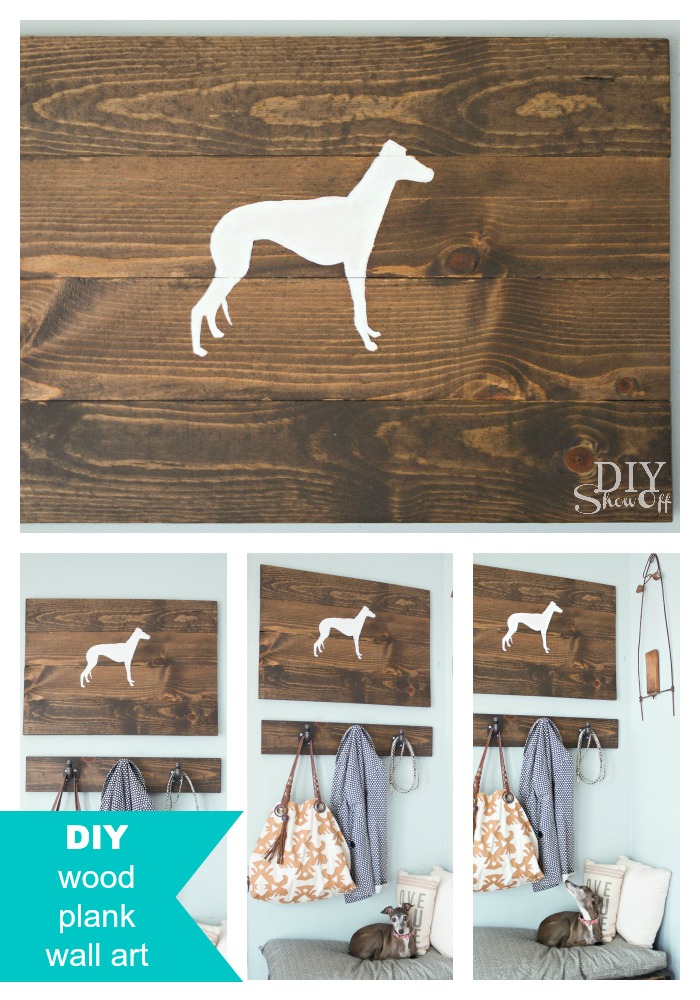
See who loves to rest here? It’s a tiny little Italian greyhound named Rosie…
DIYShowOff Coat Rack and Sign

One more picture. She’s just so stinkin’ cute!

DIYShowOff Coat Rack and Sign

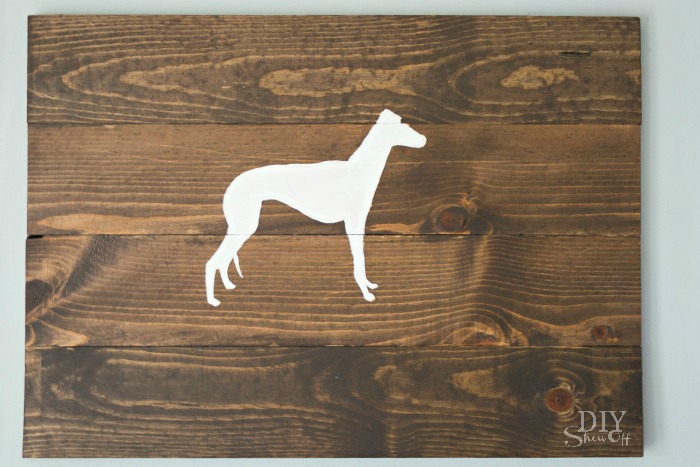
and I’m loving this scrap wood turned silhouette art placed above it. Rosie approves!DIYShowOff Wood Plank Wall Art

Materials I used:

  • scrap 1 x 6 pine boards 
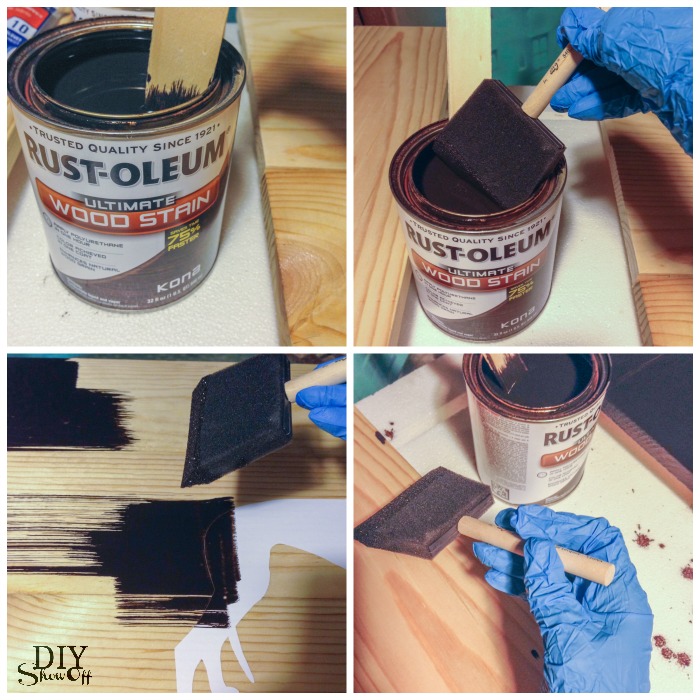
  • RustOleum Ultimate Wood Care (kona)
  • RustOleum Ultimate Polyurethane
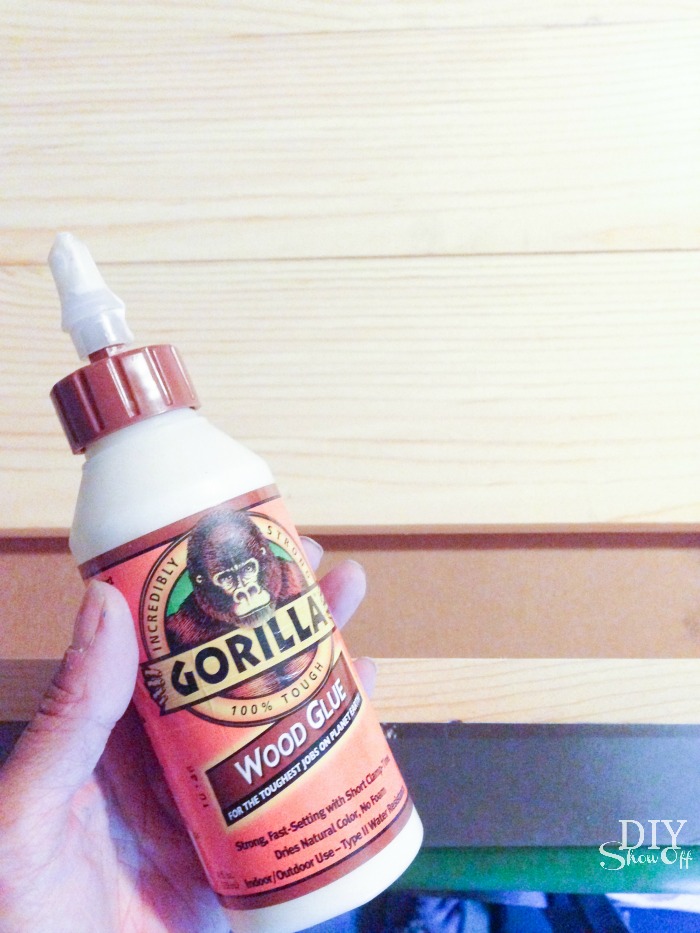
  • Gorilla wood glue
  • picture hanging hardware
  • vinyl decal (I used a greyhound shape)
  • white acrylic craft paint

What I did:

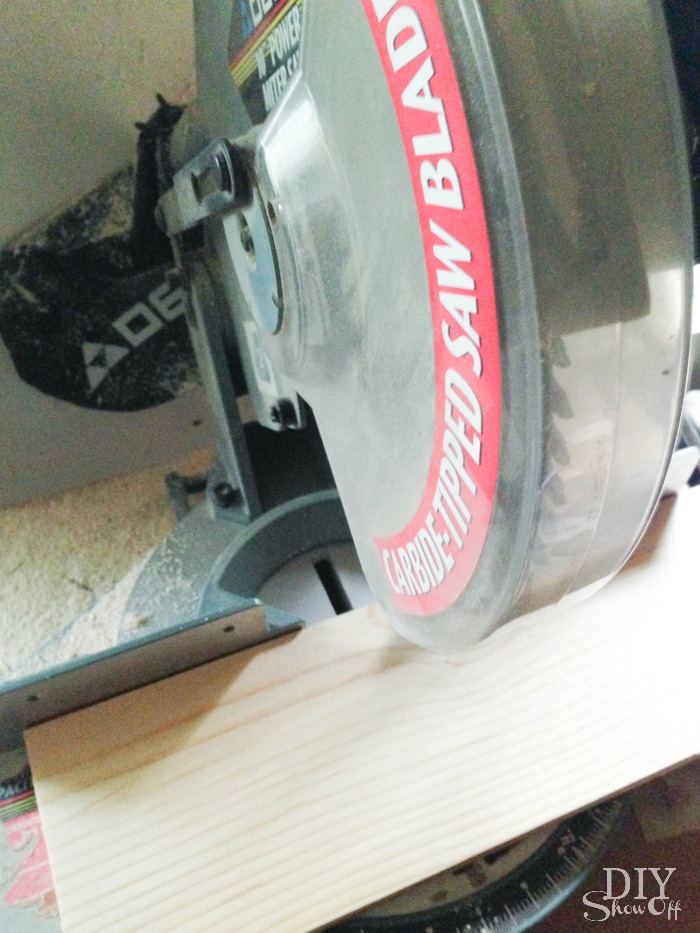
I cut my pine boards so that they all measured the same 30 inches long then sanded the edges. 

DIY wood plank sign tutorial DIY wood plank sign tutorial

Next I used wood glue and clamps to create a large wood plank canvas. Let dry. 

DIY wood plank sign tutorial

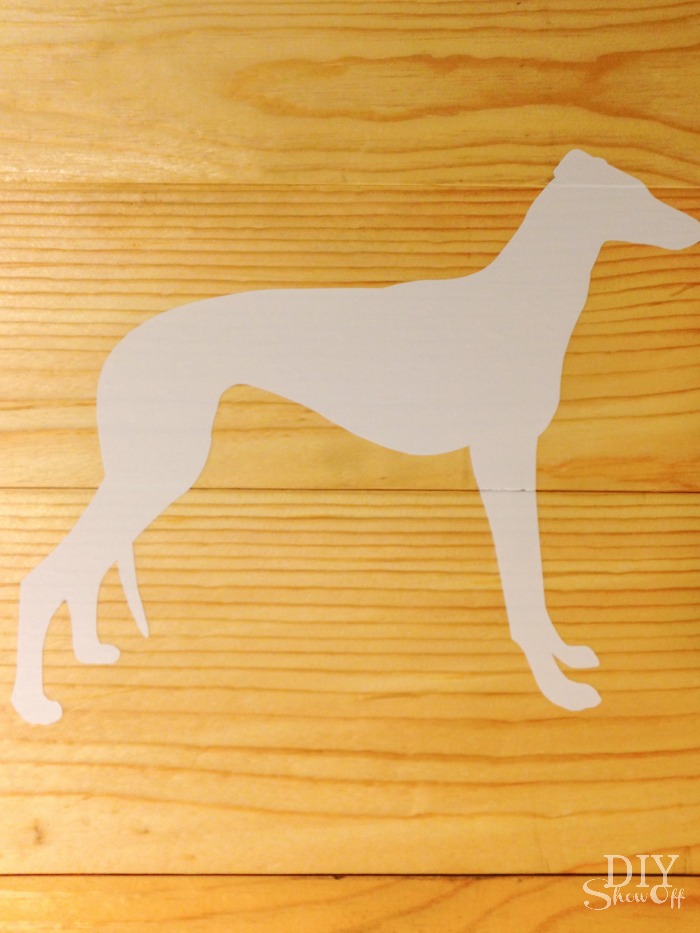
I applied my vinyl decal to the center of my wood canvas, burnishing the edges using my thumbnail. 

DIY wood plank sign tutorial

Then using a foam brush, I applied the stain in the same direction as the wood grain.

DIY wood plank sign tutorial

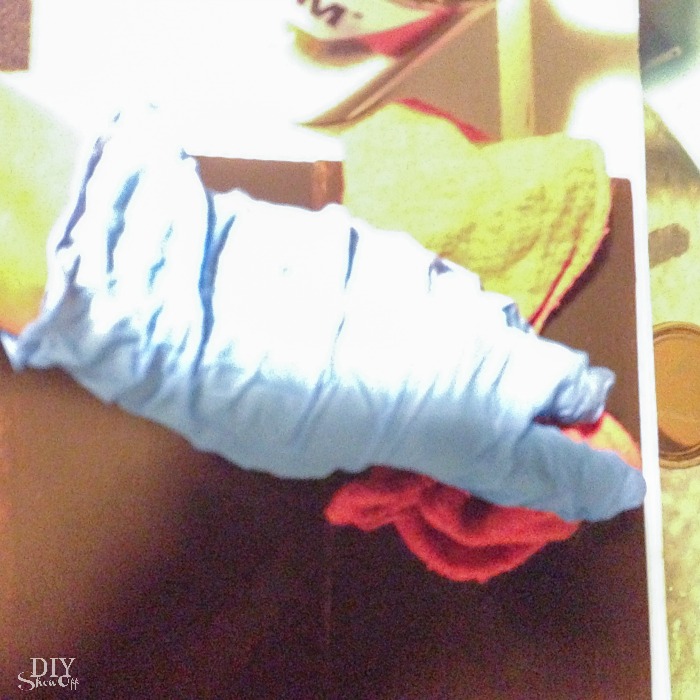
After a few minutes, I wiped away the excess stain, again in the direction of the wood grain, with an old rag. Let dry one hour.

DIY wood plank sign tutorial

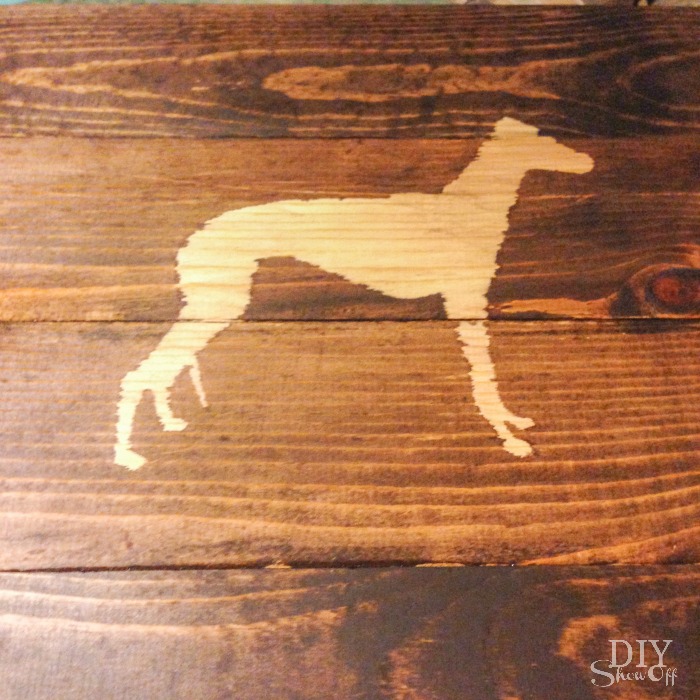
Then I removed the vinyl decal. I was hoping that there wouldn’t be any seeping but there was. No problem! Change of plans. Sometimes DIY doesn’t always go according to plan. 

DIY wood plank sign tutorial

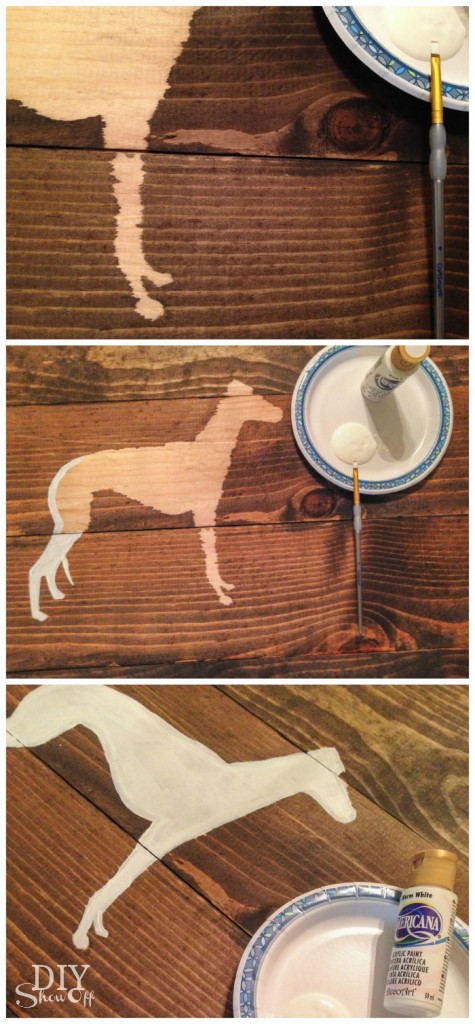
I used a small craft paint brush and white acrylic craft paint to fill in the unfinished portion of the greyhound stencil. Let dry.

DIY wood plank sign tutorial

I then applied a coat of the polyurethane over the stain, brushing on in the direction of the wood grain. Add picture hanging hardware to the back and hang to display.

DIYShowOff Wood Plank Wall Art

Perfect complimentary wall art for above the coat rack. 

Wood Plank Wall Art @diyshowoff

Wood Plank Wall Art @diyshowoff