Personalized Magnetic Artwork Display


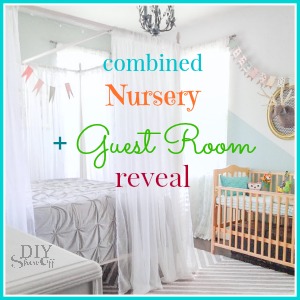
The Michaels’ Makers’ February challenge has an “express yourself” theme with a campaign called Made by Me, A to Z and it’s all about personalization, showcasing projects that take raw materials and transform them into something that’s completely personalized. The new Make Market line includes materials  from galvanized metal to distressed wood, acrylic, fabric and chalkboard! Something for everyone … or even everything for someone. There’s so crafting goodness to choose from, it’s hard to decide!

personalization challenge #michaelsmakers 


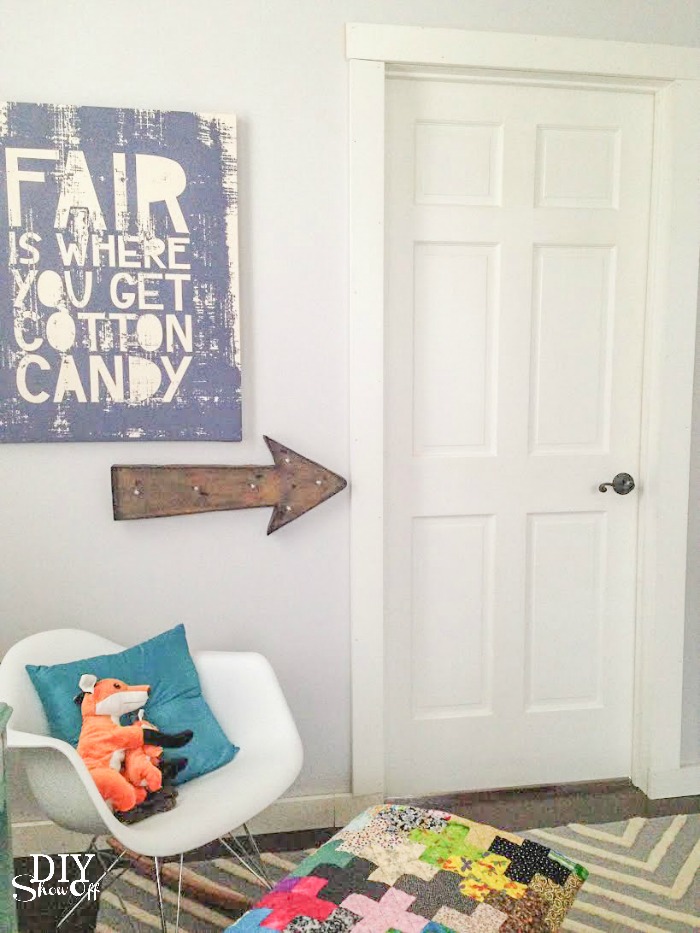
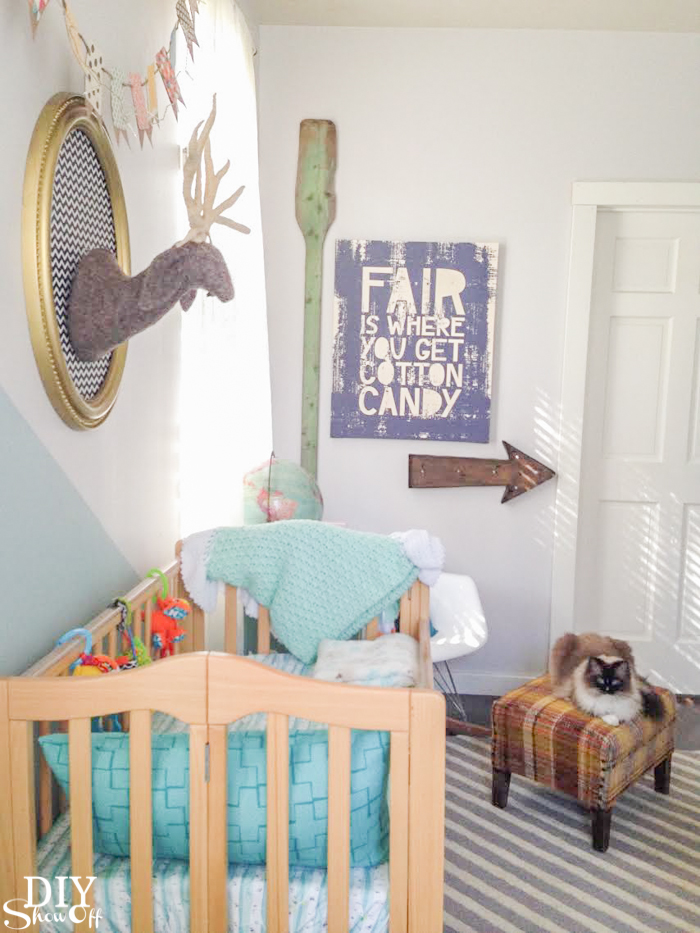
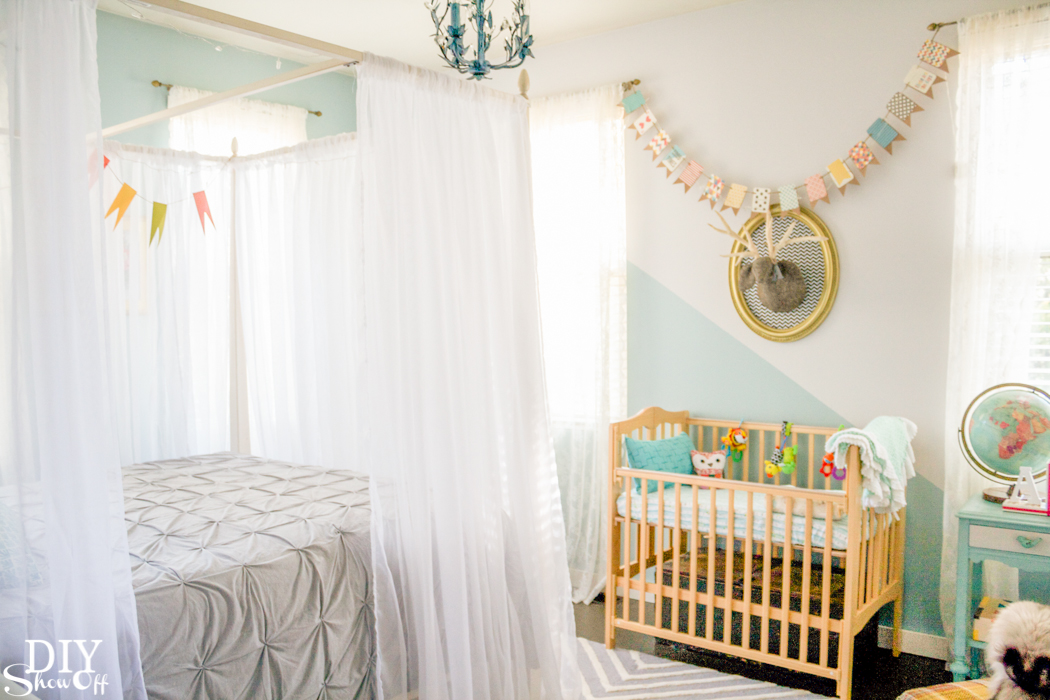
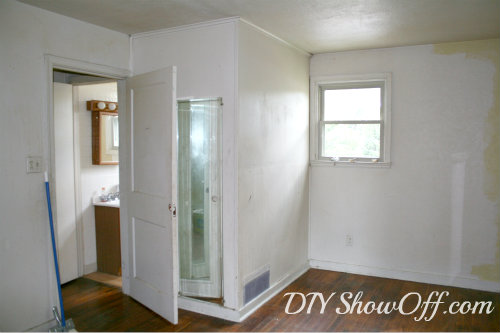
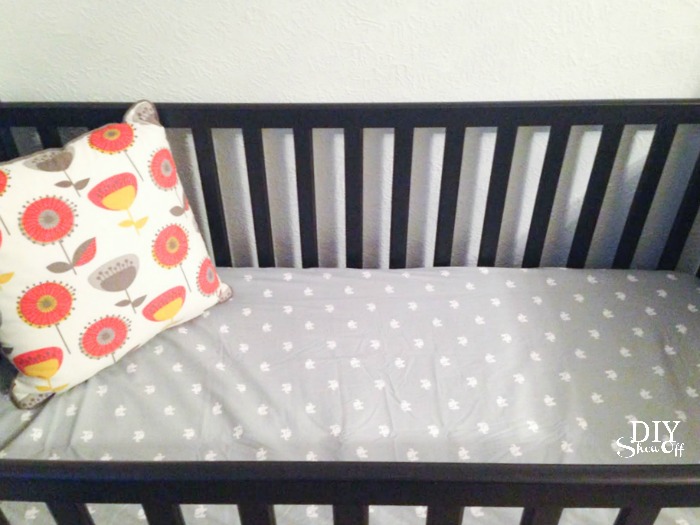
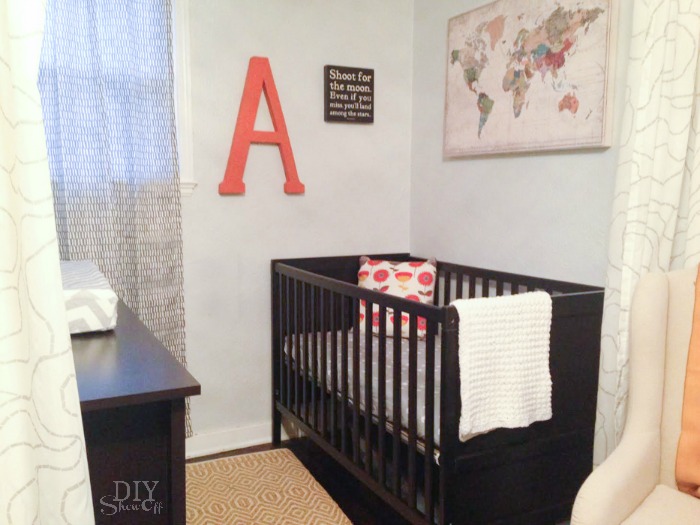
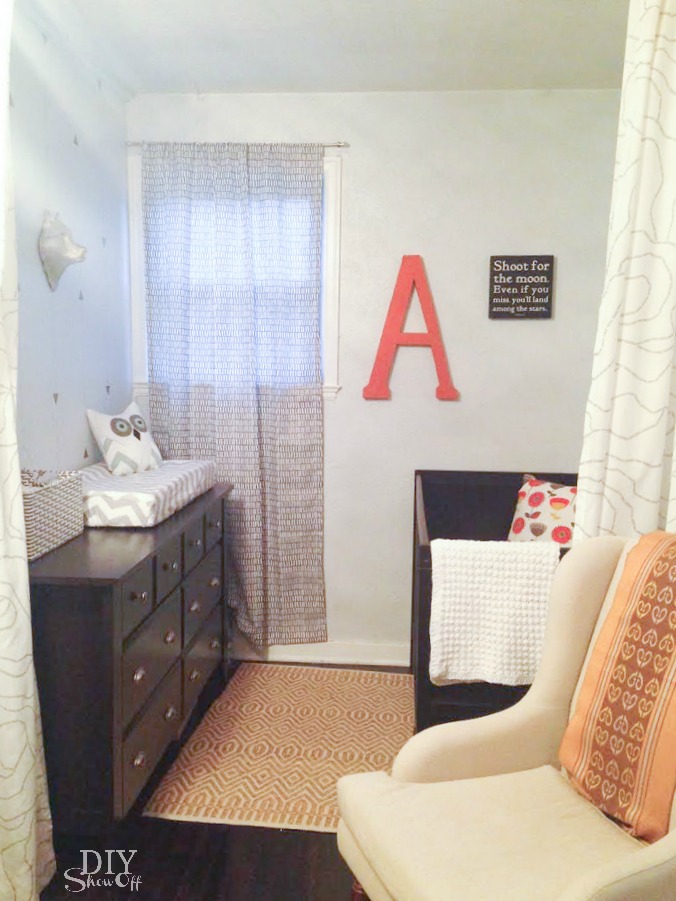
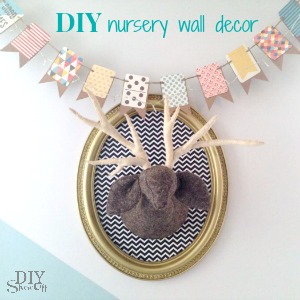
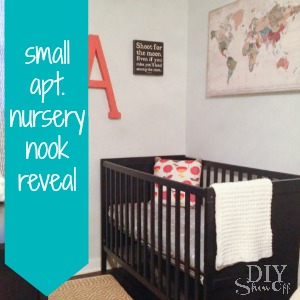
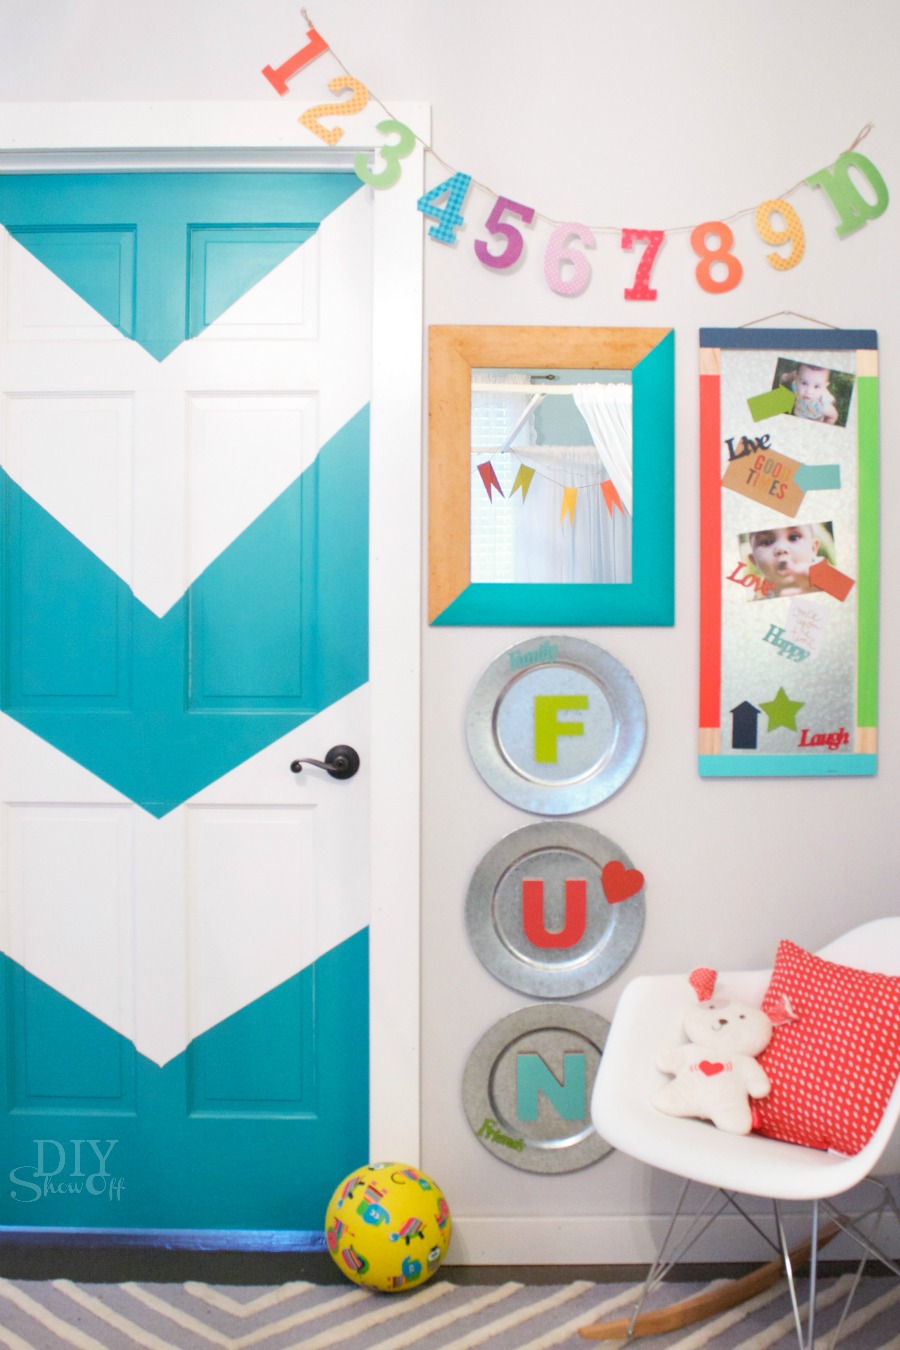
I treasure little one’s creations, artwork and photos so I decided to personalize a space in the nursery for displaying his art work and photos. 

magnetic art display #michaelsmakers @diyshowoff

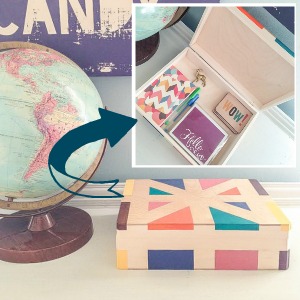
Here’s what I snagged from the Alphabet Soup collection in the Make Market aisle at Michaels:

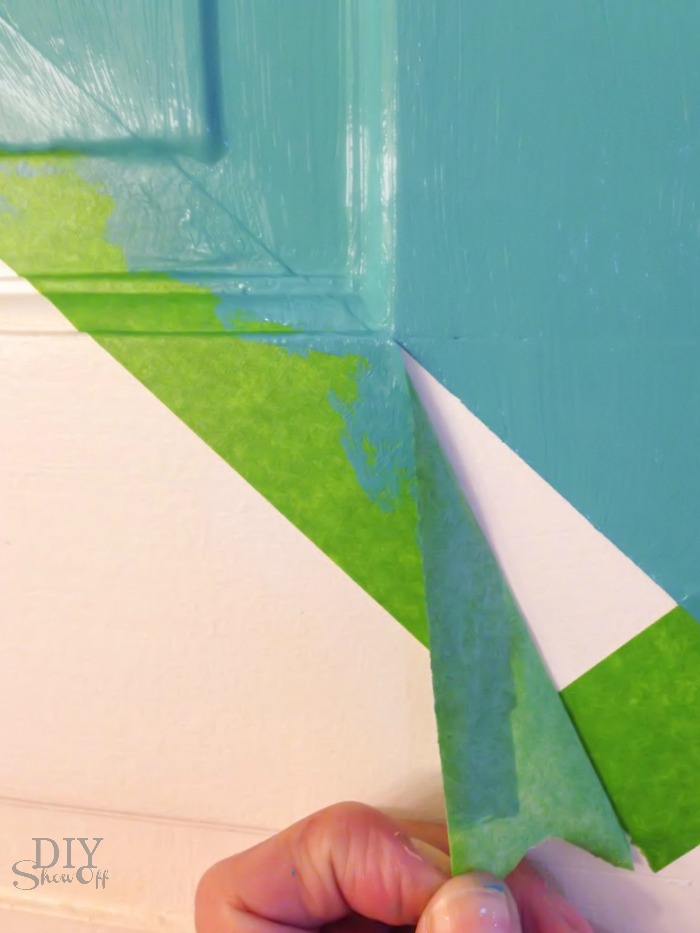
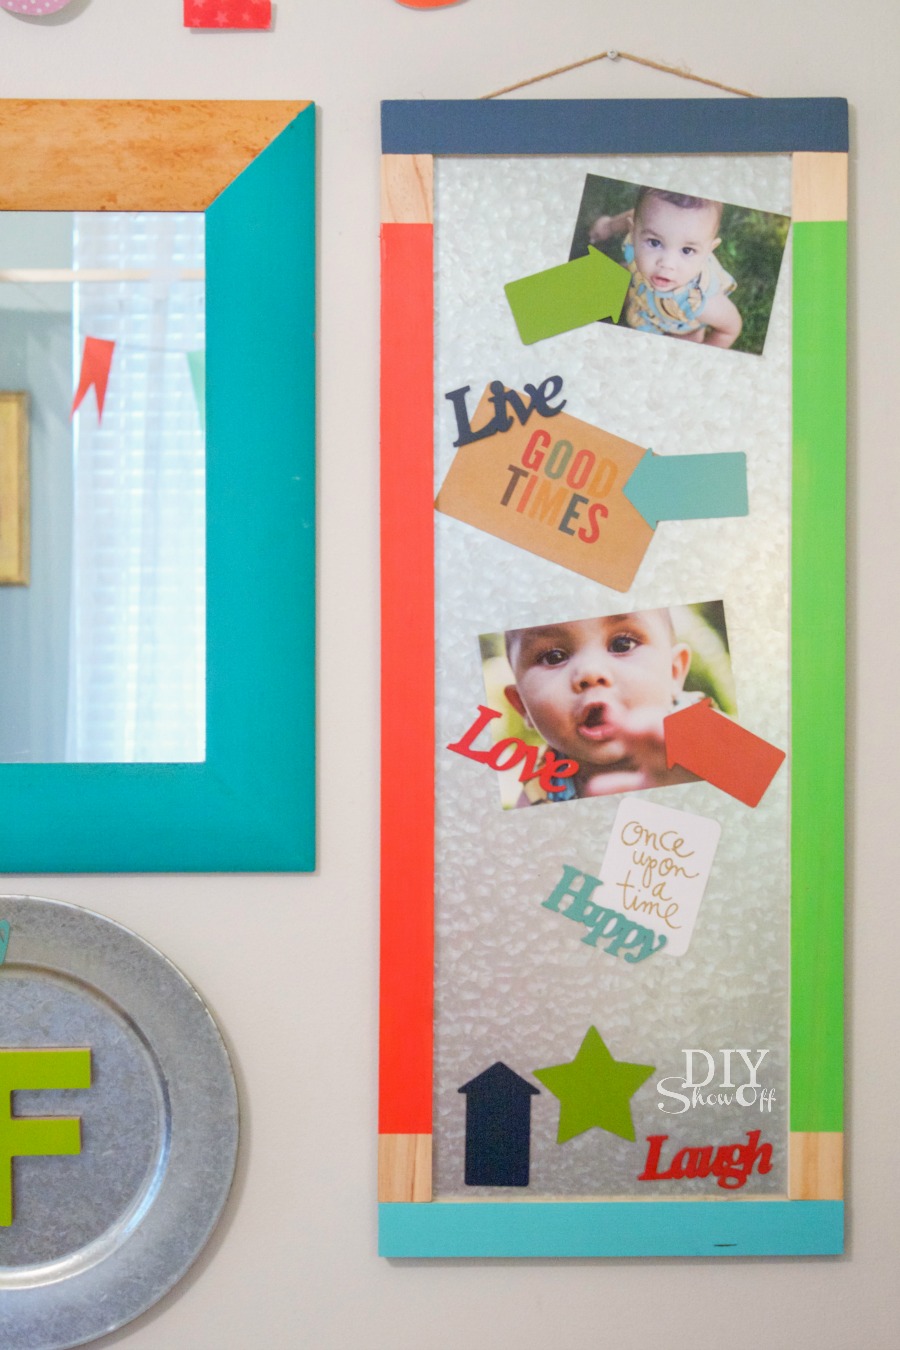
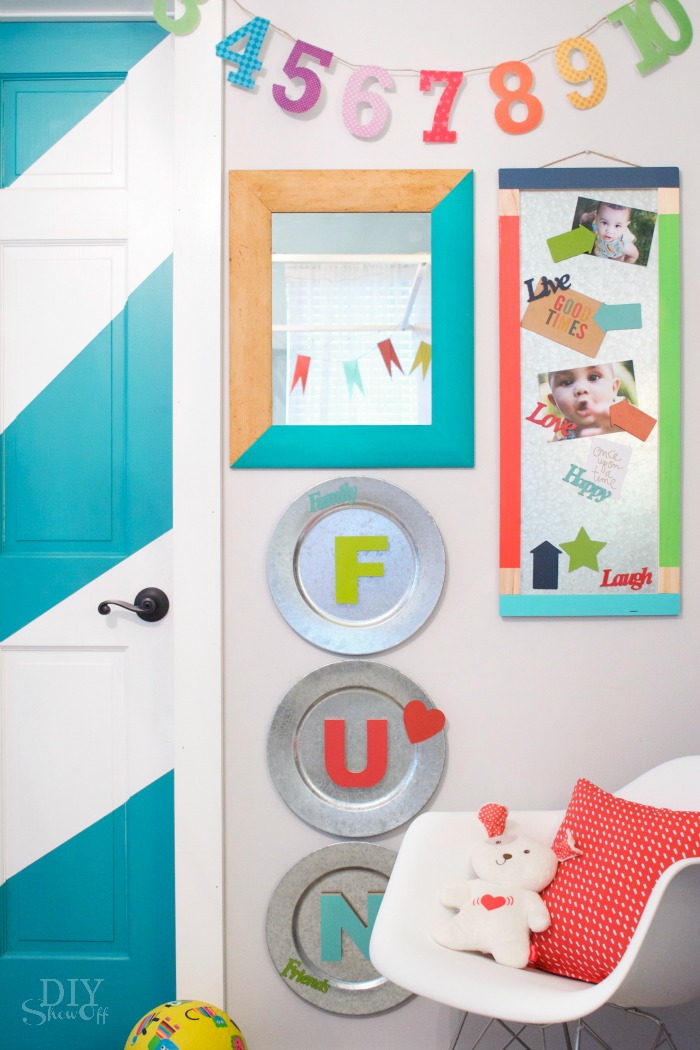
I personalized a galvanized magnetic memo board with vibrant paint colors to match the nursery decor…

magnetic art display #michaelsmakers @diyshowoff

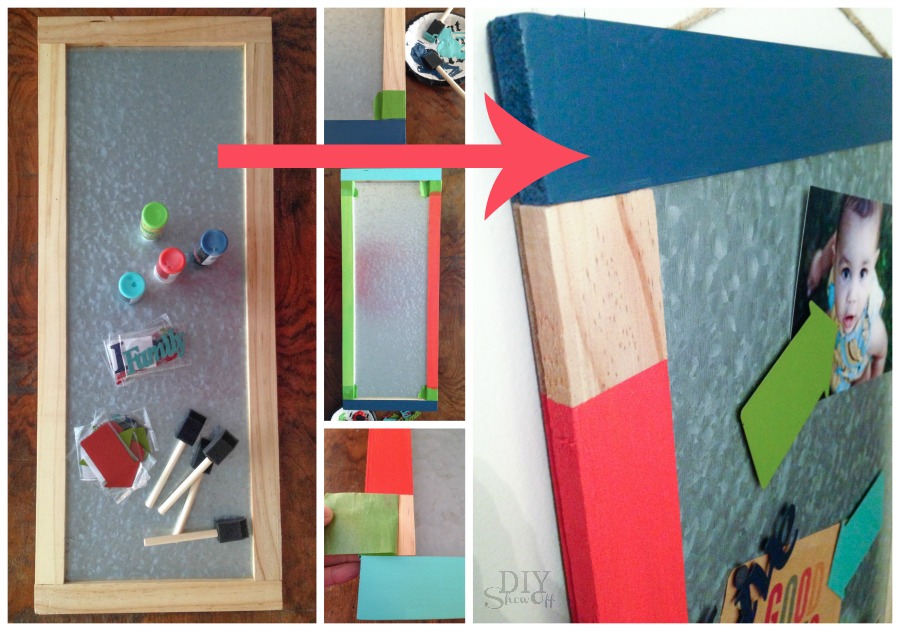
the magnets are so cute!

magnetic art display #michaelsmakers @diyshowoff

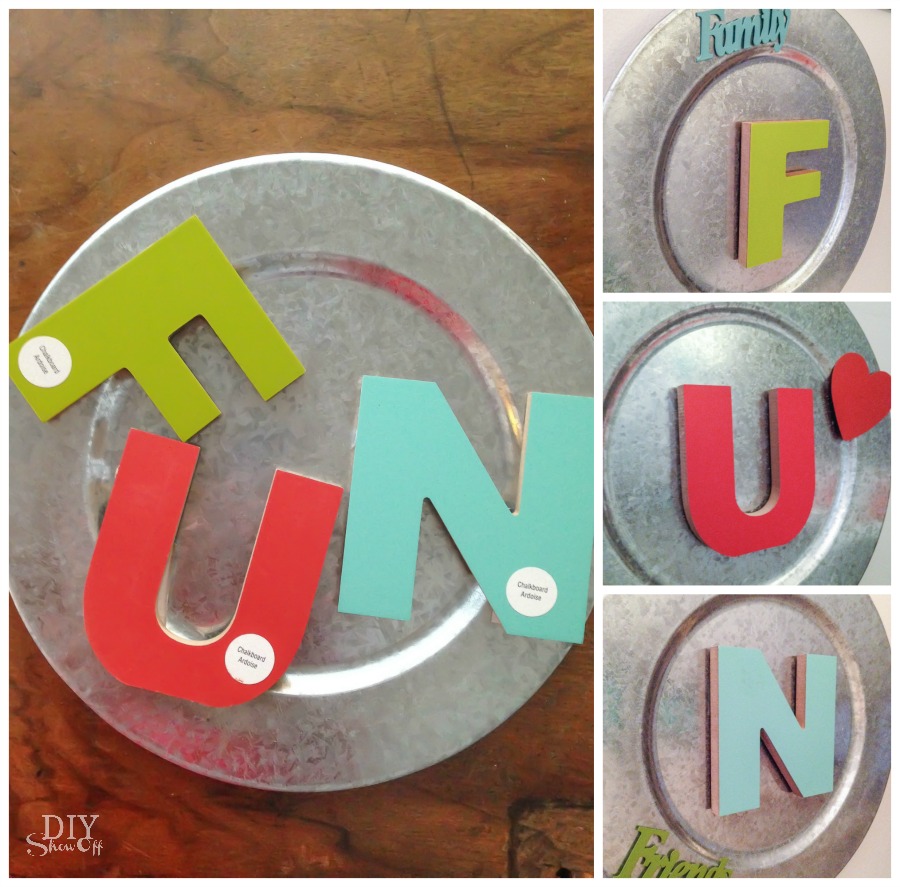
And added magnets to the back of F-U-N chalkboard letters for displaying on galvanized chargers/plates. These will work for magnetic play time in the future too. 

magnetic art display #michaelsmakers @diyshowoff

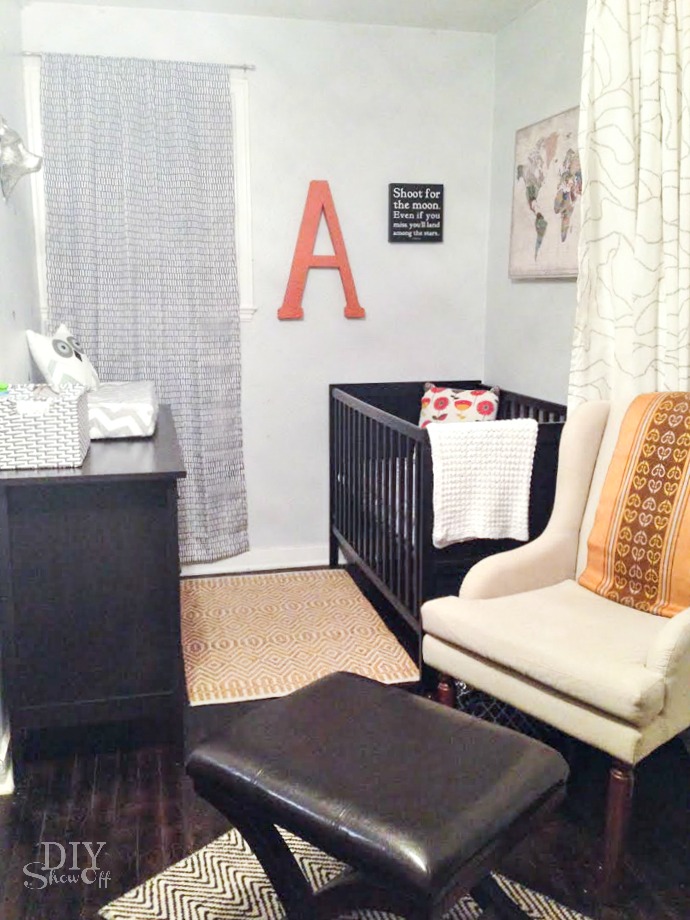
Cute, colorful, personal and custom to our nursery (future playroom)…

magnetic art display #michaelsmakers @diyshowoff

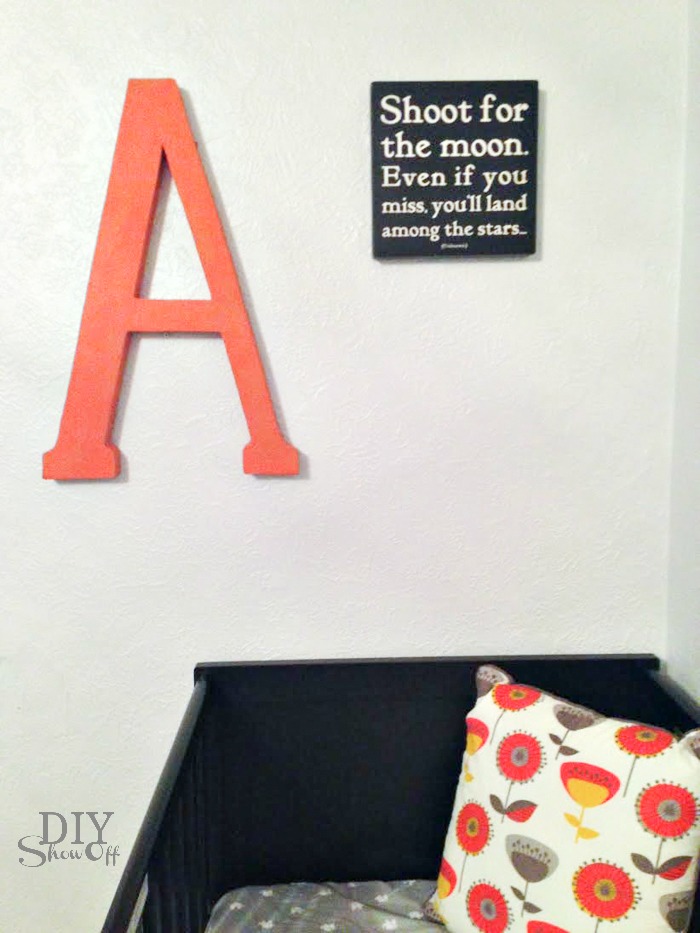
  • My favorite part about crafting is putting a personalized spin on a project. Whether it’s decorating with marquee lights or crafting an initial that represents your family name, Michaels has made it easy with their new Alphabet Soup by Make Market™ line of products. SO MANY DIFFERENT LETTERS! 
  • This collection of surfaces, letters, frames and more come in modern, eclectic or rustic styles. From natural and finished woods, to a variety of metals, resin and patterned styles, the possibilities are endless.
  • If you don’t know where to begin, you can always take a look at some of the fun projects on Michaels.com or the other 49 Makers’ ideas on The Glue String for to see how they personalized their crafts! Visit these fun projects for more inspiration (starting today at 11 a.m. EST): 
 Loading InLinkz ...

Jazz up baby’s crib for under $10

Need a splash of color in the nursery? Jazz up the crib with vinyl decals for less than $10! 

Jazz up your crib for under $10 with DIY adhesive vinyl decals. Tutorial @diyshowoff

Crib before:

Jazz up your crib for under $10 with DIY adhesive vinyl decals. Tutorial @diyshowoff

Materials I used: Happy Crafters adhesive vinyl x 2 colors 

Tools Needed: Scissors

Jazz up your crib for under $10 with DIY adhesive vinyl decals. Tutorial @diyshowoff

The Oracle brand adhesive vinyl from Happy Crafters has a grid on the back side. Using scissors, simply cut strips of adhesive vinyl to size. No vinyl cutting machine required.  

Jazz up your crib for under $10 with DIY adhesive vinyl decals. Tutorial @diyshowoff

Remove backing and place onto crib like stickers. You choose the color or colors that coordinate with your space. Best part? They’re removable! Get a fresh new look temporarily without ruining the crib’s finish. 

Jazz up your crib for under $10 with DIY adhesive vinyl decals. Tutorial @diyshowoff

After: 

Jazz up your crib for under $10 with DIY adhesive vinyl decals. Tutorial @diyshowoffJazz up your crib for under $10 with DIY adhesive vinyl decals. Tutorial @diyshowoffJazz up your crib for under $10 with DIY adhesive vinyl decals. Tutorial @diyshowoff

Can’t go wrong with easy, affordable, temporary and cute crib decorating! 

*Please note that you should make safety your first priority. If you find that your vinyl decals are peeling up, remove vinyl immediately. We do not have any issues, I’m only sharing a decorating project that works for us. Attempt this project at your own risk. 

**This post is sponsored by Happy Crafters. Tutorial, experience and opinion is my own. I love the products and the prices are affordable. Check out all the supplies at Happy Crafters for great prices, products and inspiration for your next project. 

HClogopngsmall

DIY Color Block Painted Door Makeover

Remember when I finished the combined nursery / guest room  makeover a few months ago…

combined nursery/guest room @diyshowoff 

I had a few finishing touches left to share. One of them was taking this plain door that leads to the guest bathroom…

chevron color block door tutorial @diyshowoff

and giving it a fun look. Paint is such an easy way to make a fun and bold statement, add a pop of color and definitely a touch of “wow” to the room…

chevron color block door tutorial @diyshowoff

What I used:

  • plain white door
  • sample of Valspar paint (color: rushing stream, finish: satin)
  • paintbrush
  • FrogTape
  • yard stick and pencil

What I did:

1. I gave the door a good scrub. Amazing how unnoticeable the dust is on those recessed panels. Who knew?

2. Using my yard stick, I found the center point of the door horizontally. Then made marks for where I’d like each “chevron” point to be. I didn’t really space them out exact. From the top, the first section is 14 inches down. 

3. Using FrogTape, I created a “v” shape. I eye-balled the angle. 

4. I repeated the “v” shape. A lot of my spacing and angle had to do with the panels, not exact measurements. 

chevron color block door tutorial @diyshowoff

5. I used my thumbnail (a credit/gift card would also work) to burnish the edges of the tape. 

chevron color block door tutorial @diyshowoff

6. I painted one coat and let it dry. Then brushed on a second coat. 

chevron color block door tutorial @diyshowoffchevron color block door tutorial @diyshowoff

7. While the paint was still wet, I removed the FrogTape. Try pulling away from the paint, as shown:

chevron color block door tutorial @diyshowoff


Before:

chevron color block door tutorial @diyshowoff

After: I am in love with the large scale bold design. It’s so unexpected and fun. 

chevron color block door tutorial @diyshowoff


and just that small project makes a big statement, doesn’t it? 


chevron color block door tutorial @diyshowoff


I love how it kicks the guest room/nursery room decor up a notch. 

{before}Guest Room/Nursery reveal @diyshowoff

{after}chevron color block door tutorial @diyshowoff

See the entire nursery/guest room reveal here. See this project and more in the Lowe’s Creative Ideas digital magazine. 

LCI Spring

I received a Lowe’s gift card to put towards this challenge. Opinion and above idea is 100% my own. More DIY ideas at Lowe’s Creative Ideas or follow Lowe’s on InstagramPinterest and sign up for the Creative Ideas magazine and app.

Small Apartment Nursery Nook Reveal

I’ve enjoyed creating two nursery spaces the last couple of months. The first one was the guest room/nursery space in my own home (see links below).

Guest Room/Nursery reveal @diyshowoff

Today is my daughter’s birthday! Happy Birthday, Ali! Creating a space for baby is one of her birthday gifts. Fun!

This one is a temporary space (functioning as a nursery until spring of next year). I call this sweet little room the nursery nook since it’s located in a small one bedroom apartment. Until I rescue photos from my old laptop, this is the only before picture I could find of the space:

bedroom-before

This part of the bedroom was made into a ‘dressing room’ type closet space a few years ago since storage is limited (I promise I’ll dig out the small apartment before and after pictures in the near future) but now part of the one bedroom is a cute little nursery nook for a soon to arrive little boy.

small apartment nursery nook reveal @diyshowoff small apartment nursery nook reveal @diyshowoffsmall apartment nursery nook reveal @diyshowoff small apartment nursery nook reveal @diyshowoff small apartment nursery nook reveal @diyshowoff small apartment nursery nook reveal @diyshowoffsmall apartment nursery nook reveal @diyshowoff small apartment nursery nook reveal @diyshowoff

As you can see, it’s not super baby themed since it’s a temporary/rental space. We’re saving a fun boy-themed nursery design for next summer. 

small apartment nursery nook reveal @diyshowoff small apartment nursery nook reveal @diyshowoffsmall apartment nursery nook reveal @diyshowoff small apartment nursery nook reveal @diyshowoffsmall apartment nursery nook reveal @diyshowoff small apartment nursery nook reveal @diyshowoff

Source List:

  • Sauder dresser
  • Crib – Ikea
  • accessories, accent rugs and wall art – HomeGoods 
  • curtain – Target
  • DIY arrow accent wall

Metallic gold arrow accent wall tutorial

metallic gold arrow wall at diyshowoff.com

See my guest room/nursery space for more nursery inspiration:

DIY nursery wall decor at diyshowoff.comcombined guest room nursery reveal @diyshowoffeasy diagonal wall paint design tutorial @diyshowoffpainted craft box DIY at diyshowoffDIYShowOff Michaels Makers back to school book ends feature

Metallic Gold Arrow Accent Wall Tutorial

A small plain wall is a great spot for adding some pattern and detail to a room. This small wall in the apartment nursery nook was just begging for a little attention. Here’s what we did to give it some pizzazz:

metallic gold arrow wall at diyshowoff.com

Arrow Accent Wall Tutorial

Materials:

What worked for me:

I started with creating triangle (arrowhead) vinyl stickers in my Silhouette Design Studio software. (Since I had some extra space, I created a few vinyl decals including the letter A and a deer head as well…they aren’t a part of this project.)

metallic arrow wall design tutorial @diyshowoff

I hit the “cut” button and adjusted the settings on my blade for vinyl. 

metallic arrow wall design tutorial @diyshowoff

Load the vinyl into my Silhouette Cameo color side facing up. 

metallic arrow wall design tutorial @diyshowoff

Hit “cut” and remove from machine. 

metallic arrow wall design tutorial @diyshowoff

Weed away the excess vinyl (the vinyl that’s not a part of the design). Vinyl stickers. That fast!

metallic arrow wall design tutorial @diyshowoff

On the wall using a level and Sharpie, I drew vertical lines evenly spaced part. 

metallic arrow wall design tutorial @diyshowoff

We then decided on placement of the arrow heads, alternating the direction every other line. 

metallic arrow wall design tutorial @diyshowoff

I cut a “chevron” pattern from cardboard and used it to create arrow tails, again, evenly spaced and alternating the direction every other line. 

metallic arrow wall design tutorial @diyshowoffmetallic arrow wall design tutorial @diyshowoff

Ali used a piece of damp magic eraser to erase the Sharpie line between arrows (note for potential future reference: magic eraser works on removing permanent marker from walls). 

metallic arrow wall design tutorial @diyshowoff

That’s it. I was hoping for a more staggered look, but even with drawing it out on paper, the final design had an alternating horizontal pattern too. Cool! 

metallic gold arrow wall - nursery @diyshowoff

What do you think? Cute. Simple. Right? 

See the entire nursery nook HERE

small apartment nursery nook reveal @diyshowoff

See my guest room/nursery space for more nursery ideas:

combined guest room nursery reveal @diyshowoffDIY nursery wall decor at diyshowoff.comeasy diagonal wall paint design tutorial @diyshowoffpainted craft box DIY at diyshowoffDIYShowOff Michaels Makers back to school book ends feature

*This post is sponsored by Happy Crafters. Tutorial, experience and opinion is my own.  Check out all the supplies at Happy Crafters for inspiration for your next project. 

HClogopngsmall

Guest Room/Nursery Diagonal Wall Paint Refresh

Our guest room was painted just a few years ago (and the color is a mix of several leftover paints, but I’d say it’s close to Benjamin Moore Smoke). And an occupational hazard of loving DIY and decorating is that walls wind up with tiny nail holes everywhere (they’re just holes! It doesn’t deter me from decorating and doing what I love when it’s such an easy fix). The walls also had some scuffs, etc. And well, with welcoming a grandson into our lives soon, I wanted to freshen up the guest room a bit and to add a few nursery details. So, time to freshen up those walls. 

Guest room before – not bad at all! But I want to freshen up the room, make room for a guest baby too!

poster bed with curtains, turquoise and orange, do it yourself, bedroom makeover

I really like the existing color. So I didn’t want to completely start over. I decided to add Valspar Sandstone Gray to the main areas that needed “freshened up”. How did I do it? By keeping the existing wall color on one wall completely and painting the opposing/opposite wall the new color. Then, the other two walls got a bit of a fun treatment. New color where I patched the nail holes, existing color remains on the bottom half where I didn’t have nail holes. 

Yes, that means a diagonal design. Simple. I am really loving the result!

How did I do the diagonal wall treatment? With…

Diagonal Wall Paint Design Tutorial 

  • FrogTape® Multi-Surface
  • string
  • thumbtacks
  • paint

Note: I tackled this project before sunrise (crazy!) but I couldn’t sleep (it does feel like a productive day when you accomplish so much before lunch). Anyway, please pardon the shadows in the tutorial photos. 

I attached string to the upper most corner of the wall with a thumbtack. Then did the same on the opposite bottom corner of the room.

Diagonal Wall Paint Design Tutorial

I used the string as a guide for placing my FrogTape. 

Diagonal Wall Paint Design TutorialDiagonal Wall Paint Design Tutorial

I used my thumbnail to burnish the edge of the tape that would meet the paint. 

Diagonal Wall Paint Design Tutorial

Removed the thumbtacks/string.

Diagonal Wall Paint Design Tutorial

Then Painted the upper halves of the walls. Two coats. 

Diagonal Wall Paint Design Tutorial

While the second coat was still wet, I removed the FrogTape and allowed the paint to dry before re-decorating. 

Diagonal Wall Paint Design Tutorial

I repeated the same steps on the opposite wall.

Diagonal Wall Paint Design TutorialDiagonal Wall Paint Design Tutorial

I really love the way I still have the original color but it’s updated, fun and freshened up!

Diagnonal Wall Paint Design @diyshowoff Diagnonal Wall Paint Design @diyshowoff

See the full guest room/nursery reveal here

combined guest room nursery reveal @diyshowoffDIY nursery wall decor at diyshowoff.comeasy diagonal wall paint design tutorial @diyshowoffpainted craft box DIY at diyshowoffDIYShowOff Michaels Makers back to school book ends feature

FrogTape Blog Squad

Disclaimer: I received compensation to complete this project for using FrogTape® products. All opinions, projects and ideas are based on my own experience.