A small plain wall is a great spot for adding some pattern and detail to a room. This small wall in the apartment nursery nook was just begging for a little attention. Here’s what we did to give it some pizzazz:
![]()
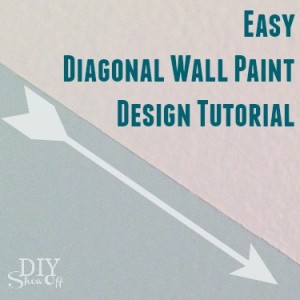
Arrow Accent Wall Tutorial
Materials:
- Happy Crafters metallic gold glossy adhesive vinyl
- Metallic gold Sharpie
What worked for me:
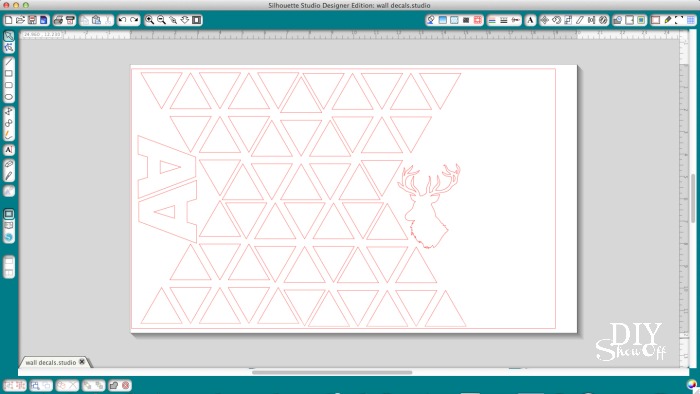
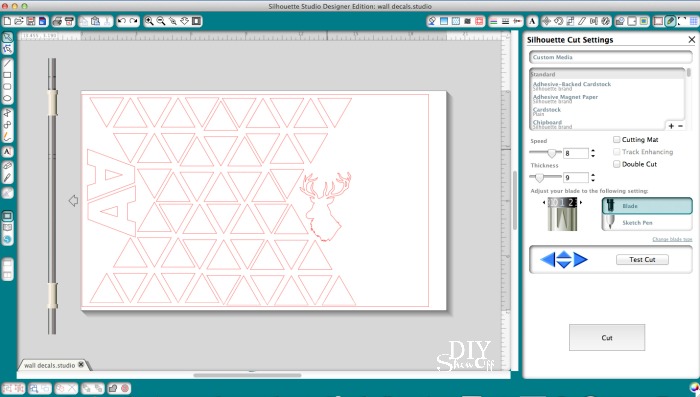
I started with creating triangle (arrowhead) vinyl stickers in my Silhouette Design Studio software. (Since I had some extra space, I created a few vinyl decals including the letter A and a deer head as well…they aren’t a part of this project.)
I hit the “cut” button and adjusted the settings on my blade for vinyl.
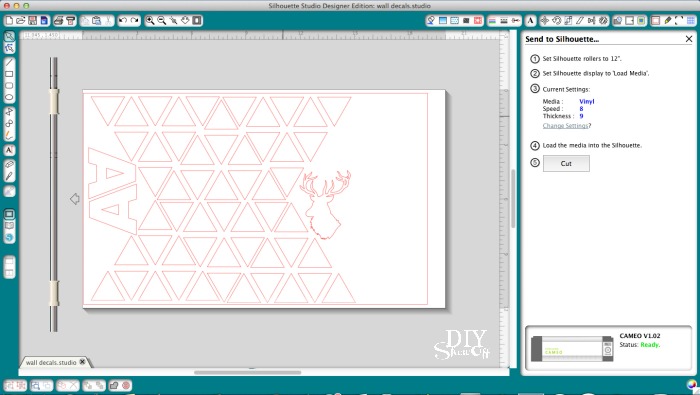
Load the vinyl into my Silhouette Cameo color side facing up.
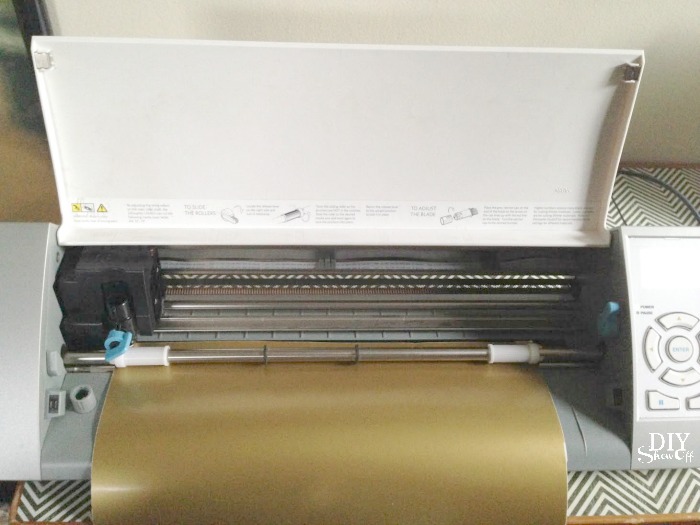
Hit “cut” and remove from machine.
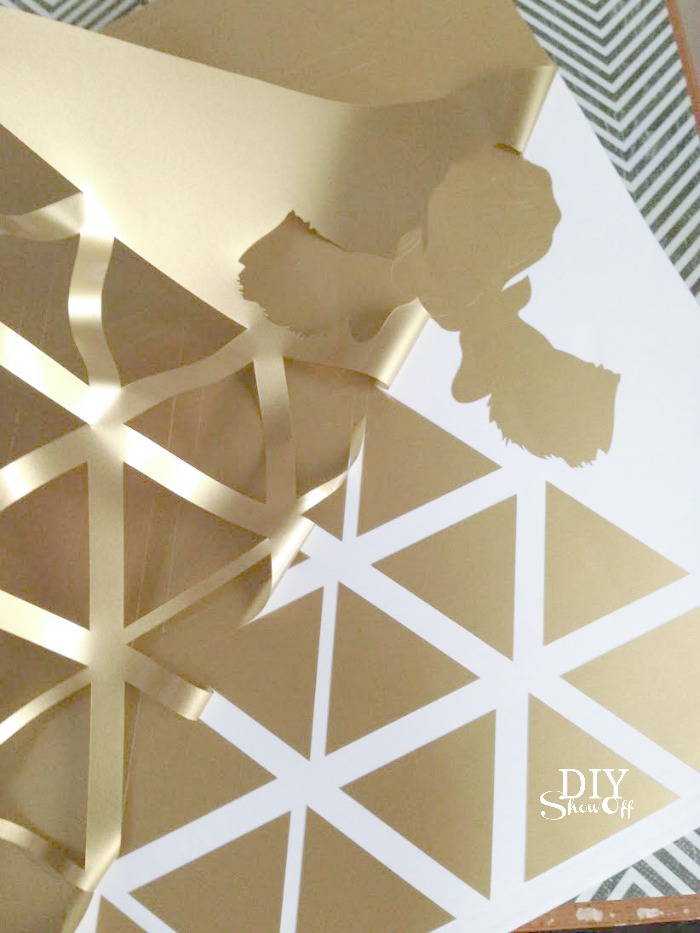
Weed away the excess vinyl (the vinyl that’s not a part of the design). Vinyl stickers. That fast!
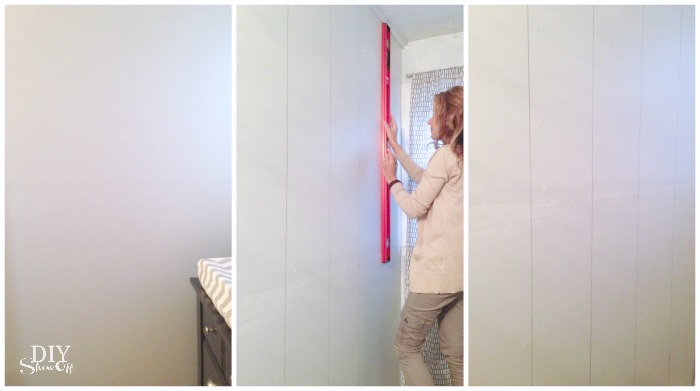
On the wall using a level and Sharpie, I drew vertical lines evenly spaced part.
We then decided on placement of the arrow heads, alternating the direction every other line.
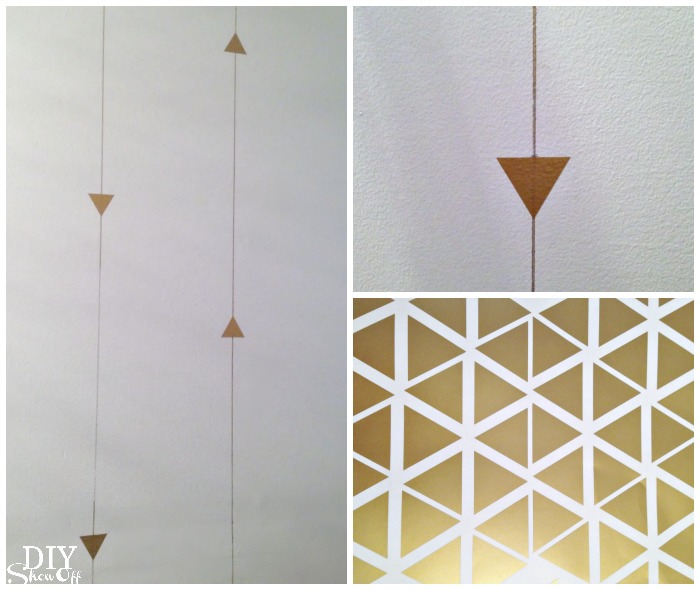
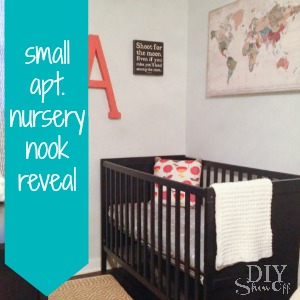
I cut a “chevron” pattern from cardboard and used it to create arrow tails, again, evenly spaced and alternating the direction every other line.
![]()
![]()
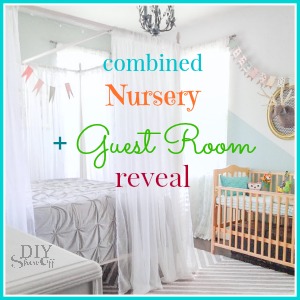
Ali used a piece of damp magic eraser to erase the Sharpie line between arrows (note for potential future reference: magic eraser works on removing permanent marker from walls).
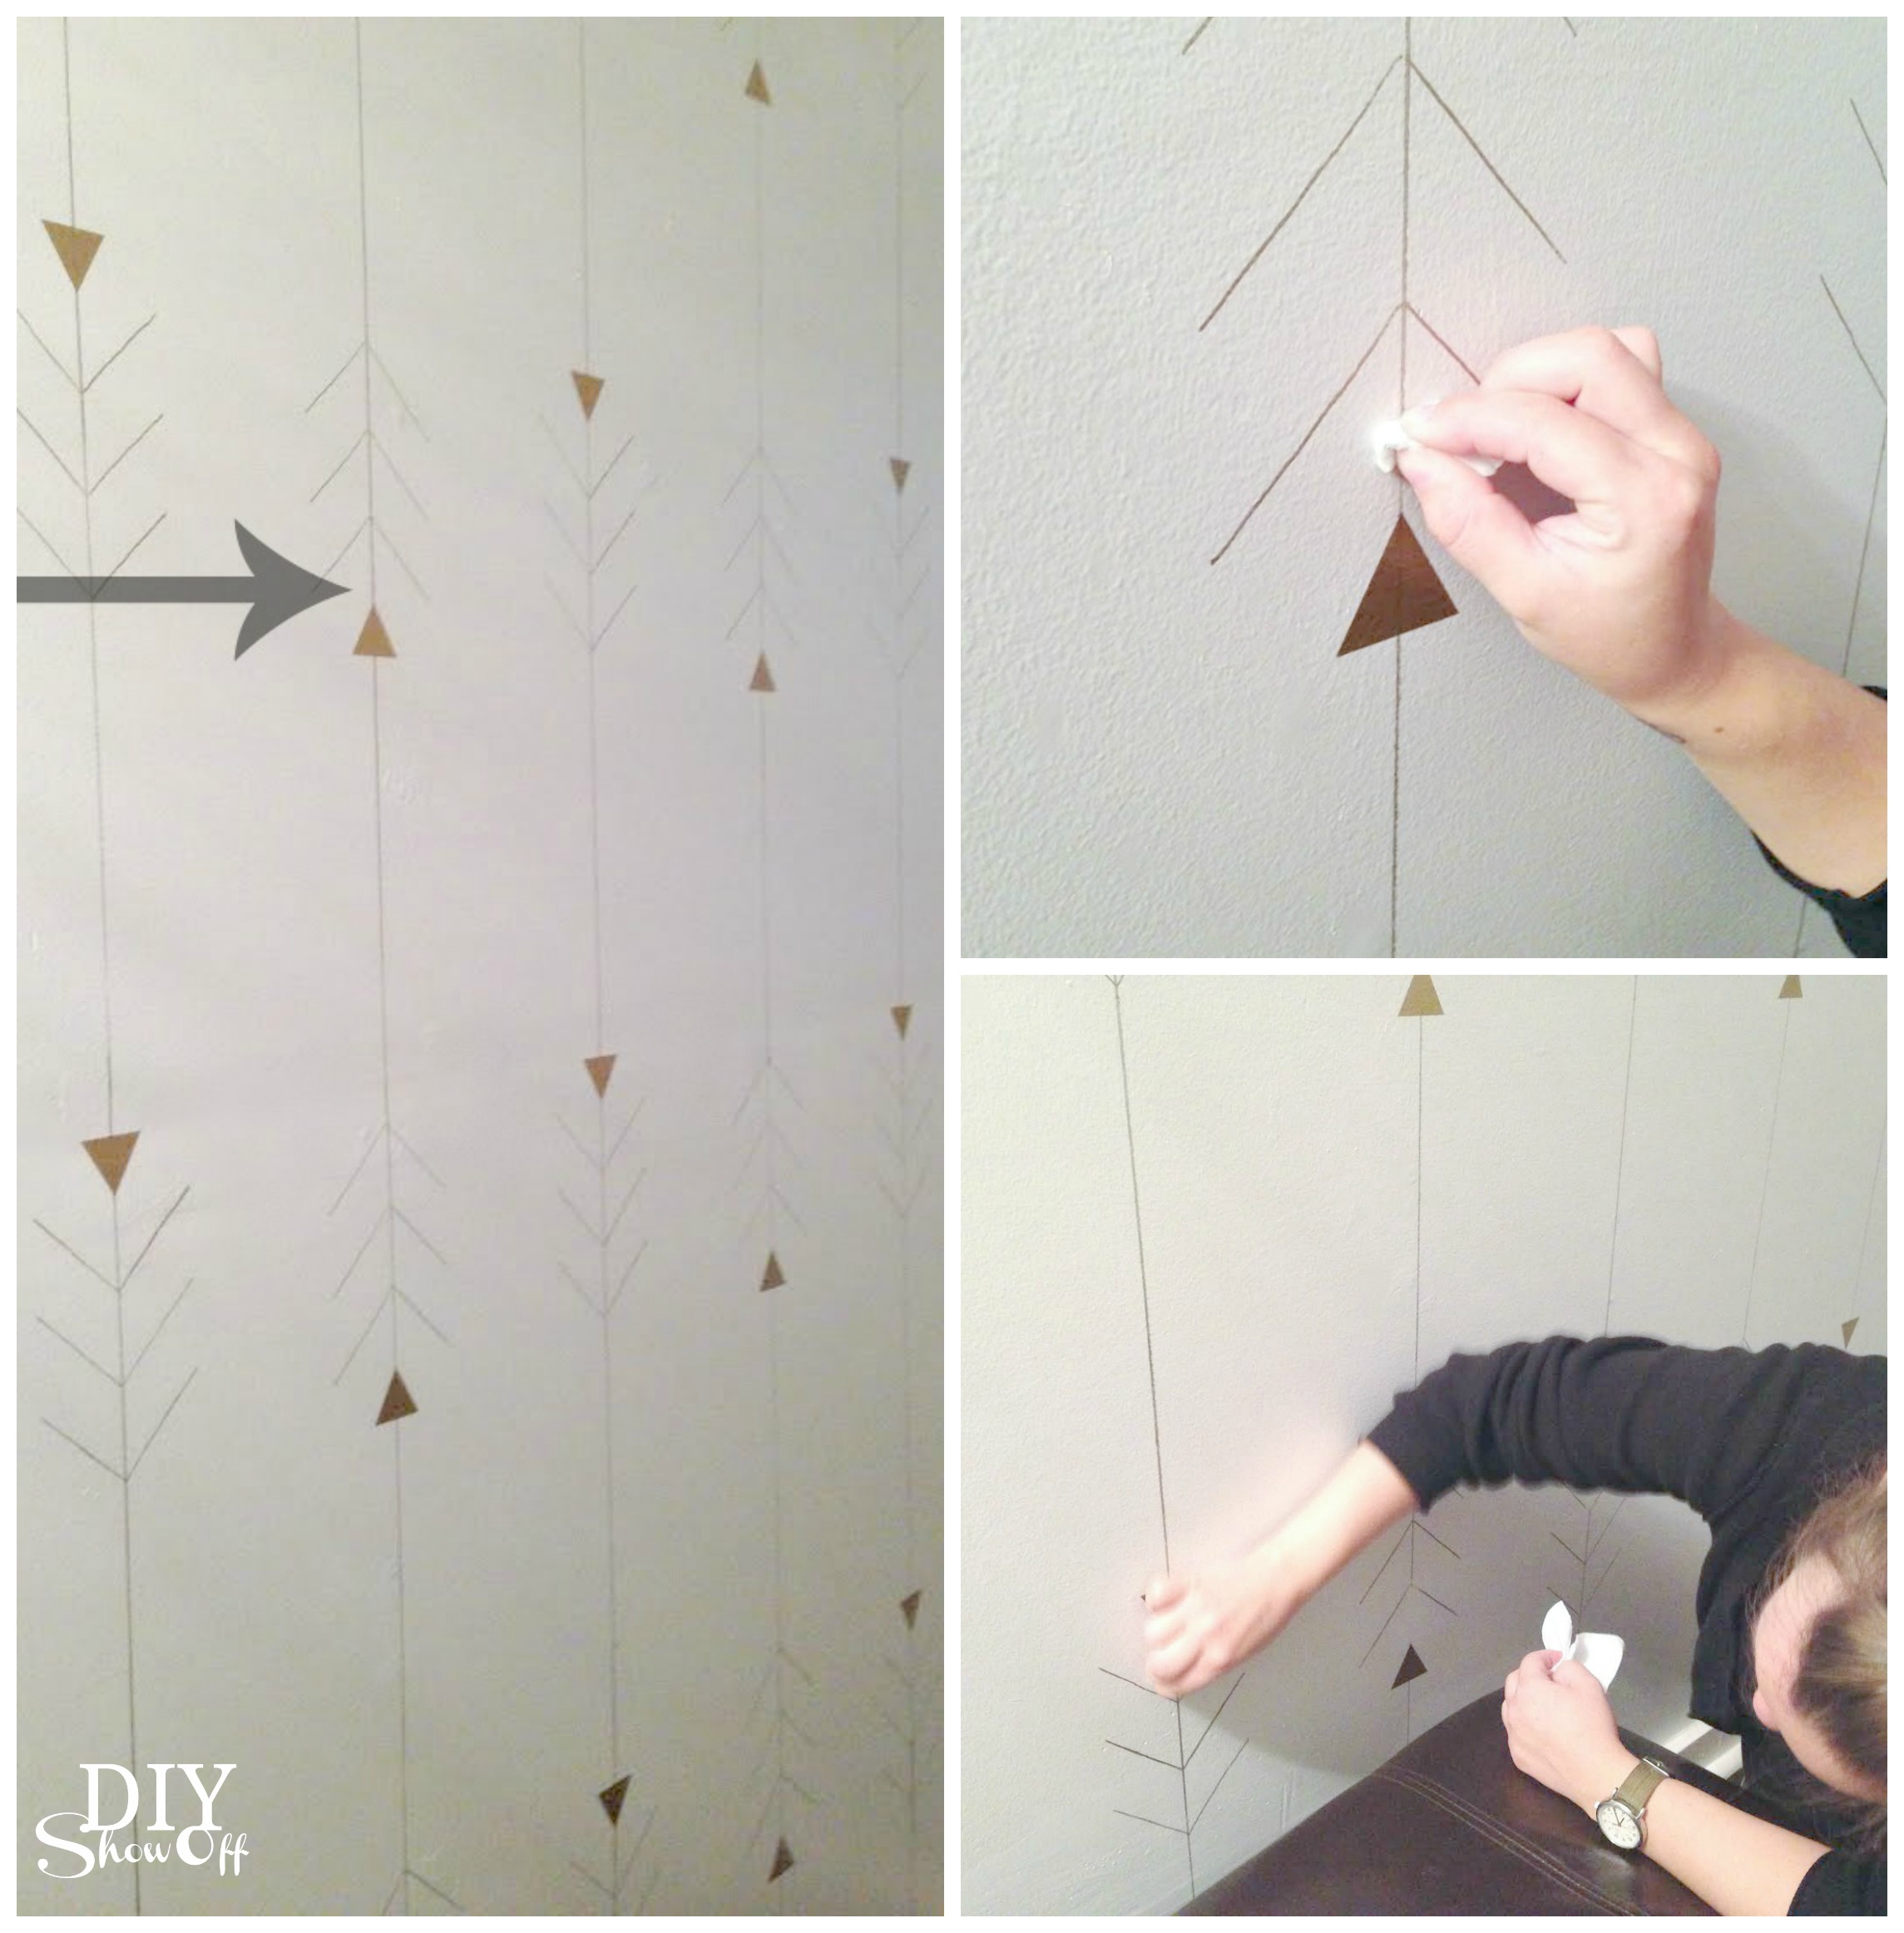
That’s it. I was hoping for a more staggered look, but even with drawing it out on paper, the final design had an alternating horizontal pattern too. Cool!
![]()
What do you think? Cute. Simple. Right?
See the entire nursery nook HERE.
See my guest room/nursery space for more nursery ideas:

*This post is sponsored by Happy Crafters. Tutorial, experience and opinion is my own. Check out all the supplies at Happy Crafters for inspiration for your next project.