Jazz up baby’s crib for under $10

Need a splash of color in the nursery? Jazz up the crib with vinyl decals for less than $10! 

Jazz up your crib for under $10 with DIY adhesive vinyl decals. Tutorial @diyshowoff

Crib before:

Jazz up your crib for under $10 with DIY adhesive vinyl decals. Tutorial @diyshowoff

Materials I used: Happy Crafters adhesive vinyl x 2 colors 

Tools Needed: Scissors

Jazz up your crib for under $10 with DIY adhesive vinyl decals. Tutorial @diyshowoff

The Oracle brand adhesive vinyl from Happy Crafters has a grid on the back side. Using scissors, simply cut strips of adhesive vinyl to size. No vinyl cutting machine required.  

Jazz up your crib for under $10 with DIY adhesive vinyl decals. Tutorial @diyshowoff

Remove backing and place onto crib like stickers. You choose the color or colors that coordinate with your space. Best part? They’re removable! Get a fresh new look temporarily without ruining the crib’s finish. 

Jazz up your crib for under $10 with DIY adhesive vinyl decals. Tutorial @diyshowoff

After: 

Jazz up your crib for under $10 with DIY adhesive vinyl decals. Tutorial @diyshowoffJazz up your crib for under $10 with DIY adhesive vinyl decals. Tutorial @diyshowoffJazz up your crib for under $10 with DIY adhesive vinyl decals. Tutorial @diyshowoff

Can’t go wrong with easy, affordable, temporary and cute crib decorating! 

*Please note that you should make safety your first priority. If you find that your vinyl decals are peeling up, remove vinyl immediately. We do not have any issues, I’m only sharing a decorating project that works for us. Attempt this project at your own risk. 

**This post is sponsored by Happy Crafters. Tutorial, experience and opinion is my own. I love the products and the prices are affordable. Check out all the supplies at Happy Crafters for great prices, products and inspiration for your next project. 

HClogopngsmall

DIY Vinyl Iron on Decal

My monthly project for Happy Crafters is all about iron on vinyl, my favorite being the gold vinyl where I can quickly add a little bling to a plain t-shirt, tote back, pillow covers, onesies, etc. 

gold metallic iron on vinyl decal tutorial @diyshowoff #happycrafters

Materials:

Tutorial:

Use Silhouette Design Studio software to create a design of text with a quote. 

gold metallic iron on vinyl decal tutorial @diyshowoff #happycrafters

Resize text the text box and font to fit the front of your t-shirt. 

*Important! Right click and “flip horizontally” so that the text is a mirror image/backwards.

gold metallic iron on vinyl decal tutorial @diyshowoff #happycraftersgold metallic iron on vinyl decal tutorial @diyshowoff #happycrafters

Load sheet of vinyl iron on into the machine shiny/color side facing down. 

gold metallic iron on vinyl decal tutorial @diyshowoff #happycrafters

Click “send to cut” and be sure to adjust settings for cutting smooth heat transfer. I found that I needed to up the blade 2 more than recommended to get through the vinyl (awesome quality stuff!) so you may want to do a small text cut. 

gold metallic iron on vinyl decal tutorial @diyshowoff #happycrafters

Click “cut”. Once cutting is complete, remove vinyl from machine. 

Trim away excess vinyl. I like to have about an inch border around my text.

Weed away the negative part of the design (leaving text on the tacky clear transfer sheet). 

gold metallic iron on vinyl decal tutorial @diyshowoff #happycrafters

Place iron on sticky side down onto t-shirt.

gold metallic iron on vinyl decal tutorial @diyshowoff #happycrafters

Iron according to paper instructions included with the vinyl iron on material with a cotton cloth over the transparent plastic. 

gold metallic iron on vinyl decal tutorial @diyshowoff #happycrafters

Carefully peel away clear transfer sheet. If vinyl iron on design hasn’t transferred, replace transparent sheet and re-iron/try again. 

gold metallic iron on vinyl decal tutorial @diyshowoff #happycrafters gold metallic iron on vinyl decal tutorial @diyshowoff #happycrafters

That’s it! This metallic gold foil has a mirror quality, reflections in the decal. So cool!

gold metallic iron on vinyl decal tutorial @diyshowoff #happycraftersgold metallic iron on vinyl decal tutorial @diyshowoff #happycrafters

*This post is sponsored by Happy Crafters. Tutorial, experience and opinion is my own. I love the products and the prices are affordable. Check out all the supplies at Happy Crafters for great prices, products and inspiration for your next project. 

HClogopngsmall

Easy DIY Personalized Easter Basket Liner

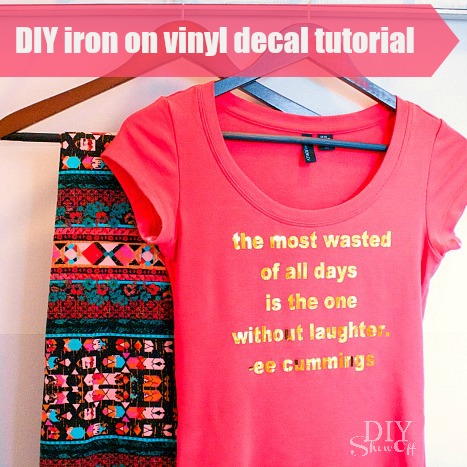
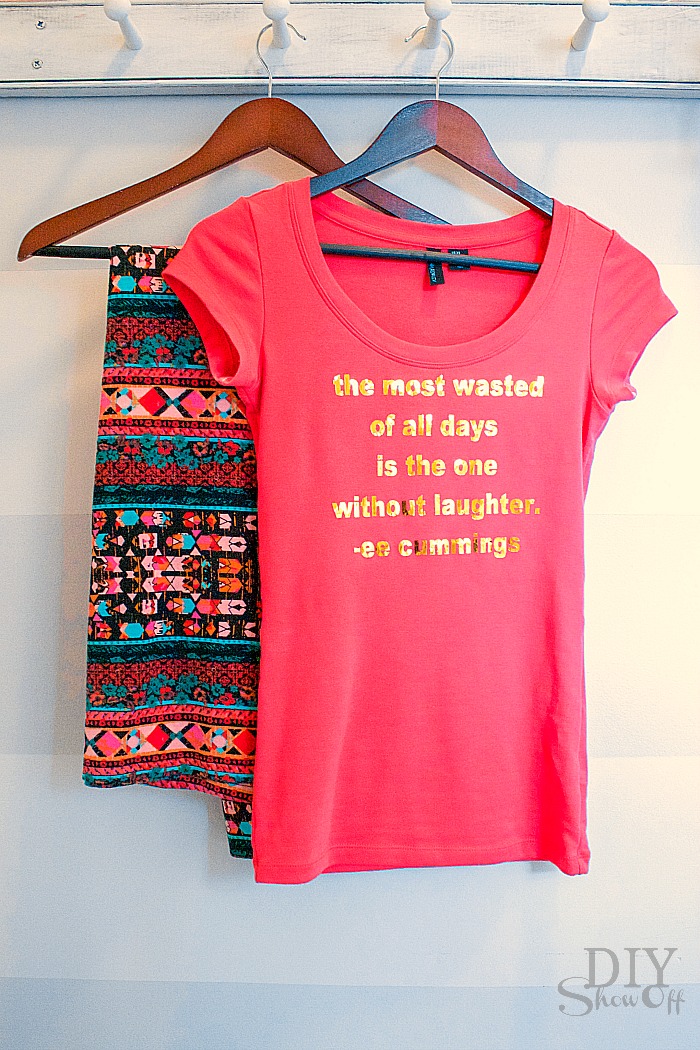
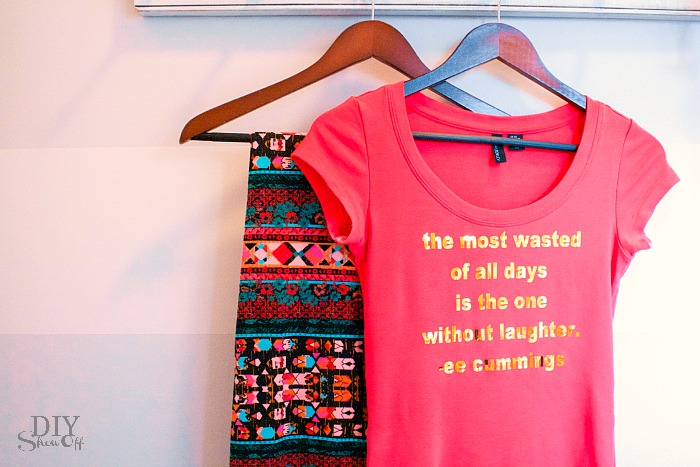
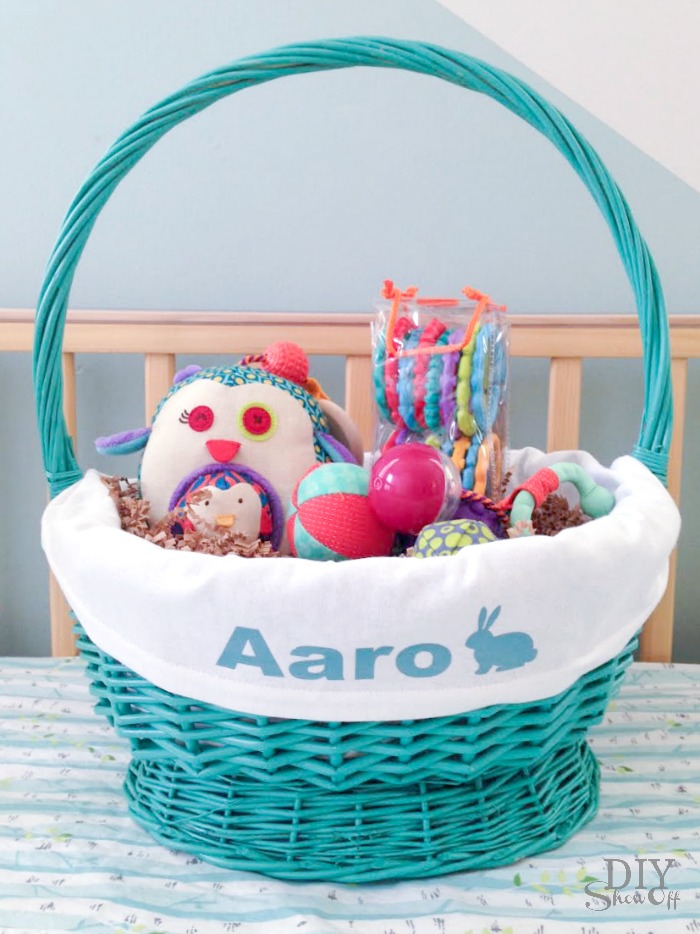
Happy Spring! With a new grand-baby in the family, I can’t help but get all giddy about making up an Easter basket this year. As you know, I love to personalize gifts and with just a t-shirt and a DIY iron-on vinyl, this liner is super easy to make! 

DIY personalized Easter basket liner tutorial @diyshowoff

What I used:

personalized Easter basket liner @diyshowoff

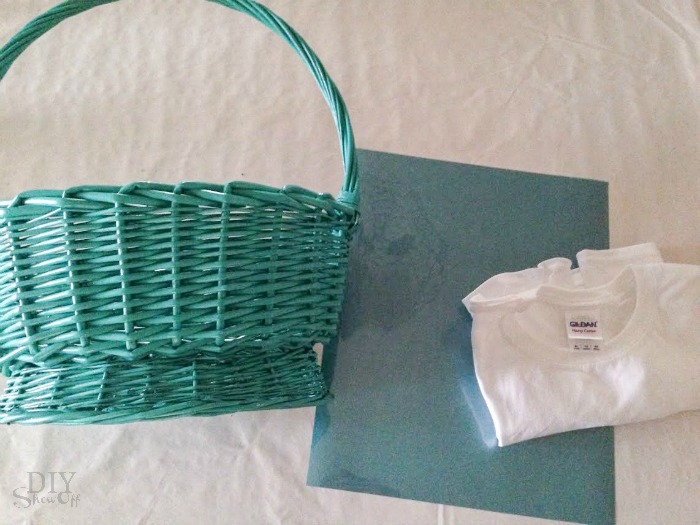
What you’ll need: sewing machine, scissors, straight edge, computer/vinyl cutter, iron. 

What I did:

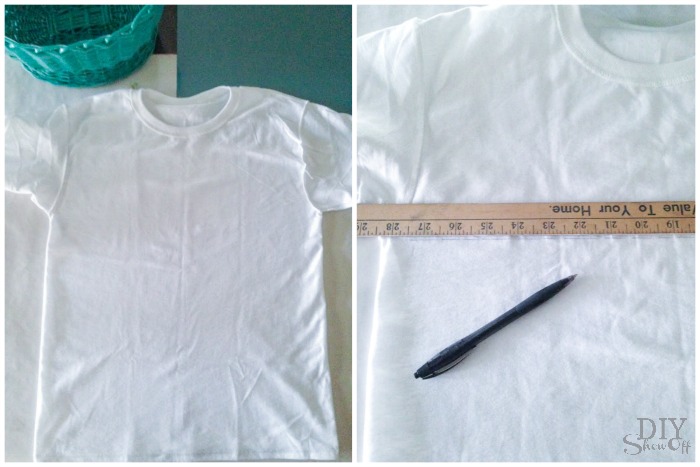
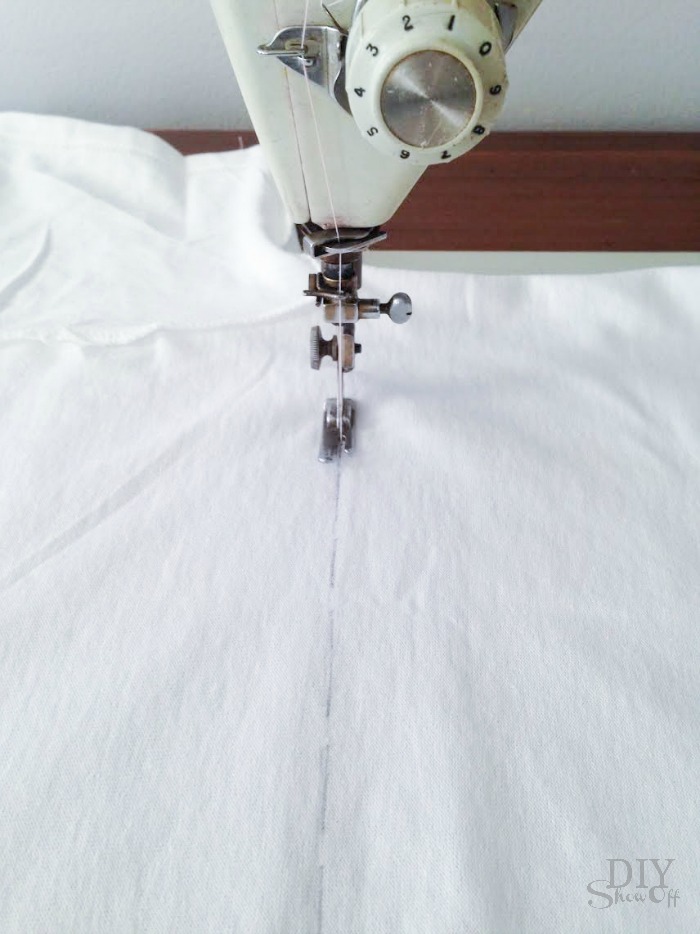
Lay inside out t-shirt flat and using a straight edge, draw a line beneath the t-shirt arms. This is the sewing guide…simply a straight line. 

personalized Easter basket liner @diyshowoff

Sew along the line. 

personalized Easter basket liner @diyshowoff

Then cut straight across above the sewn line (right below the armpits of the t-shirt). 

personalized Easter basket liner @diyshowoff

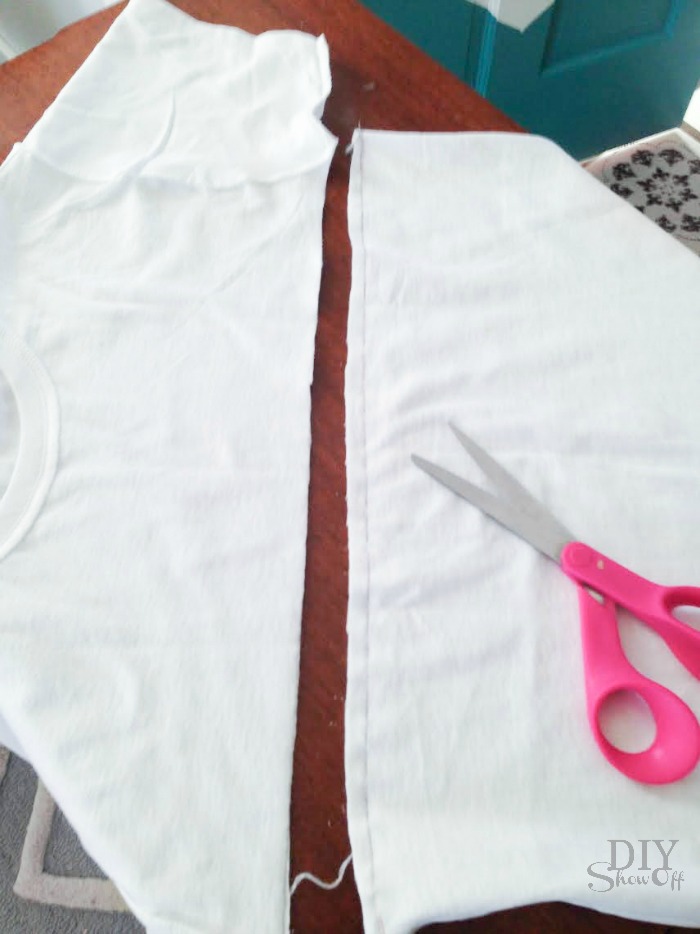
Flip right side out. 

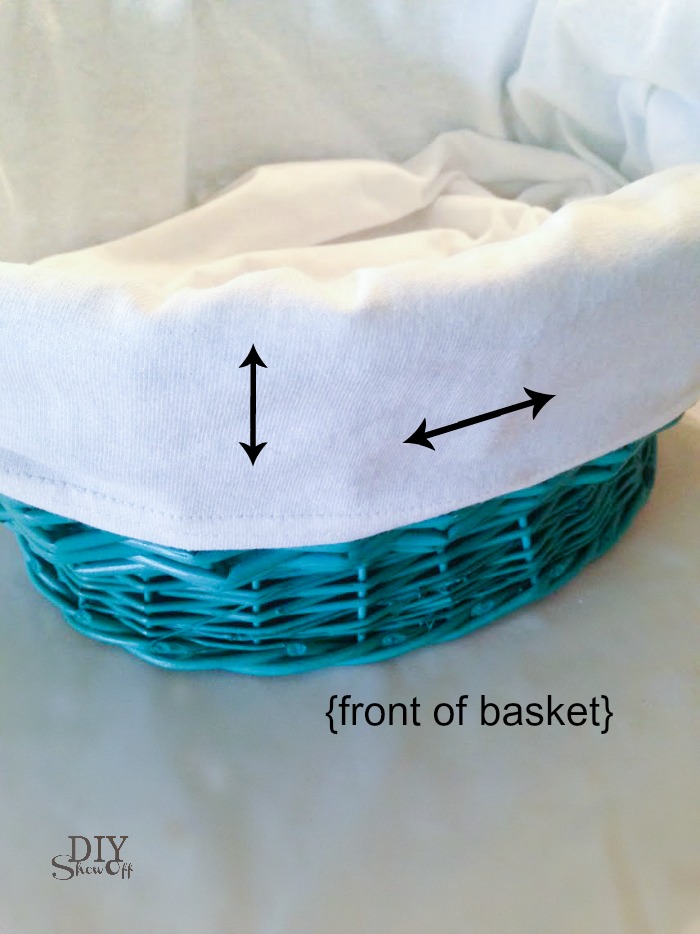
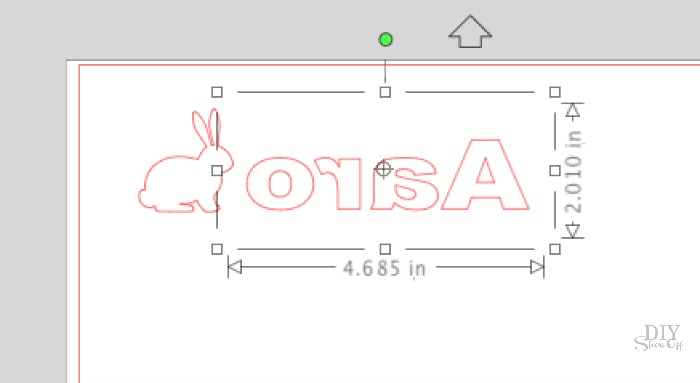
Place the seam inside of the basket and fold the edges of the t-shirt over the basket to create a liner. Measure how much room you have horizontally and vertically to get an idea of your iron on design’s size. I kept mine under 2″ high by 7″ wide. 

personalized Easter basket liner @diyshowoff

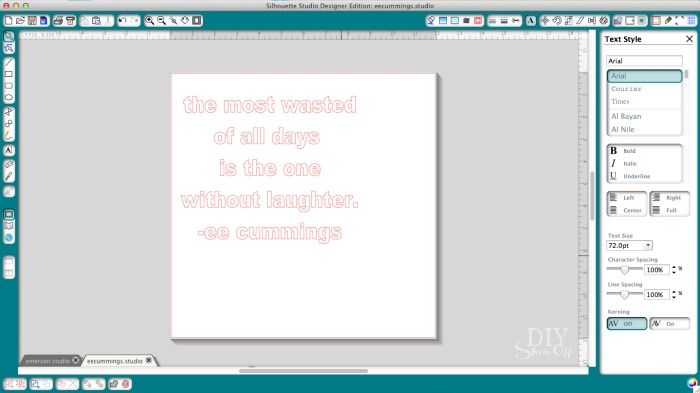
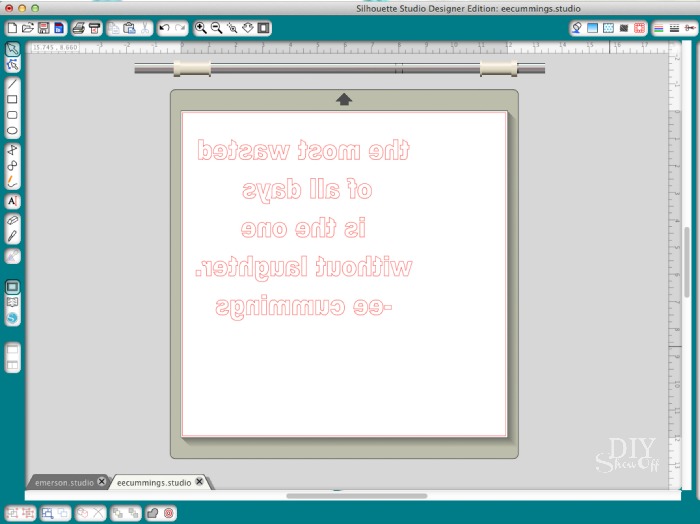
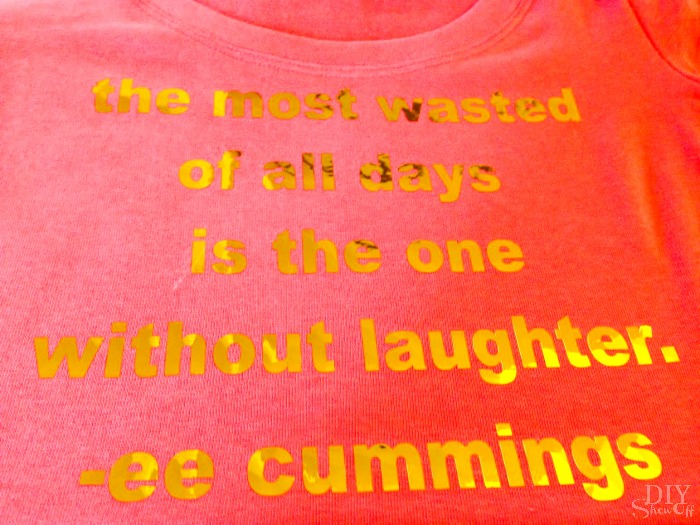
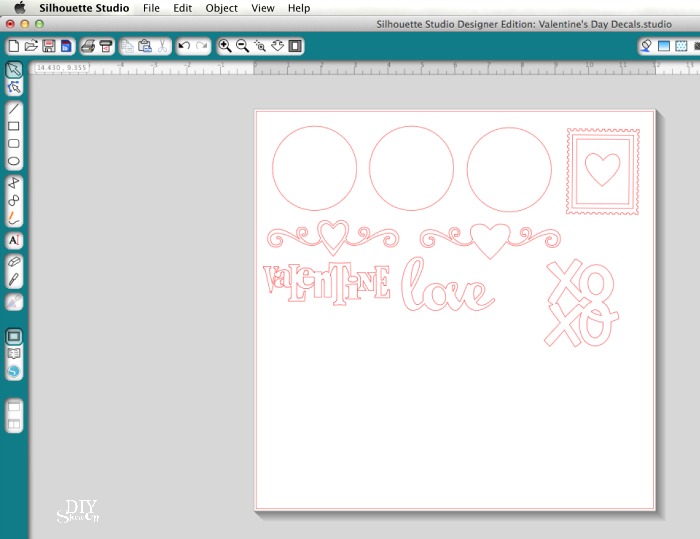
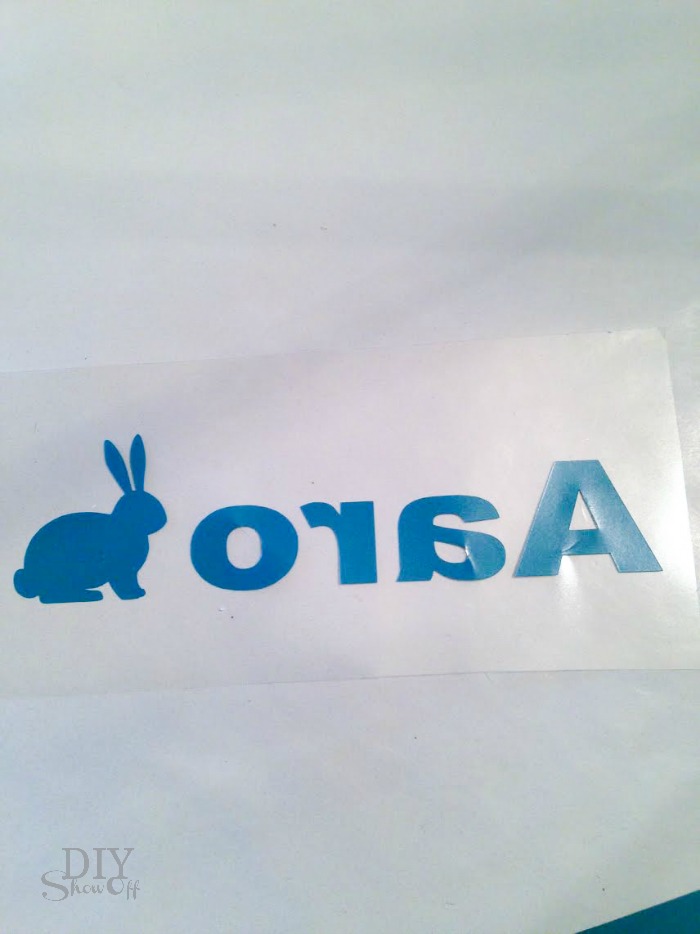
Using the Silhouette Design Studio software, I created a graphic with name and a cute little bunny shape. 

personalized Easter basket liner @diyshowoff

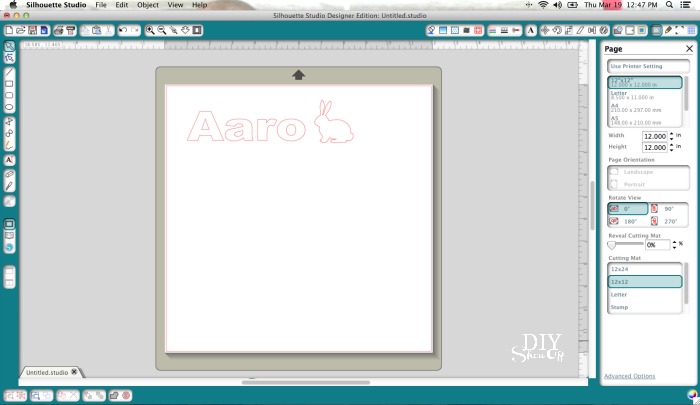
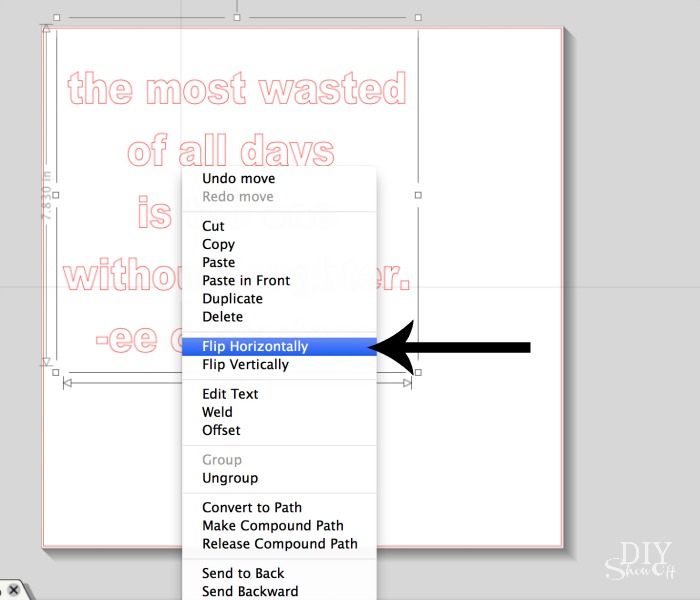
You’ll need to mirror the text and image by right clicking and selecting “flip horizontally”. 

personalized Easter basket liner @diyshowoffpersonalized Easter basket liner @diyshowoff

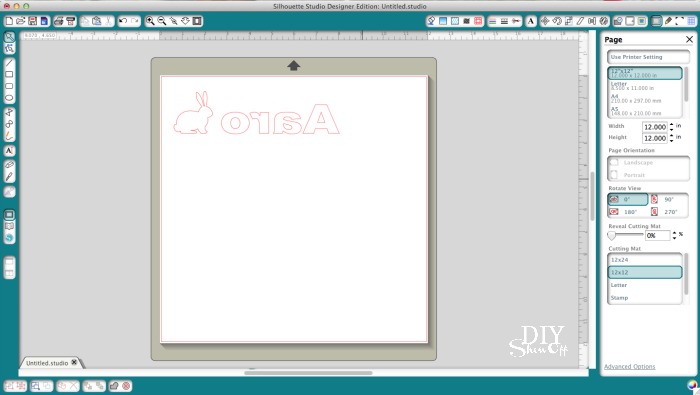
Double check the size. (One sheet of iron-on vinyl is going to make a LOT of decals!) 

personalized Easter basket liner @diyshowoff

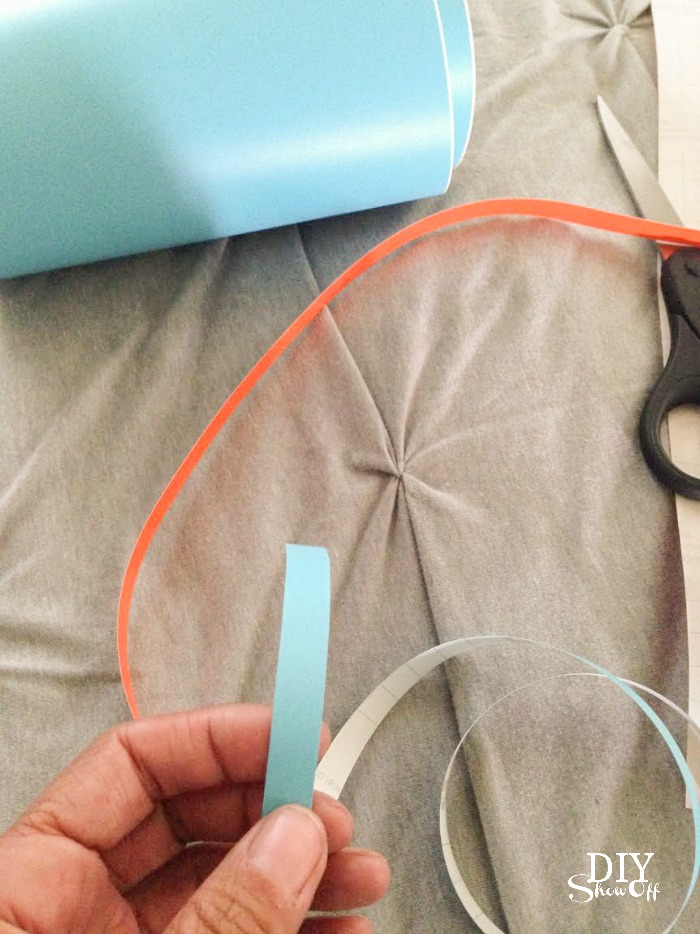
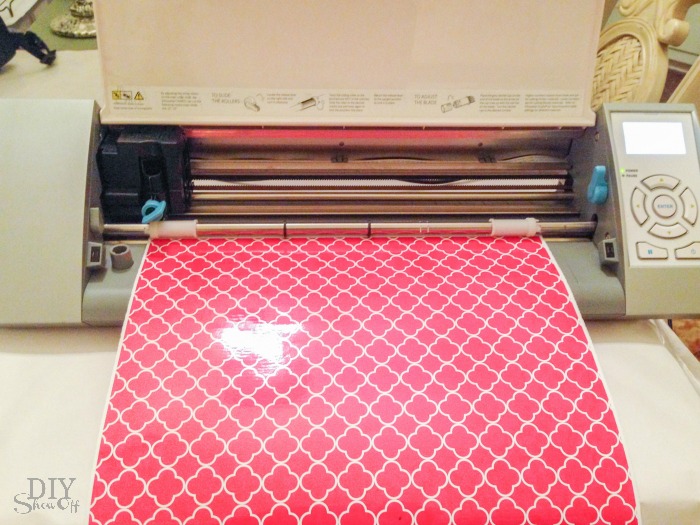
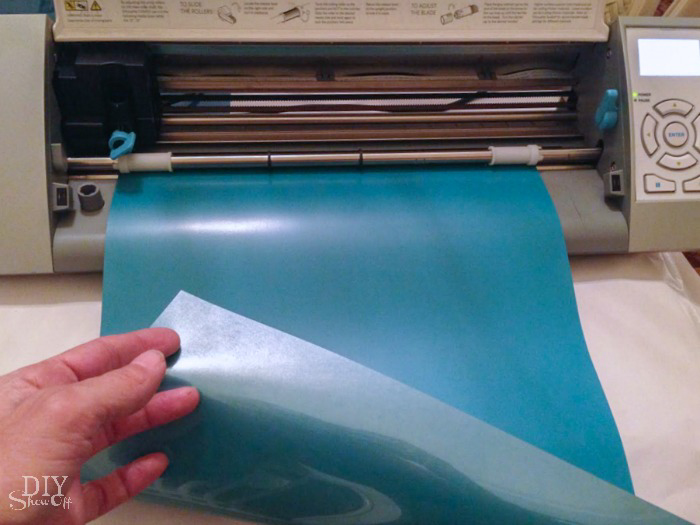
Load vinyl into the machine shiny side down. The shiny side is actually the transparent cover. Vinyl is the matte side (facing up). 

personalized Easter basket liner @diyshowoff

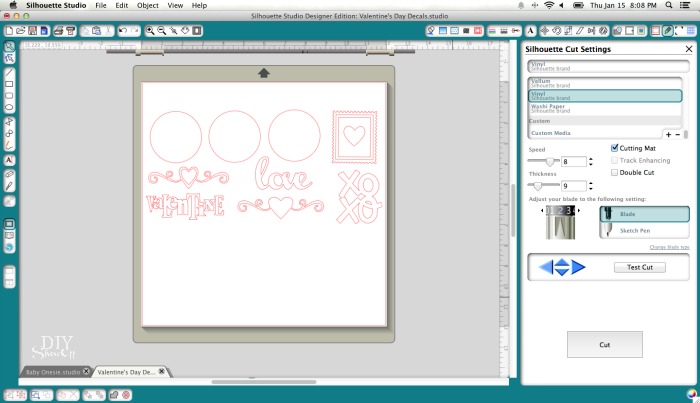
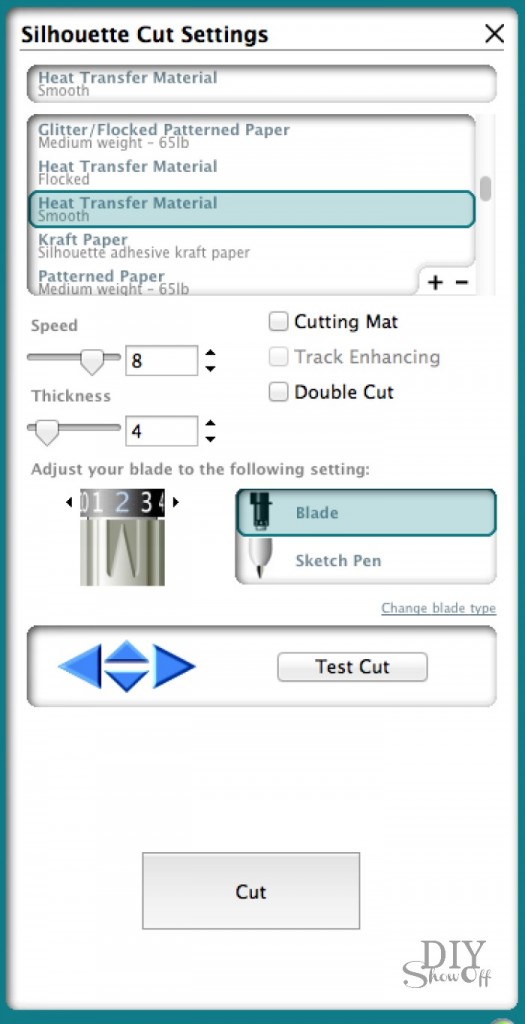
Send the design to ‘cut’. Adjust setting for heat transfer material and “cut”.

personalized Easter basket liner @diyshowoff

When cutting is complete, remove vinyl from machine. Trim to a manageable size. 

personalized Easter basket liner @diyshowoff

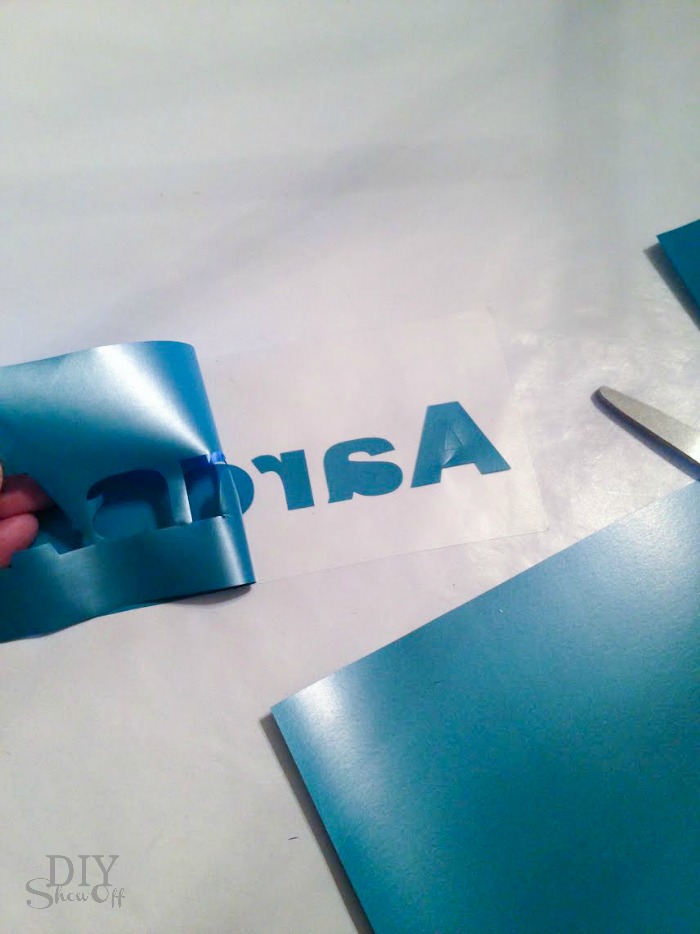
Weed away the excess vinyl. The decal will show a backwards design on the transparency. 

personalized Easter basket liner @diyshowoff

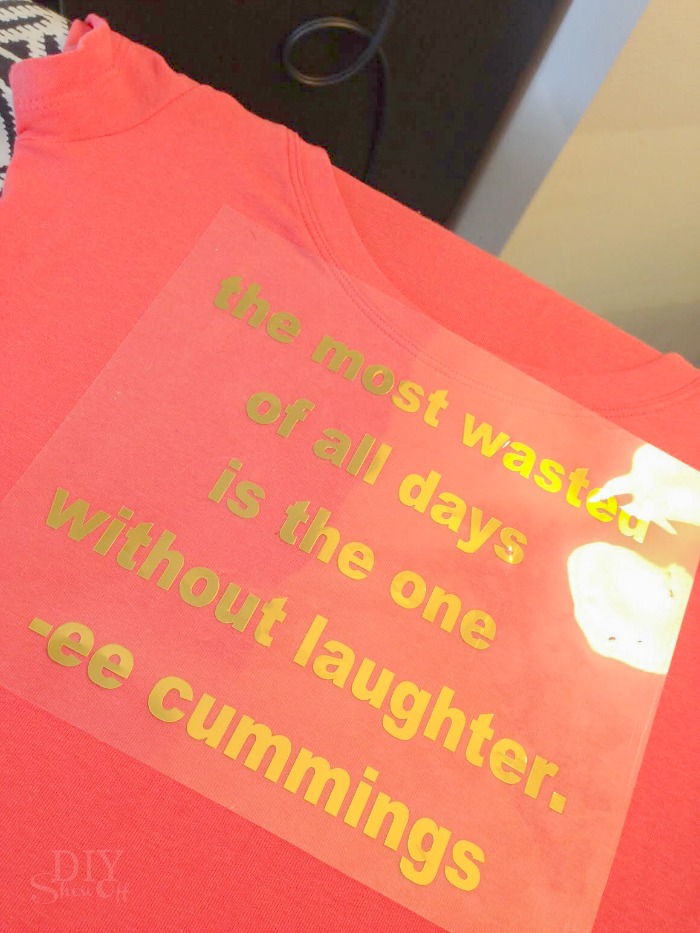
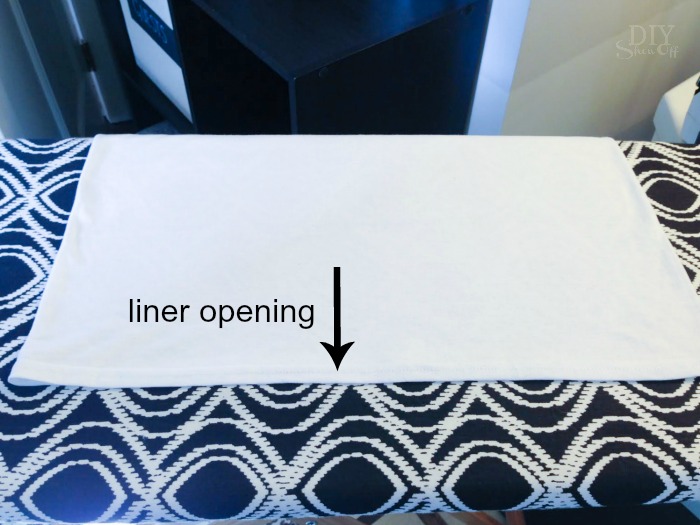
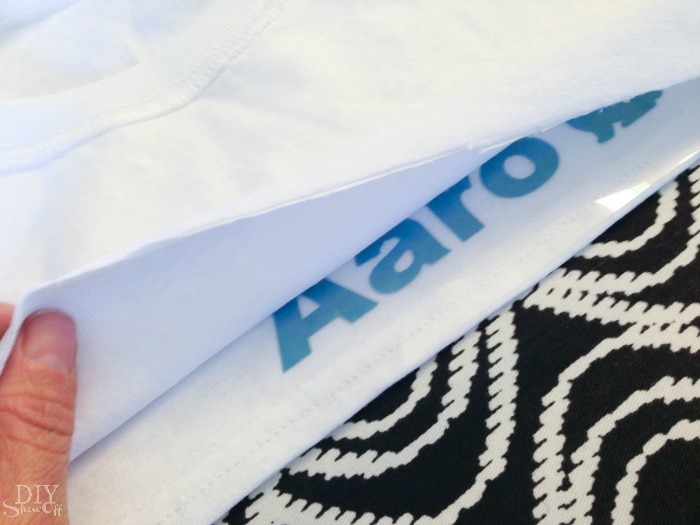
Smooth out the t-shirt liner with the open end facing you. Place the iron on decal towards the bottom, centered. 

personalized Easter basket liner @diyshowoffpersonalized Easter basket liner @diyshowoff

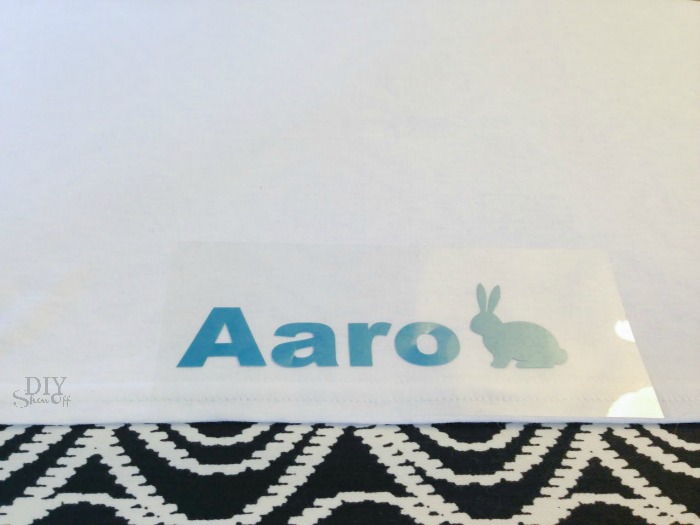
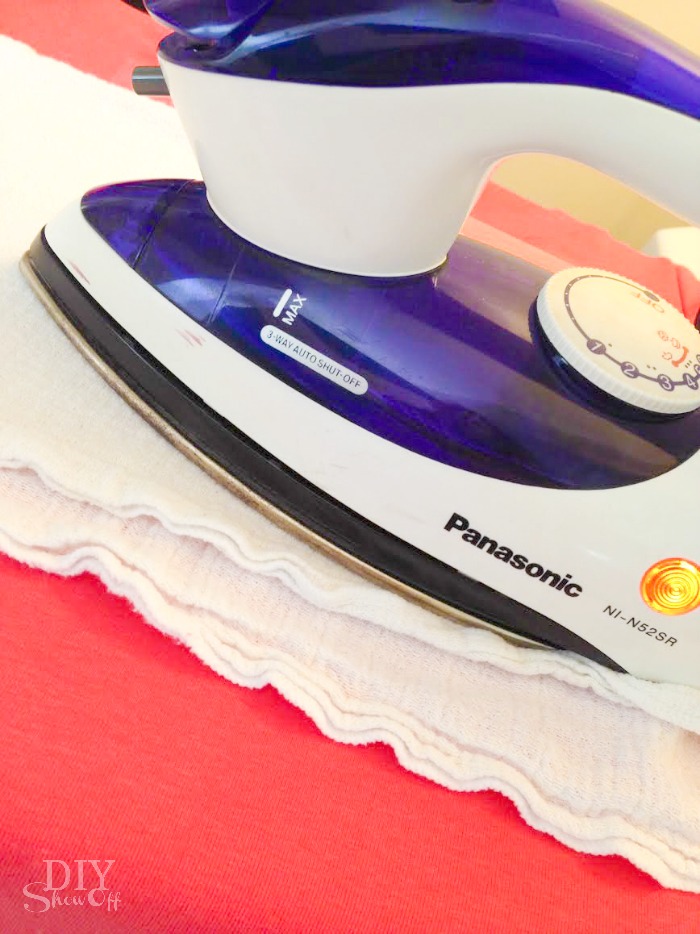
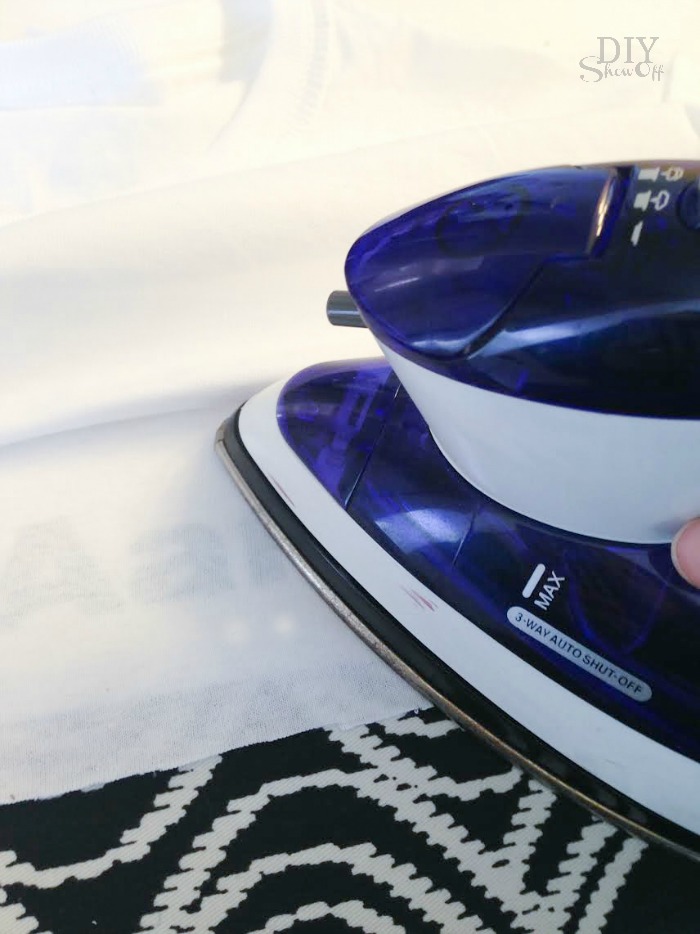
Cover with a cotton cloth (or the scrap t-shirt material) and iron according to instructions that came with the iron on vinyl.

personalized Easter basket liner @diyshowoffpersonalized Easter basket liner @diyshowoff

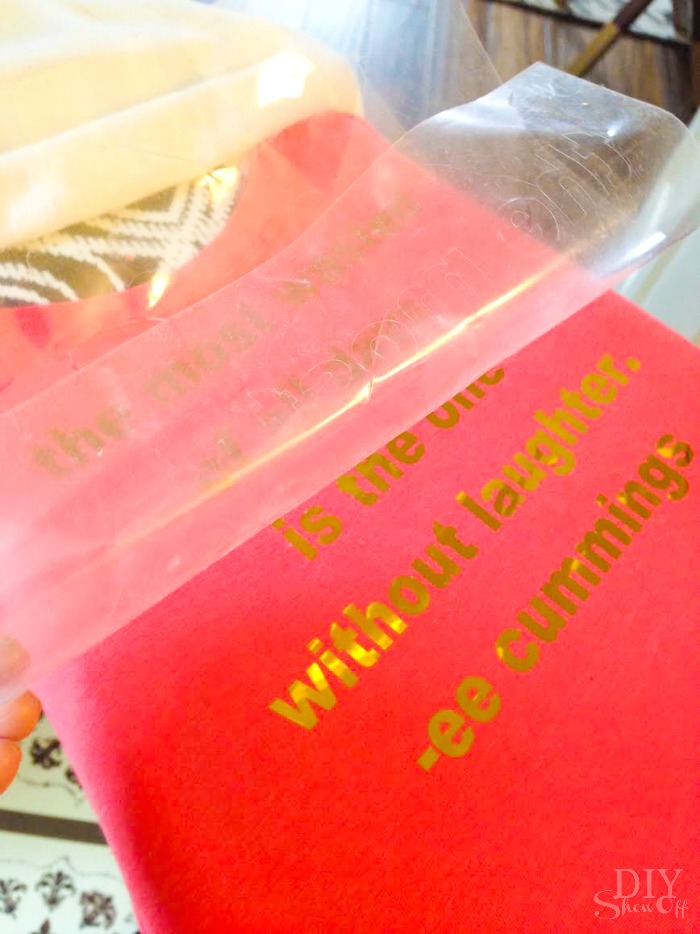
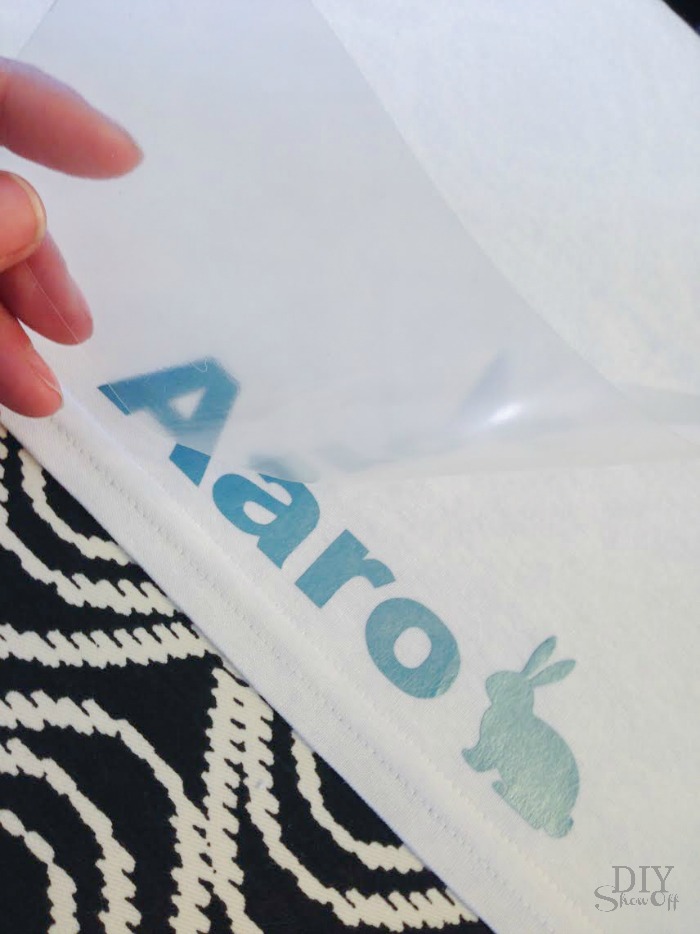
Carefully remove the transparency film. 

personalized Easter basket liner @diyshowoff

Line the Easter basket and fill. Easy, right? Cute too! 

DIY personalized Easter basket liner tutorial @diyshowoffDIY personalized Easter basket liner tutorial @diyshowoff

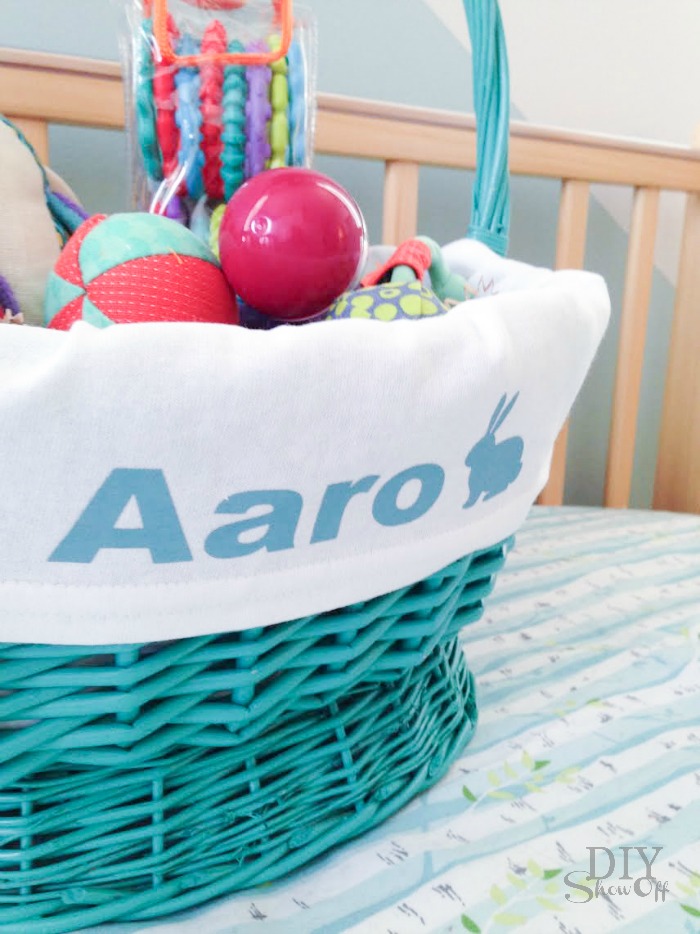
It’s actually a pretty easy DIY project for any time of the year, any basket or to personalize a gift basket for any occasion.

DIY personalized Easter basket liner tutorial @diyshowoff

More Easter DIY ideas

DIY warm cool aromatherapy snuggle bunnies @diyshowoff #essentialoilsdip-dyed-easter-egg-tutorialDIYShowOff Easer succulent garden

RELATED POSTS

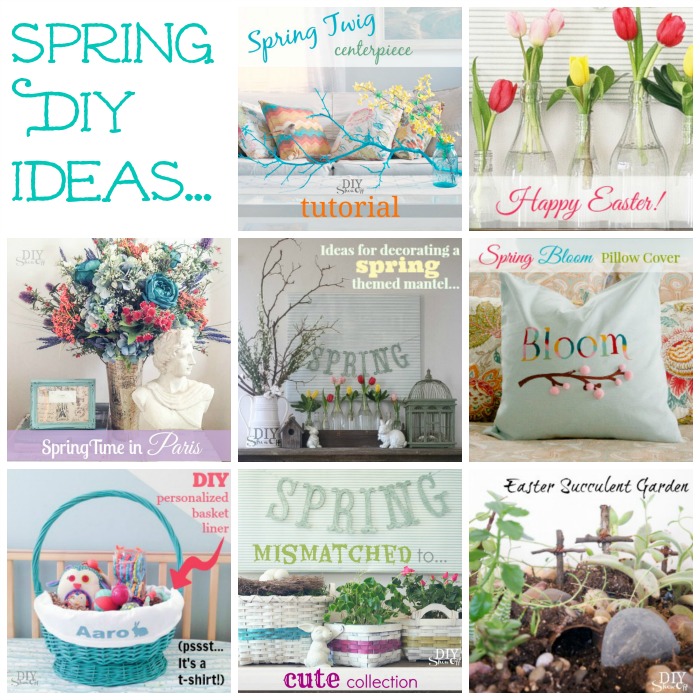
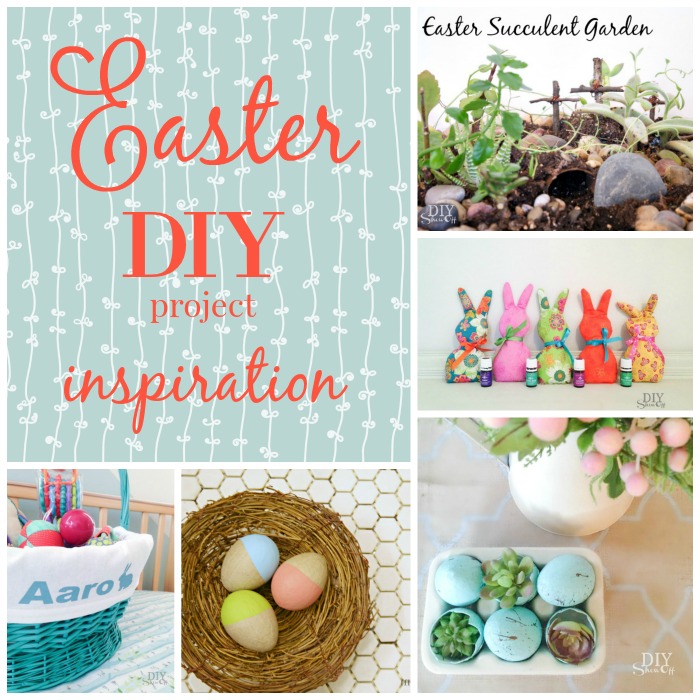
Easter DIY Project Ideas:

Happy Spring, DIY friends! Rounding up a collection of Easter DIY & decorating inspiration for my DIYShowOff friends.

I don’t know about you, but I feel renewed! These longer days and the bright sunshine just fill my soul with so much happiness and motivation! I’m so ready to put winter behind me! It’s the perfect day to take a walk down memory lane at some DIYShowOff Easter inspiration:

Cute Easter DIY ideas @diyshowoff

Easter Egg Hunt Mantel

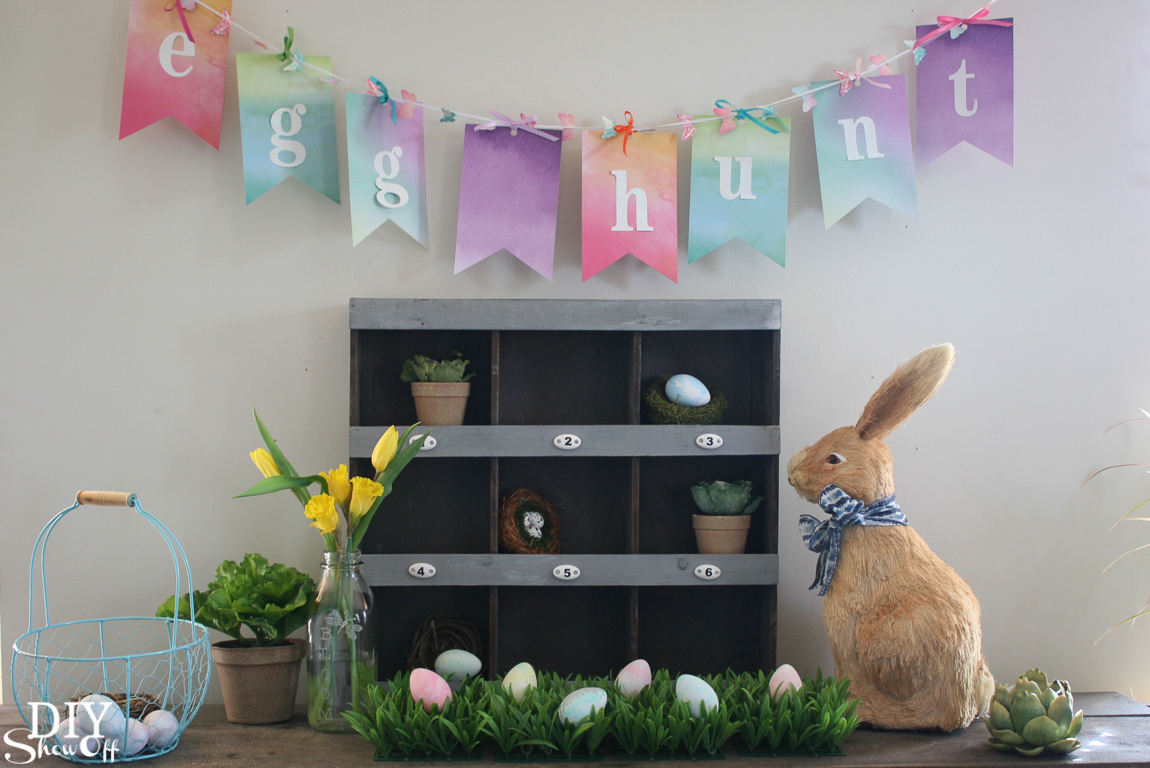
Time for some seasonal//holiday decorating! Do you set out some decorative bunnies, crosses or spring flowers this time of year? I love freshening up our home with seasonal decorative accessories.

Spring Easter egg hunt mantel @diyshowoff #michaelsmakers #makeitwithmichaels #ad

essential oil snuggle bunnies hot/cold pack

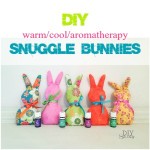
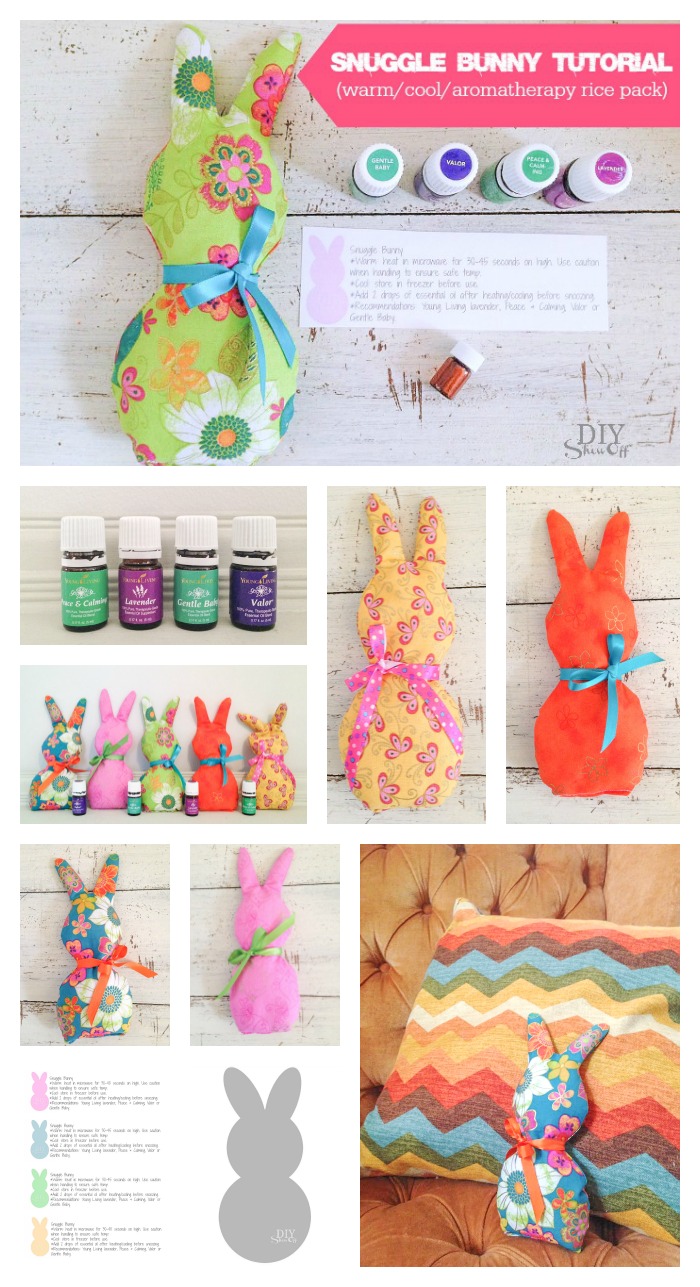
Do you love handmade gifts as much as I do? I love the thought and love behind gift giving. These snuggle bunnies are so cute. Tip: edit the tutorial to put a little pocket in the front with a felt carrot or flower for changing out the essential oils.

Snuggle Bunnies Tutorial - DIY warm/cool/aromatherapy with essential oils) rice packs @diyshowoff

Easter succulent garden

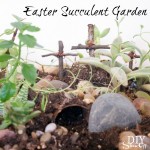
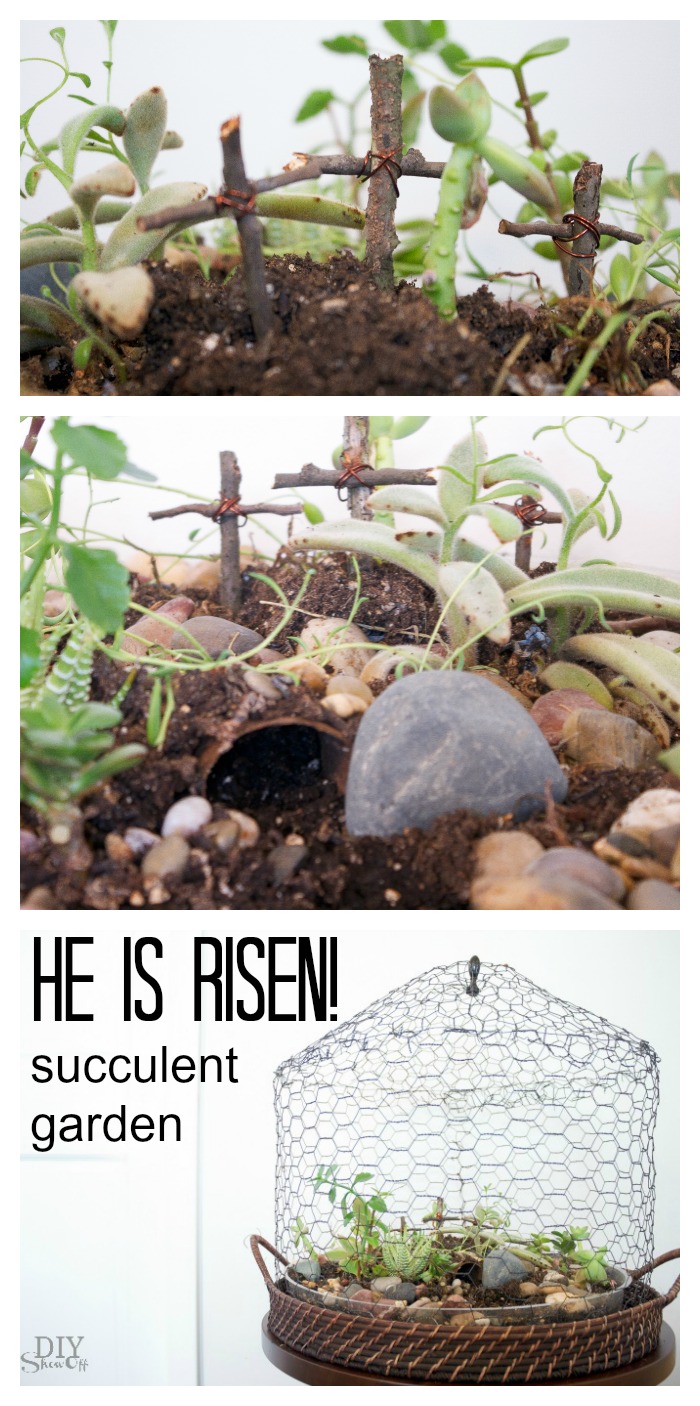
A couple of twigs, twine and a few rocks can give your container or succulent garden a faith based vignette and reminder of the reason for the season. xo

He is Risen! succulent garden at diyshowoff.com

easy t-shirt Easter basket liner

SO easy! Create an iron on personalization, grab a t-shirt. Easy peasy basket liner for any occasion.

DIY personalized Easter basket liner tutorial @diyshowoff

floral Easter basket arrangement

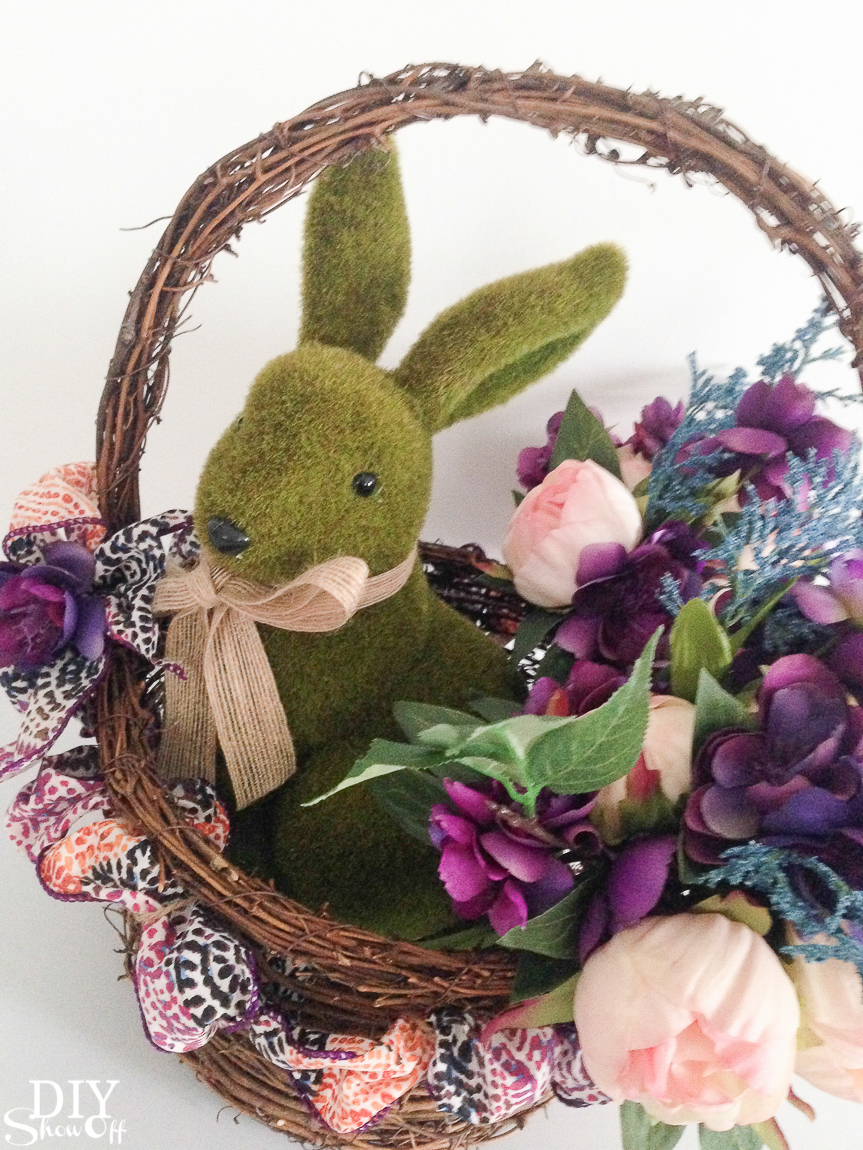
A moss bunny transforms a floral arrangement and works all spring long. Adorable!

So pretty! DIY spring floral centerpiece tutorial. Perfect for Easter too! #madewithmichaels @diyshowoff

Spring Fling welcome bundle

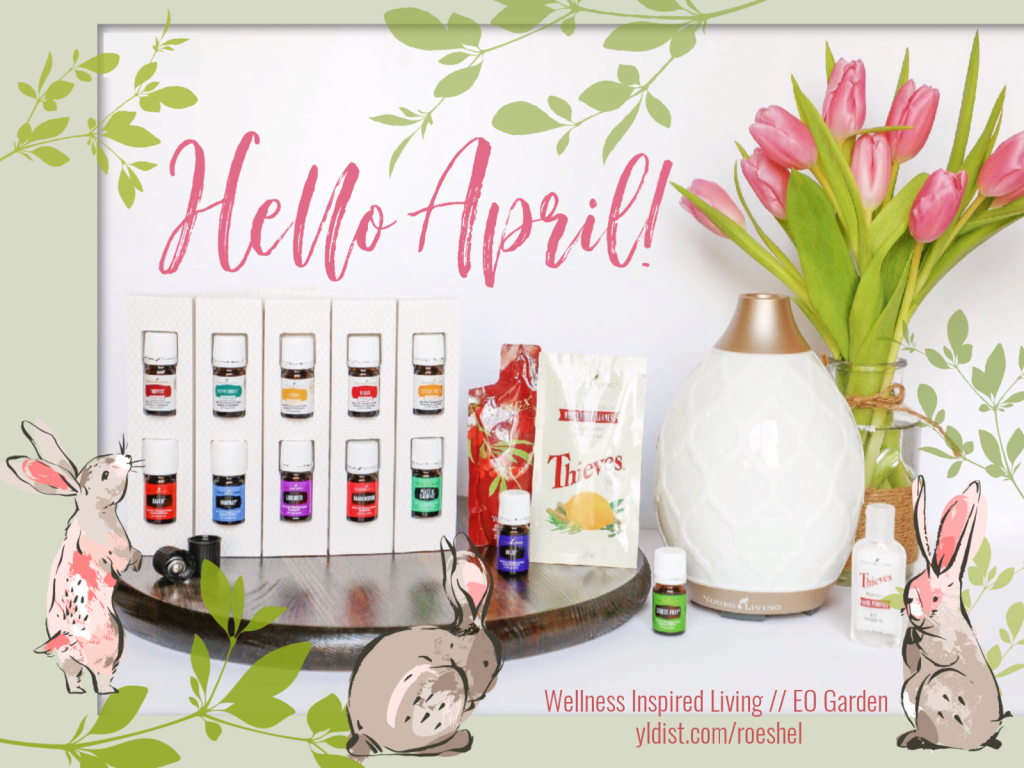
Entertaining? Hosting? A diffuser + some Stress Away or Lavender or Peace & Calming or Valor or Citrus Fresh … so many options to fill your home with inviting scents for a comfortable environment. When you purchase the Premium Starter Kit using Enroller/Sponsor #1836762 at YoungLiving.com, you’ll get a Spring Welcome bundle including a sweet mini USB bunny diffuser! Score!

Hello April Hello April

succulent eggs

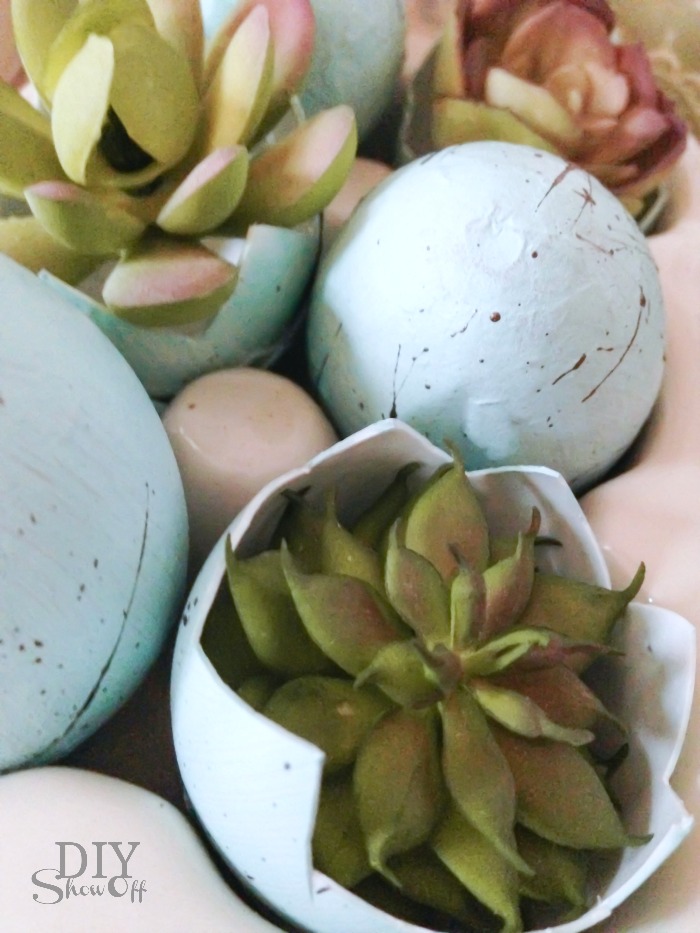
No green thumb? Tuck some faux-succulents into some pretty plastic eggs to decorate vignettes or use at place settings when hosting a family gathering.

Freshen up your home with spring decor! DIY tutorial for spring succulents arrangement! #michaelsmaker

dip-dyed inspired Easter egg

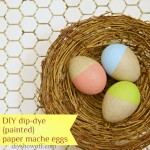
Fun weekend craft for you and the kiddos or a gather up your creative craft loving friends for an egg painting party!painted-dip-dyed-eggs

PB Inspired Decorative Eggs

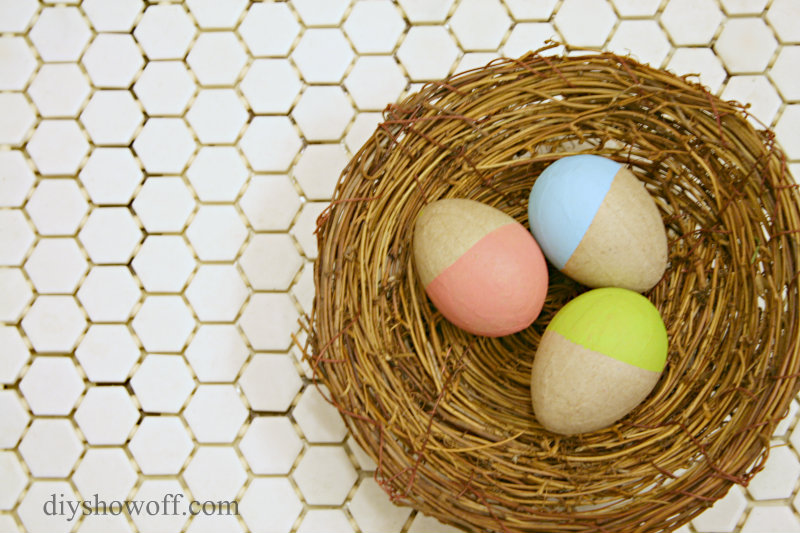
A trip down DIYShowOff memory lane! This is an oldie but goodie!

pottery-barn-inspired-easter-eggs

(Wood) Chocolate Bar Decorative Accent

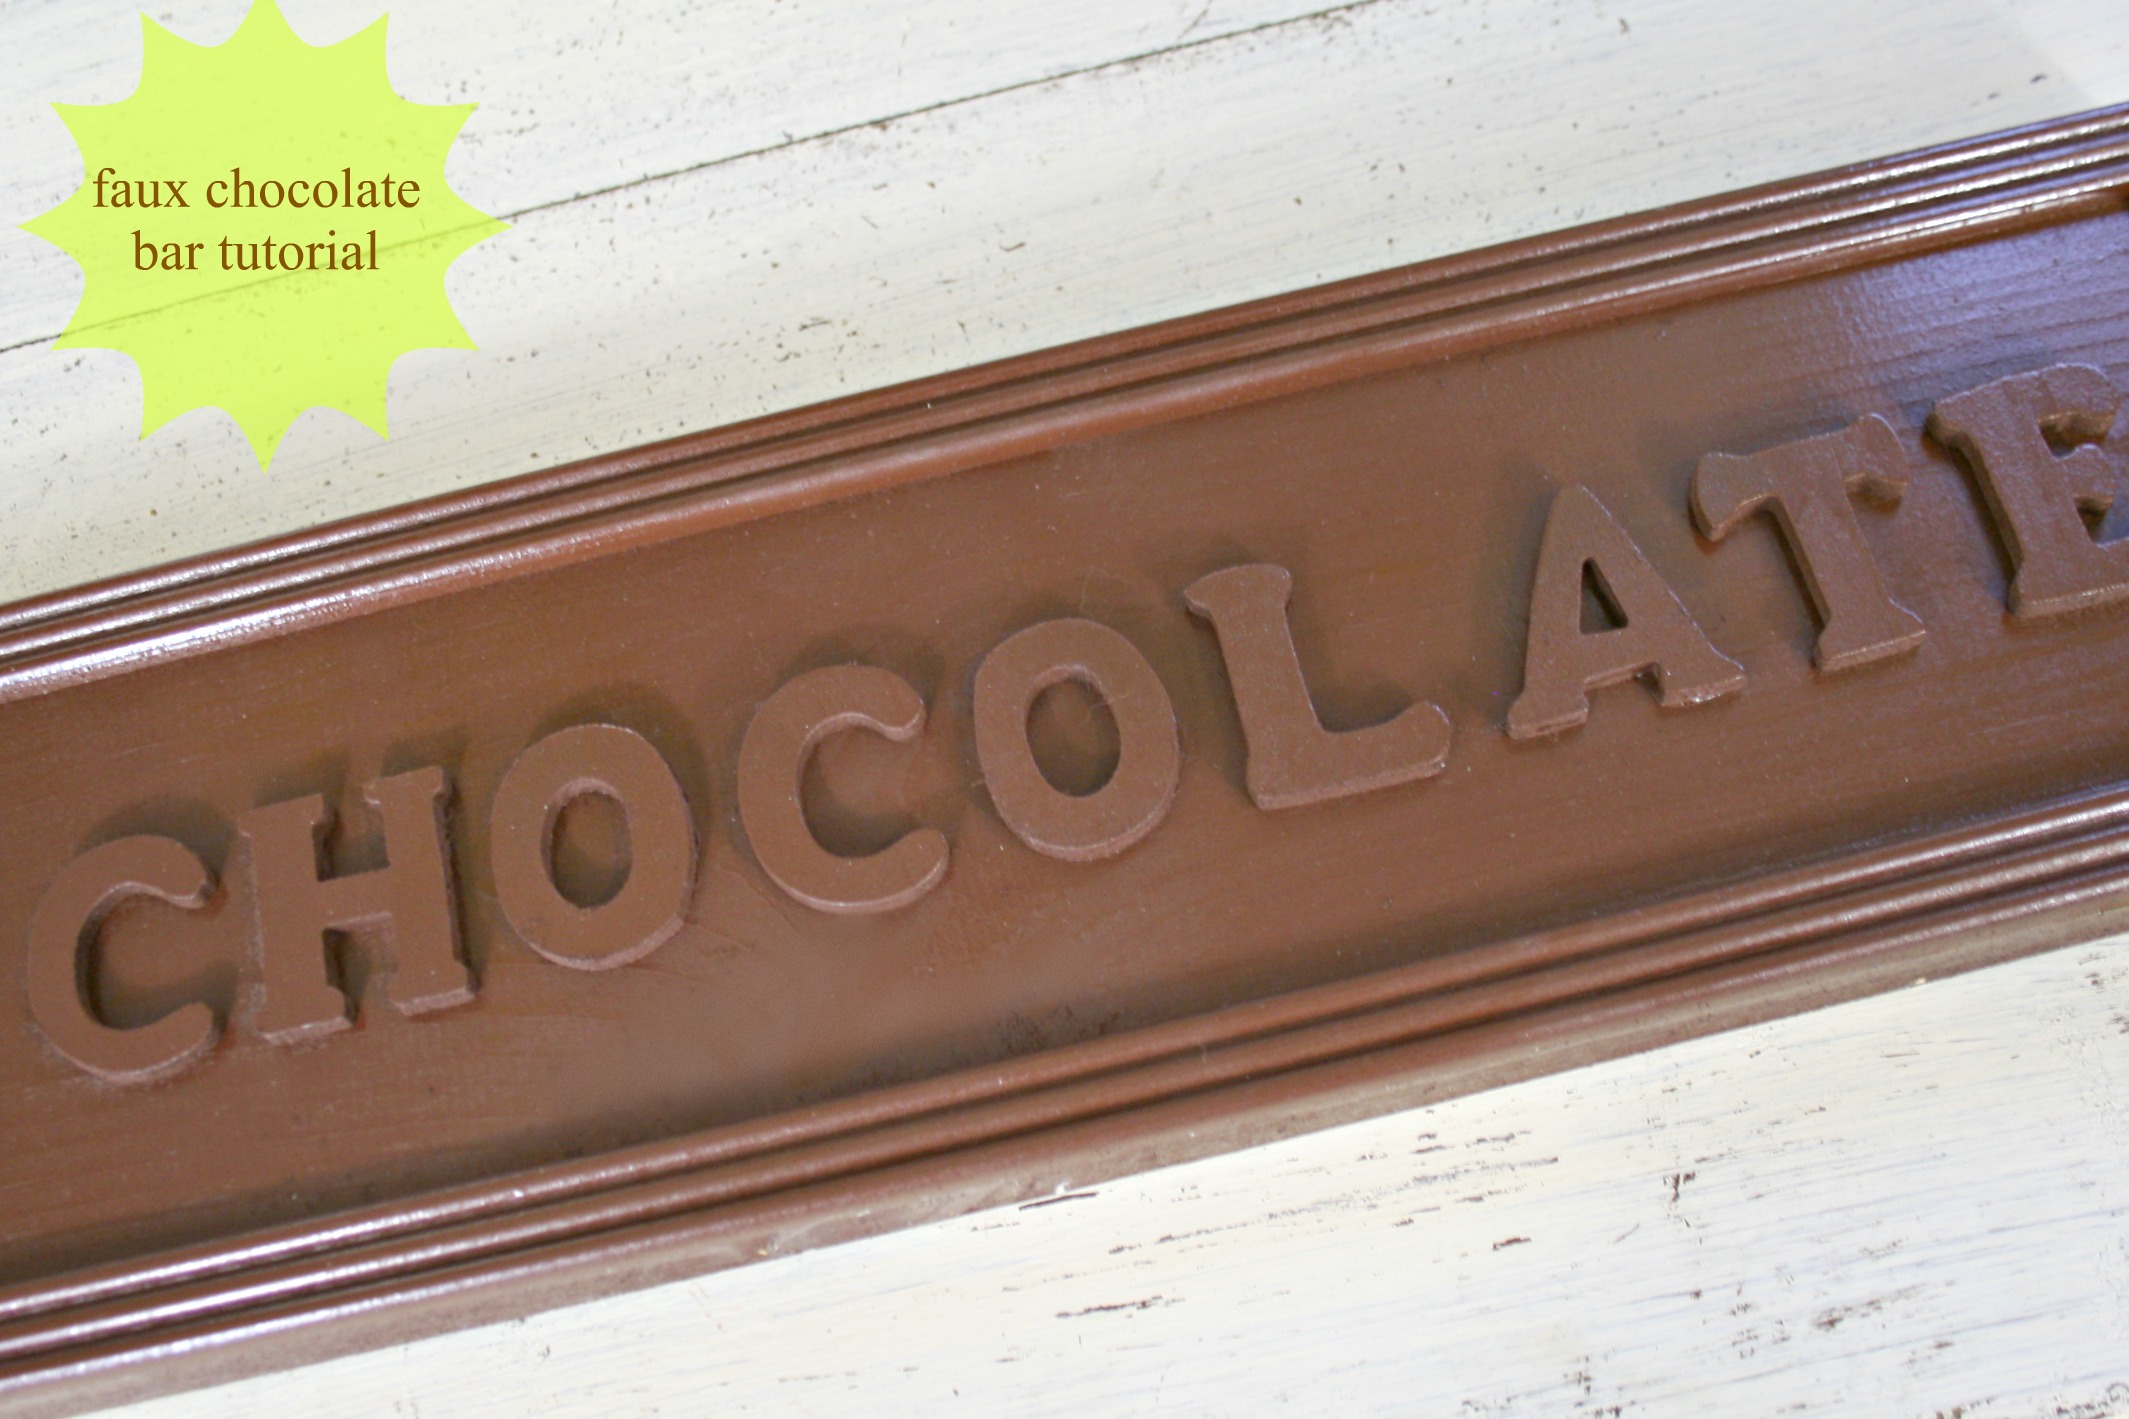
A real look and cute accent piece! Add it to your mantelscape for a whimsical touch.

faux wooden chocolate bar sign, DIY, Easter decor

Pop over to see more spring DIY inspiration

Spring DIY ideas @diyshowoff

Striped DIY “Love You More” Sign

I like to incorporate a little Valentine’s vibe into my decor this time of year but I prefer to have decorative accents that can withstand longer time frame. Creating a “love” themed vignette works year round and this striped scrap wood sign is the perfect focal point. 

striped Valentine LOVE sign @diyshowoff.com 

Materials I used:

  • scrap wood for canvas
  • paint
  • FrogTape® Multi-Surface
  • vinyl decals

What I did:

Sand edges and clean scrap wood canvas. 

striped Valentine LOVE sign @diyshowoff.com

Paint base color and let dry. I did two coats. 

striped Valentine LOVE sign @diyshowoff.com

Use FrogTape to create stripes. I started with a center stripe and worked my way out. Just eyeball it. Use a small piece of FrogTape for spacing. 

striped Valentine LOVE sign @diyshowoff.com

Burnish the edges of the FrogTape using a thumbnail or credit card. 

striped Valentine LOVE sign @diyshowoff.com

Paint stripes. I did two coats. 

striped Valentine LOVE sign @diyshowoff.com

While second coat of paint is still wet, remove FrogTape. Let paint dry. 

striped Valentine LOVE sign @diyshowoff.com

I added DIY vinyl decals. Other options include a print/rub technique (print out wording, rub pencil on the back of the paper then place paper on wood sign and trace lettering) and paint or marker or stickers…get creative!

striped Valentine LOVE sign @diyshowoff.com

Now I have a “love” themed vignette perfect for Valentine’s day and a wood canvas sign that I can display all year round (cute for the nursery too)!

striped Valentine LOVE sign @diyshowoff.com

FrogTape Blog Squad

Disclaimer: I received compensation to complete this project for using FrogTape® products. All opinions, projects and ideas are based on my own experience.

Valentine Mason Jars

Valentine mason jars @diyshowoff

Being able to create your own vinyl decals makes last minute quick gifts easy. You’ll need:

Valentine's Day mason jars Happy Crafters

Of course you can create your own designs by just cutting things out with scissors but investing in a vinyl cutter has proven to be well worth the it. I simply created some Valentine designs and circles for mason jar lids using the Silhouette Design Studio software…

Valentine mason jars @diyshowoff

Load vinyl into the machine pattern/shiny side up. 

Valentine mason jars @diyshowoff

Adjust settings for vinyl and send design to cut.

Valentine mason jars @diyshowoff

Remove vinyl from machine and weed away (remove) excess vinyl (vinyl that isn’t a part of the decals).

Valentine mason jars @diyshowoff

Apply vinyl like stickers or use transfer paper to decorate mason jars and lids. 

Valentine mason jars @diyshowoff

Add ribbon or decorative tape to embellish and fill jars with candy, small gifts, homemade bath salts, etc. Instant, quick easy Valentine gifts for teachers or friends. 

Valentine mason jars @diyshowoff Valentine mason jars @diyshowoffValentine mason jars @diyshowoff Valentine mason jars @diyshowoff

*This post is sponsored by Happy Crafters. Tutorial, experience and opinion is my own.  Check out all the supplies at Happy Crafters for great prices, products and inspiration for your next project. 

HClogopngsmall