Painting Horizontal Stripes on Fabric Curtain Panels
Renovating, furnishing and decorating an apartment = very tight budget. With the main floor needing six panels, Ikea’s Vivan panels were a perfect choice. A set of two panels for $9.99 – what a deal! And they’re huge! 52″ wide x 98″ long. I love all white curtain panels but for the main living space, I wanted to add a little texture, neutral accent and simple pattern. I love horizontal striped curtains. We decided to go with three large neutral stripes, starting from the bottom.
Not according to plan: My plan was to do an ombre design from black, dark charcoal to light gray. I ended up with something a little different. Here’s how I did it, my suggestions on what I would have done differently and why my stripes aren’t ombre.
What I did:
Materials:
- Ikea Vivian curtain panels
- Paint (fabric paint or latex paint)
- Sponge rollers (recommend trying foam rollers)
- FrogTape
- Tools used: yard stick, iron, sewing machine for hemming if needed
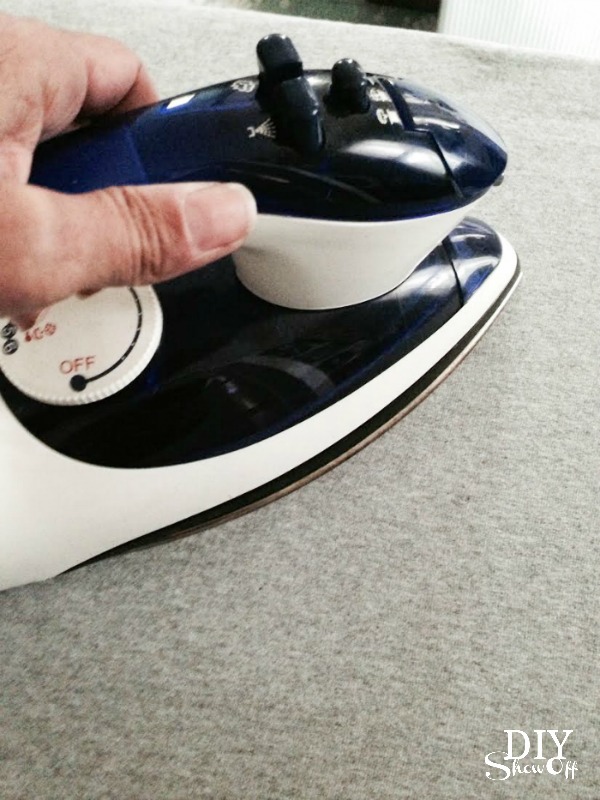
I started by pre-washing and ironing out wrinkles, then spread them out (one at a time) on the dining room table. I used a vinyl table cloth as a “drop cloth” for underneath the panel.

Using my yard stick, I started from the bottom and measured 12 inches, then drew a pencil line.

I used my FrogTape on the outside of my 12″ line to create a crisp border. For the next stripe, I measured 12″ from the edge of the FrogTape. Note: My straight tape lines extended past the panel to secure the edges of the fabric to the vinyl tablecloth to help prevent shifting.

I purchased 3 large bottles of fabric paint in black. My plan was to add white to lighten each stripe. However even three bottles of fabric paint does not go a long way with six curtain panels. I ended up using the black fabric paint for the bottom stripe of each panel.


Dip in paint, roll on cardboard/paper towels then roll onto fabric. My cheap rollers meant I had to go over it a few times but once the roller was saturated with paint, it went quicker.

Then…since we are on a budget, I used latex wall paint – which is the reason I ended up with a black stripe, gray stripe and greige stripe…not white ombre, but neutral! Tip: {figured this out after the fact}, water down latex wall paint for better absorption.

I used a sponge roller from the dollar store for each stripe. Tip: DO not use cheap dollar store sponge rollers. Invest a couple dollars in a better quality foam roller. My cheap sponge roller is part of the reason for a “suede” look…which we were okay with and ended up liking the look, but I also would have liked a more solid result. The faded look is pretty too and when time is an issue, it looks even better. 😉
I painted each stripe, let it dry a little, then hung each panel to dry more thoroughly. So, with six curtain panels, it did take me a couple of days.

I wiped the vinyl tablecloth in between laying out each panel. (Pleasant time saving surprise: The paint on my vinyl drop cloth could be seen through the white curtain panels, meaning after the first one, I didn’t have to measure/mark each panel – I just lined it up on the vinyl drop cloth and taped where the previous curtains’ FrogTape lines showed through.)

I immediately removed my FrogTape once painting was complete.

Once all of my panels were dry, I measure the length and cut from the top, adding 3 inches to create a rod pocket (cutting from the top or bottom means one of those needs hemmed and I found painting from the bottom up easier). I love using curtain rings, but again, 6 sets of curtain rings adds up, and this is a budget friendly makeover.

cutting and measuring…


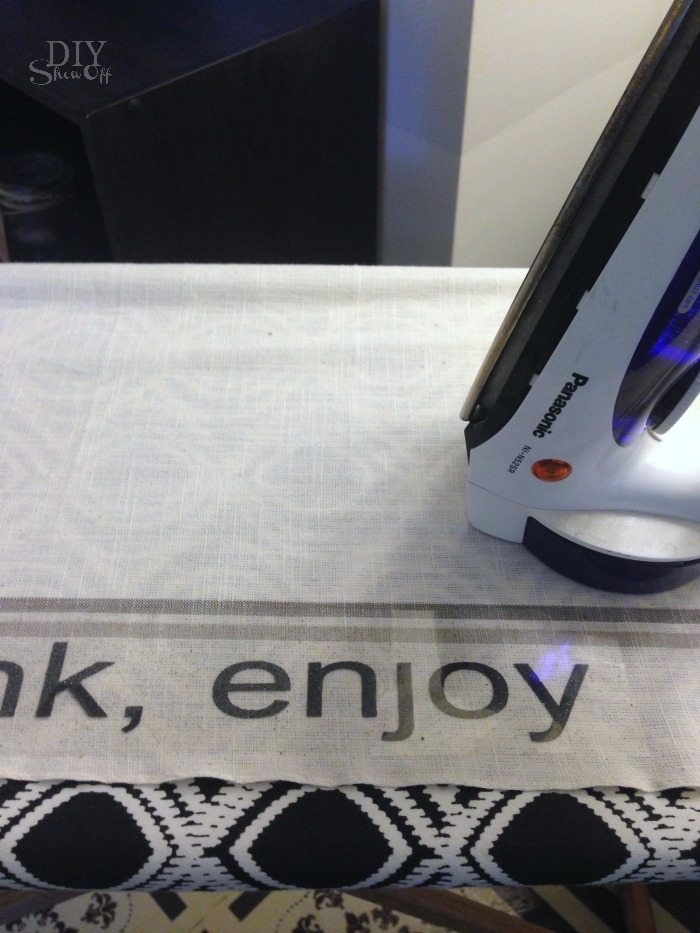
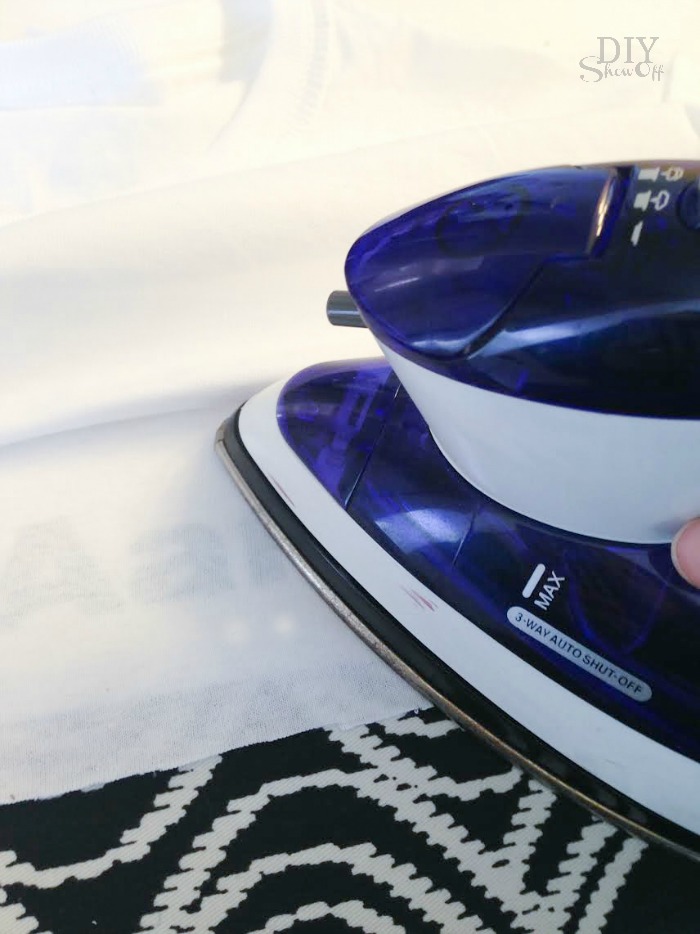
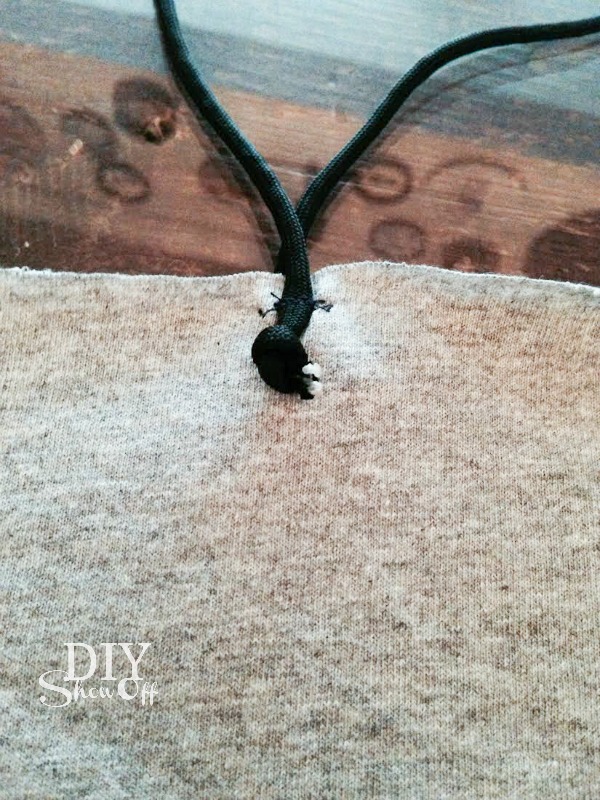
I creased the extra 3 inches with an iron,

then folded about an inch under and ironed that.

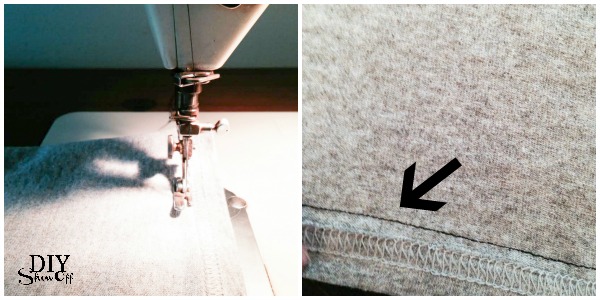
I sewed a straight line near the bottom of the ironed fold to create a rod pocket.

***I’ll share what I did with the “top” piece of the curtain panels soon – cutting from the top left me with 6 valances, just needing a hem.
I gave each panel another quick iron over and now they’re hanging!
Before apartment makeover:

Just a peek of the apartment windows before:

Door paint color is Valspar Gilded Pesto (beautiful chartreuse!).
Sneak peek windows after:

Side note: Since the tiny apartment doesn’t have an entry way or closet, I attached some coat hooks (Hobby Lobby) to a board and screwed it to the door – instant cute coat rack. DIY Show Off bag is from Nest of Posies.

Whatdoyathink? It might make more sense when you see the rest of the apartment, eh? Patience, my friends. I know – not one of my strengths either. 😉
Note: I haven’t washed the curtains after painting, but I’m assuming all will be well – after all, the paint doesn’t wash out of my paint splattered DIY attire.
Update: More apartment details! We are still working on some finishing touches and last minute issues that have come up {the joys of DIY!}, so the reveal has been pushed back. However, there are a TON of DIY details and I’ll be sharing those over the next week or two {and while we’re on vacation}. We think it’s awesome and can’t wait to hear what you think! Little by little…we’ll work up to the reveal!
This is a sponsored post brought to you by FrogTape. The opinions are completely my own based on my own experience.