Striped DIY “Love You More” Sign

I like to incorporate a little Valentine’s vibe into my decor this time of year but I prefer to have decorative accents that can withstand longer time frame. Creating a “love” themed vignette works year round and this striped scrap wood sign is the perfect focal point. 

striped Valentine LOVE sign @diyshowoff.com 

Materials I used:

  • scrap wood for canvas
  • paint
  • FrogTape® Multi-Surface
  • vinyl decals

What I did:

Sand edges and clean scrap wood canvas. 

striped Valentine LOVE sign @diyshowoff.com

Paint base color and let dry. I did two coats. 

striped Valentine LOVE sign @diyshowoff.com

Use FrogTape to create stripes. I started with a center stripe and worked my way out. Just eyeball it. Use a small piece of FrogTape for spacing. 

striped Valentine LOVE sign @diyshowoff.com

Burnish the edges of the FrogTape using a thumbnail or credit card. 

striped Valentine LOVE sign @diyshowoff.com

Paint stripes. I did two coats. 

striped Valentine LOVE sign @diyshowoff.com

While second coat of paint is still wet, remove FrogTape. Let paint dry. 

striped Valentine LOVE sign @diyshowoff.com

I added DIY vinyl decals. Other options include a print/rub technique (print out wording, rub pencil on the back of the paper then place paper on wood sign and trace lettering) and paint or marker or stickers…get creative!

striped Valentine LOVE sign @diyshowoff.com

Now I have a “love” themed vignette perfect for Valentine’s day and a wood canvas sign that I can display all year round (cute for the nursery too)!

striped Valentine LOVE sign @diyshowoff.com

FrogTape Blog Squad

Disclaimer: I received compensation to complete this project for using FrogTape® products. All opinions, projects and ideas are based on my own experience.

DIY Spring Sign

It’s March! And that means spring is right around the corner I hope. Even though I’m looking at snow flurries, a little spring decorating is in order. I’m impatiently waiting and well, why not prepare to welcome spring when it arrives? A new DIY spring sign always gets motivated to decorate and a catchy spring phrase reminds me it’s almost time to celebrate warmer weather and longer days!

“Something in the air this morning made me feel like flying. . . “

Spring Flight

-Eileen Granfors

spring-diy-sign

For this project, I gathered

  • an old canvas
  • acrylic craft paint
  • my Silhouette Studio Designer Edition software
  • my Silhouette Cameo.

Since I had messed up the canvas with a previous DIY fail (yes, it happens!), I gave it a coat of soft blue acrylic paint to cover up my error to create a blank slate. The texture of the failed project shows through a bit, but imperfection is charm and a little texture isn’t such a bad thing. 🙂

diy-canvas-sign

I created my spring stencil using the Silhouette Studio Designer Edition software which allows me to select fonts, sizes and shapes to create a stencil template. Then simply ‘send’ to cut…

silhouette-studio-designer-edition

Since I’m using my vinyl as a stencil, I removed all of the letters (these can also be saved to use in the same was as stickers or transferred directly to wood or glass as a vinyl transfer).

weeding-vinyl

Use transfer paper over top of the stencil to transfer the vinyl stencil to the canvas. Rub into place and peel away the transfer paper.

DIY-transferring-vinyl

It’s not quite that simple. Vinyl doesn’t stick so well to canvas, so it takes a lot of patience. Go slow.

diy-vinyl

The stencil is all ready to go.

diy-vinyl-on-canvas

I filled in my lettering with white acrylic craft paint. Since the vinyl does not have a great seal, I’m using my stencil as a guide and filling in the letters with a little bit of paint on the brush, pressing down the vinyl as I work on each individual letter. Slopping it on, will get under the vinyl.

diy-painting-sign

Next, I carefully removed the vinyl stencil as soon as I finished painting and let my canvas dry.

removing-vinyl-stencil

Then just collected some of my favorite spring-y decor and created a vignette around my DIY spring sign as a focal point. Good bye winter blues!

spring-Silhouette-DIY-sign

Hello spring!

Silhouette America is running a crazy spring special you won’t want to miss! Just use the code “SHOWOFF” at checkout {affiliate link} now through March 8th to take advantage of the discount prices.

silhouette-promotion

I’m ready for spring, all ready! How about you? Open up those drapes, let the light in and decorate!

spring-mantel

Looking for more spring ideas?

Joining the Easter Crafts & Spring Link Party at HoneyBearLane.

The Countdown to Spring party is underway.

countdown to spring

and being hosted by MaryAnn from Domestically Speaking this week with her gorgeous spring-inspiring mantel. Here’s a sneak peek…

spring mantel at Domestically Speaking

Check it out!

DIY at The Woodgrain Cottage

Hello DIY Show Off readers!

I’m Shayna from The Wood Grain Cottage and I’m beyond excited (and really honored) to be here for the day. While Roeshel is soaking up some sun and relaxing on the beach (sigh), I thought we should have a little fun too!

🙂

But before I show you my project, let me take a quick second to tell you a little bit about myself.

Shayna | The Wood Grain Cottage

My husband and I just built our brand new home and I’m on a mission to create custom touches in every room. I love everything to do with design, decorating and DIY and I’m passionate about creating a home that my husband and I can call our own! I try to get the perfect mix of both our styles so that we always feel happy at home. Along the way, I share DIY and craft projects as well as my adventures in making this house our home! I hope you’ll join me!

Alrighty- with that said, let get to DIY’ing!

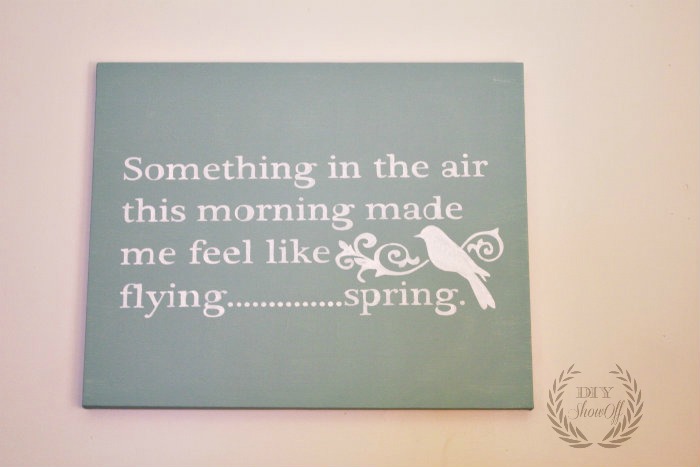
I’ve had a big crush on homemade signs for forever! I love that they are completely customizable. So after spending countless hours (seriously, a sheet of paper and a pencil were my BFF’s for a week), I was able to write down several different ideas on what I wanted our sign to say and look like.

I ended up choosing “There’s No Place Like Home” for the saying, and I’m so glad that I waited and kicked around different wording ideas before I made a quick decision.

DIY Sign | The Wood Grain Cottage

After I measured the area where I wanted it to hang, I wrote down the dimensions and grabbed my hubby for a little DIY date. Those are my favorite.

🙂

First, we headed to Home Depot to get our lumber and frame supplies. For the sign, we bought cedar tongue and groove planks that slid together and cedar 1″ x 2″ boards for the frame.

$24.00, and 2 milkshakes, later we were on our way home!

We started building the frame out of our 1″ x 2″‘s and made the finished measurements 32″ wide x 42″ tall.

We nailed the frame together and then slid the planks together using their tongue and groove.

DIY Sign | The Wood Grain Cottage

DIY Sign| The Wood Grain Cottage

DIY Sign | The Wood Grain Cottage

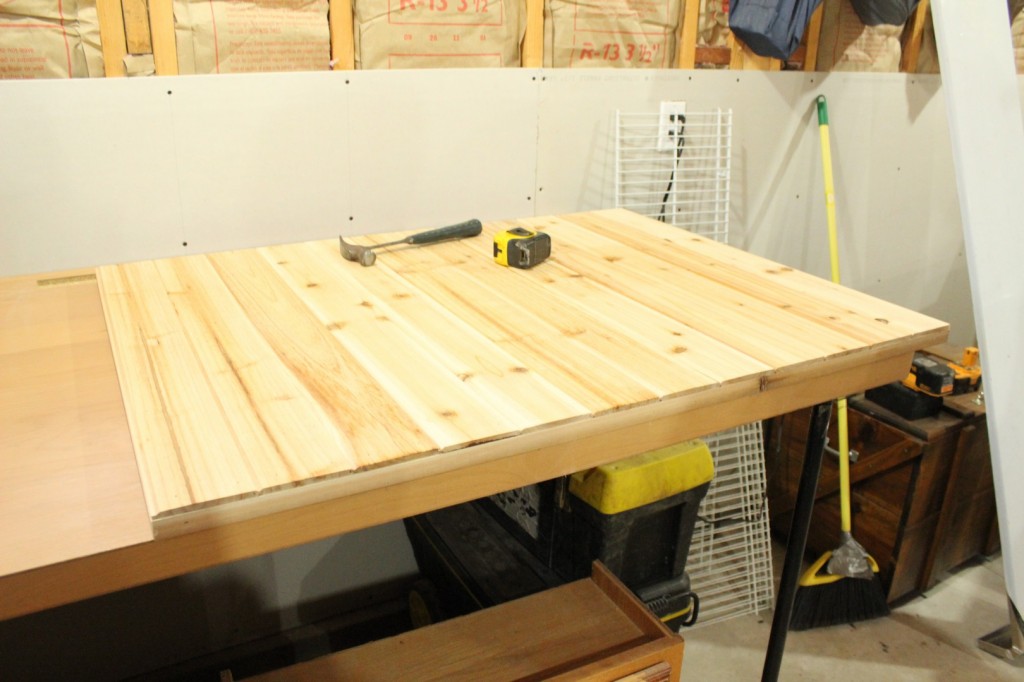
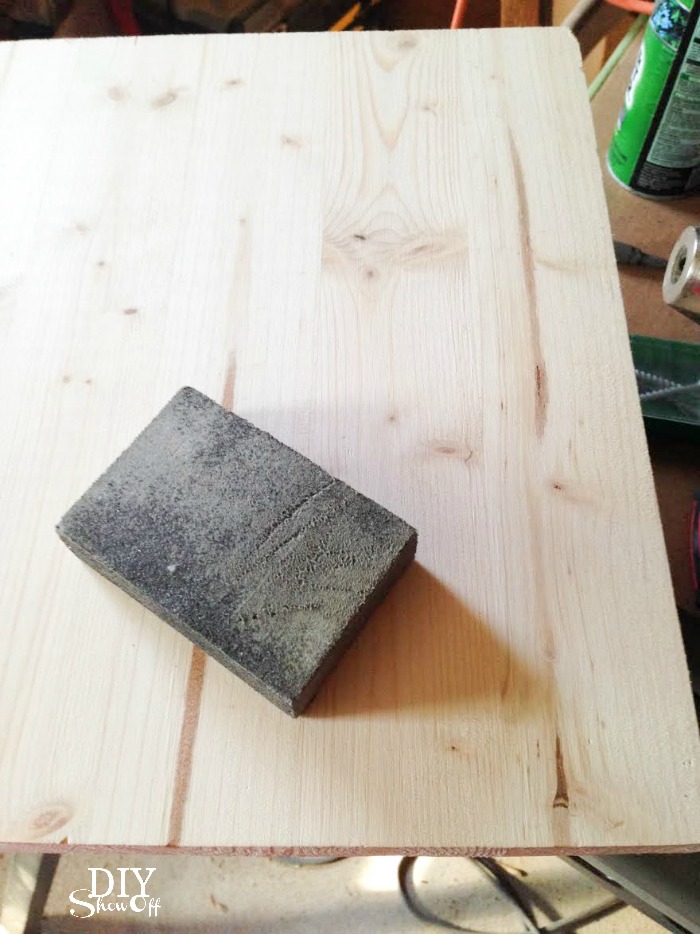
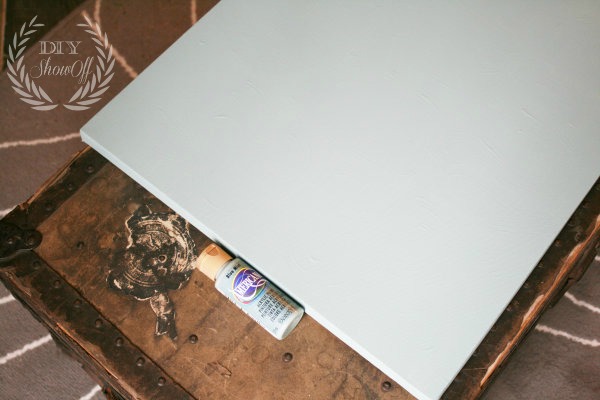
Once it was nailed together, we started the staining process.

DIY Sign | The Wood Grain Cottage

It was a two person job, so while Anthony wiped on the stain (Minwax- Early American), I waited a minute and started wiping it off.

DIY Sign | The Wood Grain Cottage

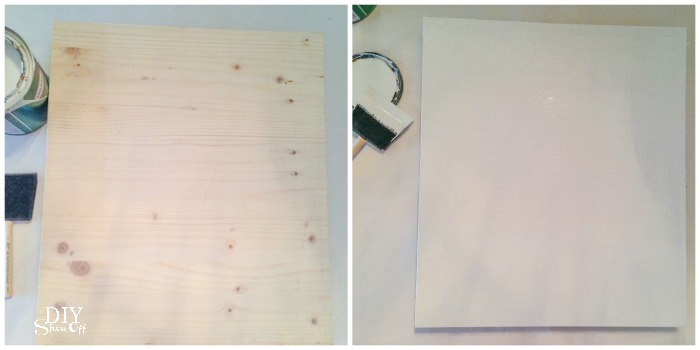
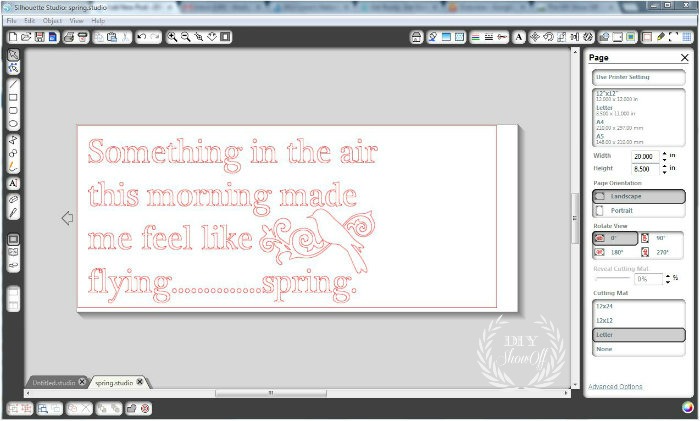
One heavy coat later, we had exactly what I wanted. We let the stain dry over night and I started picking out a font. I ended up downloading a new font called Aubrey.

I typed my saying in a word document and adjusted the size of the letters to fit on the board. After several attempts, the letter size ended up being 500.

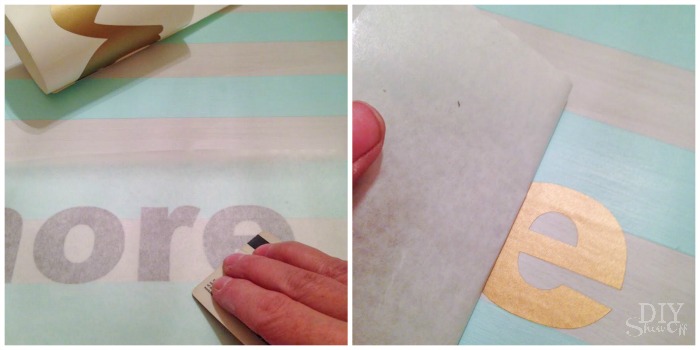
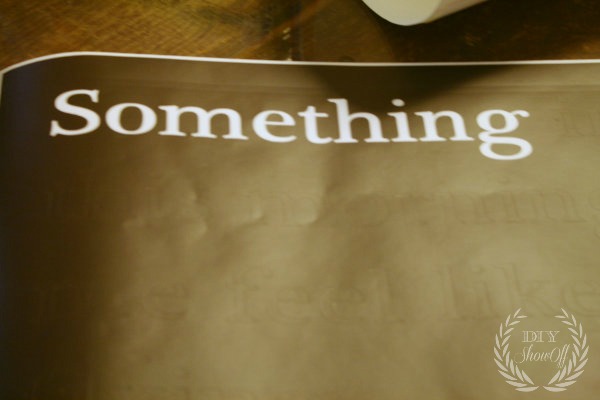
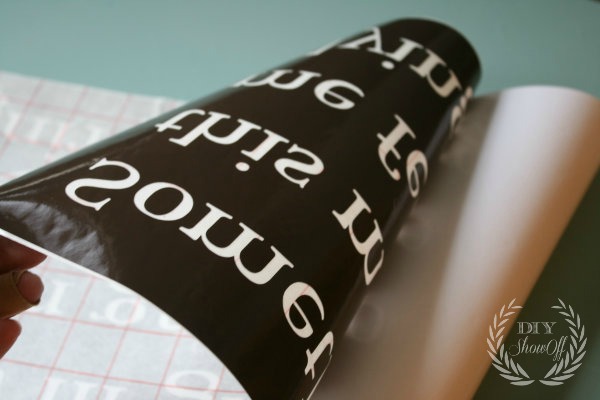
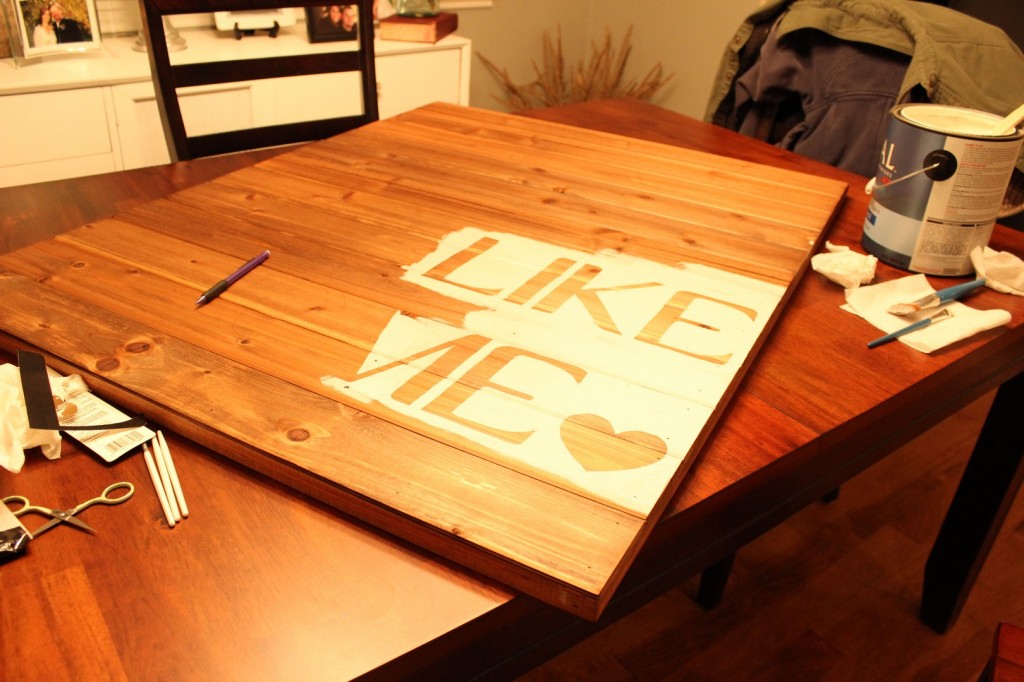
I printed the letters on thick card stock and them cut them out. Once they were cut, I started arranging the words on my sign.

DIY Sign | The Wood Grain Cottage

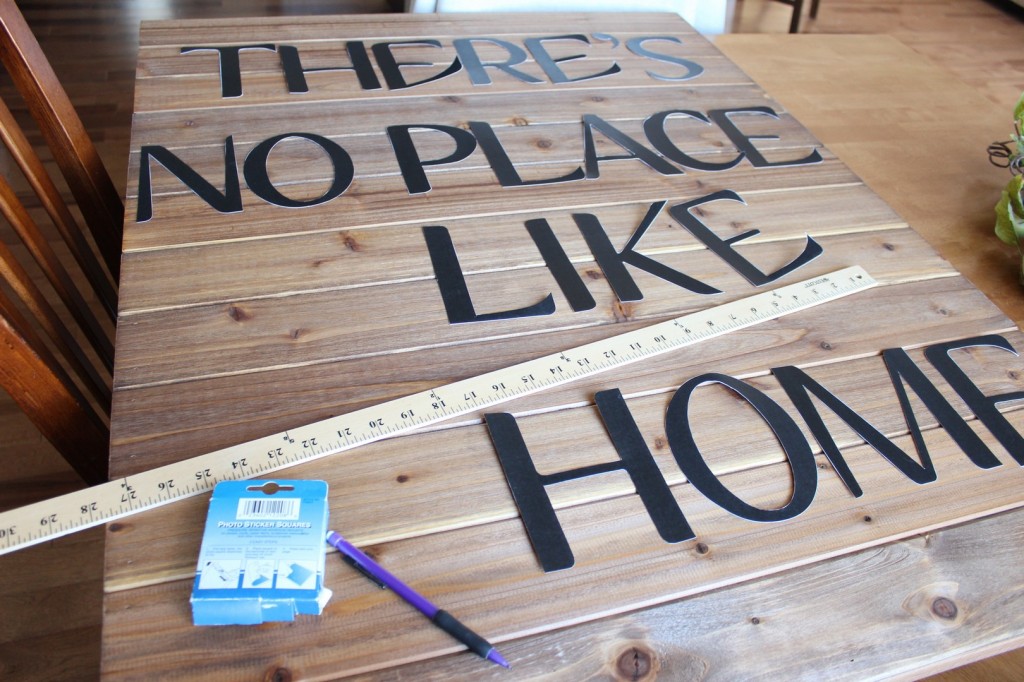
I decided to align them on the right side and used a yard stick to make sure everything was evenly spaced.

DIY Sign | The Wood Grain Cottage
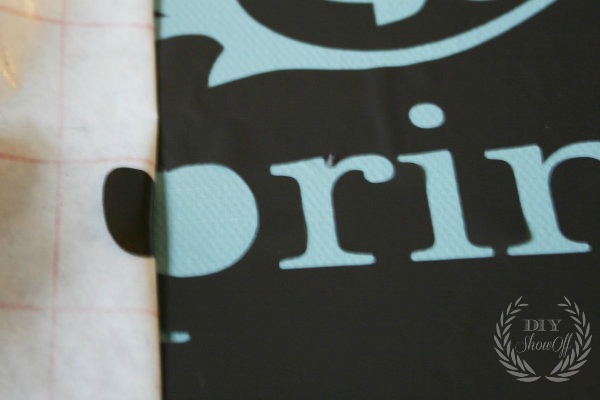
With the letters in their place, I used several small pieces of two sided scrapbook tape to hold them down. After that, I took a pencil and traced around them.

DIY Sign | The Wood Grain Cottage

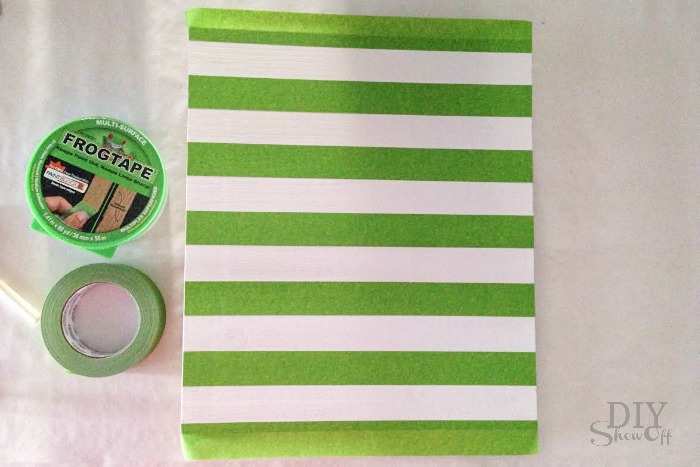
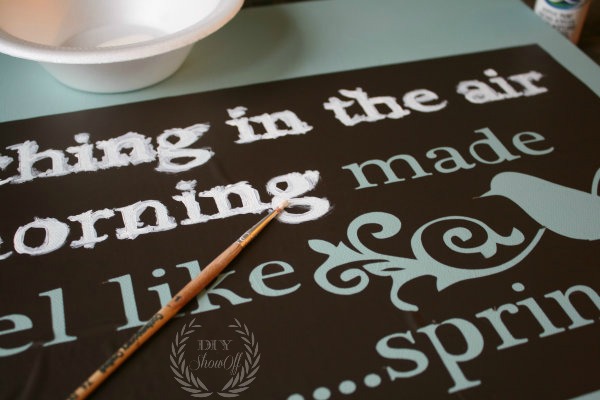
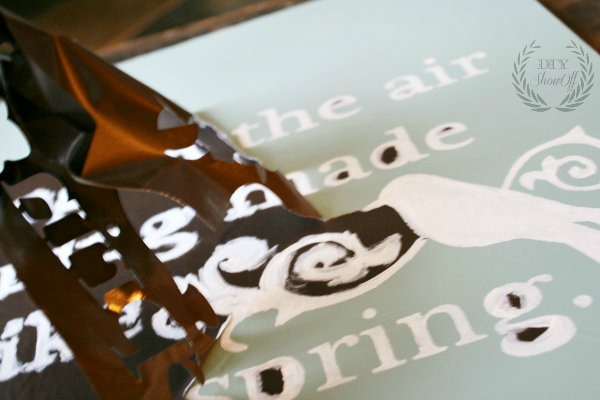
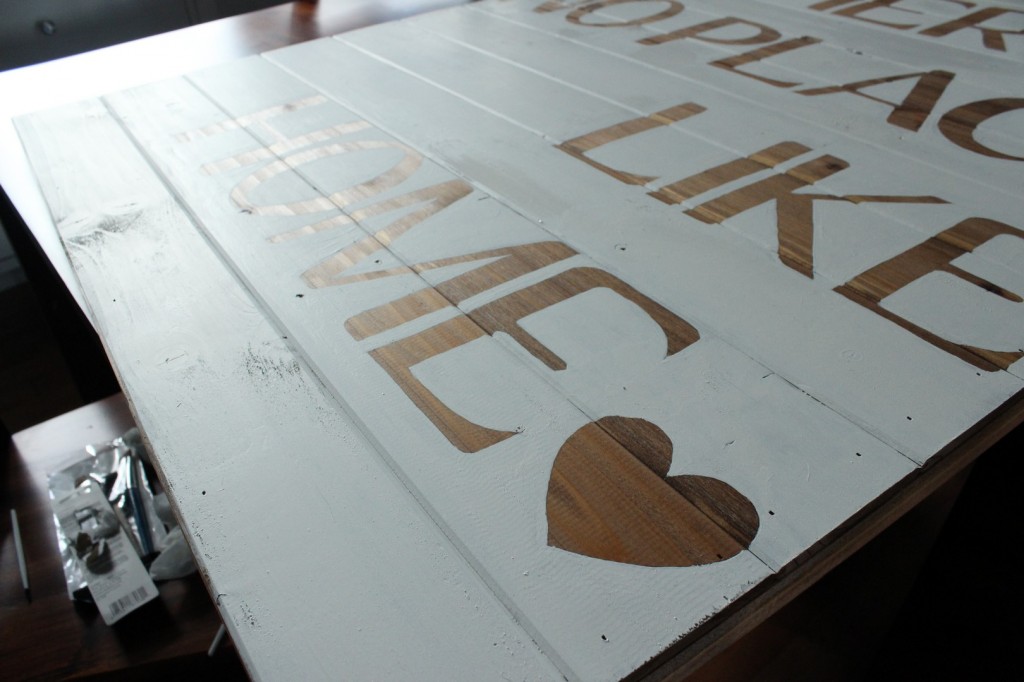
I grabbed some leftover white paint from our entry stripes, and got busy!

DIY Sign | The Wood Grain Cottage

I ended up painting the entire thing by hand. Originally, I thought that I might be able to use painters tape, but it didn’t work. I tested a small area and when I went to remove the tape, it pulled off some of the stain. There was no way I was going to risk using it.

DIY Sign | The Wood Grain Cottage

For totally free handing it, I am really happy with the way that it turned out.

DIY Sign | The Wood Grain Cottage

DIY Sign | The Wood Grain Cottage

Once it was dry, I couldn’t wait to hang it up. Because we had used the 1″ x 2″ boards for the frame, we had a nice lip that would easily hang from a couple of nails.

I love the rustic vibe of the sign! The stained wood letters almost send me over the edge. Every time I look at it, my heart goes pitter. patter.

DIY Sign | The Wood Grain Cottage

DIY Sign | The Wood Grain Cottage

DIY Sign | The Wood Grain Cottage

DIY Sign | The Wood Grain Cottage

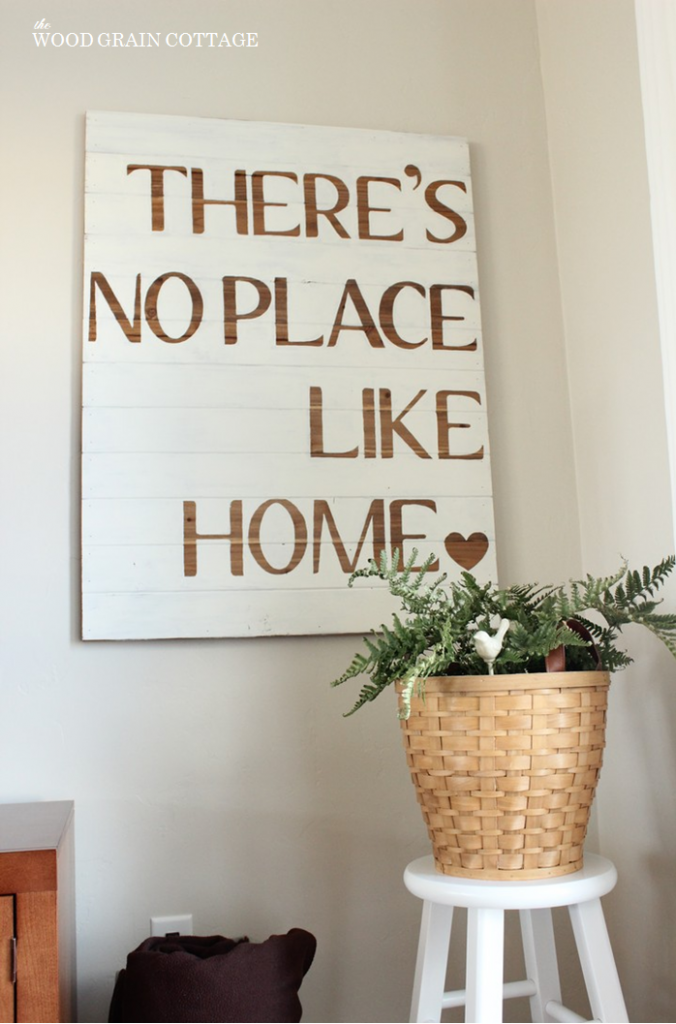
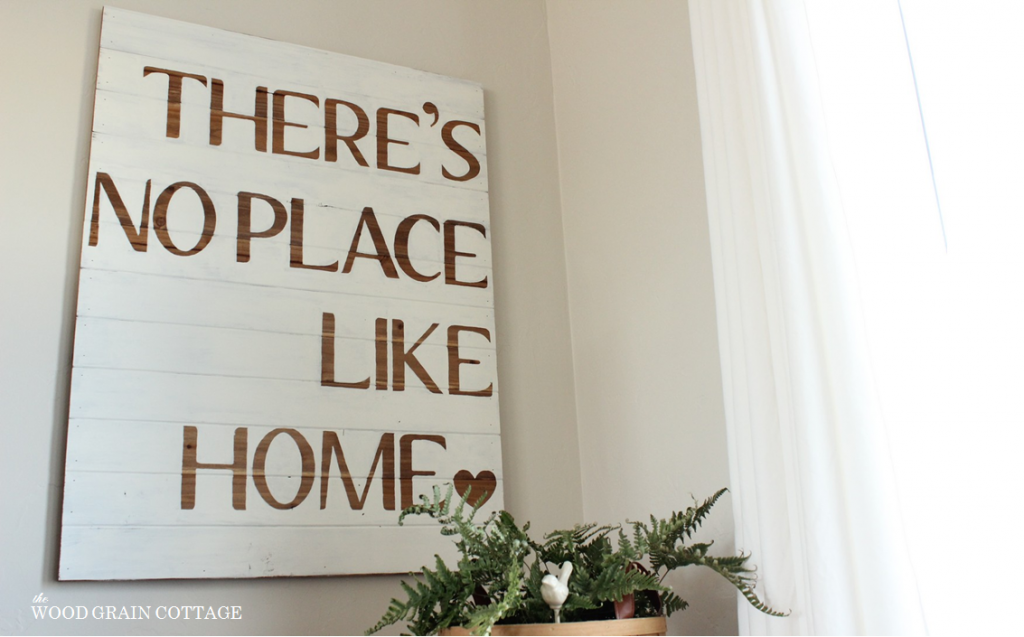
This has easily become one of my favorite projects to date- and one that still leaves me smiling from ear to ear.

And speaking of my favorite projects, here are a few more that have helped make our home feel a little bit more special!

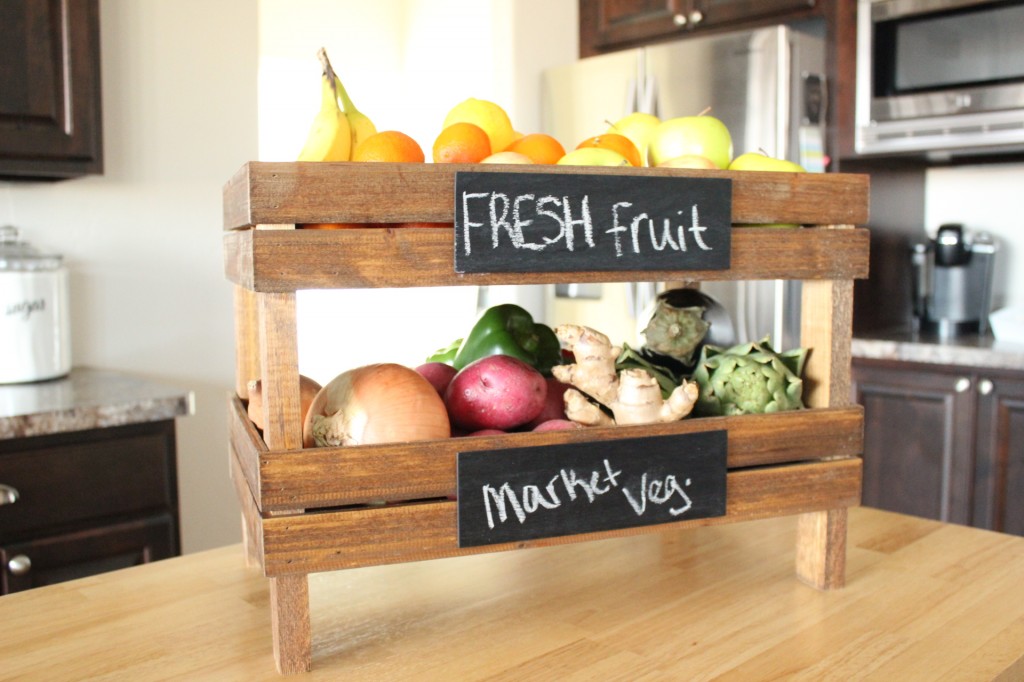
Our DIY Stackable Fruit Crates cost less than $30 and pack a ton of storage!

DIY Stackable Fruit Crates I The Wood Grain Cottage

We just finished installing a DIY Planked Wall & DIY Bench in our breakfast nook.

Plank Wall I The Wood Grain Cottage

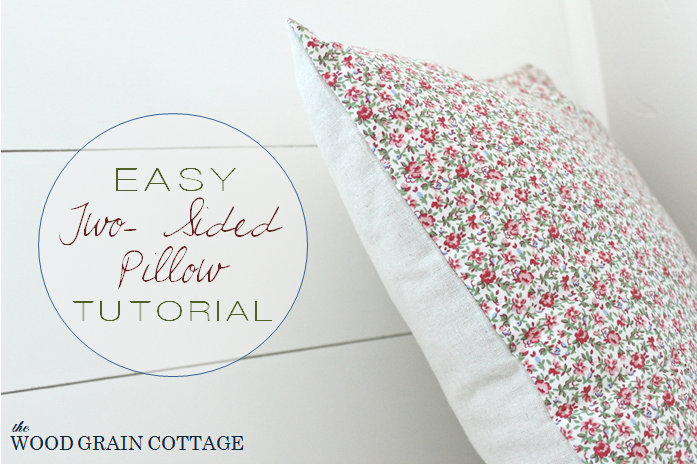
And now I’m a busy bee adding the final touches to the space. I recently shared my Easy Two- Sided Pillow & Tutorial.

Two Sided Pillow Tutorial I The Wood Grain Cottage

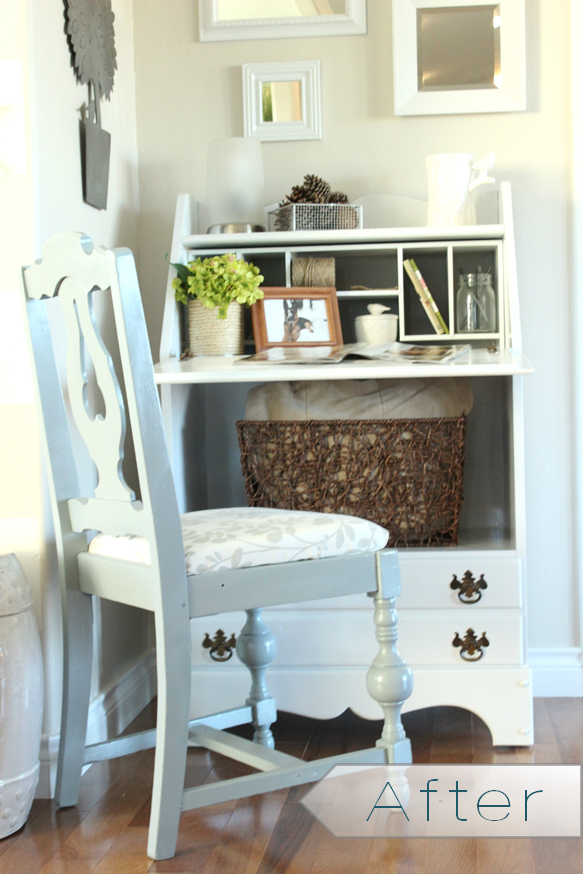
I love to refinish furniture, and this Secretary has a big makeover story.

Refinished Secretary | The Wood Grain Cottage

To see more of my projects, be sure to stop by and visit– I’d love to have you!

I hope you enjoyed my DIY sign and a BIG THANKS to Roeshel for having me! 🙂

Shayna | The Wood Grain Cottage

Thank YOU, Shayna for sharing your awesome DIY, beautiful home and for filling in  today! 🙂