Remember when I finished the combined nursery / guest room makeover a few months ago…
![]()
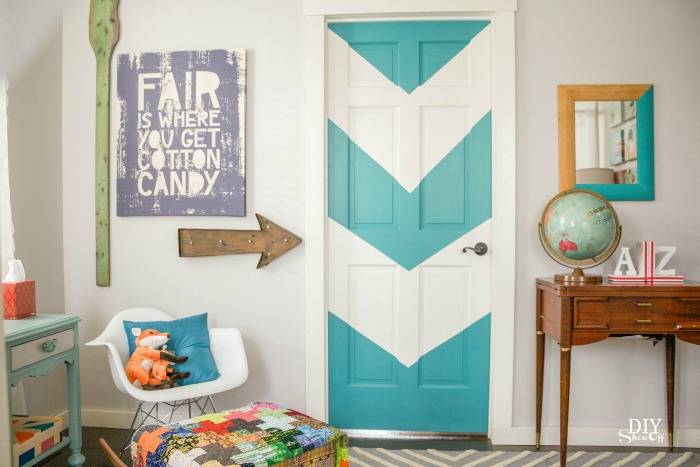
I had a few finishing touches left to share. One of them was taking this plain door that leads to the guest bathroom…
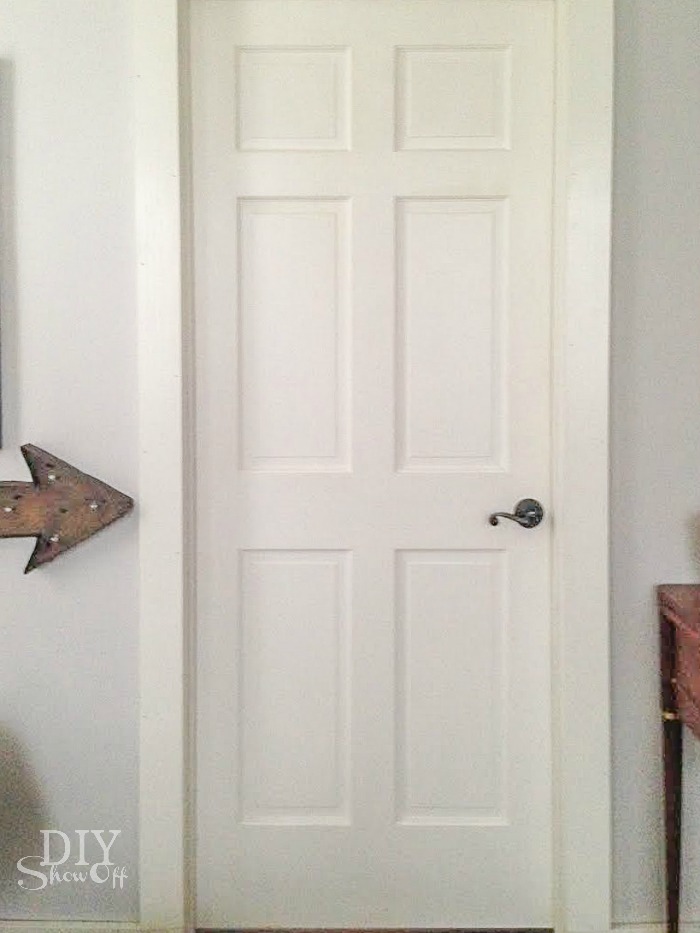
and giving it a fun look. Paint is such an easy way to make a fun and bold statement, add a pop of color and definitely a touch of “wow” to the room…
What I used:
- plain white door
- sample of Valspar paint (color: rushing stream, finish: satin)
- paintbrush
- FrogTape
- yard stick and pencil
What I did:
1. I gave the door a good scrub. Amazing how unnoticeable the dust is on those recessed panels. Who knew?
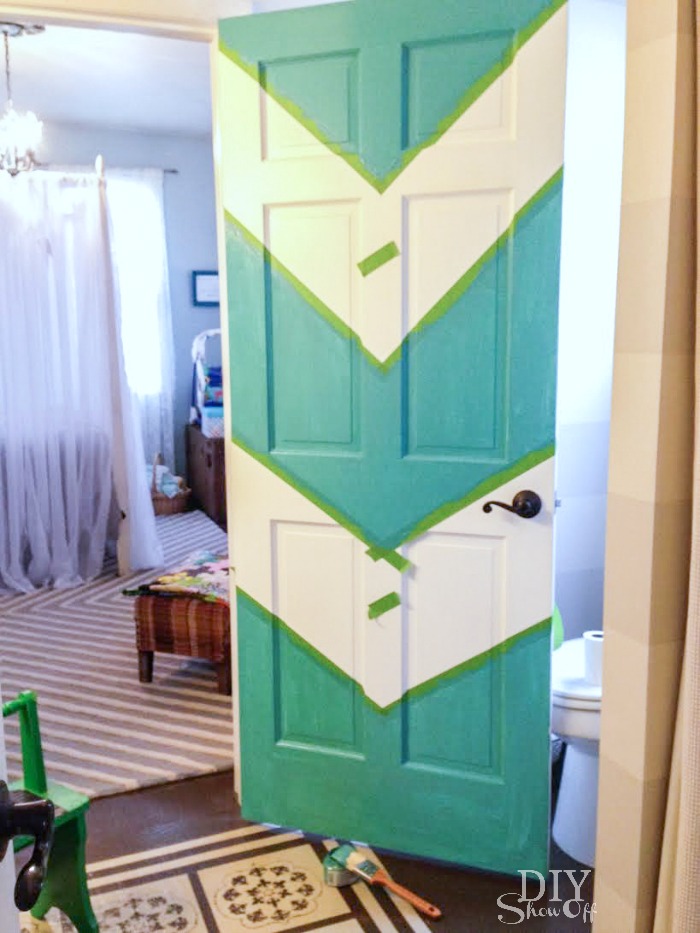
2. Using my yard stick, I found the center point of the door horizontally. Then made marks for where I’d like each “chevron” point to be. I didn’t really space them out exact. From the top, the first section is 14 inches down.
3. Using FrogTape, I created a “v” shape. I eye-balled the angle.
4. I repeated the “v” shape. A lot of my spacing and angle had to do with the panels, not exact measurements.

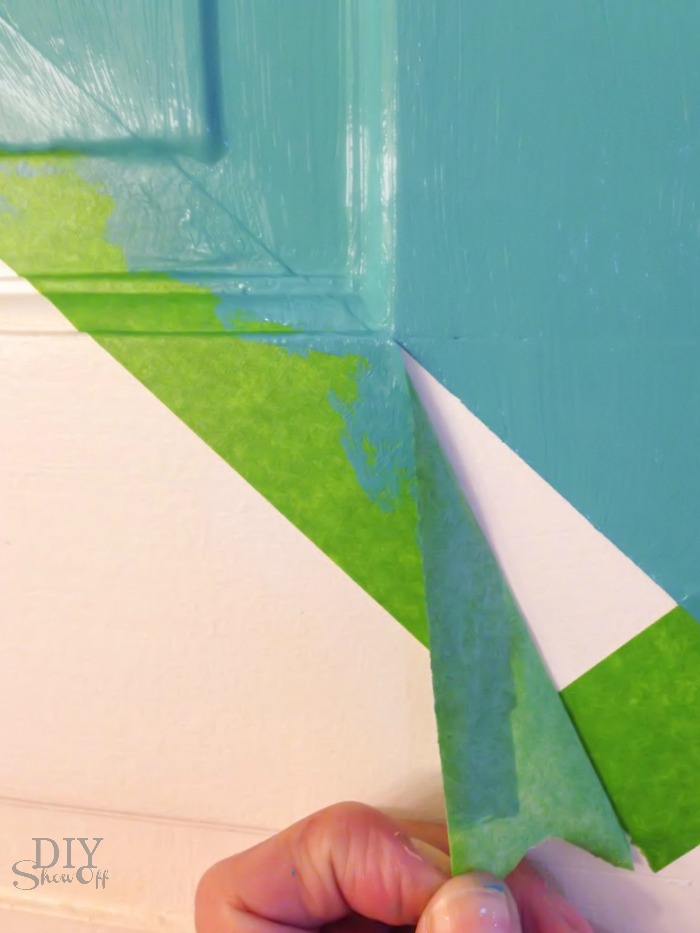
5. I used my thumbnail (a credit/gift card would also work) to burnish the edges of the tape.
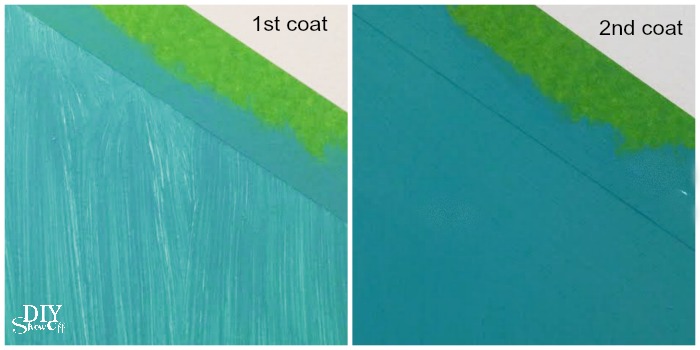
6. I painted one coat and let it dry. Then brushed on a second coat.
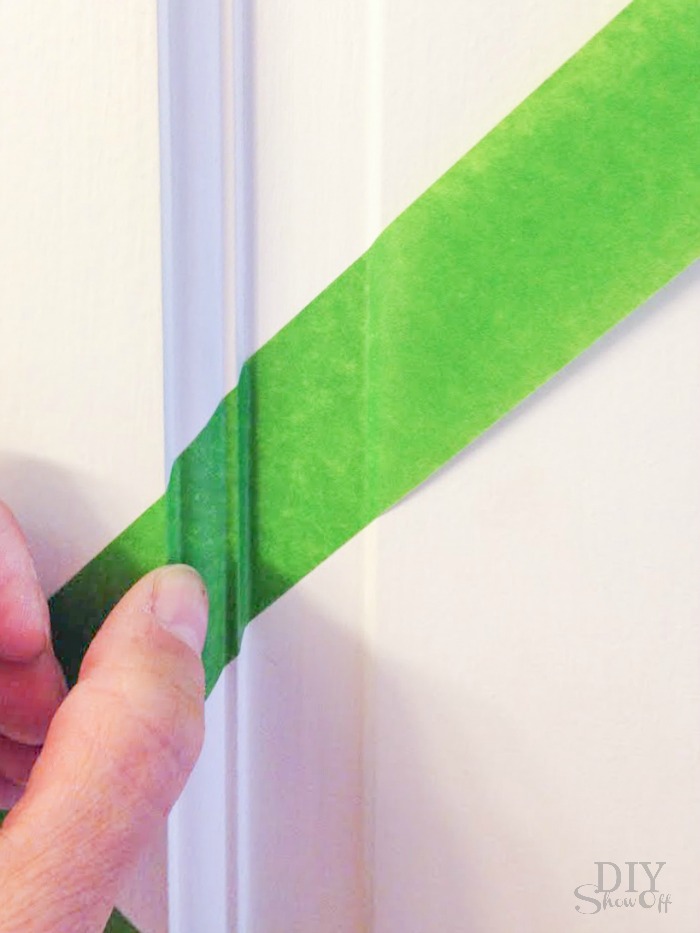
7. While the paint was still wet, I removed the FrogTape. Try pulling away from the paint, as shown:
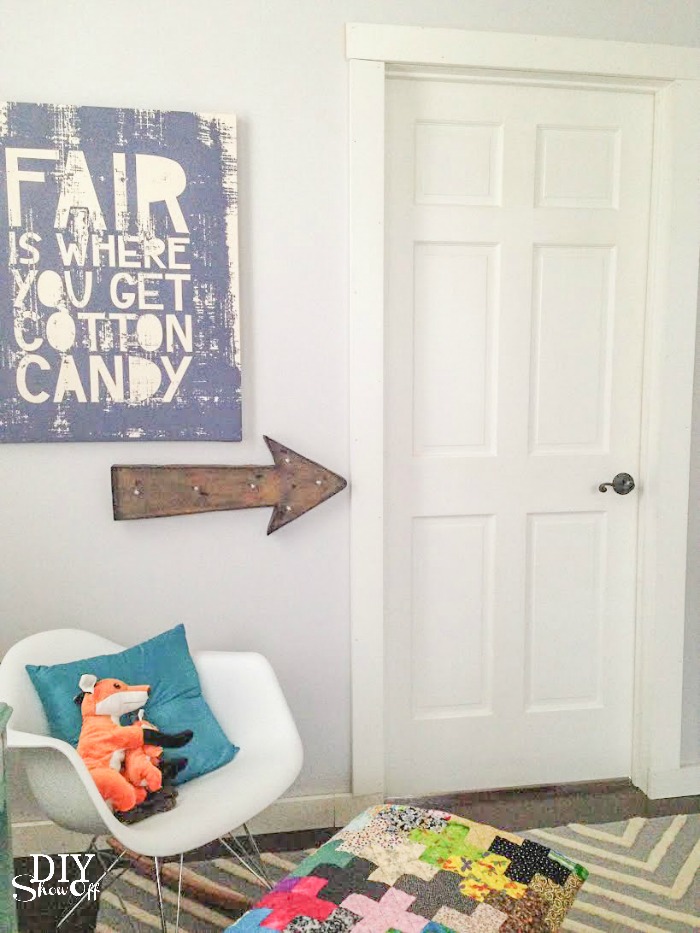
Before:
After: I am in love with the large scale bold design. It’s so unexpected and fun.
and just that small project makes a big statement, doesn’t it?
![]()
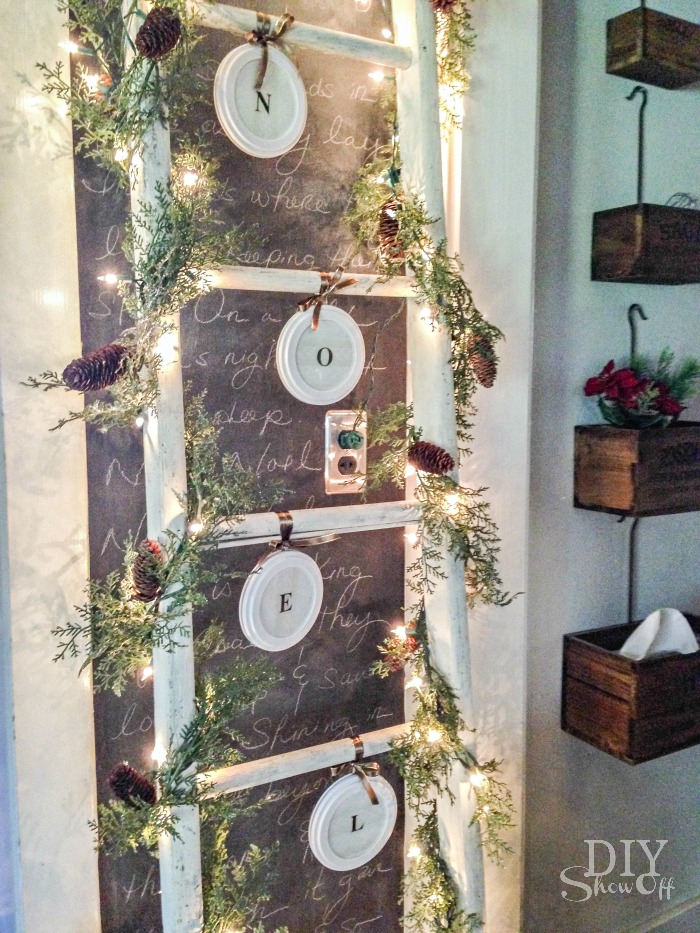
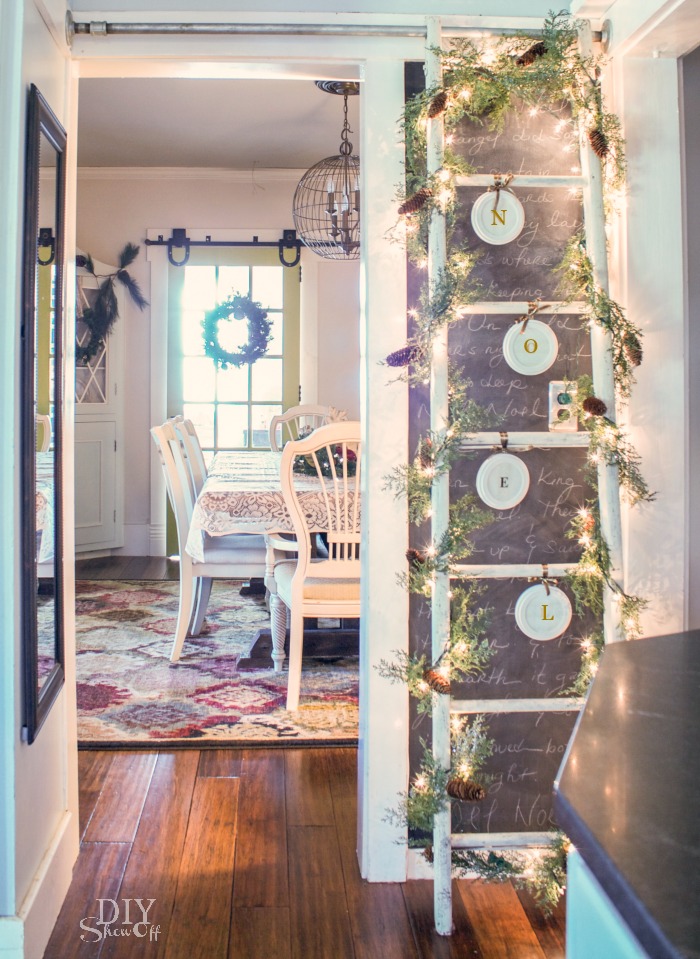
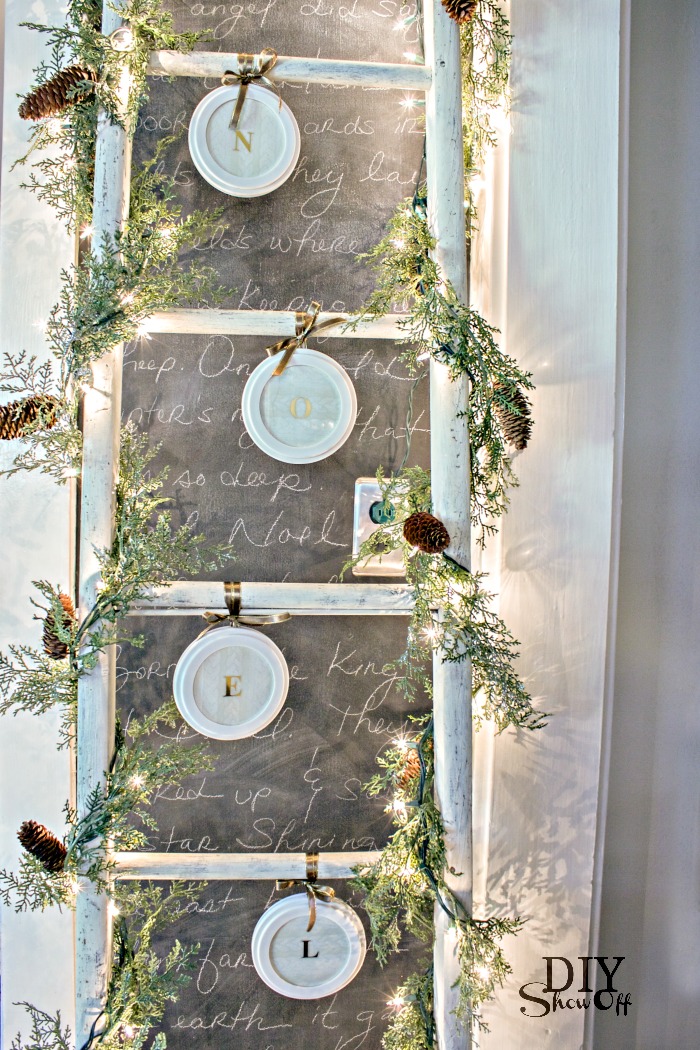
I love how it kicks the guest room/nursery room decor up a notch.
{before}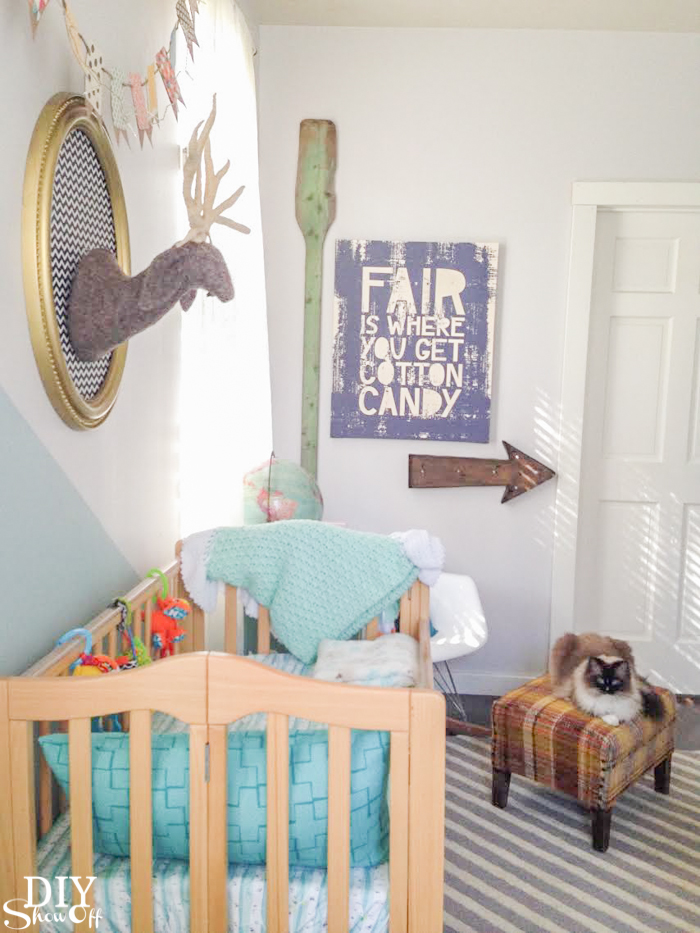
{after}![]()
See the entire nursery/guest room reveal here. See this project and more in the Lowe’s Creative Ideas digital magazine.

I received a Lowe’s gift card to put towards this challenge. Opinion and above idea is 100% my own. More DIY ideas at Lowe’s Creative Ideas or follow Lowe’s on Instagram, Pinterest and sign up for the Creative Ideas magazine and app.