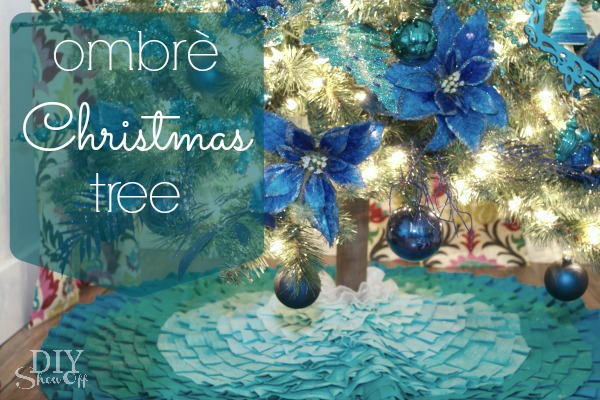
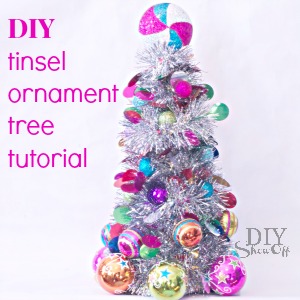
With a Merry & Bright theme going on in the family room, I needed a colorful Christmas decoration to add to my existing decorative accents which is what inspired this tinsel ornament tree tutorial. This tutorial is a part of the fun Christmas Extravaganza Blog Hop! More fun holiday links below!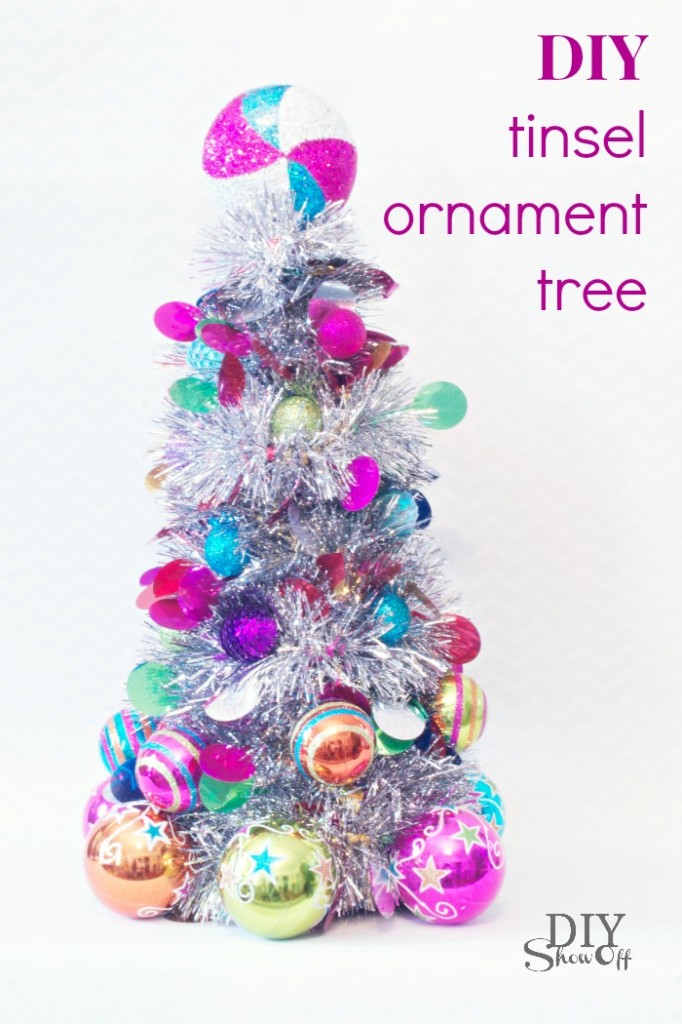
What I used: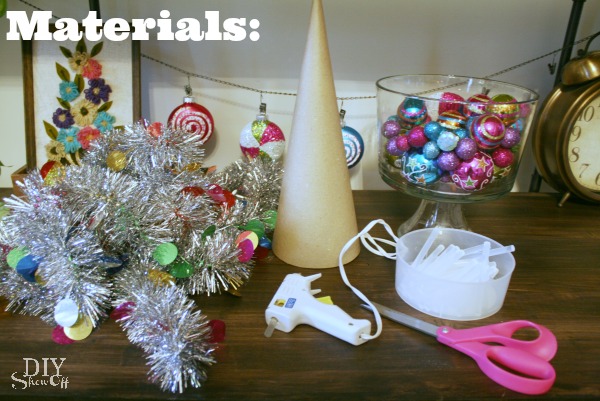
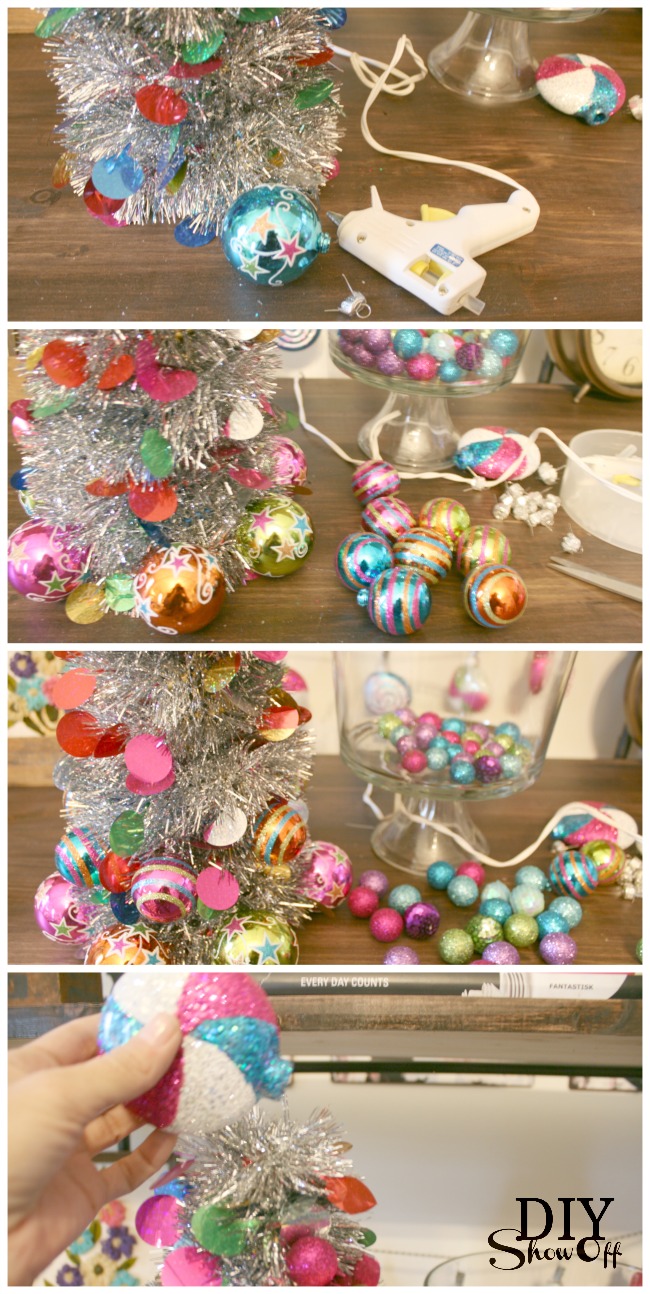
- cardboard cone
- tinsel garland
- optional: ornaments (I used three different sizes)
- hot glue/gun
Tutorial:
Starting at the top, add a dab of hot glue near the pointy end of the cardboard cone and attach one end of the tinsel garland.
Wrap the cardboard cone. Pull garland tight for a fuller look or just enough to cover the cone…it’s up to you! I pulled mine tighter and used the entire string of tinsel garland.
Secure the end of the tinsel garland to the cardboard cone with a touch of hot glue.
You could be finished at this step if you like the look! Or use hot glue to add in ornaments (I removed the metal hangers).
Remove the metal hanger from a favorite ornament, add a dab of hot glue and attach to the top of the tree. 
All done…definitely “merry & bright” AND easy!
 Happy! Right?
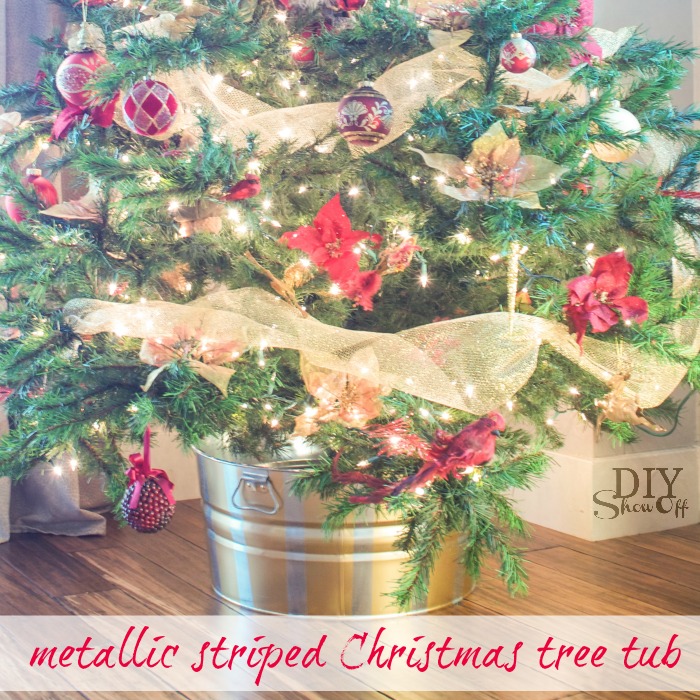
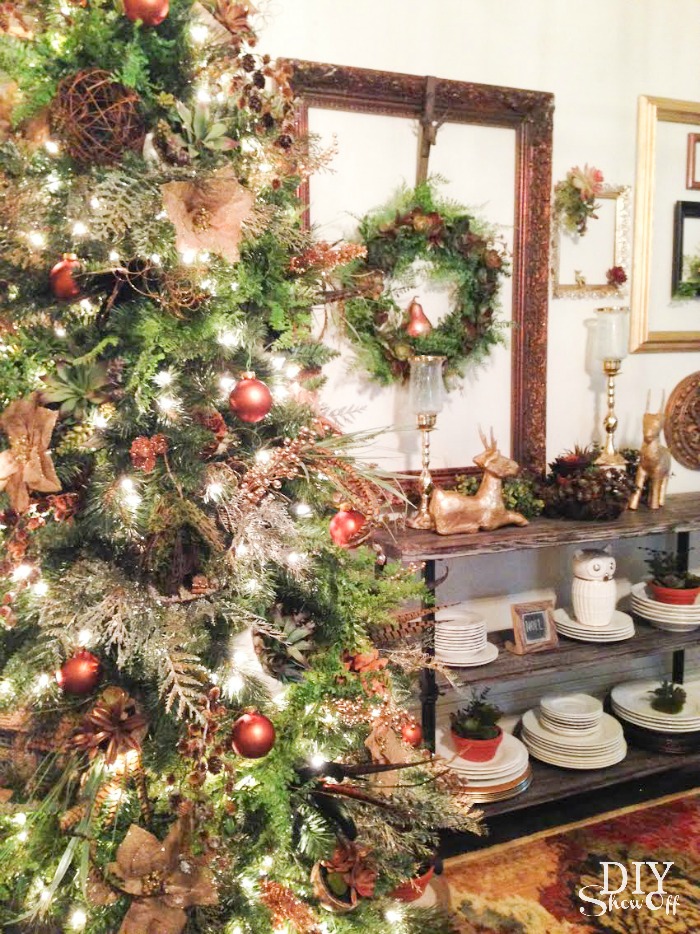
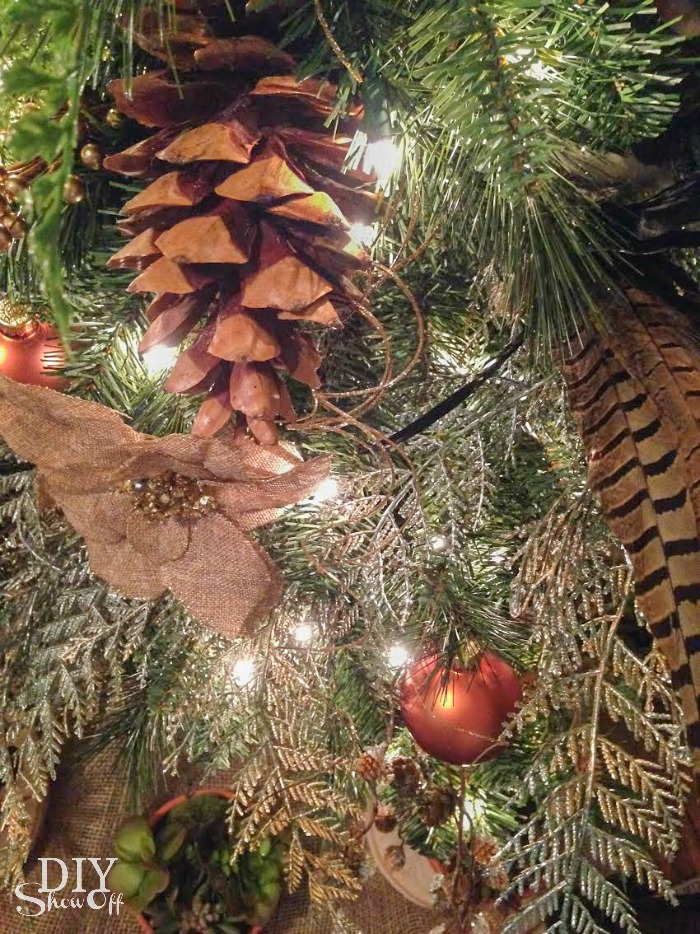
Family Room Makeover
Christmas Home Tour
See more Christmas crafts, decorating, DIY and recipes at the Christmas Extravaganza Blog Hop…
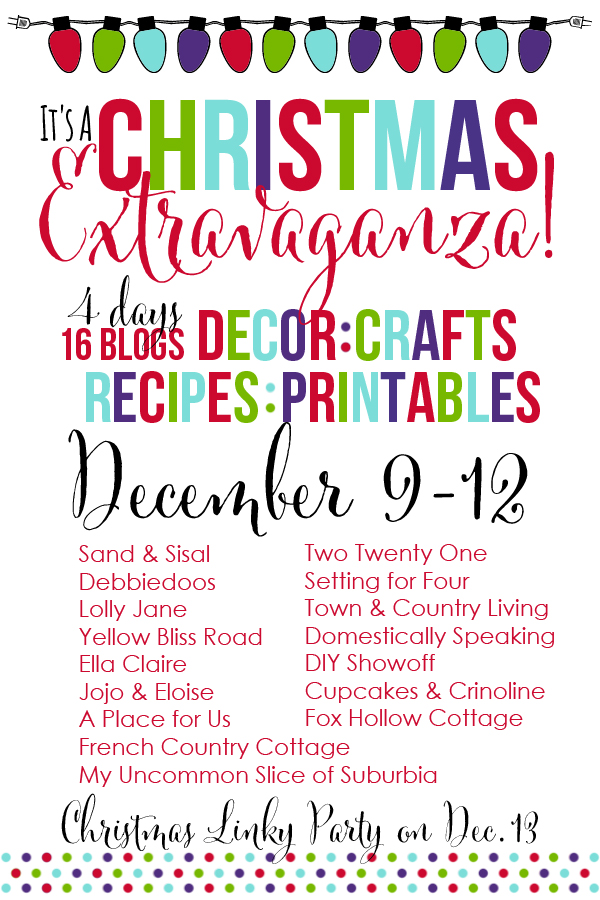
Christmas Extravaganza Schedule
Mint Chocolate Cream Torte from Cupcakes and Crinoline
Easy Four Ingredient Snowball Cookies from Yellow Bliss Road
Holiday Napkin Apron from Jojo & Eloise
DIY Eyelash Yarn Christmas Trees from A Place for Us
Yarn Candy Canes from Lolly Jane
Chocolate & Peppermint Crispy Rice Treats from Ella Claire
Tinsel Ornament Tree from DIY Showoff
Sequin Ornaments from Fox Hollow Cottage
Fuzzy Christmas Trees from Two Twenty One
15 Christmas Decorating Ideas from Town & Country Living
Pom Pom Snowball Wreath from My Uncommon Slice of Suburbia
Christmas Craft Round Up from Debbiedoos
DIY Boxwood Napkin Rings from French Country Cottage
Rustic Glam & Blue Christmas Tree from Setting For Four
Easy Dollar Tree Wreaths from Domestically Speaking
Frosted Pear Ornament from Sand & Sisal
Friday – it’s your turn! Link up your fun Christmas ideas!
Elaine’s Christmas tree for the Christmas Tree Party & Contest