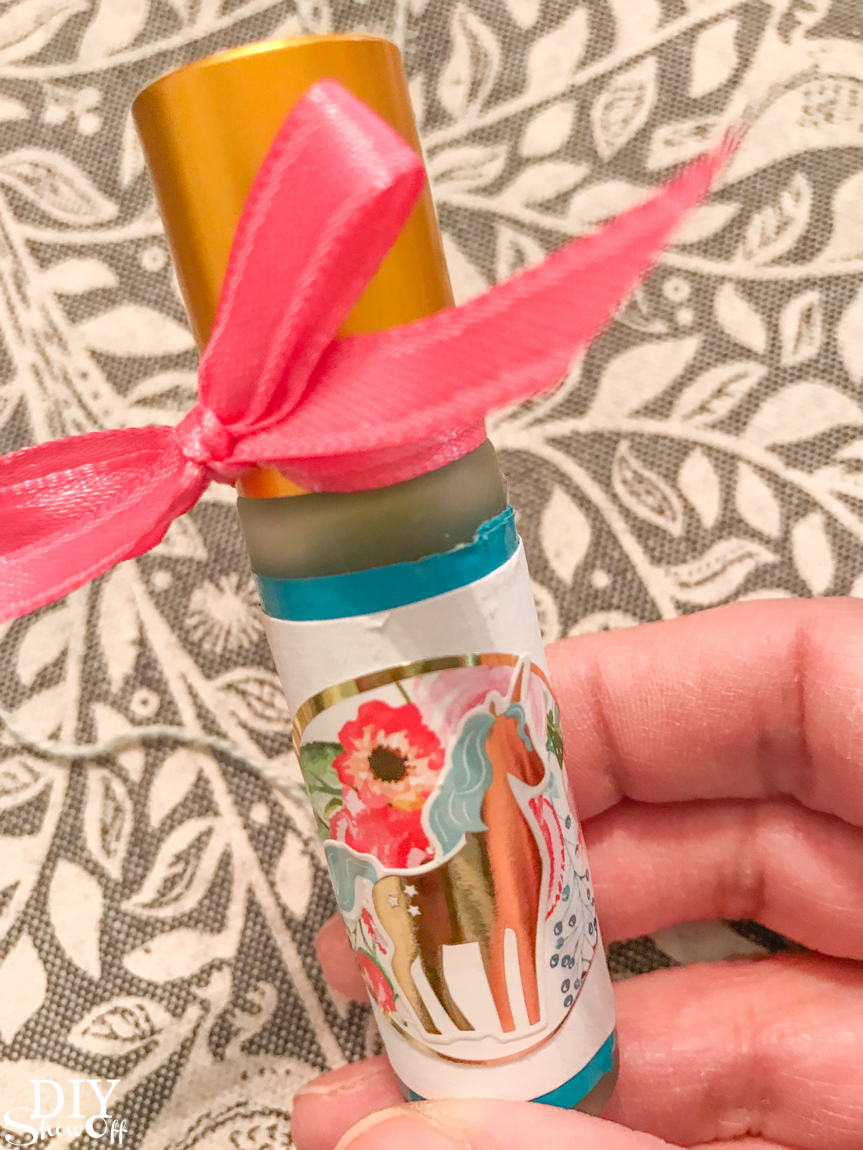
DIY Holiday Gift idea
It’s that time of year…time to start considering holiday gift lists. If you’re a DIY’er and love giving homemade/handmade gifts, bookmark the page and save these signature scent recipes!
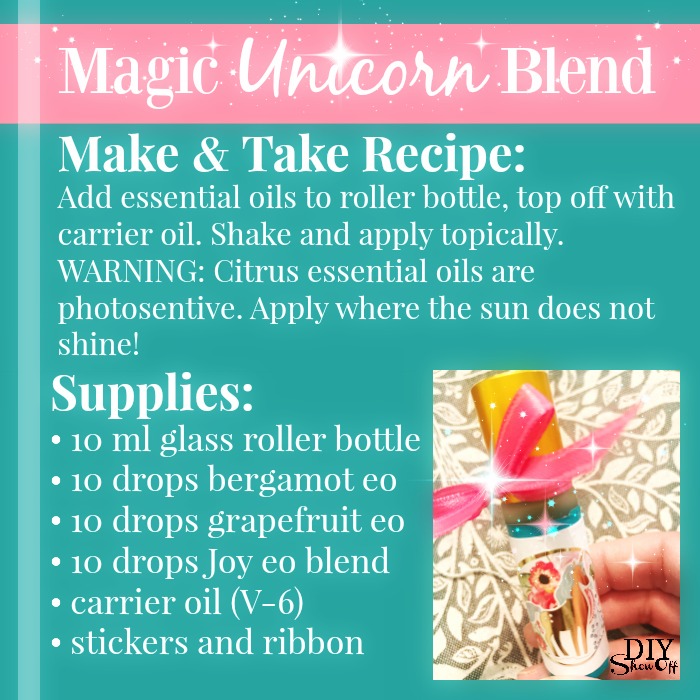
DIY Signature Scents How To:
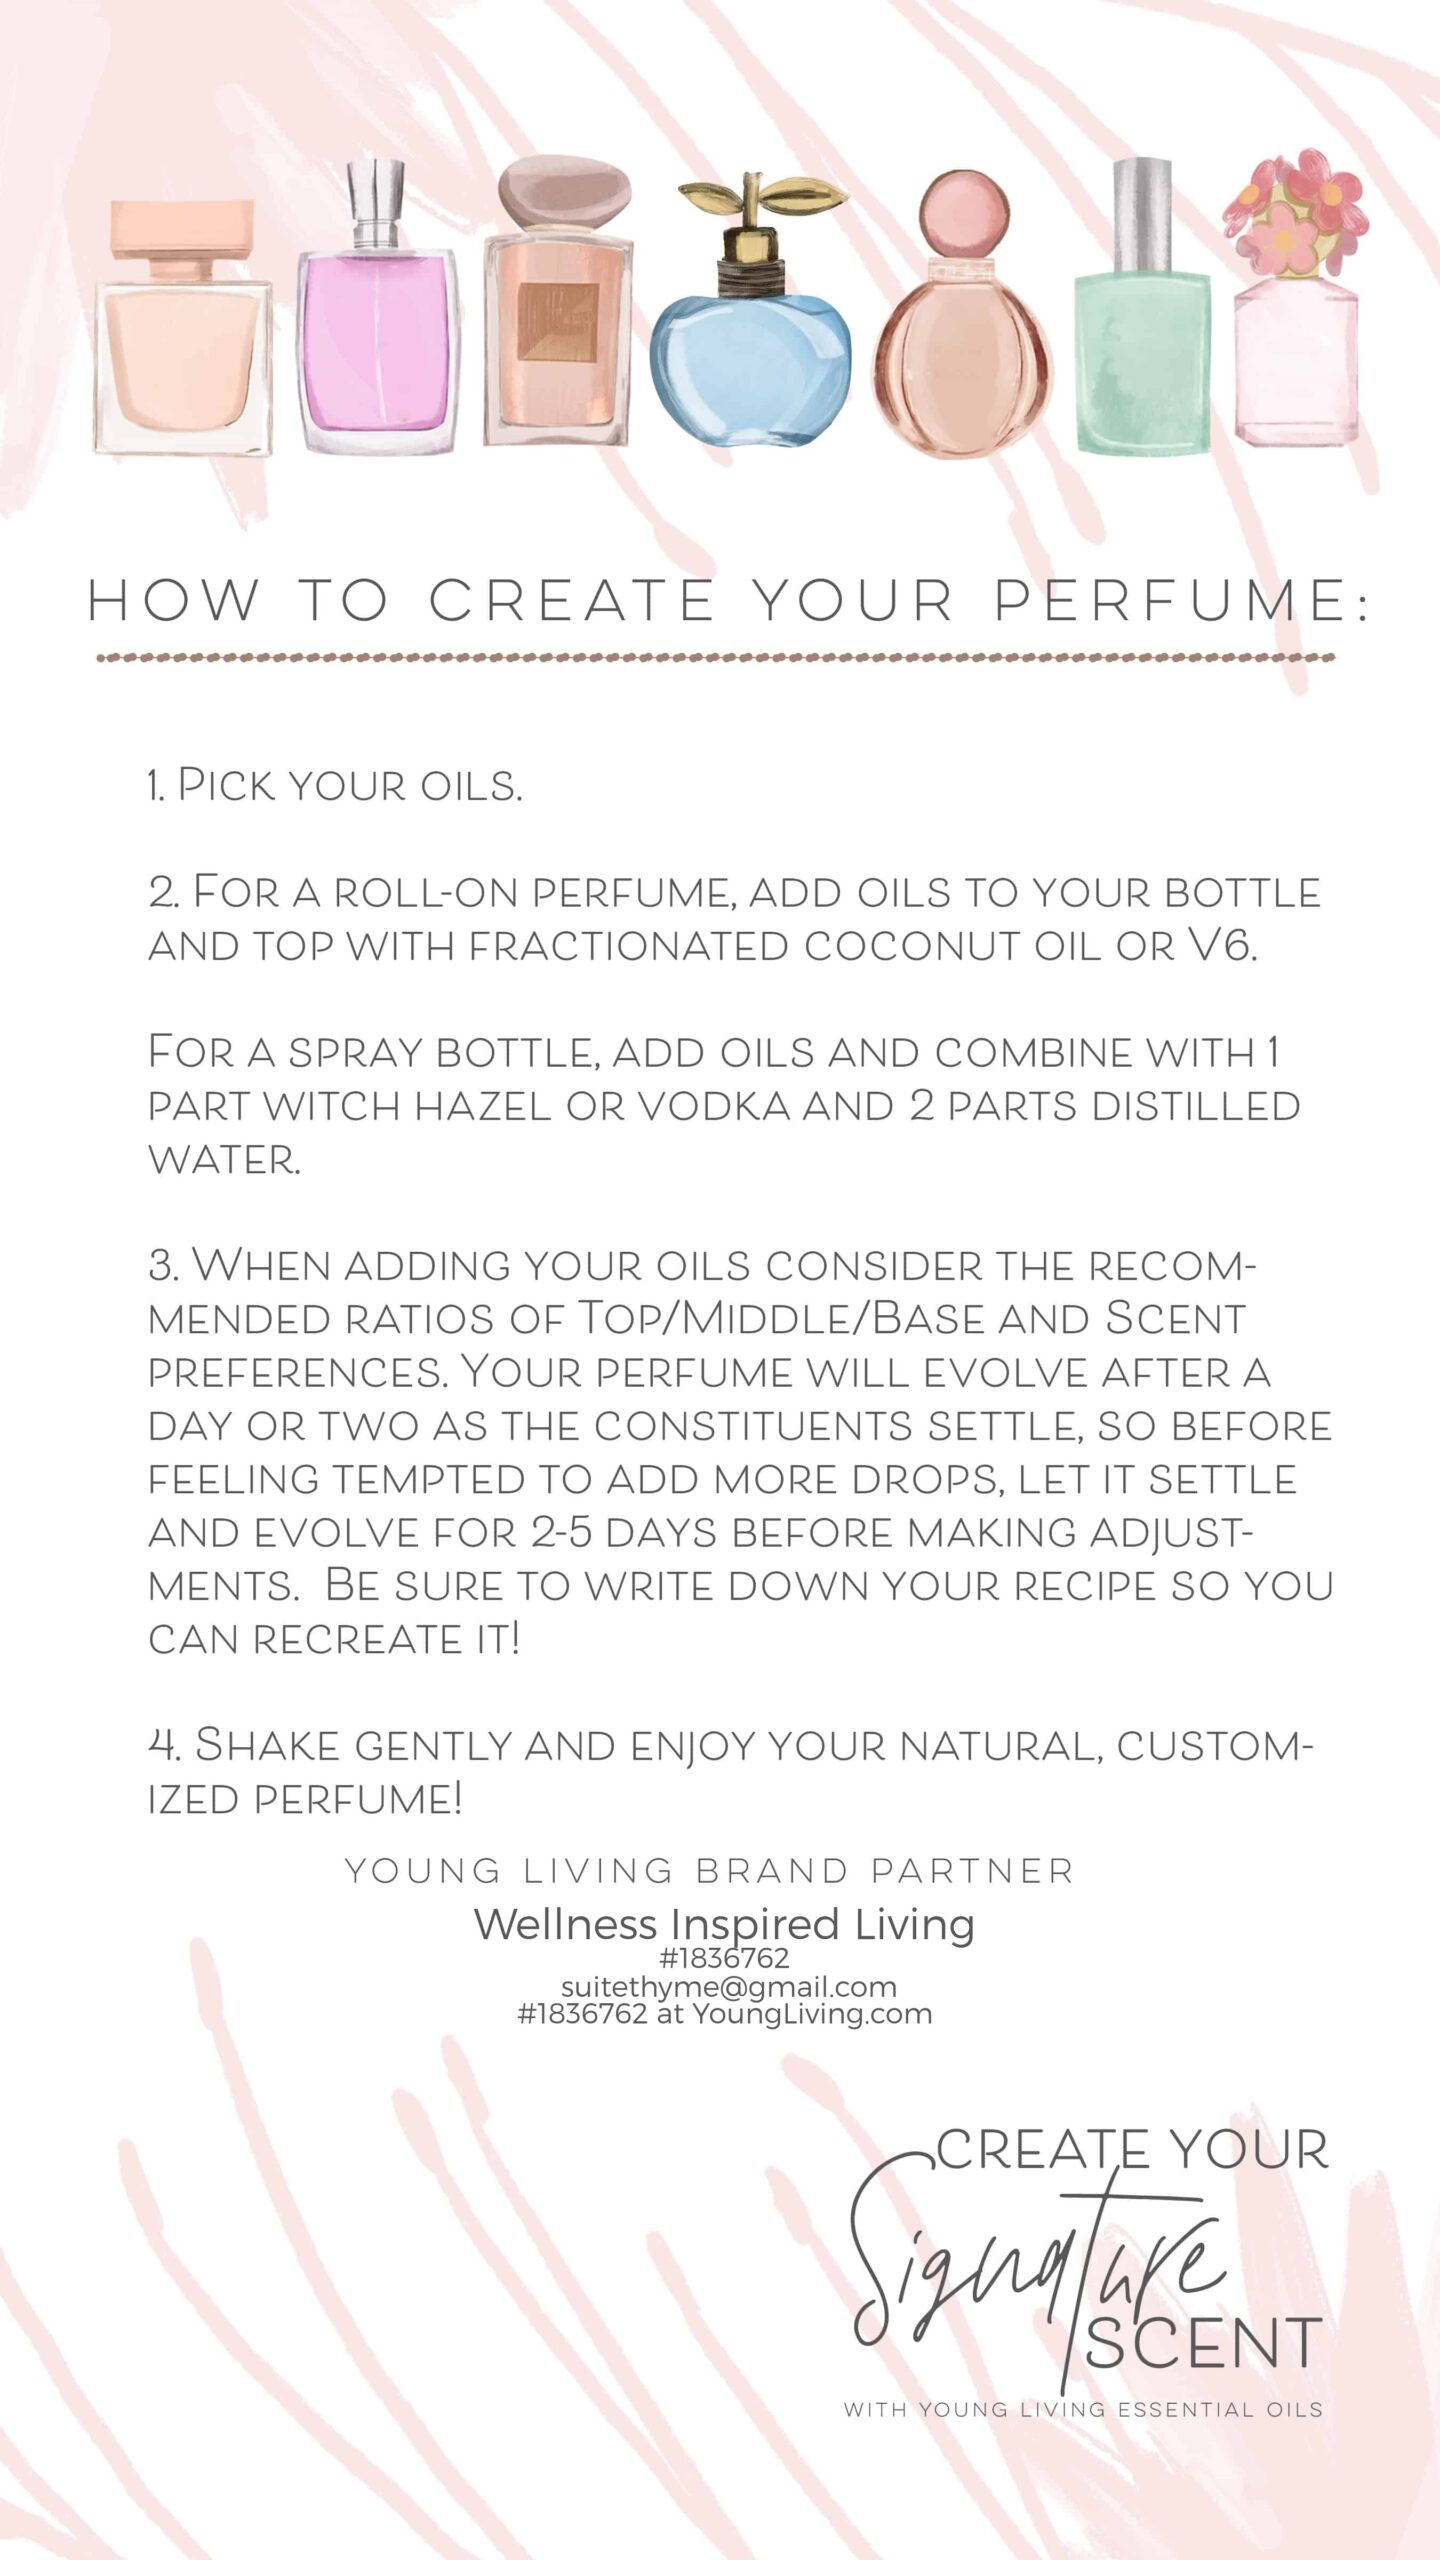
Choose your scent and essential oils. Decide on a spray or roll on. Follow the DIY recipe. Let it settle. And don’t forget to write down your recipe (because if you love it, you’ll want to remember it). Shake gently and spritz or roll on and enjoy!
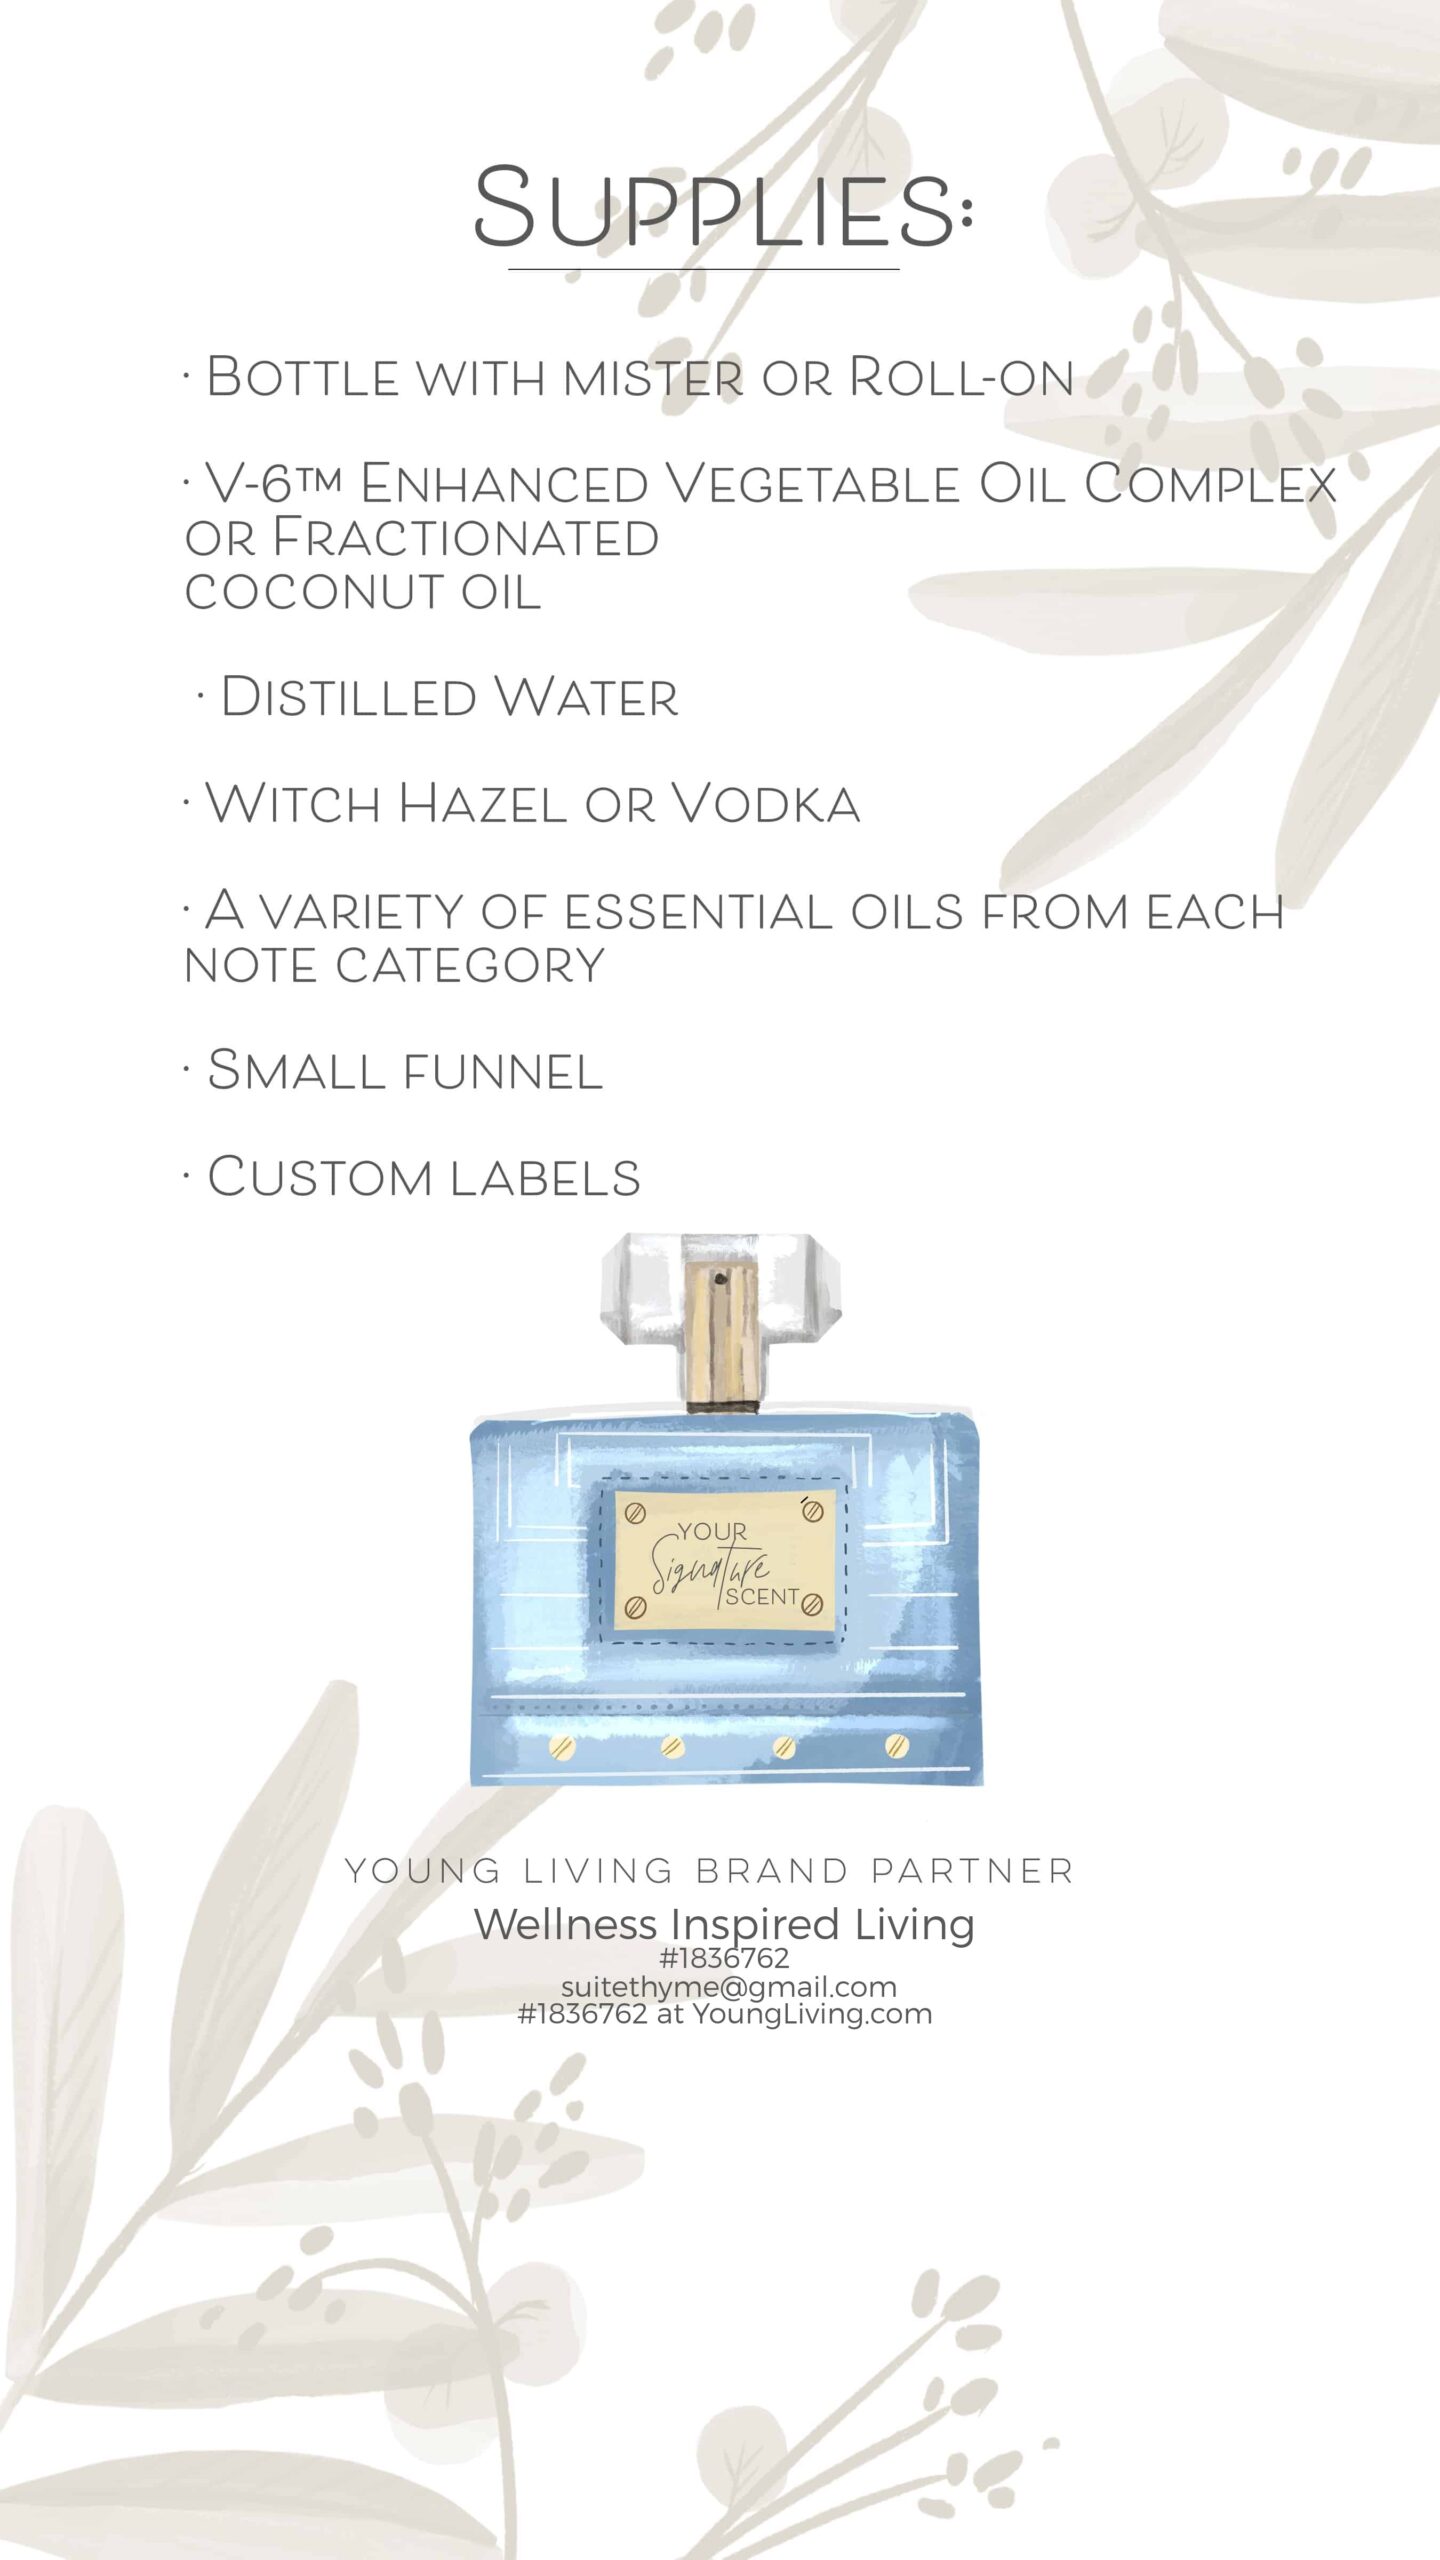
Supplies:
- Bottle or roll on (favorites listed below)
- Fractionated coconut oil or Young Living’s V6 (referral link use promo SHAREYL for 10% off)
- Distilled water
- Witch hazel or vodka
- Essential oils (more below)
- Custom labels
Notes:
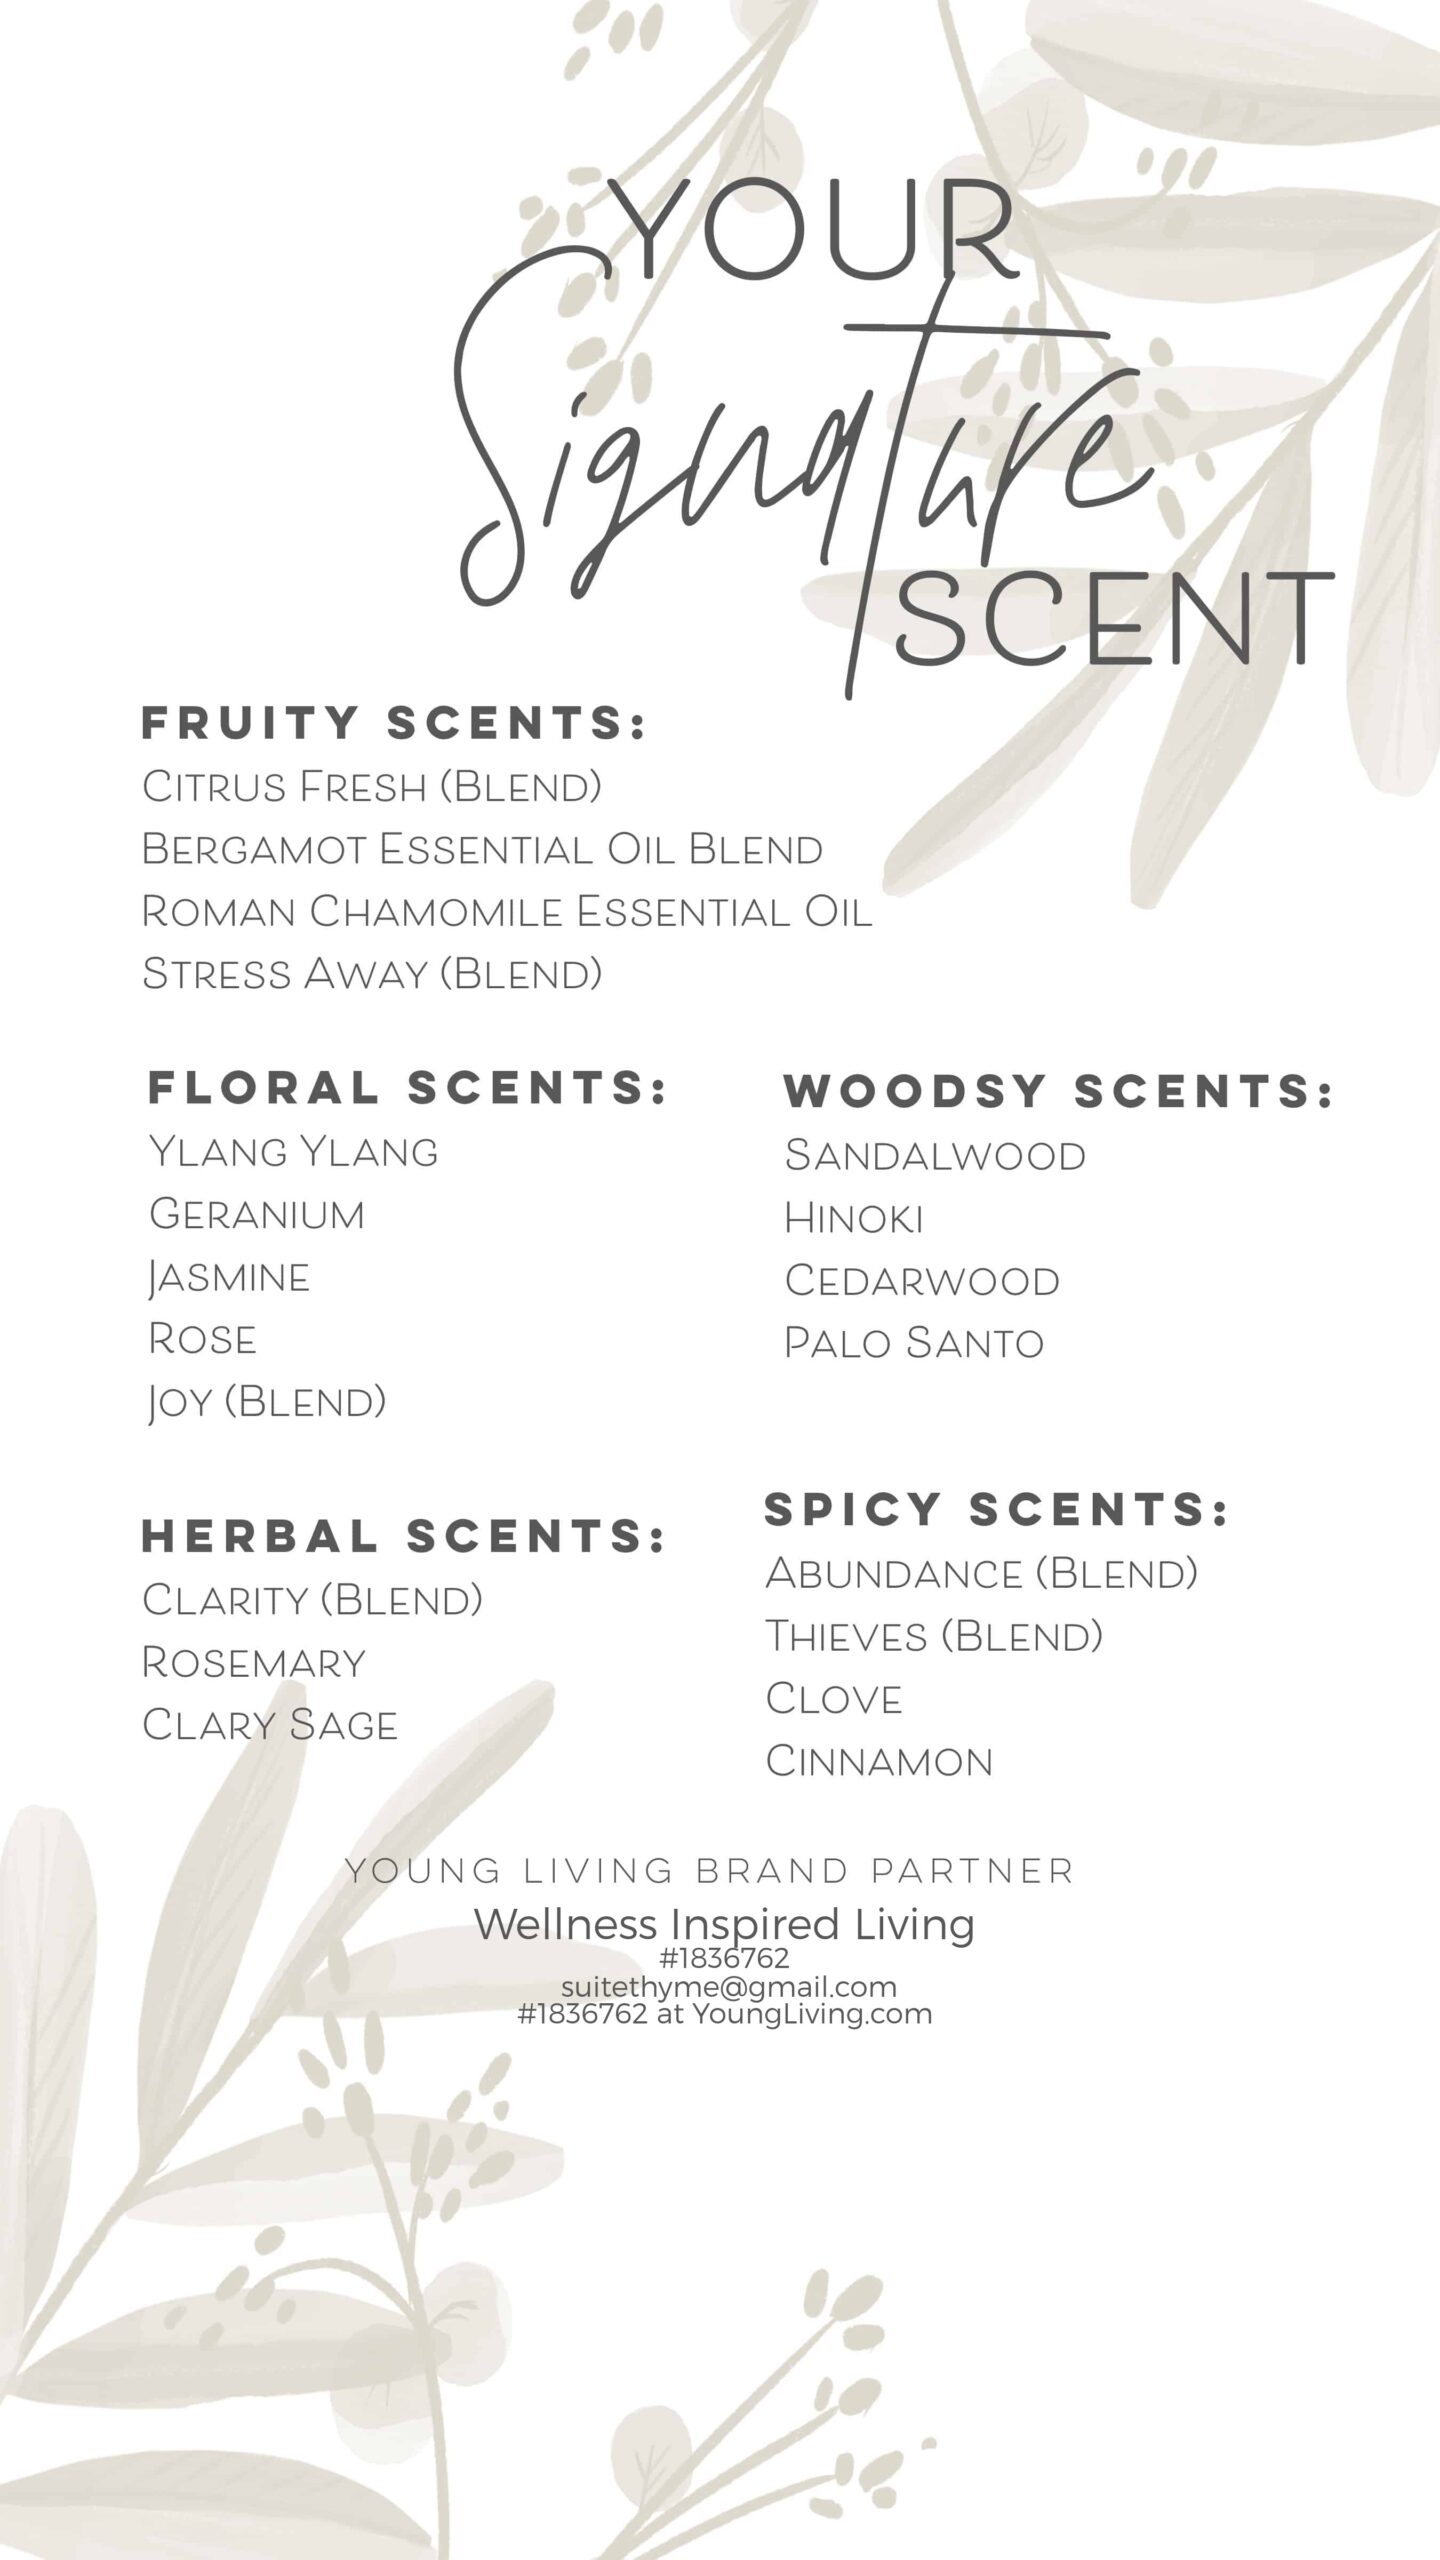
Scent Categories:
- Fruity
- Floral
- Woodsy
- Herbal
- Spicy
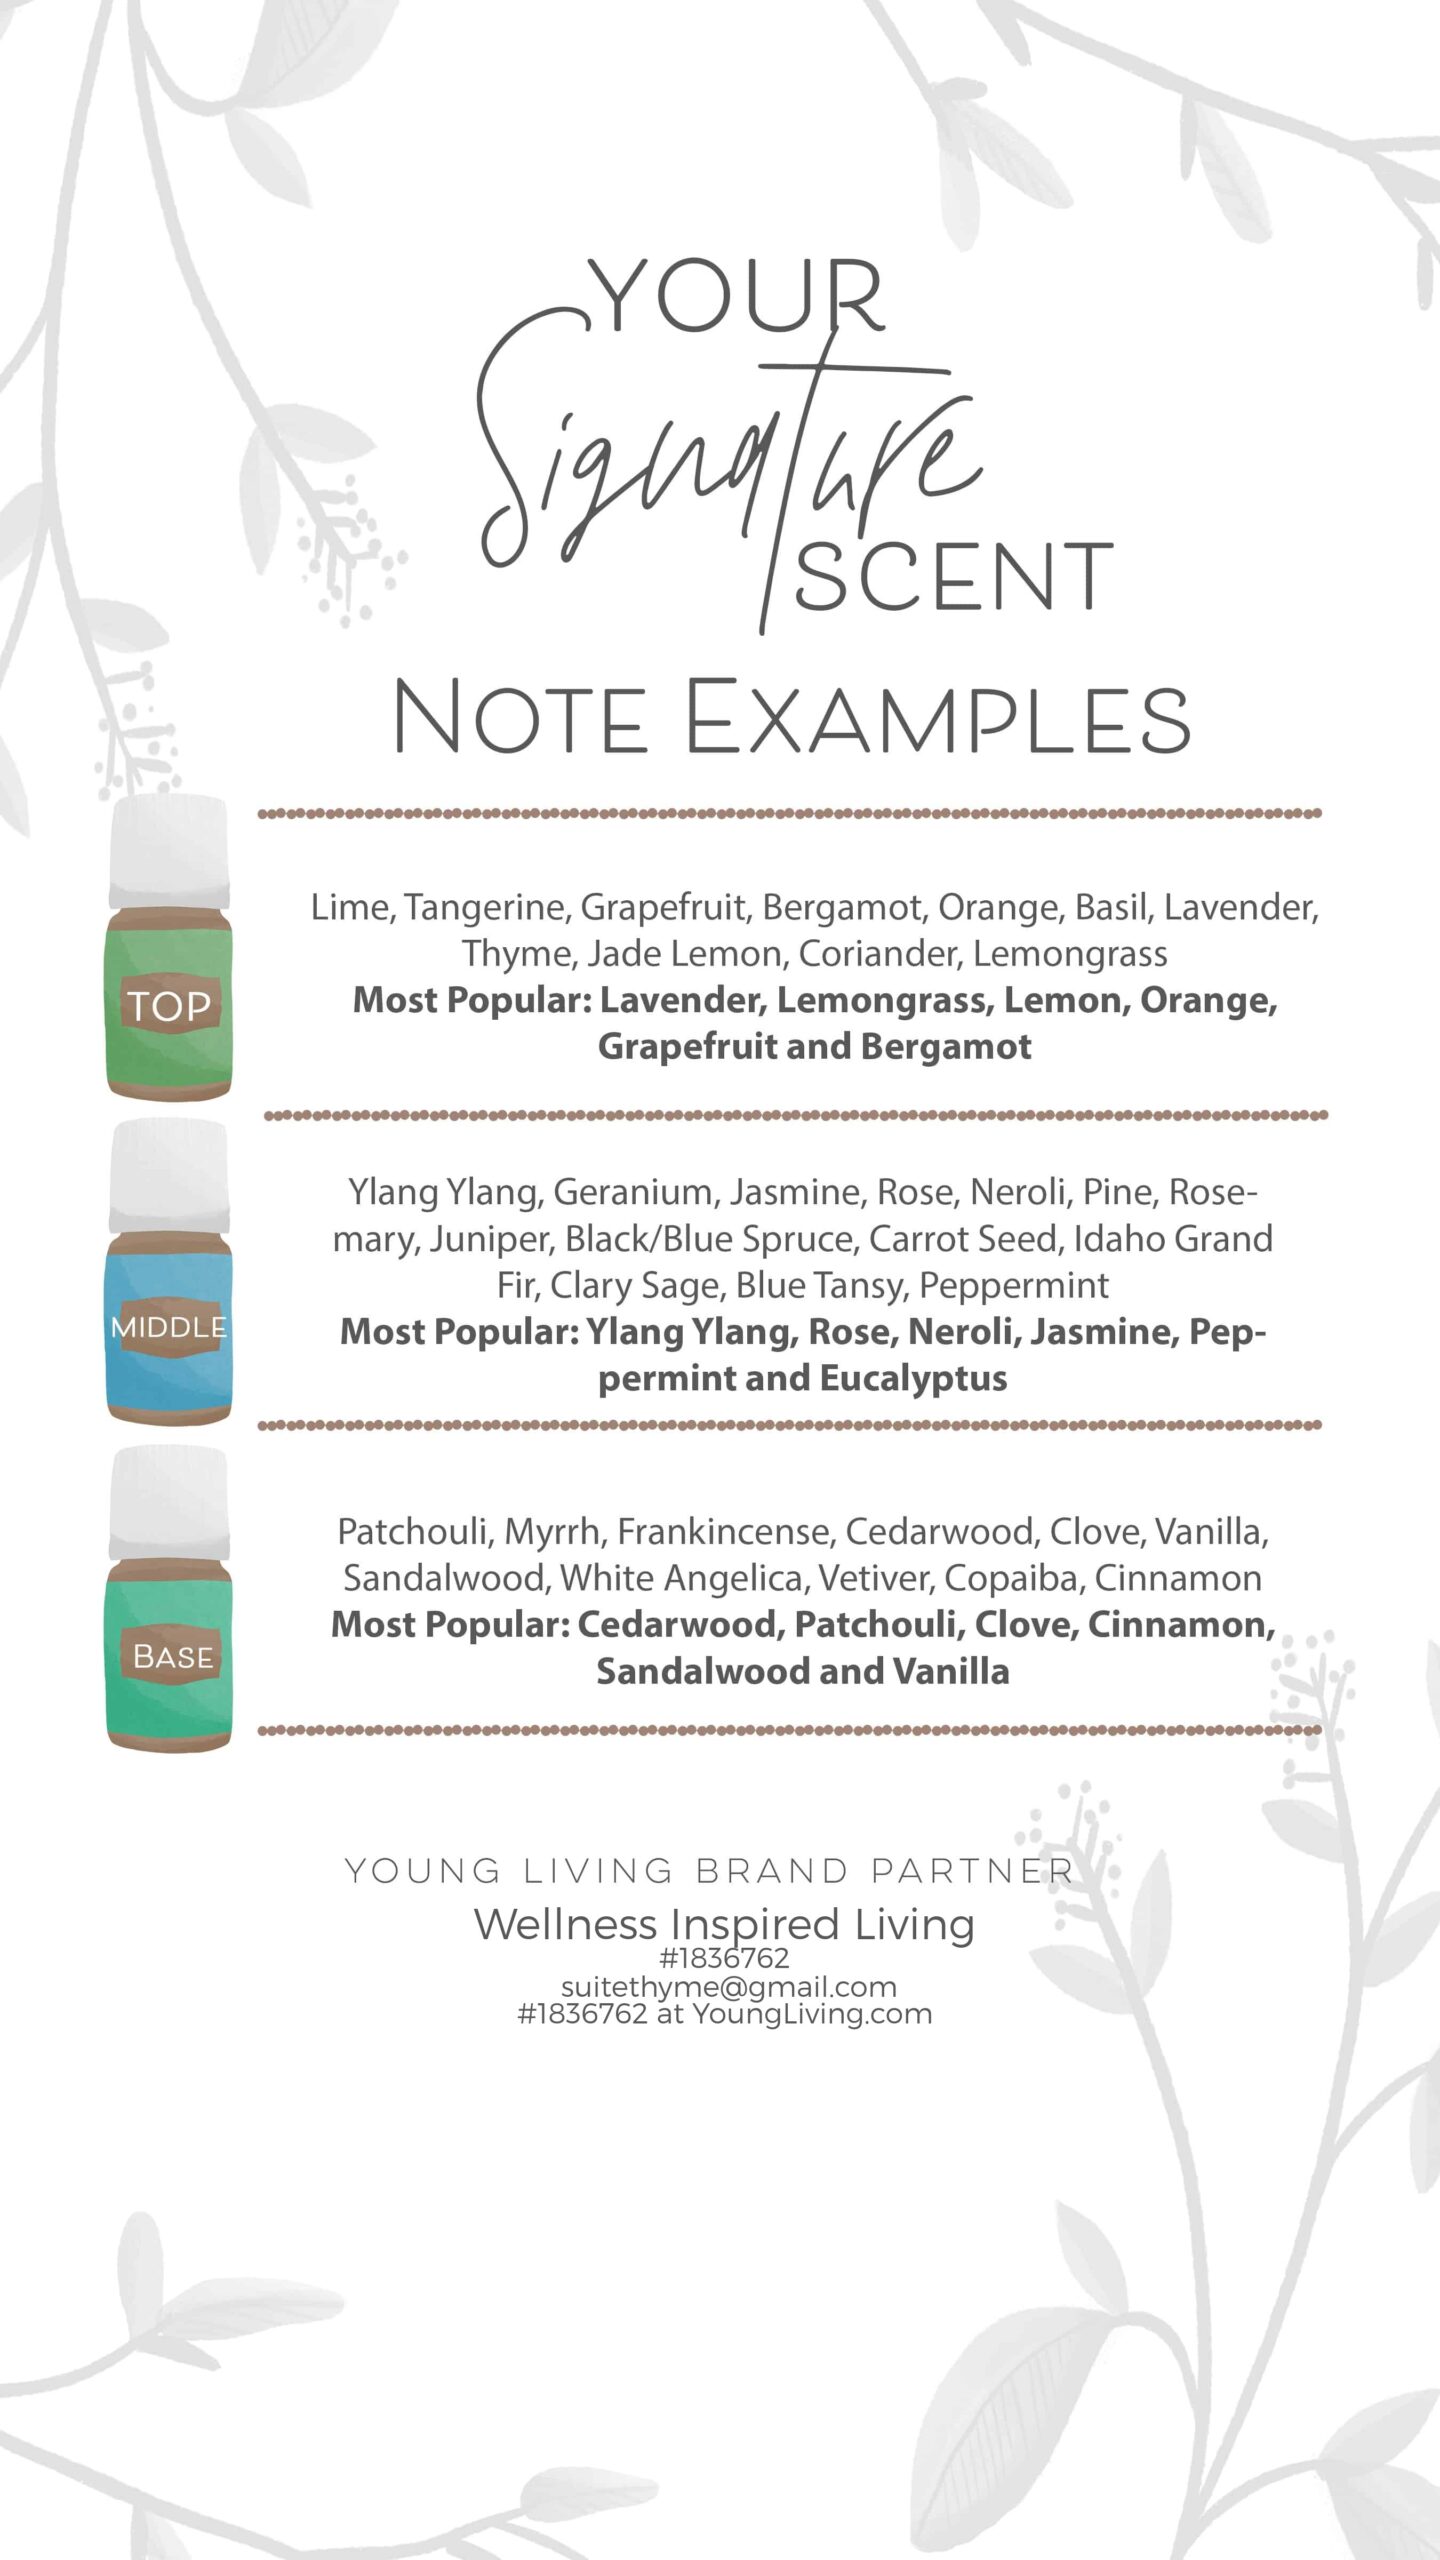
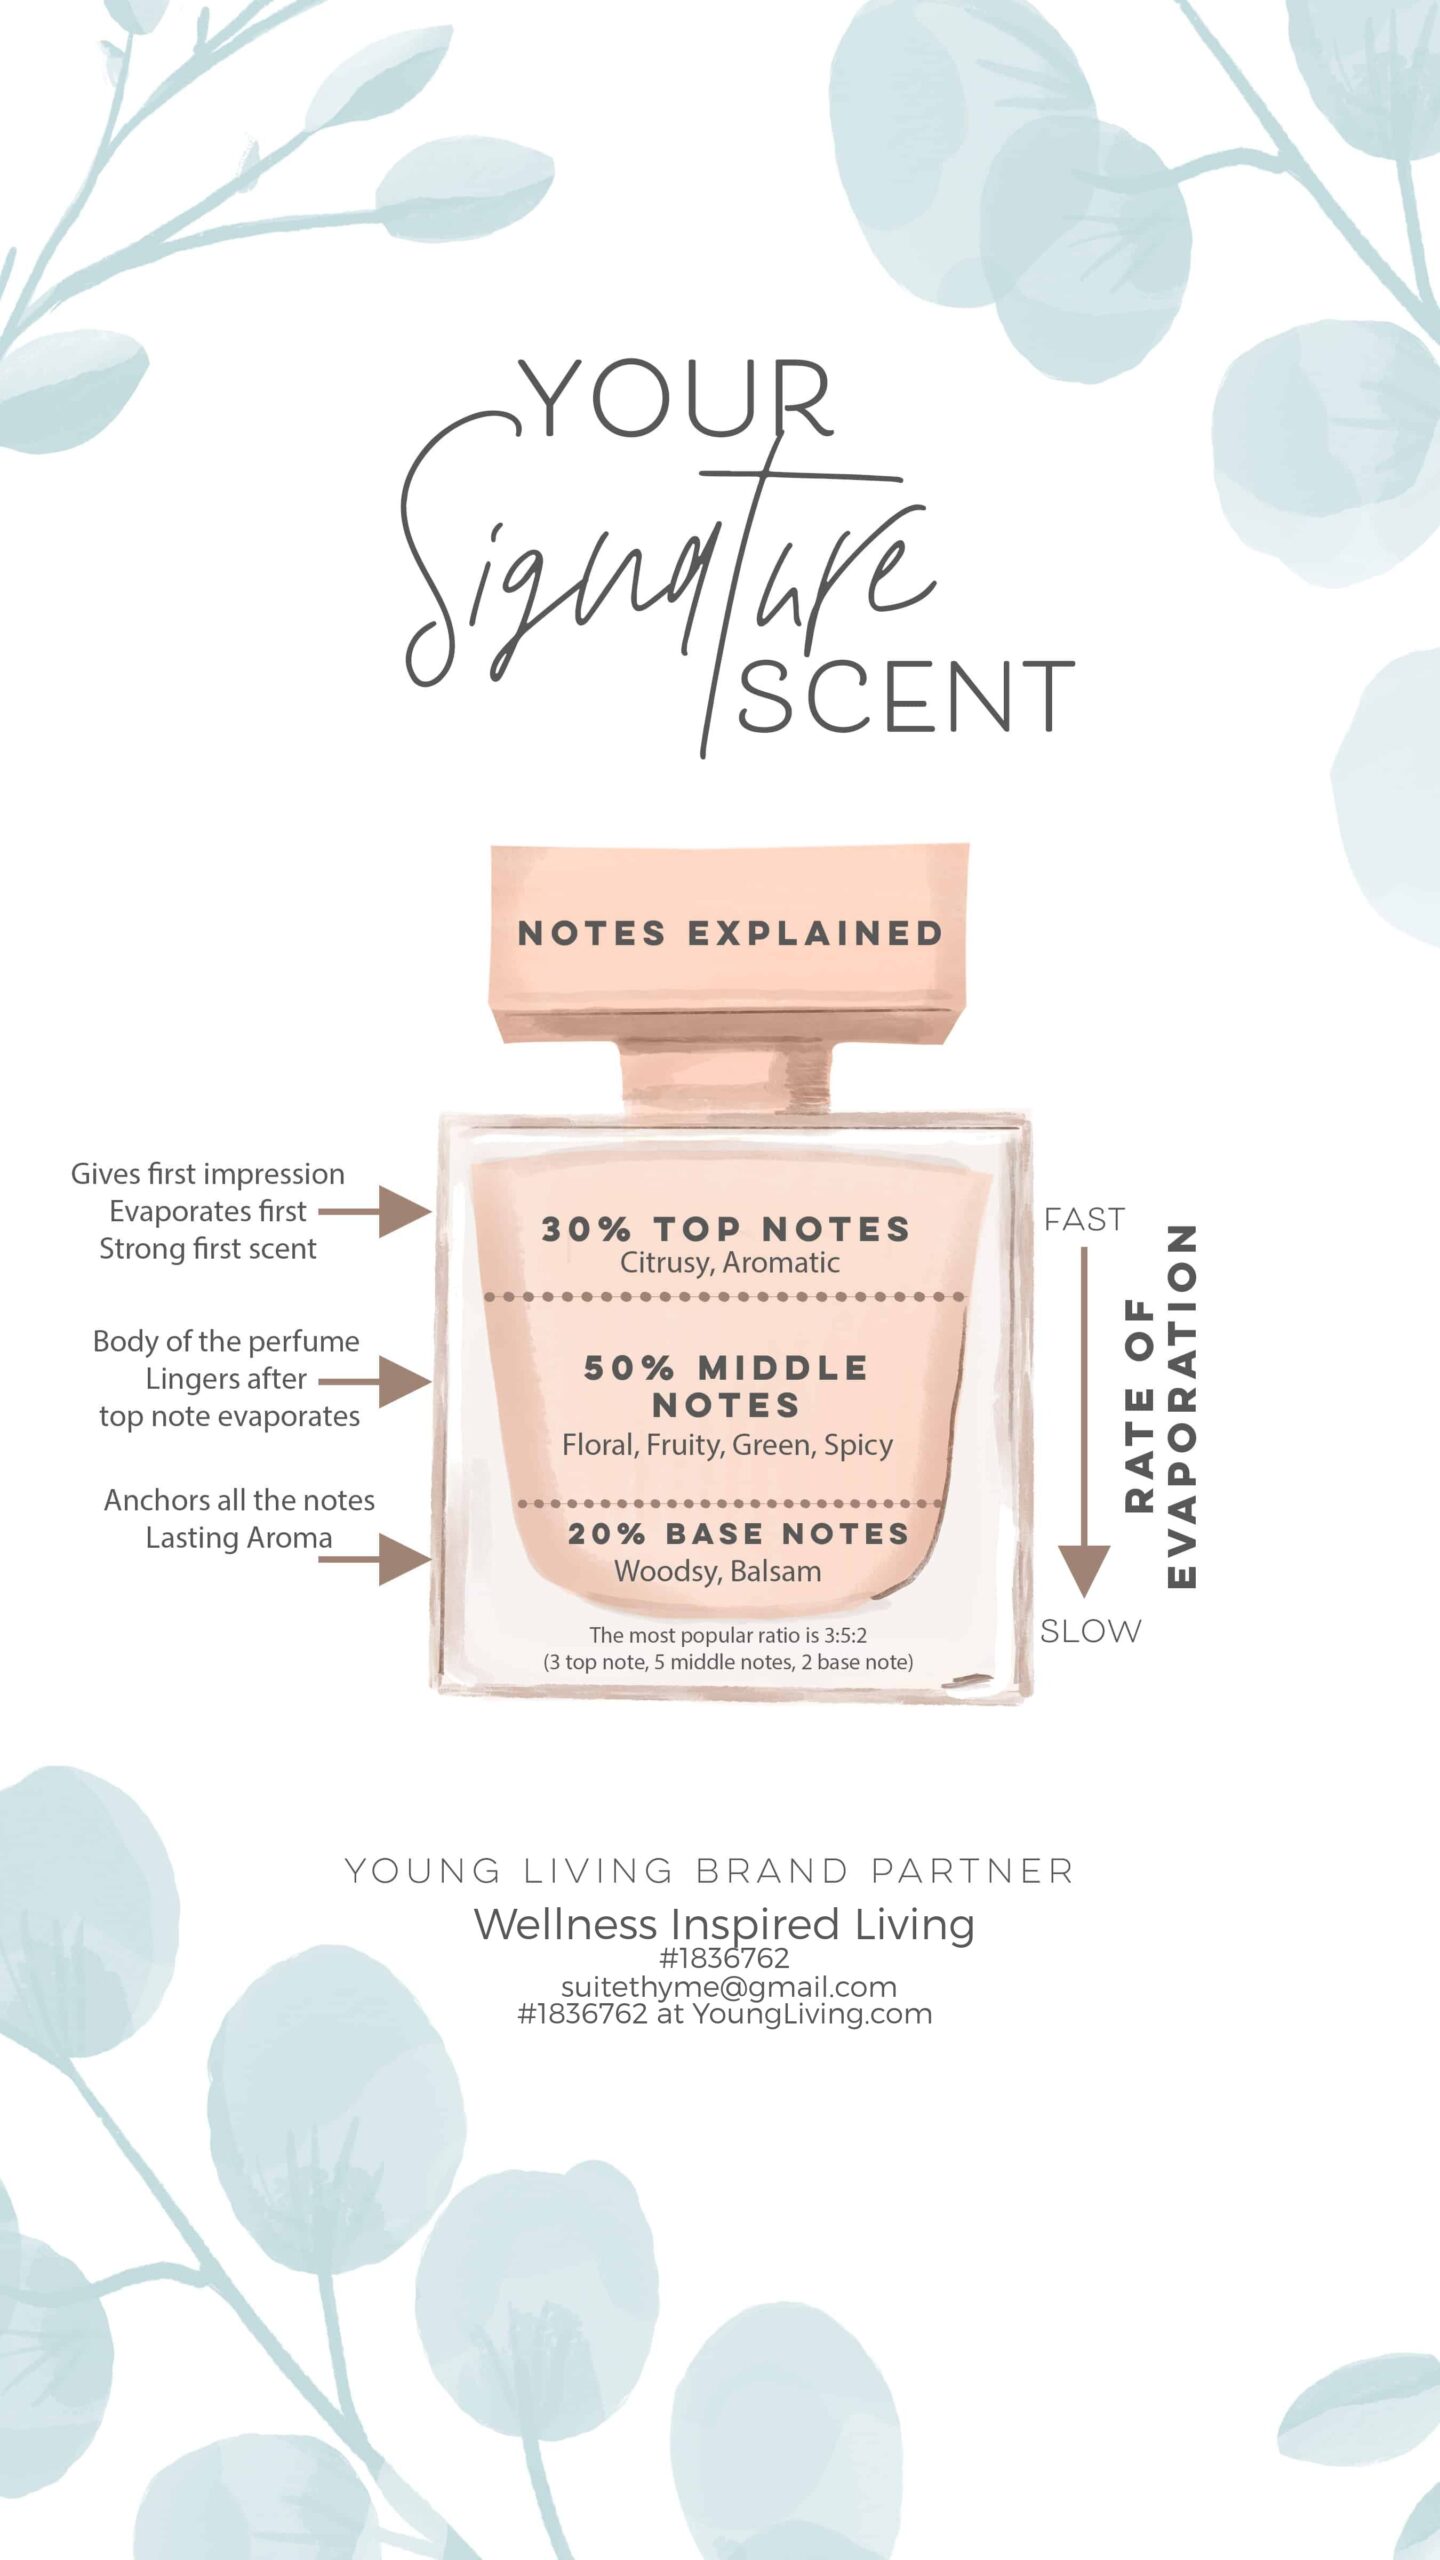
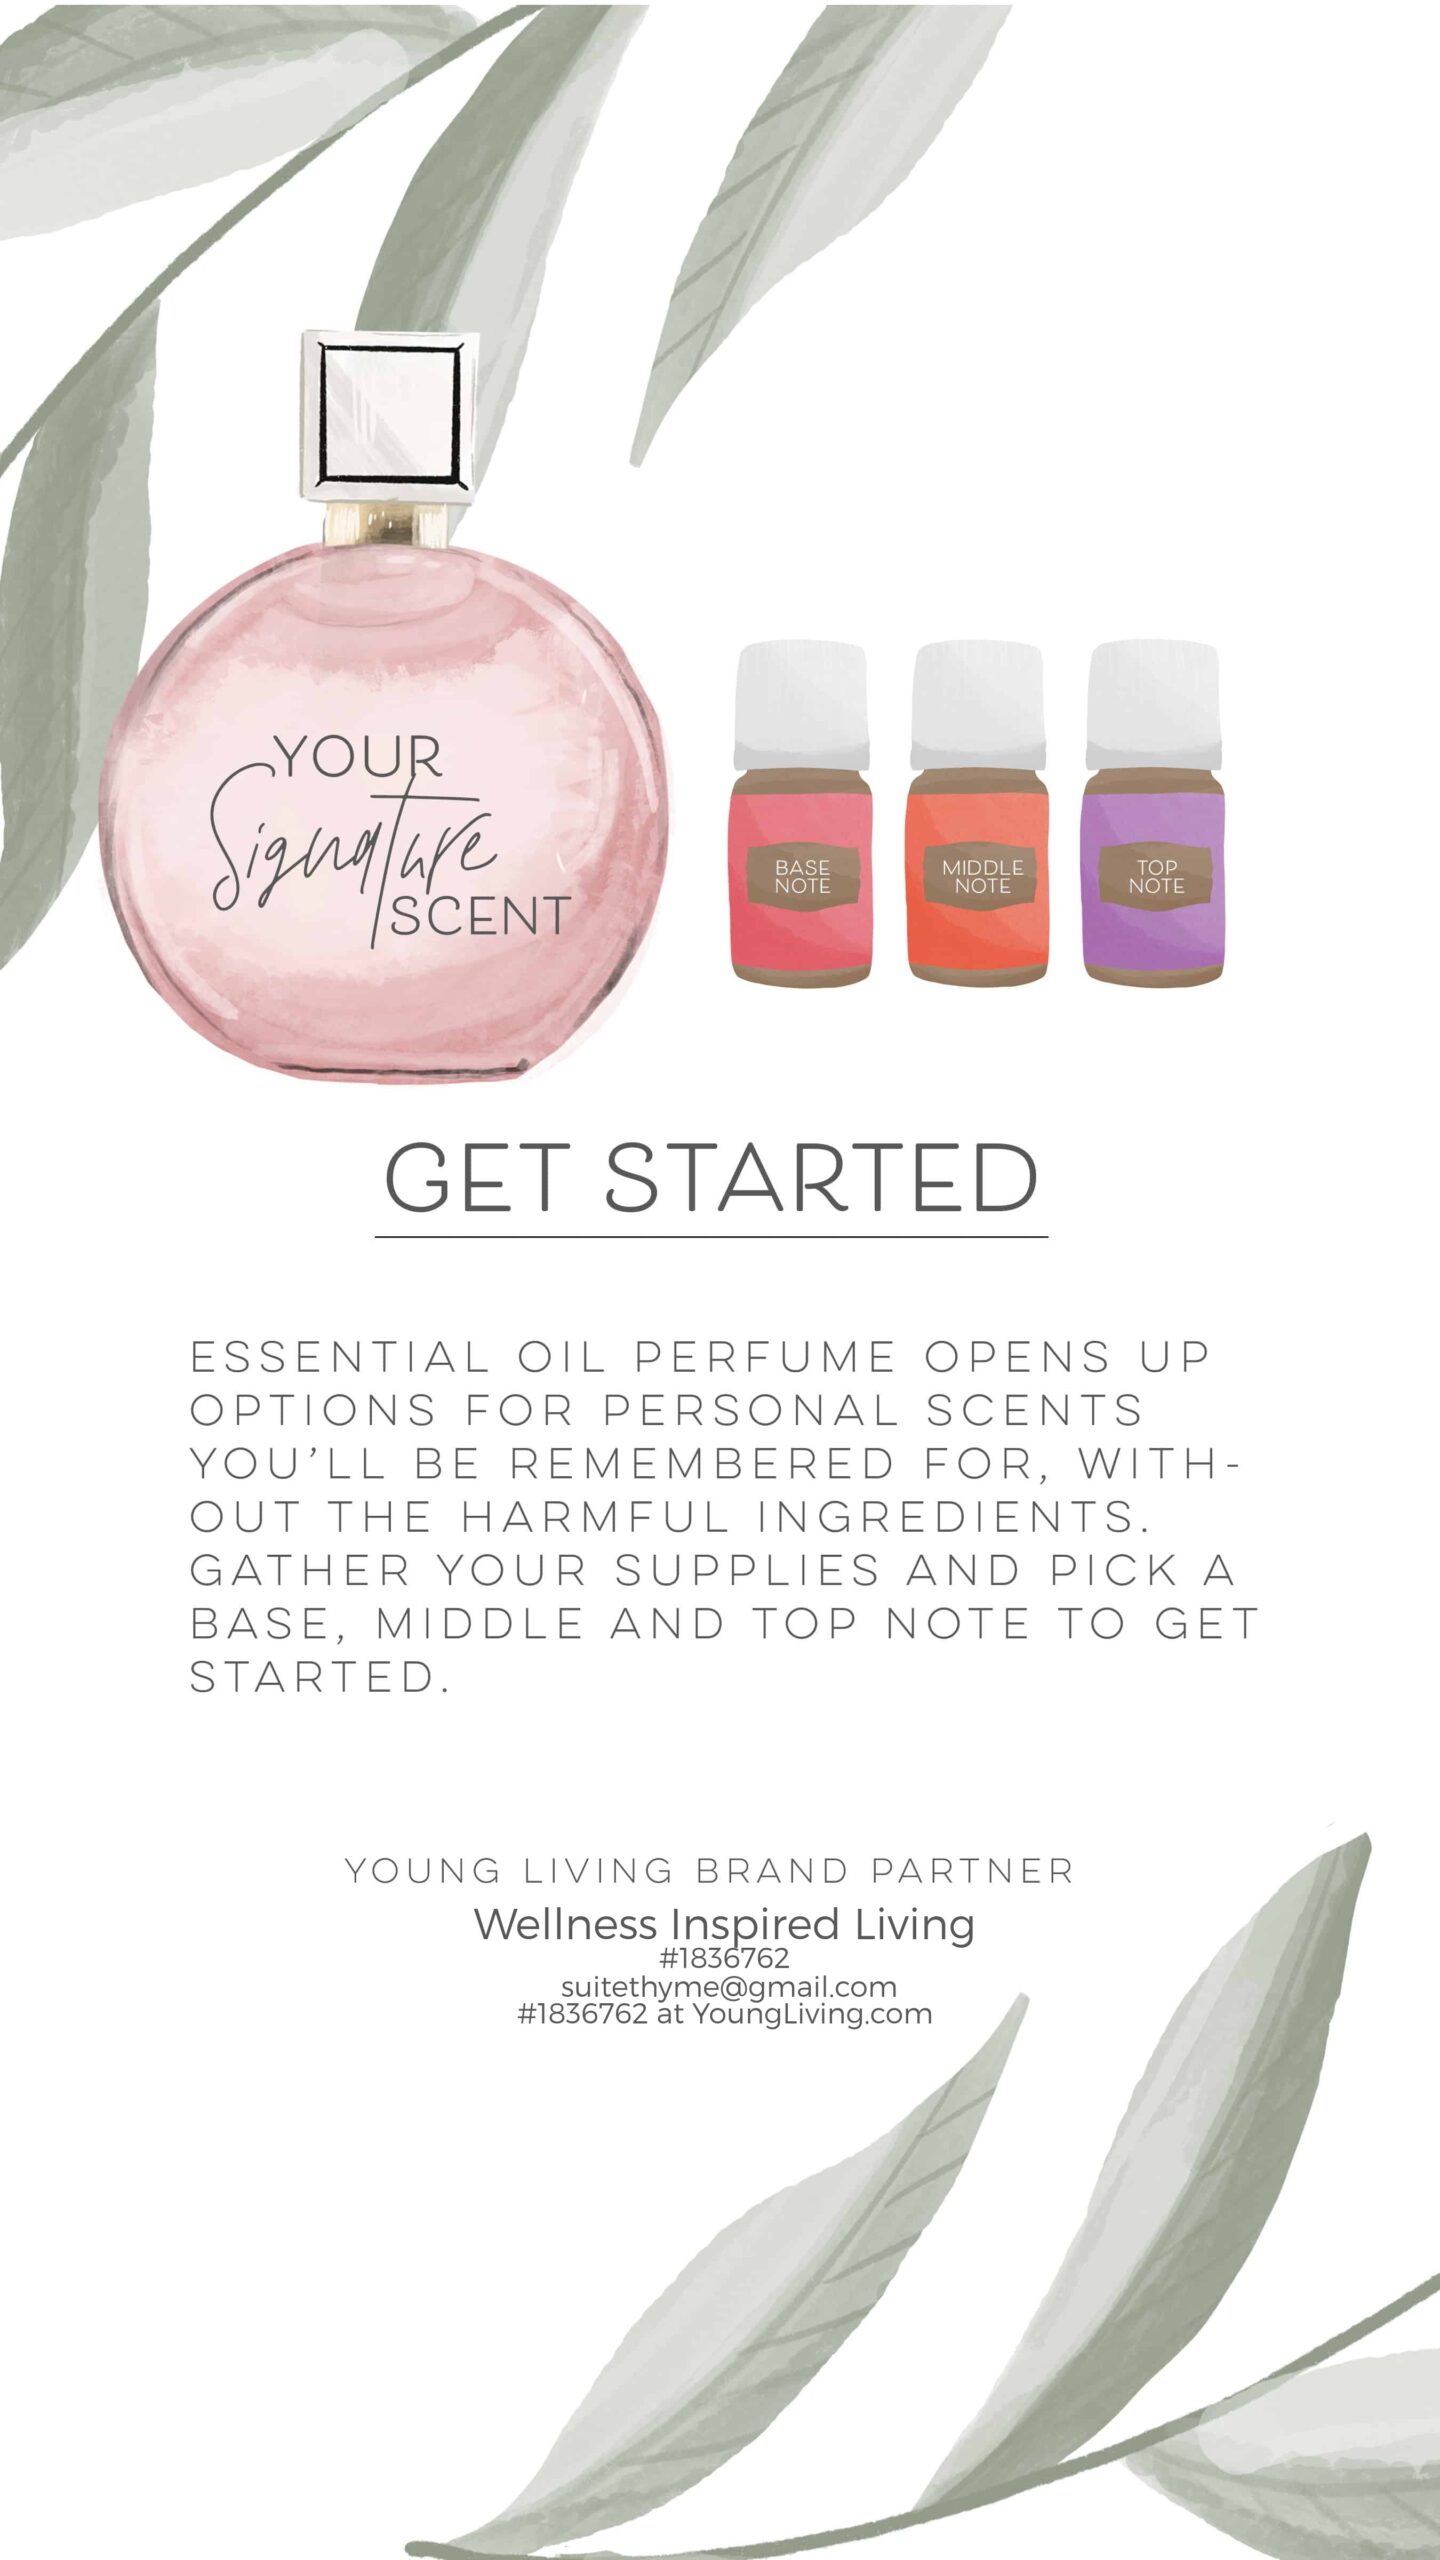
Scent Notes Explained:
DIY scent notes explained: Ideally you’ll want 20% base notes (woodsy/balsam), 50% middle notes (floral, fruity, green, spicy) and 30% top notes (herbal, aromatic).
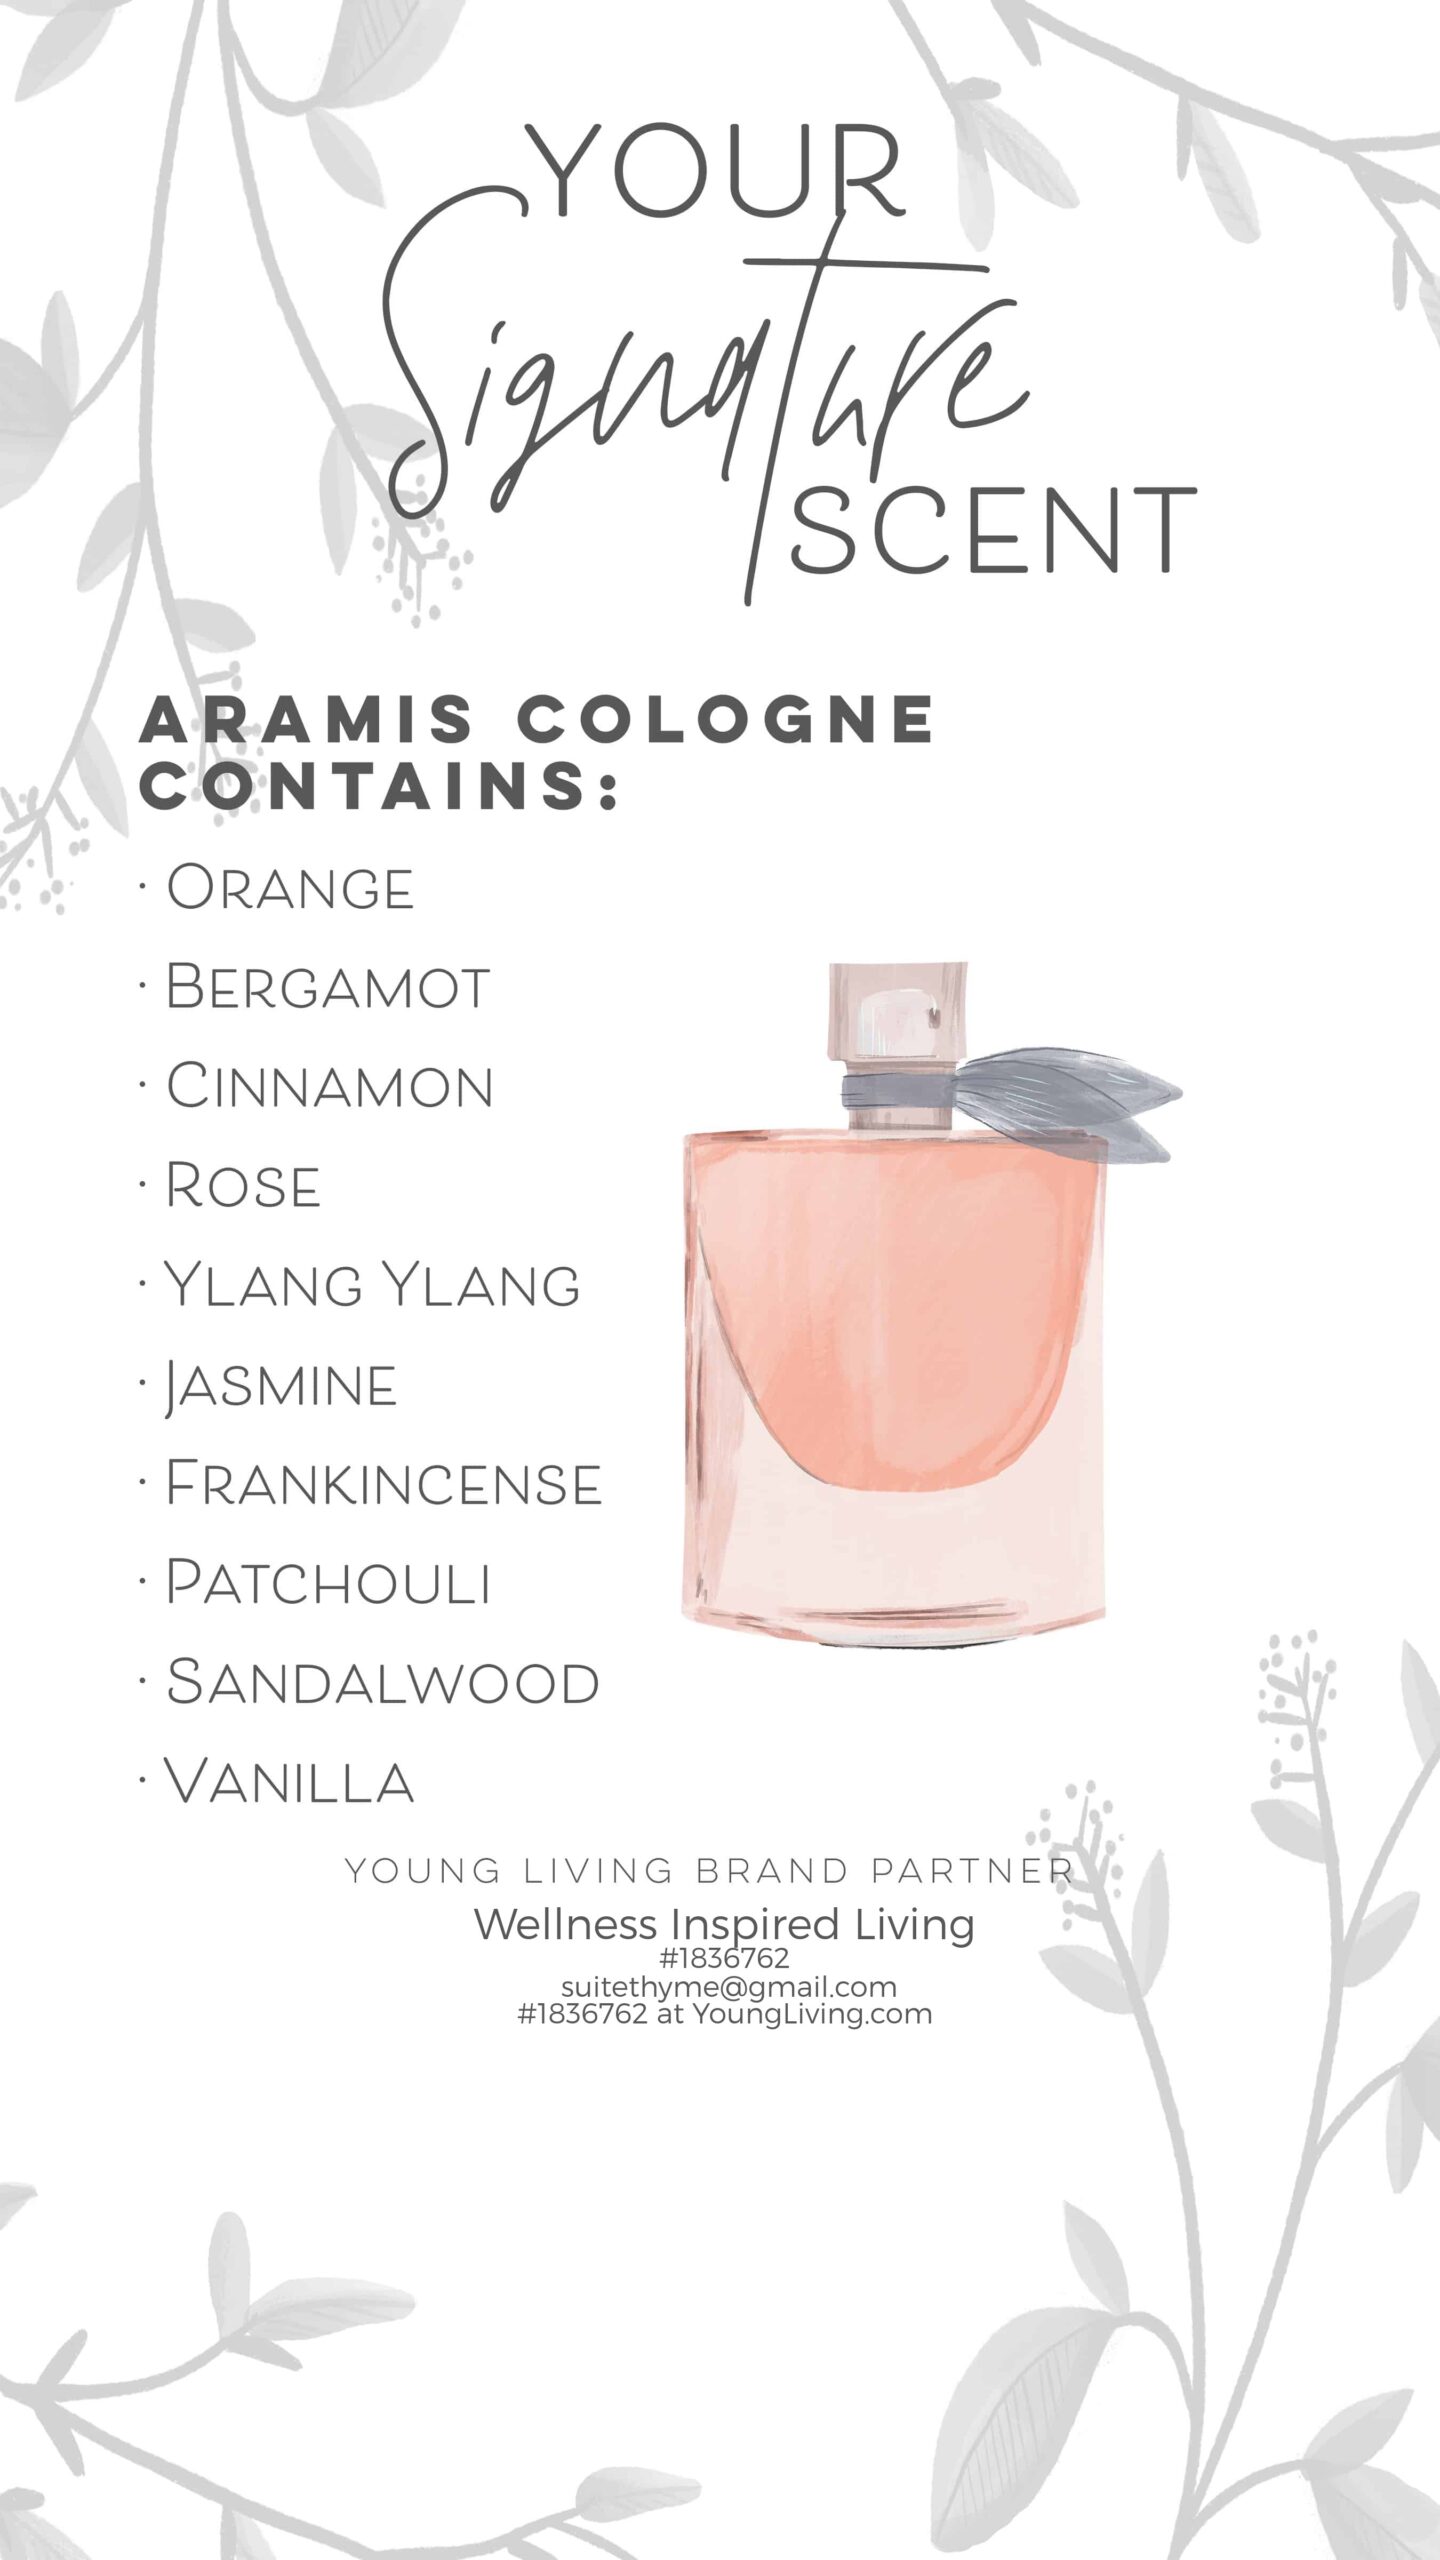
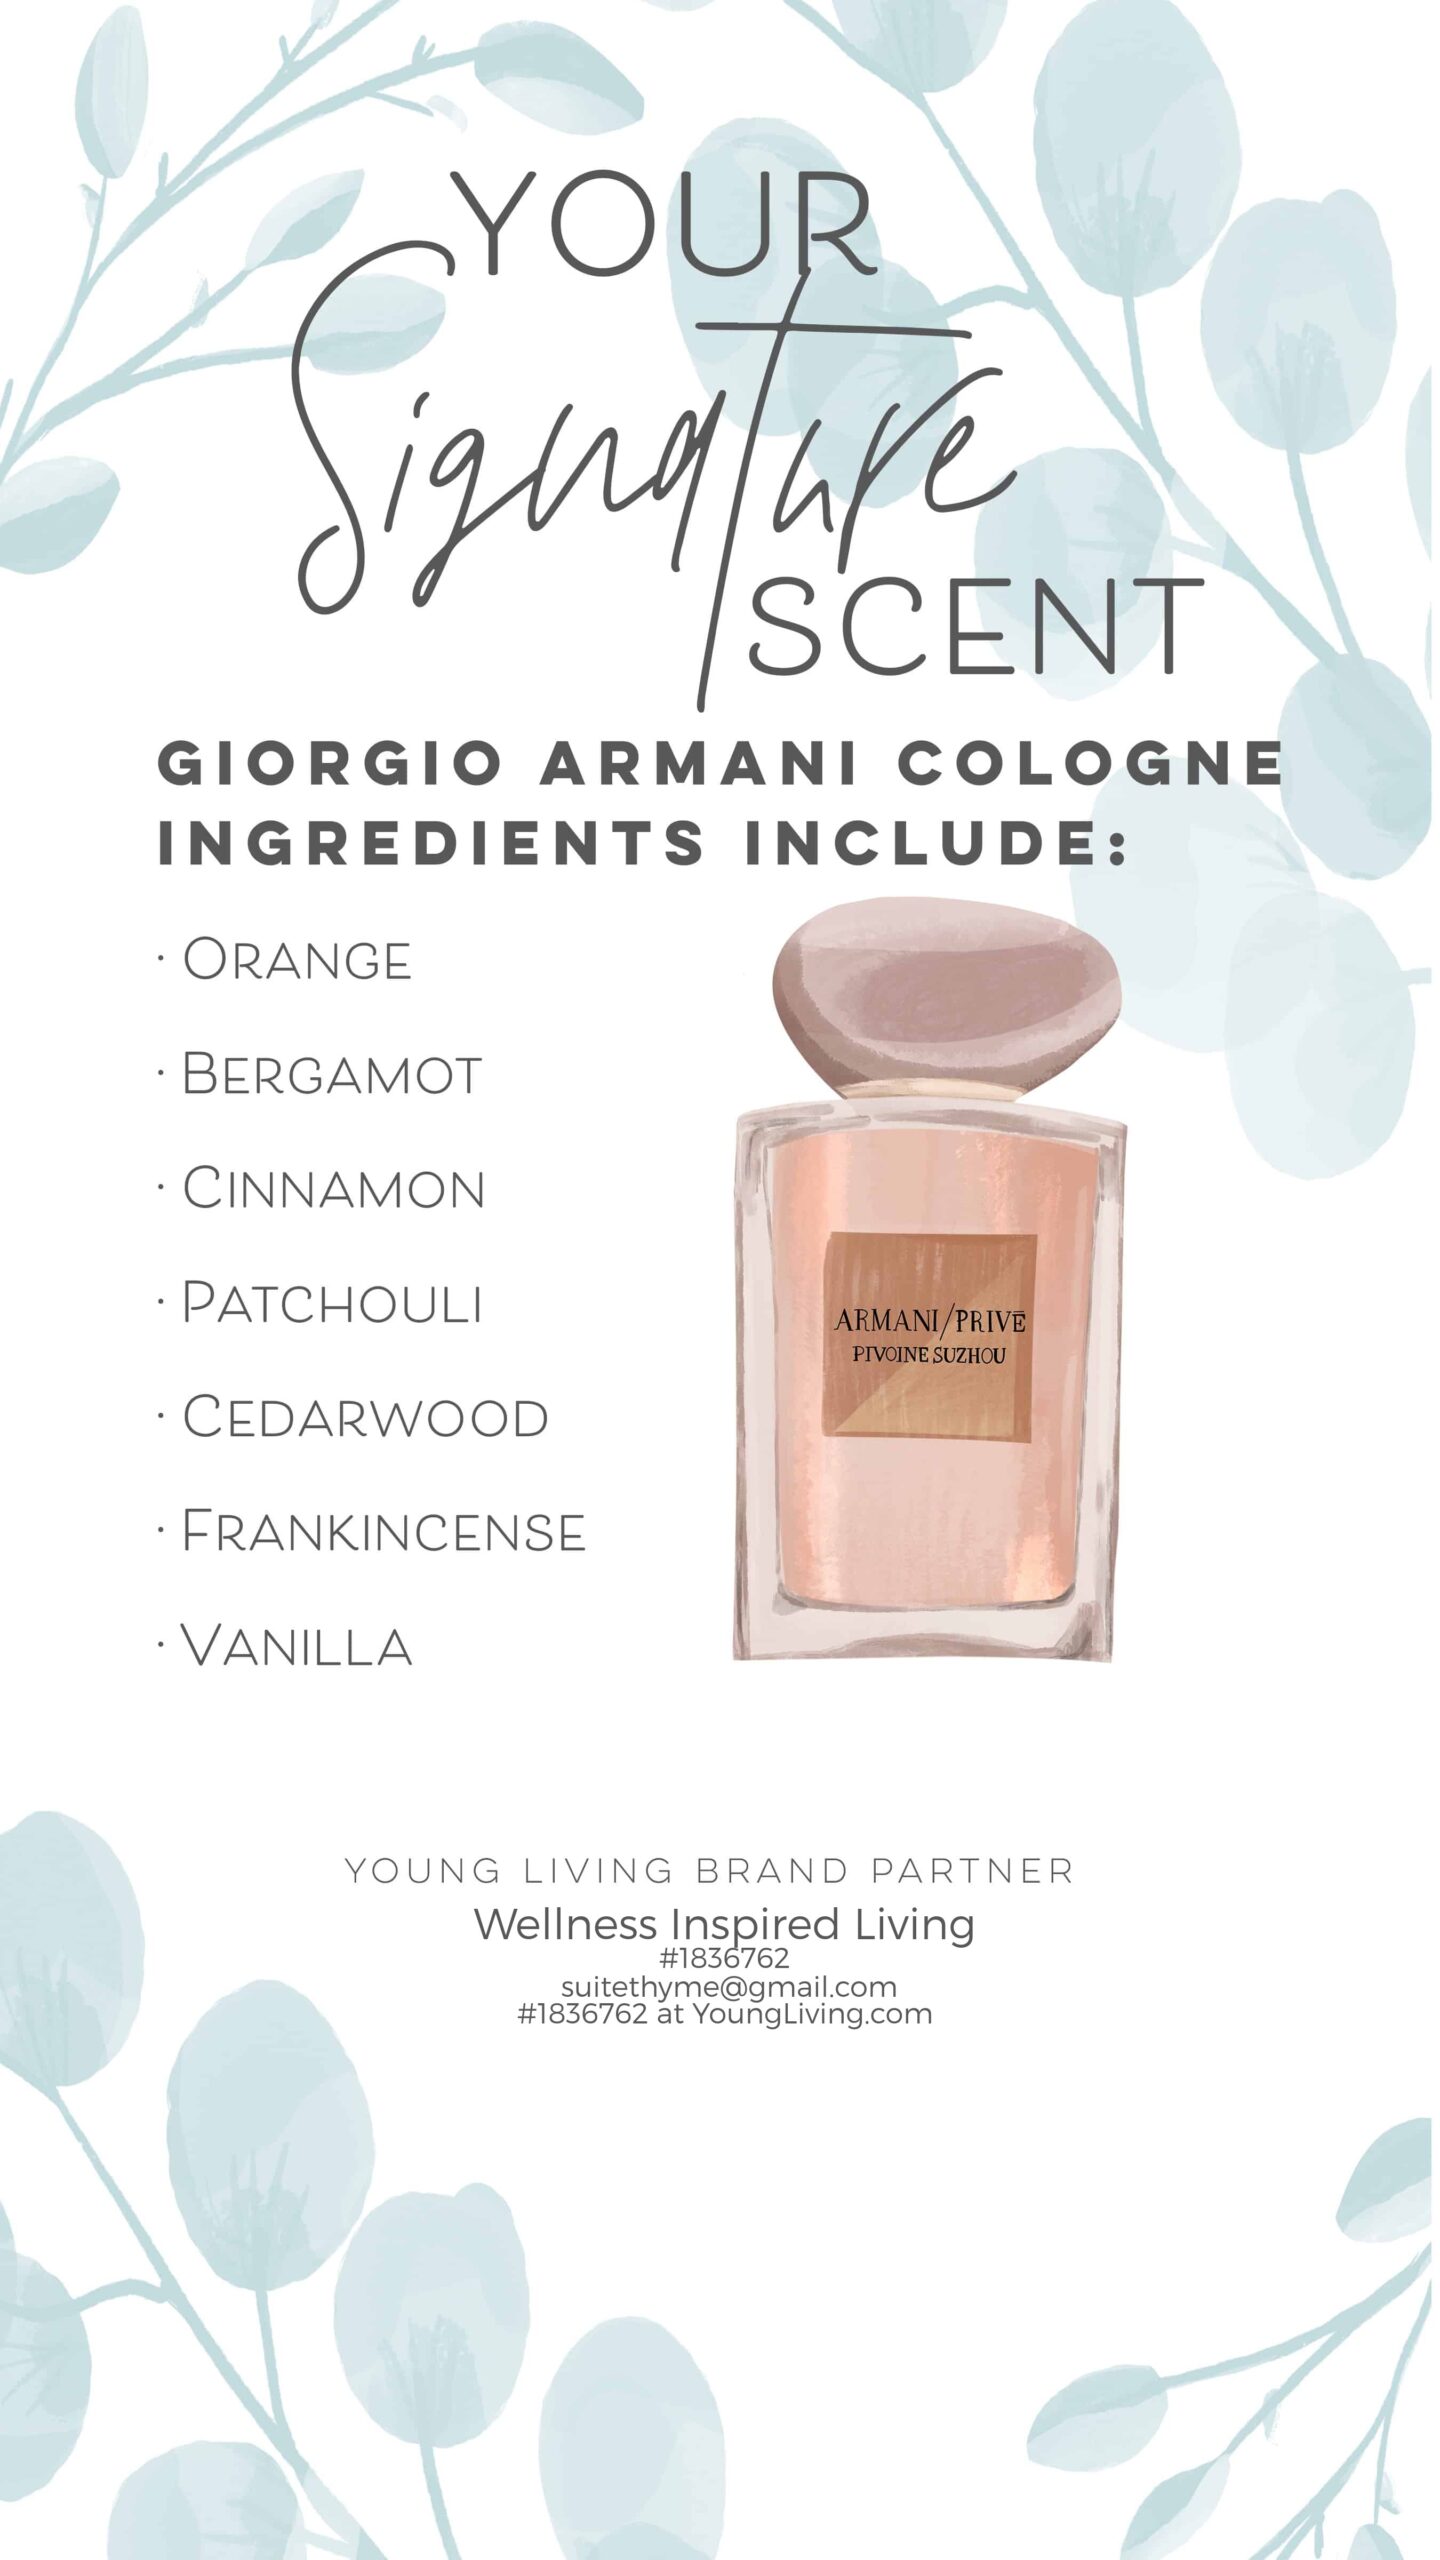
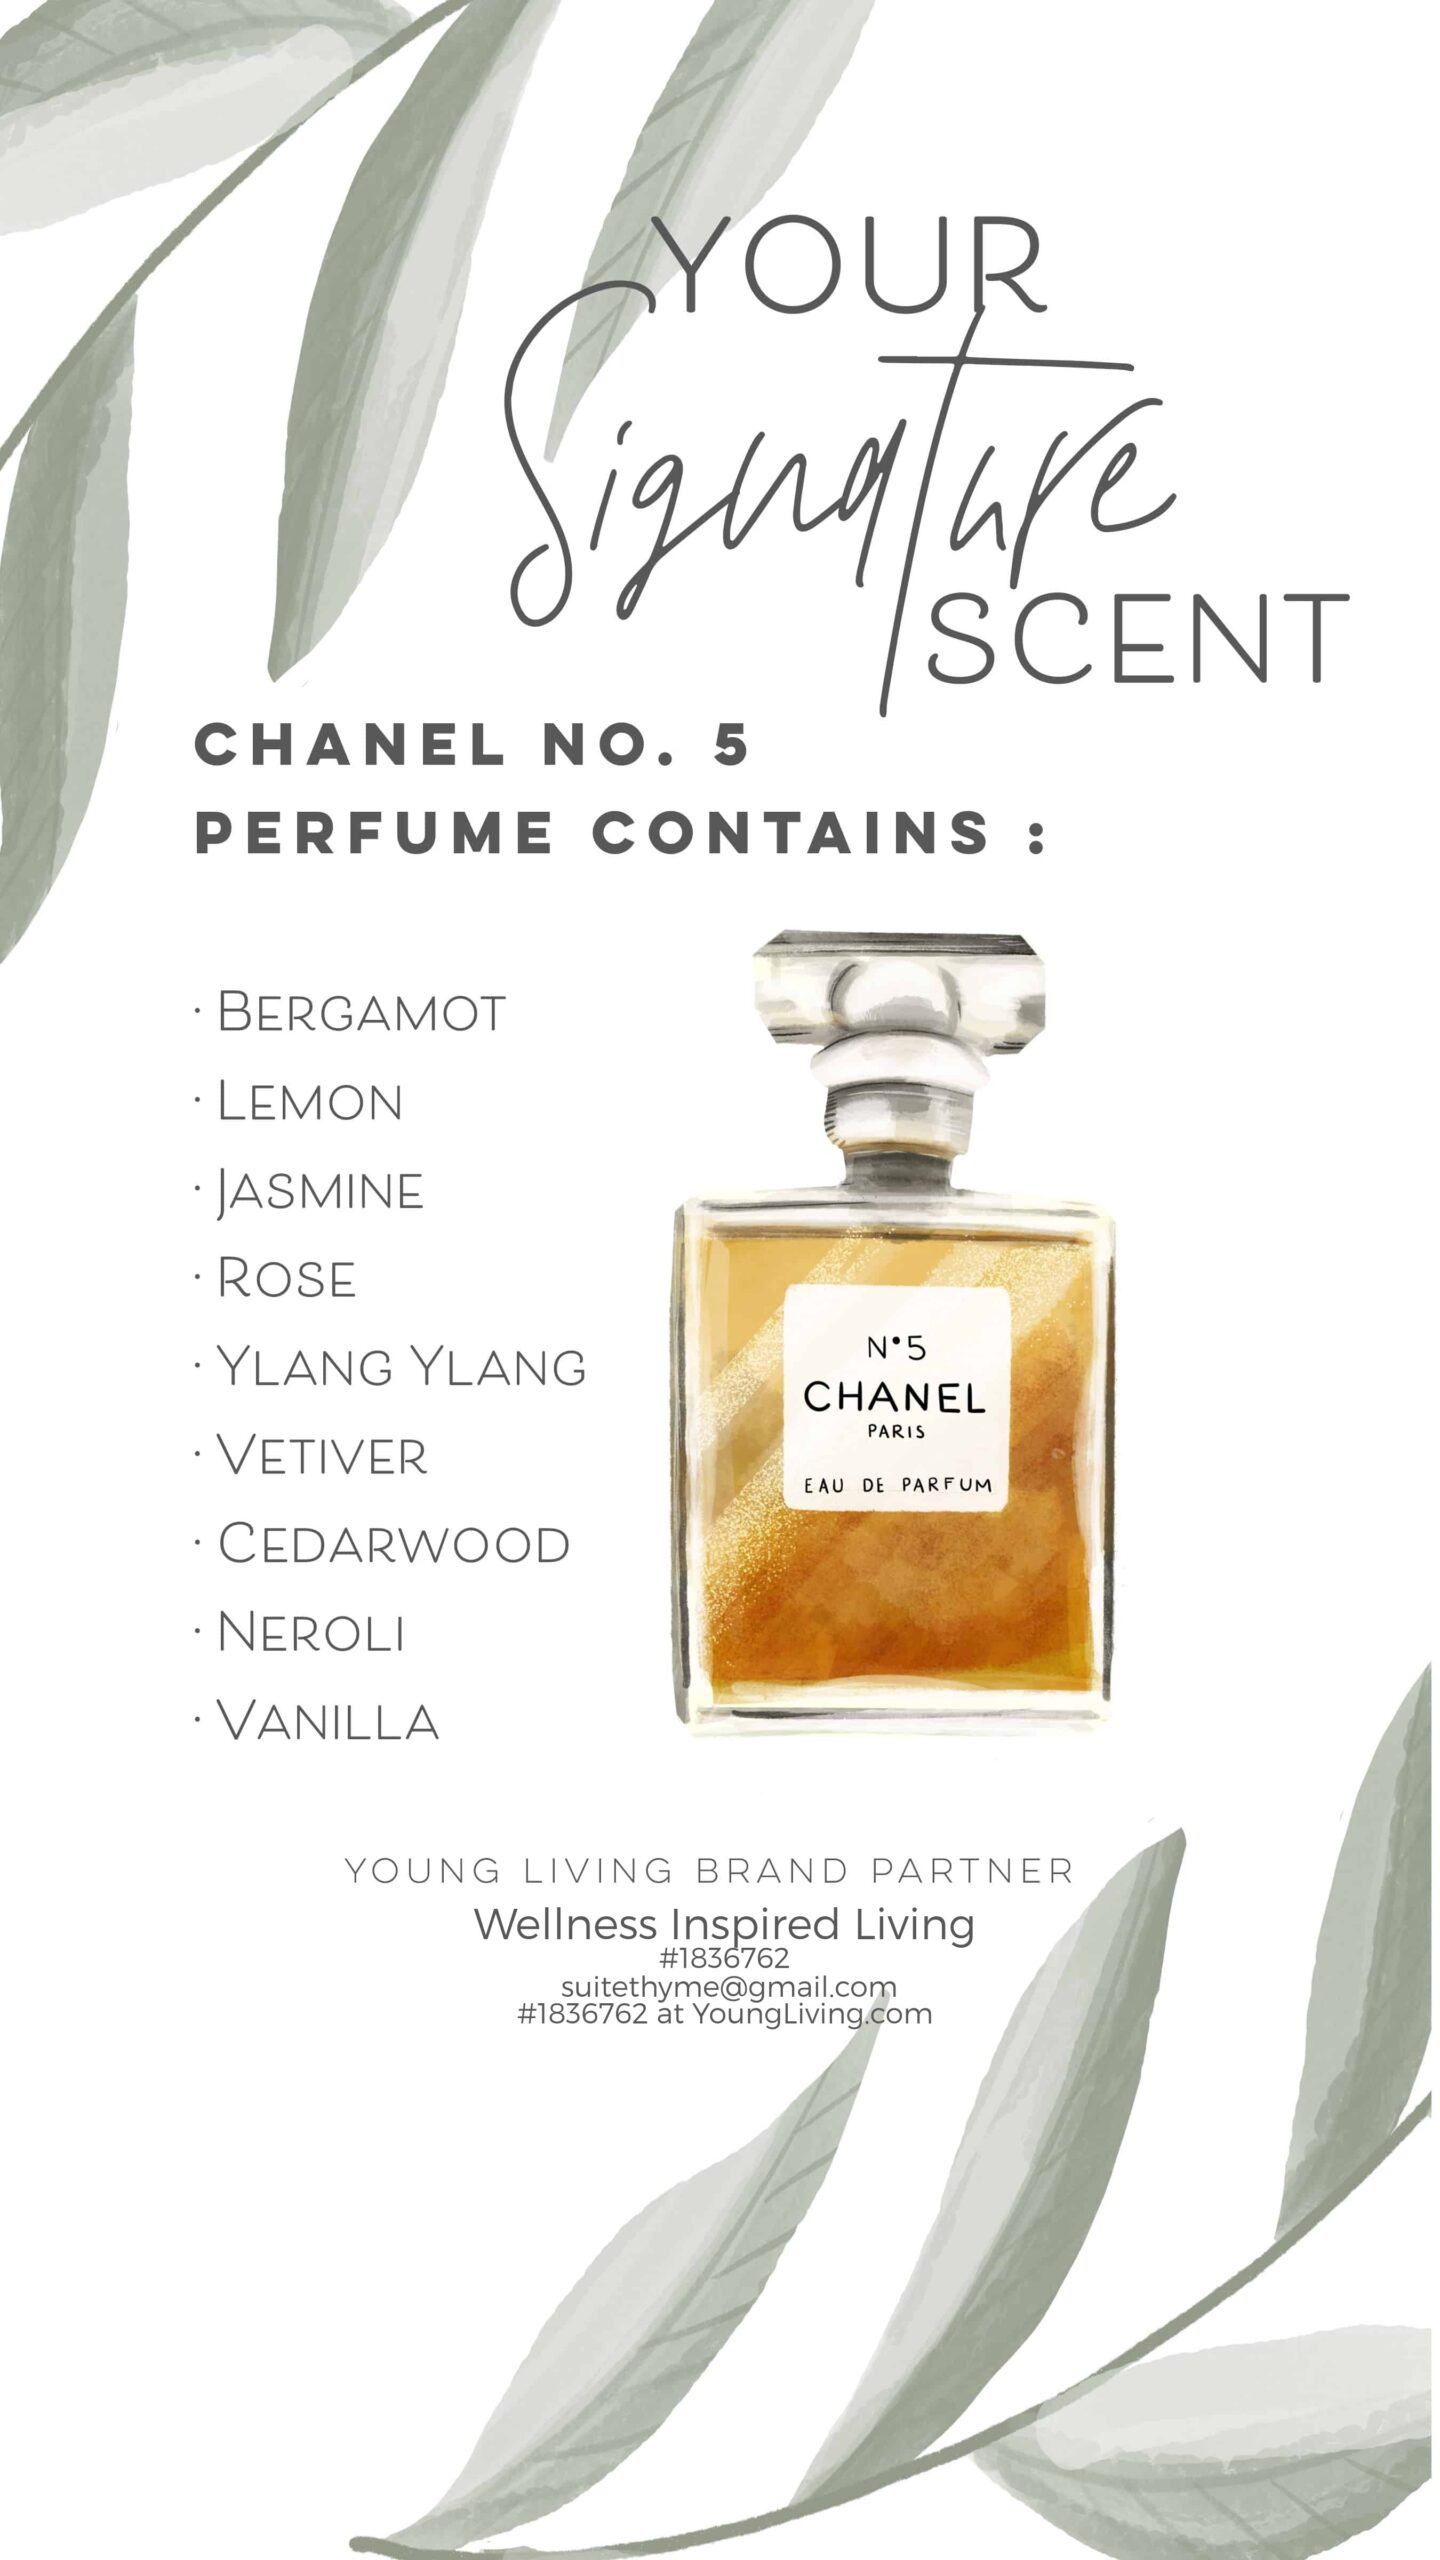
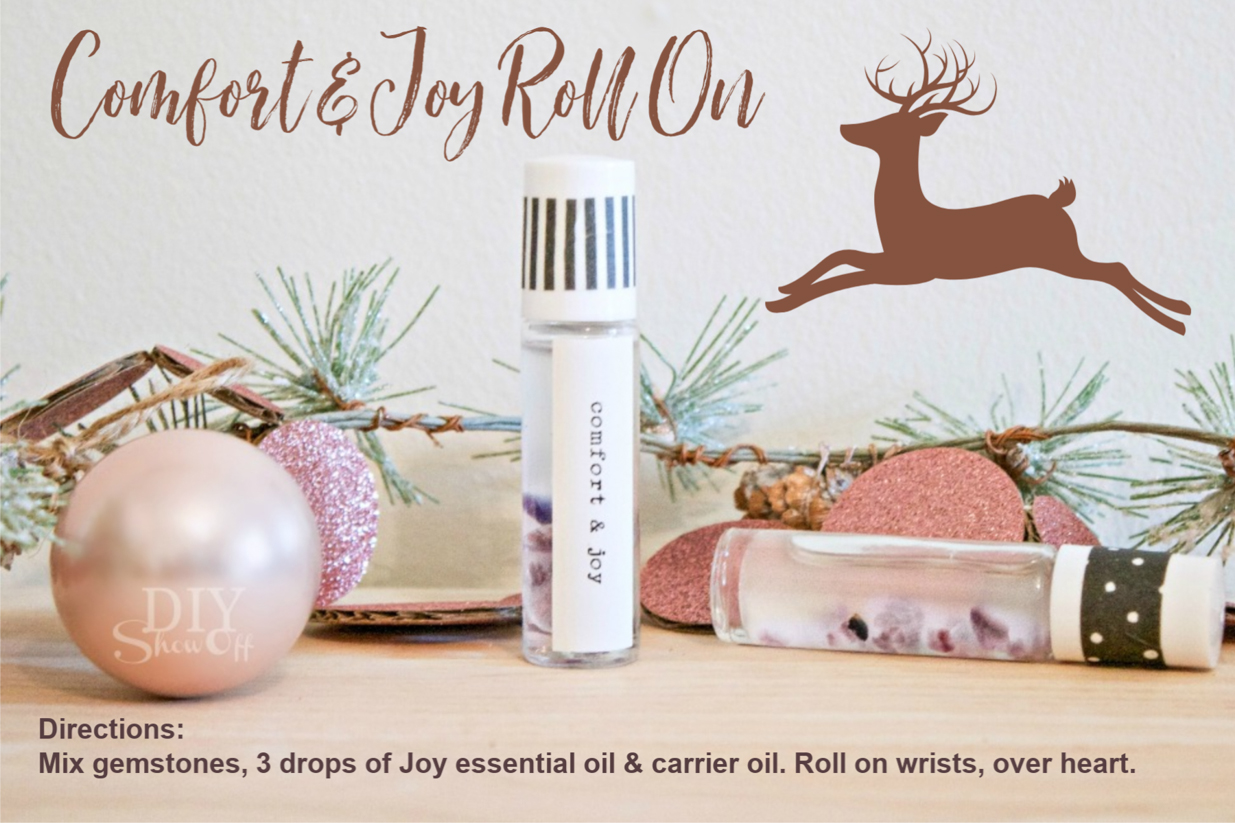
DIY Favorite Recipes:
Not sure where to start? Try these DIY perfume/signature scents:
Get Started:
If you’re not a Young Living member yet, I’m passionate about all things wellness and would love to connect. By using this referral link (50 PV minimum required for 10% off) https://www.youngliving.com/us/en/referral/1836762. Reach out on DIYShowOff Facebook messenger or email with any questions. Our family has been using these amazing products for nearly 10 years, use them every single day and we highly recommend them to everyone!
Bottle Ideas: (referral links)
- Vintage Purple Glass Lotus Bottle (perfect for a beautiful gift)
- Gemstone Essential Oil Roller Bottles (stocking stuffers!)
More DIY perfume:
Follow on Facebook and Instagram!
DIYShowOff is back on Facebook! Follow along here:
DIYShowOff Pinterest too!