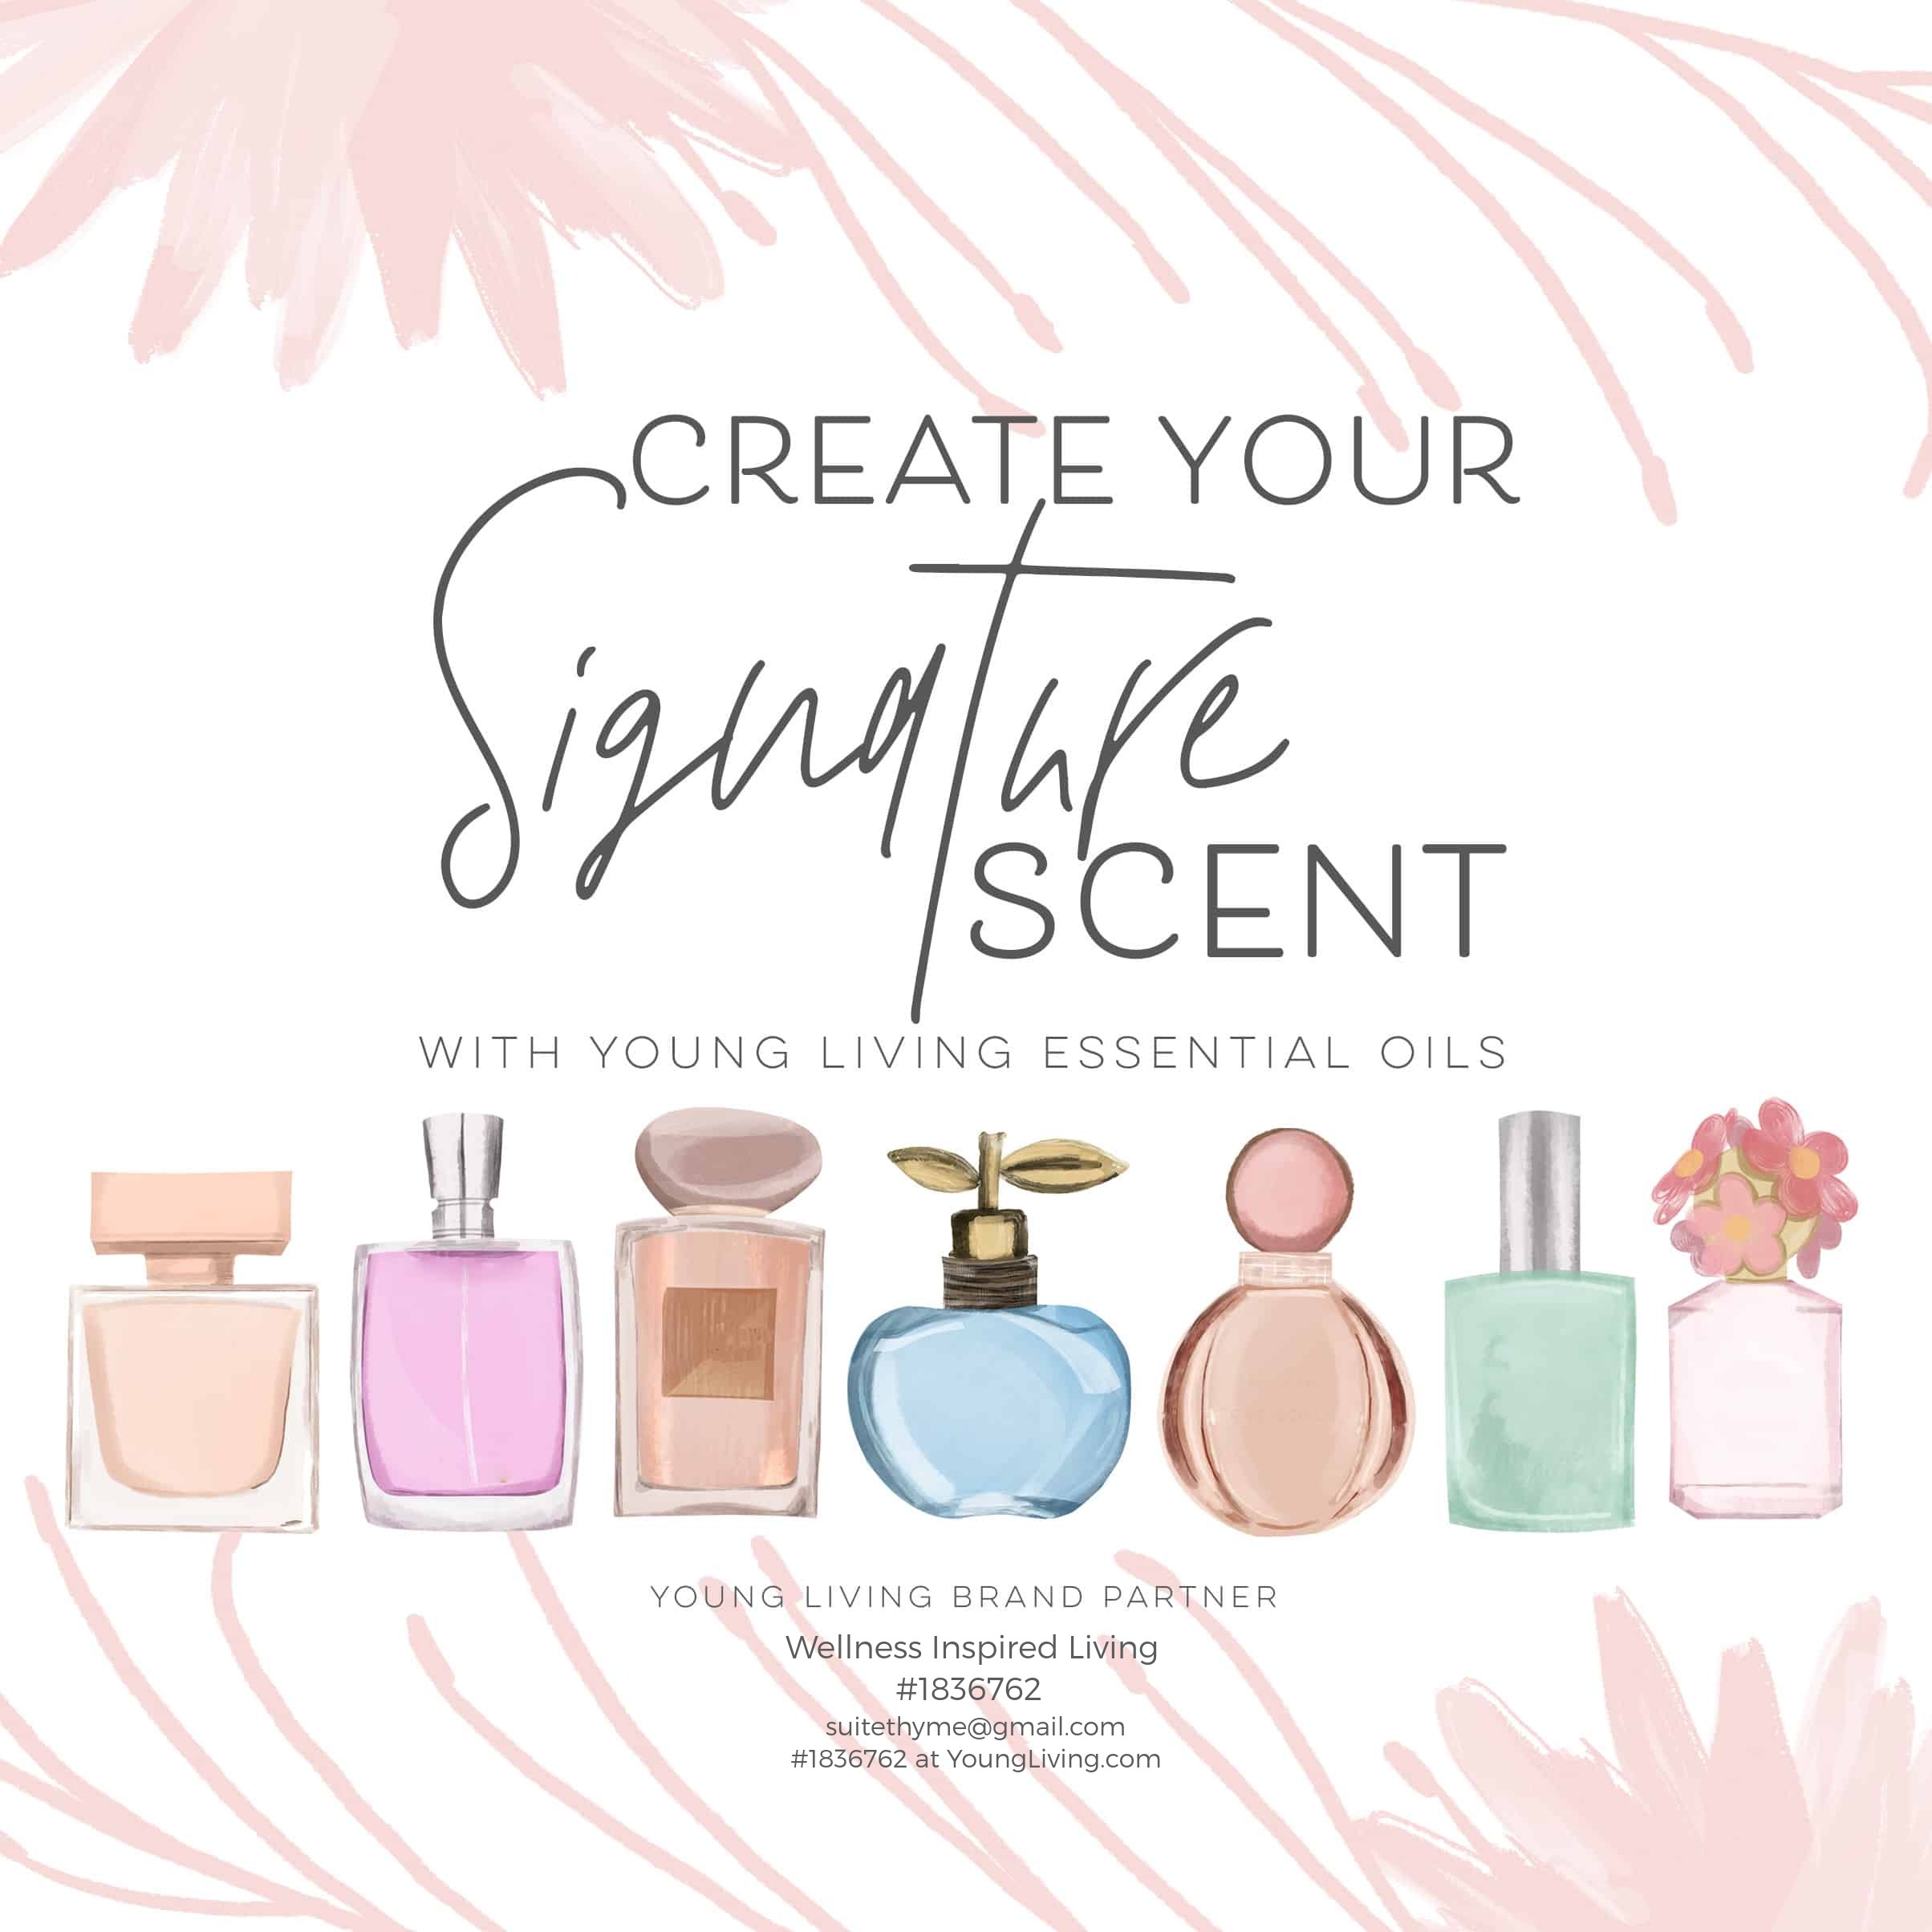
Create your own essential oil perfume using Young Living oils
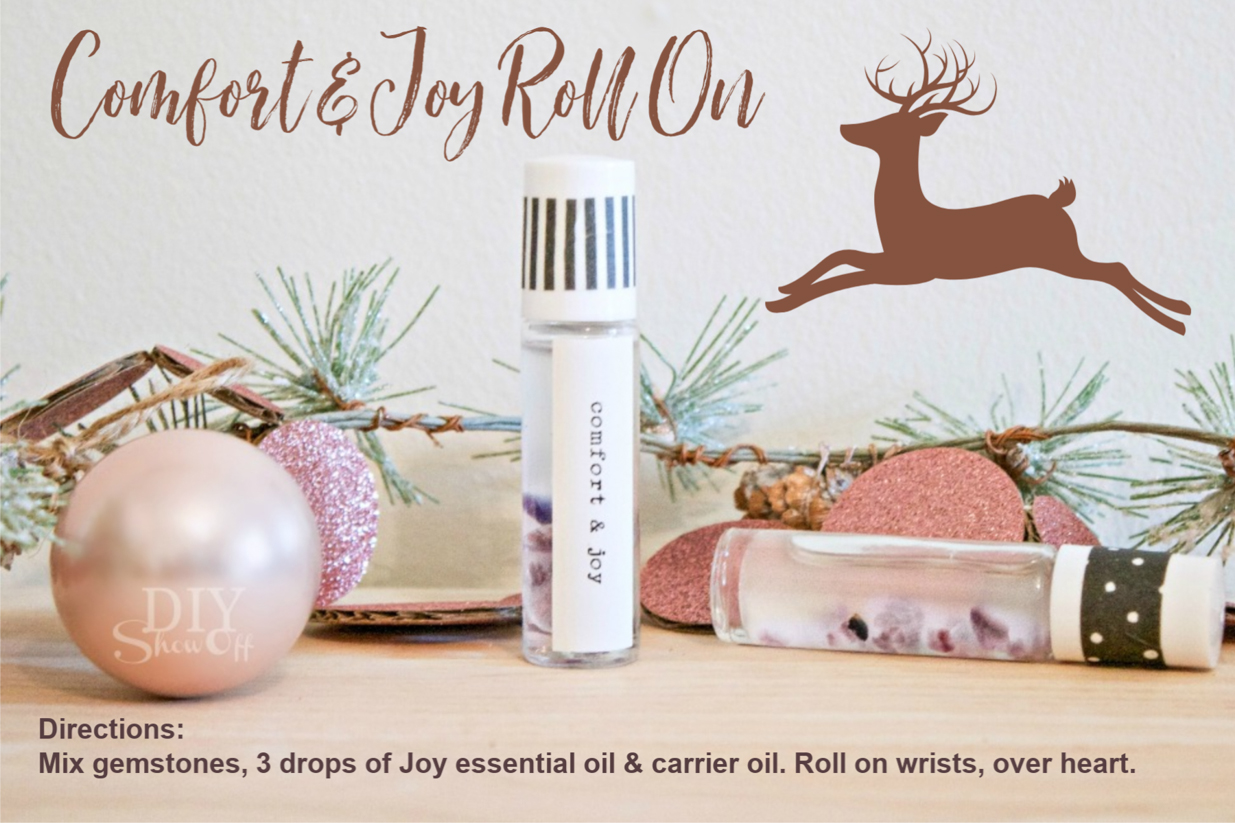
If you love thoughtful, handmade gifts, this DIY essential oil perfume recipe is a perfect fit! Bookmark this post and save these natural perfume ideas to create your own signature scent or craft a custom gift for someone special.
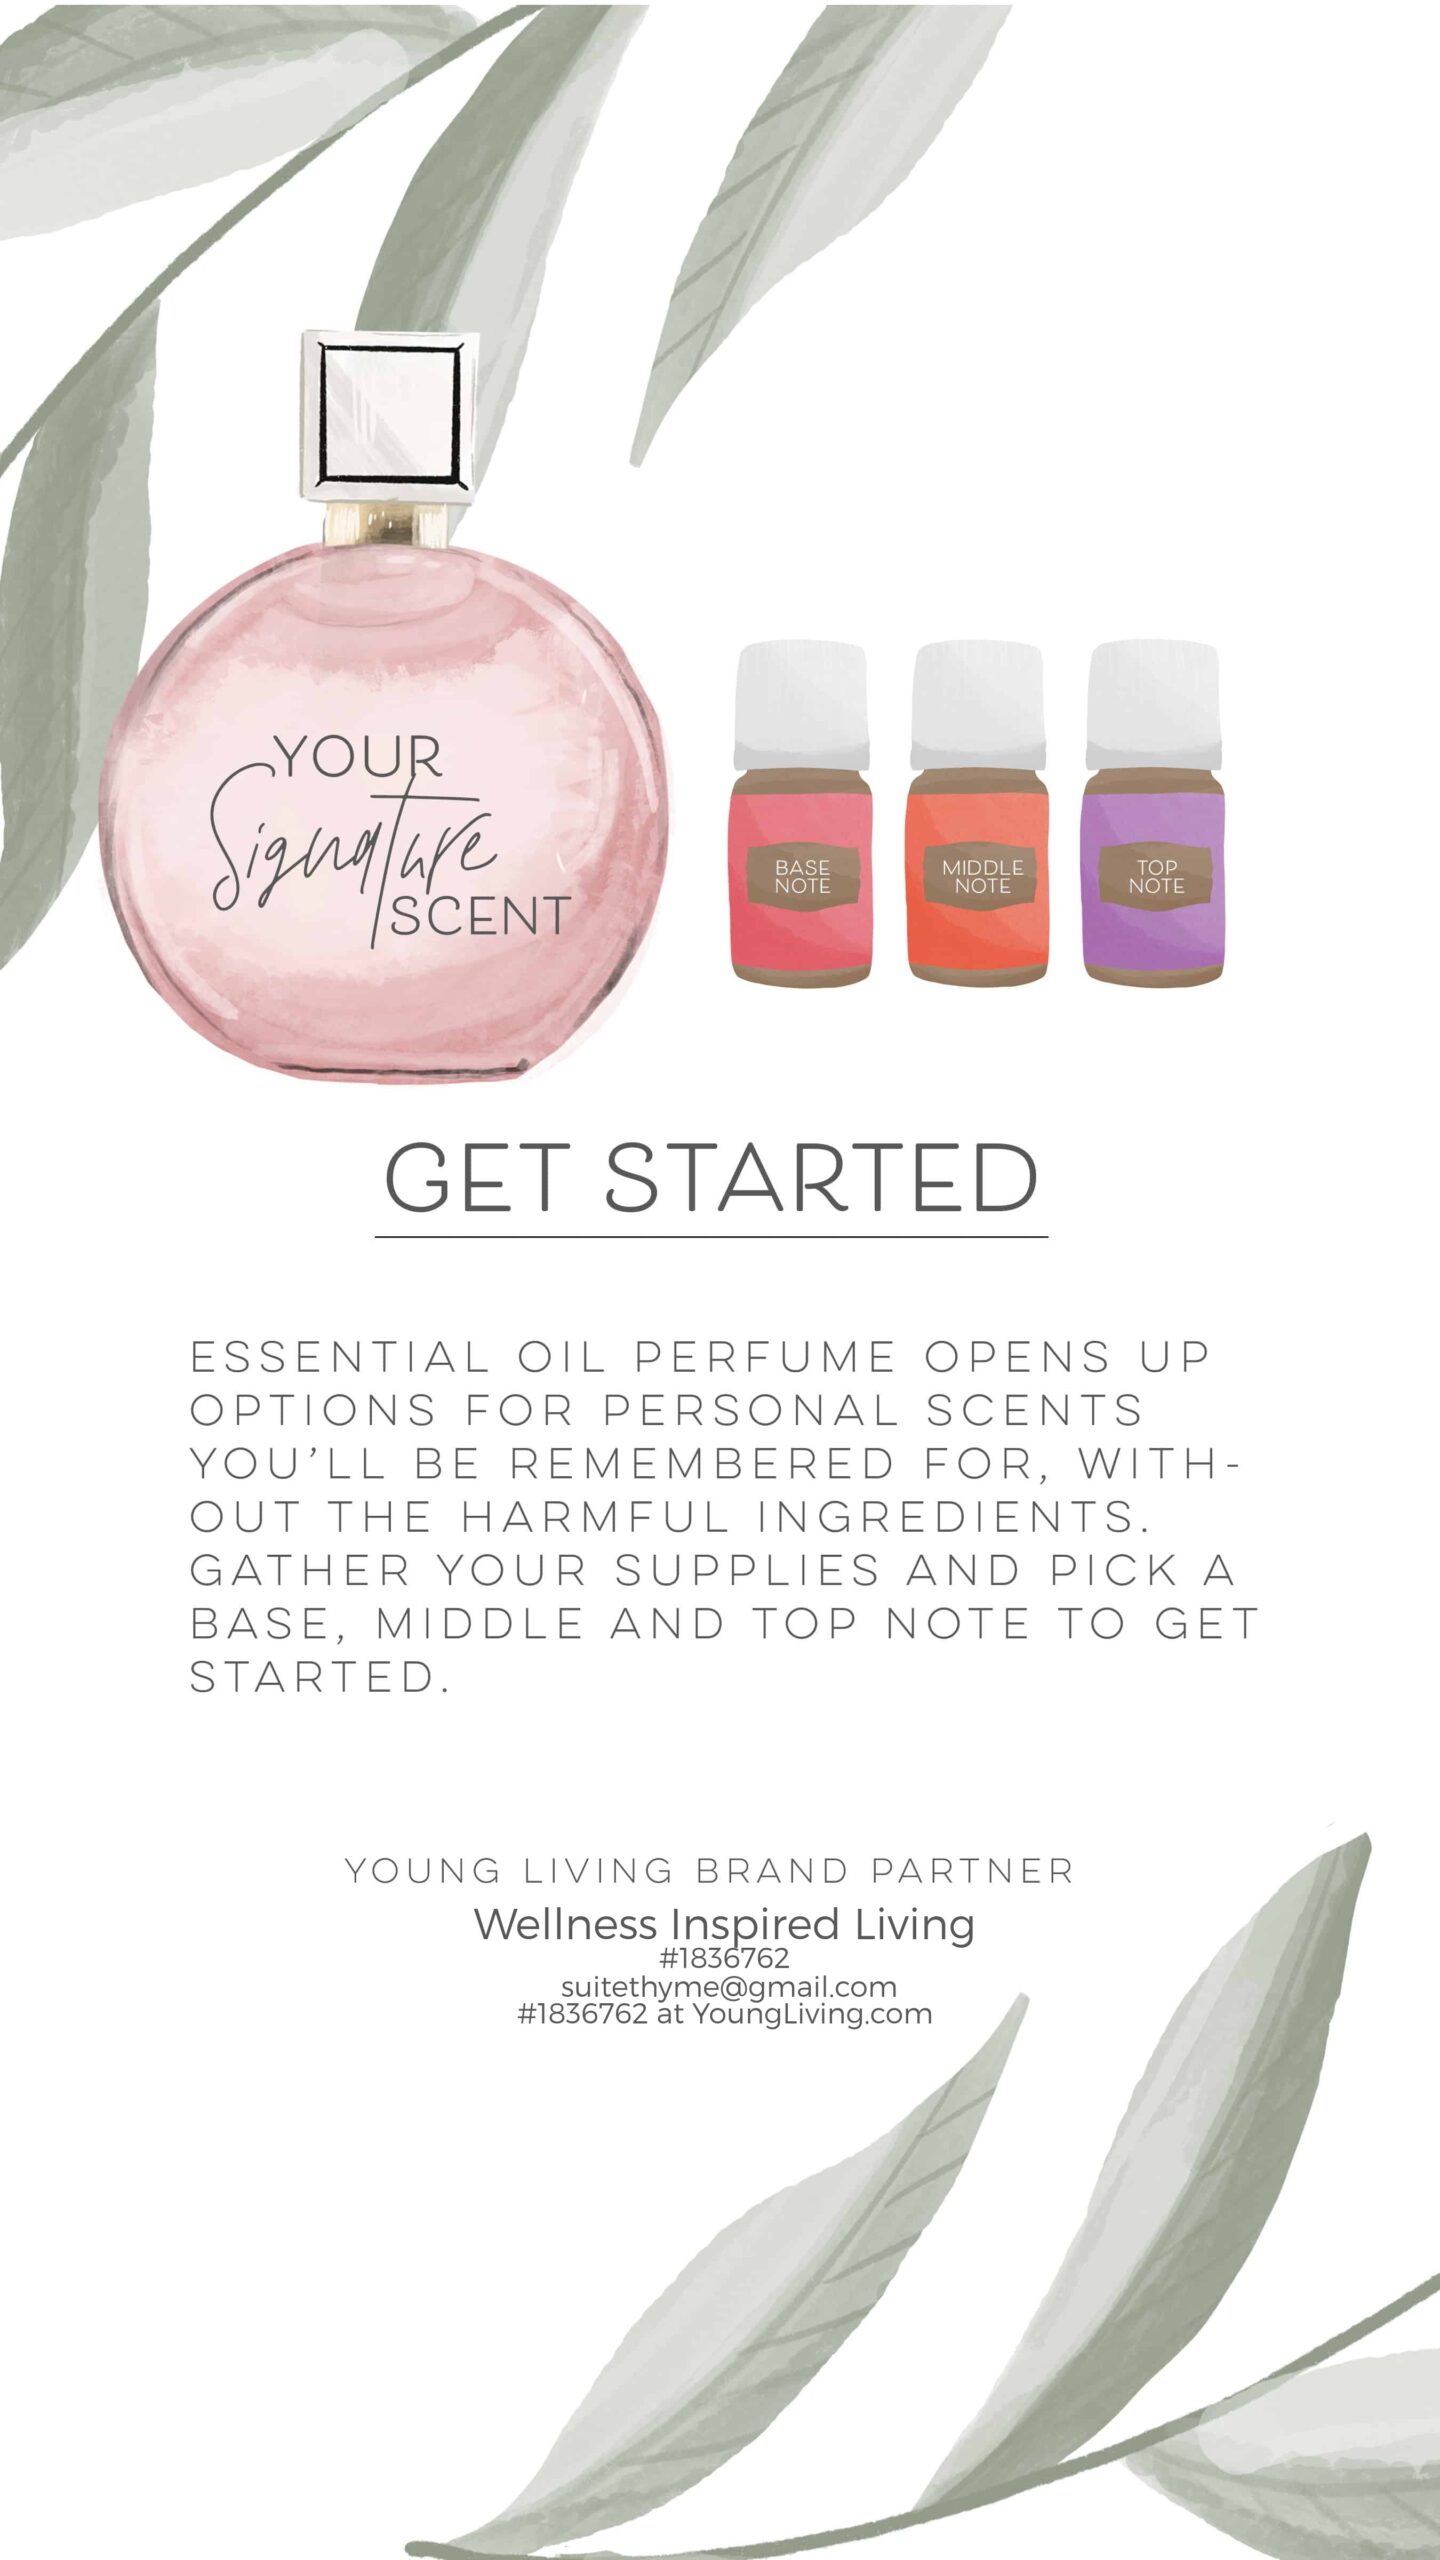
How to Make Your Own Essential Oil Perfume
Want to create a scent that’s all your own? Follow this DIY signature scent recipe using Young Living essential oils to make a custom perfume…naturally.
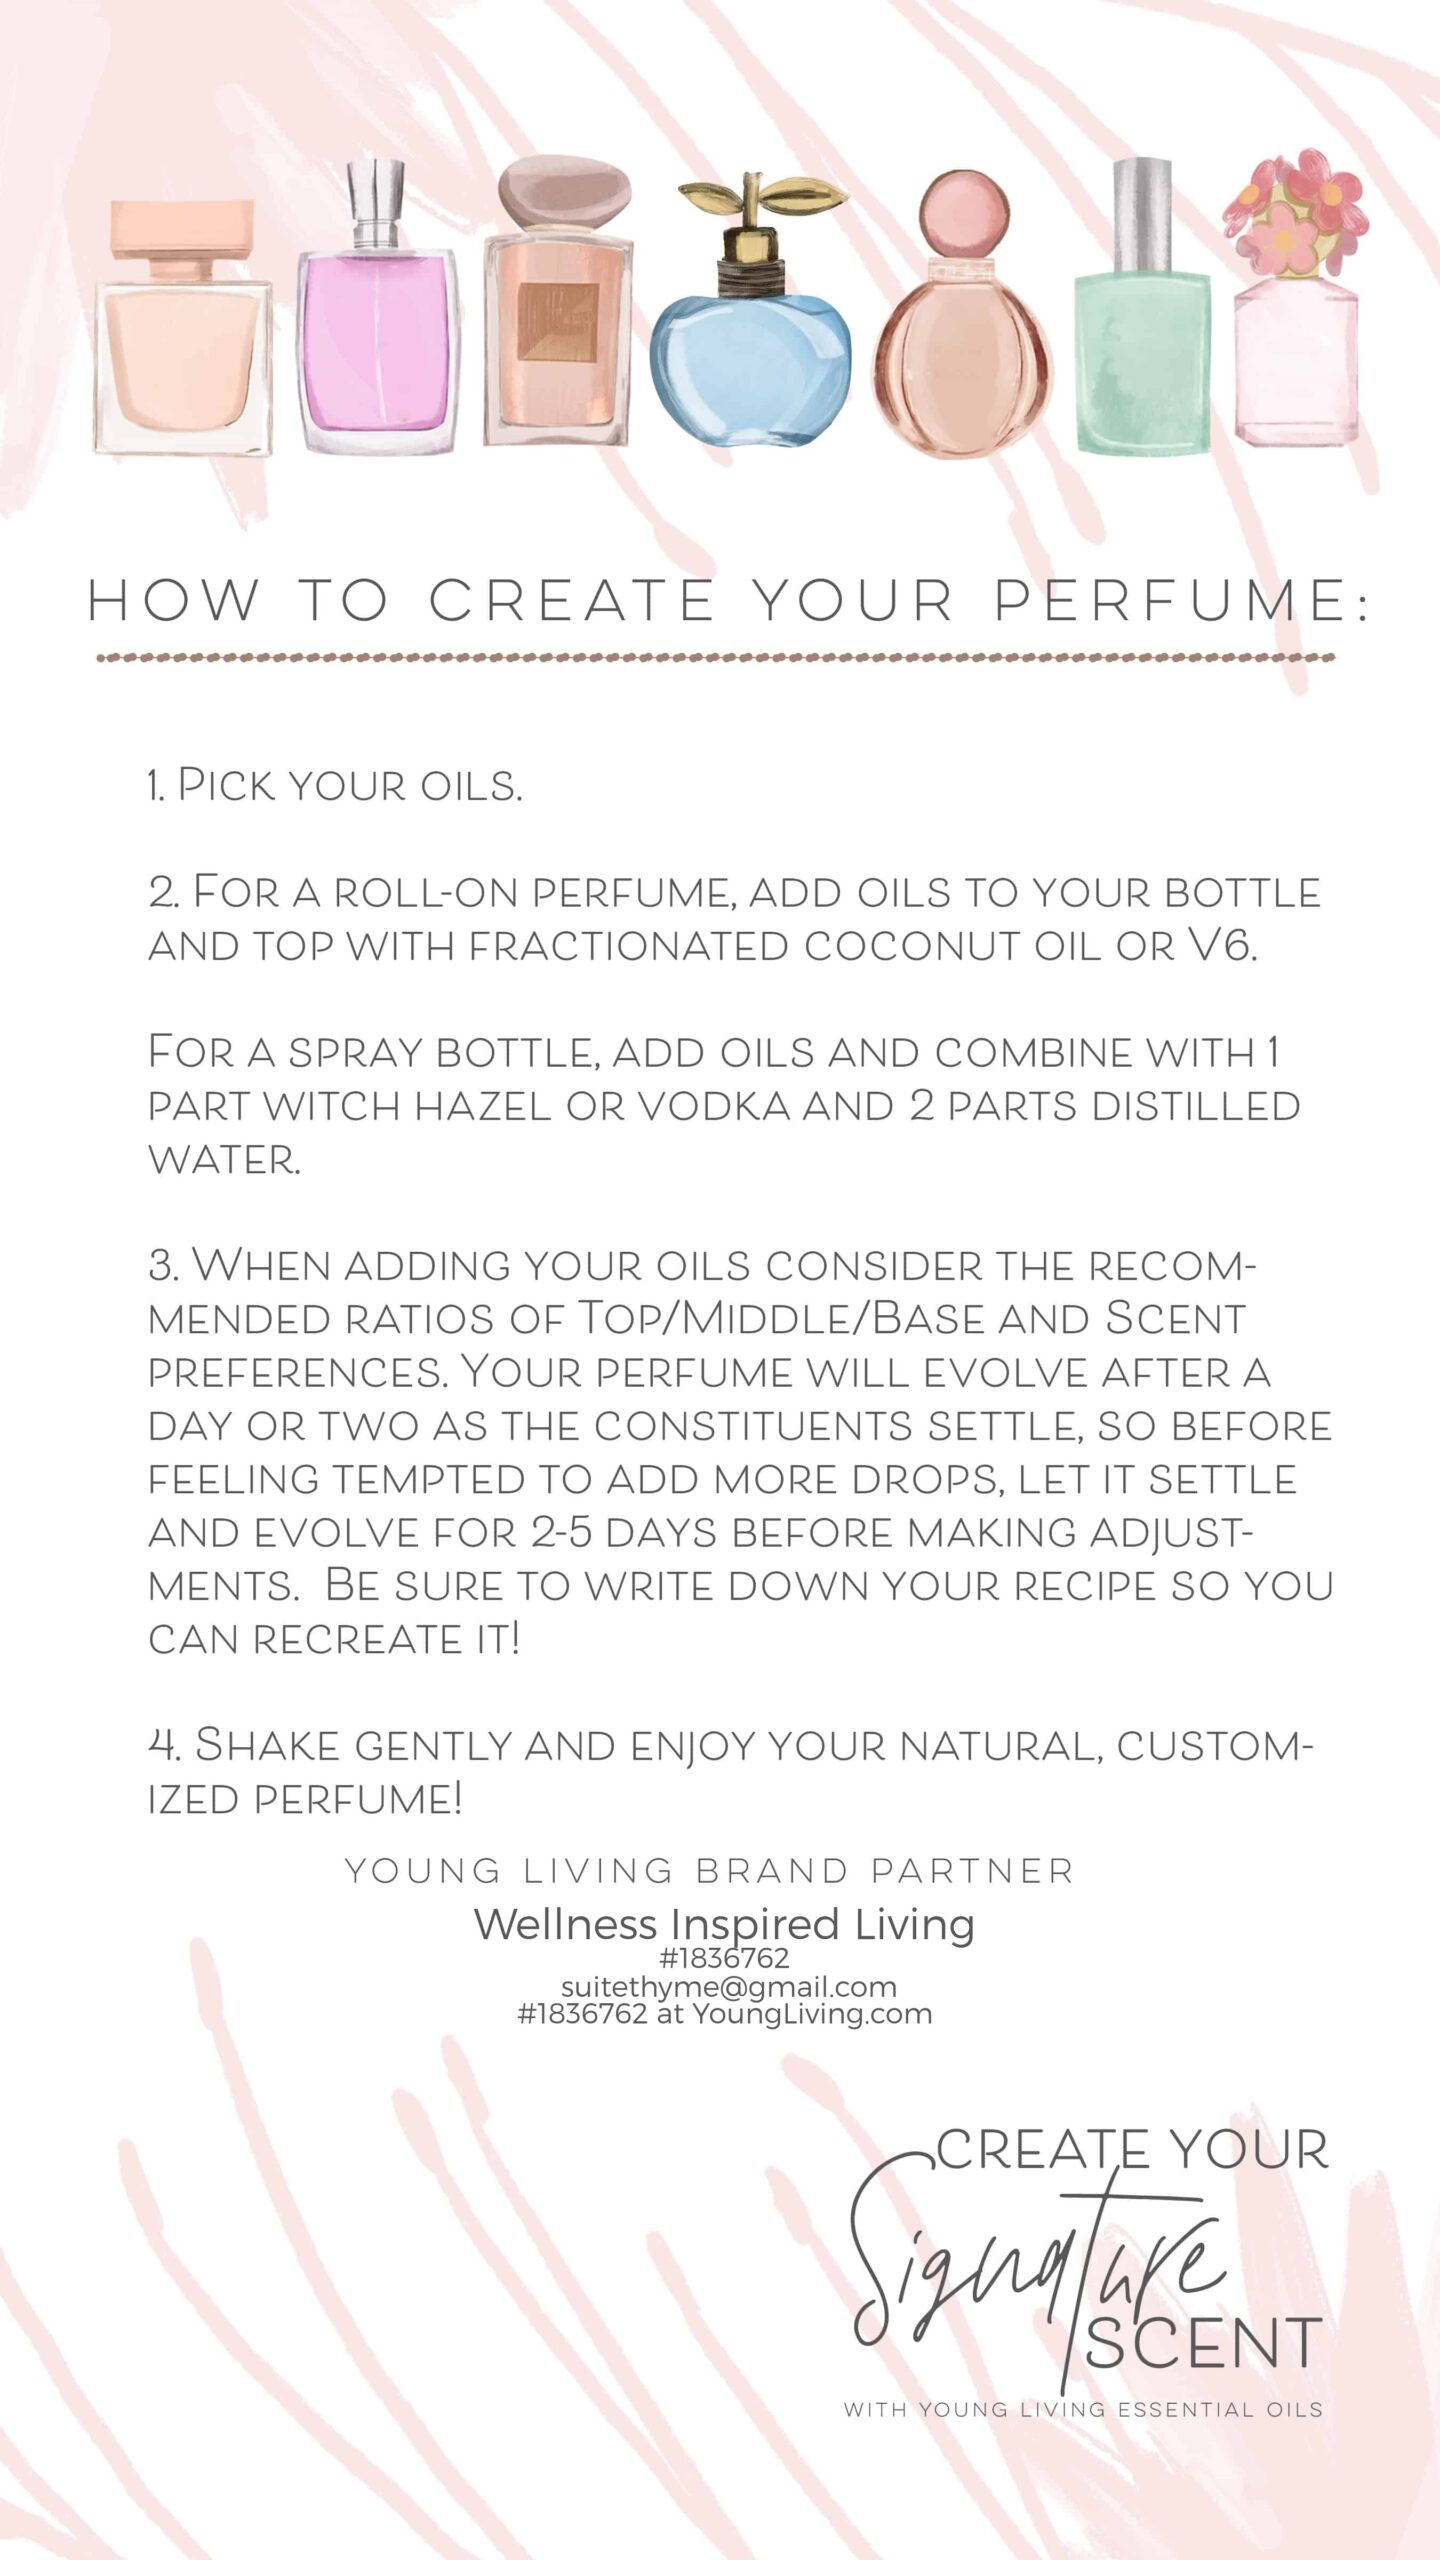
Steps:
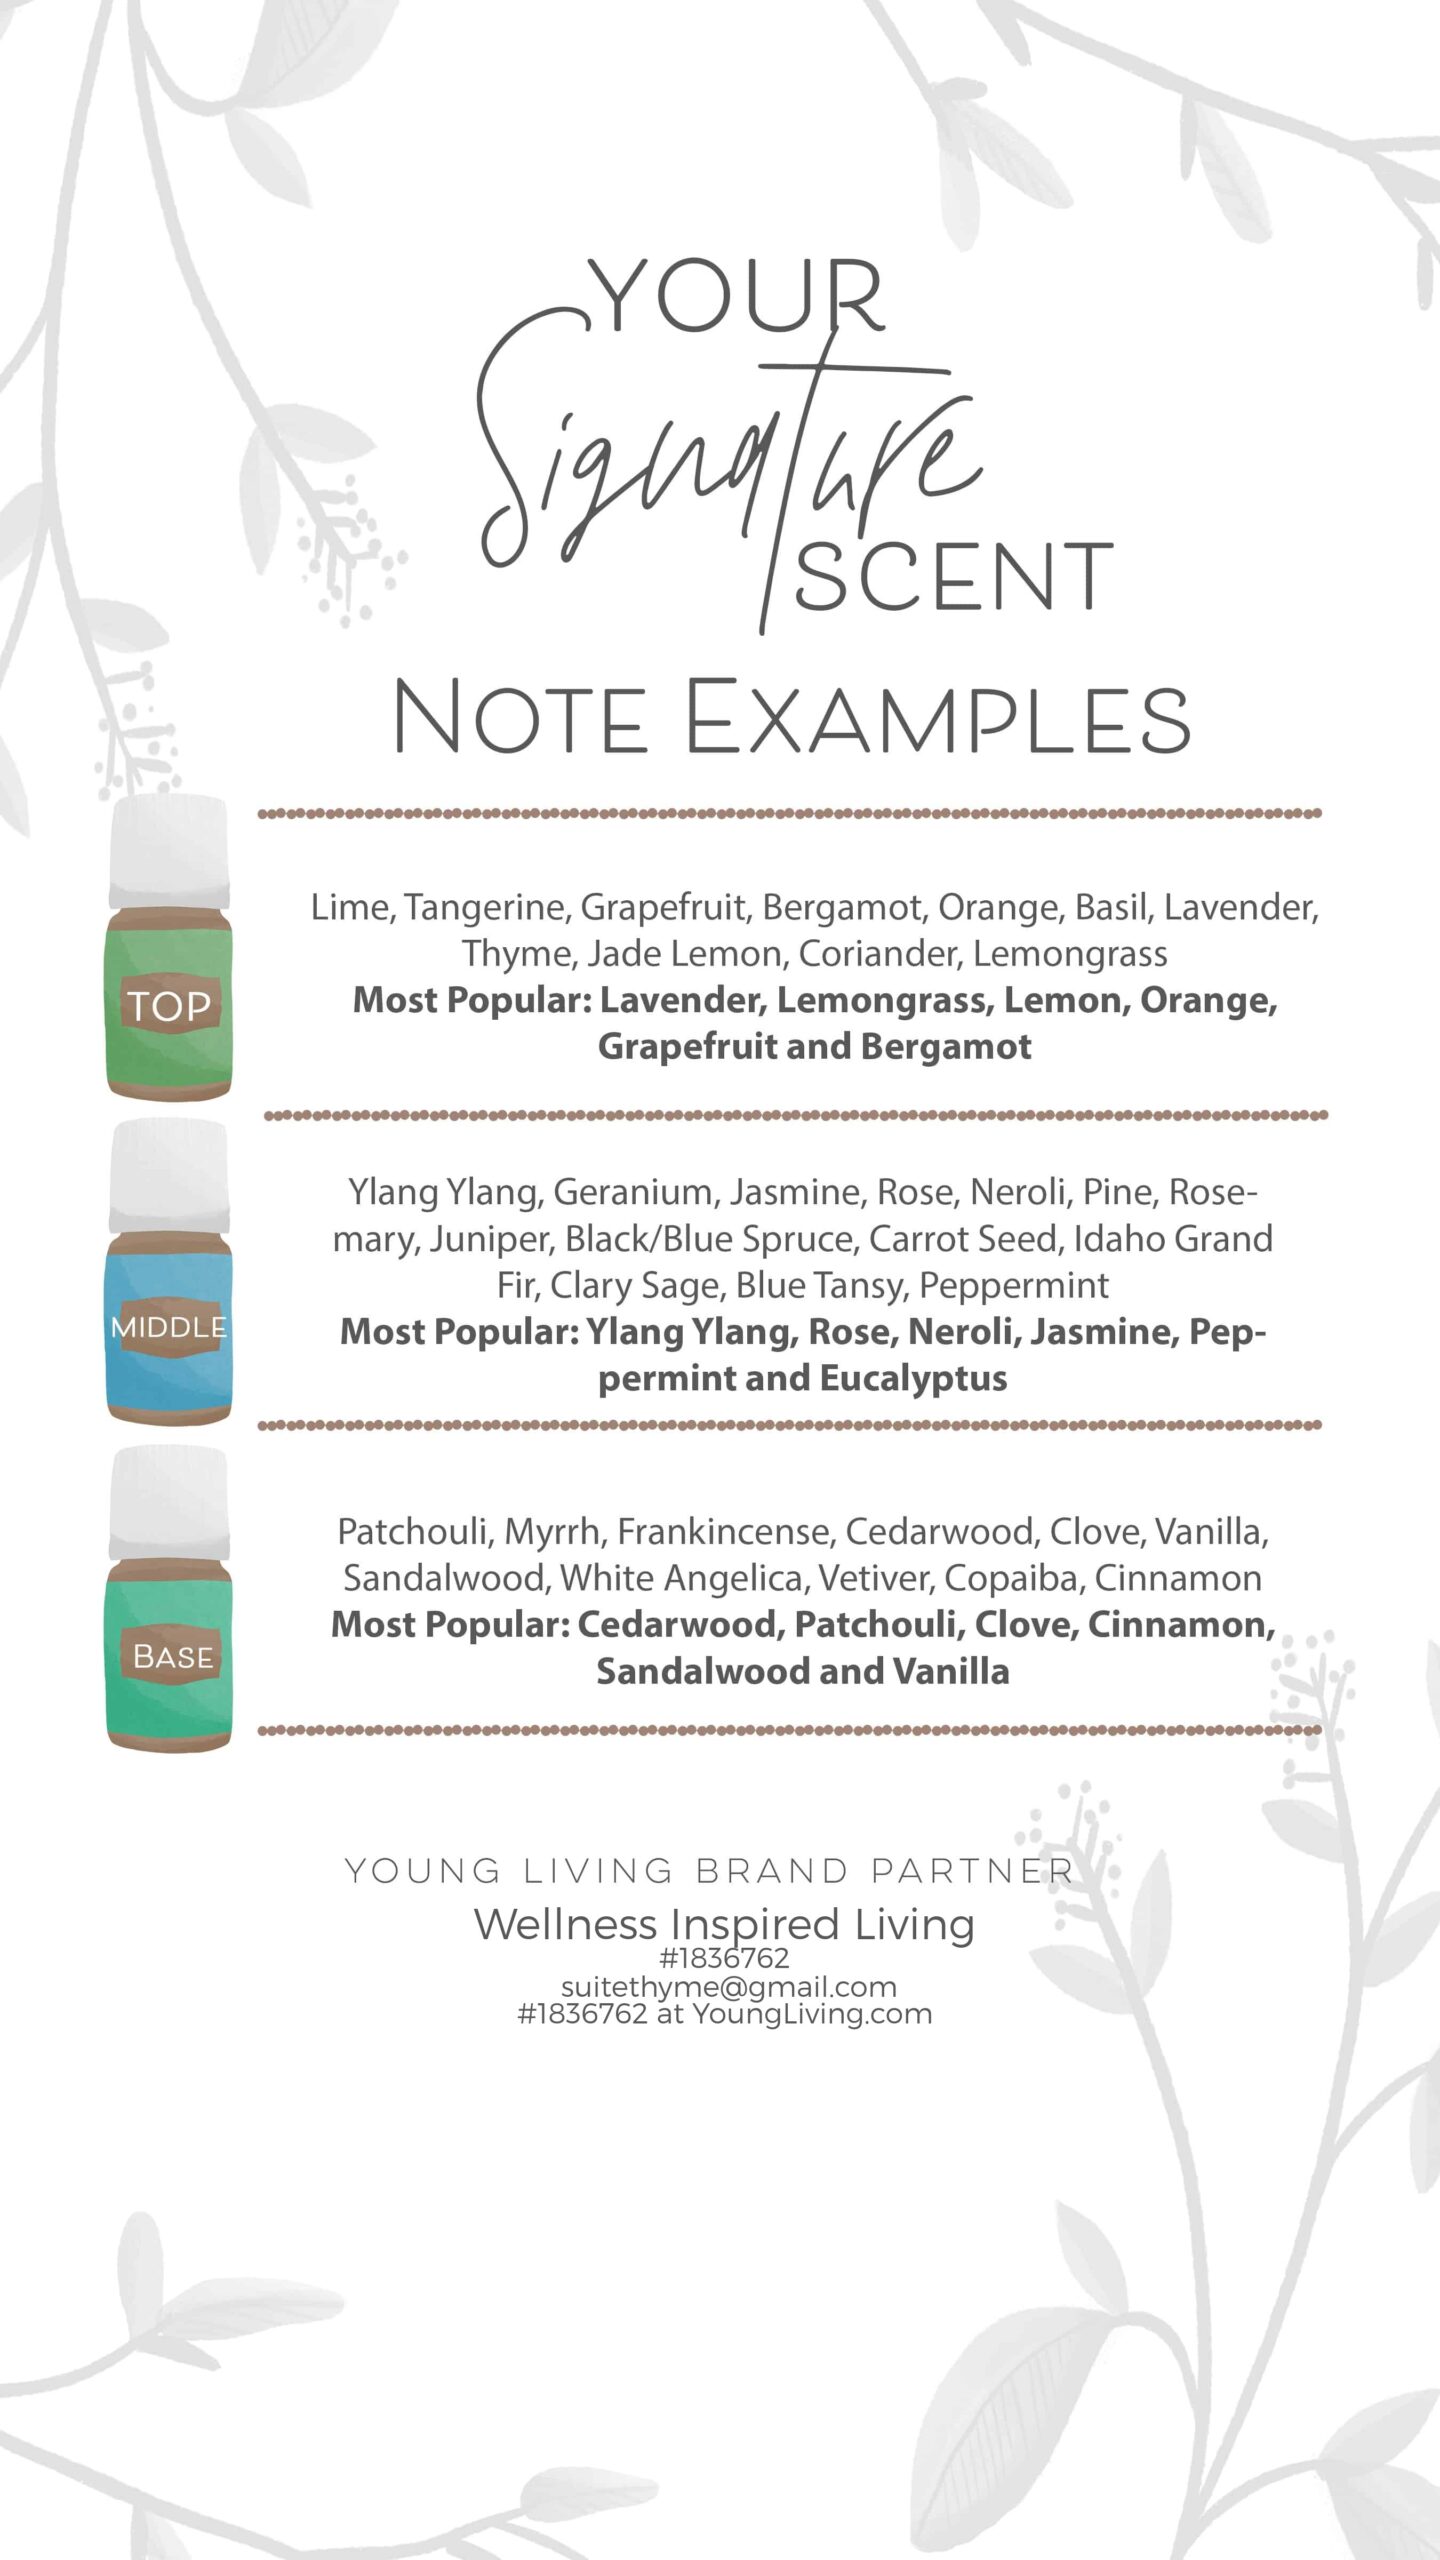
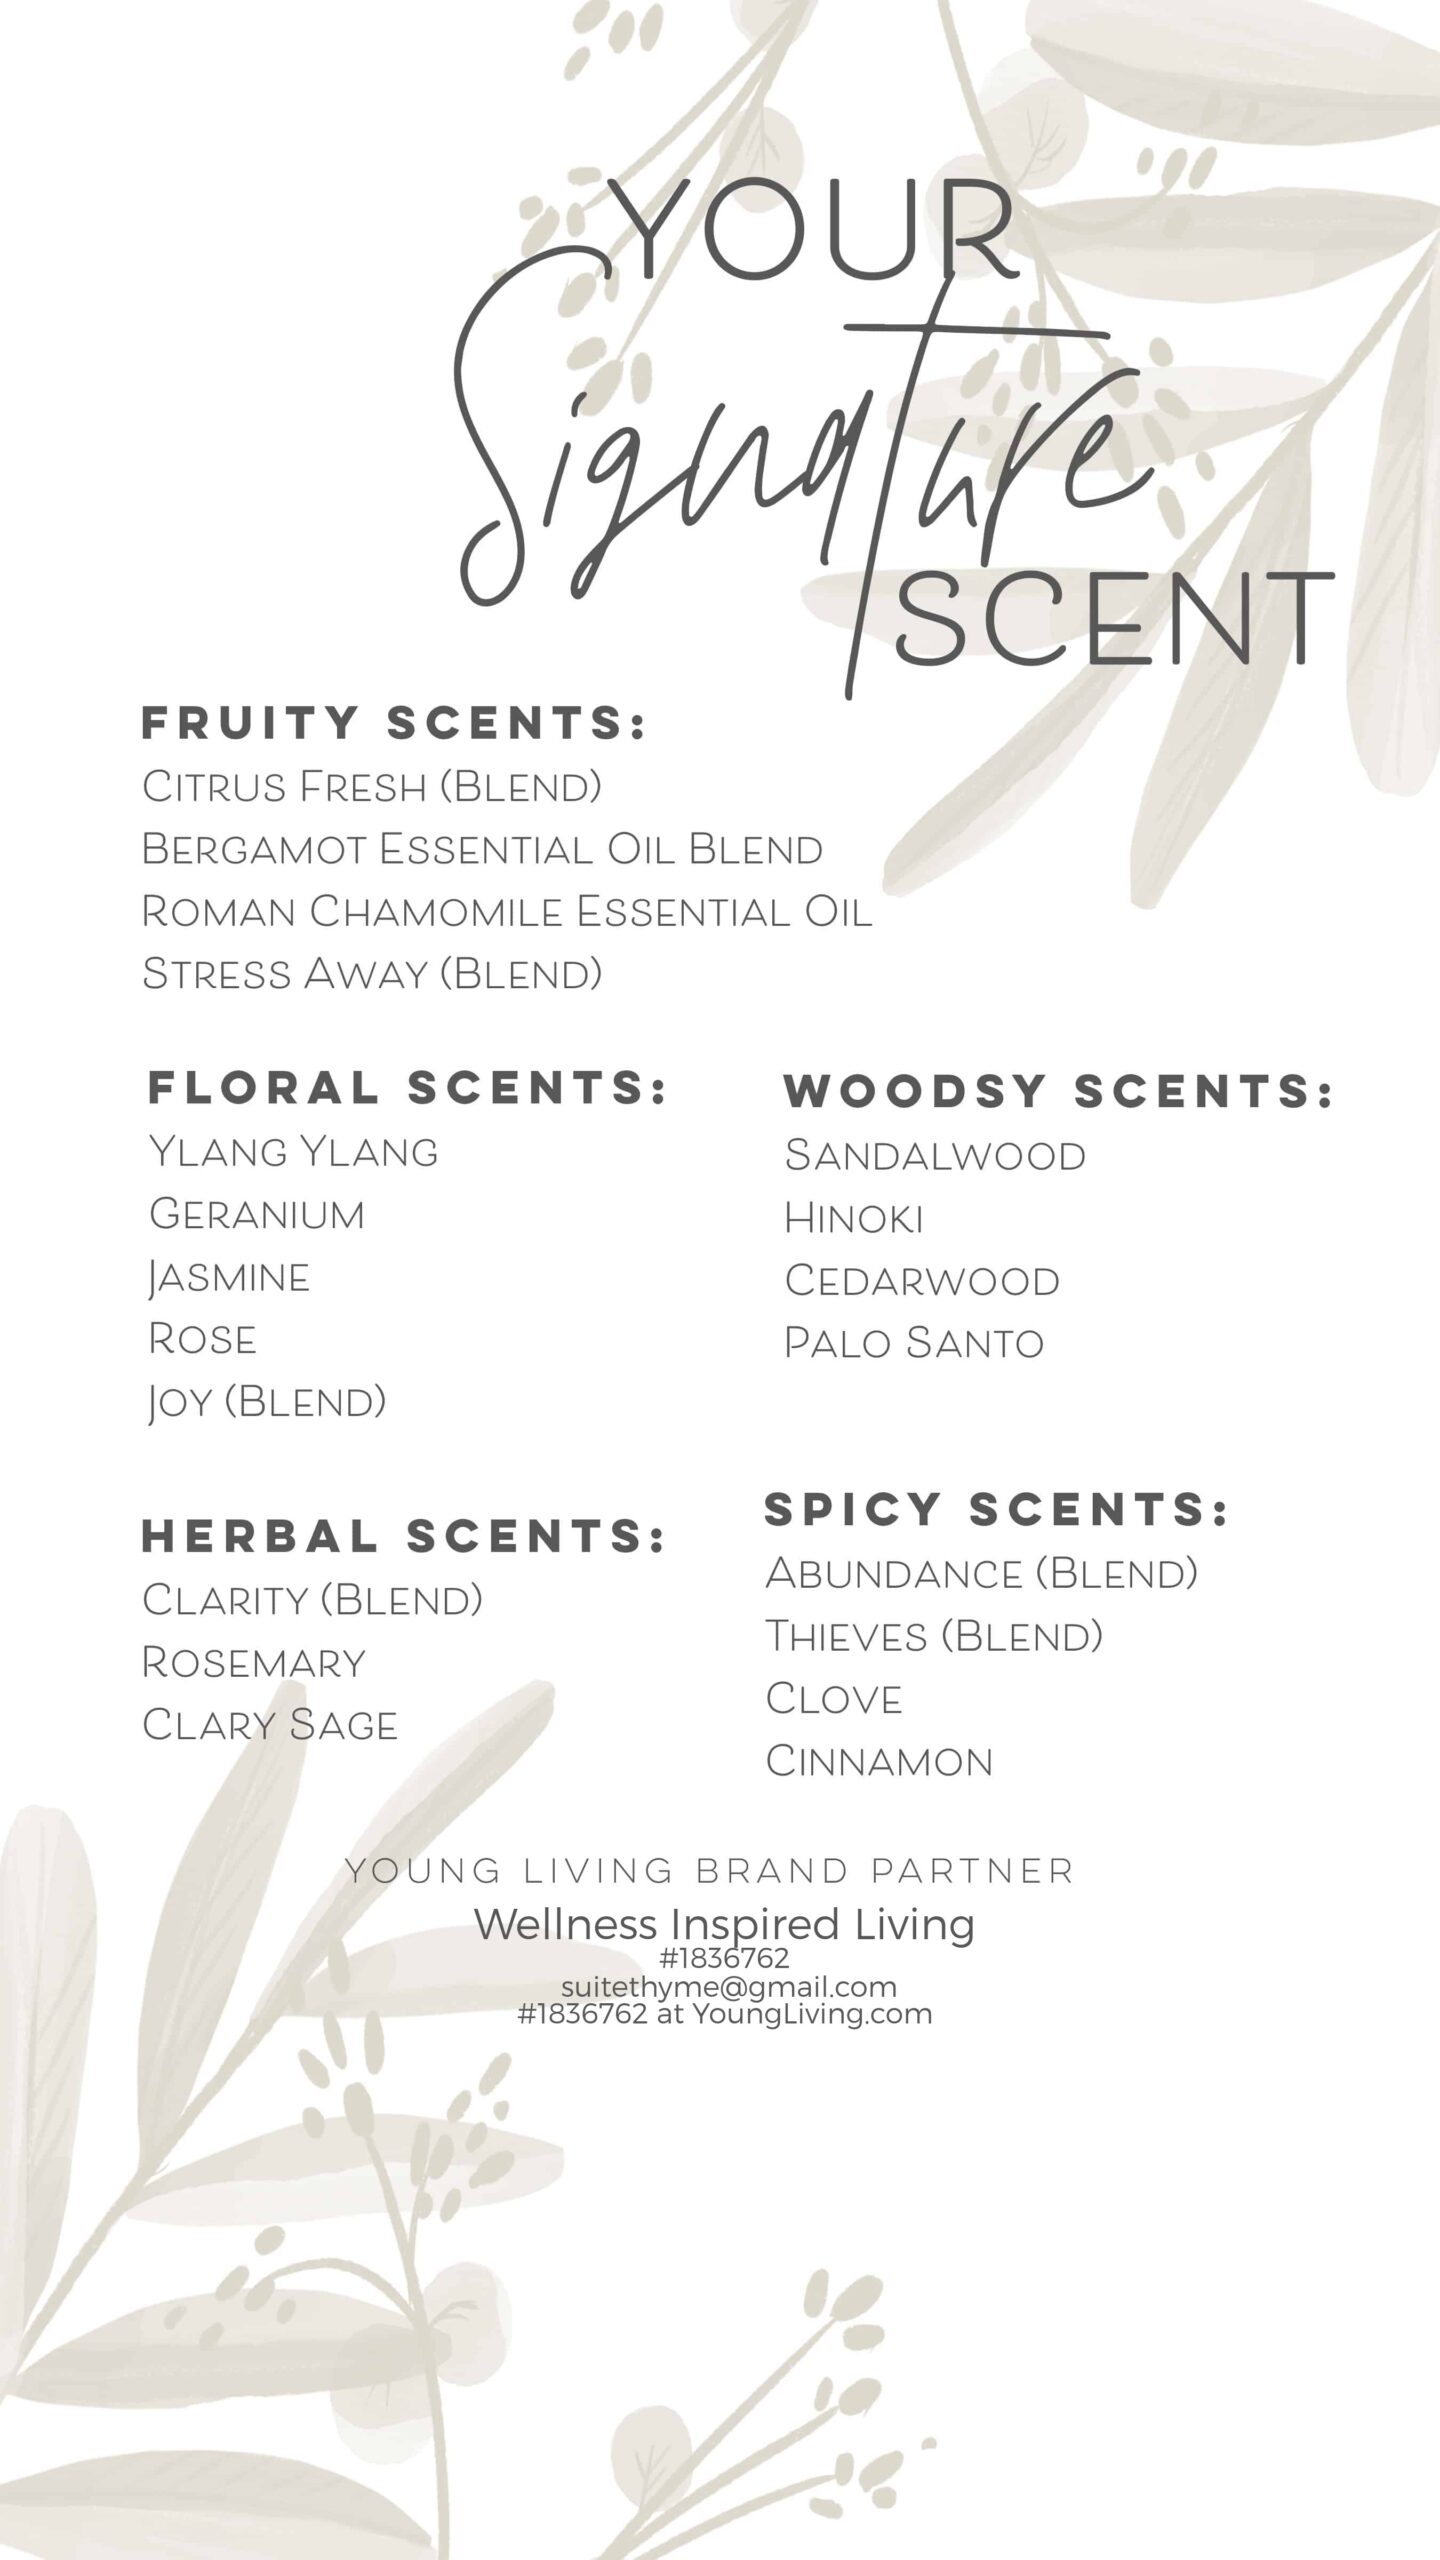
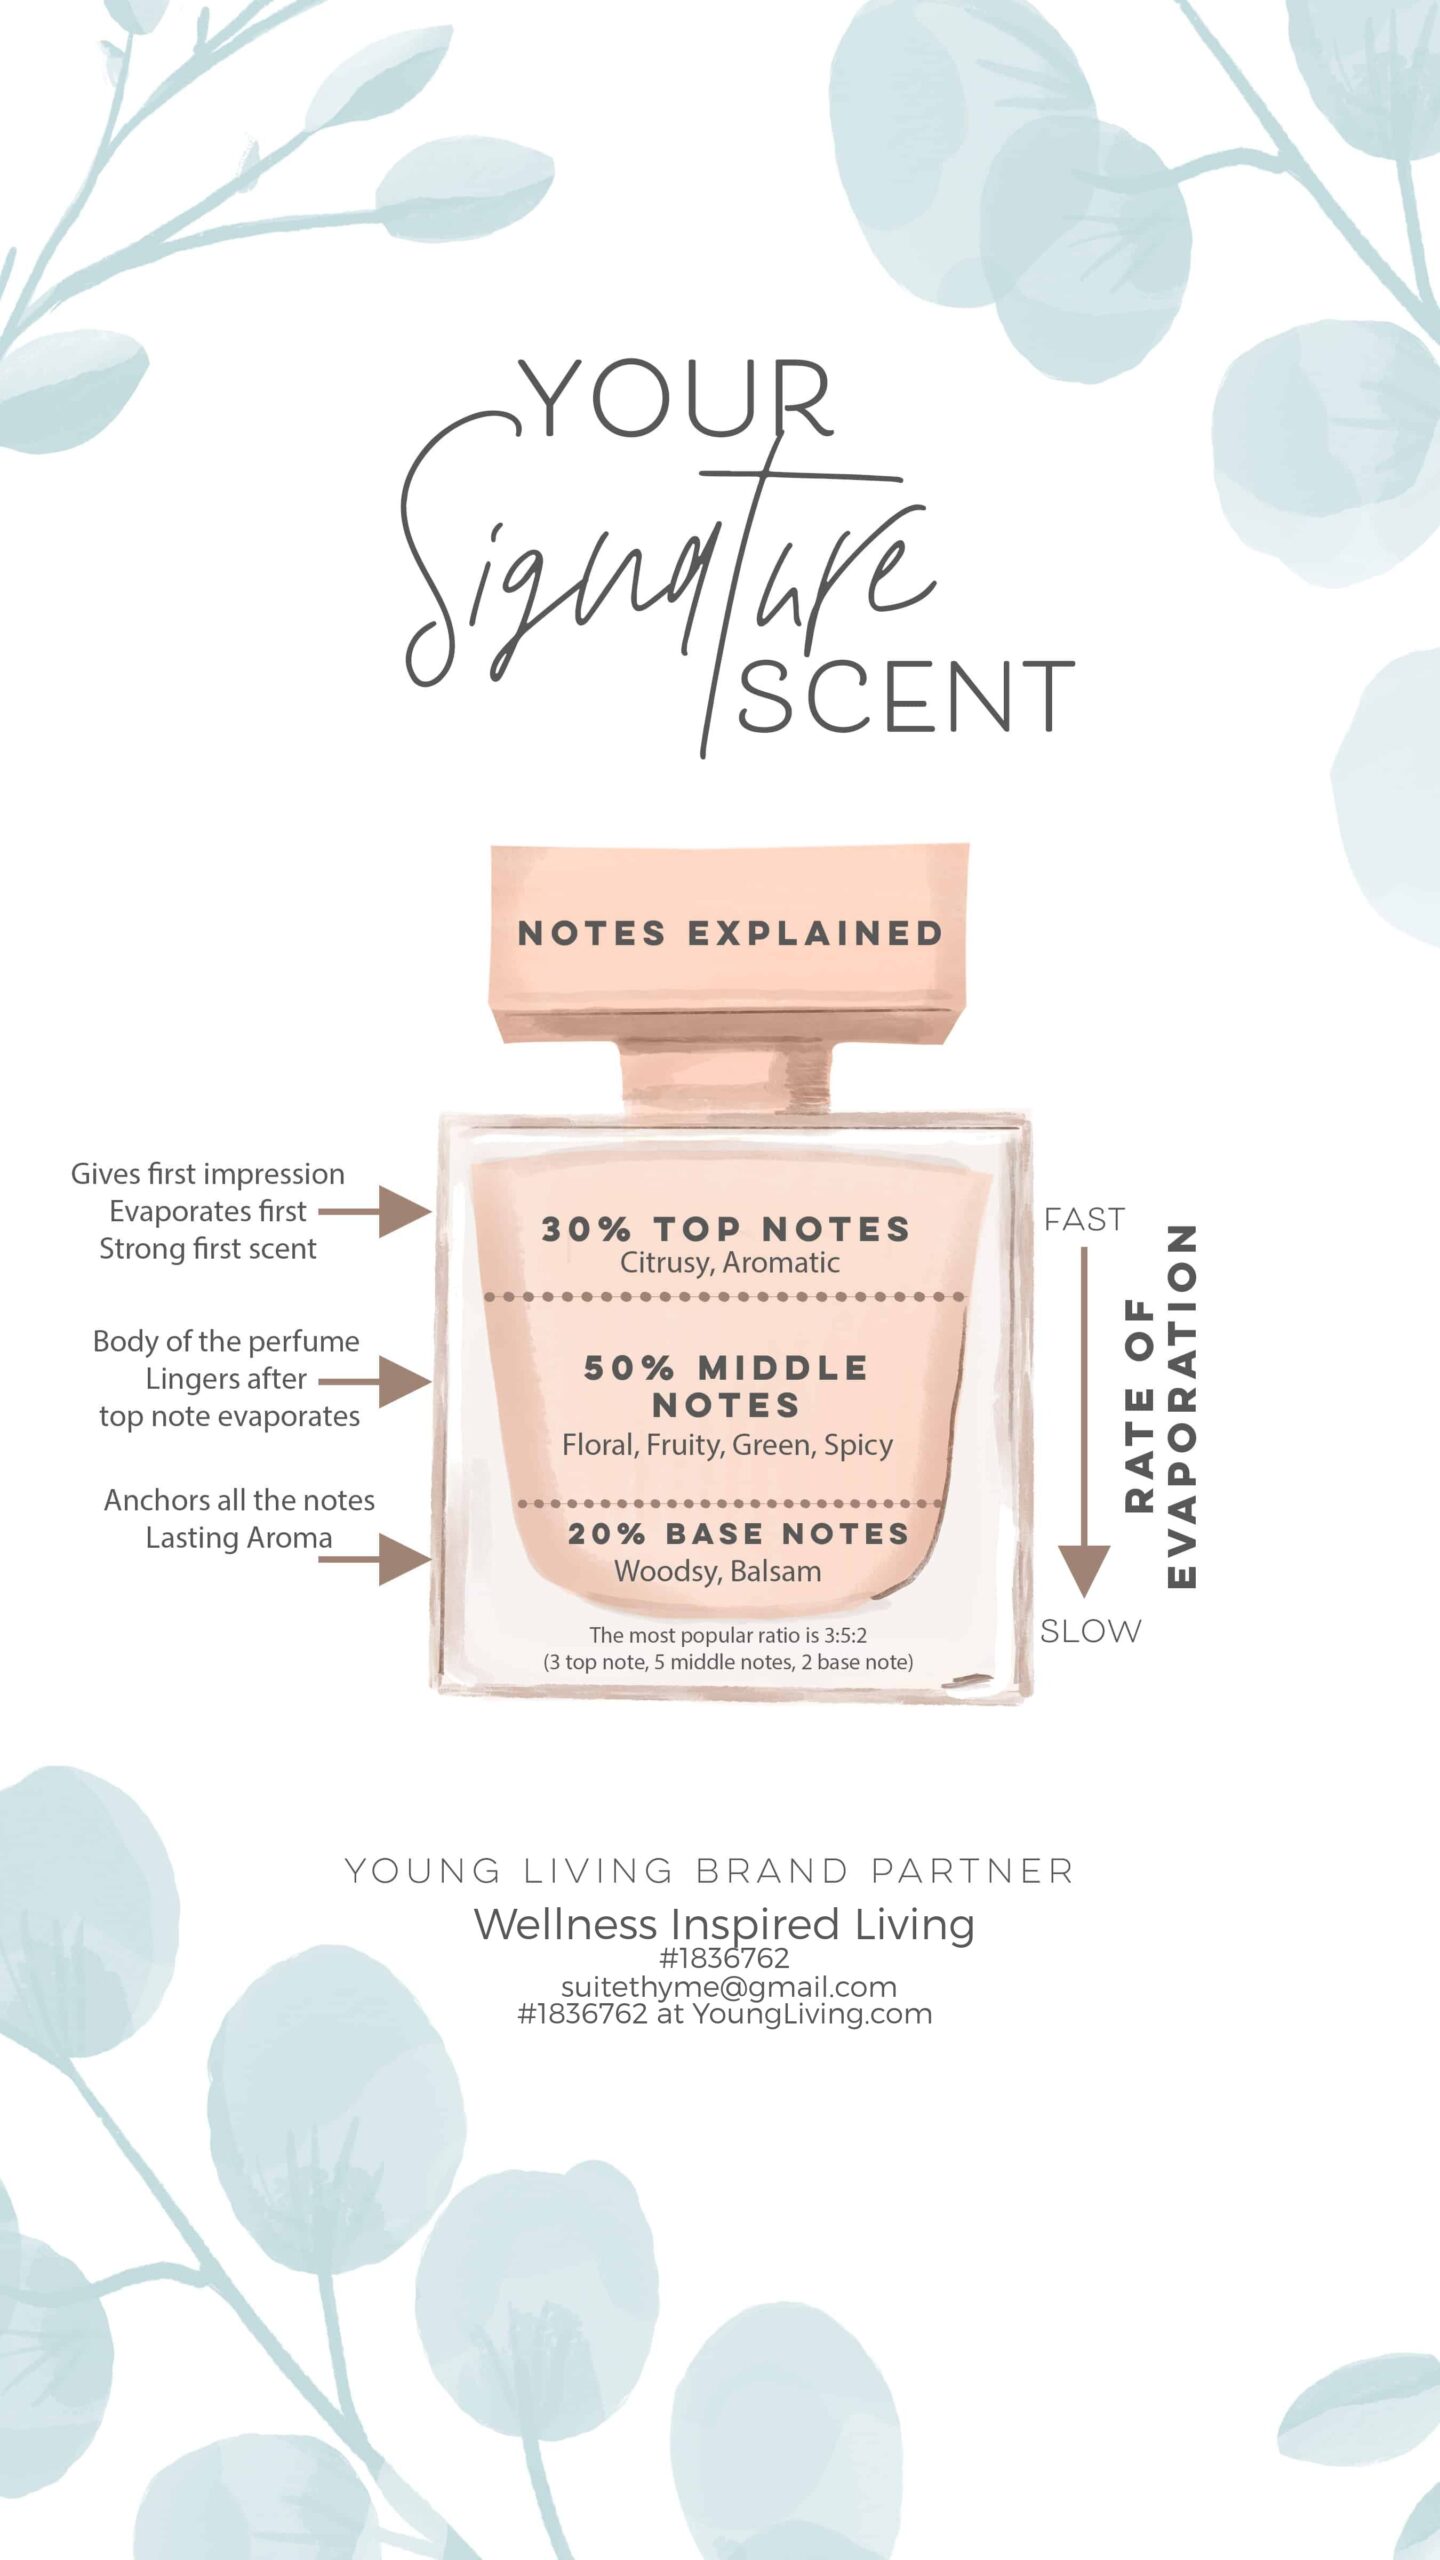
Choose your scent (see ideas below).
Decide on a spray or roll-on bottle.
Follow the recipe.
Let it settle for 24–48 hours.
Shake gently, apply, and enjoy your natural fragrance!
💡 Don’t forget to jot down your blend. When you love it, you’ll want to recreate it!
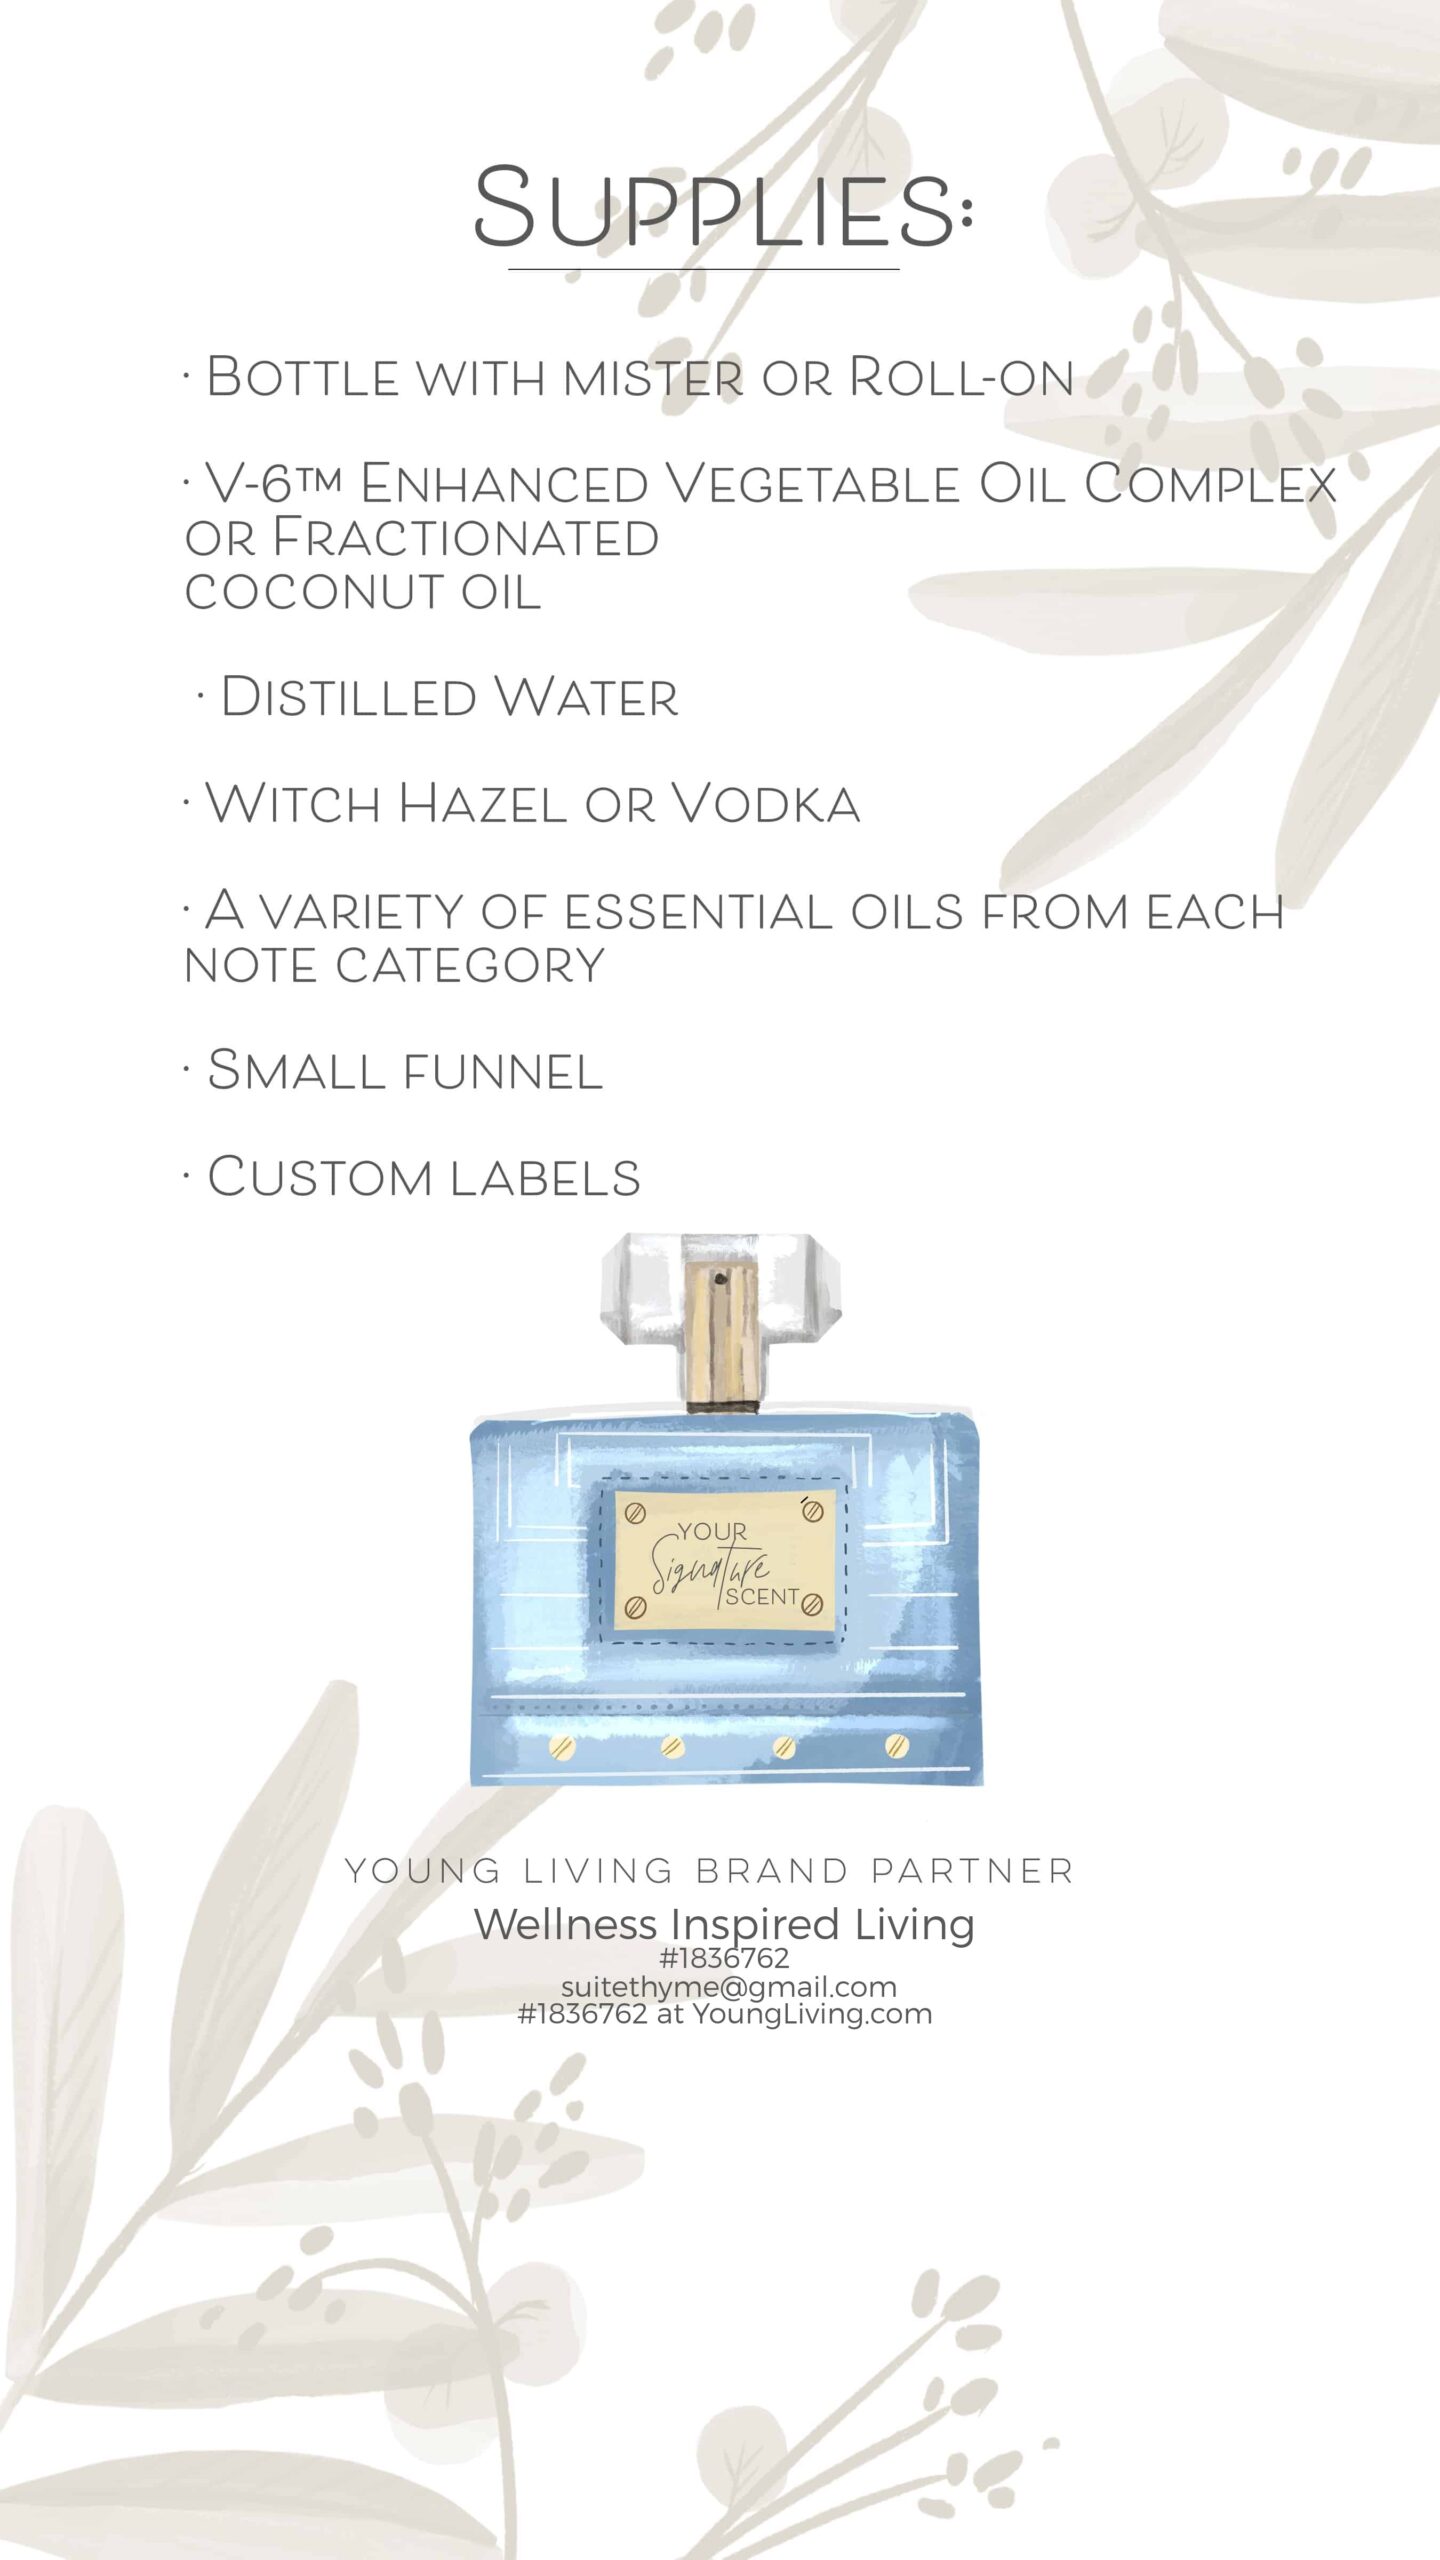
Supplies:
Referral links included where noted.
Perfume bottle or roll on (favorites listed below)
DIY Signature Scent Recipes (Inspired by Classic Perfumes)
Try these Young Living oil blends inspired by timeless fragrances:
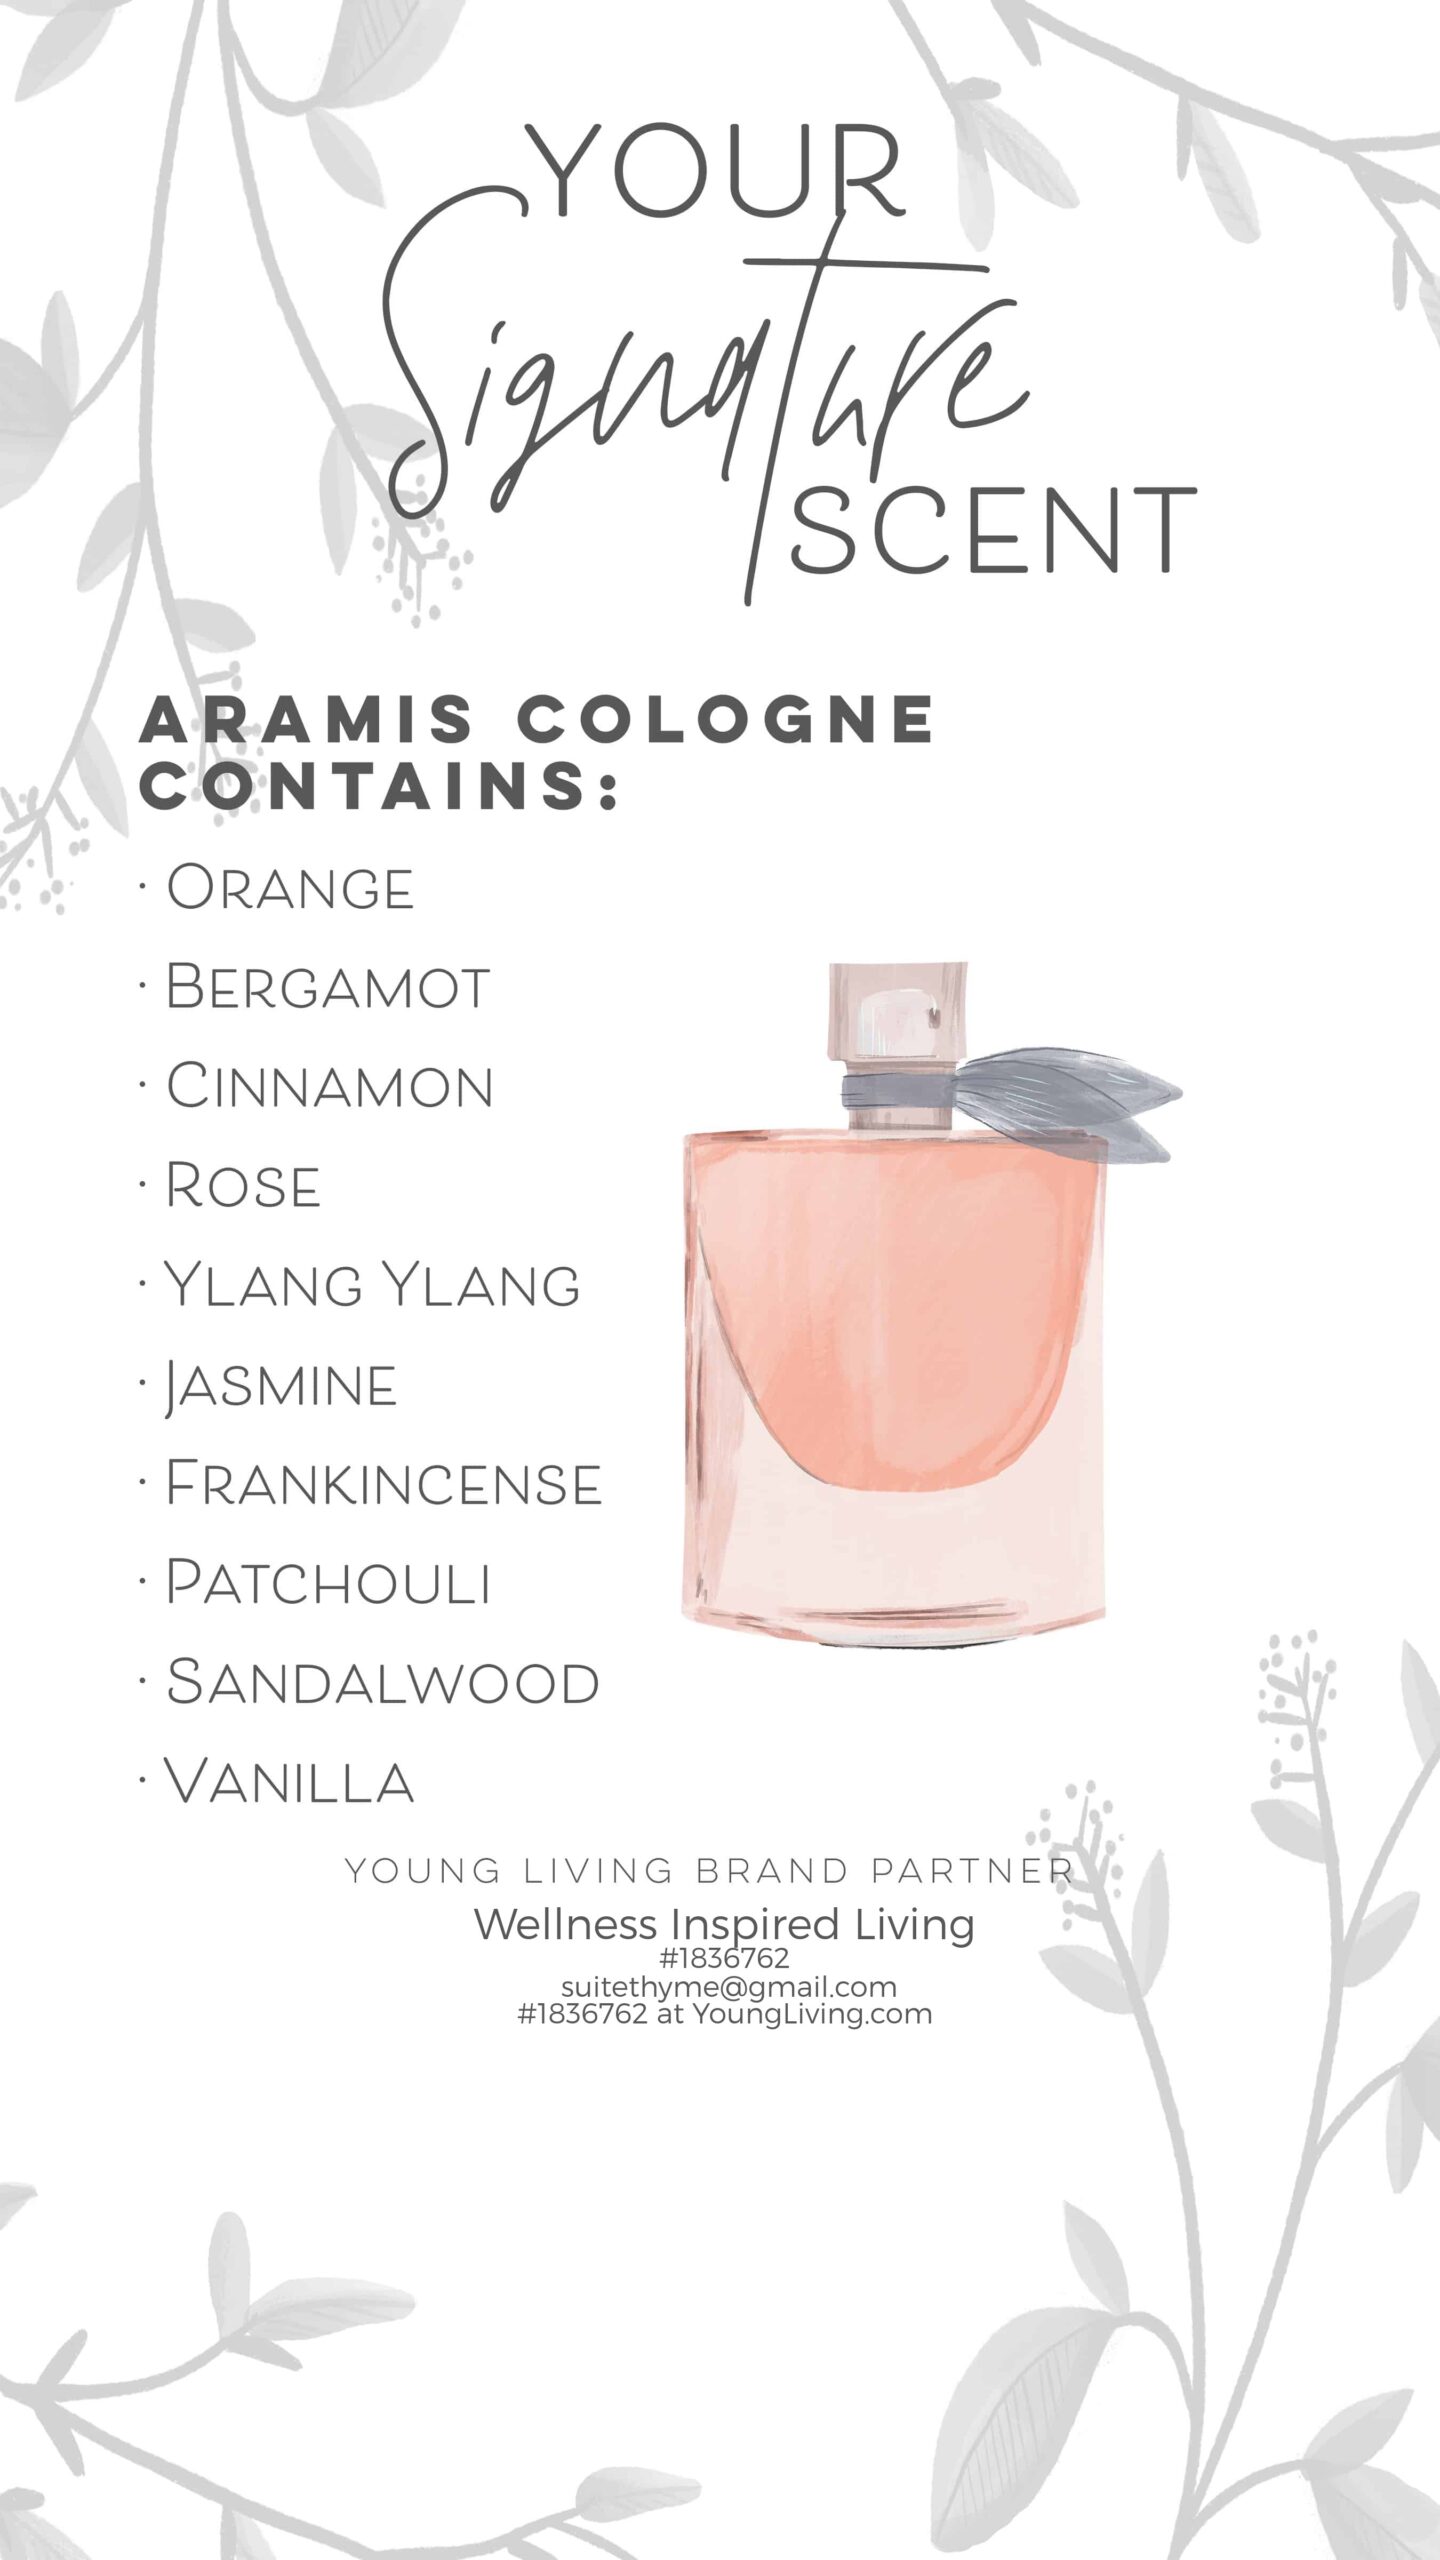
Aramis Cologne Recipe
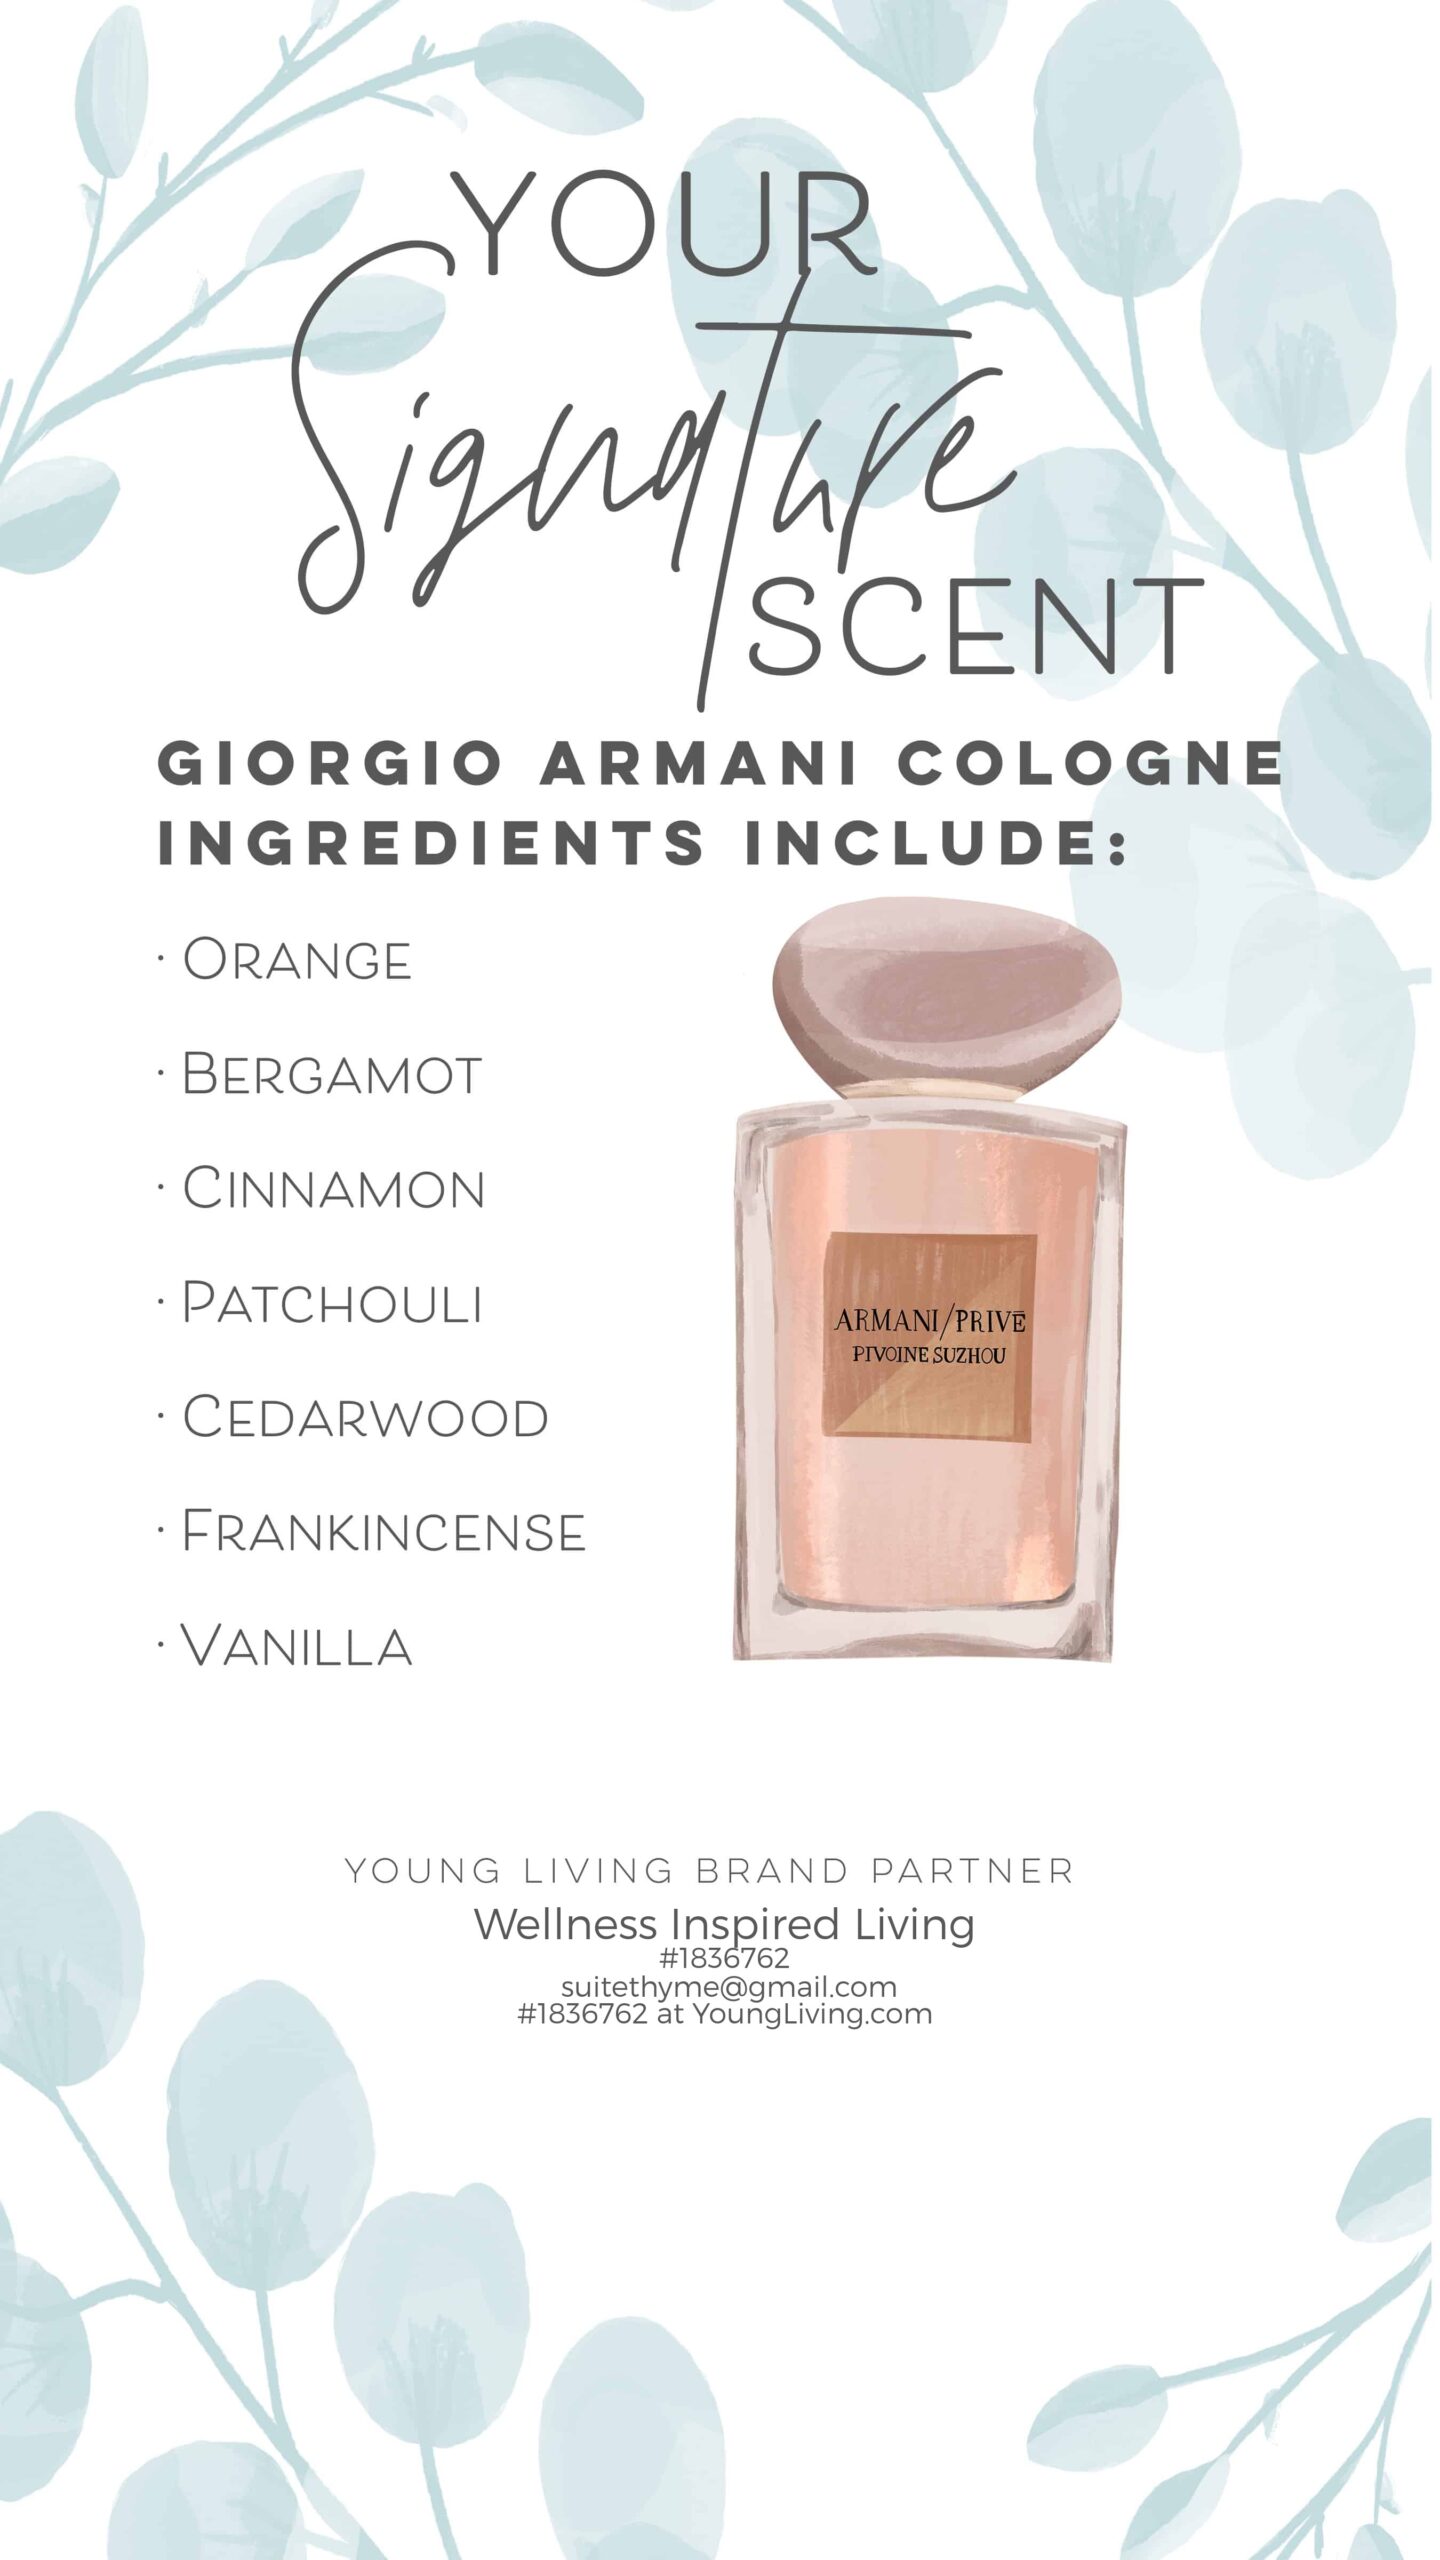
Giorgio Armani Inspired Blend
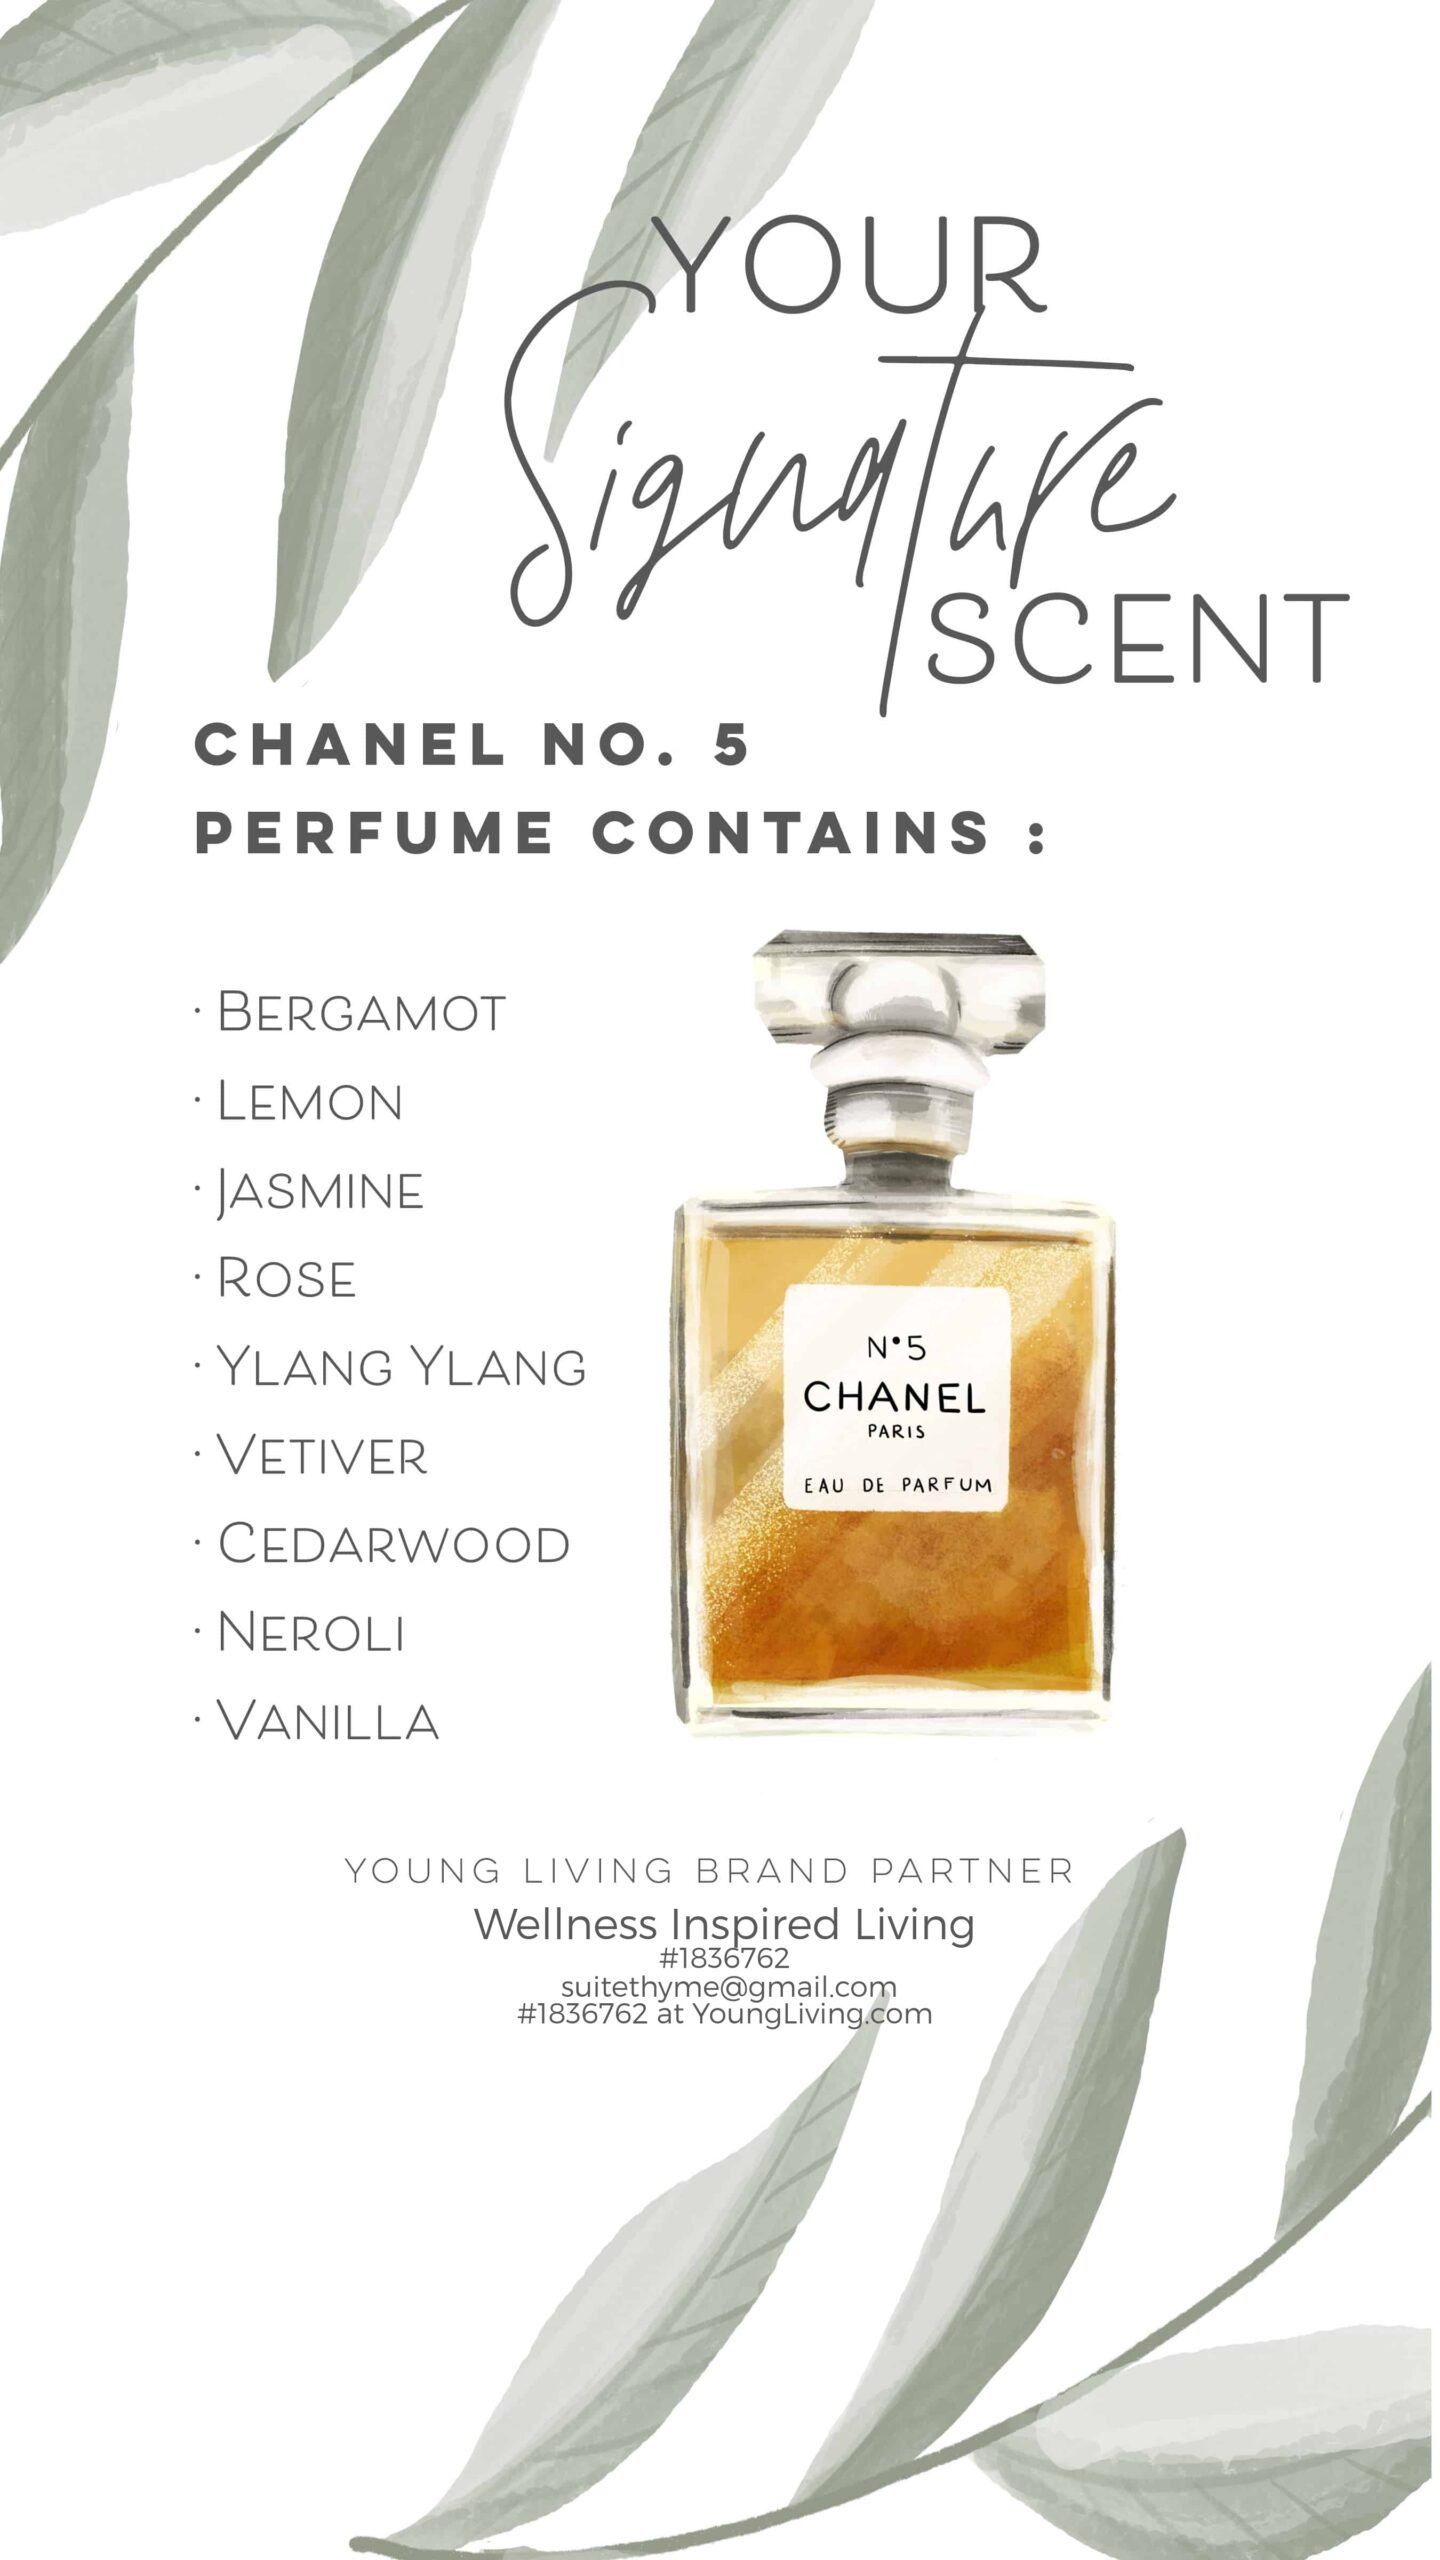
Chanel No. 5 Inspired Blend
Ready to Get Started?
Not a Young Living member yet? We’d love to help you get started! Use our referral link: 👉 Young Living Sign-Up Our family has used these oils daily for almost 10 years. Have questions? Message me on Facebook or email. I’m happy to help!
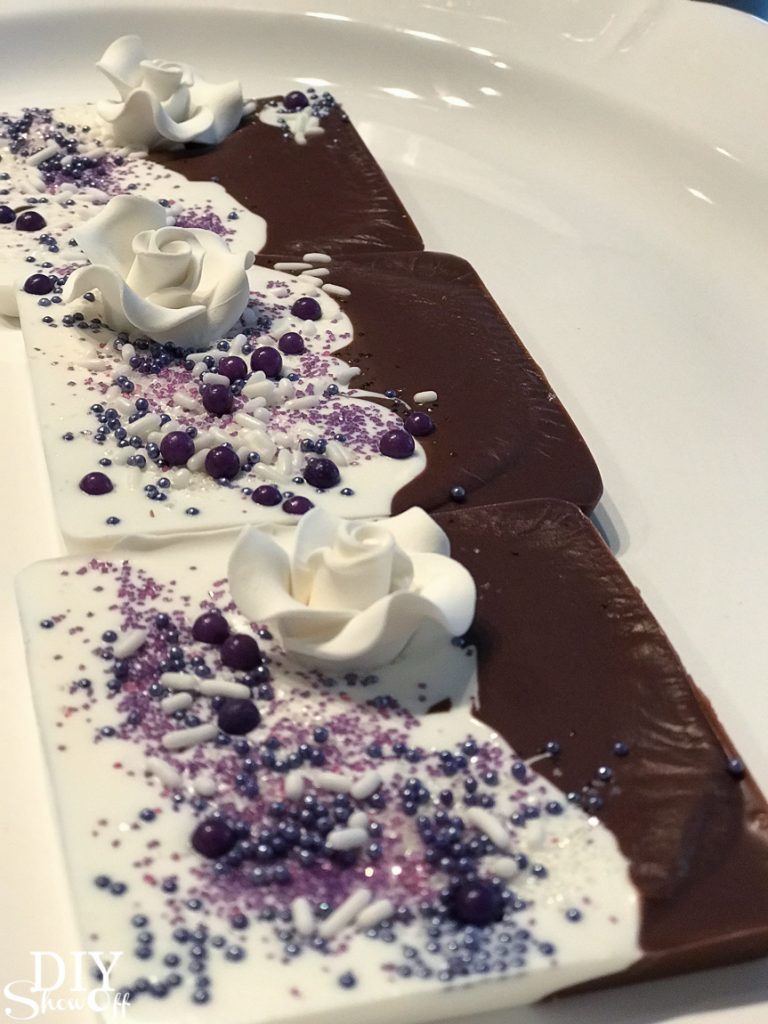
Isn’t it funny where inspiration comes from? At times, it’s somewhere completely random or even unknown. I’m thinking the inspiration for these DIY chocolate candy wedding party favor gifts may have been handmade soaps or even those beautiful yogurt bowls I’ve seen on Instagram. To be honest, I’m not sure – I’ve done some searching and haven’t stumbled across anything similar.
I made these up as a hostess party gift/favor and got drafted to make up some bridal shower favors. So here’s my DIY tutorial for beautiful chocolate/candy melts. They are so easy! Some affiliate links included.
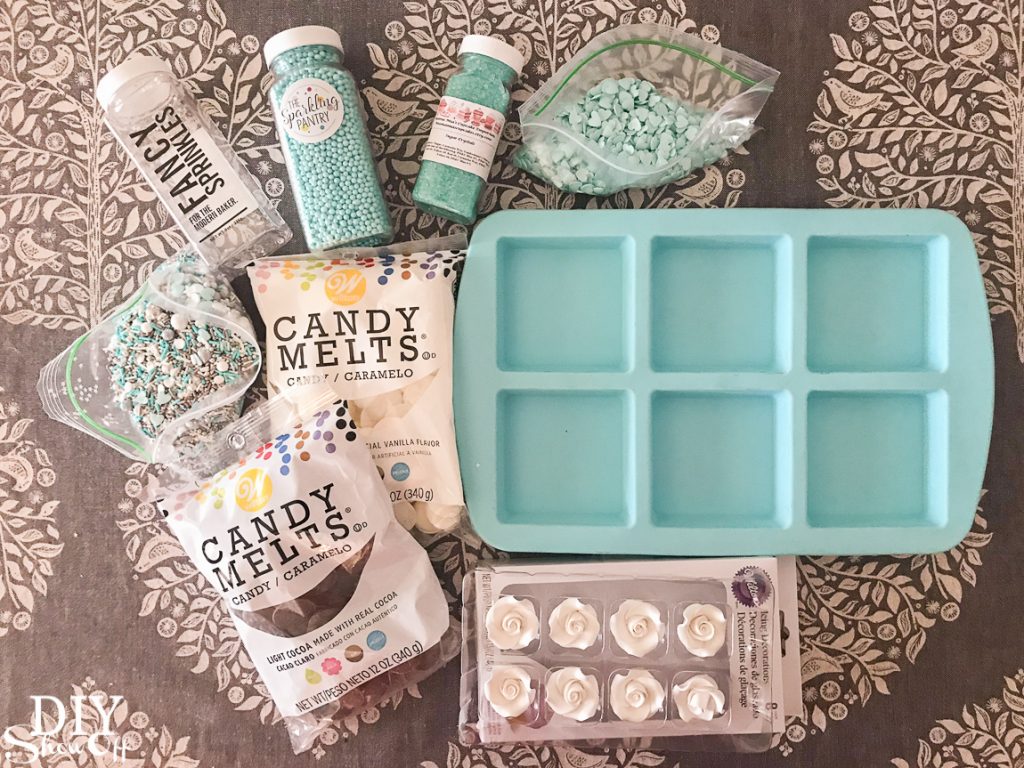
Serves: This silicone mold is a large size (3×3 inch). Two bags of melts makes 6.
What I did:
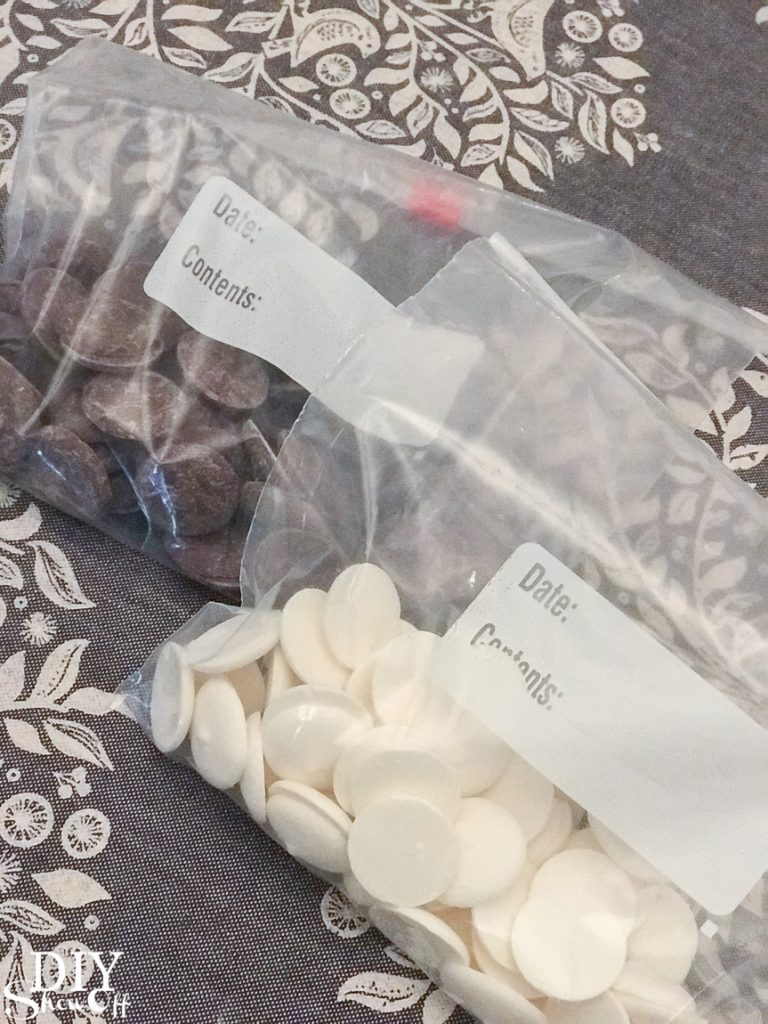
I transferred candy melts to quart sized baggy (I used two: light cocoa and white) and melted according to package instructions – either in the microwave or in a double boiler. My experience: I carefully set both bags (unzipped) into the microwave on ‘defrost’ for 50 seconds then checked and repeated and re-checked until melted. Instructions warn against overheating and I didn’t have any issue.
*Melted candy will be hot. Please use caution!
I set my silicone mold on a small cookie sheet (a tray or something that gives the mold support to be moved and that will fit into your freezer works).
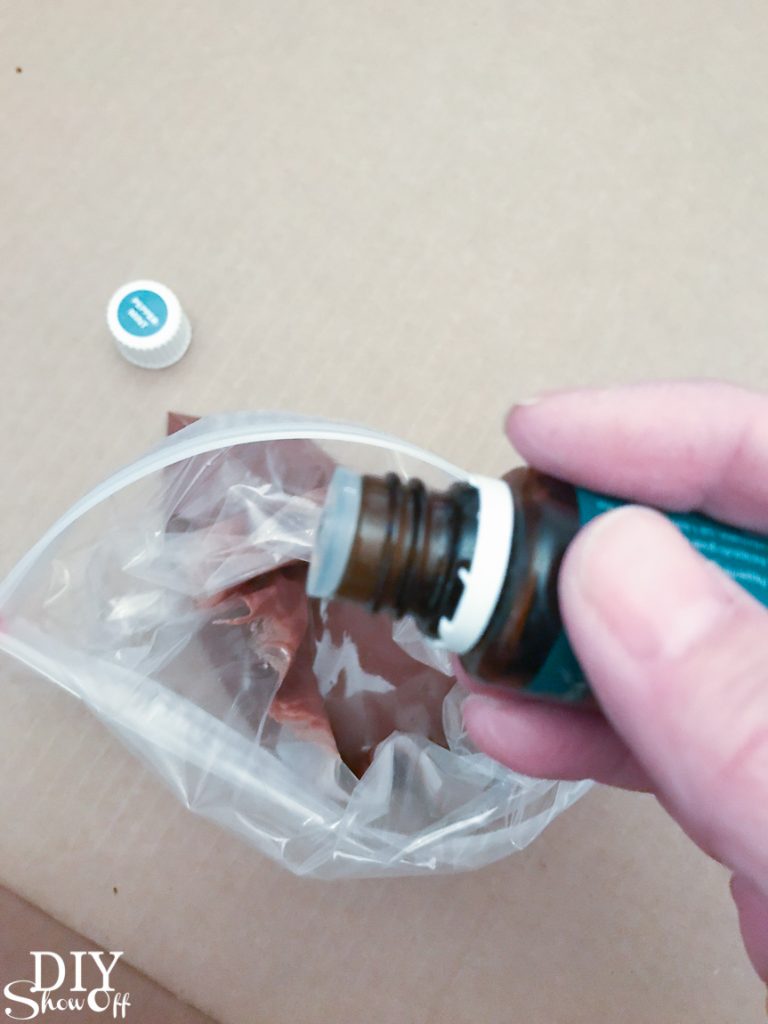
Once my candy was melted, I added 2-4 drops of Peppermint Vitality essential oil to the melted white candy, zipped the bag and kneaded the baggy to mix. I didn’t do it with both colors, just one.
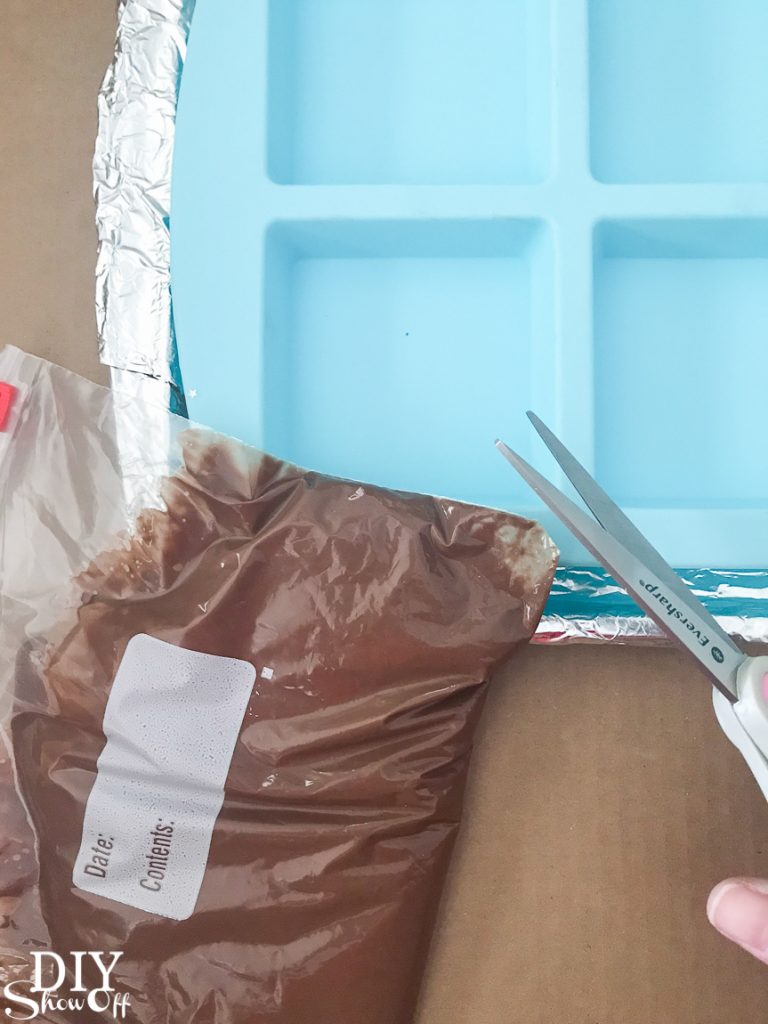
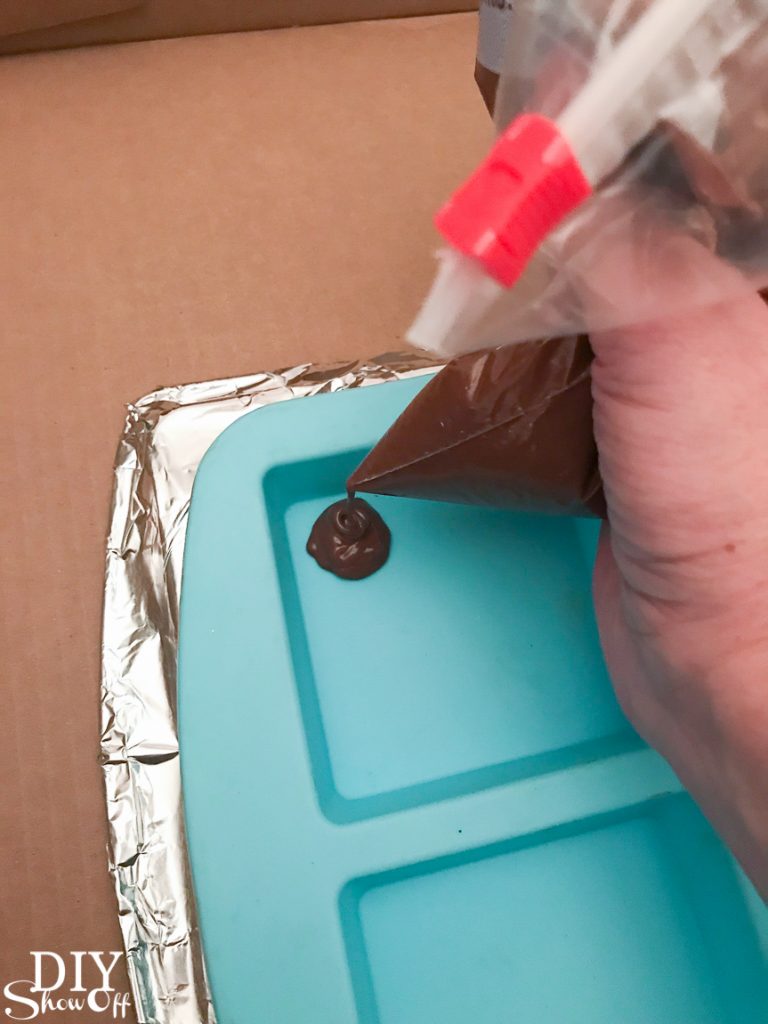
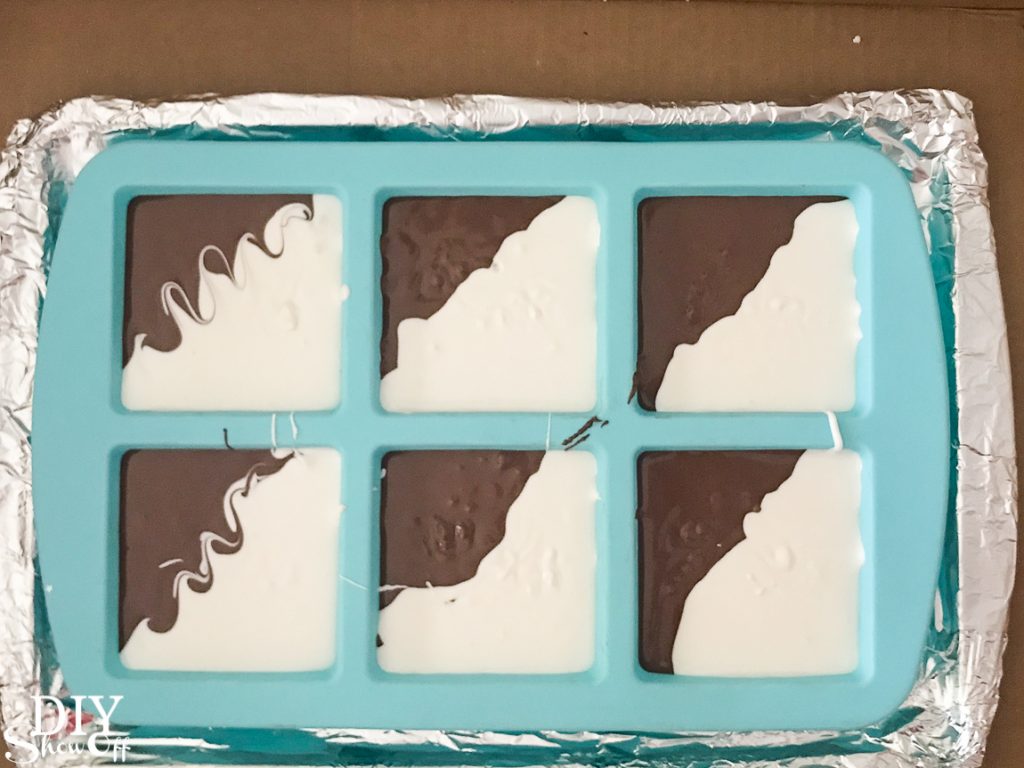
Then I snipped off a bottom corner of the baggy (very small snip!) with scissors and piped the candy into the silicone mold and repeated with the other color. I filled each silicone space with half and half of each candy into each square.
Next I gently shook/shimmied the mold to level the melted candy.
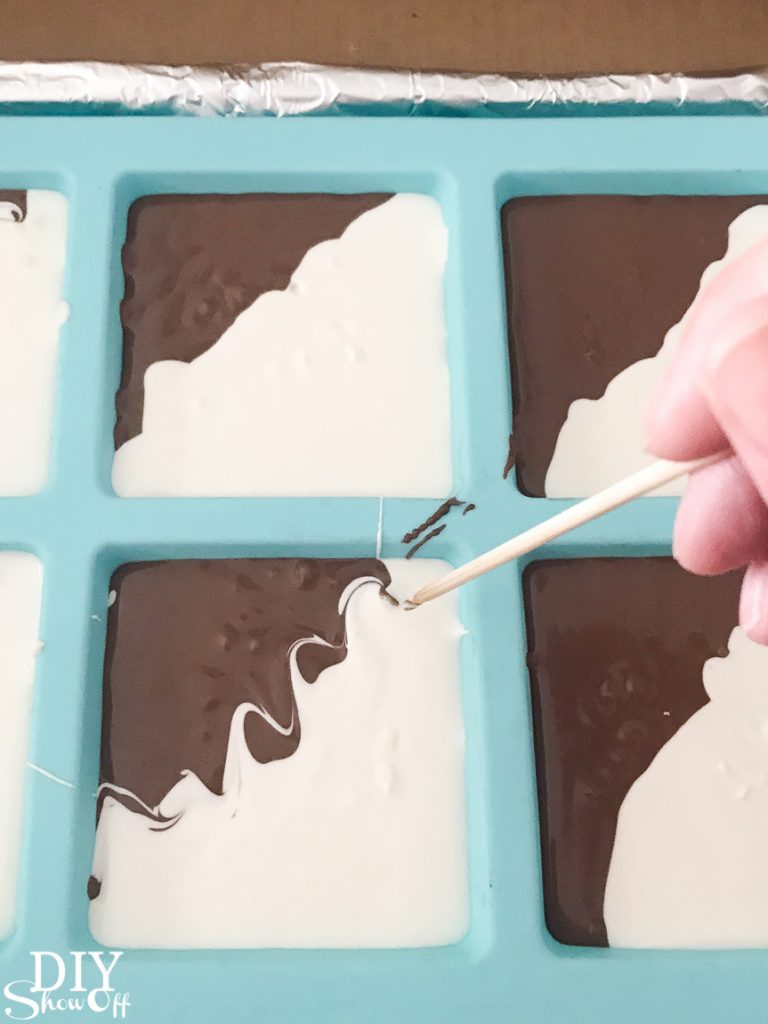
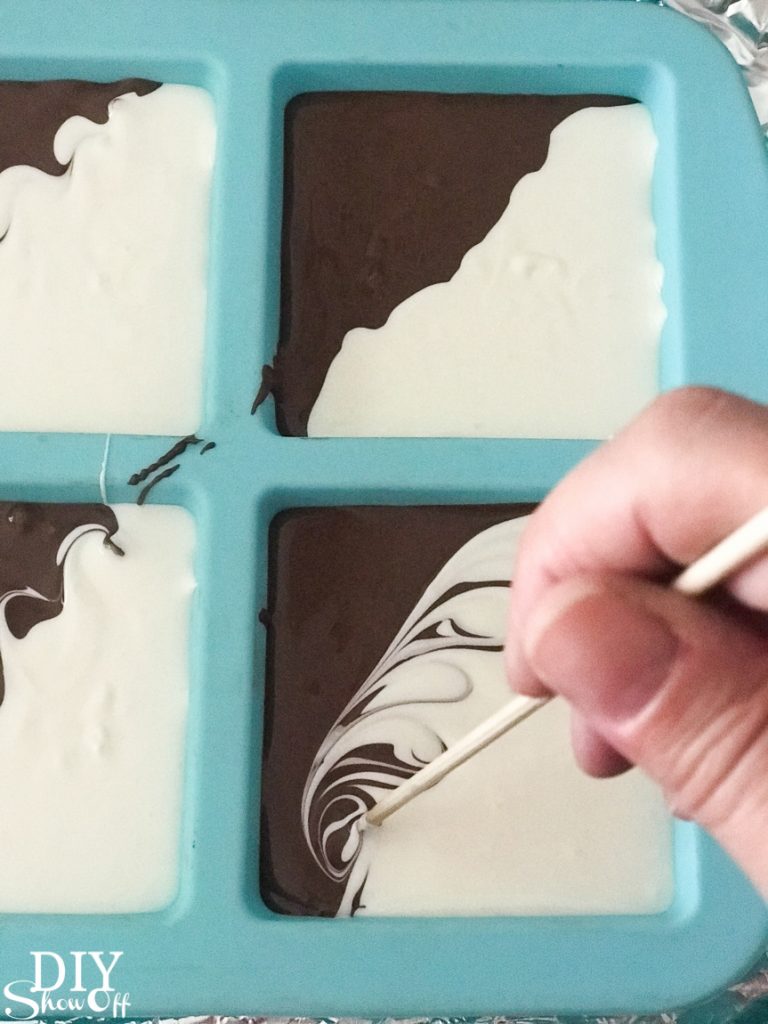
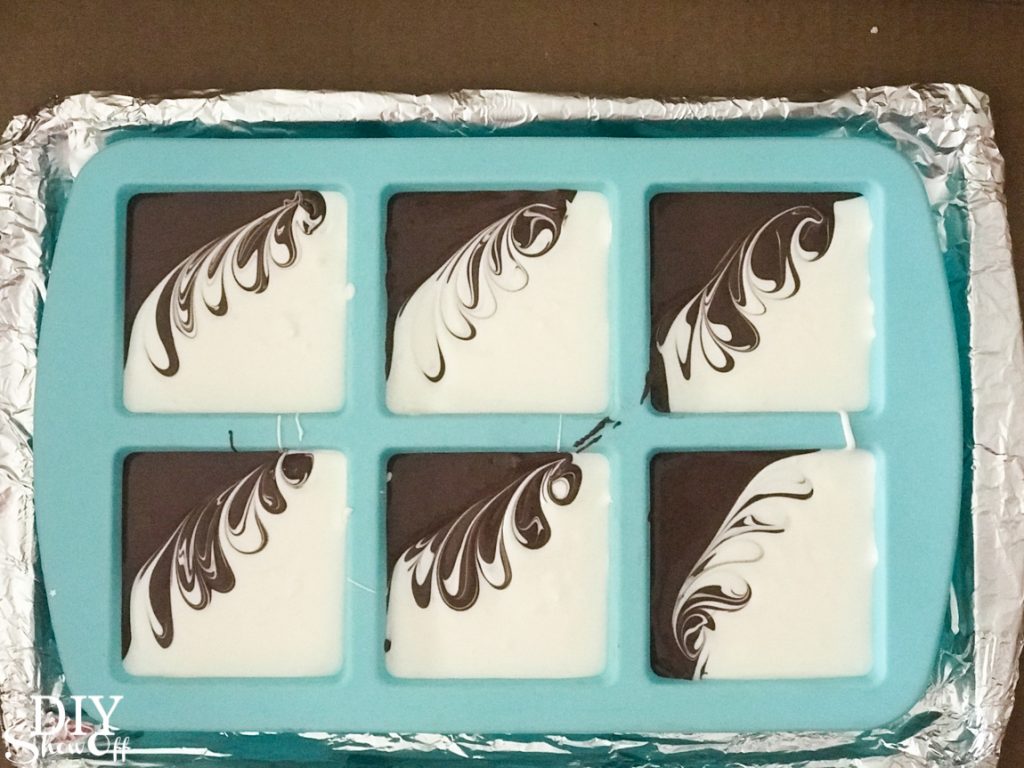
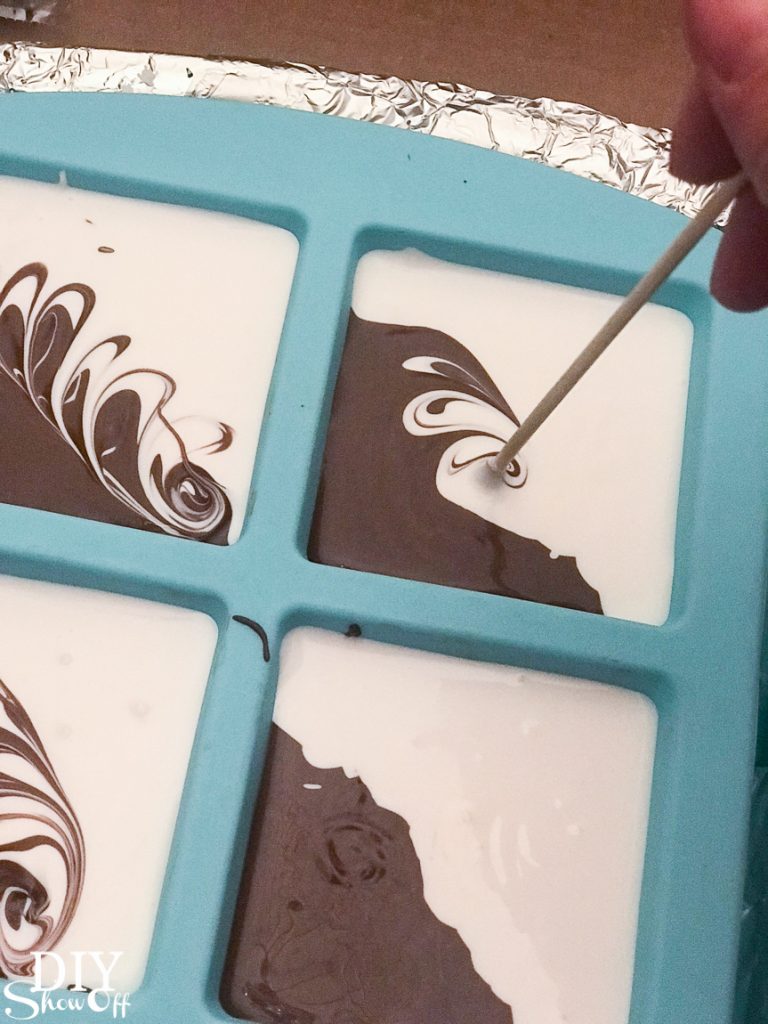
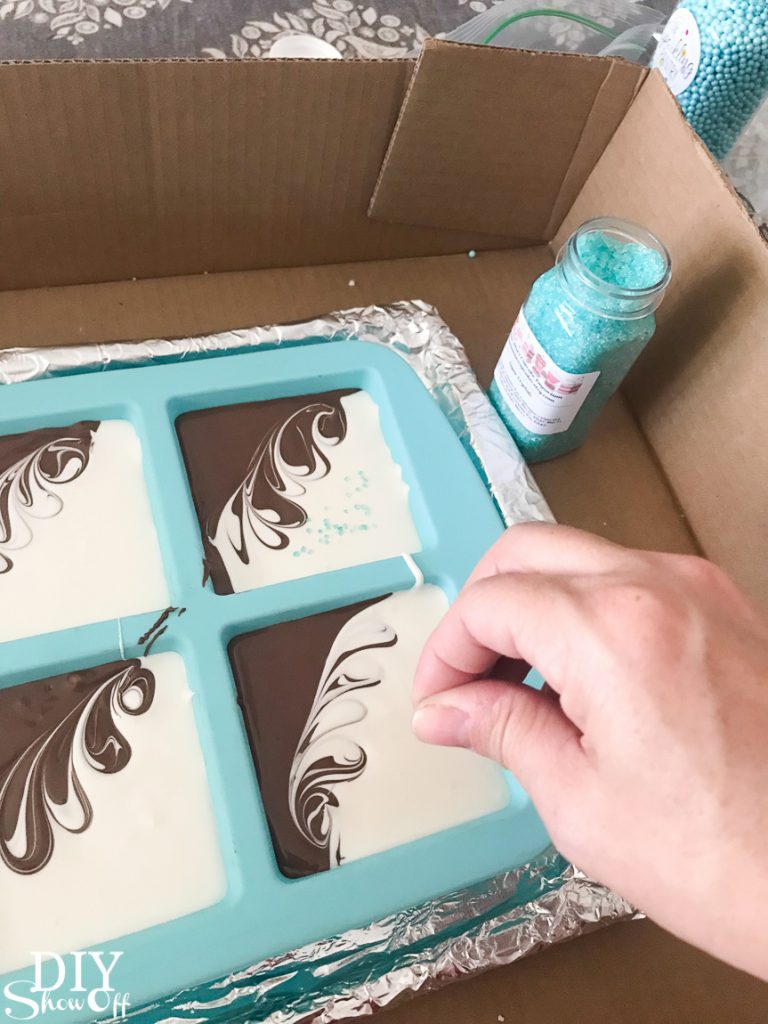
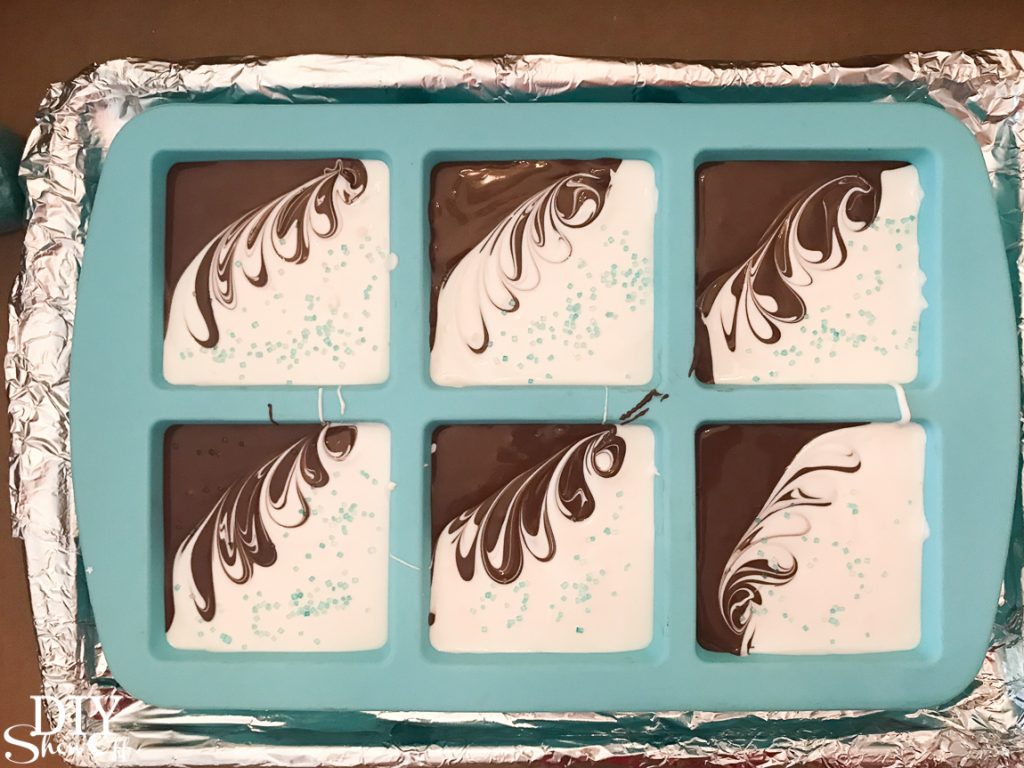
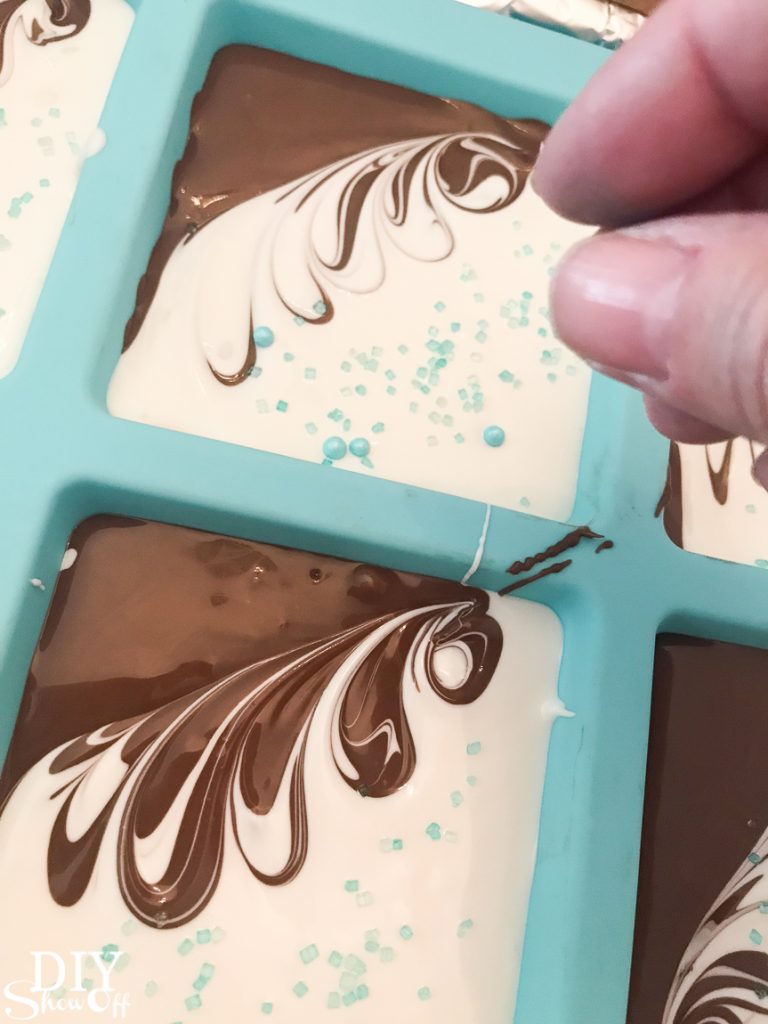
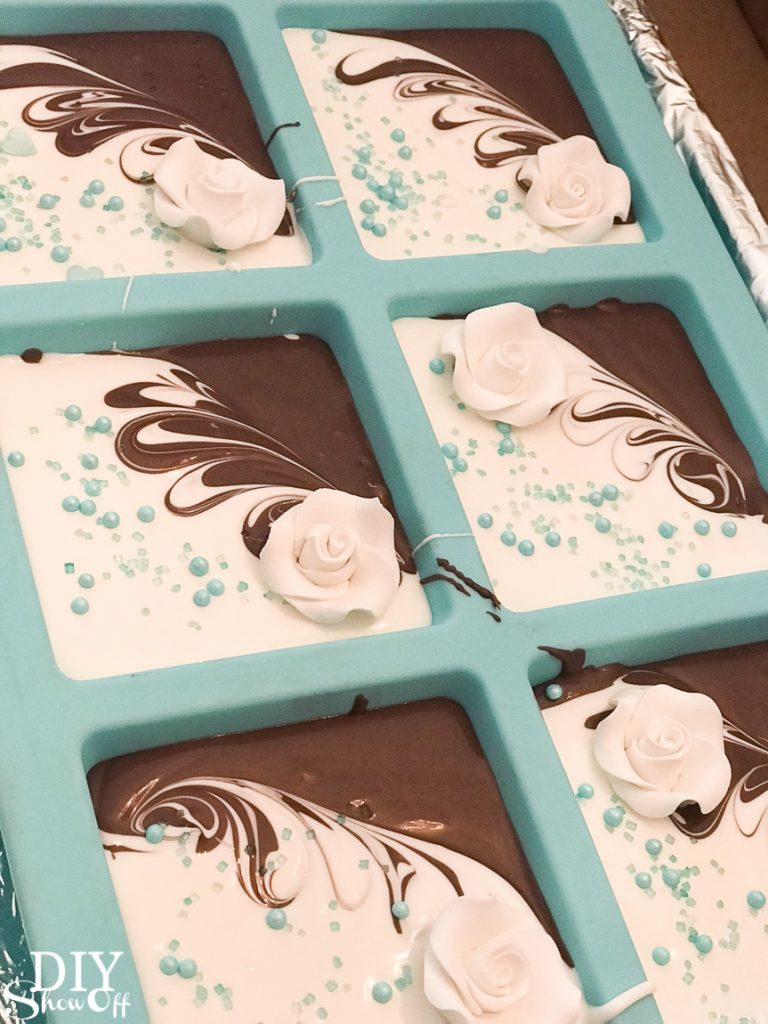
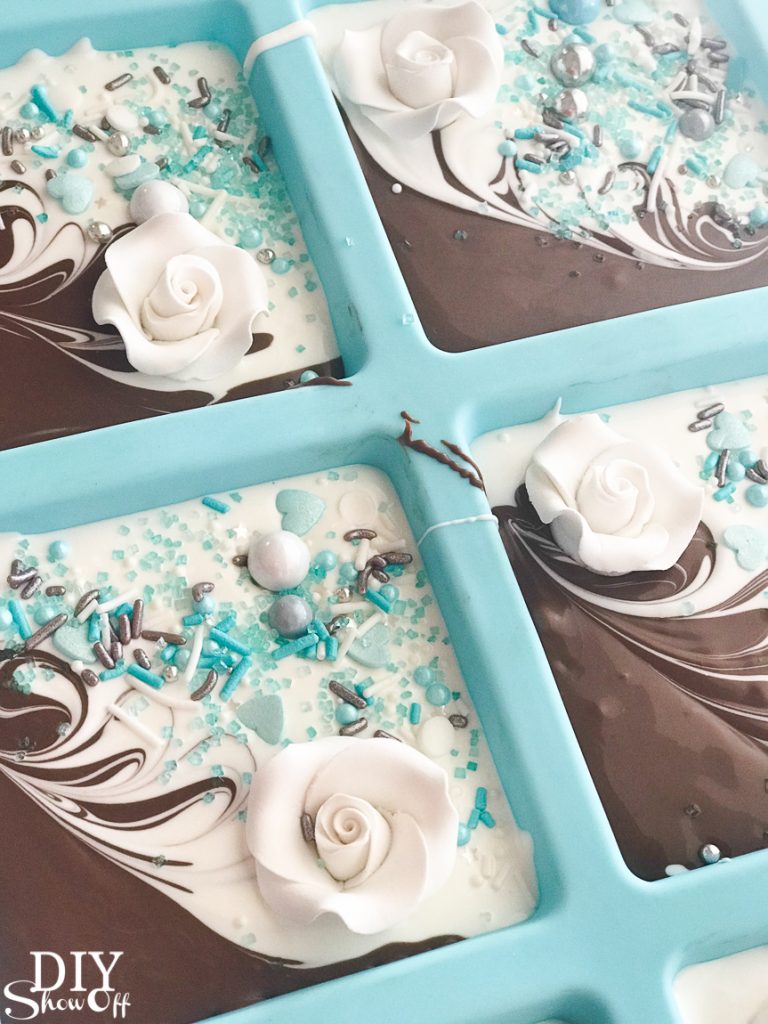
Using the skewer, while candy was still melted, I swirled the colors to create a beautiful unique design where the colors meet.
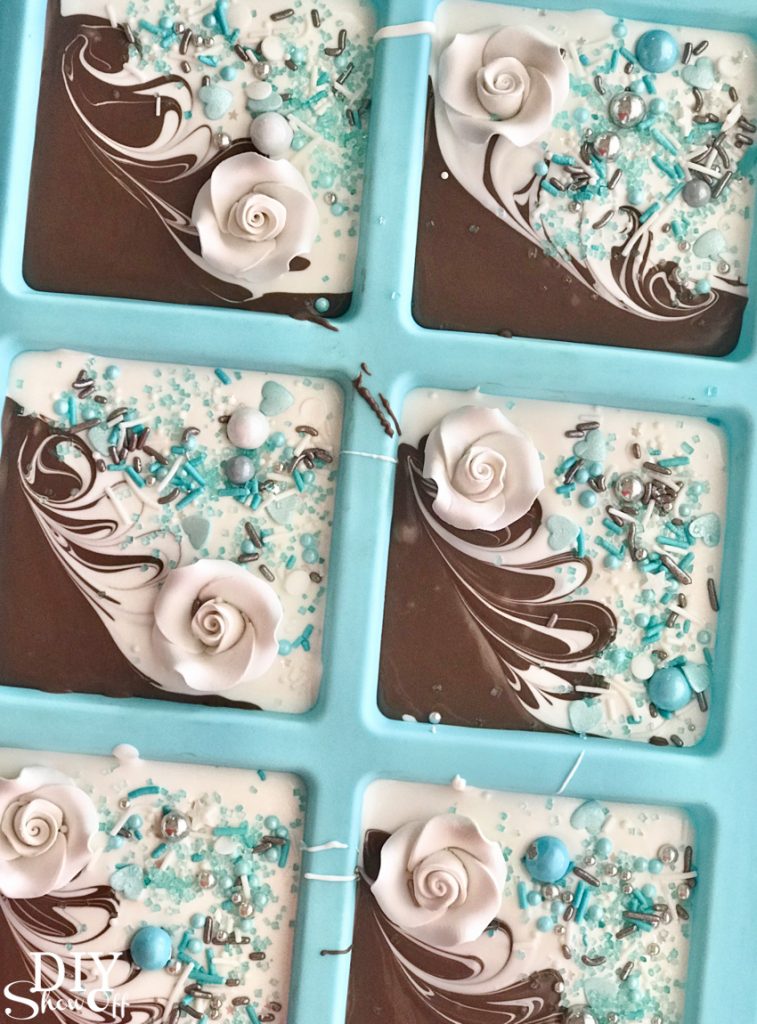
I am in LOVE with how each square is a unique and one of a kind design! I think this was my favorite step! I started out with just more of a zig zag but then discovered that the more swirly, the better.
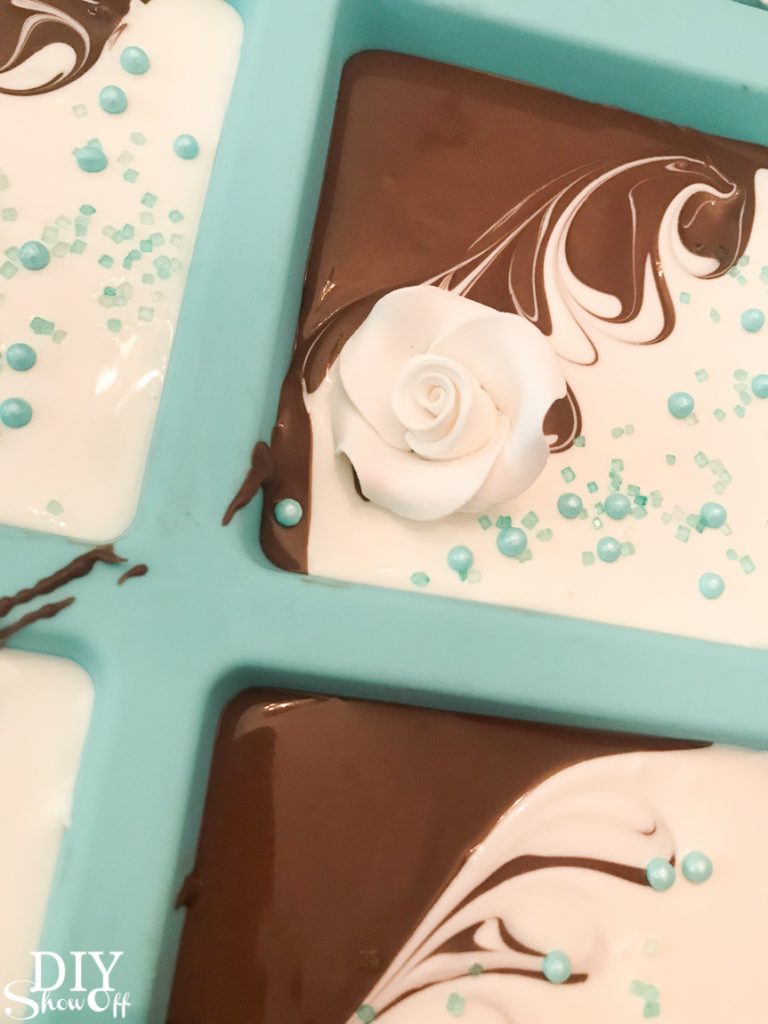
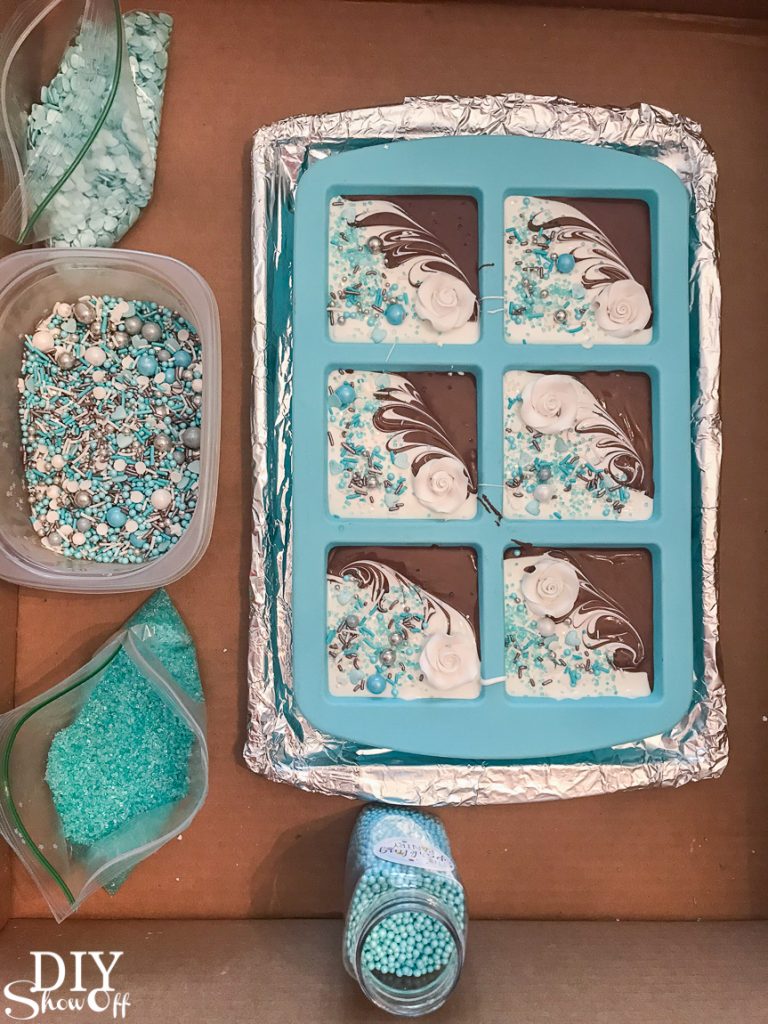
Then quickly decorated with icing roses, sprinkles, colored sugar, edible decorations, etc.
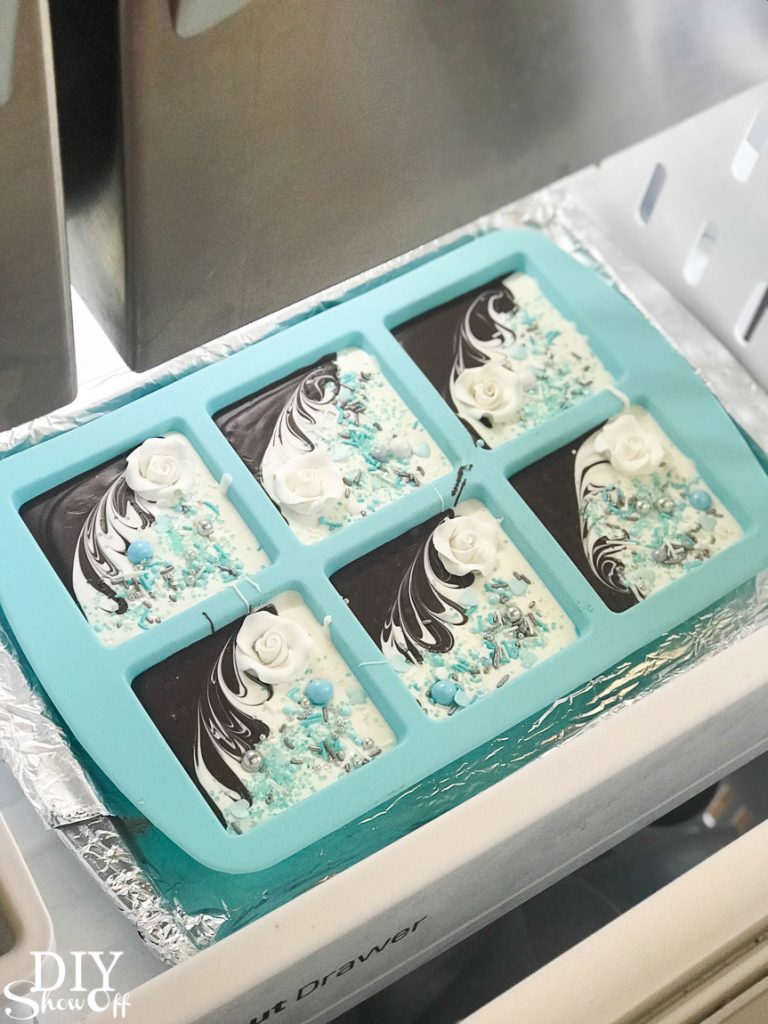
I placed the tray/silicone mold in freezer to set the candy. It didn’t seem to take long at all…probably about 15-20 minutes if that. Sometime I let it sit overnight if I got busy.
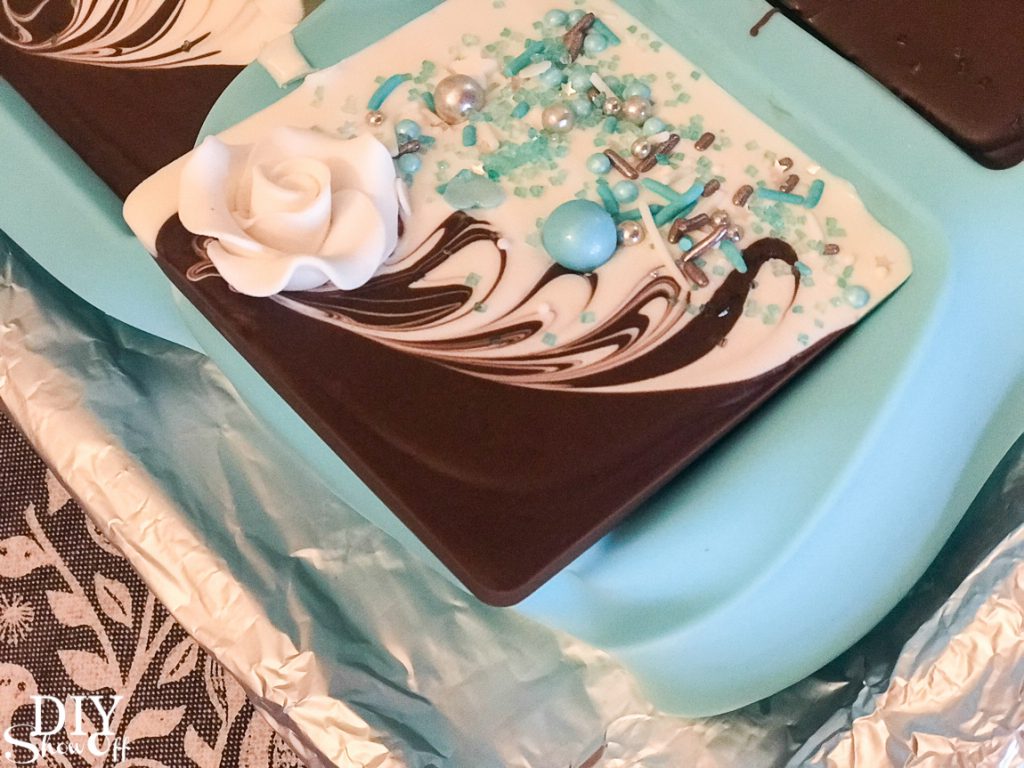
Then I removed them from freezer and carefully popped the bars out of silicone mold.
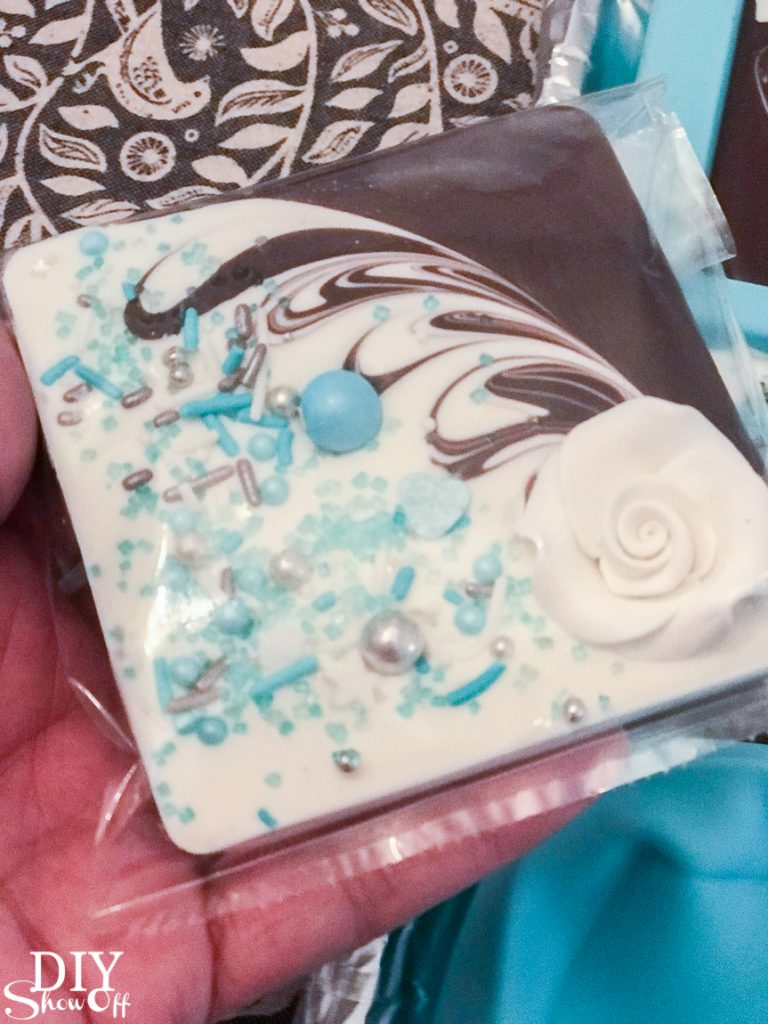
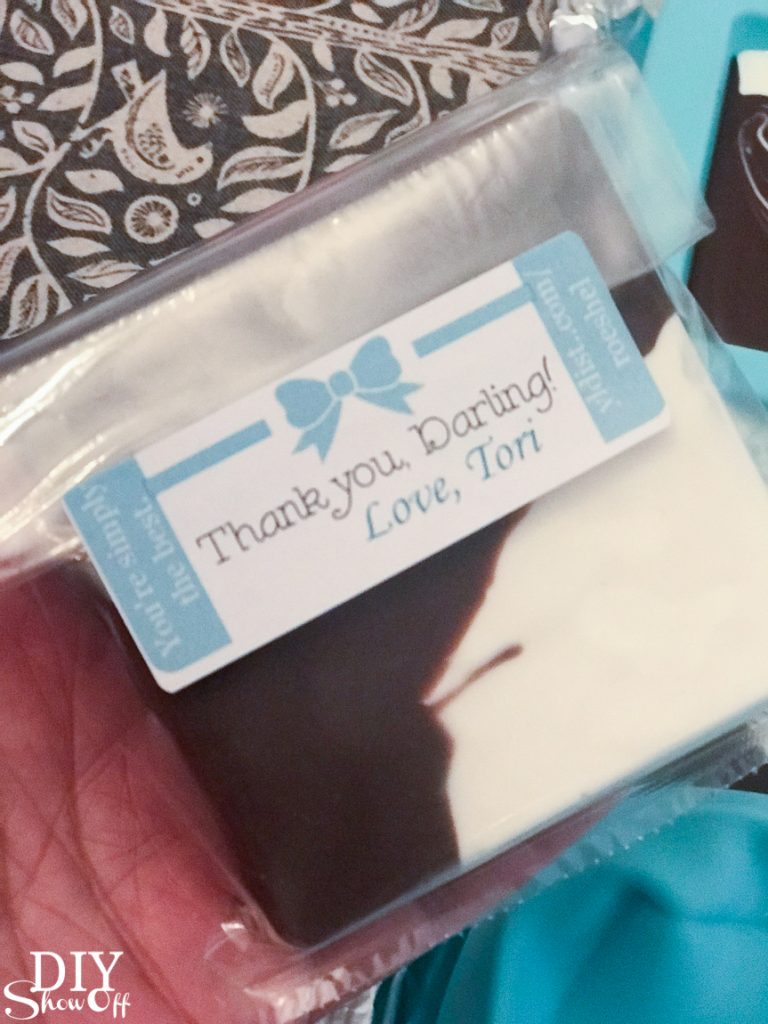
I placed them into a bag and secured with a personalized label.
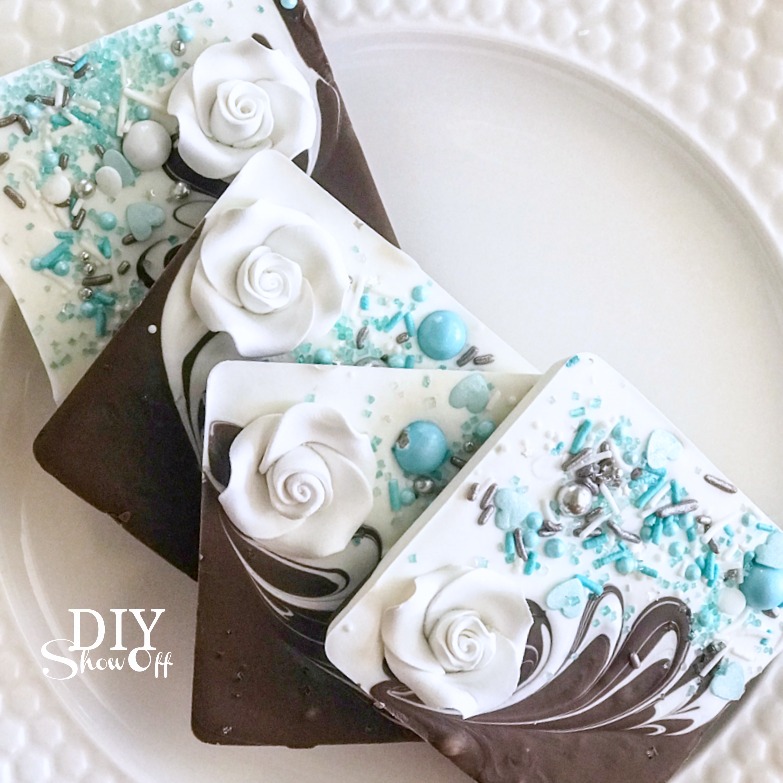
Beautiful! I love that each design is unique, don’t you? They’re so pretty, so professional and designer-looking but so easy to create! I can’t wait to make more!
So.many.photos! lol But I’m just so happy with how pretty they are!
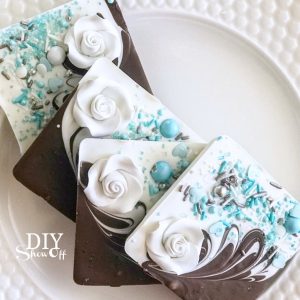
This batch was a “Breakfast at Tiffany’s” theme.
I whipped up 60-70 of these for a bridal shower but since you can personalize them with any candy melts (so many colors!) and any deco ratings (so many colors and shapes and ideas!), they’d work for not only bridal showers but for Mother’s Day, baby showers, wedding favors, party favors, hostess and teacher gifts, prizes, etc. I made a few every evening over a couple of weeks’ time. I gave a few out as essential oil infused door prizes and at Easter to my family too. I even had my grandson helping me decorate a few!
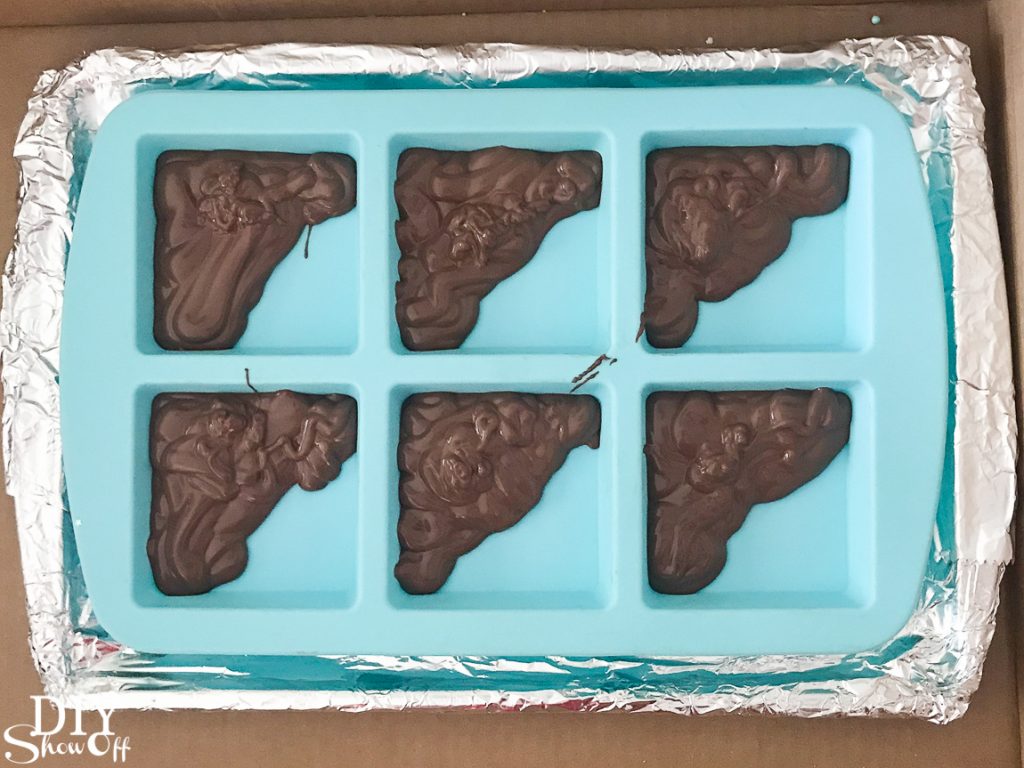
Warning – not only are they a beautiful sweet treat, they’re so addicting to create! Here is the very first batch that started my madness (without the swirl technique)…
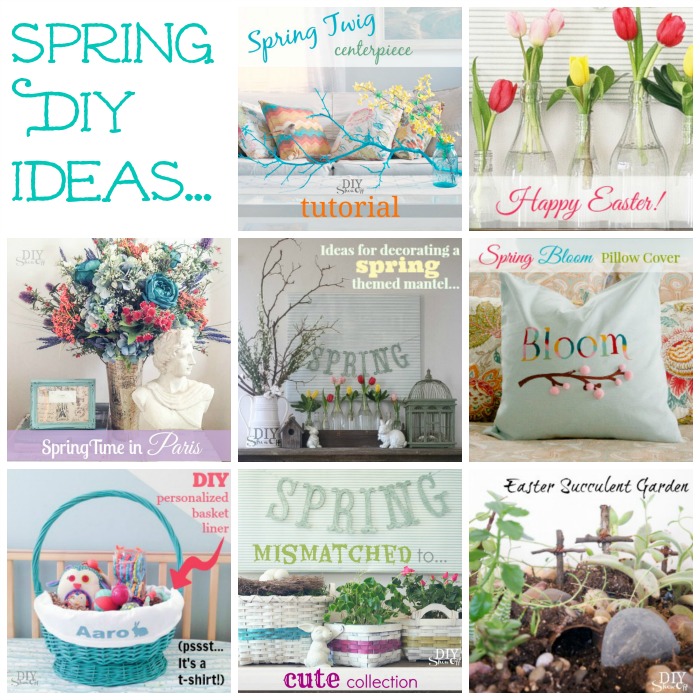
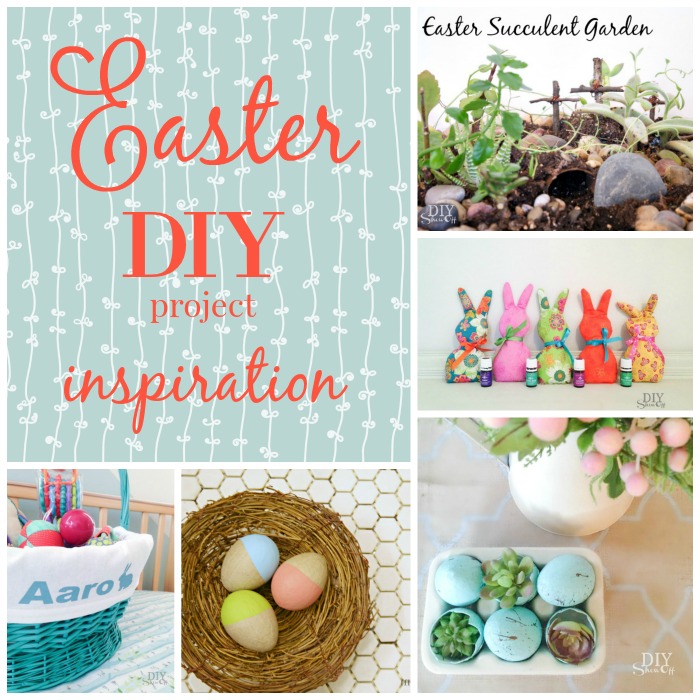
Happy Spring, DIY friends! Rounding up a collection of Easter DIY & decorating inspiration for my DIYShowOff friends.
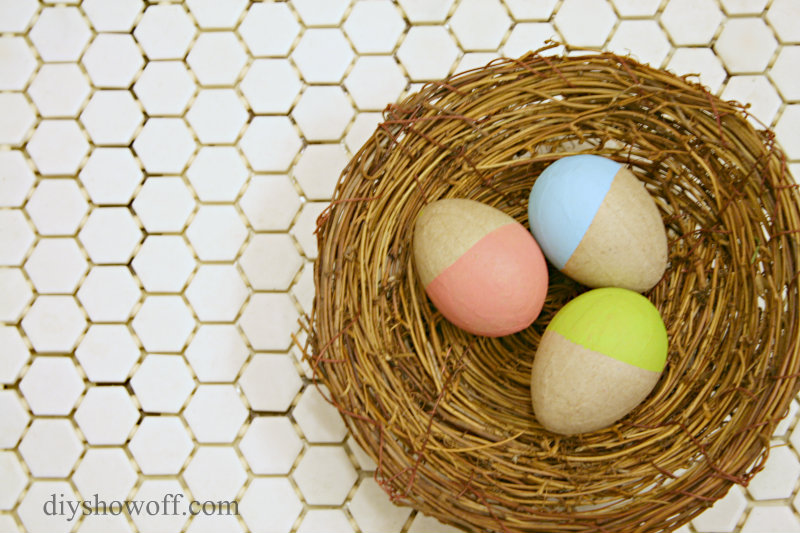
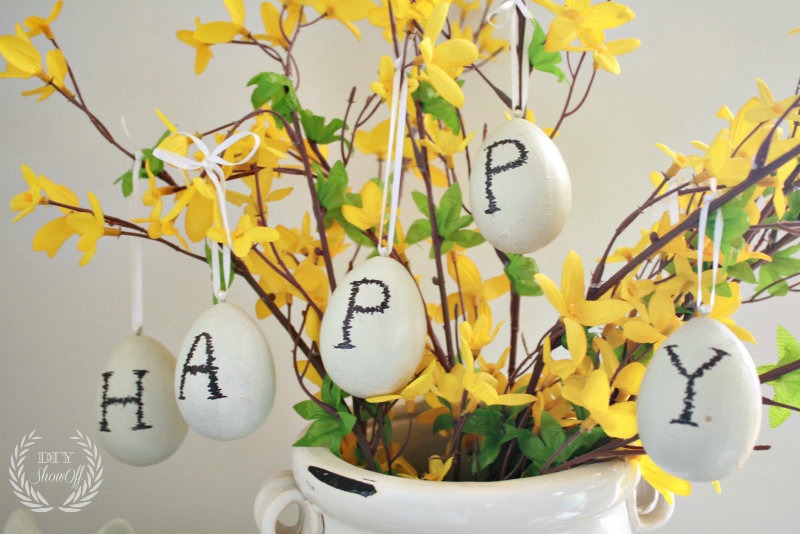
I don’t know about you, but I feel renewed! These longer days and the bright sunshine just fill my soul with so much happiness and motivation! I’m so ready to put winter behind me! It’s the perfect day to take a walk down memory lane at some DIYShowOff Easter inspiration:
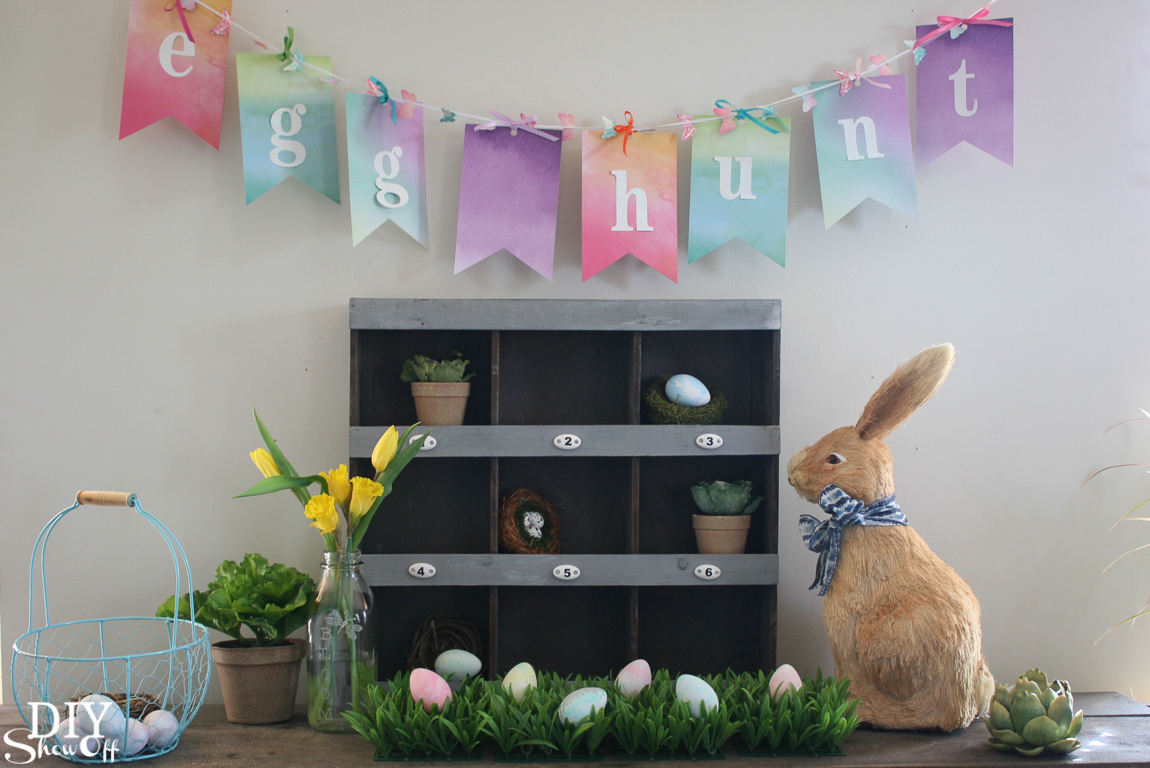
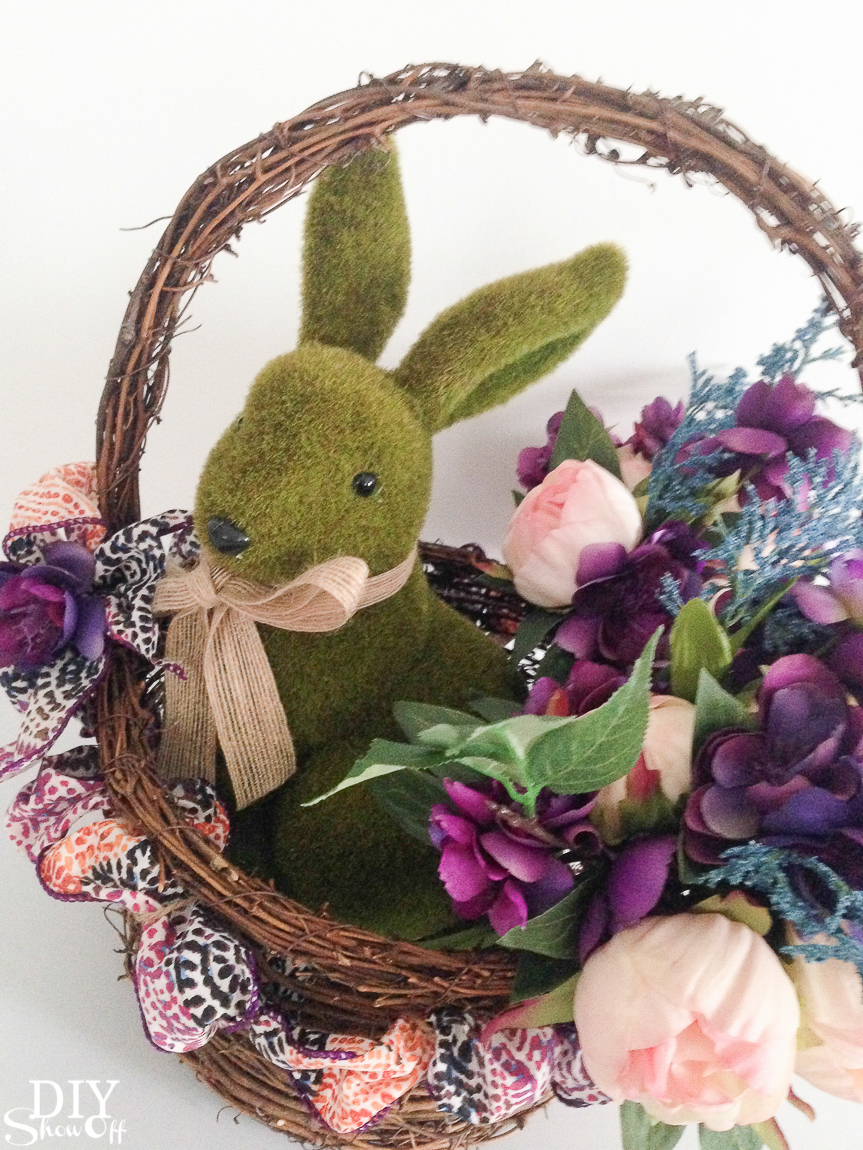
Time for some seasonal//holiday decorating! Do you set out some decorative bunnies, crosses or spring flowers this time of year? I love freshening up our home with seasonal decorative accessories.
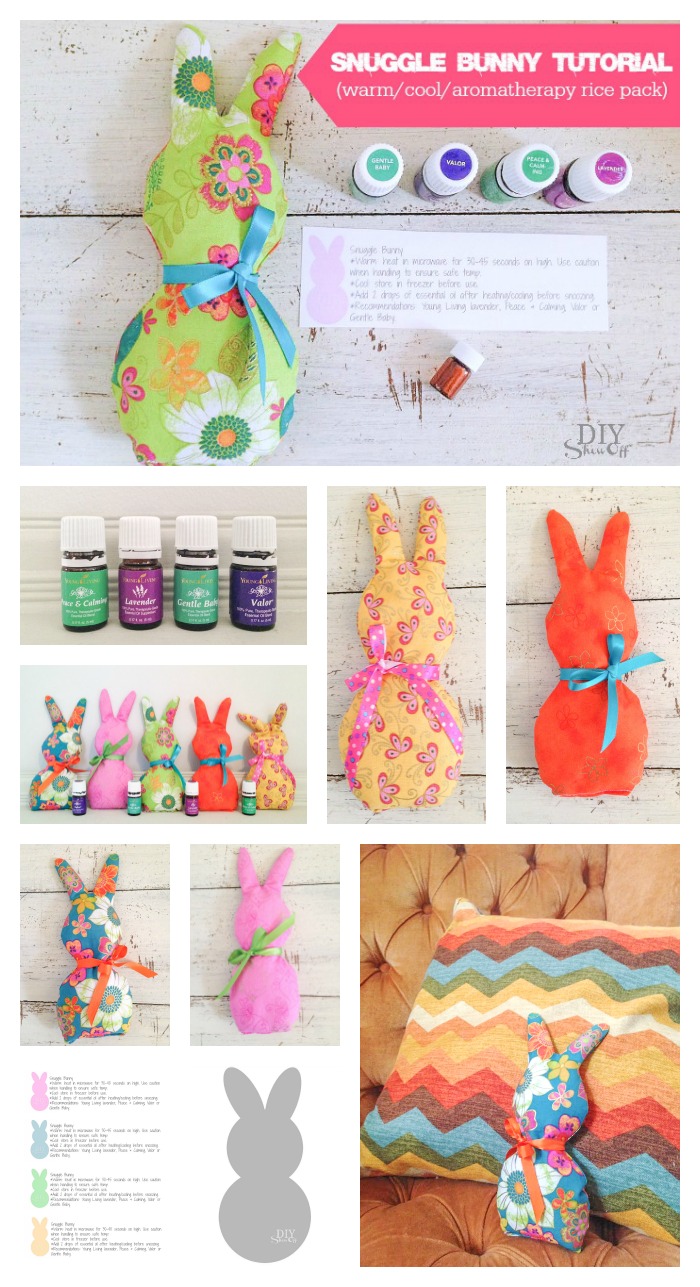
Do you love handmade gifts as much as I do? I love the thought and love behind gift giving. These snuggle bunnies are so cute. Tip: edit the tutorial to put a little pocket in the front with a felt carrot or flower for changing out the essential oils.
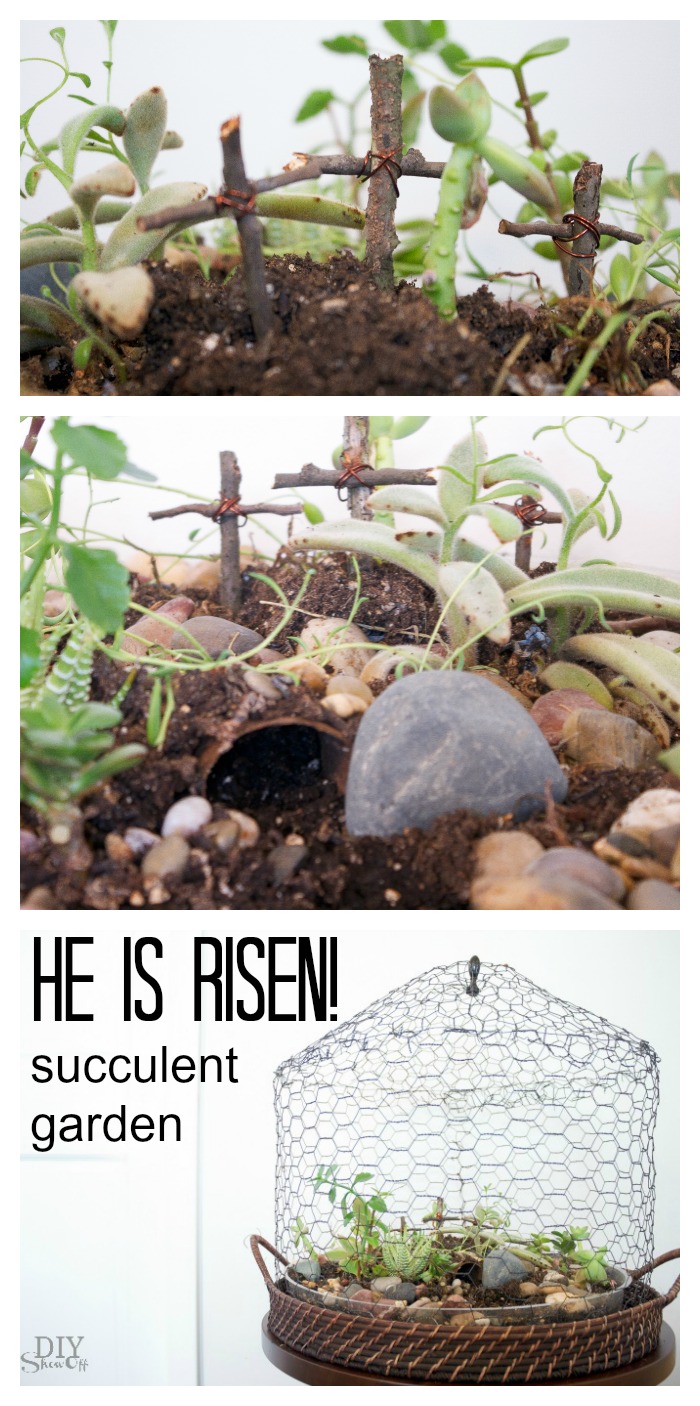
A couple of twigs, twine and a few rocks can give your container or succulent garden a faith based vignette and reminder of the reason for the season. xo
Entertaining? Hosting? A diffuser + some Stress Away or Lavender or Peace & Calming or Valor or Citrus Fresh … so many options to fill your home with inviting scents for a comfortable environment. When you purchase the Premium Starter Kit using Enroller/Sponsor #1836762 at YoungLiving.com, you’ll get a Spring Welcome bundle including a sweet mini USB bunny diffuser! Score!
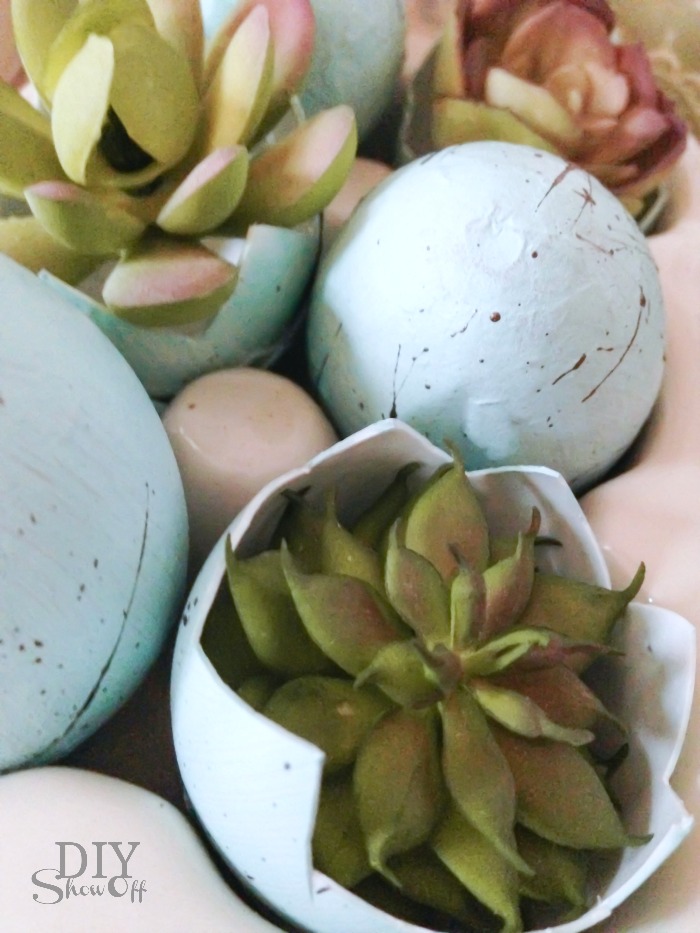
No green thumb? Tuck some faux-succulents into some pretty plastic eggs to decorate vignettes or use at place settings when hosting a family gathering.
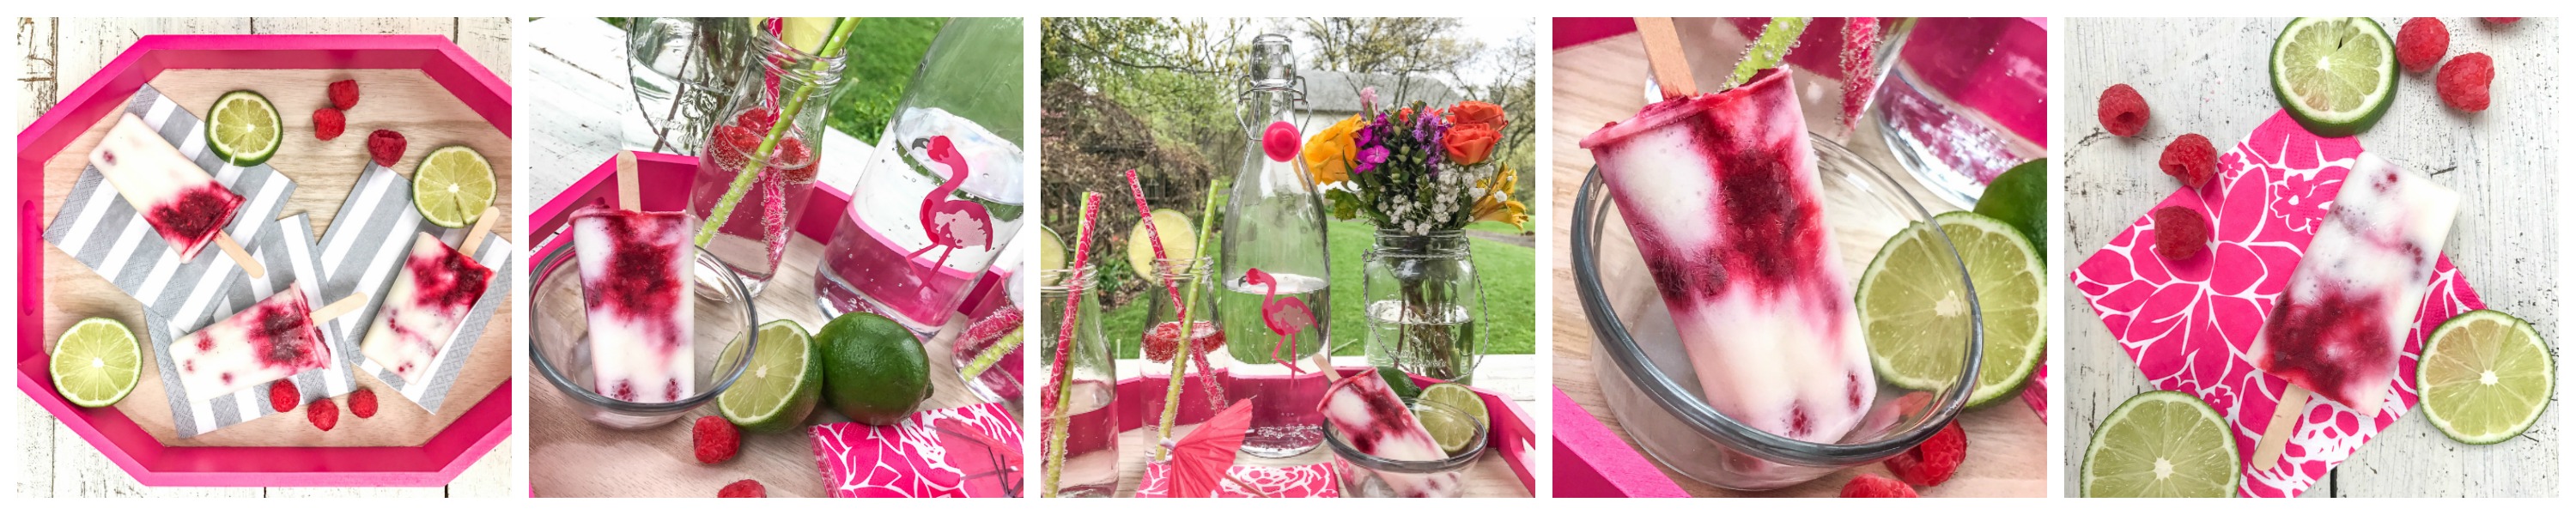
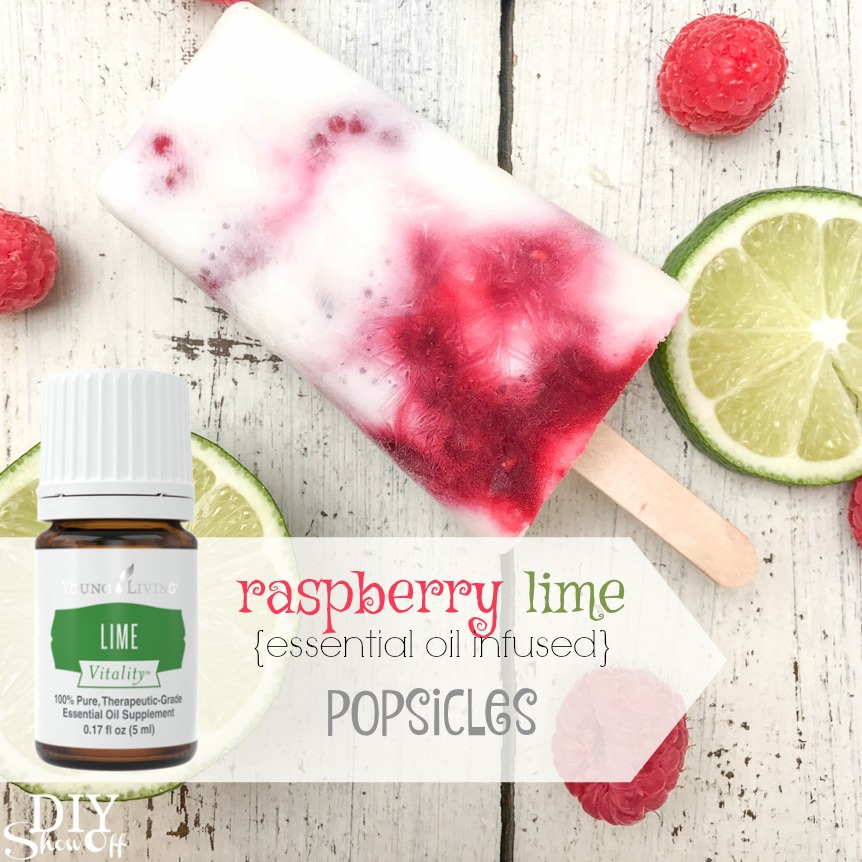
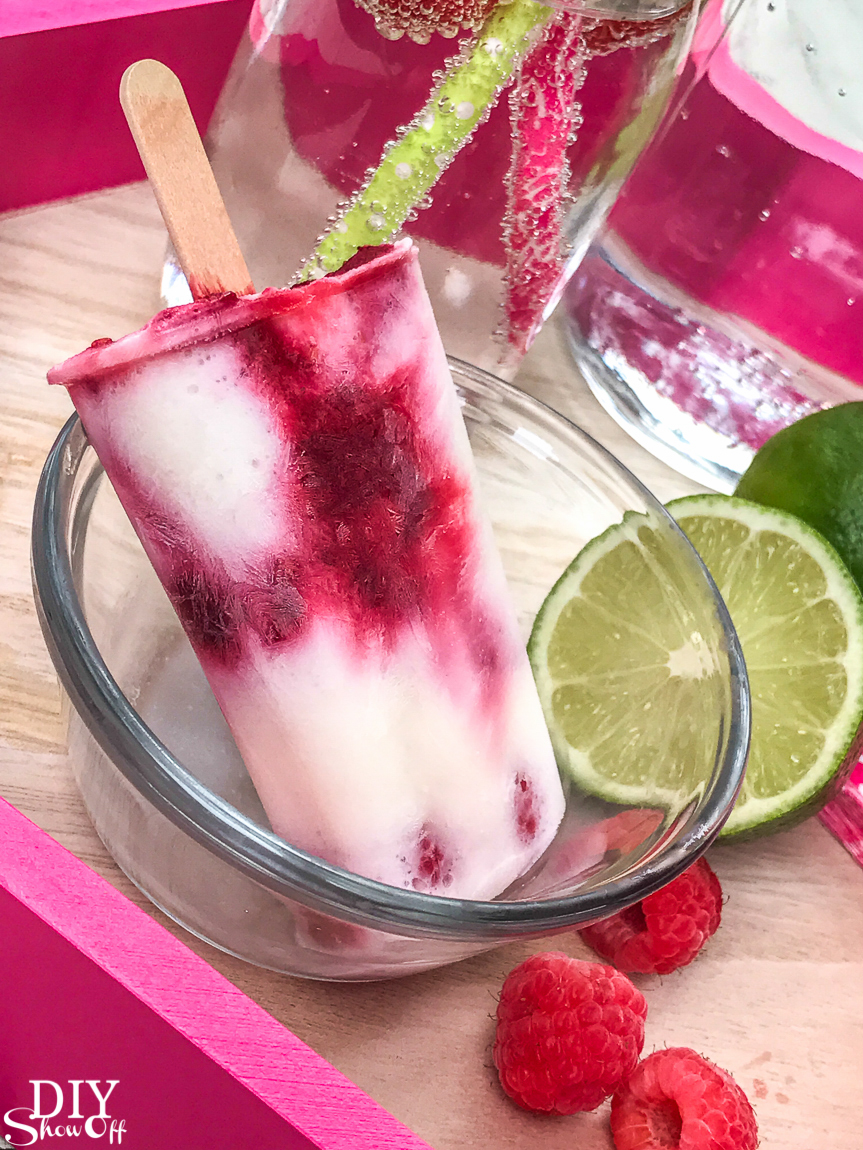
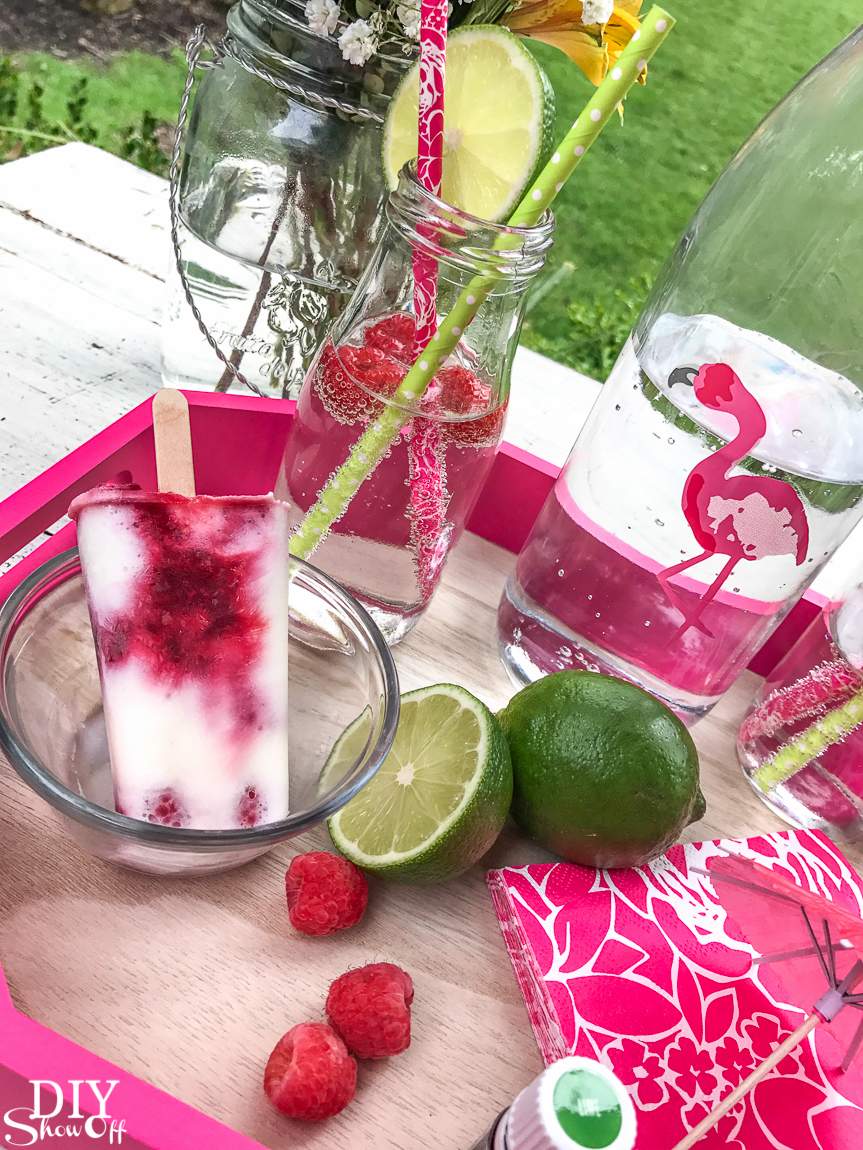
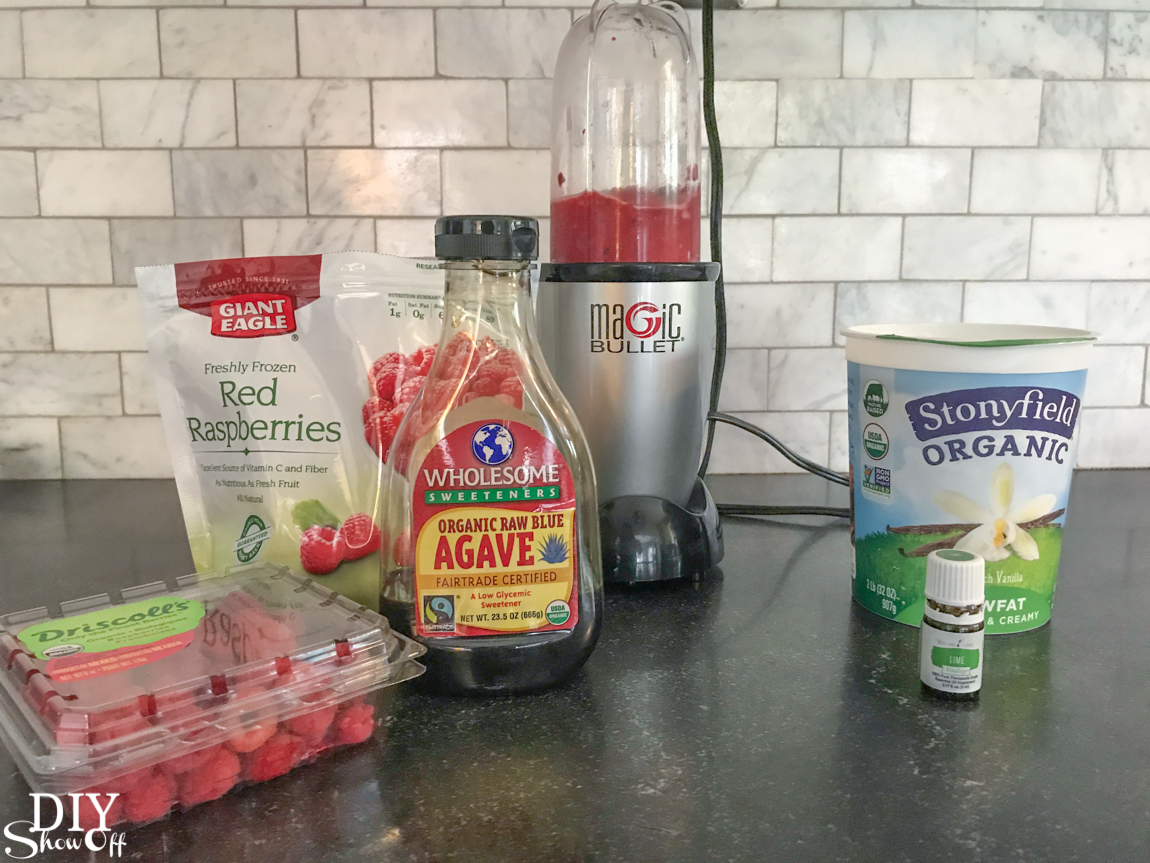
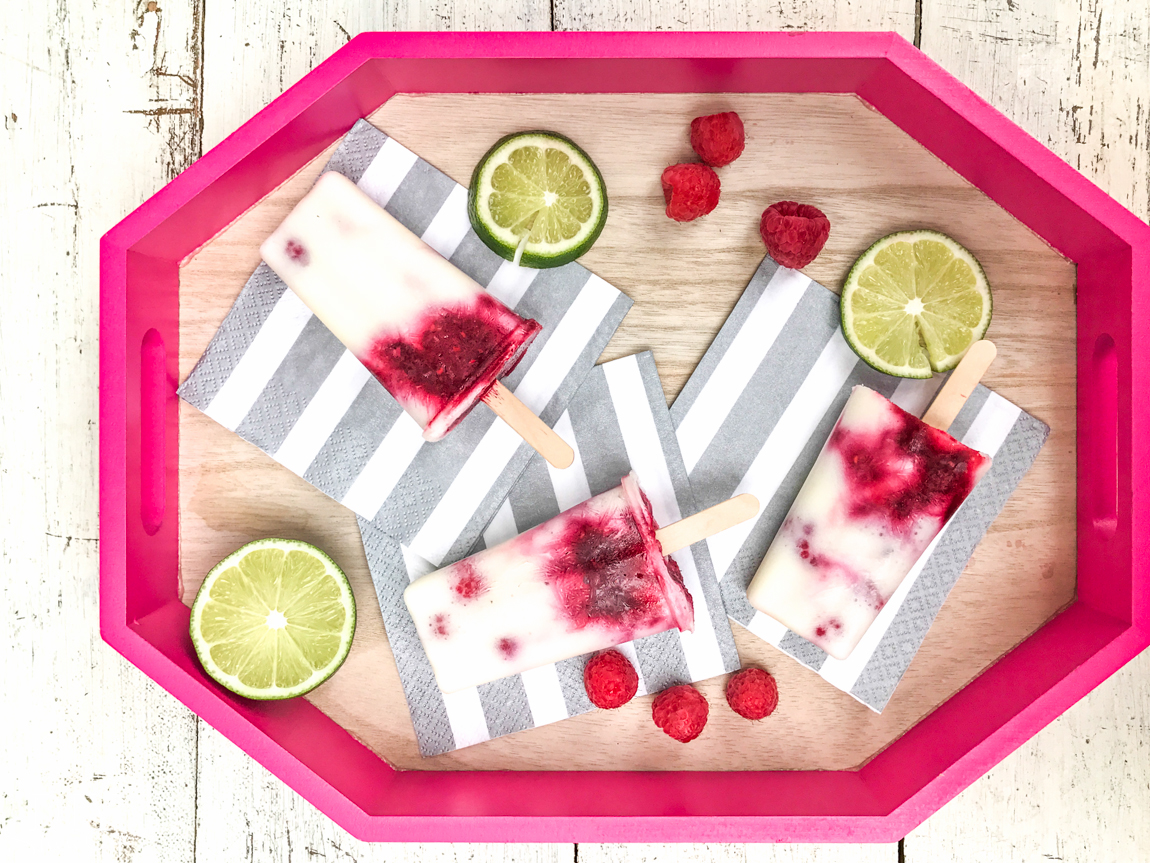
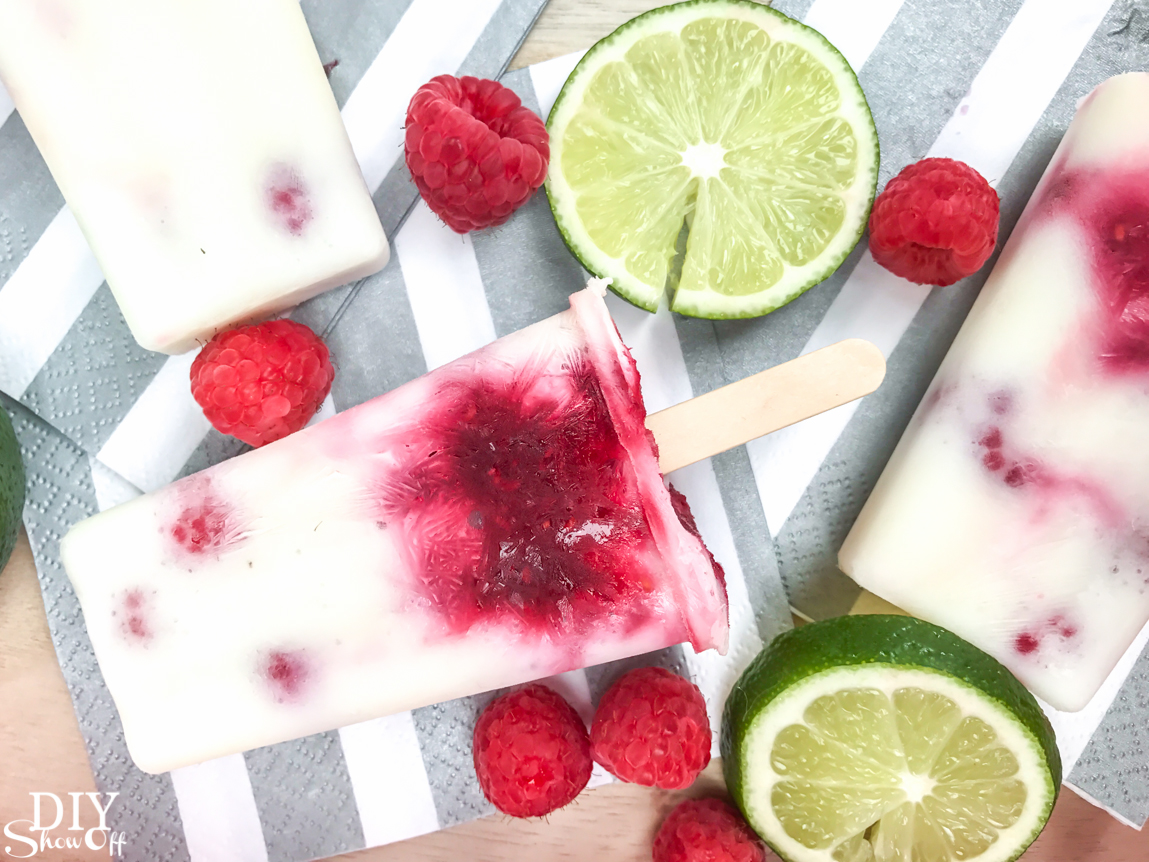
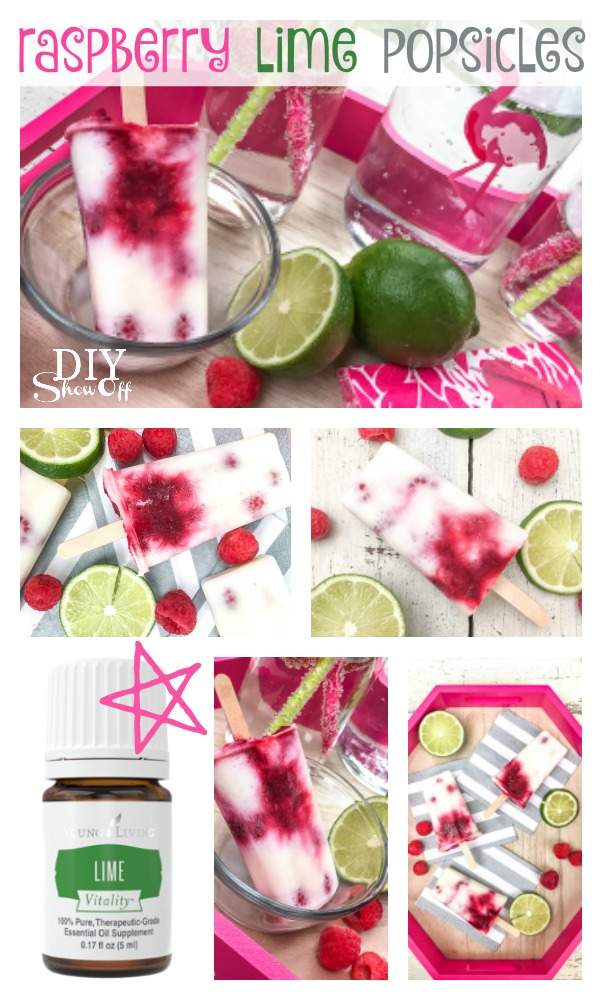
Beat the summer heat with these easy and refreshing Raspberry Lime Essential Oil Popsicles! Made with real fruit juice and infused with therapeutic-grade lime essential oil, this healthy frozen treat is perfect for Memorial Day parties, backyard BBQs, or anytime you need a cool, flavorful pick-me-up.
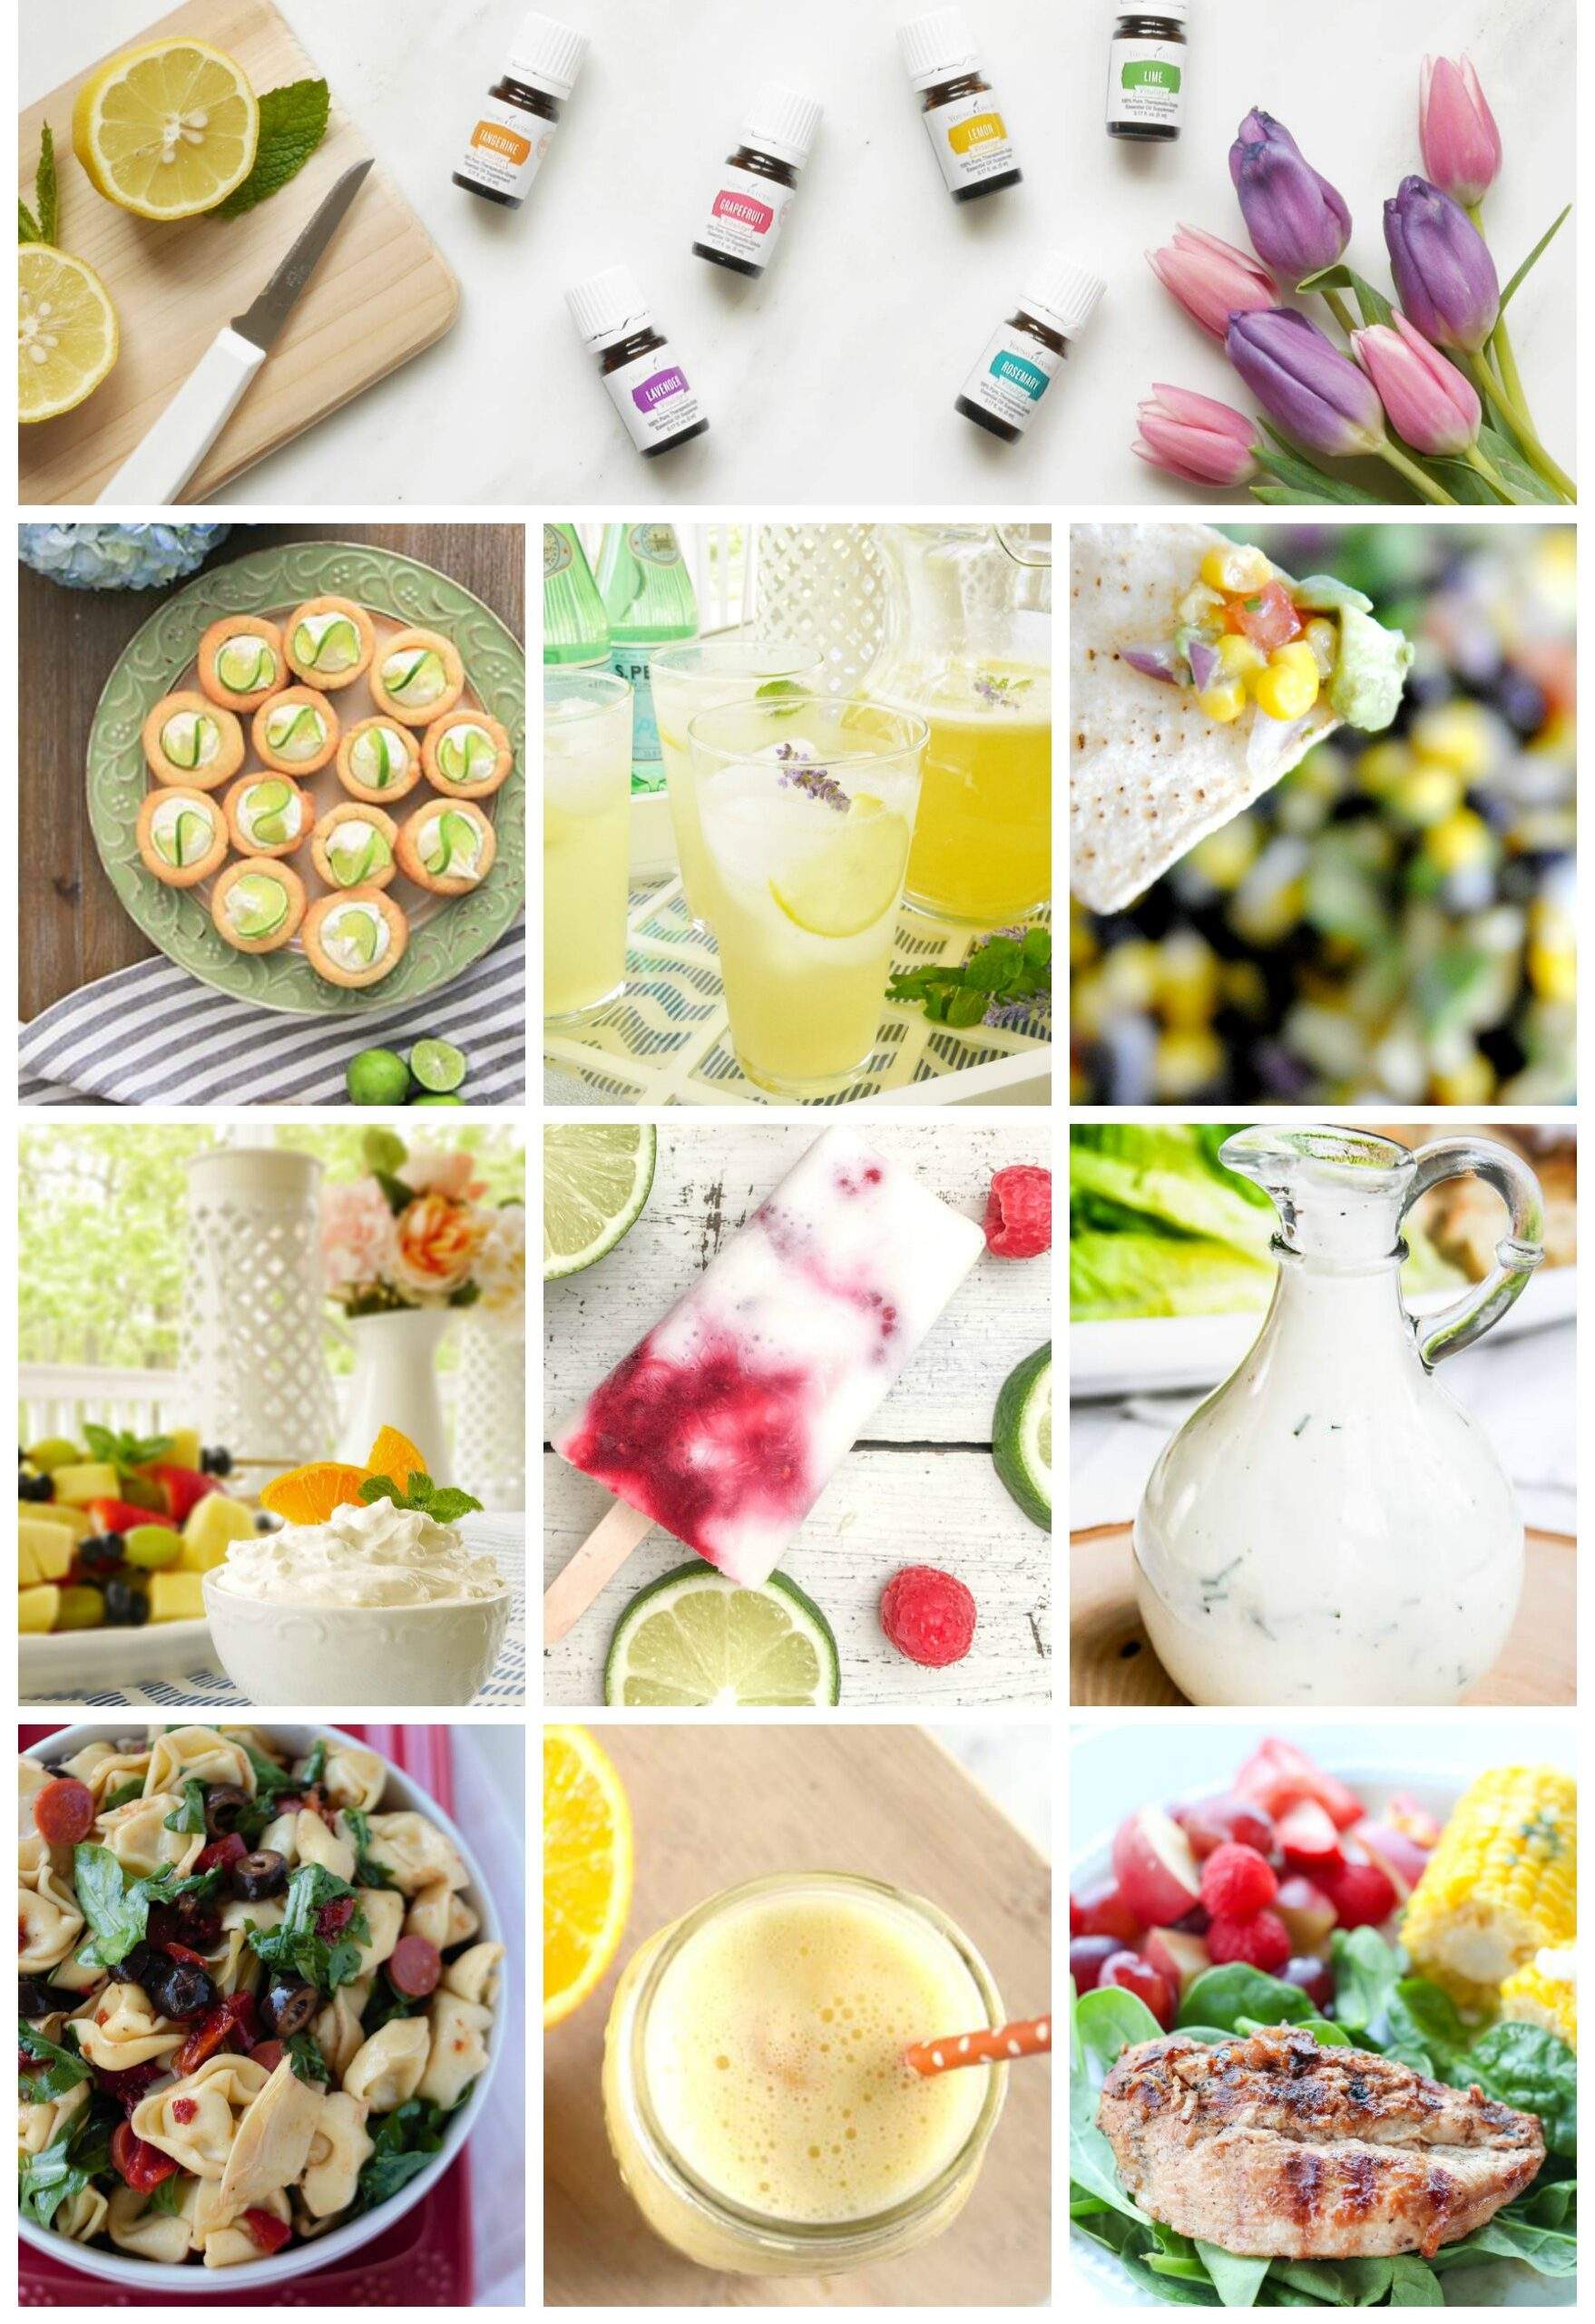
SUMMERRRRRRRR! It’s my most favorite season of the year! WOOO HOOOO! Break out the sandals and sunglasses and crank up the Kenny Chesney playlist. SUMMER is almost here! For me, Memorial Day is my unofficial official start to summer so let’s start kick off the count down with inspiration for planning your summer cookout with Young Living essential oils. Just so happens, your oily blog friends have organized a fun Summer CookOut event with a blog hop & Facebook party!
*I’ve included affiliate links where indicated.
So, my husband is the one who does the cooking around here. I can’t wait to pas along the recipes. (Not that I can’t cook! He just really enjoys it, so who am I to argue? It’s all yours, babe!) Anyway, here is a recipe that ANYONE can do. No cooking or baking skills required!
So, your cook out is a blast! Everyone’s hot and ready to take a break from the bean bag toss, shooting the breeze, horseshoes, splashing in the pool, tumbling on the trampoline and freeze tag. Let’s skip the high sugar content/color dye frozen treats and serve up a batch of super cool Raspberry Lime {essential oil infused of course} Popsicles instead!
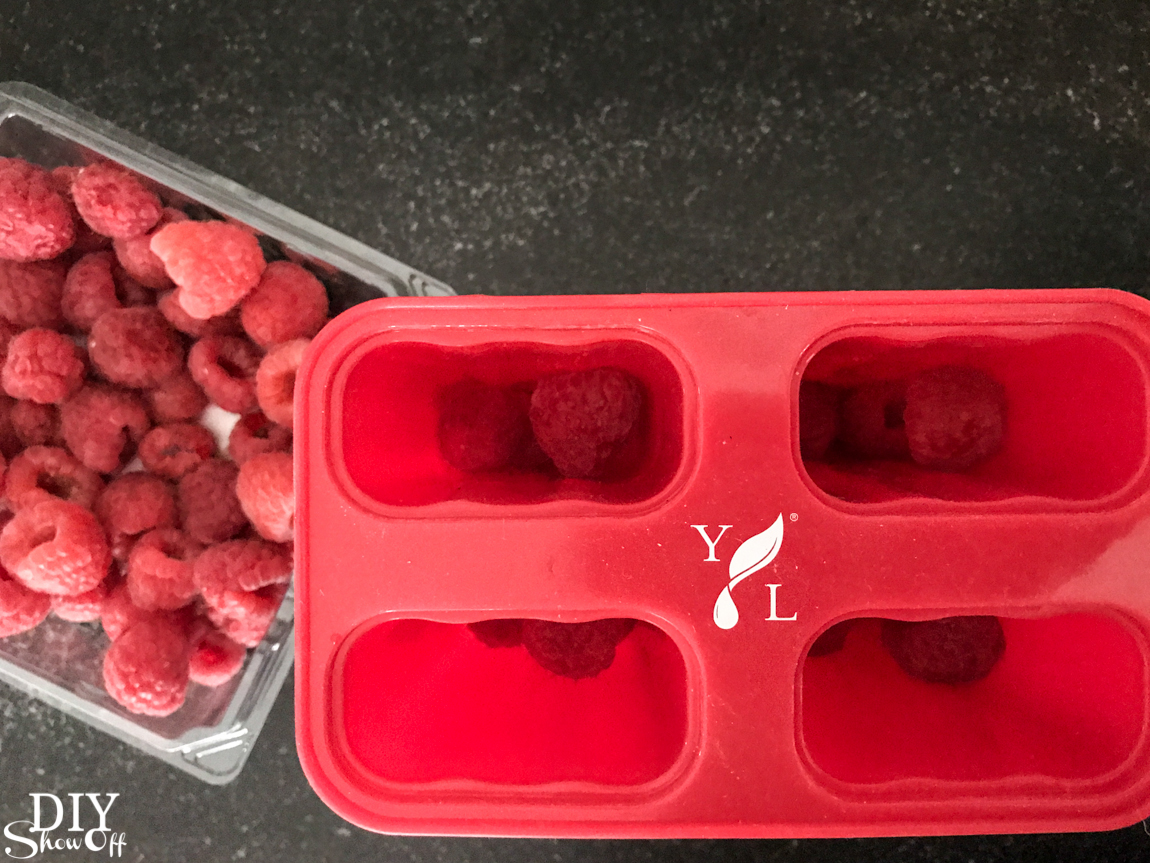
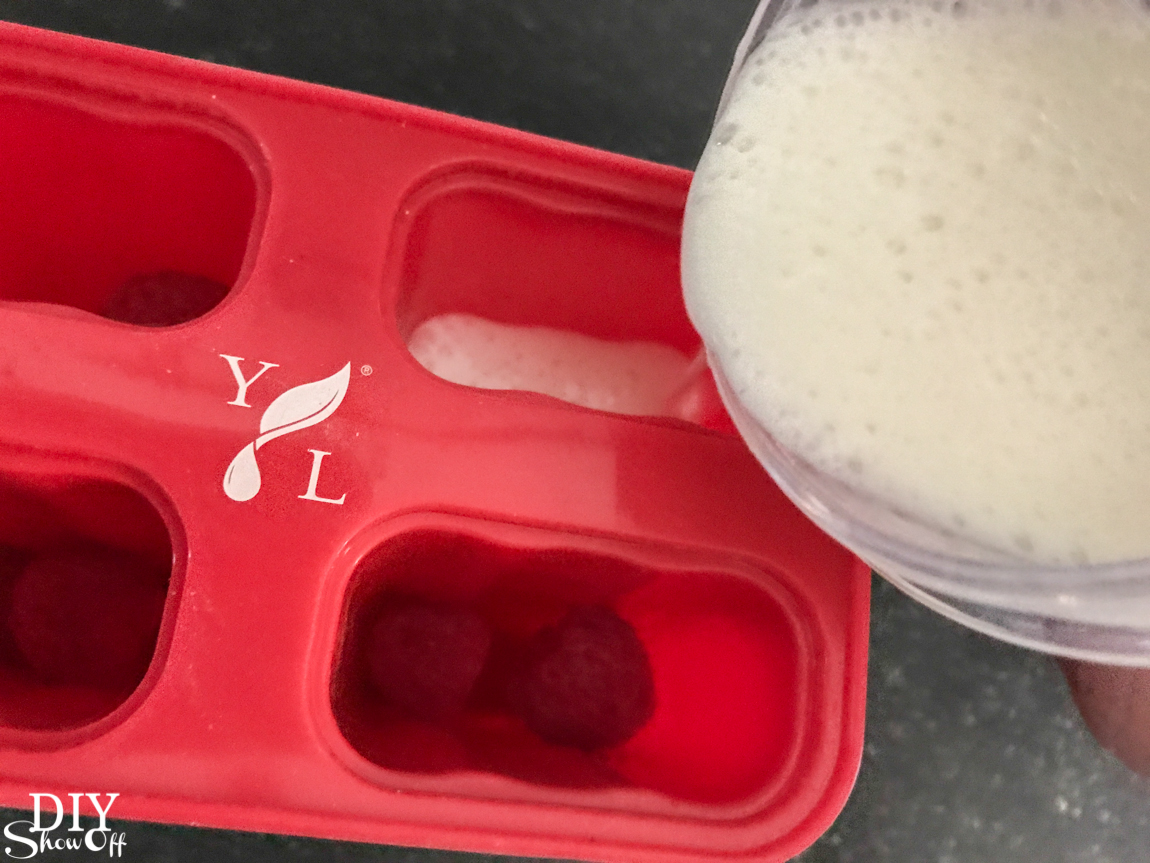
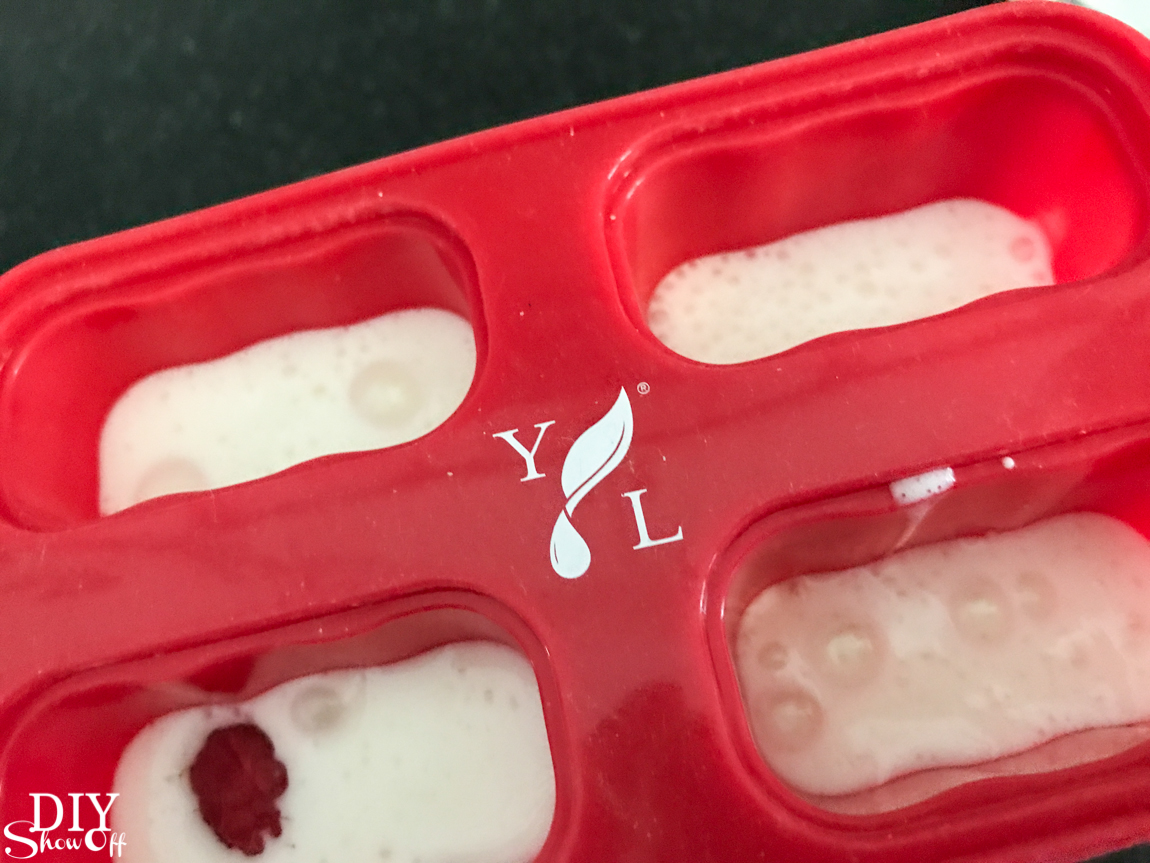
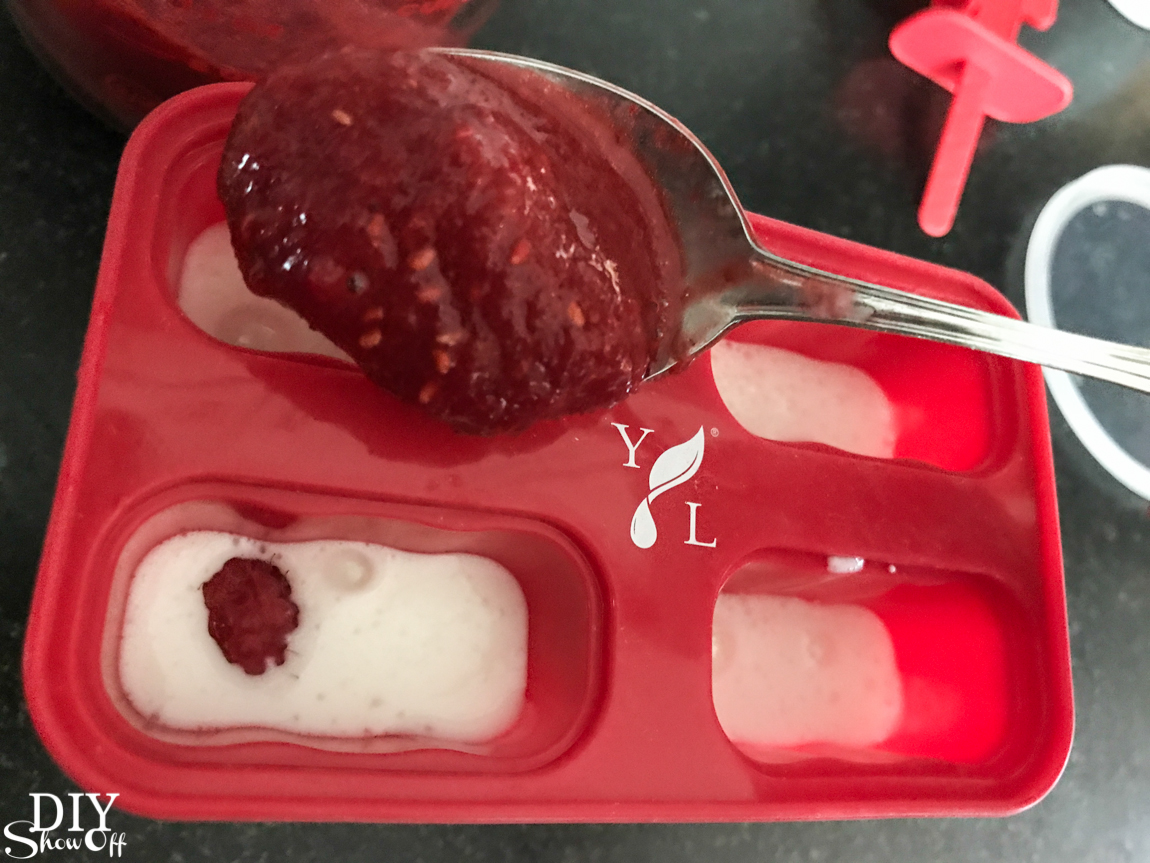
fill mold 3/4 way with lime/yogurt mixture, top off with raspberry puree. Don’t forget to insert the wooden popsicle sticks / handles.
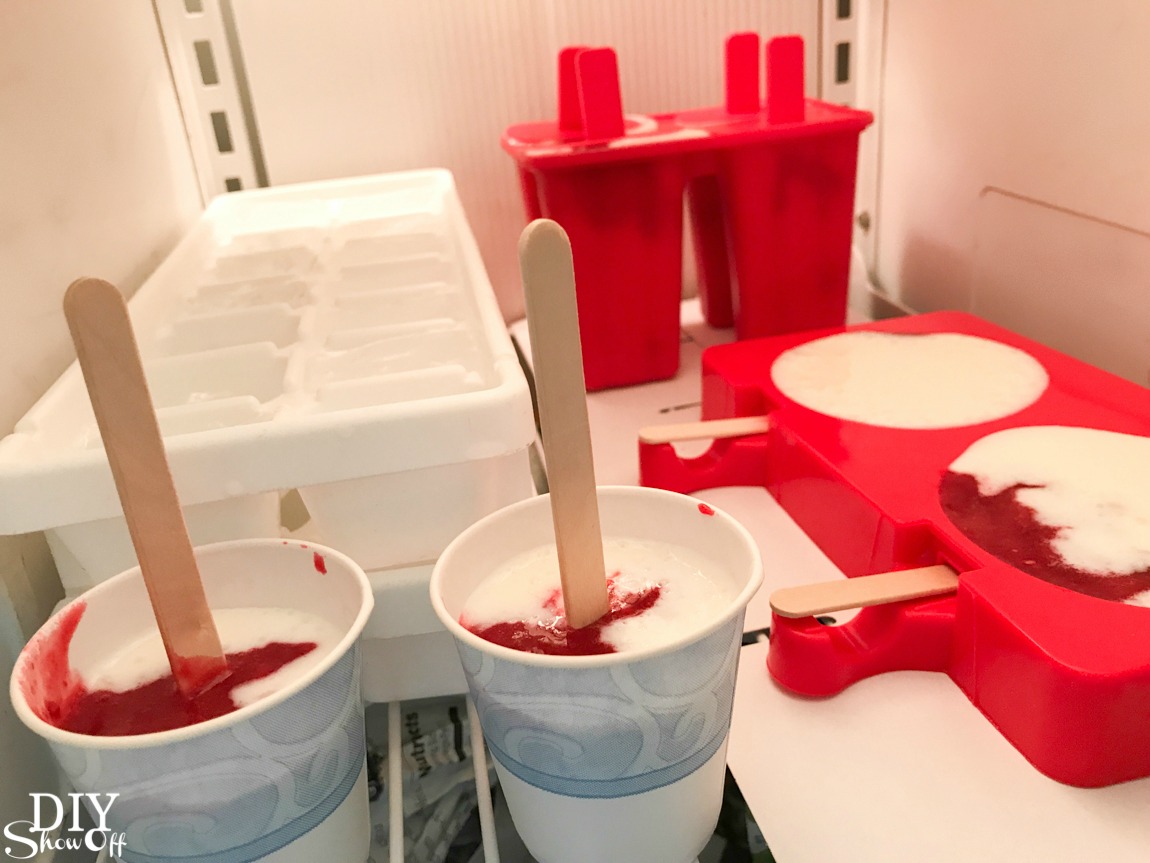
Freeze
I froze mine for about 24 hours (made the day before, frozen overnight and eaten the next afternoon) then removed them from the silicone molds. A double recipe shown below in the freezer. Recipe above makes 4 pops.
Decorate
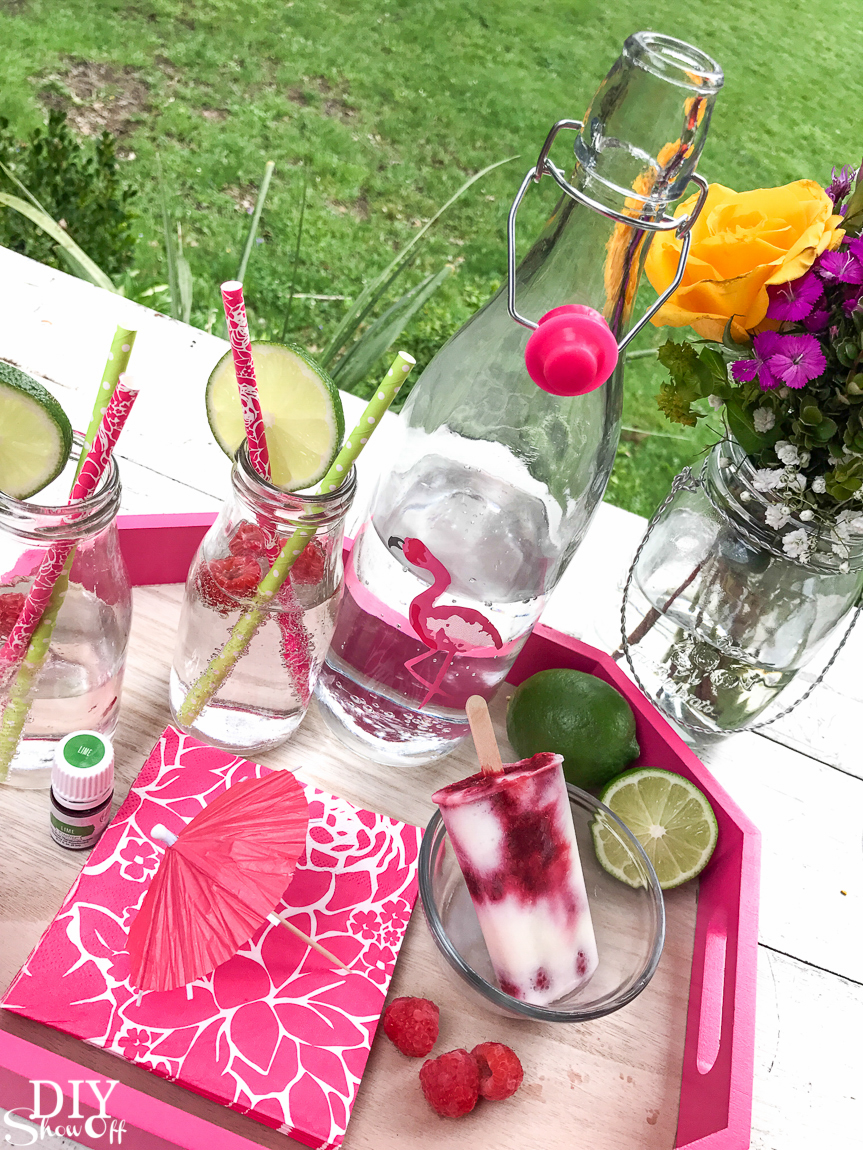
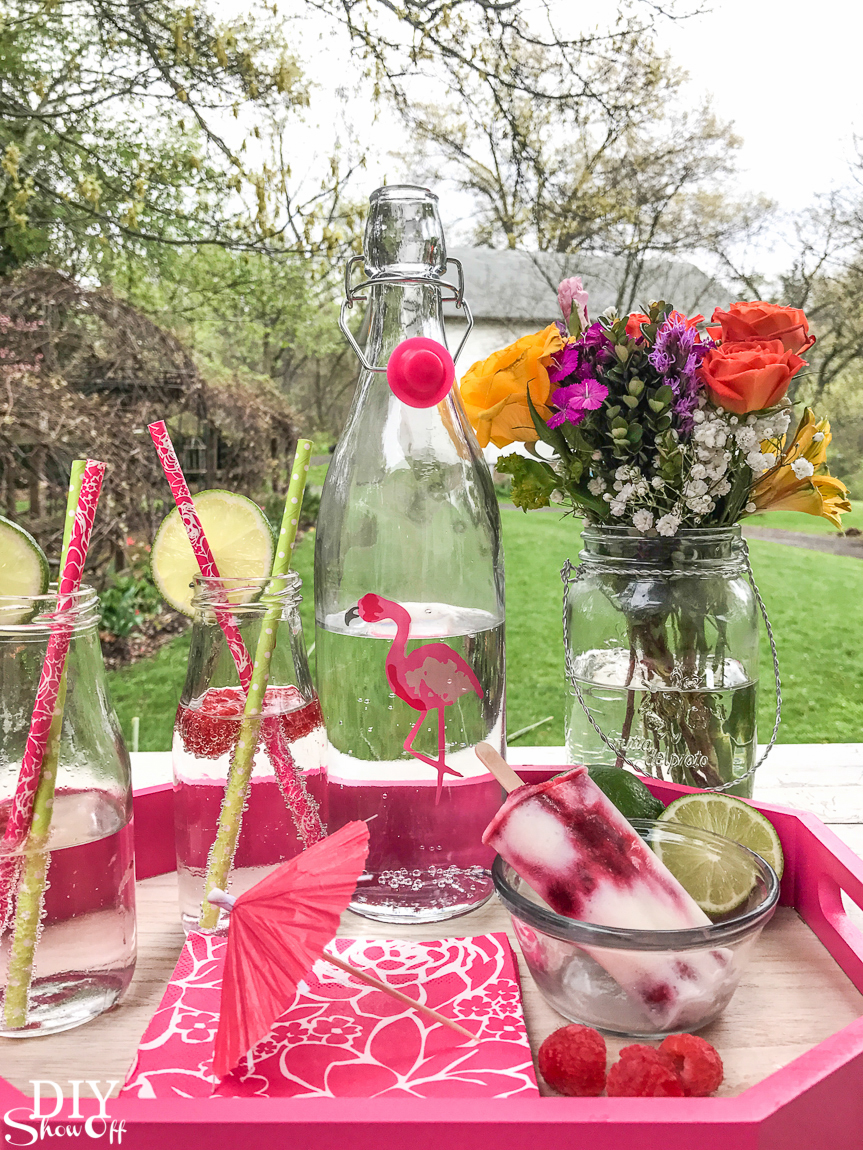
Garnish with fresh raspberries and lime slices…it’s perfect to have them on hand for your essential oil infused ice water!
Wouldn’t it be fun carrying out a tray of these at your next summer cookout? Or how about that summer time Essential Oils 101 or fun make & take this summer? You’ll be the COOLEST hostess ever!
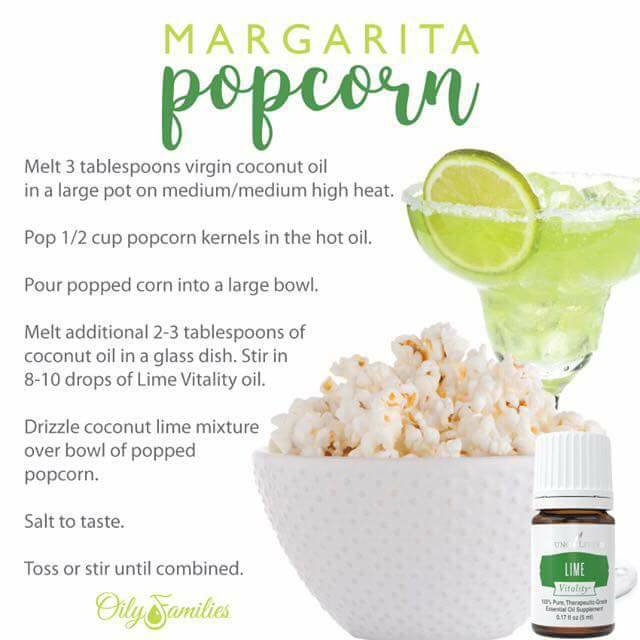
Ps. Lime is my most favorite Vitality essential oil! Lime IS summer ZING! I add it to my ice water, my Ningxia Red and Zyng and how about a mojito?! Oh yea! Then there’s garden fresh tomatoes and homemade salsa. And don’t forget the margarita popcorn too!
I know it sounds like a strange combo but oh my goodness! It’s so good!
More summer fun ideas
Okay, onto the SUMMER COOKOUT SERIES! Let’s see what our favorite oily bloggers have whipped up!
Visit these sweet blog friends and their amazing recipes & ideas:
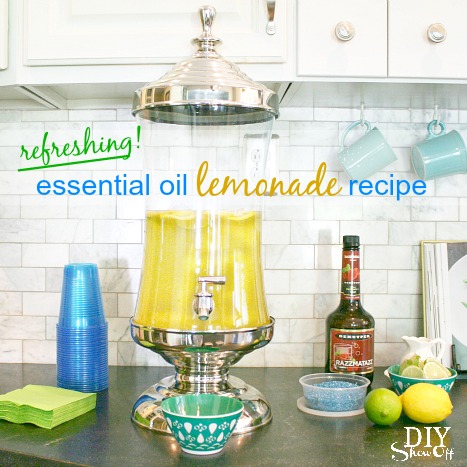
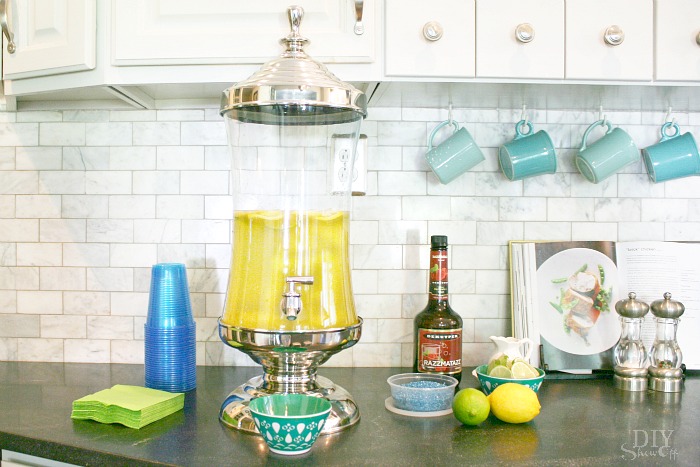
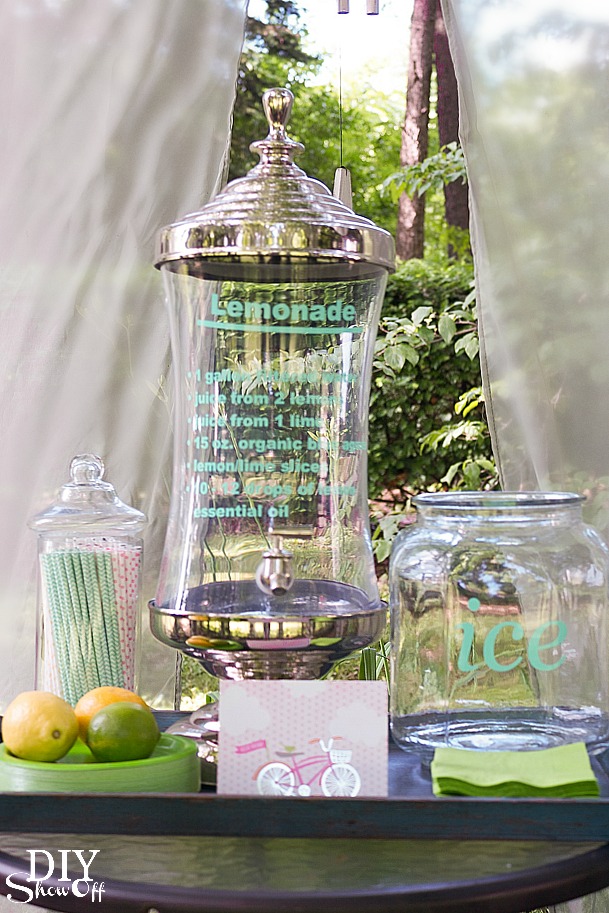
There are several essential oil lemonade recipes but after some trial and error, this one is my favorite. I made it for a recent Young Living Essential Oils class and since a few have asked for it, here it is!
Optional: I also served it up with lime garnish for glasses (rub lime around glass rim and dip in colored sugar). Offer a small bit of blueberry juice or raspberry liquor for guests to create their own summer cooler.
What the heck is lemon essential oil? Just one of the amazing oils from Young Living essential oils! I am bursting with excitement over how these are changing our life…all it takes is trying one of the oils, seeing amazing results and you’ll be hooked. Get more info, get the link to get started HERE!
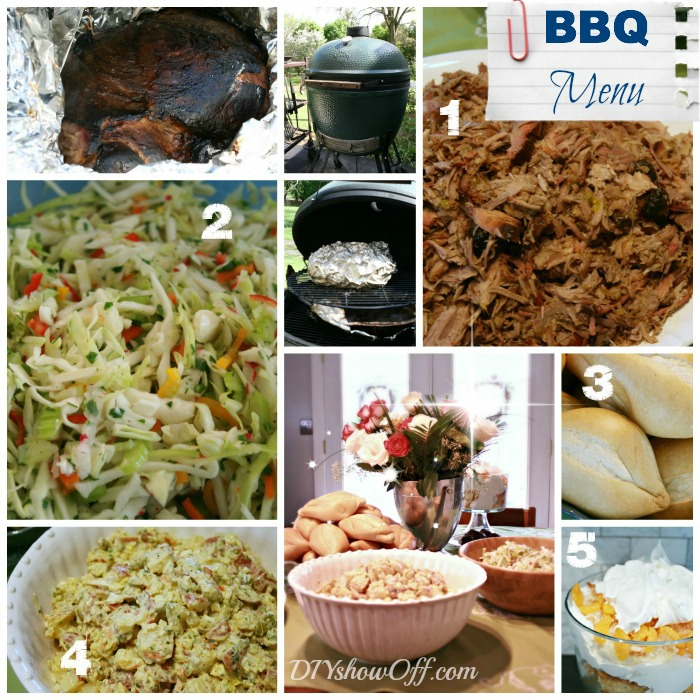
What? Recipes at DIY Show Off? Well, cooking is a do-it-yourself process, right? In our home, my husband does the cooking (not because I can’t but because he really enjoys it). We host a lot of dinner parties, summer cook outs and picnics and recently held a Mother’s Day BBQ (see the beautiful chandelier planters our guests and I made). Oops…back to HIS passion FOOD! and the reason for today’s blog post…our BBQ menu and a Summer Recipe Inspiration Link Party. Our BBQ menu included:
We’re new to sharing recipes (and taking food photos too). Let us know if you have any questions.
Pictured above:
Pulled Pork Sandwiches (recipe below)
Fresh Crunchy Vinegar Cole Slaw (recipe below)
Fresh baked buns (add pulled pork and coleslaw)
Dill Red Potato Salad (recipe below)
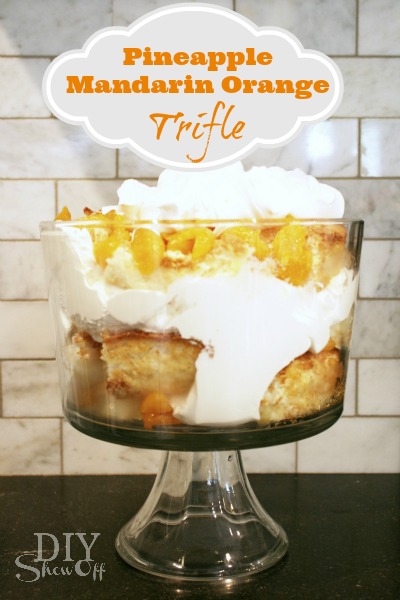
Pineapple Orange Trifle (recipe below)
[yumprint-recipe id=’1′]
Believe it or not, this vinegar cole slaw is requested at every family gathering! Try it!
[yumprint-recipe id=’4′]
Red potatoes, dill, olives? Delicious!
[yumprint-recipe id=’5′]
Easy and perfect for summer time!
[yumprint-recipe id=’6′]
All of that food serves our family gatherings of 15-20 people with plenty to eat, decent serving sizes and even seconds (in some cases thirds!).
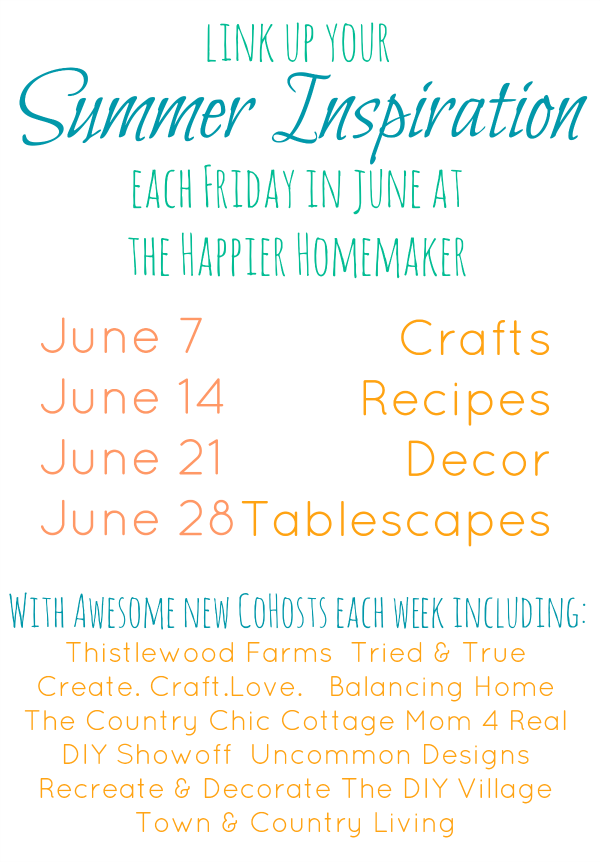
Summer Inspiration: Recipes! It’s a link party and you’re invited to share your favorite summer recipes!
Party Etiquette:
<div align="center"><a href="https://diyshowoff.com/2013/06/14/summer-bbq-menu/" title="DIY Show Off"><img src="https://i899.photobucket.com/albums/ac195/Roeshel/848ddd61-d09b-4181-9f44-1aa4a407dda0_zps674af437.jpg" alt="DIY Show Off" style="border:none;" /></a></div>
1. Please link up any project, old or new, that relates to the party theme: Summer Recipes only. Any links not related to the theme will be deleted. Your link shows on the link party on all four blogs shown above!
2. Please include the party button or a link to this post on your summer recipe blog post OR share the party via Facebook or Twitter to help spread the word! Thank you!
This is the first time I’ve shared Russ’ cooking and an entire event menu all in one spot. I can guarantee you he’s reading the comments so, what do you think? Curious as to what my chef cooks for me more often? Something you’d enjoy seeing more of?
For more summer recipe inspiration, visit these blog friends listed below:
and Thank you so much to Melissa from The Happier Homemaker for organizing this awesome summer series and for inviting me to participate! So fun! See the FULL Summer Inspiration series:





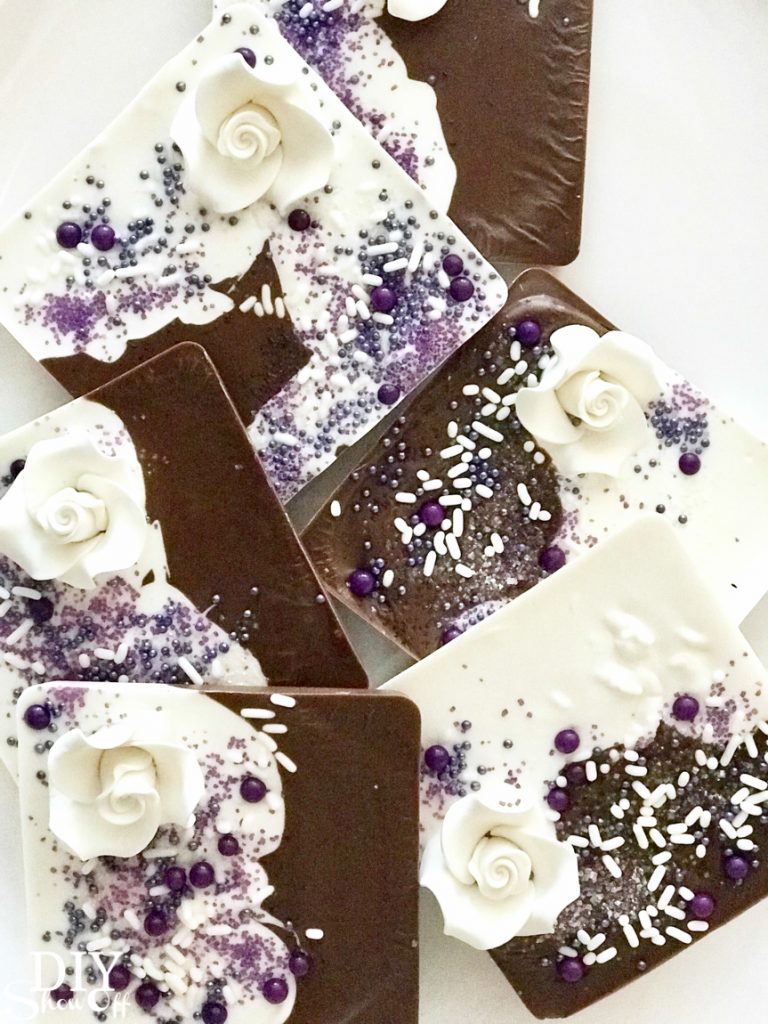

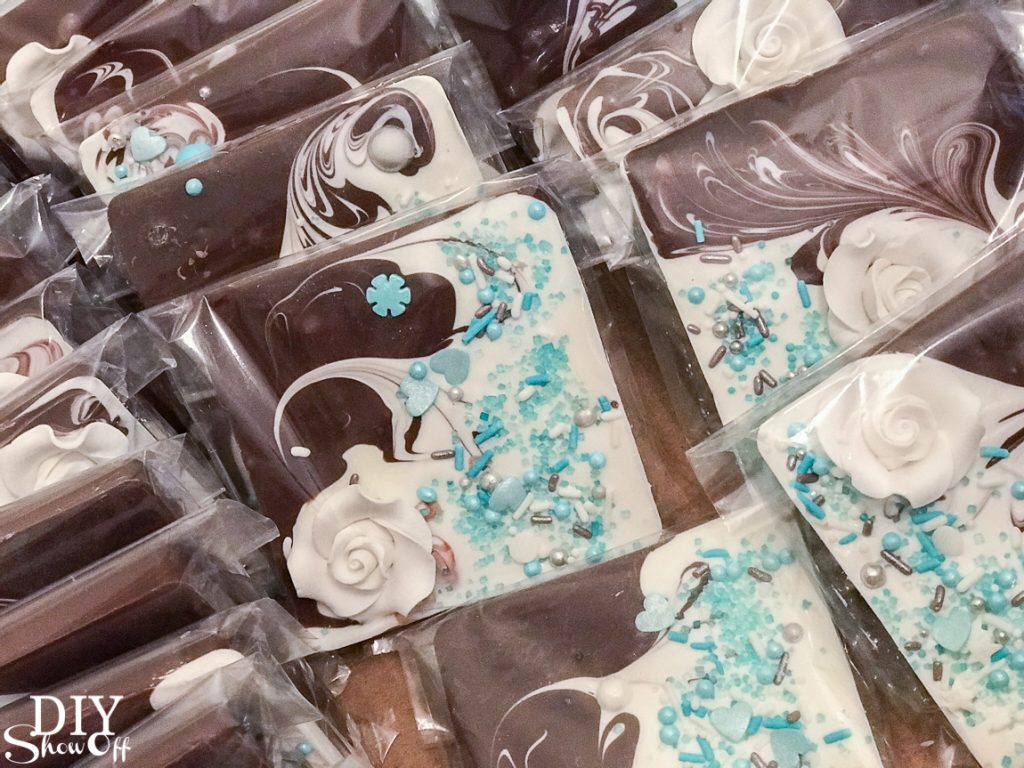

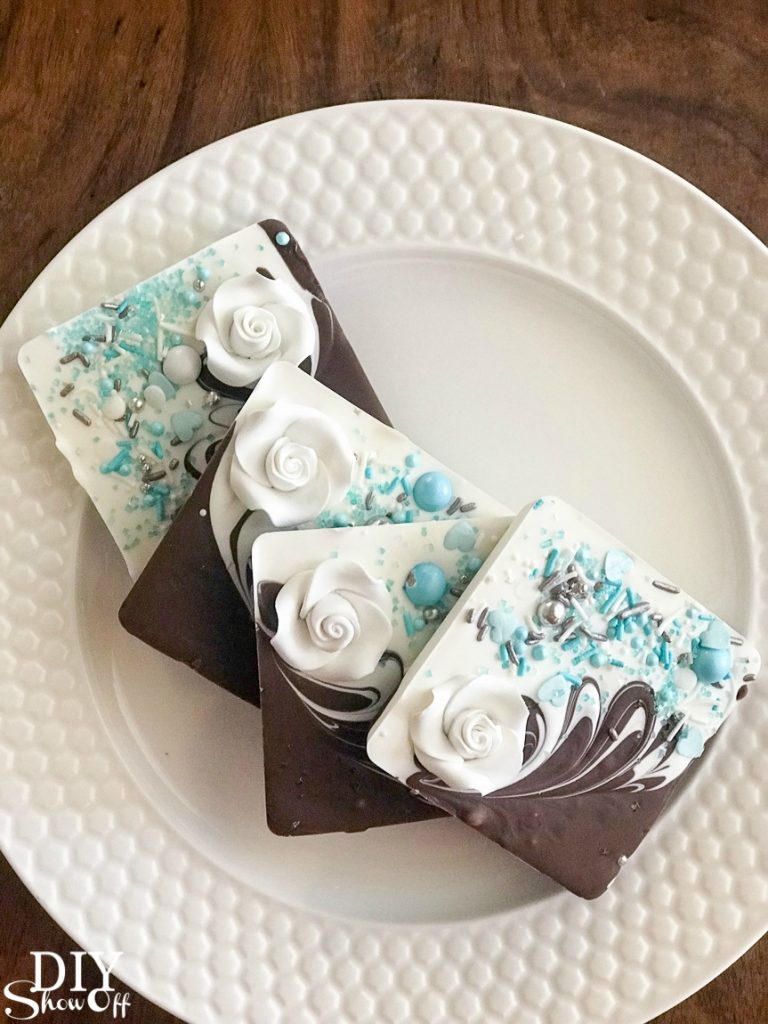
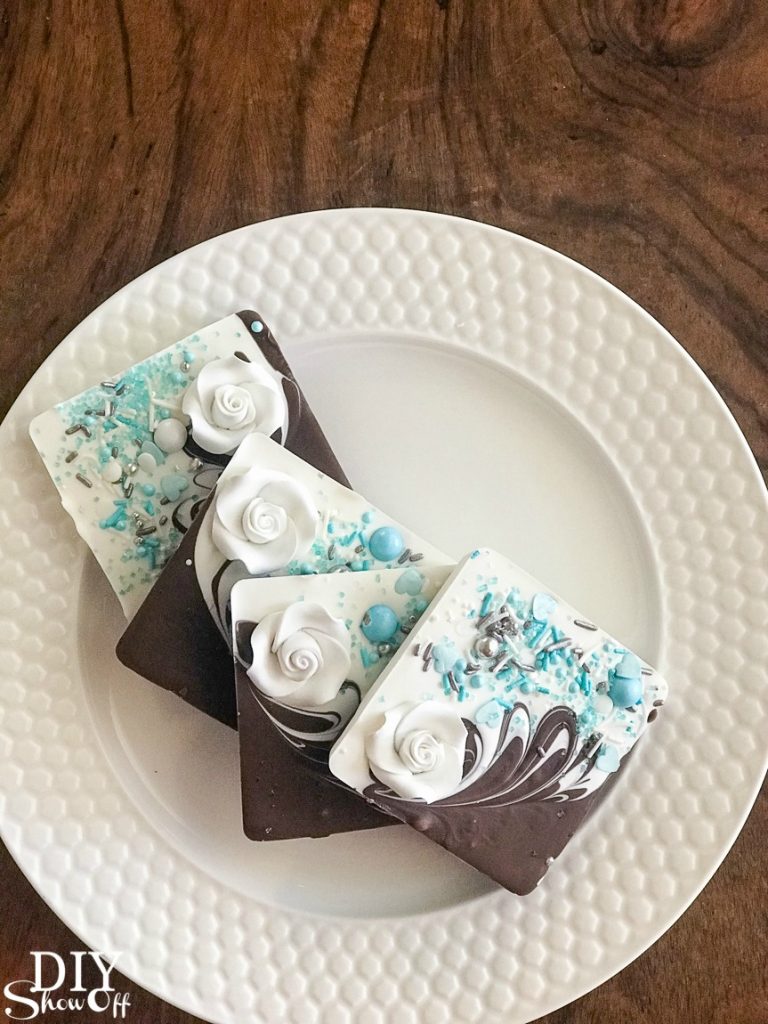
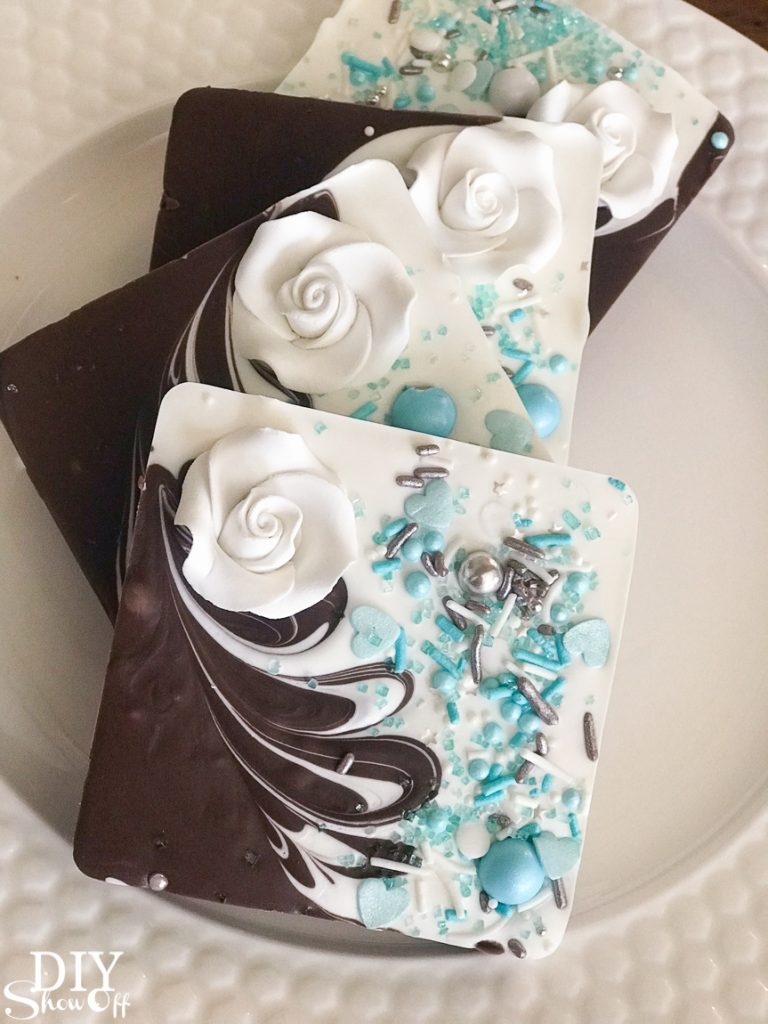
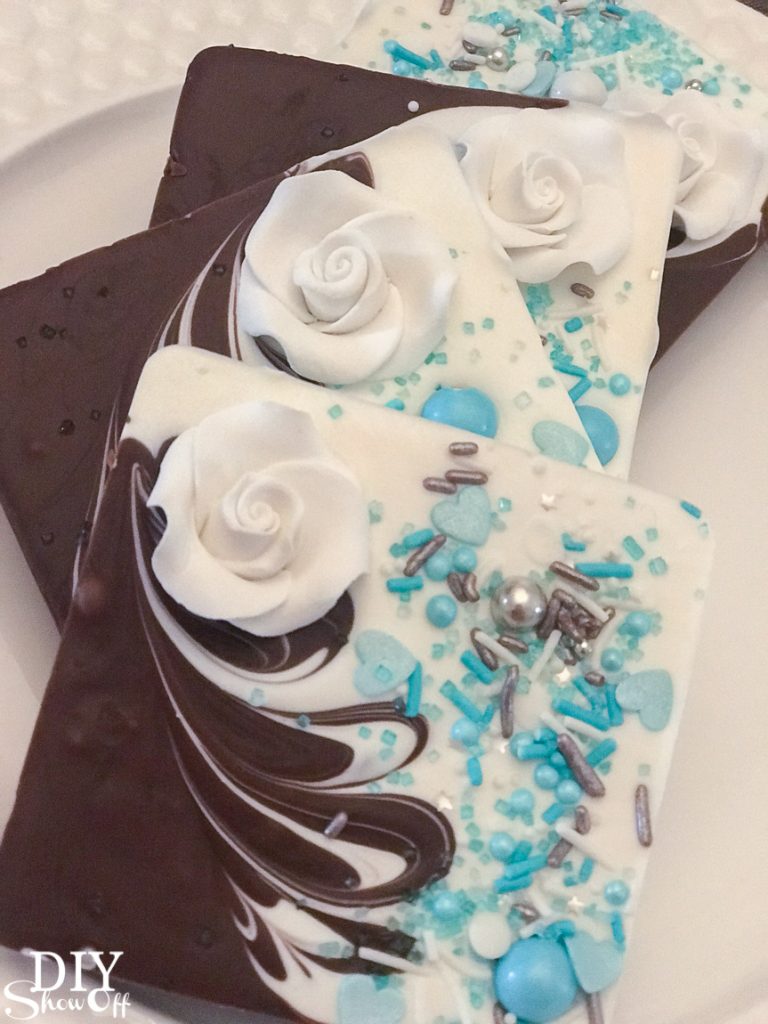
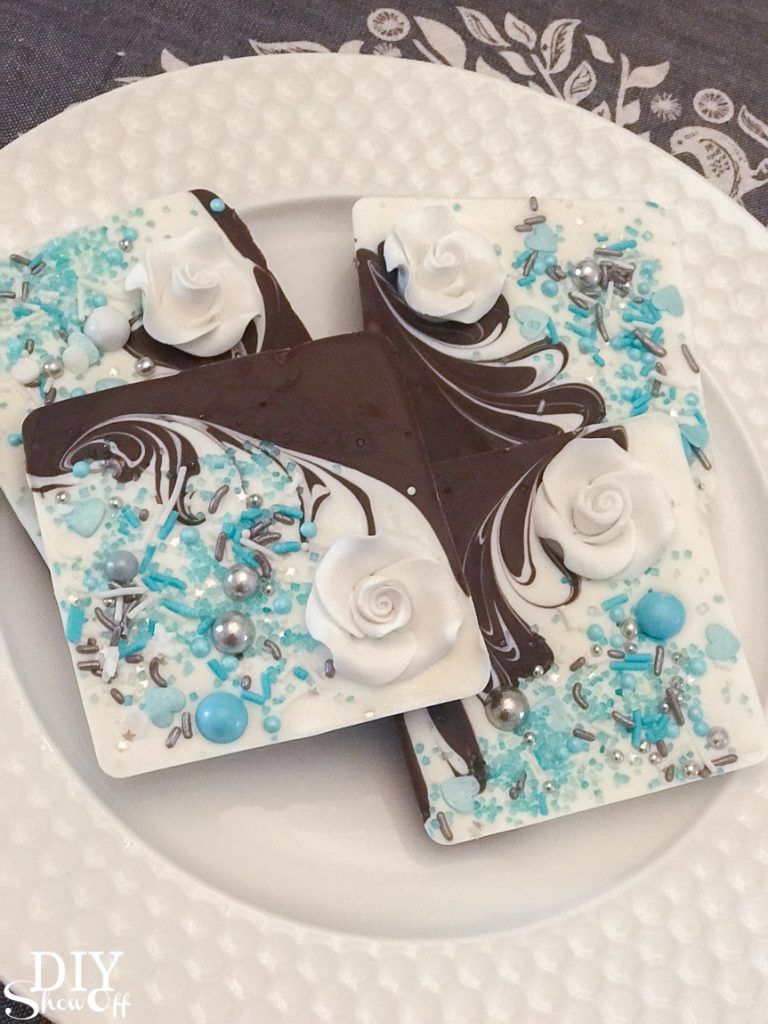
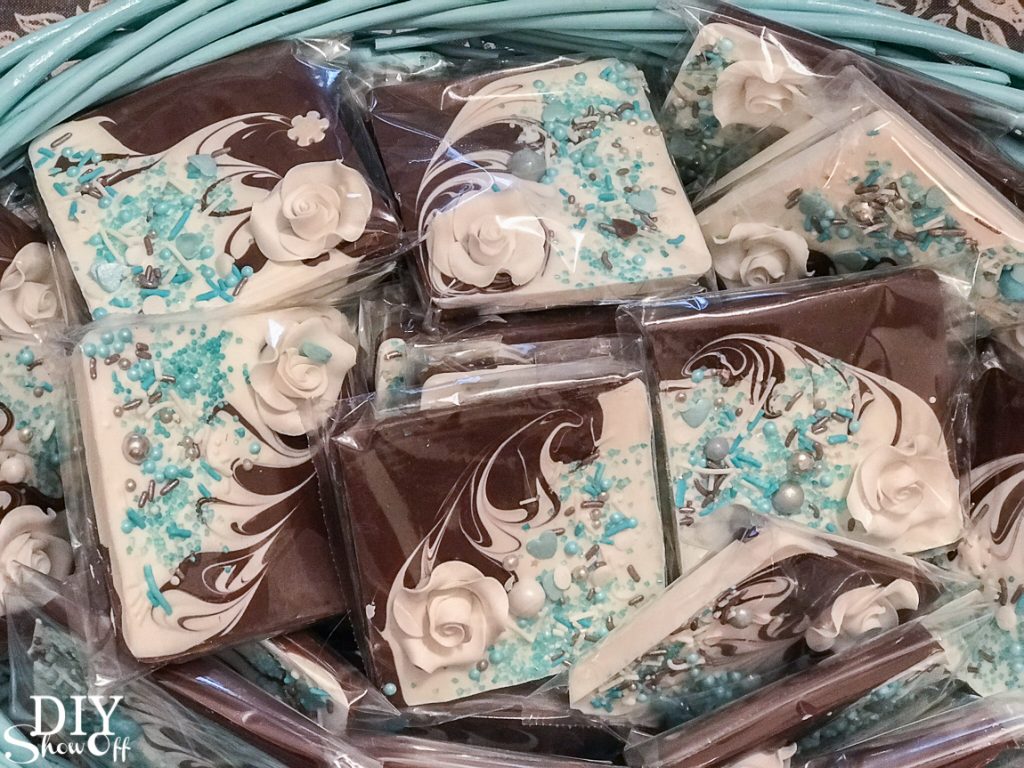 I whipped up 60-70 of these for a bridal shower but since you can personalize them with any candy melts (so many colors!) and any deco ratings (so many colors and shapes and ideas!), they’d work for not only bridal showers but for Mother’s Day, baby showers, wedding favors, party favors, hostess and teacher gifts, prizes, etc. I made a few every evening over a couple of weeks’ time. I gave a few out as essential oil infused door prizes and at Easter to my family too. I even had my grandson helping me decorate a few!
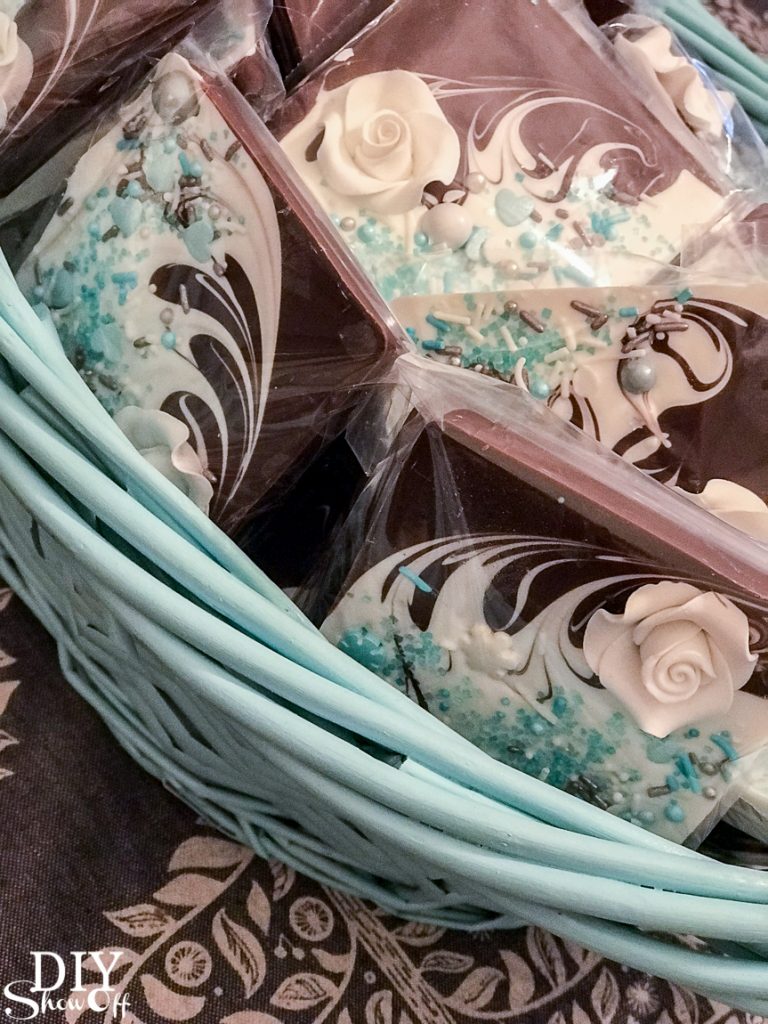 Warning – not only are they a beautiful sweet treat, they’re so addicting to create! Here is the very first batch that started my madness (without the swirl technique)…