There’s nothing more precious than a new baby and putting together a collection of sweet baby gifts can be so meaningful for parents-to-be! I love shopping and gathering up gifts to create a beautiful arrangement and I’m all about a pretty presentation. I thought I’d share a few I’ve made this past year to help inspire you if you’re stuck or looking for some examples to go by. Some affiliate links included.
Baby Shower Gift Basket Tips
Tips for personalizing a gift for a new little person makes if feel so special, right? Here are a few tips to help:
- Registry – most parents-to-be will share their baby shower registry. Try to choose a few items from their hand selected wish list when possible.
- Gender – it’s rare that we don’t know this ahead of time and completely unnecessary but if you do know, it does narrow down options.
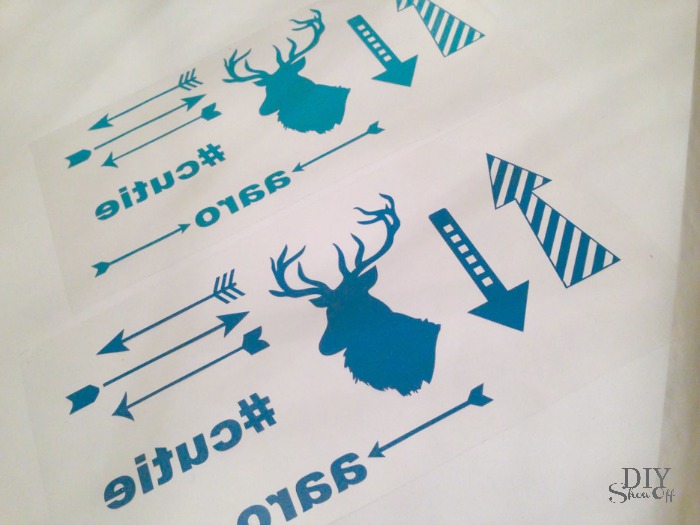
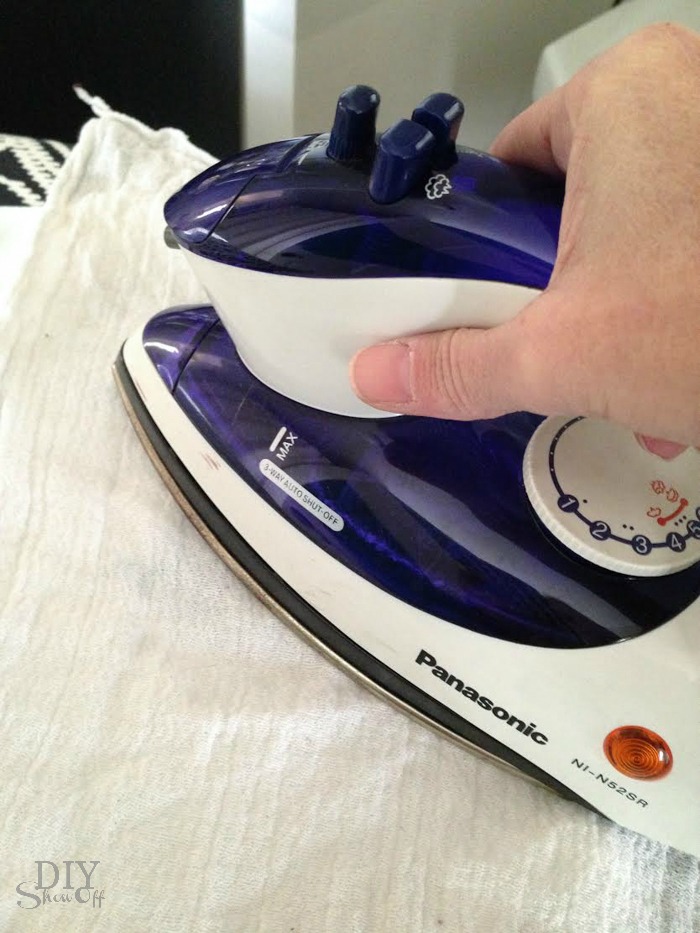
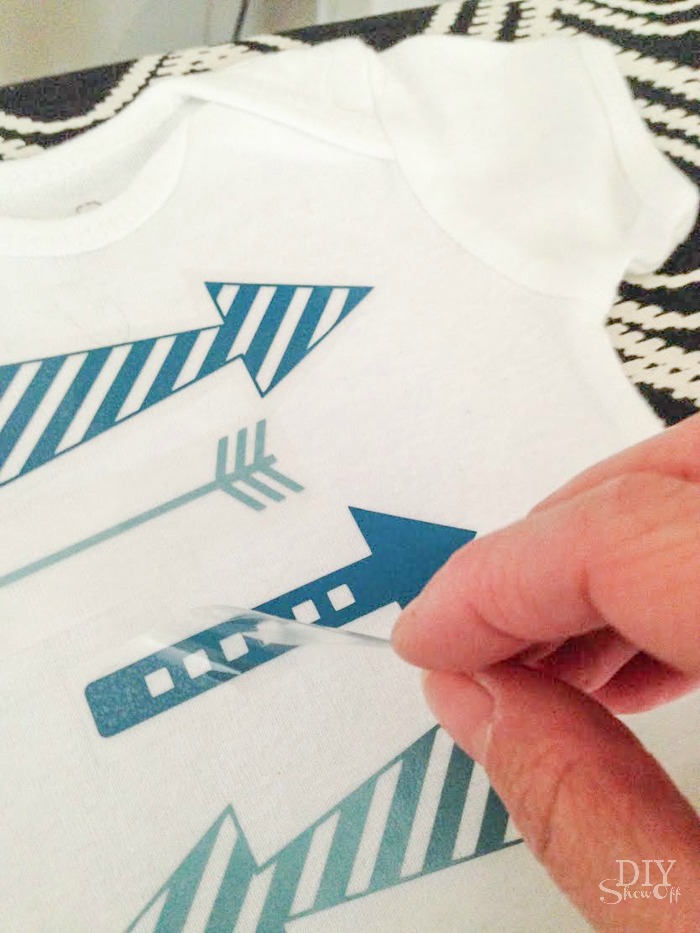
- Name – even more rare, but if it is known, I love to add something monogrammed – specifically, I love adding a wall art letter or creating a personalized iron on decal.
- Theme – a lot of the time, the baby shower invitation will give a hint to the nursery theme or design style … elephants, owls, woodland, boho, Noah’s ark, etc.
- Parents’ hobbies, collections, lifestyle. Do they love the outdoors (fishing? hunting?), love their dog(s)?, have a favorite sport’s team?
- Your signature piece – for example, I’m all about wellness so I try to include chemical free, natural, organic options when I can.
- Diapers & board book – baby showers now will often host a special raffle for bringing one of these items. I always use a pack of Honest newborn diapers in the bottom of the basket to lift the gifts. Either way, diapers are SUPER helpful and adding a favorite children’s story or baby board book to create a library of bedtime stories is one of my favorite things to add.
- Gift wrap a few of the items with coordinating wrapping paper. I often use what I have on hand. It doesn’t have to be specific baby shower themed.
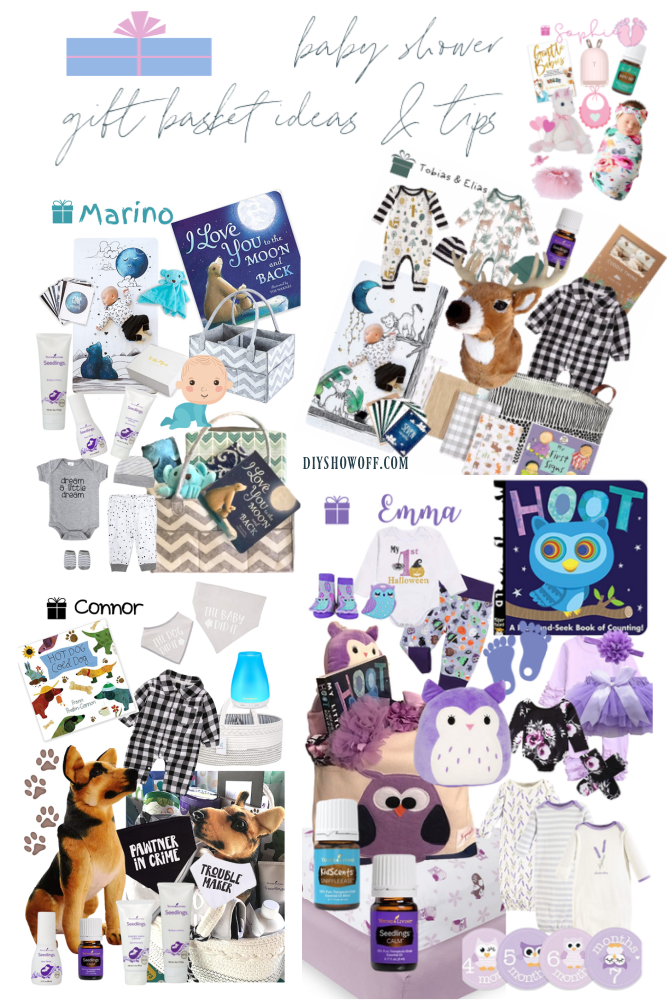
Baby Shower Gift Basket Inspiration
Here are 5 baby shower gift baskets I’ve put together to help inspire your next baby shower gift.
Girls:
EMMA
Emma’s mommy’s favorite color is purple and she designed an owl themed nursery. My dear friend waited a long time for this precious miracle and I am so happy for them!
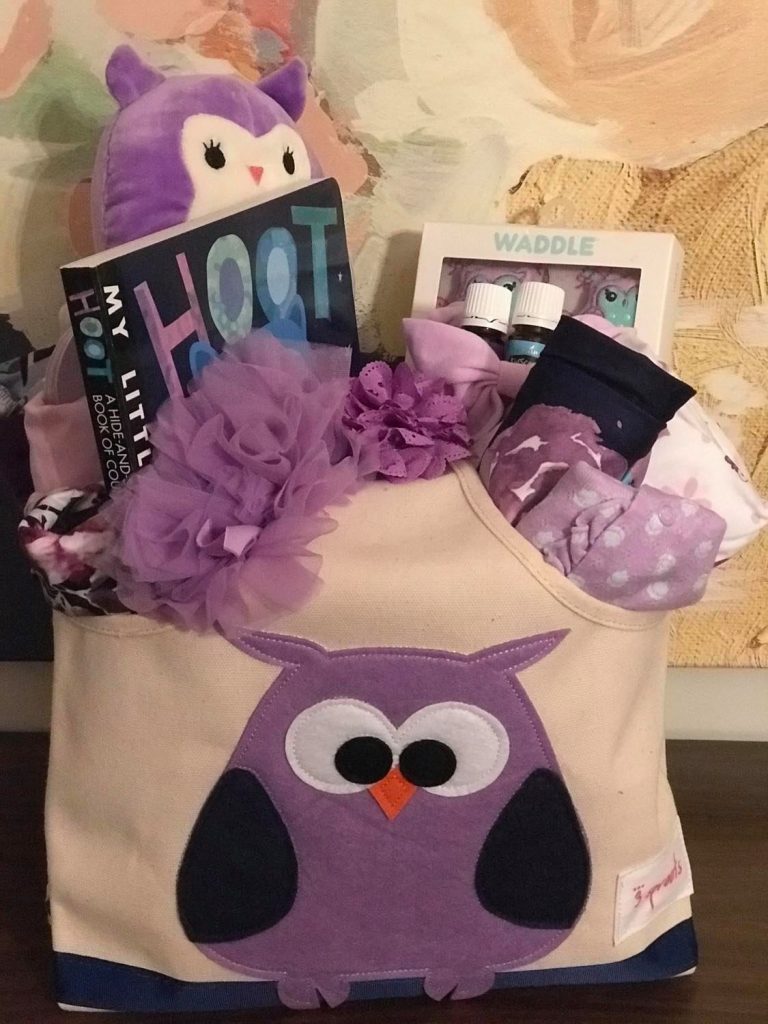
Gifts I selected:
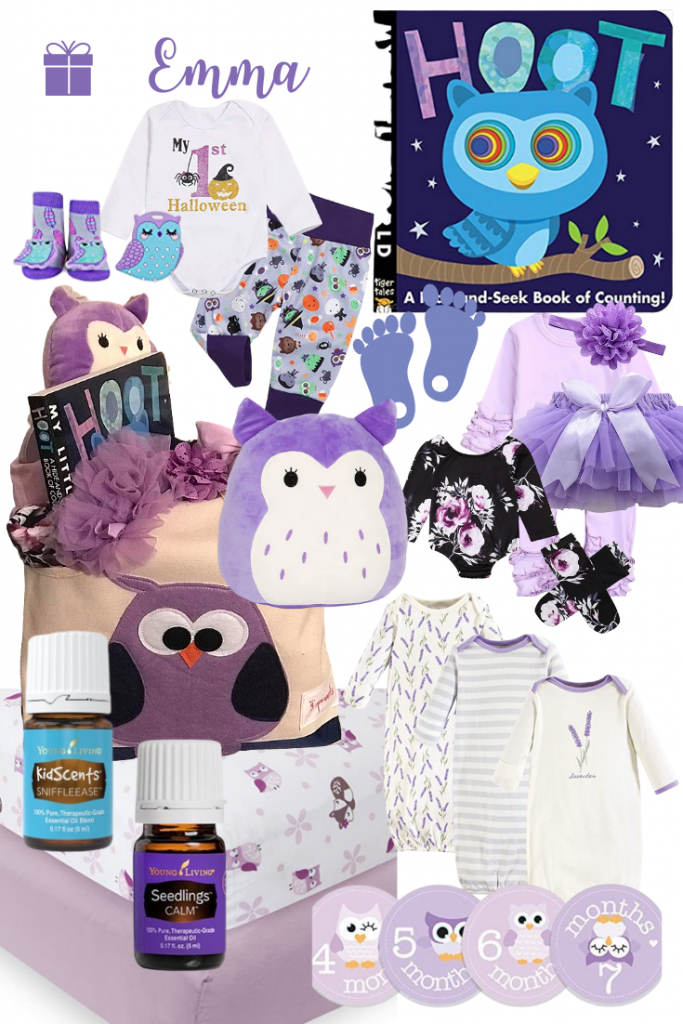
- Hoot Board Book
- Seedlings Calm essential oil (also check out Feather the Owl diffuser at Young Living)
- Gentle Baby essential oil
- Ruffled Romper & Headband
- Newborn Swaddle Blanket & Beanie
- Tulle Tutu and Headband
- Milestone Stickers
- Owl Teether and Rattle Socks (no longer available)
- Purple Owl Squishmallow
- Owl Diaper Caddy is no longer available (here’s a neutral owl diaper organizer option).
- Organic Cotton Gowns
- Floral Romper Bodysuite & Stockings
- Lavender Woods Crib Sheet Set (no longer available)
- My 1st Halloween Outfit
SOPHIE
– a pink themed collection fit for a princess!
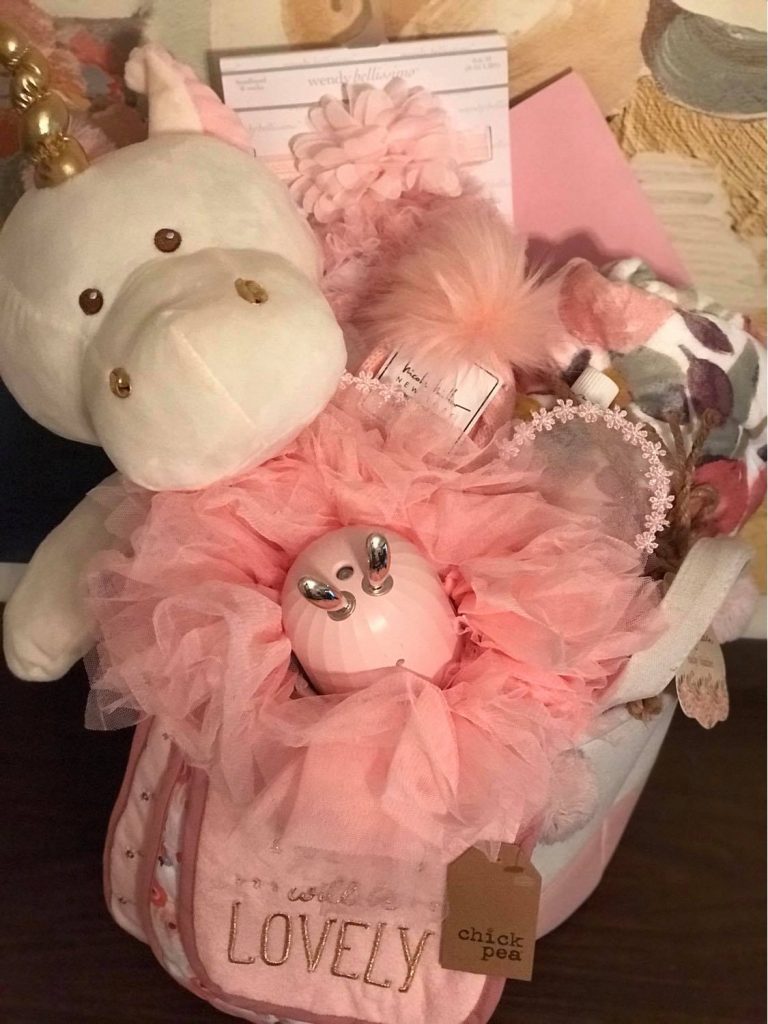
Gifts I chose: {some substitutions pictured)
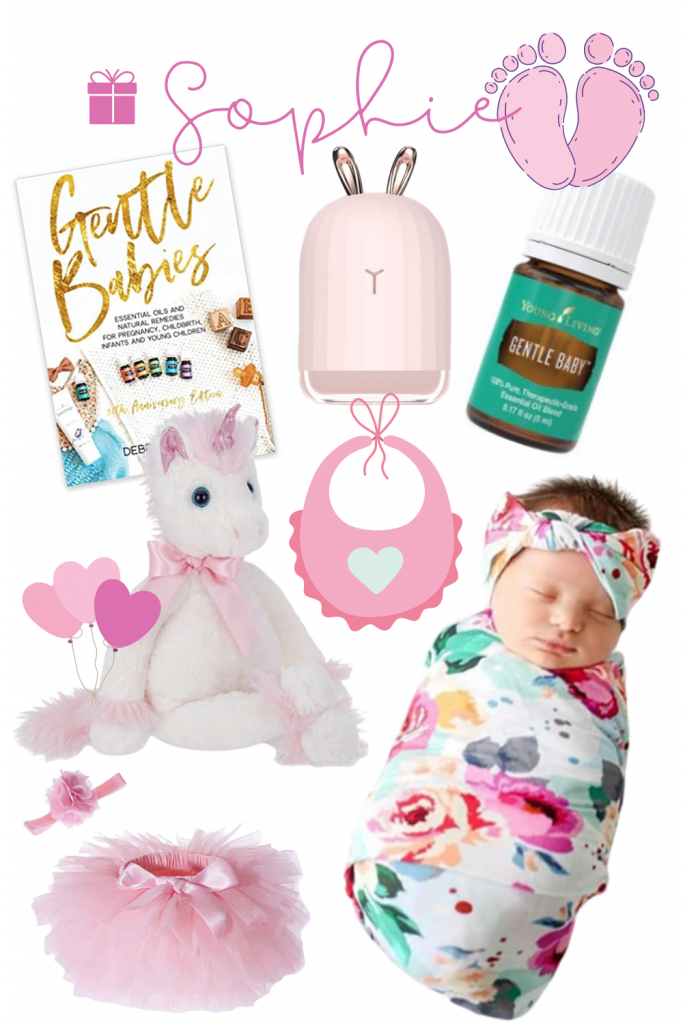
- Gentle Baby Essential Oil
- Gentle Babies Book by Debra Rayburn
- Pink Bunny Mist Humidifier
- The rest of the collection of pink bibs, stuffed unicorn, canvas basket, floral swaddle, pink tutu, headbands, etc. were purchased from TJMaxx
Boys:
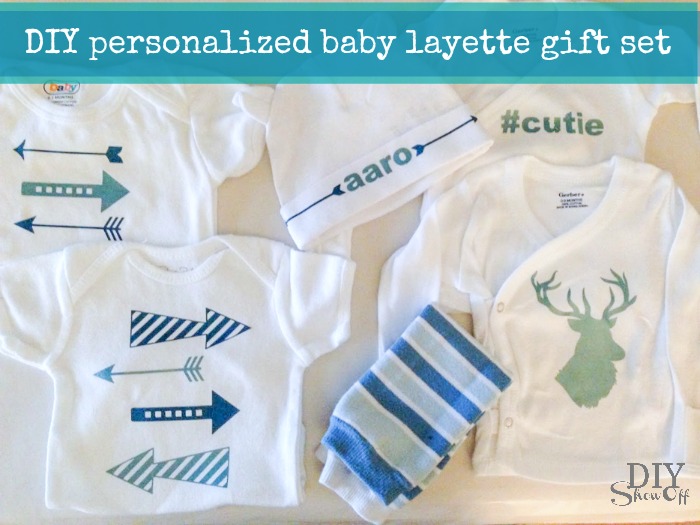
TOBIAS & ELIAS
– shopping for twins is so much fun! I didn’t go with completely “identical” but it was fun to put a woodland theme gift collection together for two!
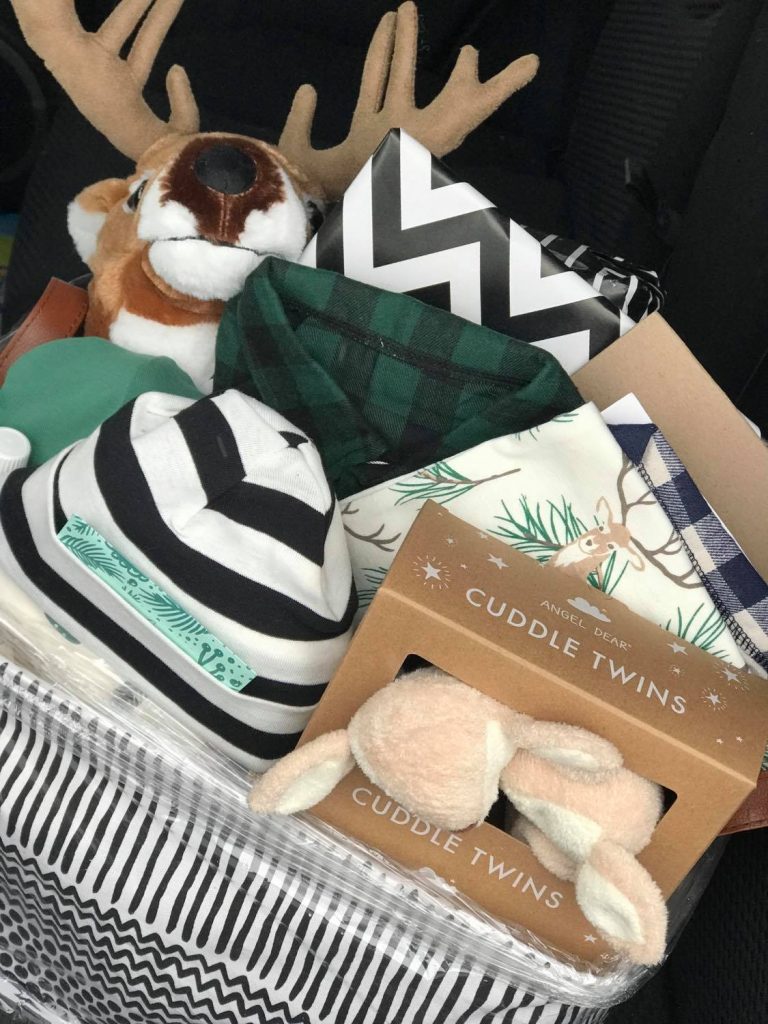
Gifts hand picked by me:
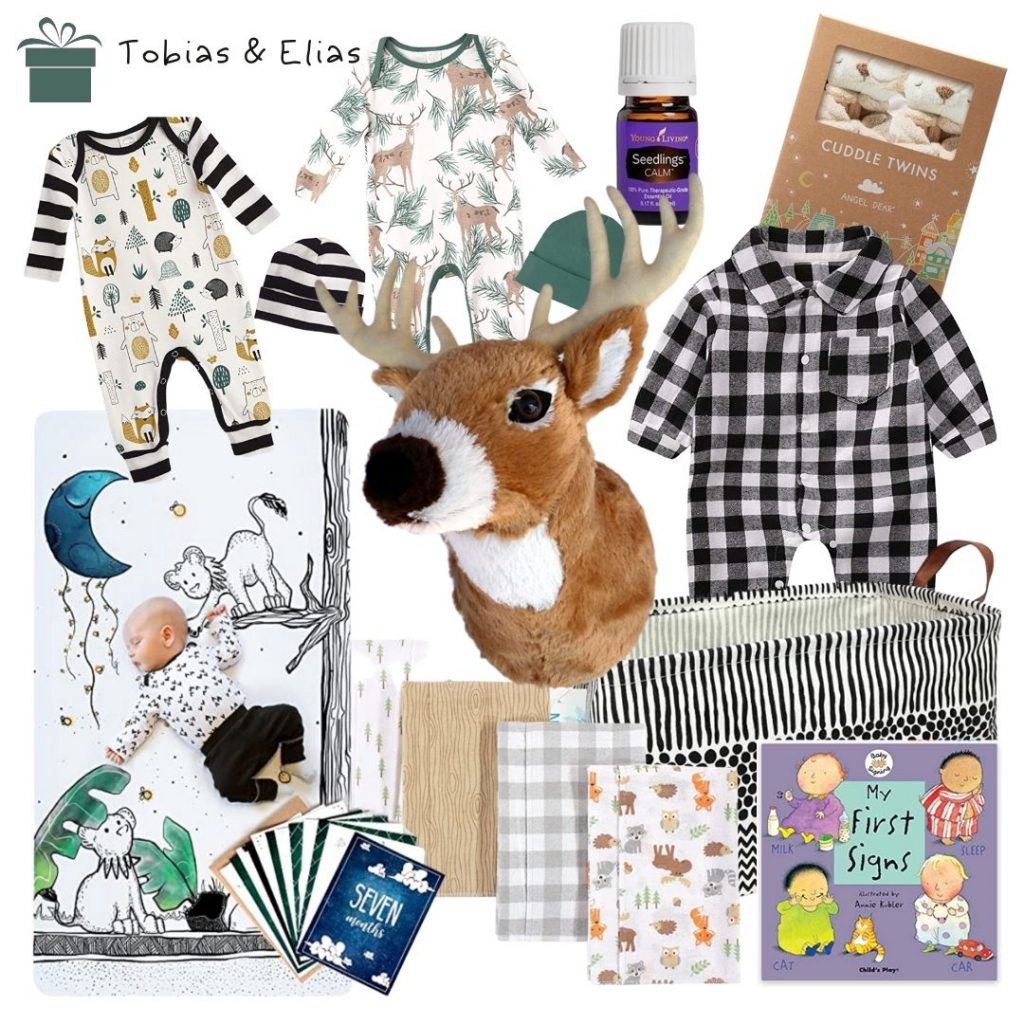
- KidScents SniffleEase and Seedlings Calm
- Plush Deer Wall Mount
- Woodland Flannel Burpcloths
- Large Canvas Storage Bin
- My First Signs: American Sign Language Board Book
- Cuddle Twins Security Blankets
- Reindeer Romper (currently out of stock)
- Woodland Critter Romper
- JumpOff Jo Lionhearted Crib Sheet & Milestone Photo Card Set
- JumpOff Jo To the Moon Crib Sheet & Milestone Photo Cards
- Plaid Flannel Jumpsuits
CONNOR
– this little guy’s mom and dad are parents to two German Shepherds. What fun it was to include the ‘fur babies’ too!
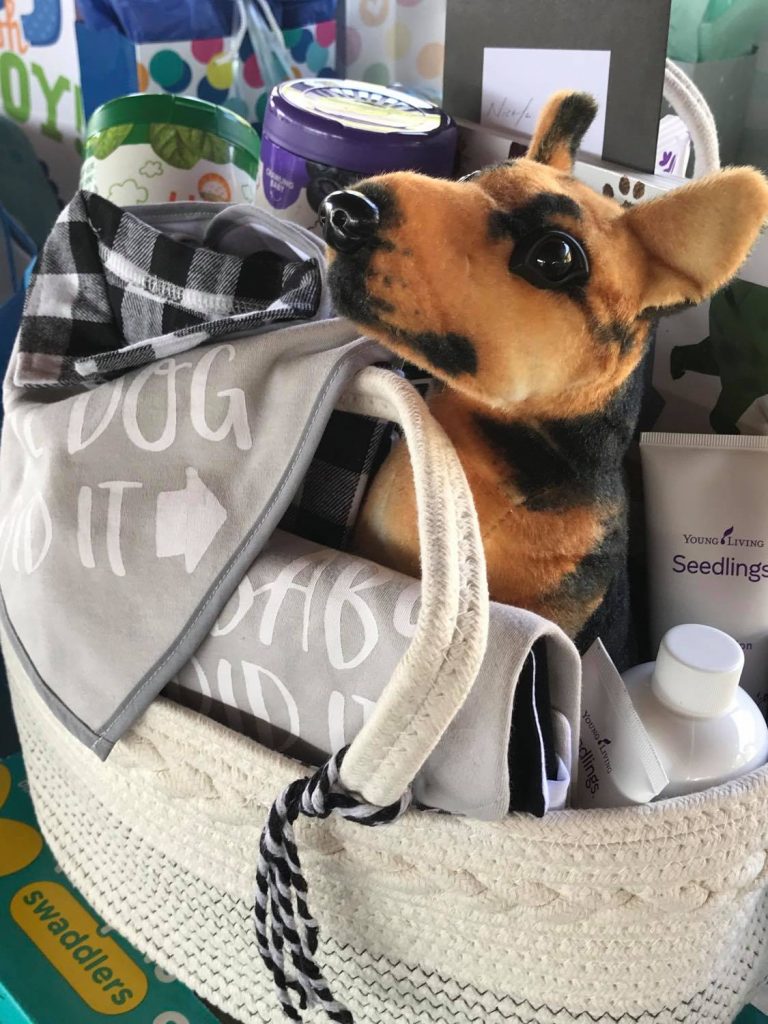
Gifts I included:
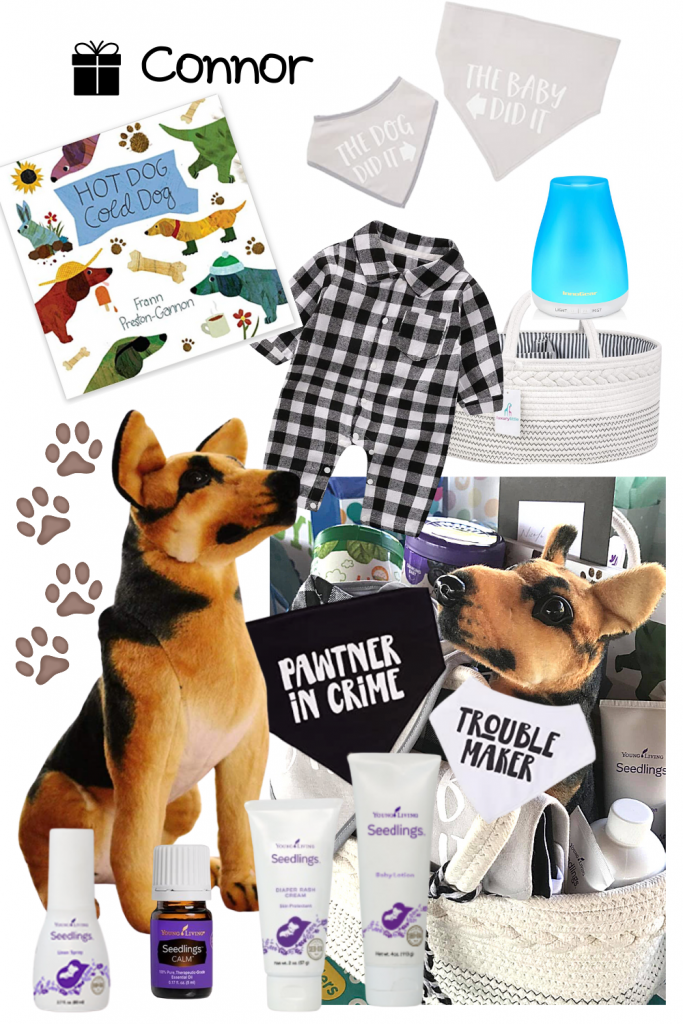
- Baby Wash & Shampoo, Diaper Rash Cream, Baby Lotion from Young Living Seedlings Collection
- Diffuser/Cool Mist Humidifier
- Baby and Pet Bib Set (black and white)
- Baby and Pet Bib Set (gray)
- Plaid Flannel Jumpsuit
- Plush German Shepherd (decor only)
- Hot Dog, Cold Dog Board Book
- Diaper Organizer
MARINO
– a blue teddy bear/sweet dreams collection for this precious boy.
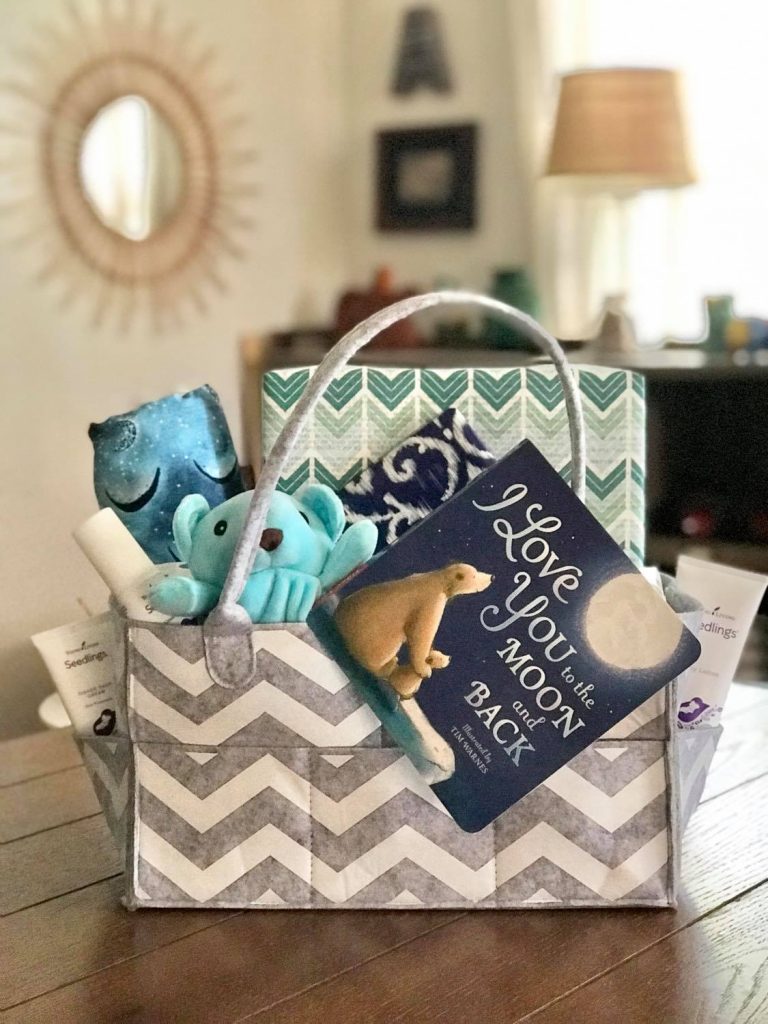
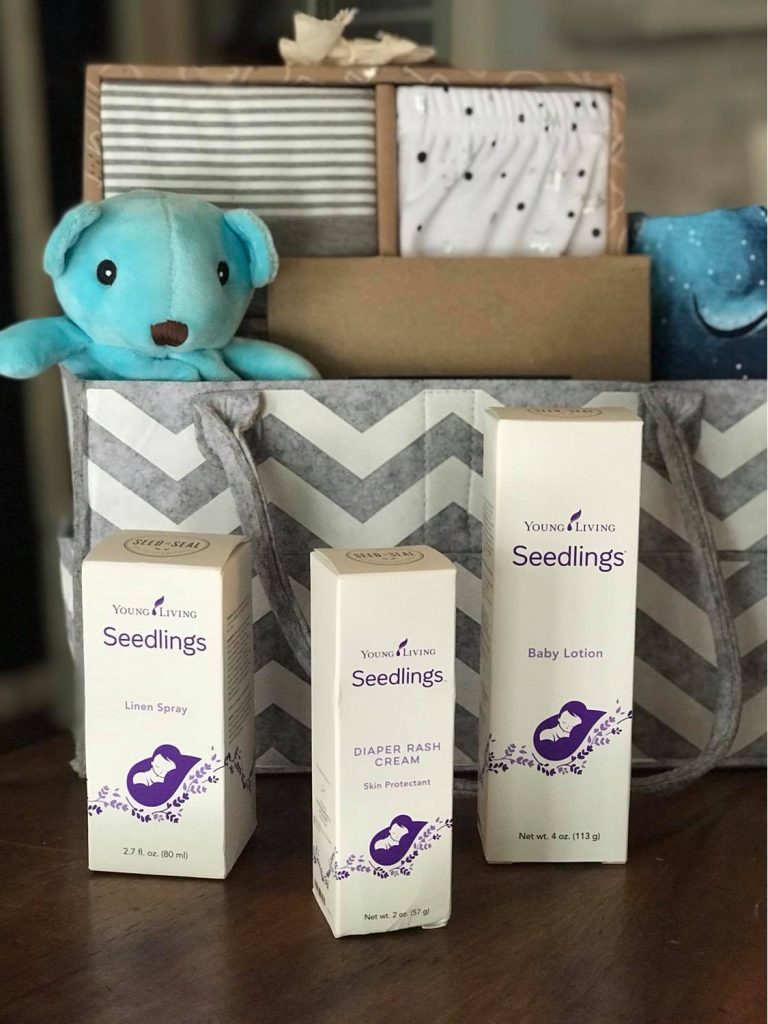
Gifts I selected:
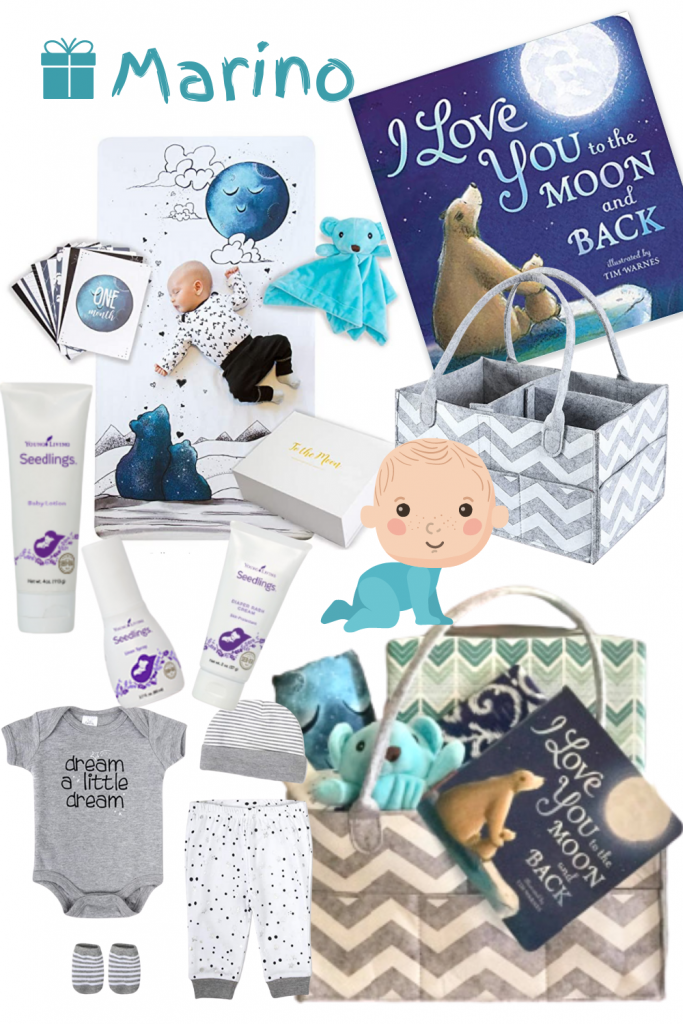
- Baby Lotion, Linen Spray and Diaper Rash Cream from the Young Living Seedlings Baby Collection
- Diaper Caddy
- 4 Piece Baby Layette Gift Set
- I Love You to the Moon and Back Board Book
- JumpOff Jo Baby Shower Gift Set (Crib Sheet, Milestone Photo Cards, Bear Security Blanket)
What are some of your favorite go-to baby gift ideas?
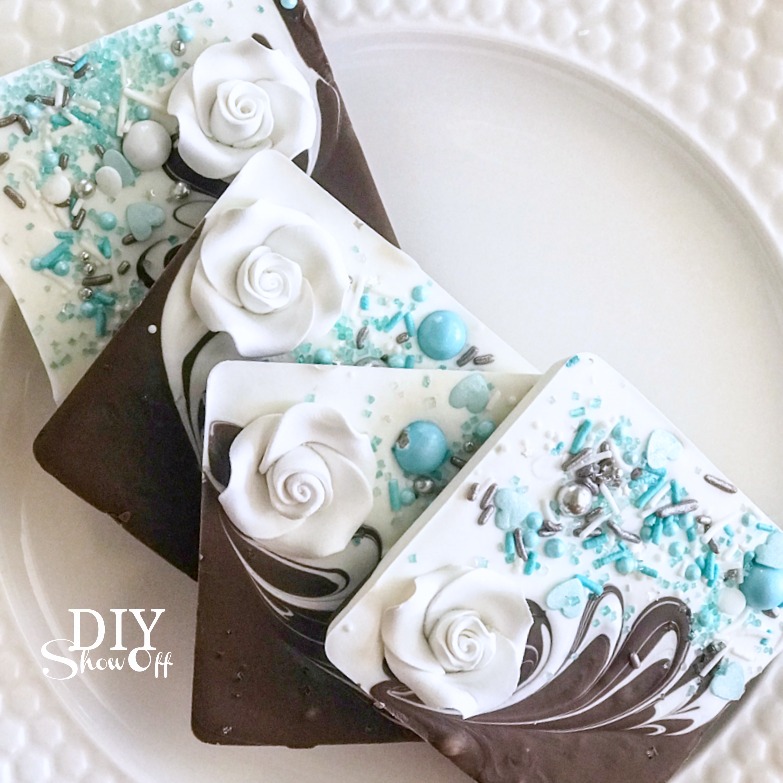
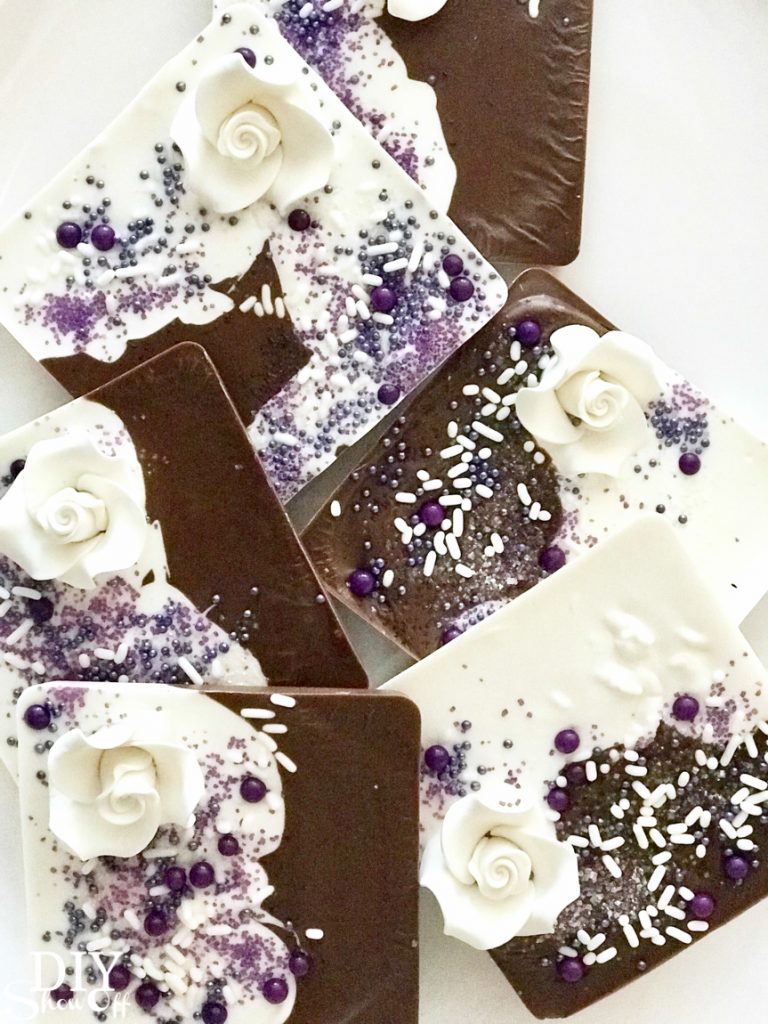
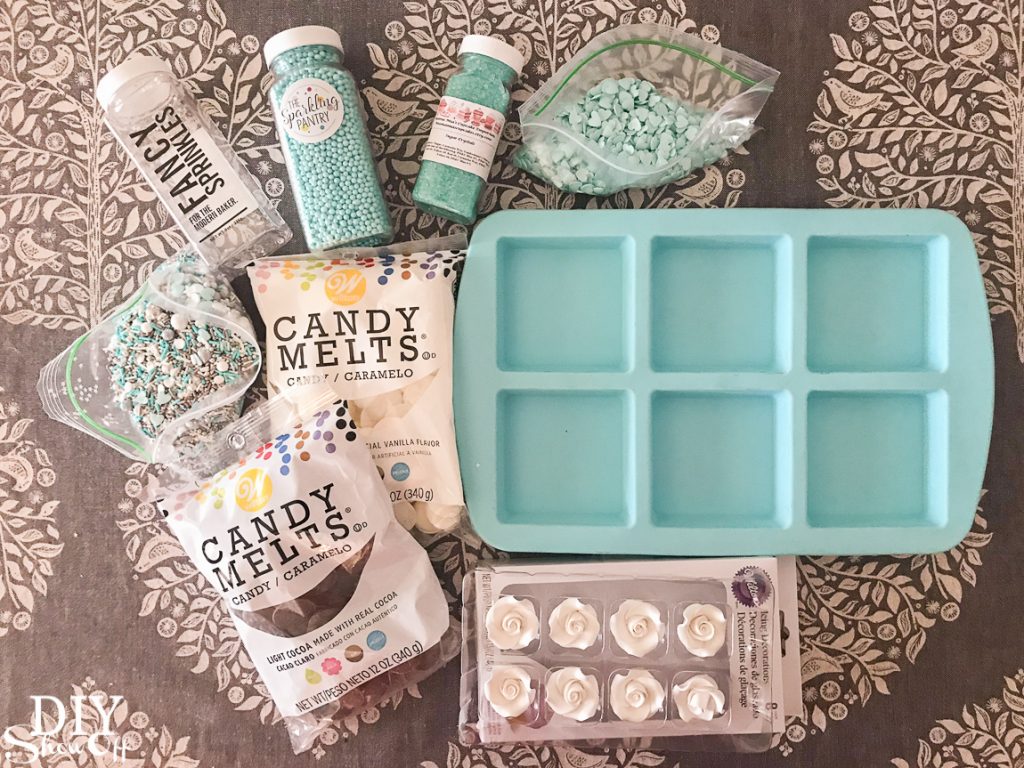
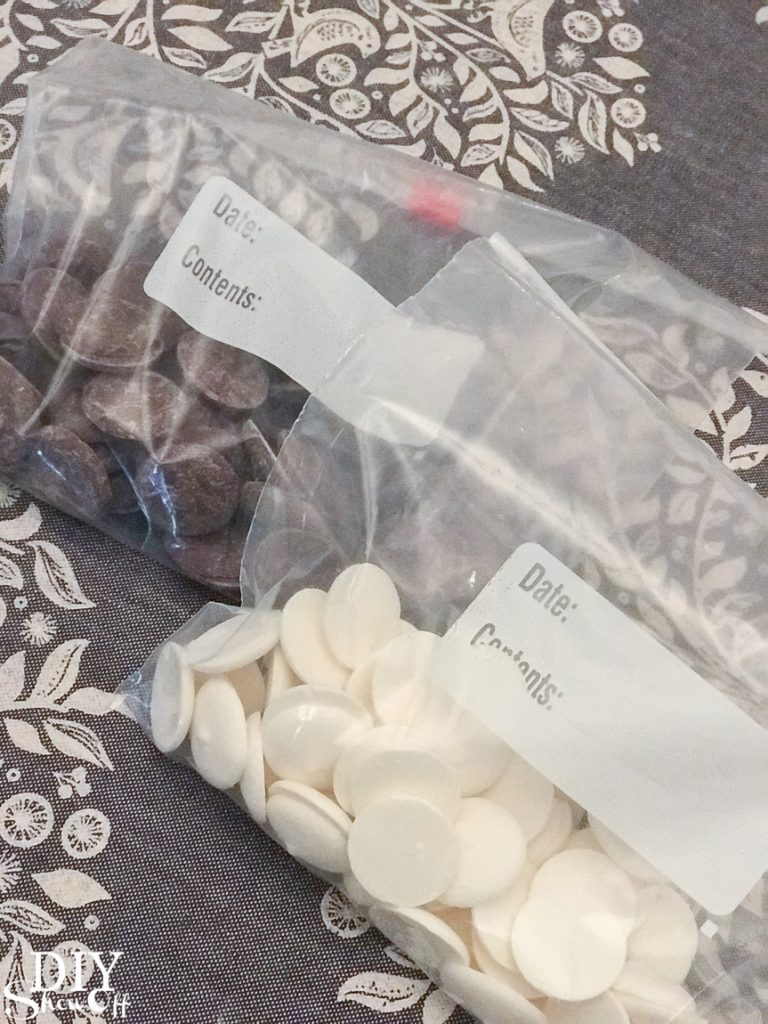
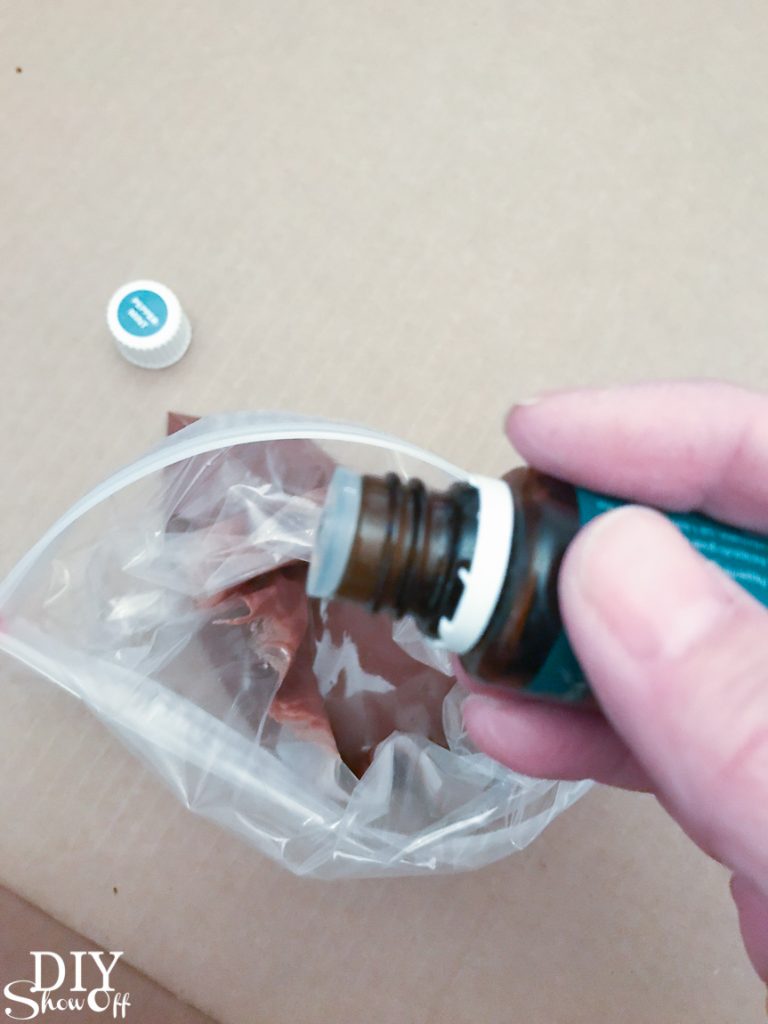
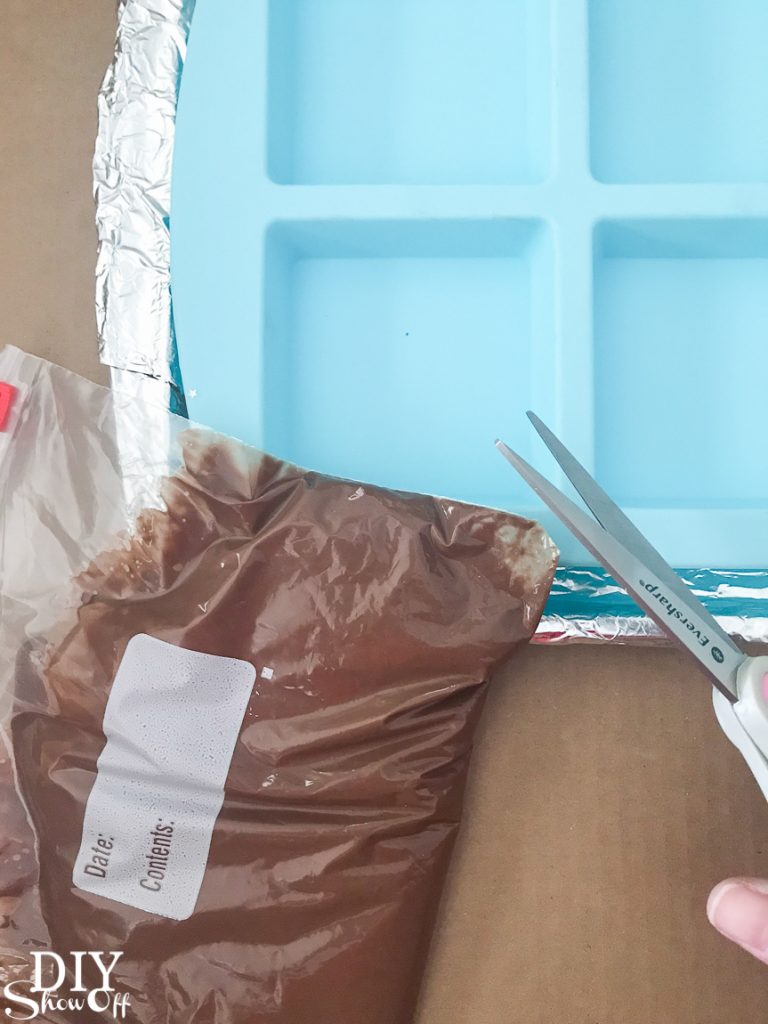
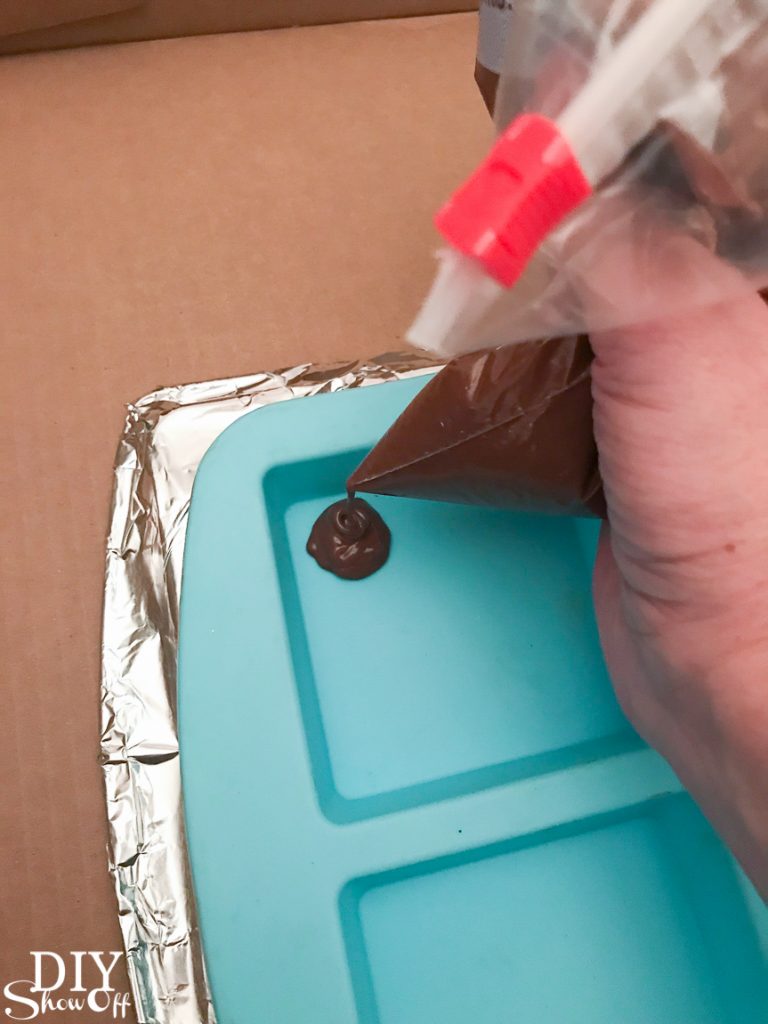
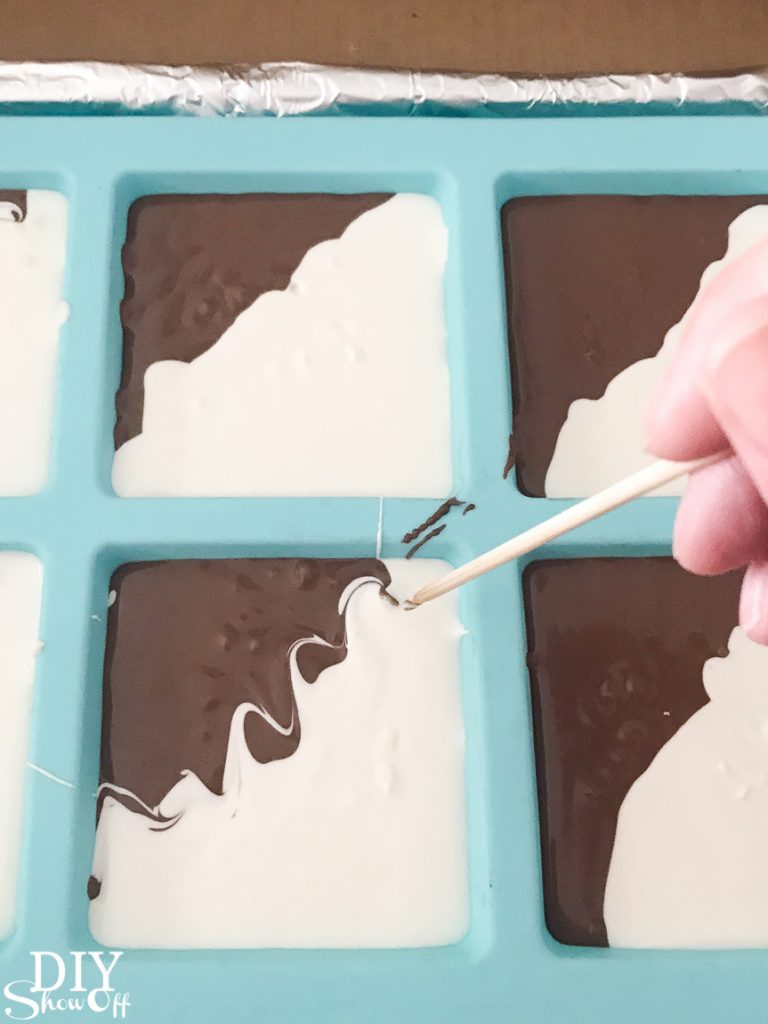

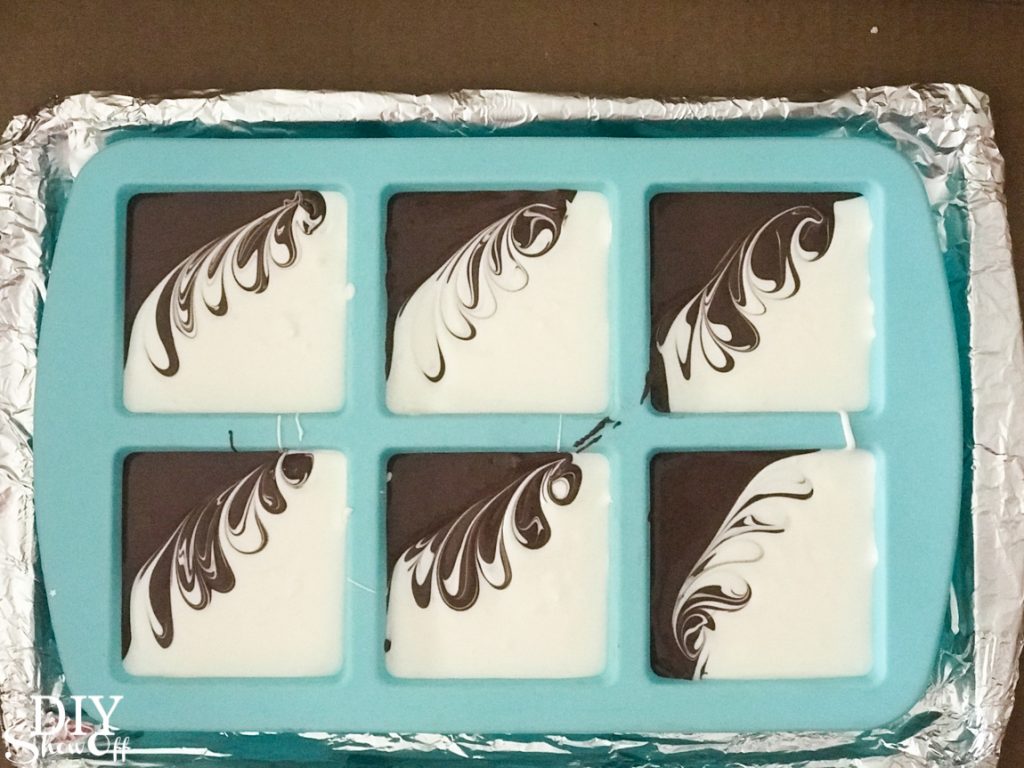
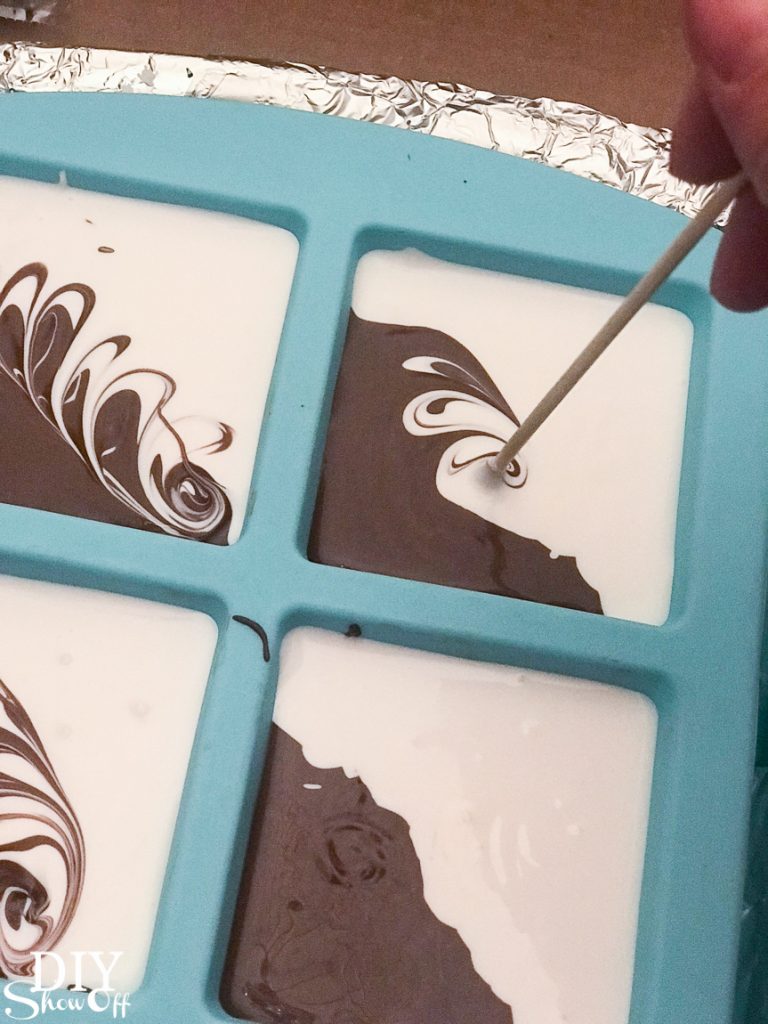

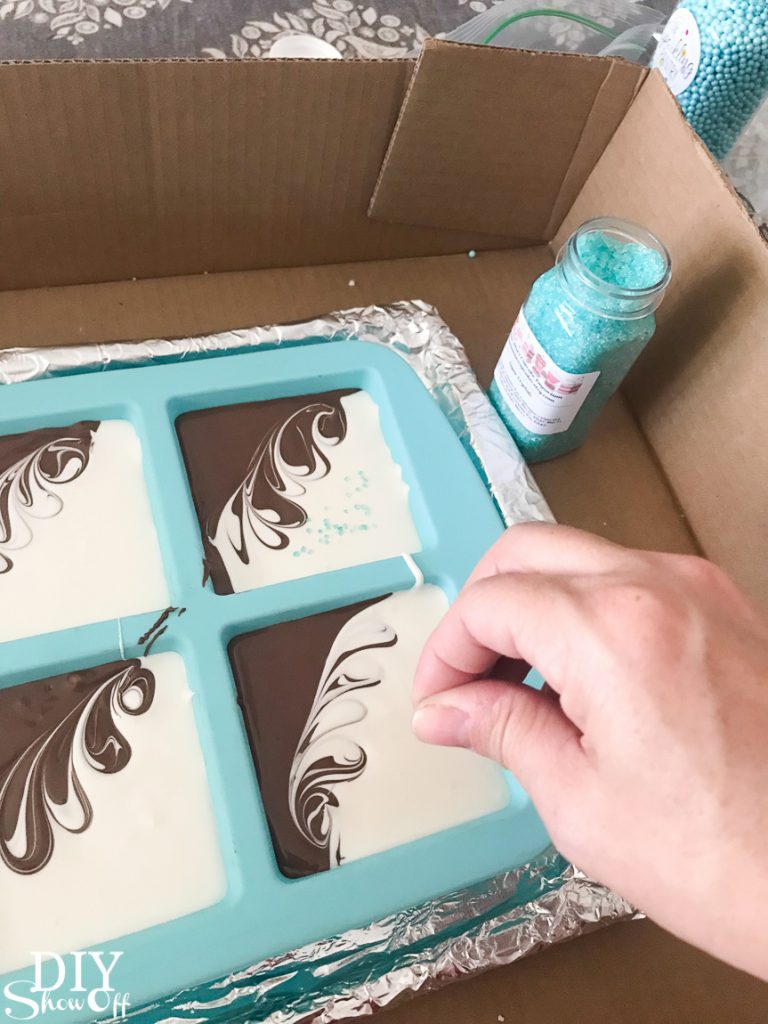
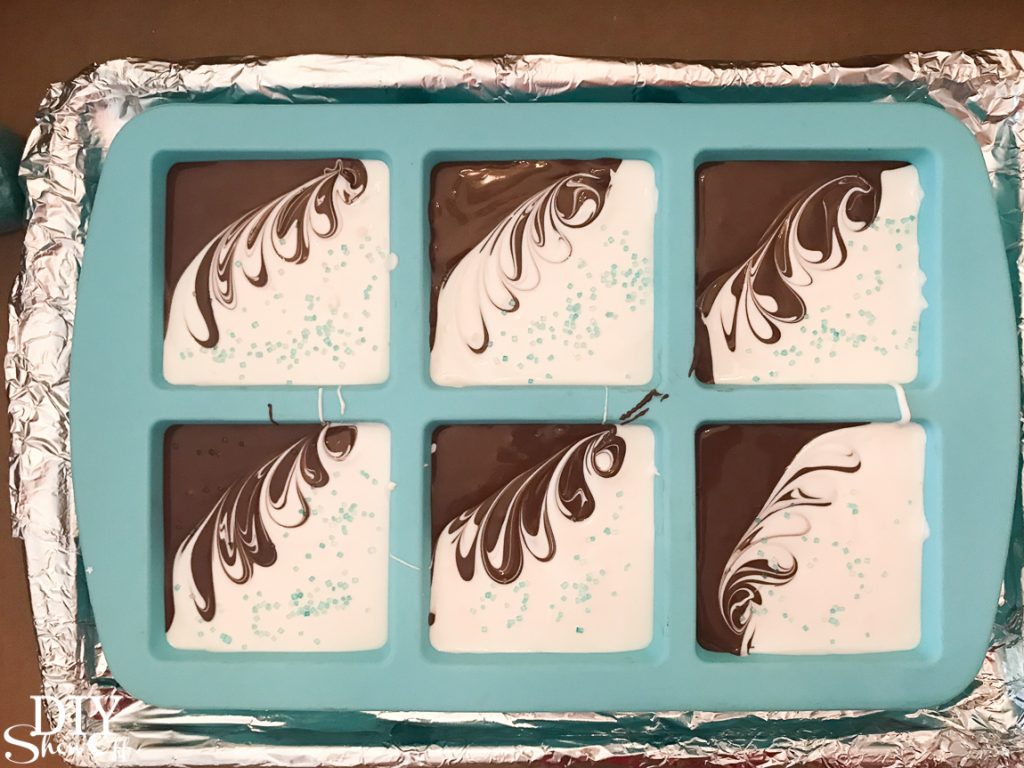
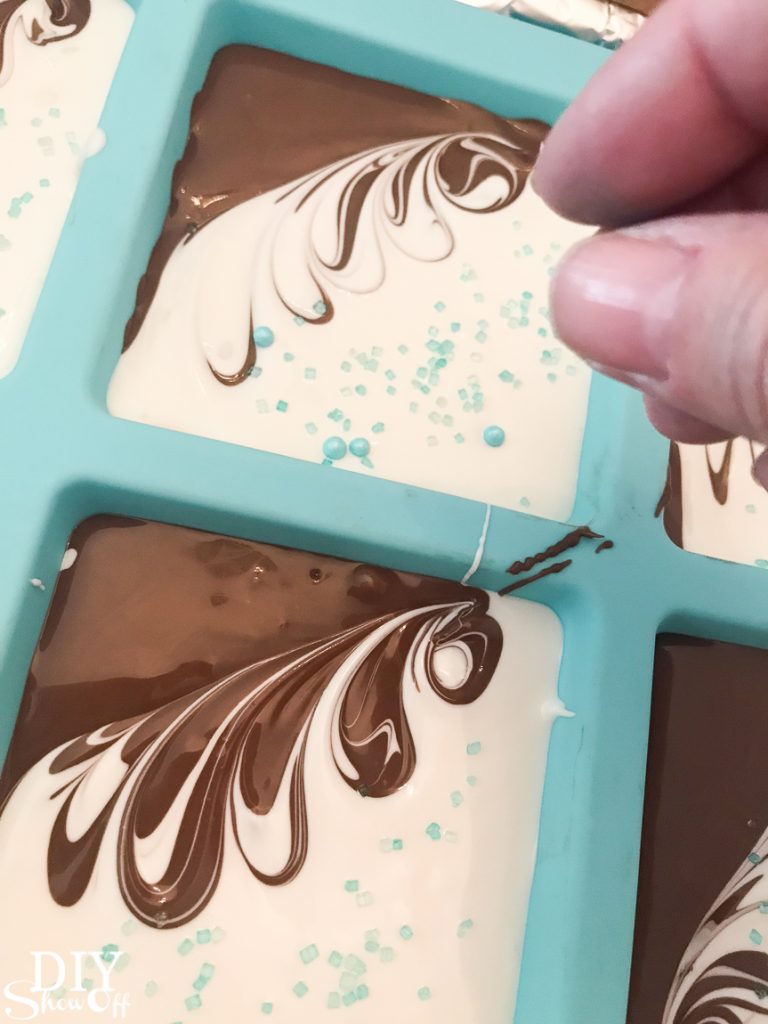
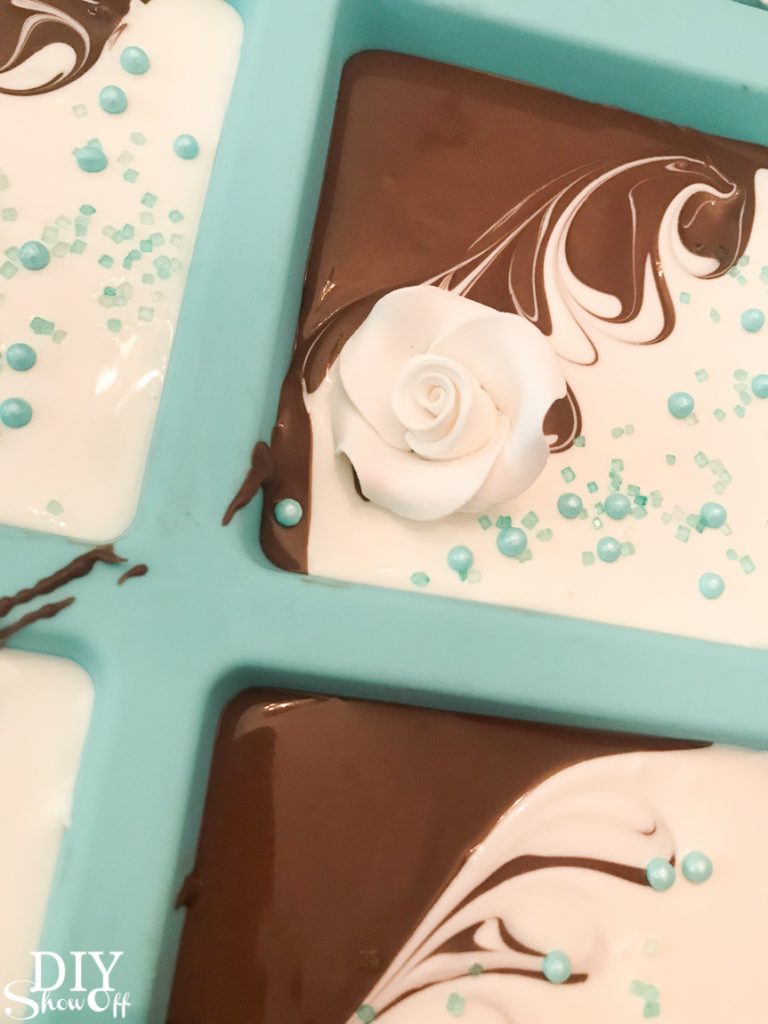
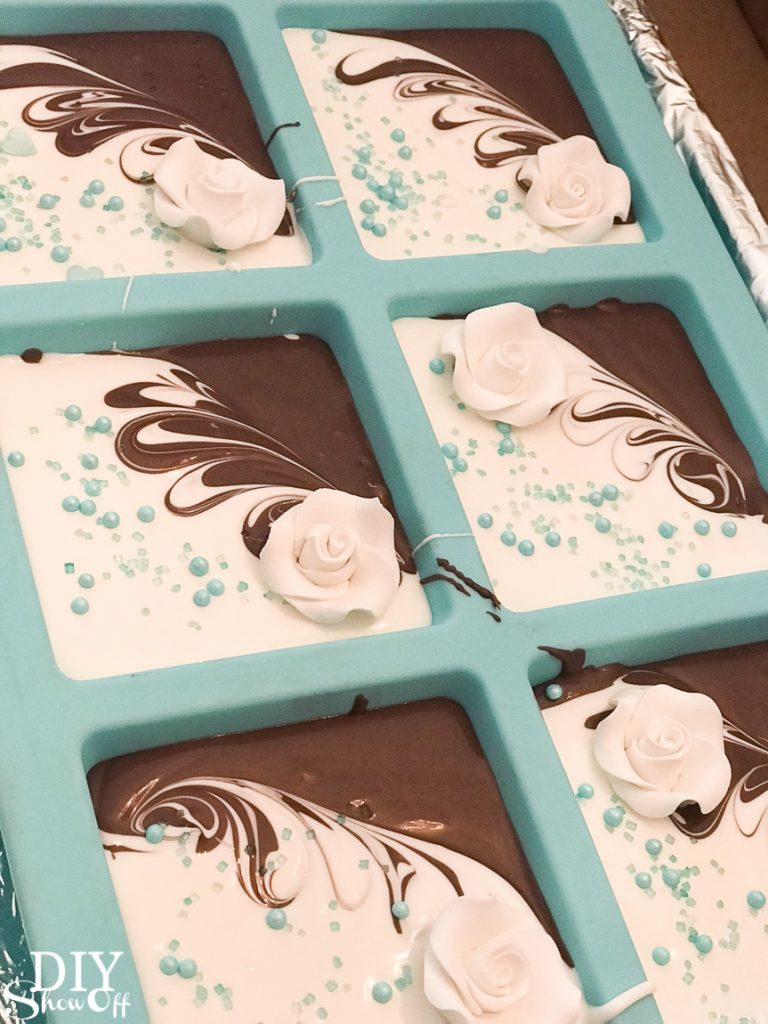
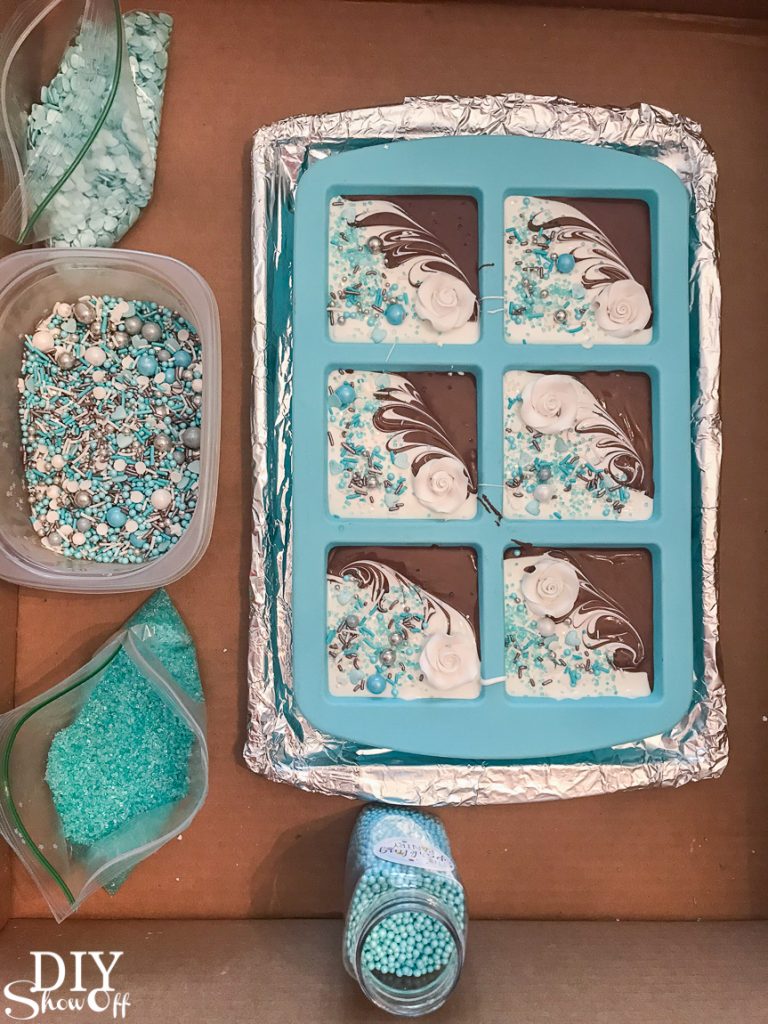
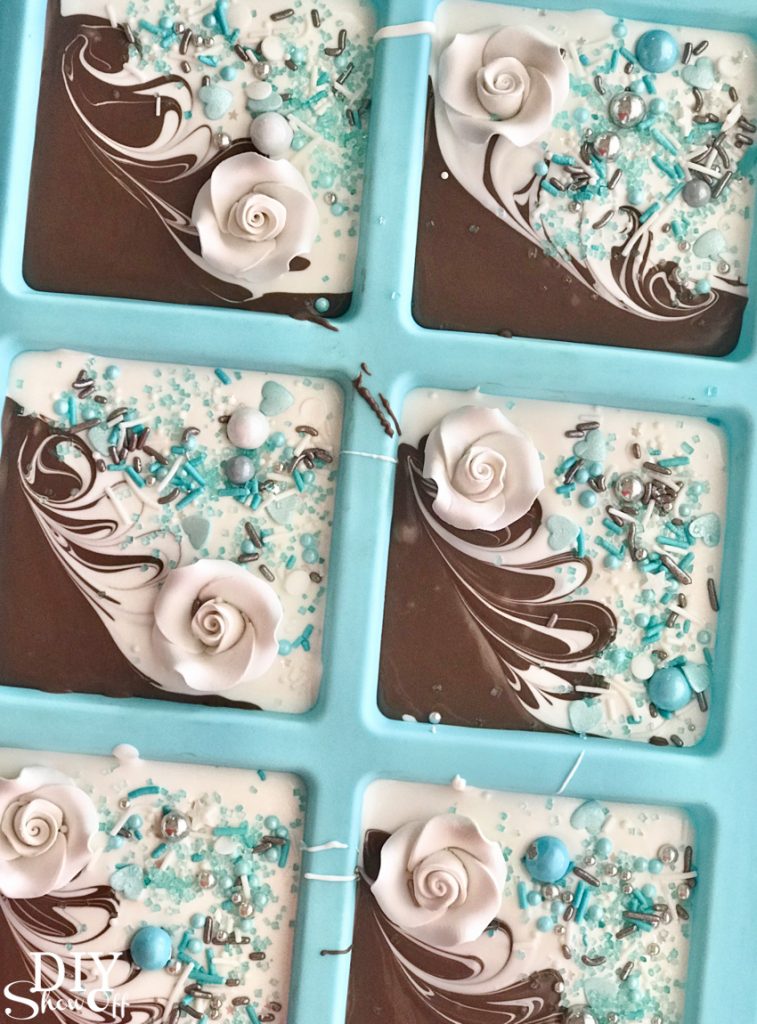
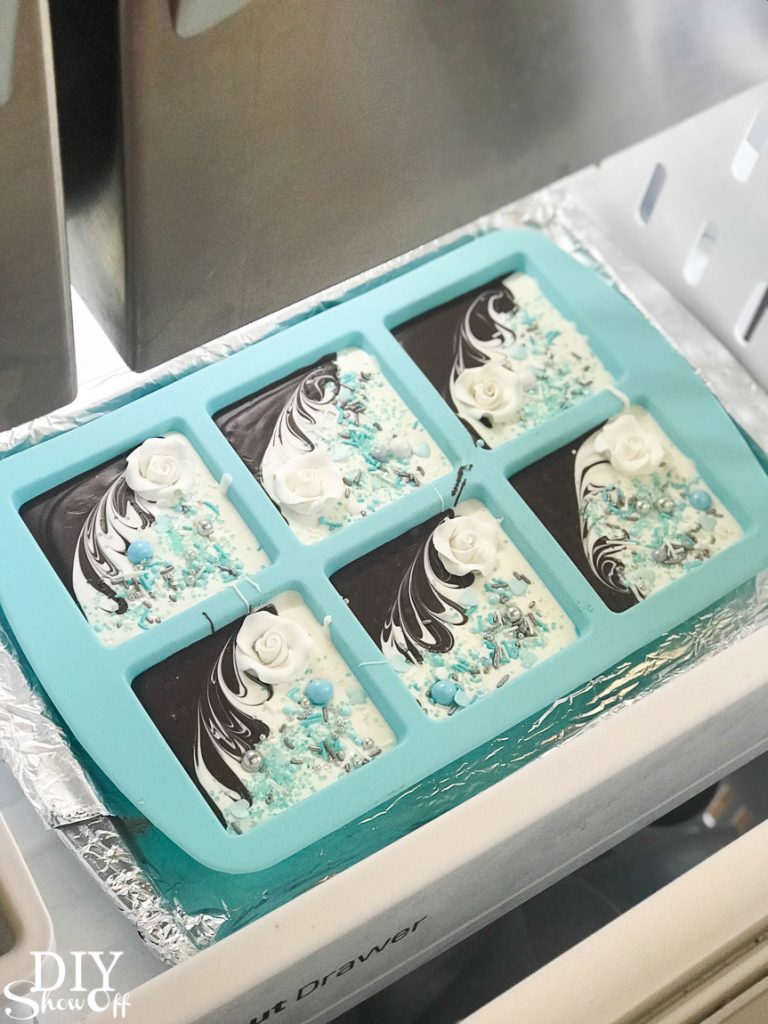
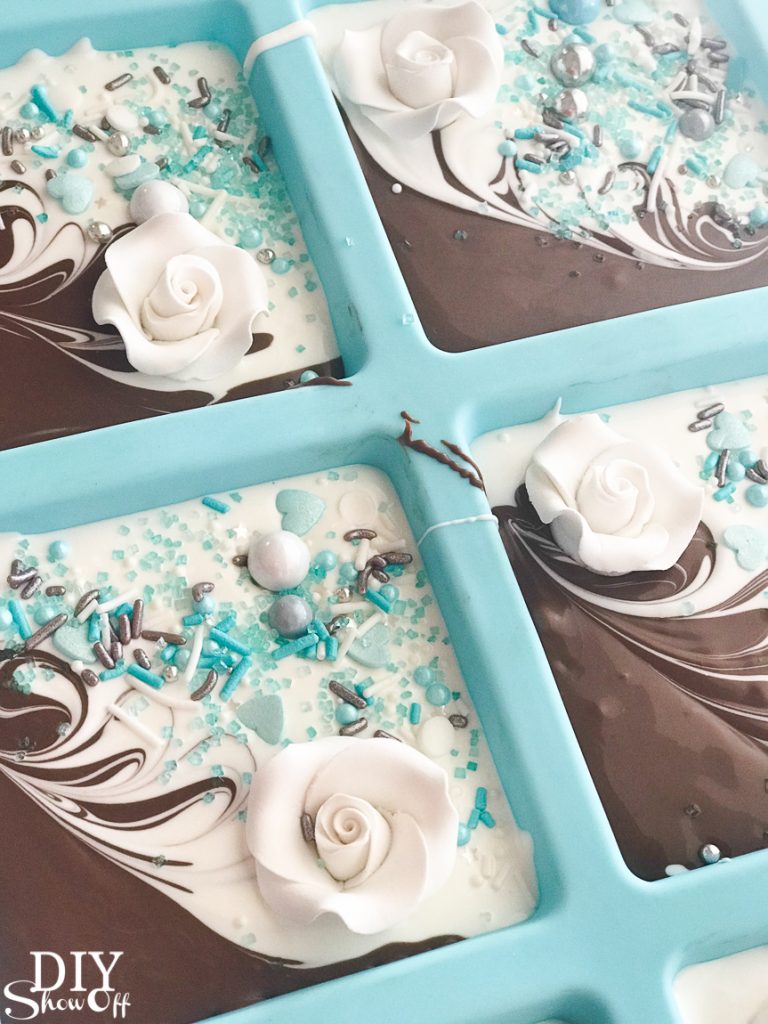
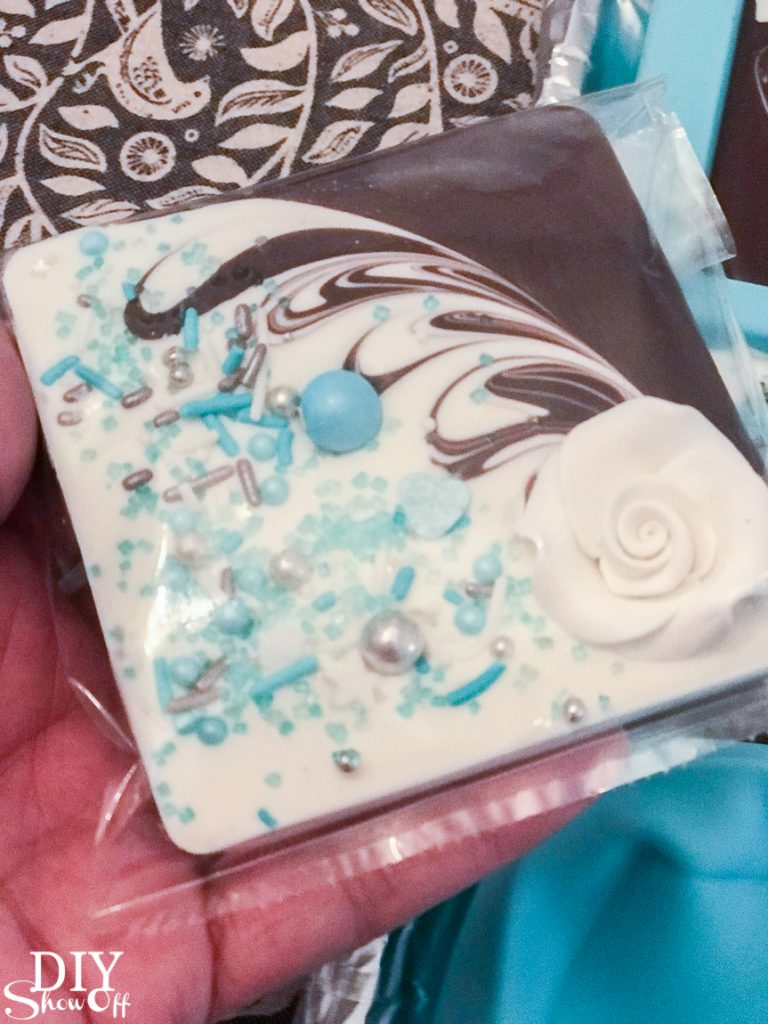
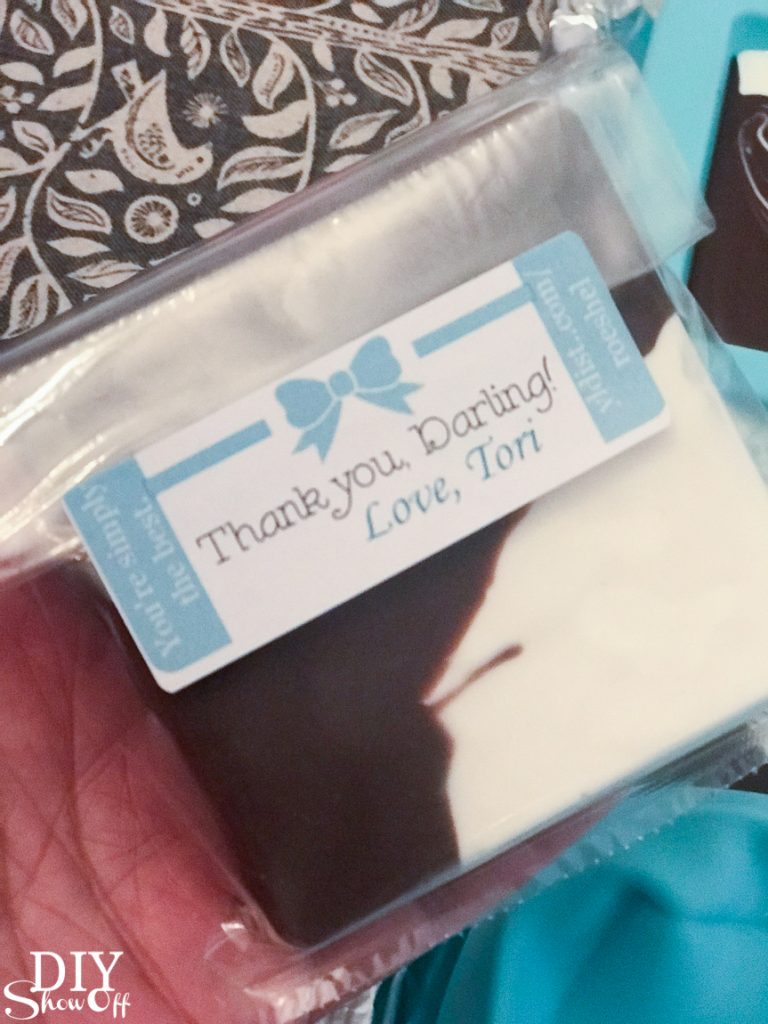
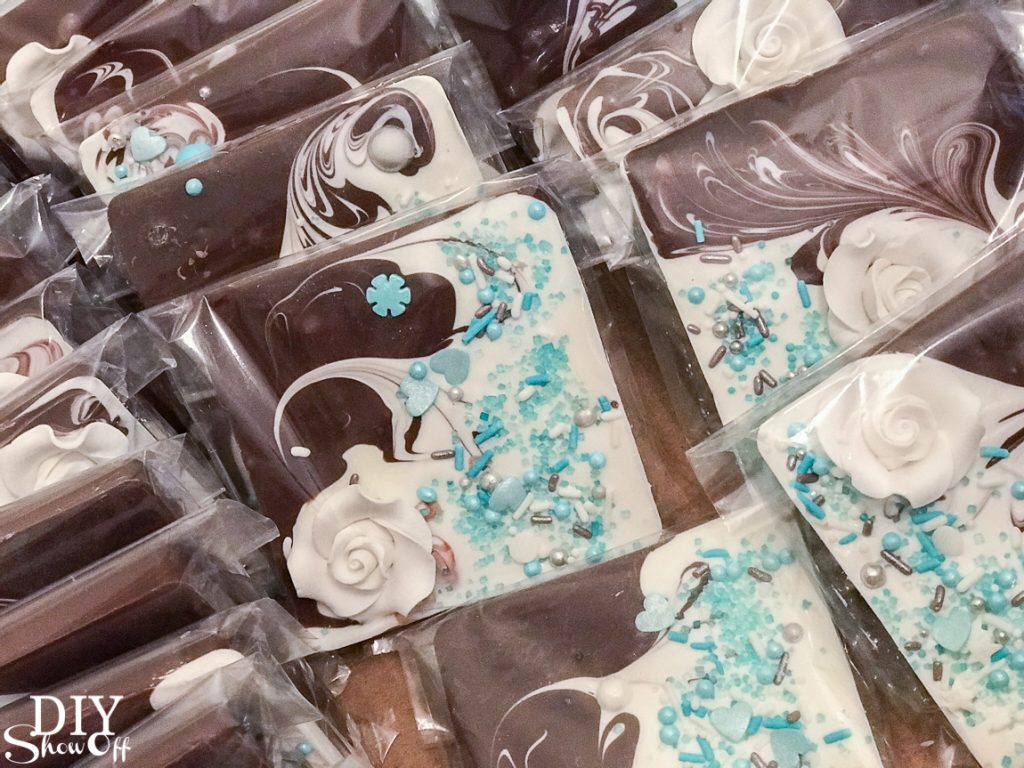

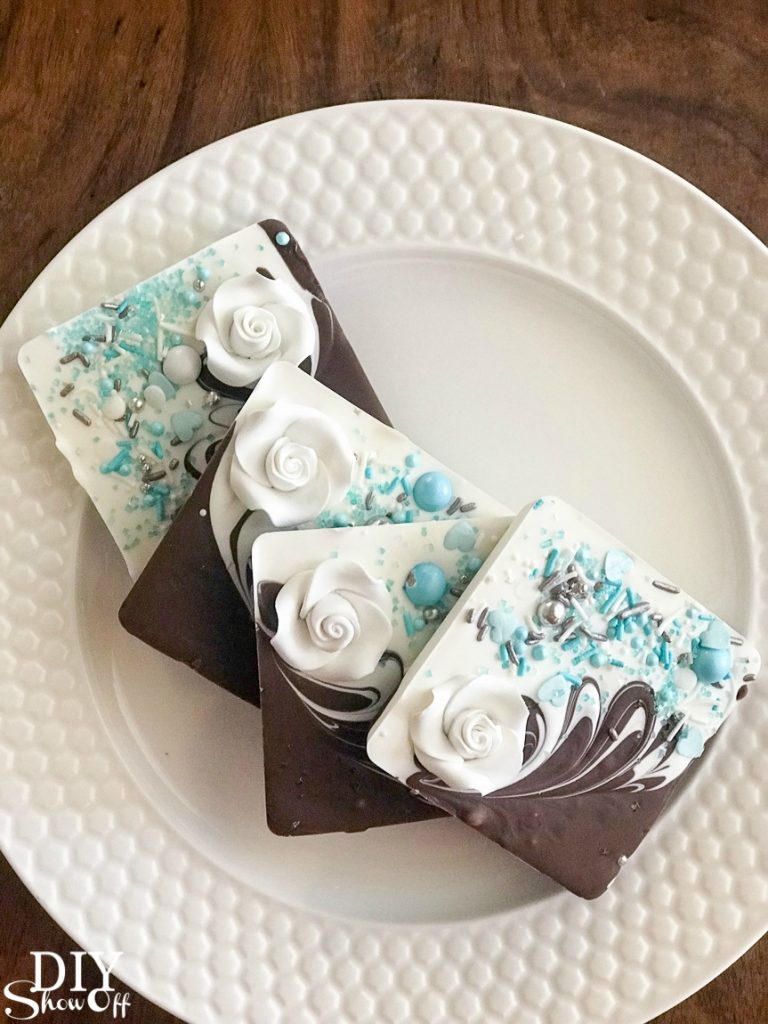
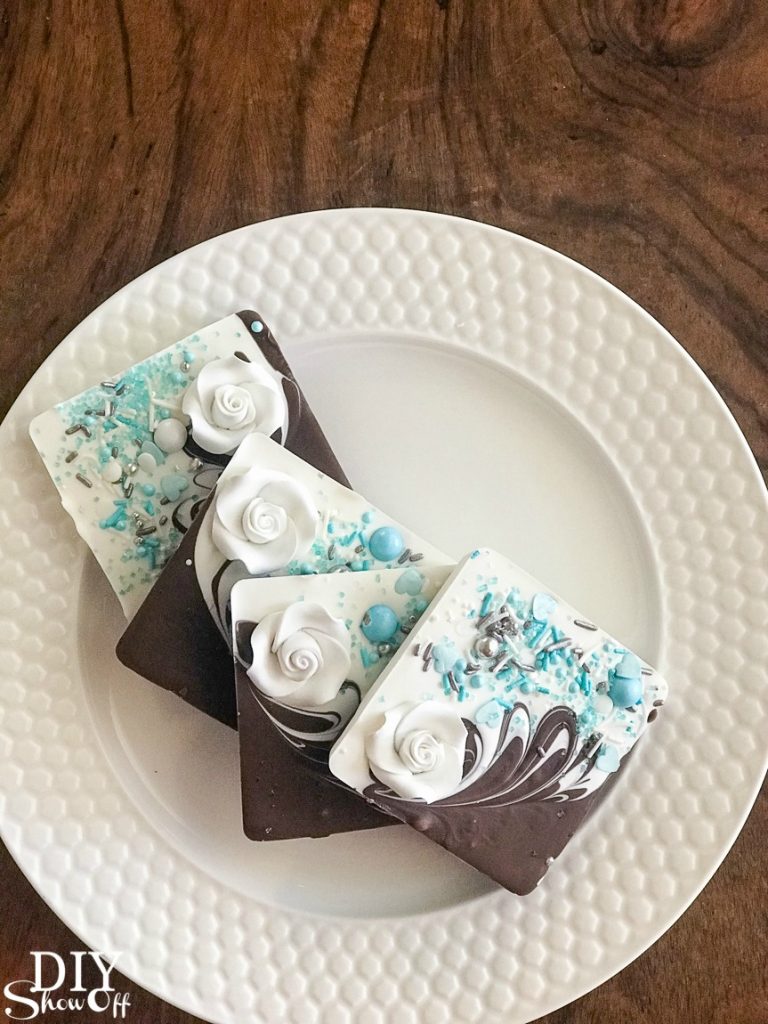
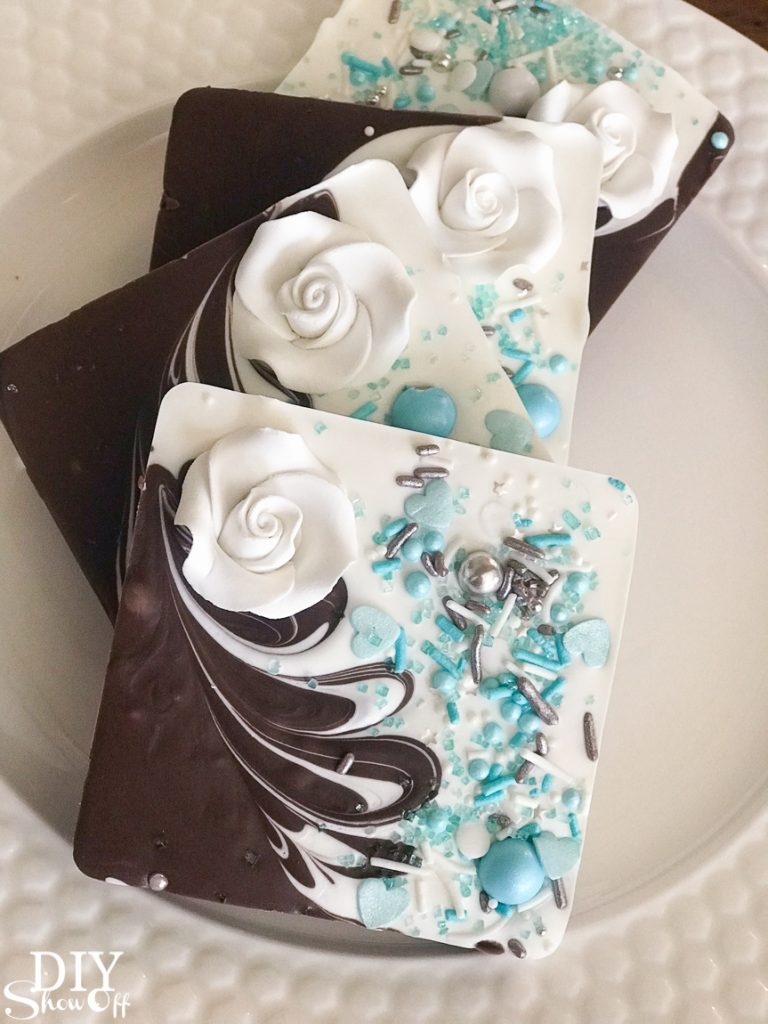
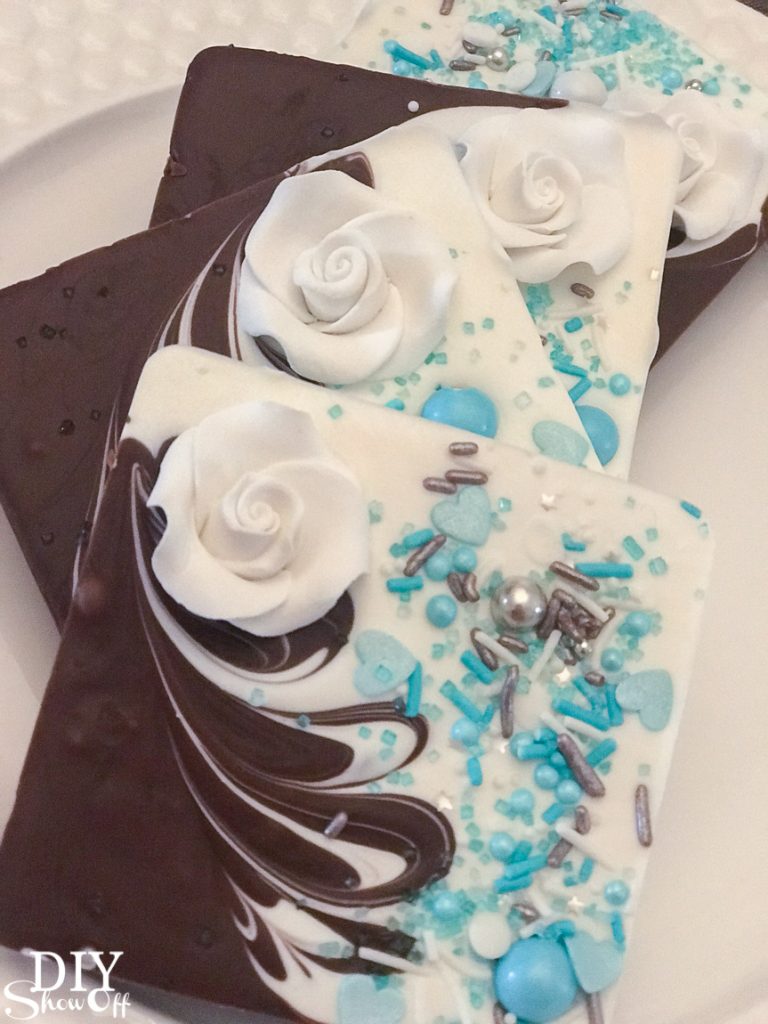
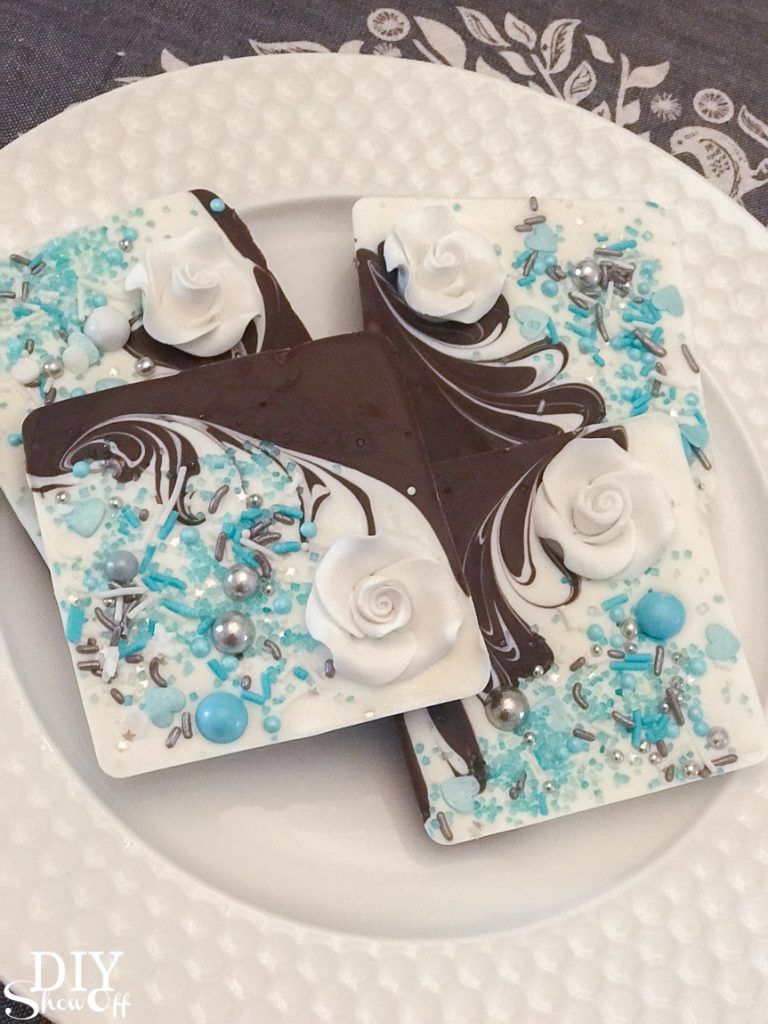
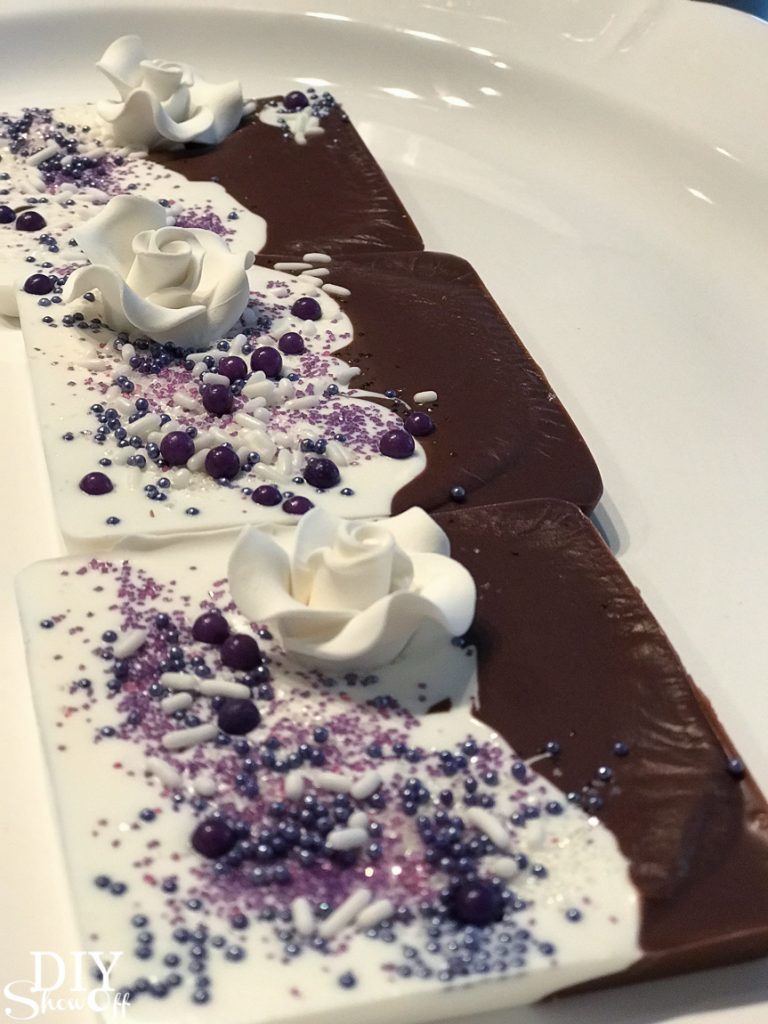
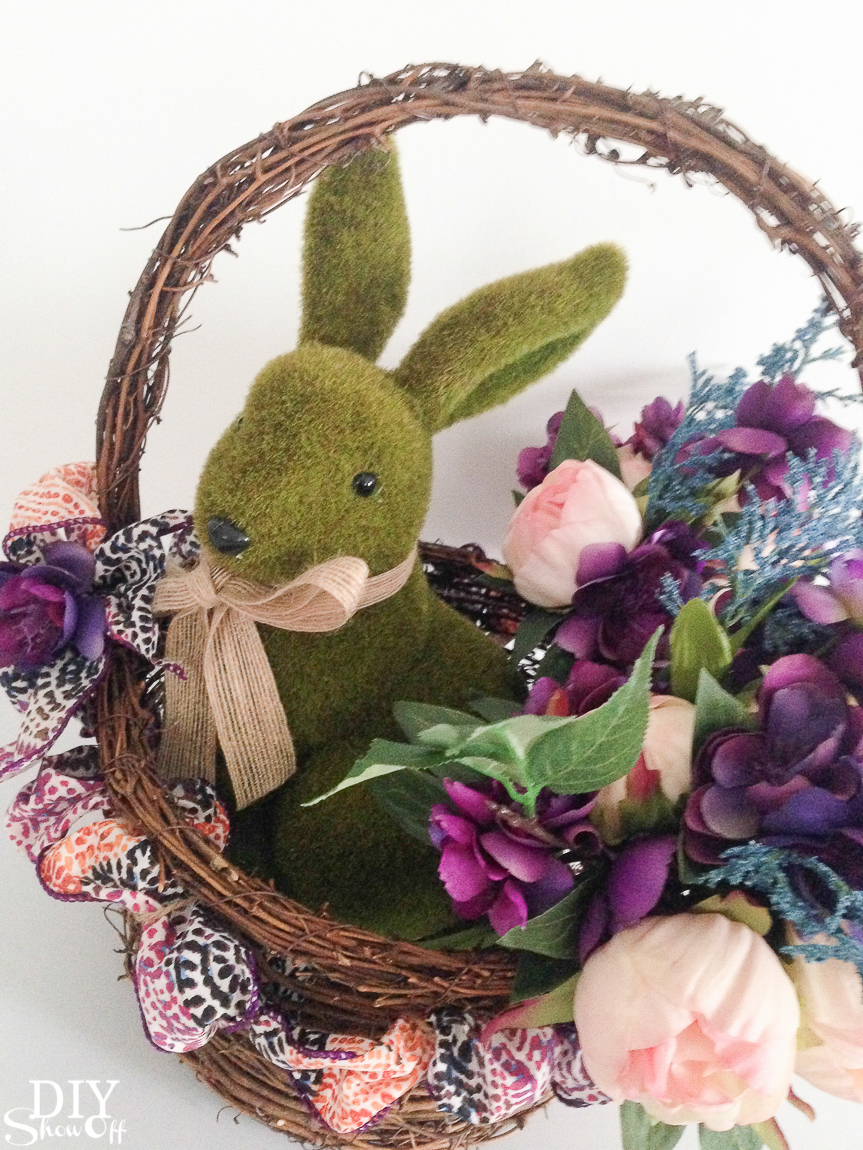
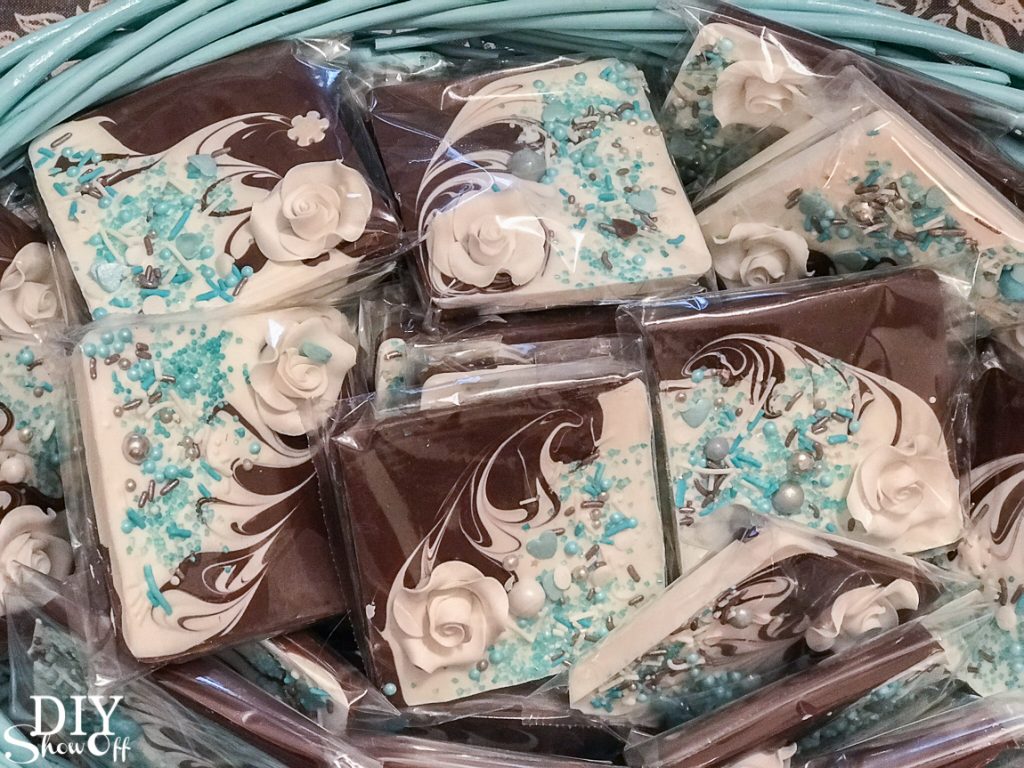 I whipped up 60-70 of these for a bridal shower but since you can personalize them with any candy melts (so many colors!) and any deco ratings (so many colors and shapes and ideas!), they’d work for not only bridal showers but for Mother’s Day, baby showers, wedding favors, party favors, hostess and teacher gifts, prizes, etc. I made a few every evening over a couple of weeks’ time. I gave a few out as essential oil infused door prizes and at Easter to my family too. I even had my grandson helping me decorate a few!
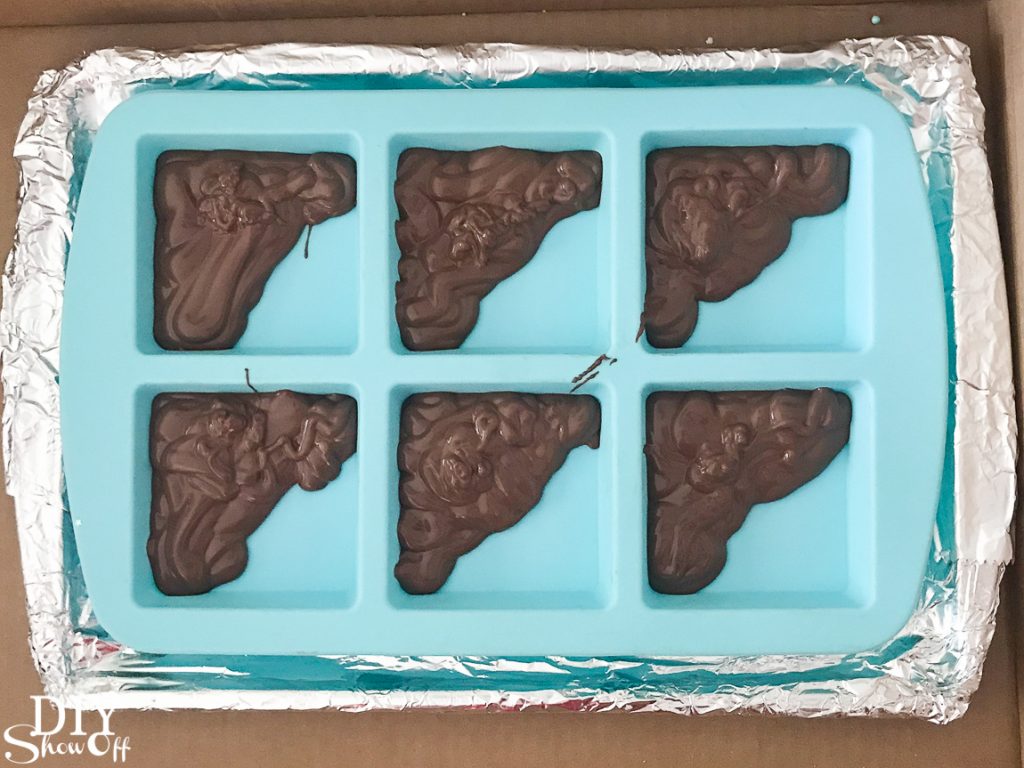
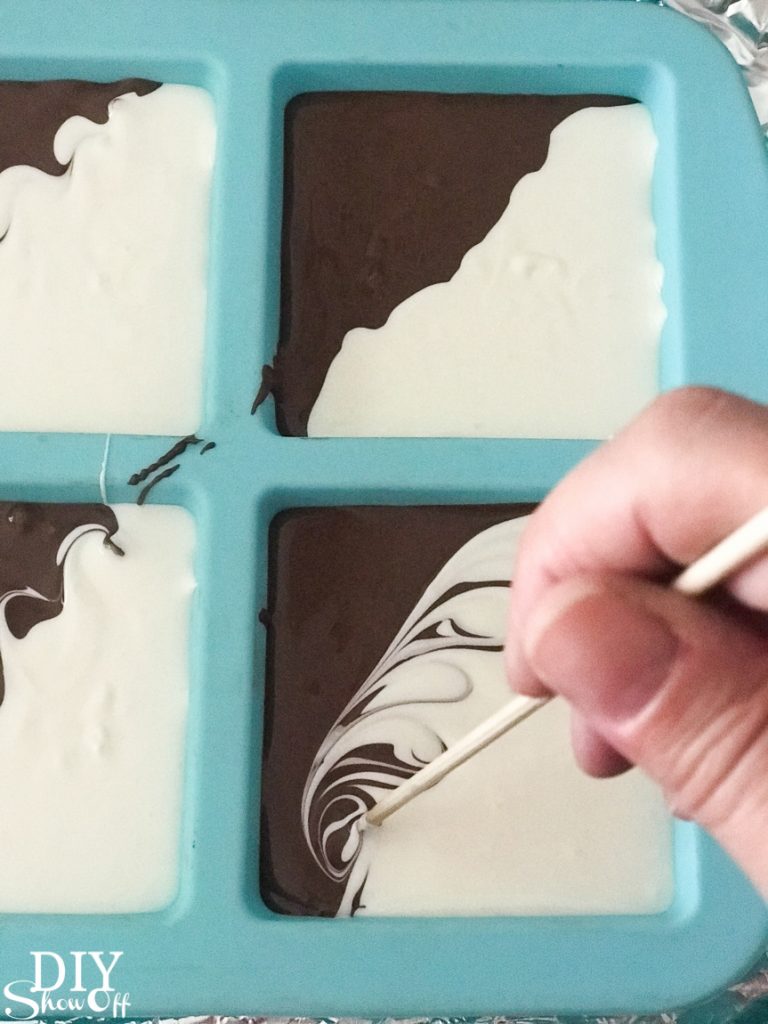
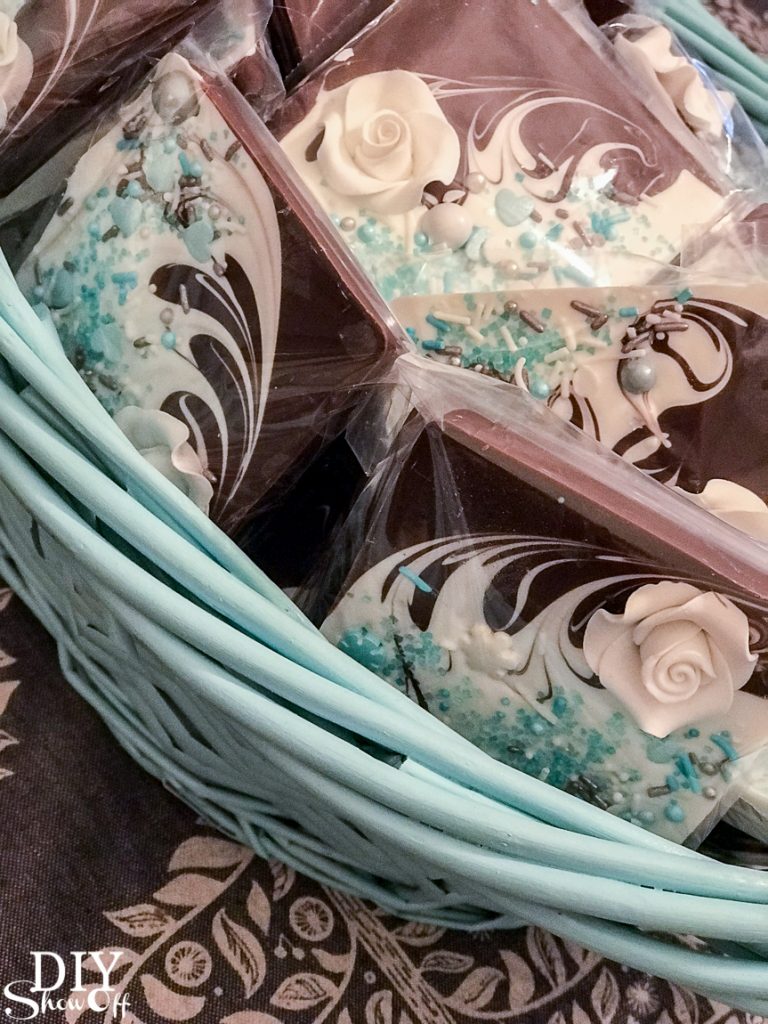 Warning – not only are they a beautiful sweet treat, they’re so addicting to create! Here is the very first batch that started my madness (without the swirl technique)…
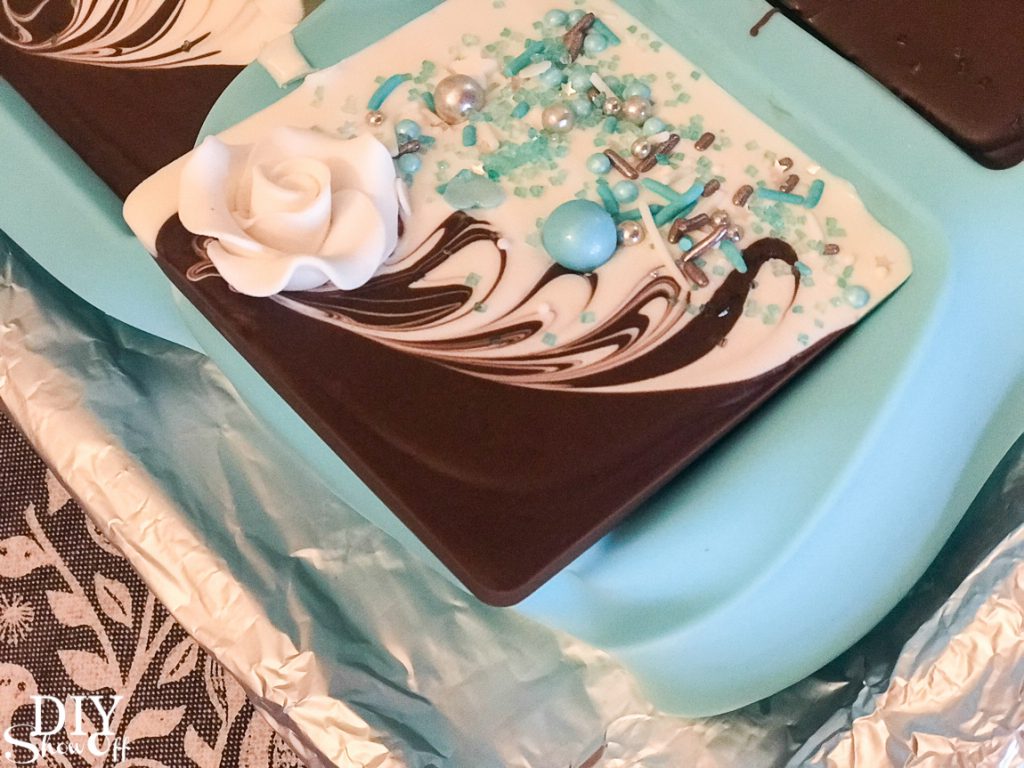