Personalized Baby Gift Set

I love being creative when it comes to baby gifts and personalizing a baby layette set with iron-on vinyl decals is just so easy to do!

DIY personalized baby layette gift set @diyshowoff

Supplies:

What I did:

Using my Silhouette studio designer edition software, I created a few fun decals. 

DIY personalized baby layette gift set @diyshowoff

For iron-ons, text (and some images) will need to be mirrored/flipped horizontally. Simply right click and choose “flip horizontally”. 

DIY personalized baby layette gift set @diyshowoff

Load the vinyl into the machine shiny side down (the shiny side is the transparency side). 

DIY personalized baby layette gift set @diyshowoff

Adjust settings for cutting heat transfer material and send to cut. Unload vinyl from the machine. (Note: I do not use a cutting mat as shown below.)

DIY personalized baby layette gift set @diyshowoff

Cut off the excess vinyl/material and weed (remove) the unwanted part of the the vinyl leaving just the decals. 

DIY personalized baby layette gift set @diyshowoffDIY personalized baby layette gift set @diyshowoff

Set iron according to heat instructions provided with vinyl iron on. 

Place iron on decal, shiny side facing you (iron on isn’t sticky but the clear transparency is…sticker side down to help hold iron on in place). 

DIY personalized baby layette gift set @diyshowoff

Cover with a cotton diaper cloth, burp cloth or towel and heat iron on according to instructions. 

DIY personalized baby layette gift set @diyshowoff

Carefully peel away transparency (if iron on pulls up too, re-place and iron some more). 

DIY personalized baby layette gift set @diyshowoff

Create an entire personalized baby layette gift set…

DIY personalized baby layette gift set @diyshowoffDIY personalized baby layette gift set @diyshowoff

*This post is sponsored by Happy Crafters. Tutorial, experience and opinion is my own.  Check out all the supplies at Happy Crafters for inspiration for your next project. 

HClogopngsmall

DIY Project Parade and Handmade Boutique Baby Collection

This week, I finally finished this…
My Handmade “Boutique Baby” gift Collection…
Warning: 
This is a long post with a couple of tutorials, links and LOTS of pictures!
I finally wrapped up (literally) my handmade baby gifts. 


I think I got a little DIY-happy but I really wanted to create a handmade boutique baby collection. Everything was so easy and I just couldn’t stop. 😉 I shared the sweet banner I made a few weeks ago…


as well as the Super Easy No Sew Tutu Tutorial
(This is the one I made for my niece’s 1st birthday when I took her pictures as her gift but I made one for the gift collection too.)


Here’s what else I tucked inside the gift box:

Baby Legwarmers Tutorial

Materials: A pair of ladies size socks (these ones are from Target – I had a hard time finding the right pink). Scissors and thread/sewing machine (or by hand).


1. Lay out each (ladies)sock and cut just above the heel. Set the “leg” part of the sock aside.

2. Cut the ‘heels’ and ‘toes’ of each off. 


3. Fold the ‘foot’ part of the sock in half (underneath) so inside and out shows the right side of the fabric and makes a ‘cuff’.


4. Slide ‘leg’ part into ‘cuff’ all right sides out, lining up the raw edge.


5. Pin 3 layers together evenly, lining up the raw edge.


6. Sew as close to the edge as you can, making sure to capture 3 layers.

7. Trim if necessary and flip up cuff. Cute legwarmer from ladies socks!


Handmade Peony Headband Tutorial

Materials:  Plain elastic headband, silk peony and rhinestone. Hot glue.

1.  I used a wipes container to stretch headband. 

2.  Disassem
ble the silk peony. Use wire cutters if necessary.

3.  Hot glue layers of the flower onto the elastic headband.

4.  Add layers until as full as desired.

5.  Hot glue rhinestone into center. Let dry.

Ta-da! Pretty BIG flower headband!

And using these beautiful fabrics (fabric.com) and baby flannel for the backing (reversible bibs, aprons and burp cloths from Joann Fabrics).


Premier Prints Trey Stripe Bella Pink/Cozy
DC-300
Premier Prints Royal Suzani Bella Pink/Cozy
UK-719
Premier Prints Twill Suzani Cozy/Bella Pink
UK-706
Premier Prints Madison Cozy/Bella Pink
DC-298
Premier Prints Dandelion White/Bella Pink
DC-323
Premier Prints Gisella Cozy/Bella Pink
DC-248


I sewed a few baby apron bibs, contoured burp cloths, a bib and some appliqued onesies. 


Baby Apron Bibs
(Bapron Tutorial at Craftiness is not an Option)
Aren’t these sweet? Bib/Apron for baby!


Contoured Burp Cloths
Bib
(Tutorial)
(shown middle)


Appliqued Onesies Tutorial

1. Iron interfacing to fabric.

2. Trace shape onto paper side and cut out.

3. Peel away paper and iron onto onesie.
4. Iron applique into place in center of onesie.
Note:  I drew on eyes using these!!!  Sharpie Fabric Stain Markers! 
(another project non-baby related utilizing these coming up!)


5.  Stitch into place.
Ta-da!


Or cut shapes from fabric pattern:


argyle onesie tutorial (live a little wilder) 
I did my own version using the applique method above and the sewing machine:

Lots of “after” pictures.  I’m just so proud that the entire collection is handmade and pretty cute. 🙂

What do you think? I think it makes me want a baby girl! I hope she likes it all and loves pink!

~*~**~*~
Okay. Okay. Now it’s your turn! What have you been doing this weekend?  


If you’d like to link YOUR DIY project post to The DIY Show Off Project Parade:


1. You must use the button above (ADD BUTTON HTML CODE FROM SIDE BAR TO YOUR POST) and link to this post to share the linky love.

2.Include your name or blog name and project title. Add your permalink (not your blog url, but your DIY project post url). Feel free to link a Past Post, just invite your readers in a current post with a quick note.

3.Or email your link to thediyshowoff@gmail.com and I will add it for you.

4.If you notice your link has disappeared -please add the link back to The DIY Show Off to your post today, a button or a quick note to your readers about the party and try again! I love when everyone participates and readers check out everyone’s links, but I think the return favor of linking back is the nice thing to do so everyone plays fair and enjoys all of the projects and links. Also – this blog party is for DIY projects only. Links not related to DIY will be deleted.

5.  NOW you can “like” the links!  Most liked link moves to the top of the list!  What a fun idea!  Most liked links may be included in a post of DIY Project Parade highlights later in the week!  🙂


Sharing at:
Photobucket

DIY Counting Sheep Baby Banner

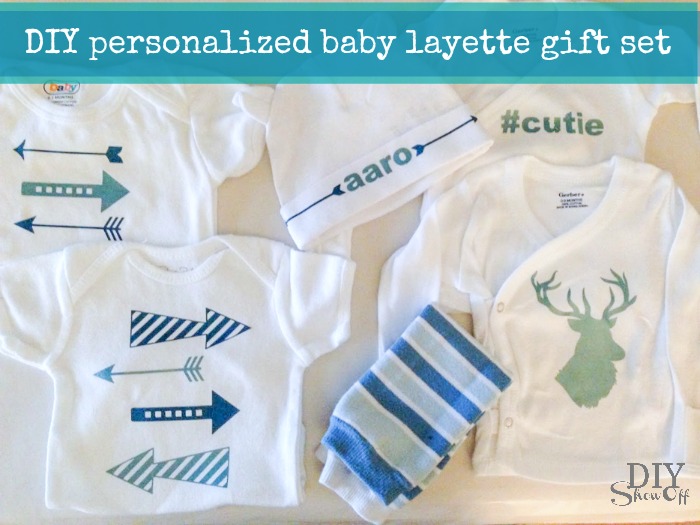
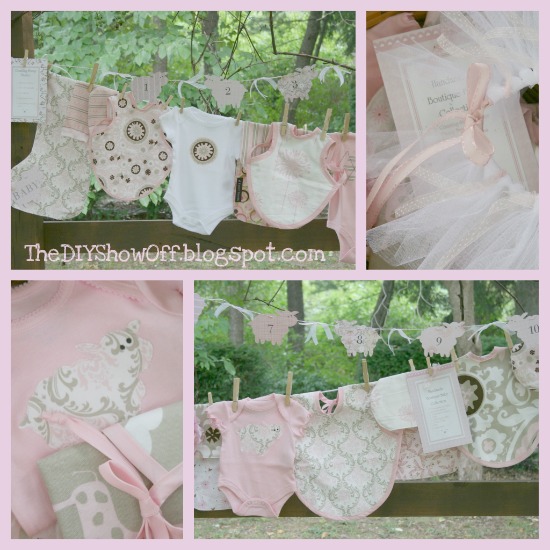
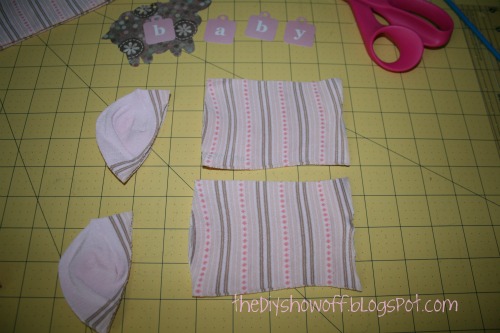
It’s rare, but there’s a baby related project in the DIY Show Off house! NO! Not for me! I‘ve been invited to a baby shower and I just love giving handmade baby gifts. (Tara, if by chance you’re reading, please stop right here!) Unfortunately, I can’t make it to the baby shower (my baby girl’s graduation party is the same day) but I have a whole handmade collection planned and here’s the first thing in the gift box: 


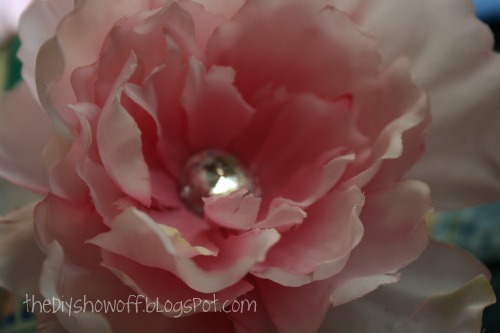
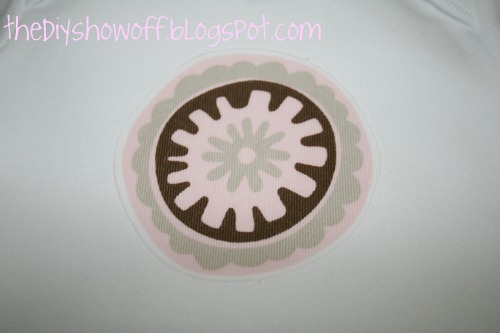
A sweet baby girl counting sheep banner, inspired by cute bird, butterfly and bunny banners but designed and DIY’d by me with a counting sheep theme.

Not guaranteed to help baby sleep, but it sure is cute. 

Materials:
Scrapbook paper (It doesn’t take much. Two 12×12 sheets will work but more if you want more designs.)
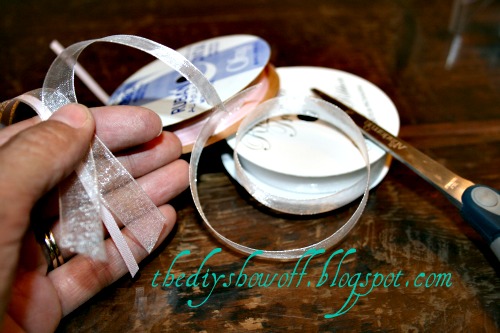
2 ribbons (I used almost 1 spool of organza, 1 thin satin)
Baker’s twine (a thin ribbon or twine would work just as well)
Number ink & stamps or stickers #1-10 (or free hand)
Tape

Tools:
Pencil
Scissors
Hole punch
Optional:  Xacto knife

Counting Sheep Banner Tutorial
10 steps to 10 sheep
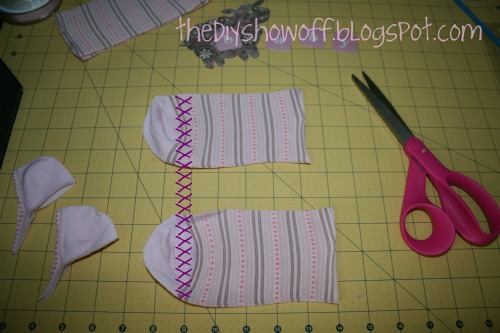
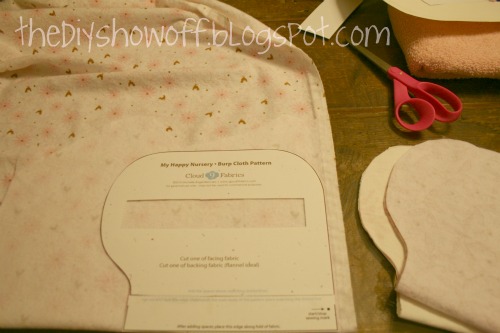
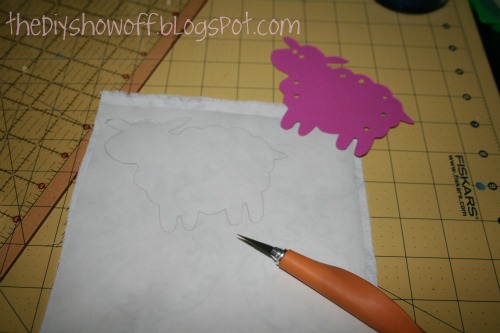
#1 Print a lamb stencil or template from online onto card stock and cut out. (Optional: you could also use your Cricut or Silhouette to make die cuts.) 


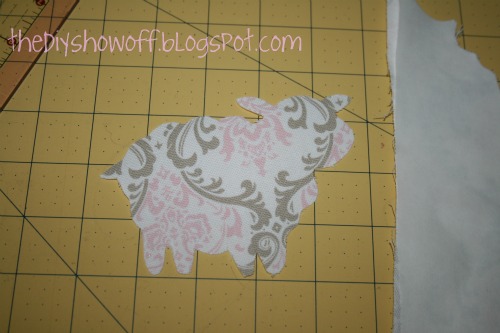
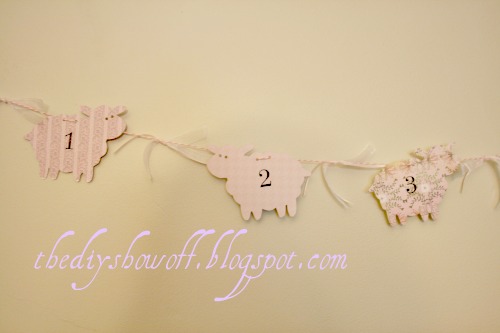
#2 Trace onto scrapbook paper and cut out sheep shapes. I used an Xacto knife and alternated the direction (flip the sheep stencil) so my sheep were facing each other in sets of two {><} rather than all facing left {<<} or right {>>} or back side to backside {< >}. Trace and cut out 10 sheep. I used pretty paper in pinks for baby girl (to coordinate with other handmade items planned).


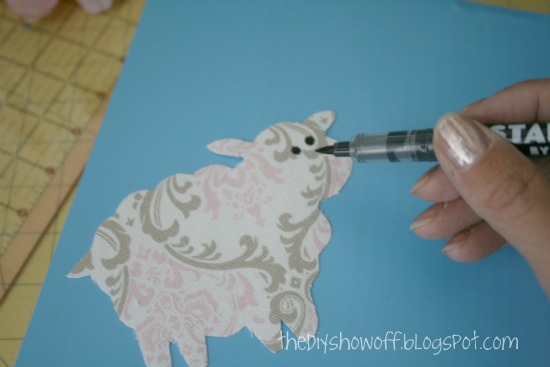
#3 Punch 2 holes beside each other near the top of each sheep. Near the top keeps sheep from twirling on the string. I tested punching holes in different areas. Near the top works best. (Optional: reinforce with eyelets. I also punched holes for eyes…animals without eyes make me sad. You could draw on closed/sleepy eyes too.)


#4 Number the sheep 1-10 using rubber stamps, stickers or draw on with markers.

#5 Cut 11 five inch pieces (eyeball it…no need to measure) of pink ribbon and 22 five inch pieces of organza (or do your own ribbon combo/thing). This is tied between each sheep.


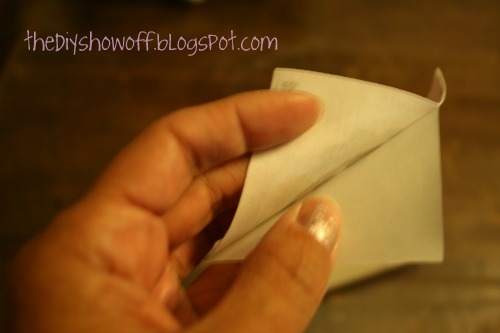
#6 Pull a length of baker’s twine. Tape off the end (it keeps the twine from fraying and makes threading easier).


#7 Add sheep. Thread from back to front in one hole. Then front to back in punched hole right beside it. Repeat for all 10 sheep.


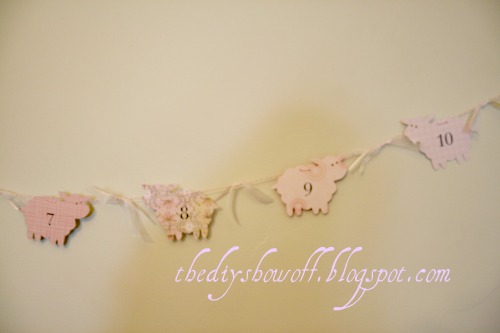
#8 Space out evenly. I left about 10 inches of twine on each end for hanging. Cut and tie a loop on the ends of the twine (loose knots to allow resizing the loop for bigger hanging on drawer knobs, smaller loop for thumb tacks or safety pins).


#9 In between each sheep, I took 2 pieces of organza with 1 piece of satin ribbon and tied a knot. (Shabby Chic option: use frayed pretty coordinating fabric pieces or strips of tulle.)


#10 Space evenly again (leave them semi-moveable to accommodate different areas in the gift recipient’s home or tape twine on back to keep in place). Ready to hang!


Isn’t it so cute? I want one for me and I don’t even have a nursery. I love pretty decorative banners and ‘counting sheep’ is perfect for a nursery! 

  • Hang it across drapery
  • Tie on dresser pulls 
  • Use as wall art
  • Cute learning to count tool 
  • Baby shower decor. 

Lots of options. Now lots of pictures:


hope she likes it. 🙂


What have you been doing this weekend?  


The DIY Show Off


If you’d like to link YOUR DIY project post to The DIY Show Off Project Parade:


1.You must use the button above (ADD BUTTON HTML CODE FROM SIDE BAR TO YOUR POST) and link to this post to share the linky love.

2.Include your name or blog name and project title. Add your permalink (not your blog url, but your DIY project post url). Feel free to link a Past Post, just invite your readers in a current post with a quick note.

3.Or email your link to thediyshowoff@gmail.com and I will add it for you.

4.If you notice your link has disappeared -please add the link back to The DIY Show Off to your post today, a button or a quick note to your readers about the party and try again! I love when everyone participates and readers check out everyone’s links, but I think the return favor of linking back is the nice thing to do so everyone plays fair and enjoys all of the projects and links. Also – this blog party is for DIY projects only. Links not related to DIY will be deleted.

5.  NOW you can “like” the links!  Most liked link moves to the top of the list!  What a fun idea!  Most liked links may be included in a post of DIY Project Parade highlights later in the week!  🙂