Easy Personalized DIY Ornaments

easy personalized DIY ornaments @diyshowoff #lowescreator

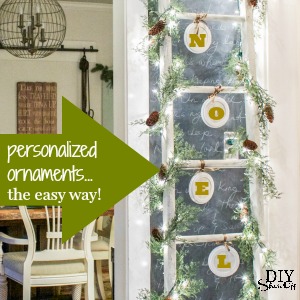
Making up a personalized DIY ornament doesn’t have to be super involved, complicated or expensive. As a part of the Lowe’s Creative Ideas December challenge, I grabbed these decorative ceiling medallion inserts from Lowe’s…easy personalized DIY ornaments @diyshowoff

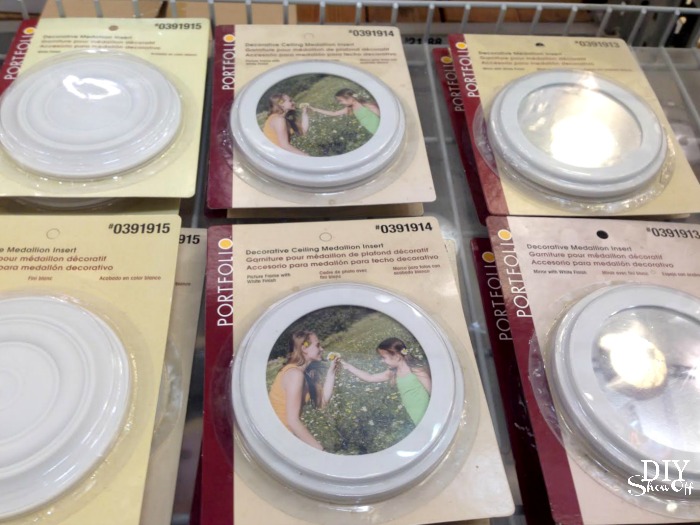
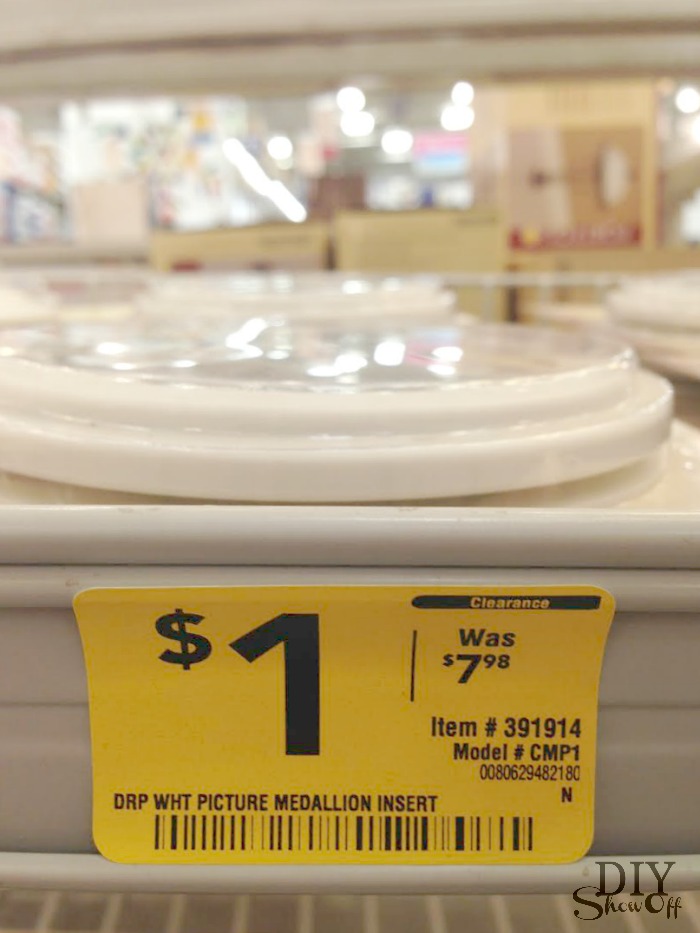
Bonus: they were on sale. Check out the price…

easy personalized DIY ornaments @diyshowoff

Make up a pretty matching complete gift set with a mix of personalized ornaments using the photo/frame insert, paint the decorative one in coordinating colors and add in a few mirrored inserts (attach a monogram sticker).

personalized ornaments @diyshowoff

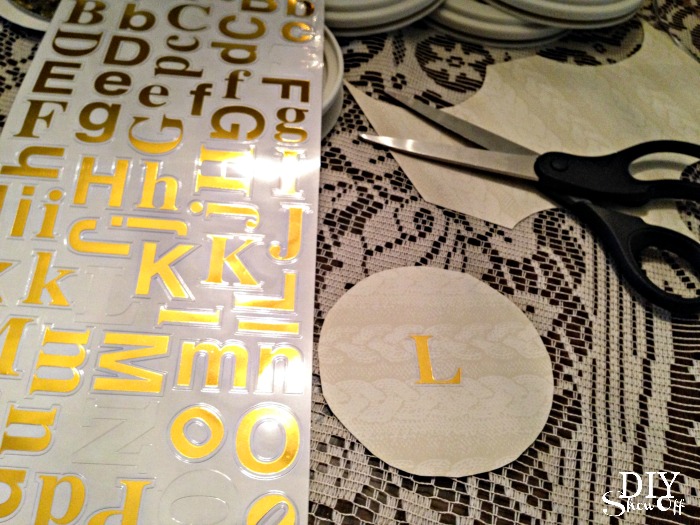
Supply suggestions: photos, old holiday cards, wrapping paper or scrap book paper, alphabet stickers for monograms, paint, glitter, ribbon. 

What I did: 

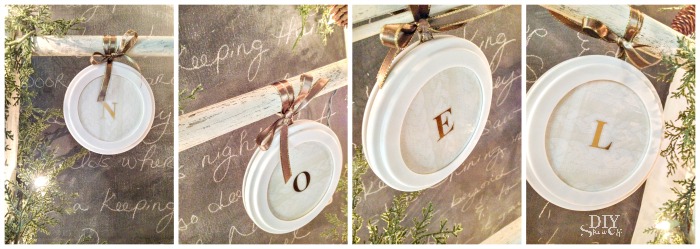
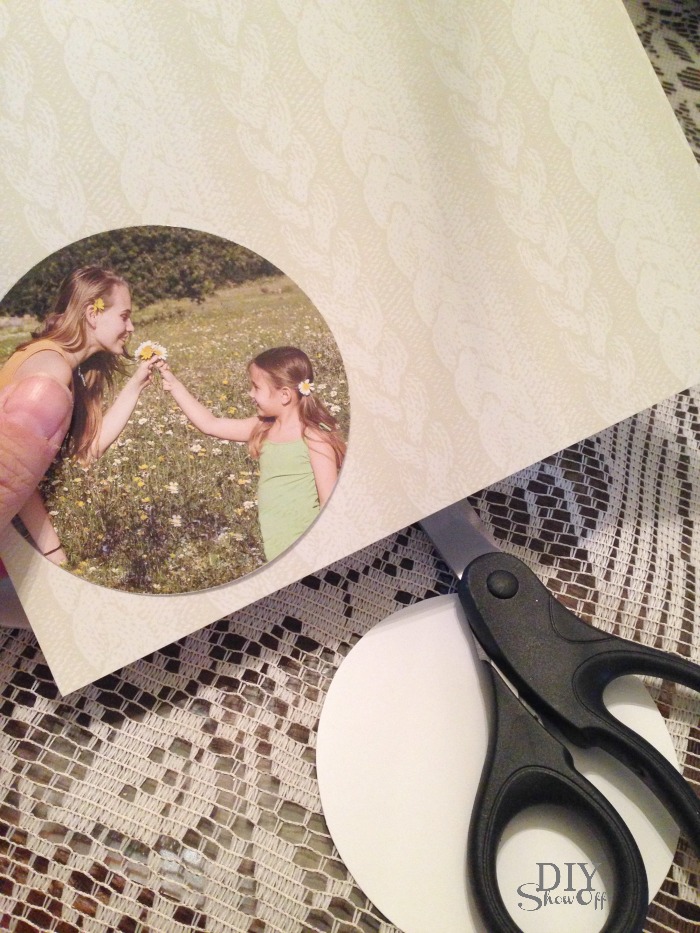
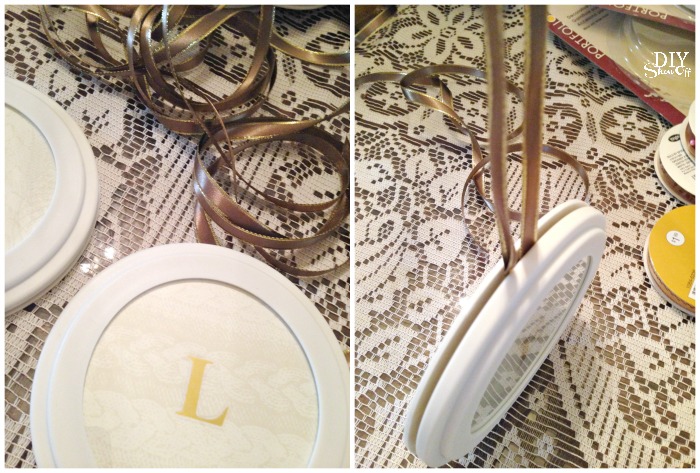
I cut out scrapbook paper circles to fit in the photo/frame decorative ceiling medallion inserts x 4.

easy personalized DIY ornaments @diyshowoff

I added metallic gold lettering to spell “N – O – E – L”. 

easy personalized DIY ornaments @diyshowoff #lowescreator

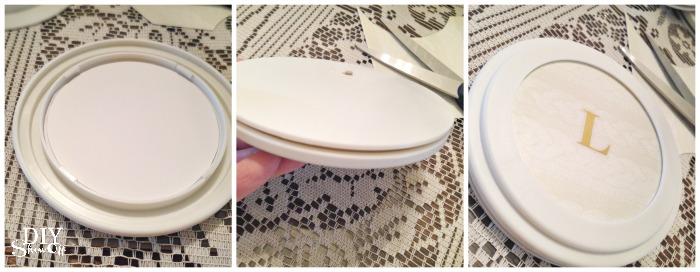
Pull apart by twisting. Add the paper and re-assemble (reattach the back).

easy personalized DIY ornaments @diyshowoff #lowescreator

Add a coordinating ribbon for hanging. 

easy personalized DIY ornaments @diyshowoff #lowescreator

Display. 

easy personalized DIY ornaments @diyshowoff #lowescreatoreasy personalized DIY ornaments @diyshowoff #lowescreator

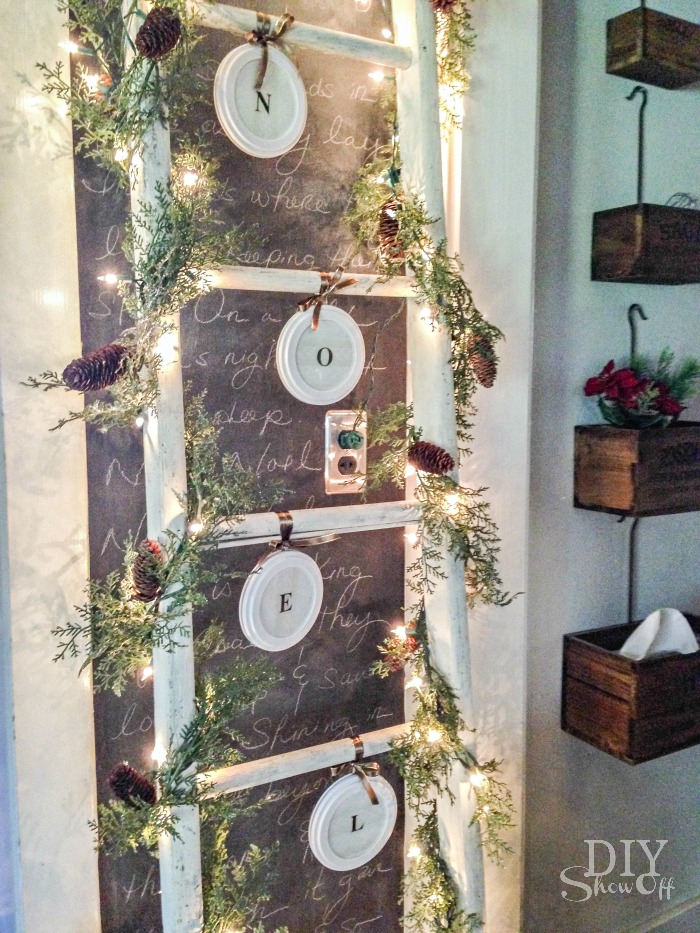
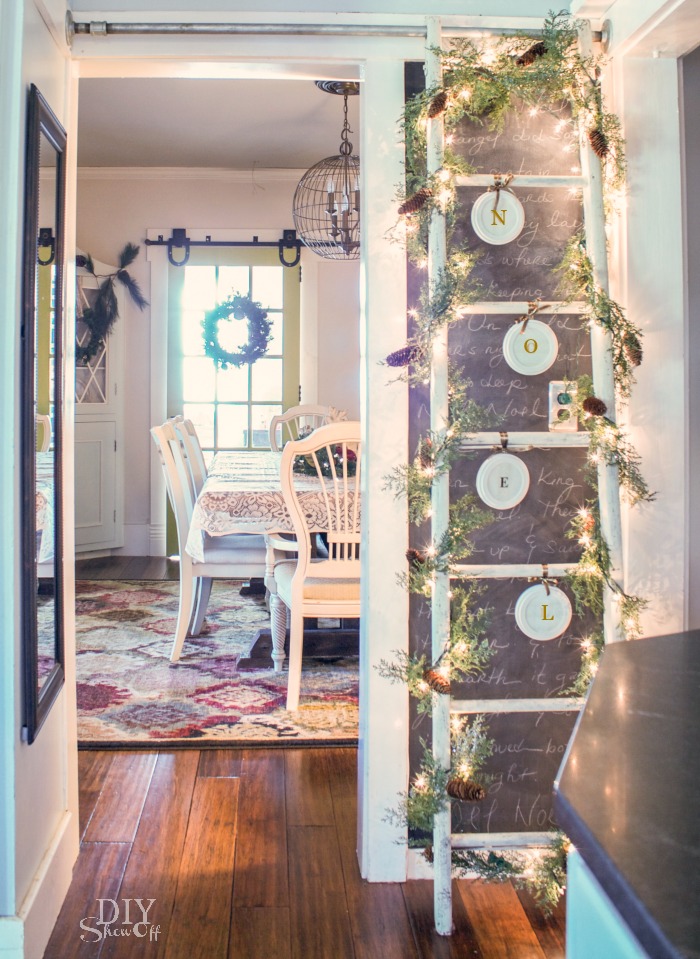
Easy, budget-friend, personal with a handmade feel. 

easy personalized DIY ornaments @diyshowoff #lowescreatoreasy personalized DIY ornaments @diyshowoff #lowescreator

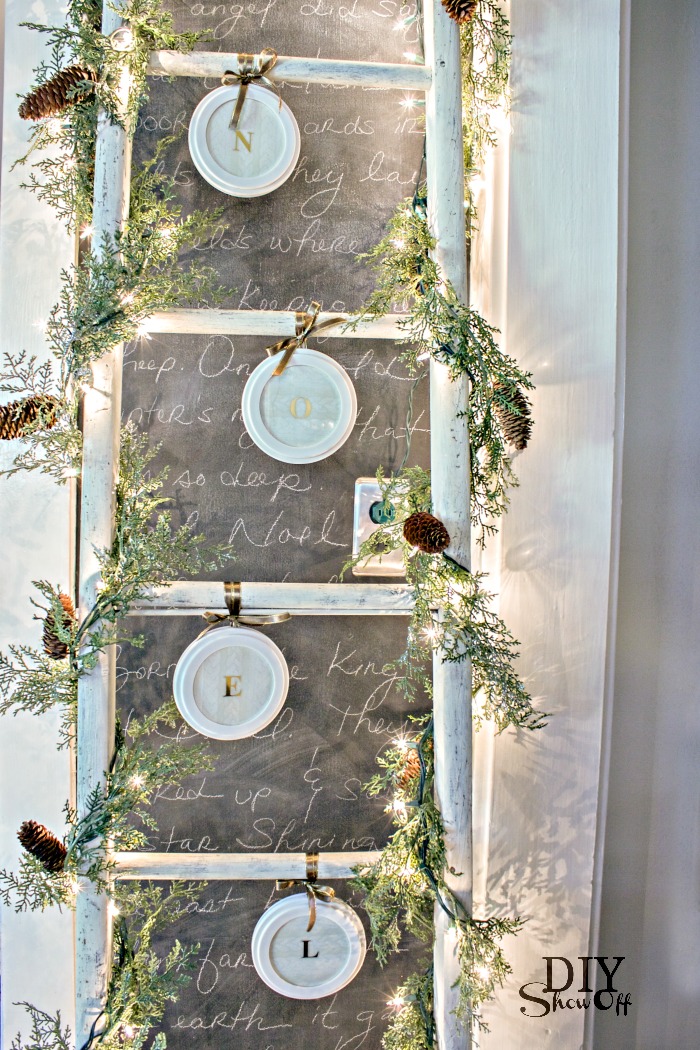
You know that as soon as I have printed pictures of the baby, grandma will be swapping out “NOEL” for grand baby bragging photos instead. How nice that they can then be displayed all year long then? Love it! 

DIYShowOff #lowescreator

I received a Lowe’s gift card to put towards this challenge. Opinion and above idea is 100% my own. More DIY ideas at Lowe’s Creative Ideas or follow Lowe’s on InstagramPinterest and sign up for the Creative Ideas magazine and app.

Monogrammed Mini Pumpkins

Monogrammed mini pumpkins

Monogrammed Mini Pumpkins tutorial @diyshowoff

Materials:

  • faux mini pumpkins
  • acrylic craft paint
  • glittery alphabet stickers
  • mini paper doilies

Tutorial:

Paint mini faux pumpkins and let dry.

Monogrammed Mini Pumpkins tutorial @diyshowoff

Add a glittery monogram.

monogrammed mini pumpkin placesetting


Display on mini-doilies. 

Monogrammed Mini Pumpkins tutorial @diyshowoffMonogrammed Mini Pumpkins tutorial @diyshowoff

All set for a beautiful fall themed dinner party. 

fall centerpiece @diyshowoff #michaelsmakersMonogrammed Mini Pumpkins tutorial @diyshowoff

See my fall centerpiece for creating an entire autumn themed tablescape. 

fall centerpiece tutorial at diyshowoff.com

How to make an established/monogrammed sign {bridal shower gift}

I’ve always wanted to make an established sign as a gift and a recent bridal shower was the perfect occasion.

How to make an established/monogrammed sign.

Materials:

  • Wood 18 x 9 x 1
  • TransTint Dye (Dark Walnut or Dark Mission Brown)
  • Craft Paint (gray and white)
  • Stencil (I used a vinyl stencil I created with my Silhouette Cameo)
  • Spray Lacquer
  • Sawtooth picture hanger

Tutorial:

I sanded down a pretty piece of wood then died it with my favorite color of TransTint Dye from Rockler a long time ago as part of my participation with the DIY Club. I seriously love this product. A little goes a long way and I can control the color – just add water. I also love that I can let the unused portion sit on a shelf. Water evaporates and I can just add water to re-use the unused portion. I’ve used it on many projects and have so much left!

transtint dye

Using my Silhouette Cameo, I designed and cut out a monogram, border and last name vinyl stencil. {Be sure to measure the sign and create a border/design that fits within those measurements.}

Silhouette Cameo

I peeled off the letters and used the “negative” part of the vinyl as a stencil. Placing it straight was the hardest part. Holding it up to the light and cutting straight lines using the guide on the back of the vinyl was helpful.

Silhouette Cameo vinyl monogram

I pulled away the wax paper, applied the vinyl stencil and made sure it was all good and stuck by rubbing the design with a credit card.

DIY vinyl

Slowly peel away the backing…

DIY sign tutorial

Next I painted the border, monogram and “established 2012” using gray acrylic craft paint. I gave it a few coats.

DIY painted sign

I’m impatient, so I let it dry a few minutes then peeled away the vinyl. Then I let it dry fully.

DIY monogram sign

I created another vinyl stencil of the last name and cut it out using my Silhouette Cameo. Once the first paint was dry, I followed the same steps to apply the last name stencil. I placed the name in the center of the sign and used white paint.

DIY gift sign

Let dry. Last step is to attach a hanger to the back {make sure the nails/screws aren’t bigger than the depth of the wooden sign!}. I also gave my sign a coat of spray satin matte lacquer.

sawtooth sign hanger

Ta-da! I personalized gift:

DIY established monogram sign

{So sorry about the low light/poor quality pictures! Ugh! I didn’t realize until pictures were uploaded after the gift was given.}

What do you think?

Wish me luck today. I’m heading to the apartment (enlisting the help of my 19-year-old nephew) to tackle my first attempt to sand hardwood floors!

Enjoy the weekend!

OH! It’s the LAST CHANCE TO ENTER THE BETTER HOMES & GARDENS “Color Guide” and  “New Cottage Style” decorating book giveaway. Need some inspiration? Stop over to enter to win!

BHG Decorating Book Giveaway

bhg.book.collage

Disclaimer: I created the above project using some supplies I’ve received in the past for previously sponsored projects. Opinion is my all mine based on my experience.

DIY Show Off - FacebookDIY Show Off - TwitterDIY Show Off - PinterestDIY Show Off - Feed