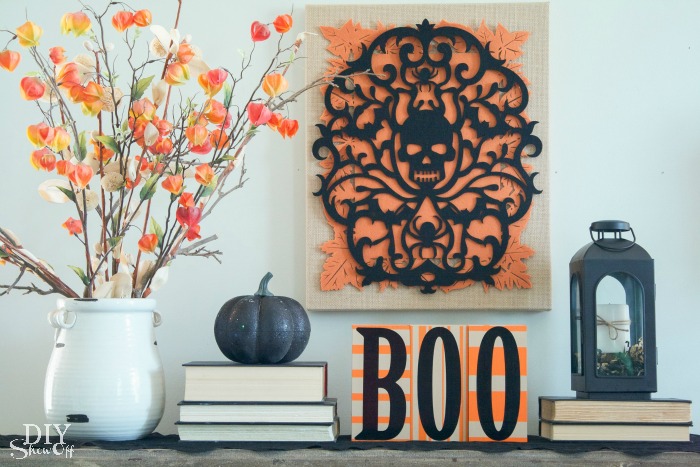
DIY Halloween Vignette

Decorating for Halloween? I’m not much of a Halloween decorator but I do have friends with October birthdays and these make a great gifts! 

DIY Halloween decor @diyshowoff

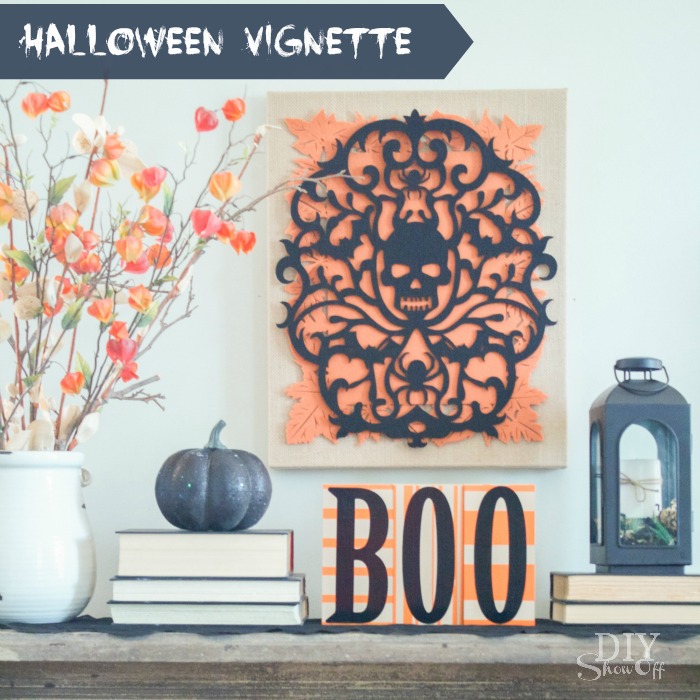
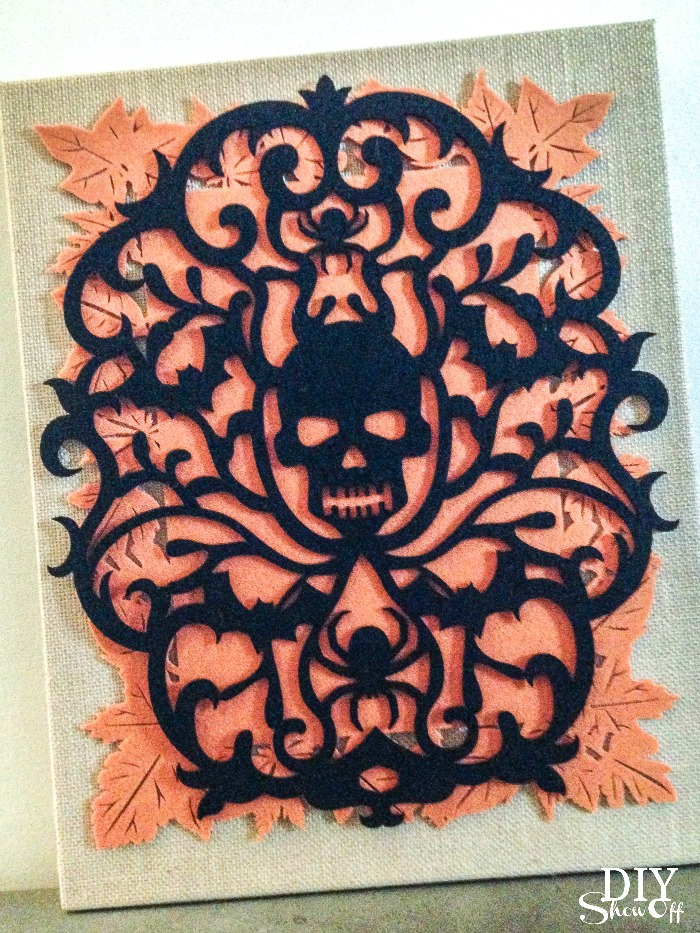
EASY Halloween Wall Art 

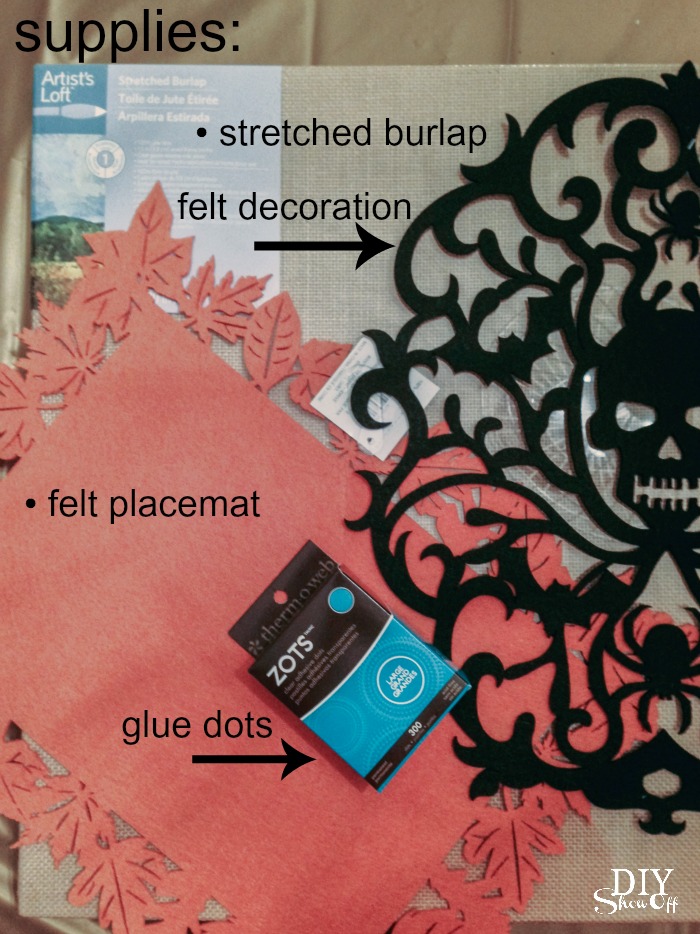
DIY Halloween decor @diyshowoffYou’ll need these items from the craft store:

  • stretched burlap
  • felt placemat
  • felt decor
  • glue dots (or recommended: hot glue)

Using lots and lots of glue dots or hot glue, layer and secure the felt placemat onto the stretched burlap canvas (glue dots = temporary and using stretched burlap for another project in the future, hot glue = more permanent). Then secure the felt decoration on top of the felt placemat. It doesn’t get much easier than that! 

DIY Halloween decor @diyshowoff

Halloween BOO Blocks tutorial

DIY Halloween decor @diyshowoff

Check out my DIY wooden BOO blocks tutorial on the FrogTape® blog squad site HERE!

Do you decorate for Halloween? Just a little or do you go all out?

I received compensation to complete this project for using FrogTape® products. All opinions, projects and ideas are based on my own experience.

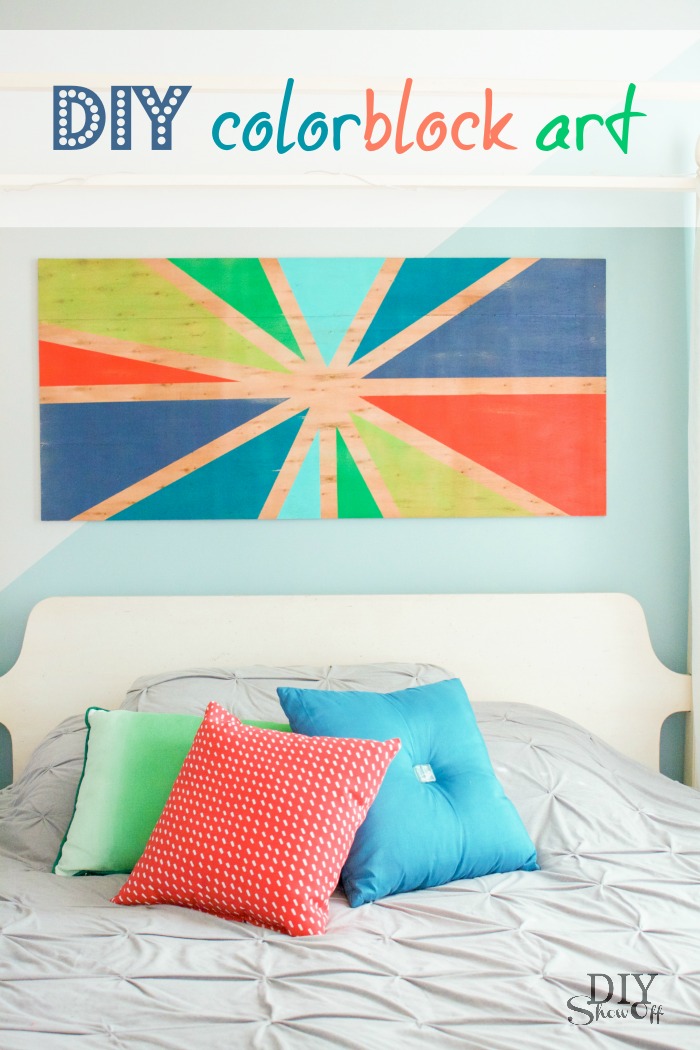
Colorblock Art

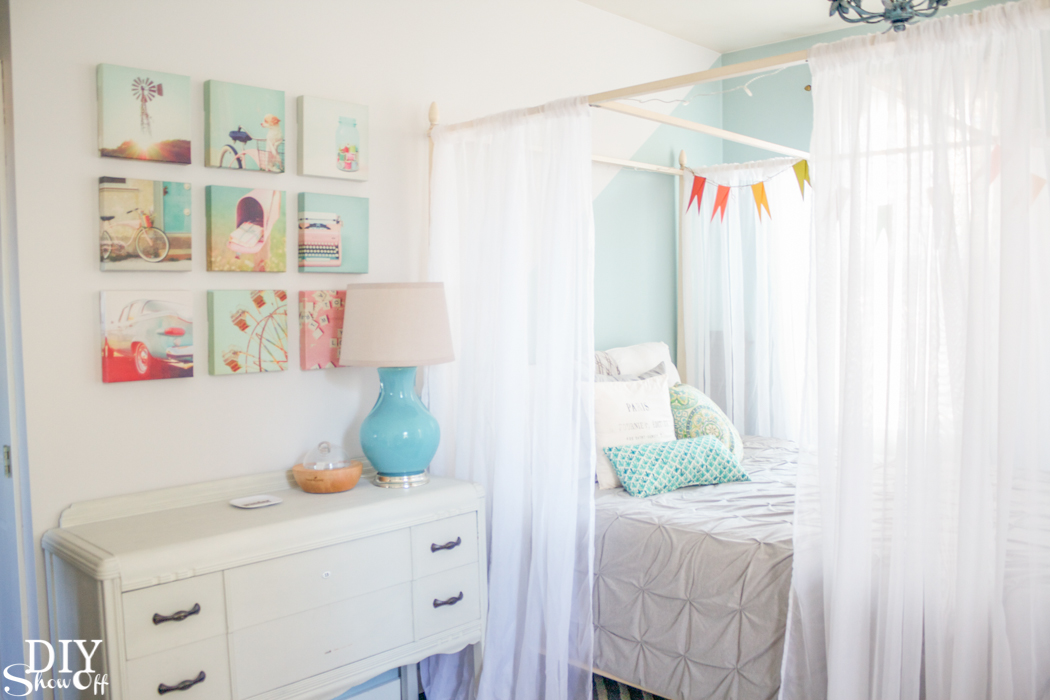
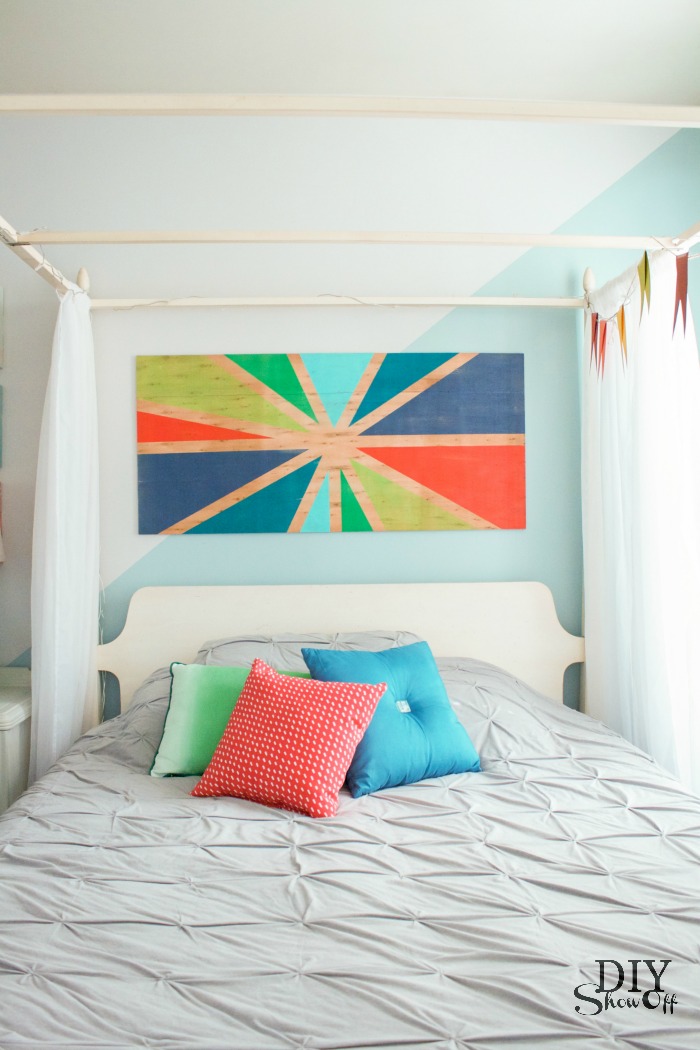
The area above the bed in the guest room was in need of a little something…

Guest Room/Nursery reveal @diyshowoff

I didn’t photograph the area in my guest room/nursery reveal closely because it was bare. But not anymore…

DIY color block sunburst wall art tutorial @diyshowoffI grabbed:

  • 48 x 22 inch plyboard (recycled from shipping packaging but available at the hardware store too)
  • FrogTape® MultiSurface
  • paint

Since my board was stored in the basement, I cleaned away the dust. 

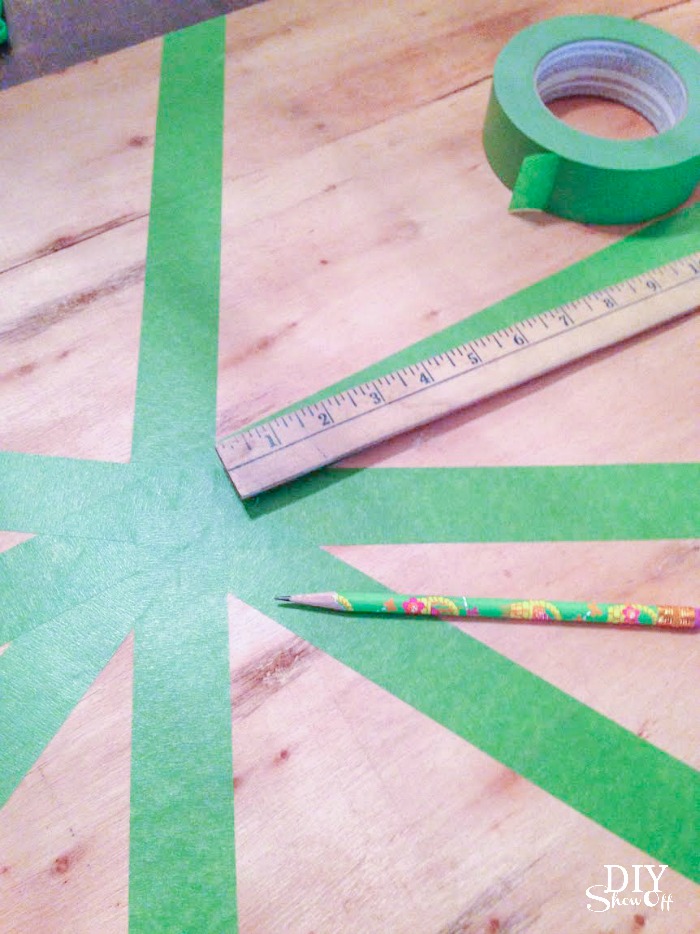
Then measured and marked the center of my board. 

DIY color block sunburst wall art tutorial @diyshowoff

Next I applied FrogTape to create a sunburst design, starting from the center marking. I just placed my pieces randomly. 

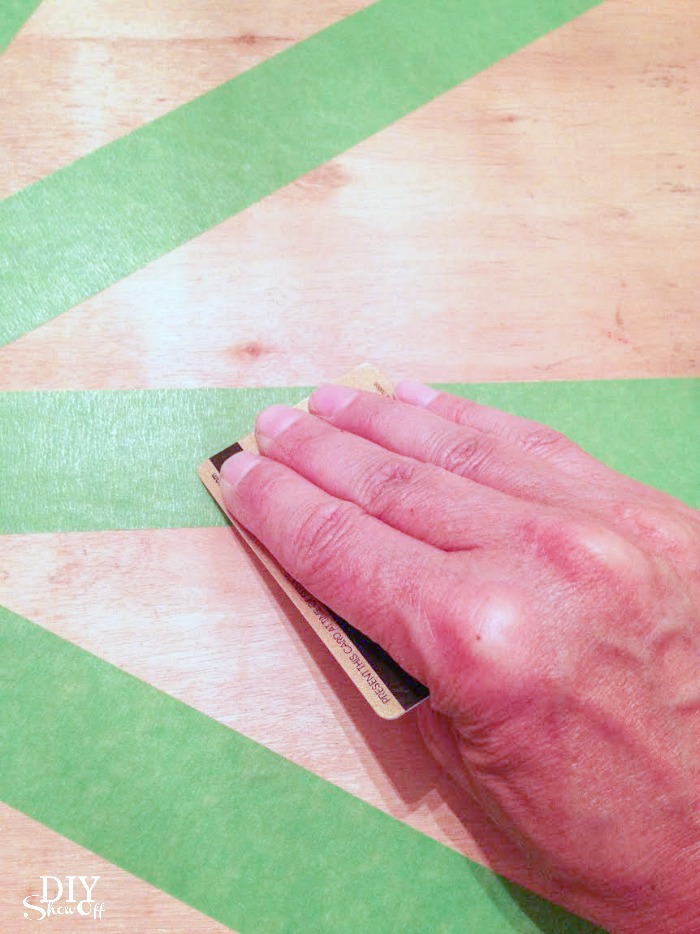
Using a gift card, I burnished the edges of the tape to get clean crisp lines. 

DIY color block sunburst wall art tutorial @diyshowoff

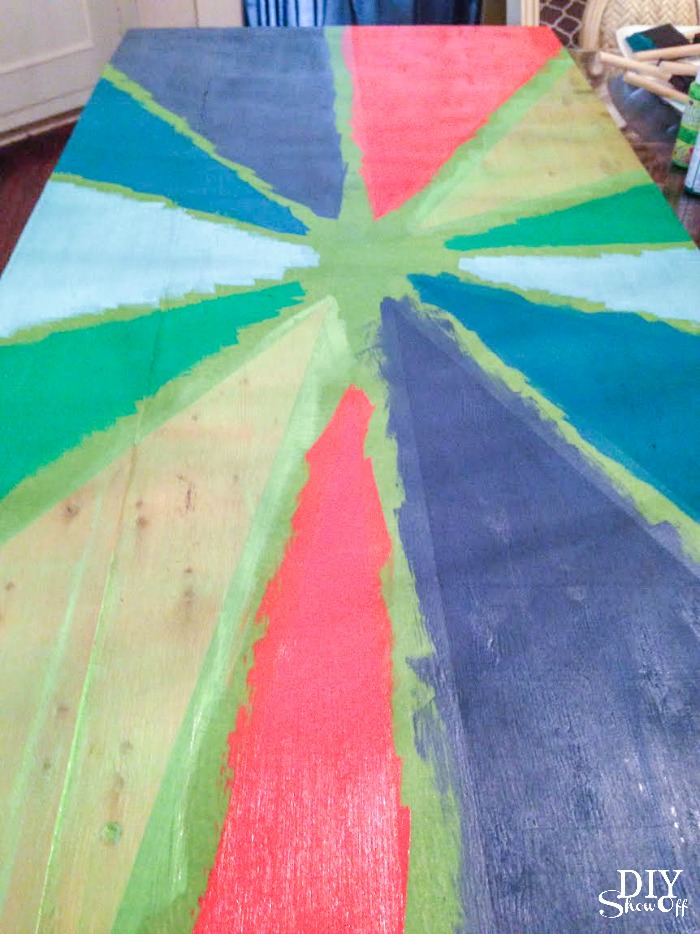
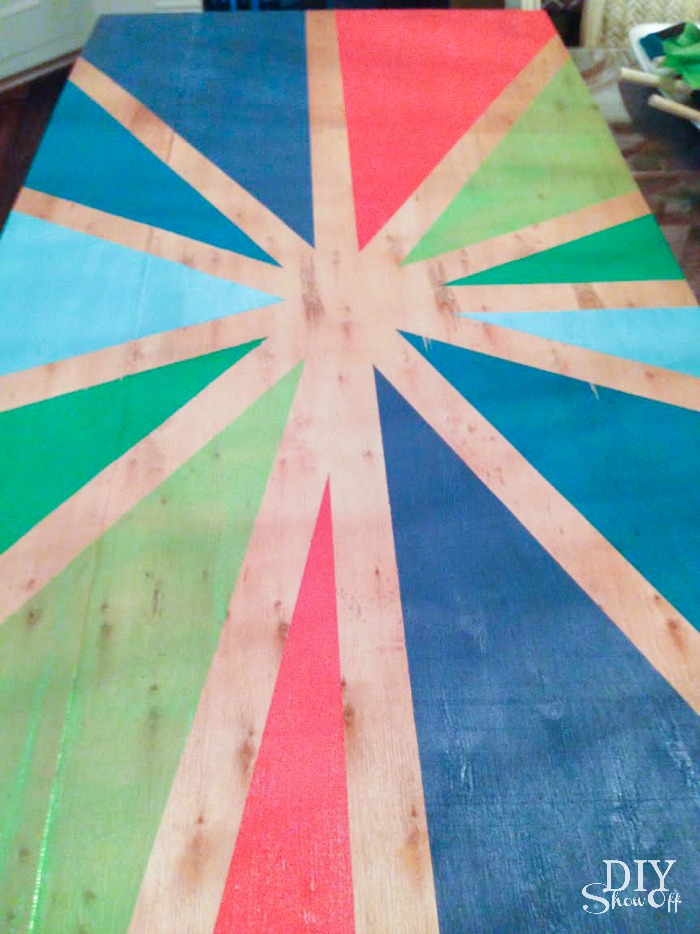
Then painted each area, applying paint in the direction of the wood grain with a foam brush. 

DIY color block sunburst wall art tutorial @diyshowoff

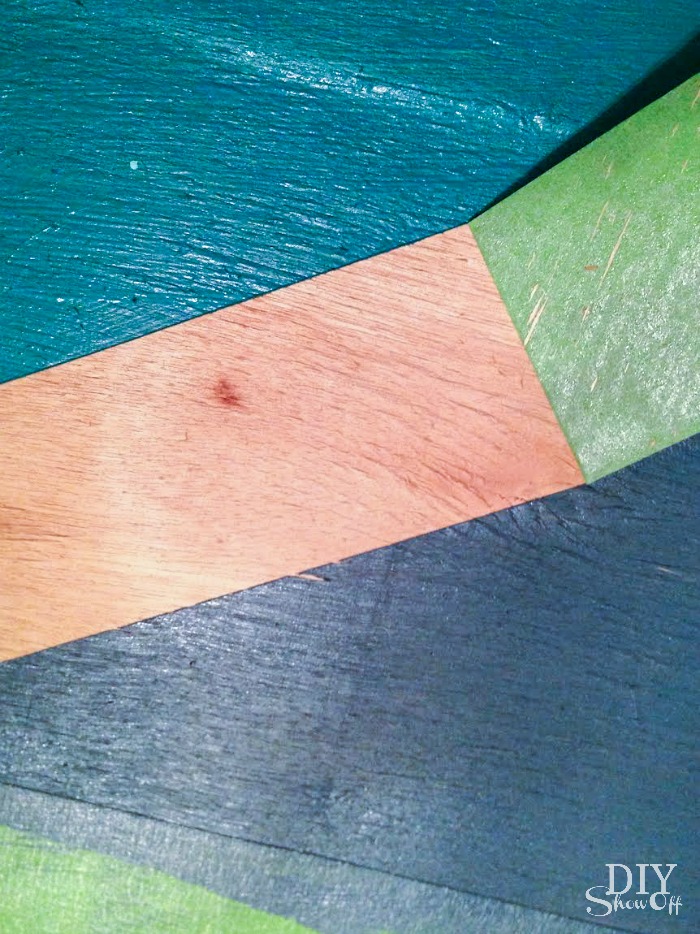
While paint was still wet, I carefully removed the Frogtape then let my painting dry. 

DIY color block sunburst wall art tutorial @diyshowoffDIY color block sunburst wall art tutorial @diyshowoff

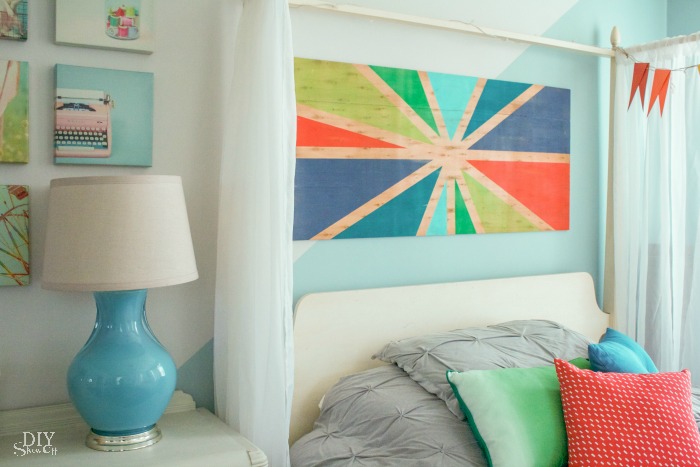
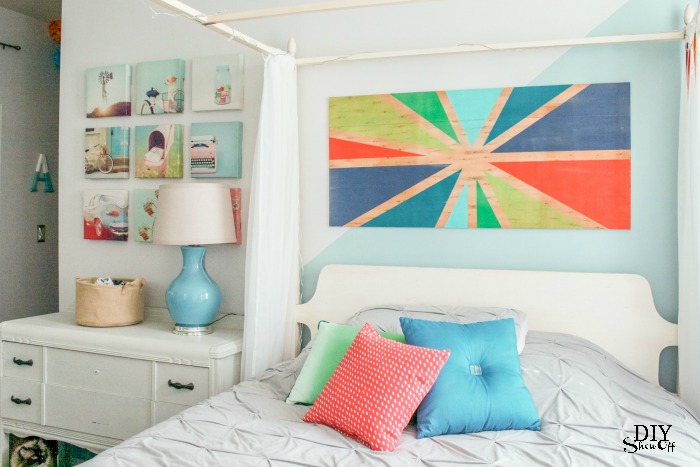
Add picture hanging hardware or use velcro hangers to display the masterpiece! It fills the space nicely and adds pops of color. Fun! A great way to add a big statement for little cost. 

DIY color block sunburst wall art tutorial @diyshowoffDIY color block sunburst wall art tutorial @diyshowoffDIY color block sunburst wall art tutorial @diyshowoff

{notice the photobomber? lol!}

I’m not very “artistic” when it comes to painting but a geometric pattern is something anyone can do. Coordinate colors with your existing decor, make a big statement without breaking the bank. 

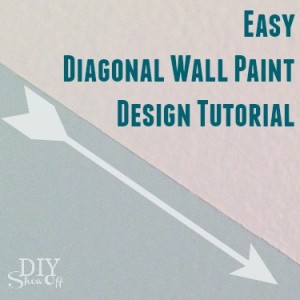
See more details on the diagonal wall paint, the chevron/colorblock door and guest room/nursery makeover

easy diagonal wall paint design tutorial @diyshowoffcolor block door makeover @diyshowoffcombined guest room nursery reveal @diyshowoff 

*I received compensation to complete this project for using FrogTape® products. All opinions, projects and ideas are based on my own experience.

 FrogTape Blog Squad

DIY Nursery Wall Decor

I’ve been giving our guest room a bit of a makeover to include a little nursery space for my very first grand child who is scheduled to arrive next month. I can’t wait! You guys, a sweet baby boy will be here soon! I’m so excited, I can’t stand it! 

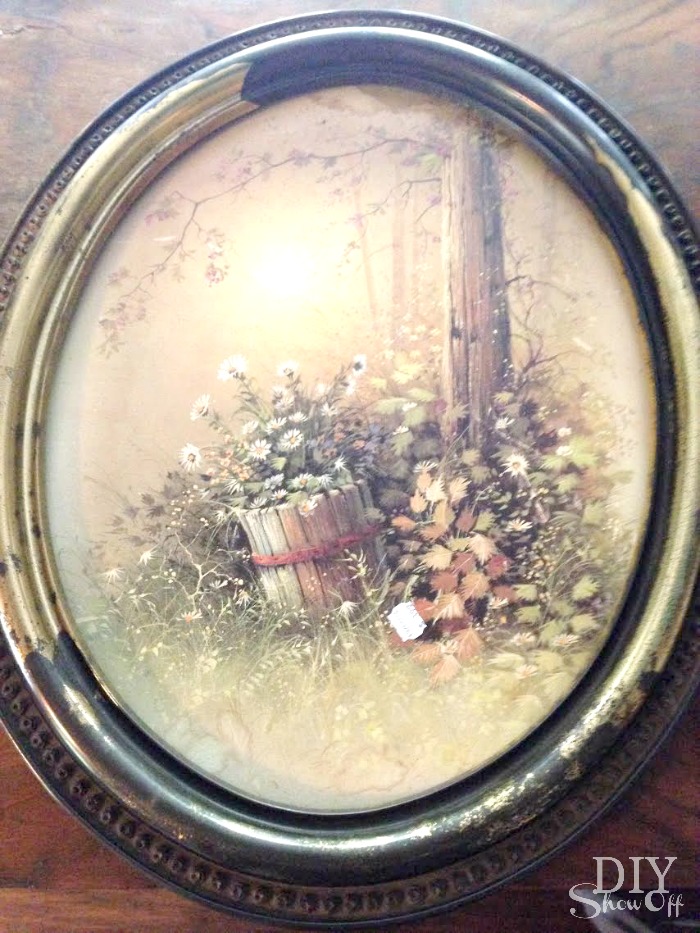
Materials: I found this old oval wall art at the thrift store for 3.99.
DIY nursery wall art  tutorial

I had the wrapping paper and felted deer head (used in our stairwell/landing makeover originally. I looked and it’s no longer for sale…sorry but I did see awesome paper mache deer heads at Michaels that would work well too…plus you can paint/decoupage to coordinate with your room.). So this is a thrifty treasure for me…just $3.99 for the dusty framed print + shopping the house since I had the spray paint on hand already too. 

What I did: Gave everything a good cleaning and removed the backing from the frame (set aside). 

I spray painted the frame gold and let it dry. 
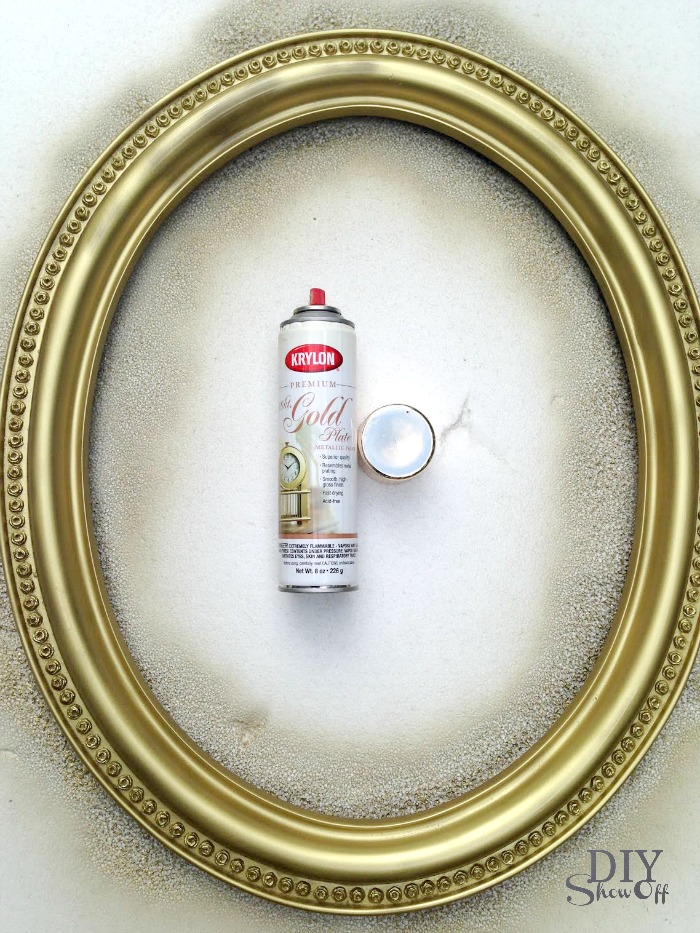
DIY nursery wall art  tutorial

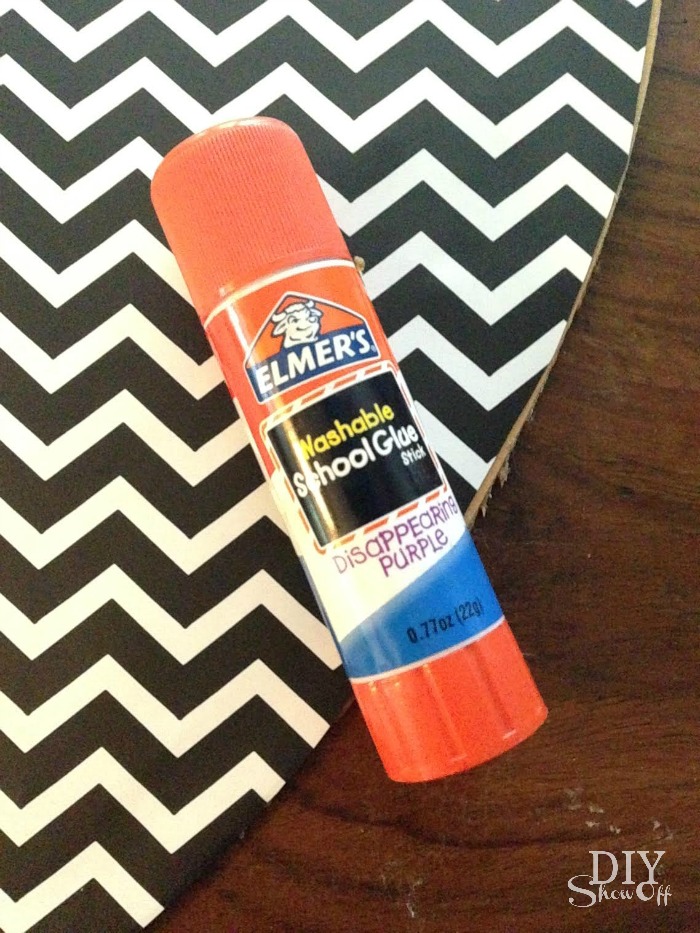
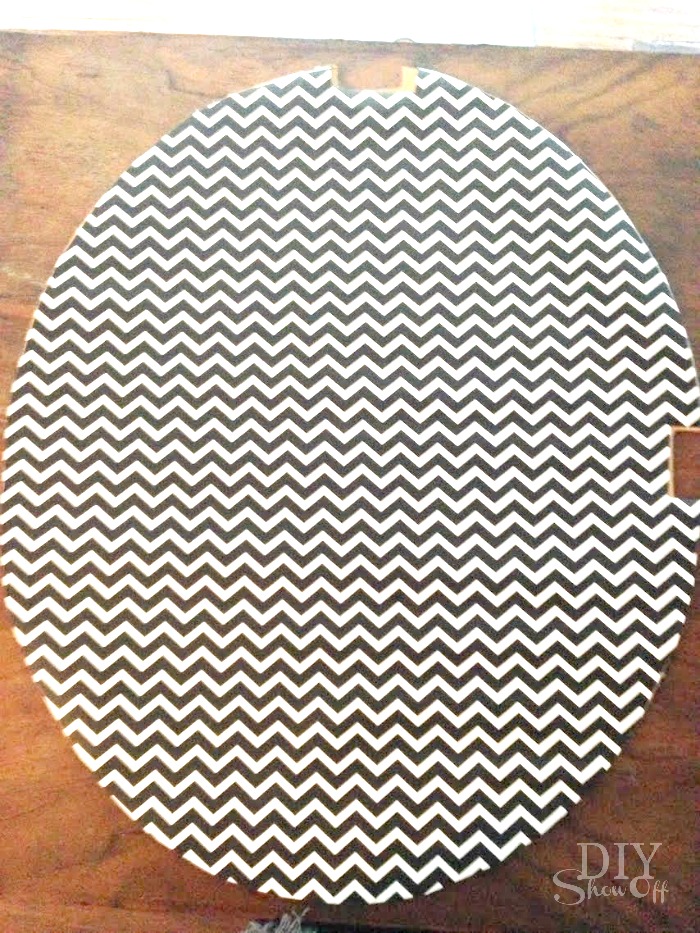
I traced the oval backing onto chevron wrapping paper. I did glue the wrapping paper over the print on the front. However, it’s not required if you’d like to preserve the print.  DIY nursery wall art  tutorial DIY nursery wall art  tutorialDIY nursery wall art  tutorial
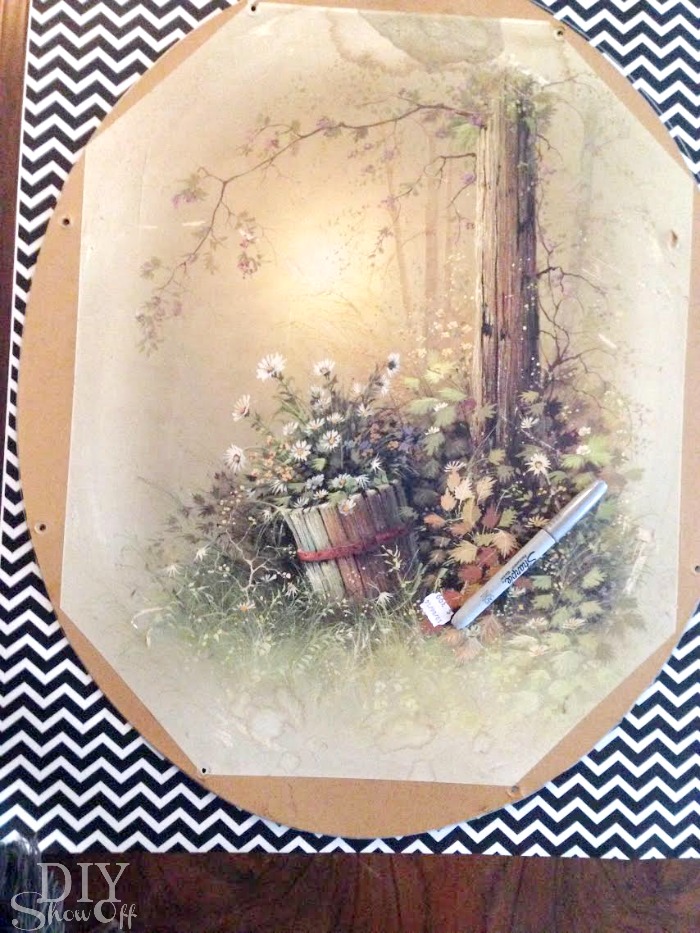
Then just reattached the backing to the frame. 
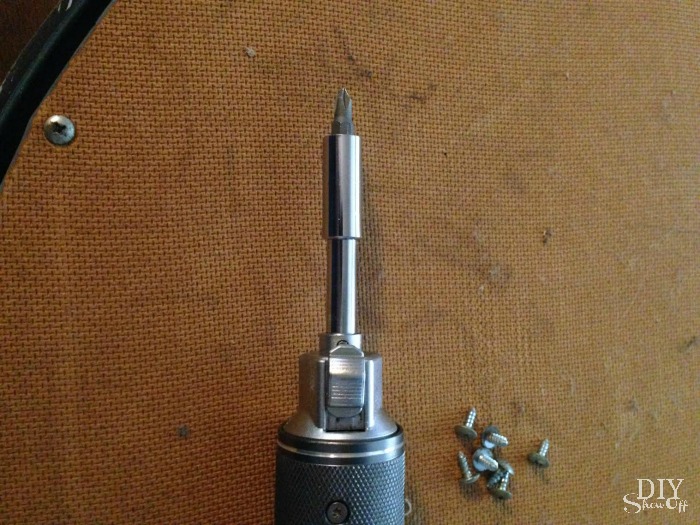
DIY nursery wall art  tutorial

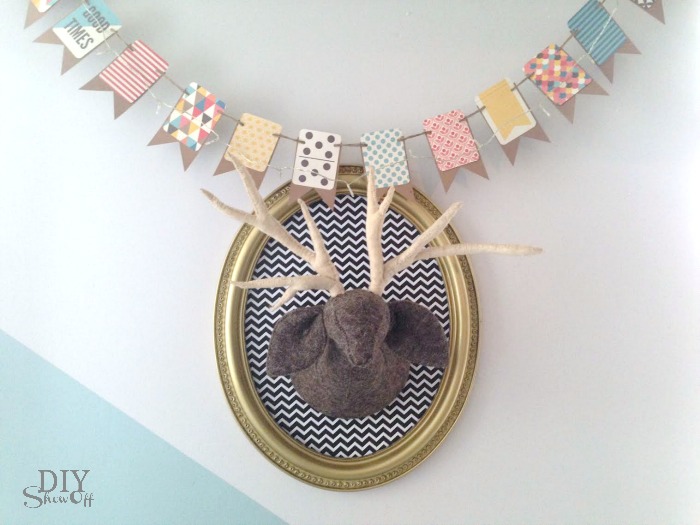
I hung it on the wall and hammered a nail in the center to hang the felted deer head and added a DIY banner…just card stock, Project Life cards (scrapbook section at Michaels) and twine. I added a string of mini LED fairy lights too. 
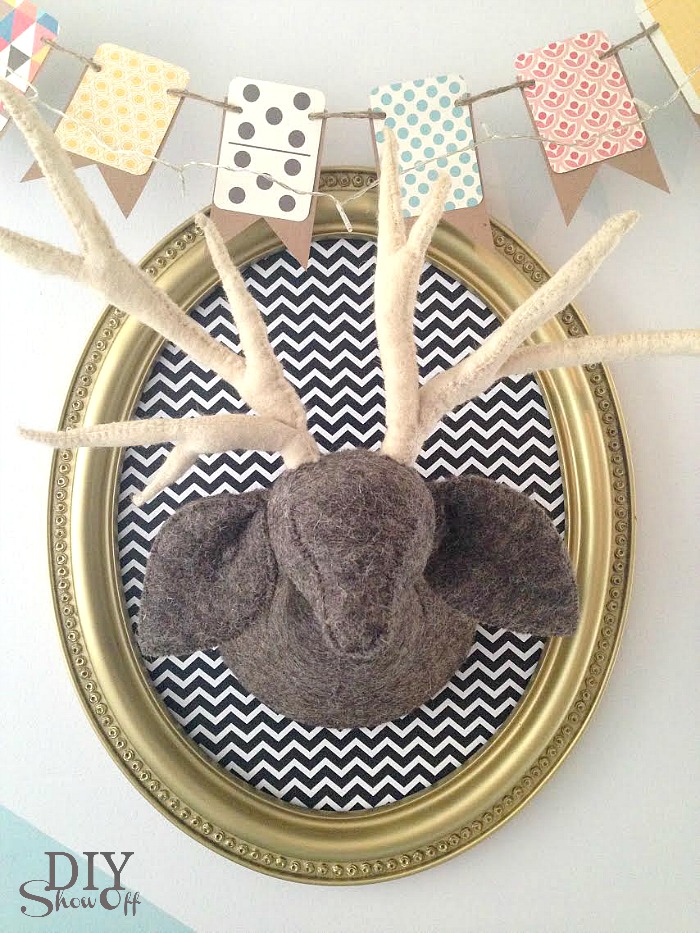
nursery wall decor tutorial @diyshowoffnursery wall decor tutorial @diyshowoff

See my guest room nursery space for more nursery ideas:
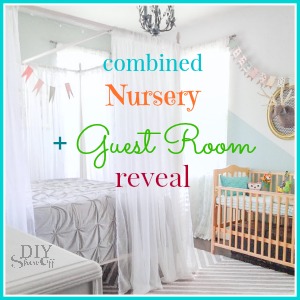
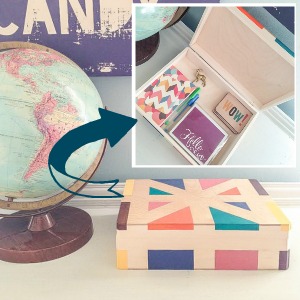
combined guest room nursery reveal @diyshowoffDIY nursery wall decor at diyshowoff.comeasy diagonal wall paint design tutorial @diyshowoffpainted craft box DIY at diyshowoffDIYShowOff Michaels Makers back to school book ends feature

*This post is sponsored by Happy Crafters. Tutorial, experience and opinion is my own.  Check out all the supplies at Happy Crafters for inspiration for your next project. 

And yes…it’s crazy here. From Halloween to baby shower to some Christmas decorating, a guest room/nursery makeover, an entire home before/after in progress (family members), always Young Living recipes, events and sharing my story, and another small apartment nursery nook. There’s a LOT going on and DIYShowOff is ALL over the place! You may want to subscribe to get reminders to check back often! 😉 

Have a great week!