Color-Drenching Room Makeover (Cozy, Moody + Guest Favorite Design)

Featured

Comfort is always my goal when designing a space.

blue color drenched bedroom makeover

I haven’t had the chance to fully try color drenching in my own home yet, but it’s been sitting at the top of my “can’t wait to try this” list… and after this project, I’m completely sold.

color drenched blue bedroom with four poster bed, cozy fireplace and layered blue and green bedding

Check out the full property here: Suite Retreat BnB – bookmark if planning a trip to western PA!

What “Color Drenching” Means

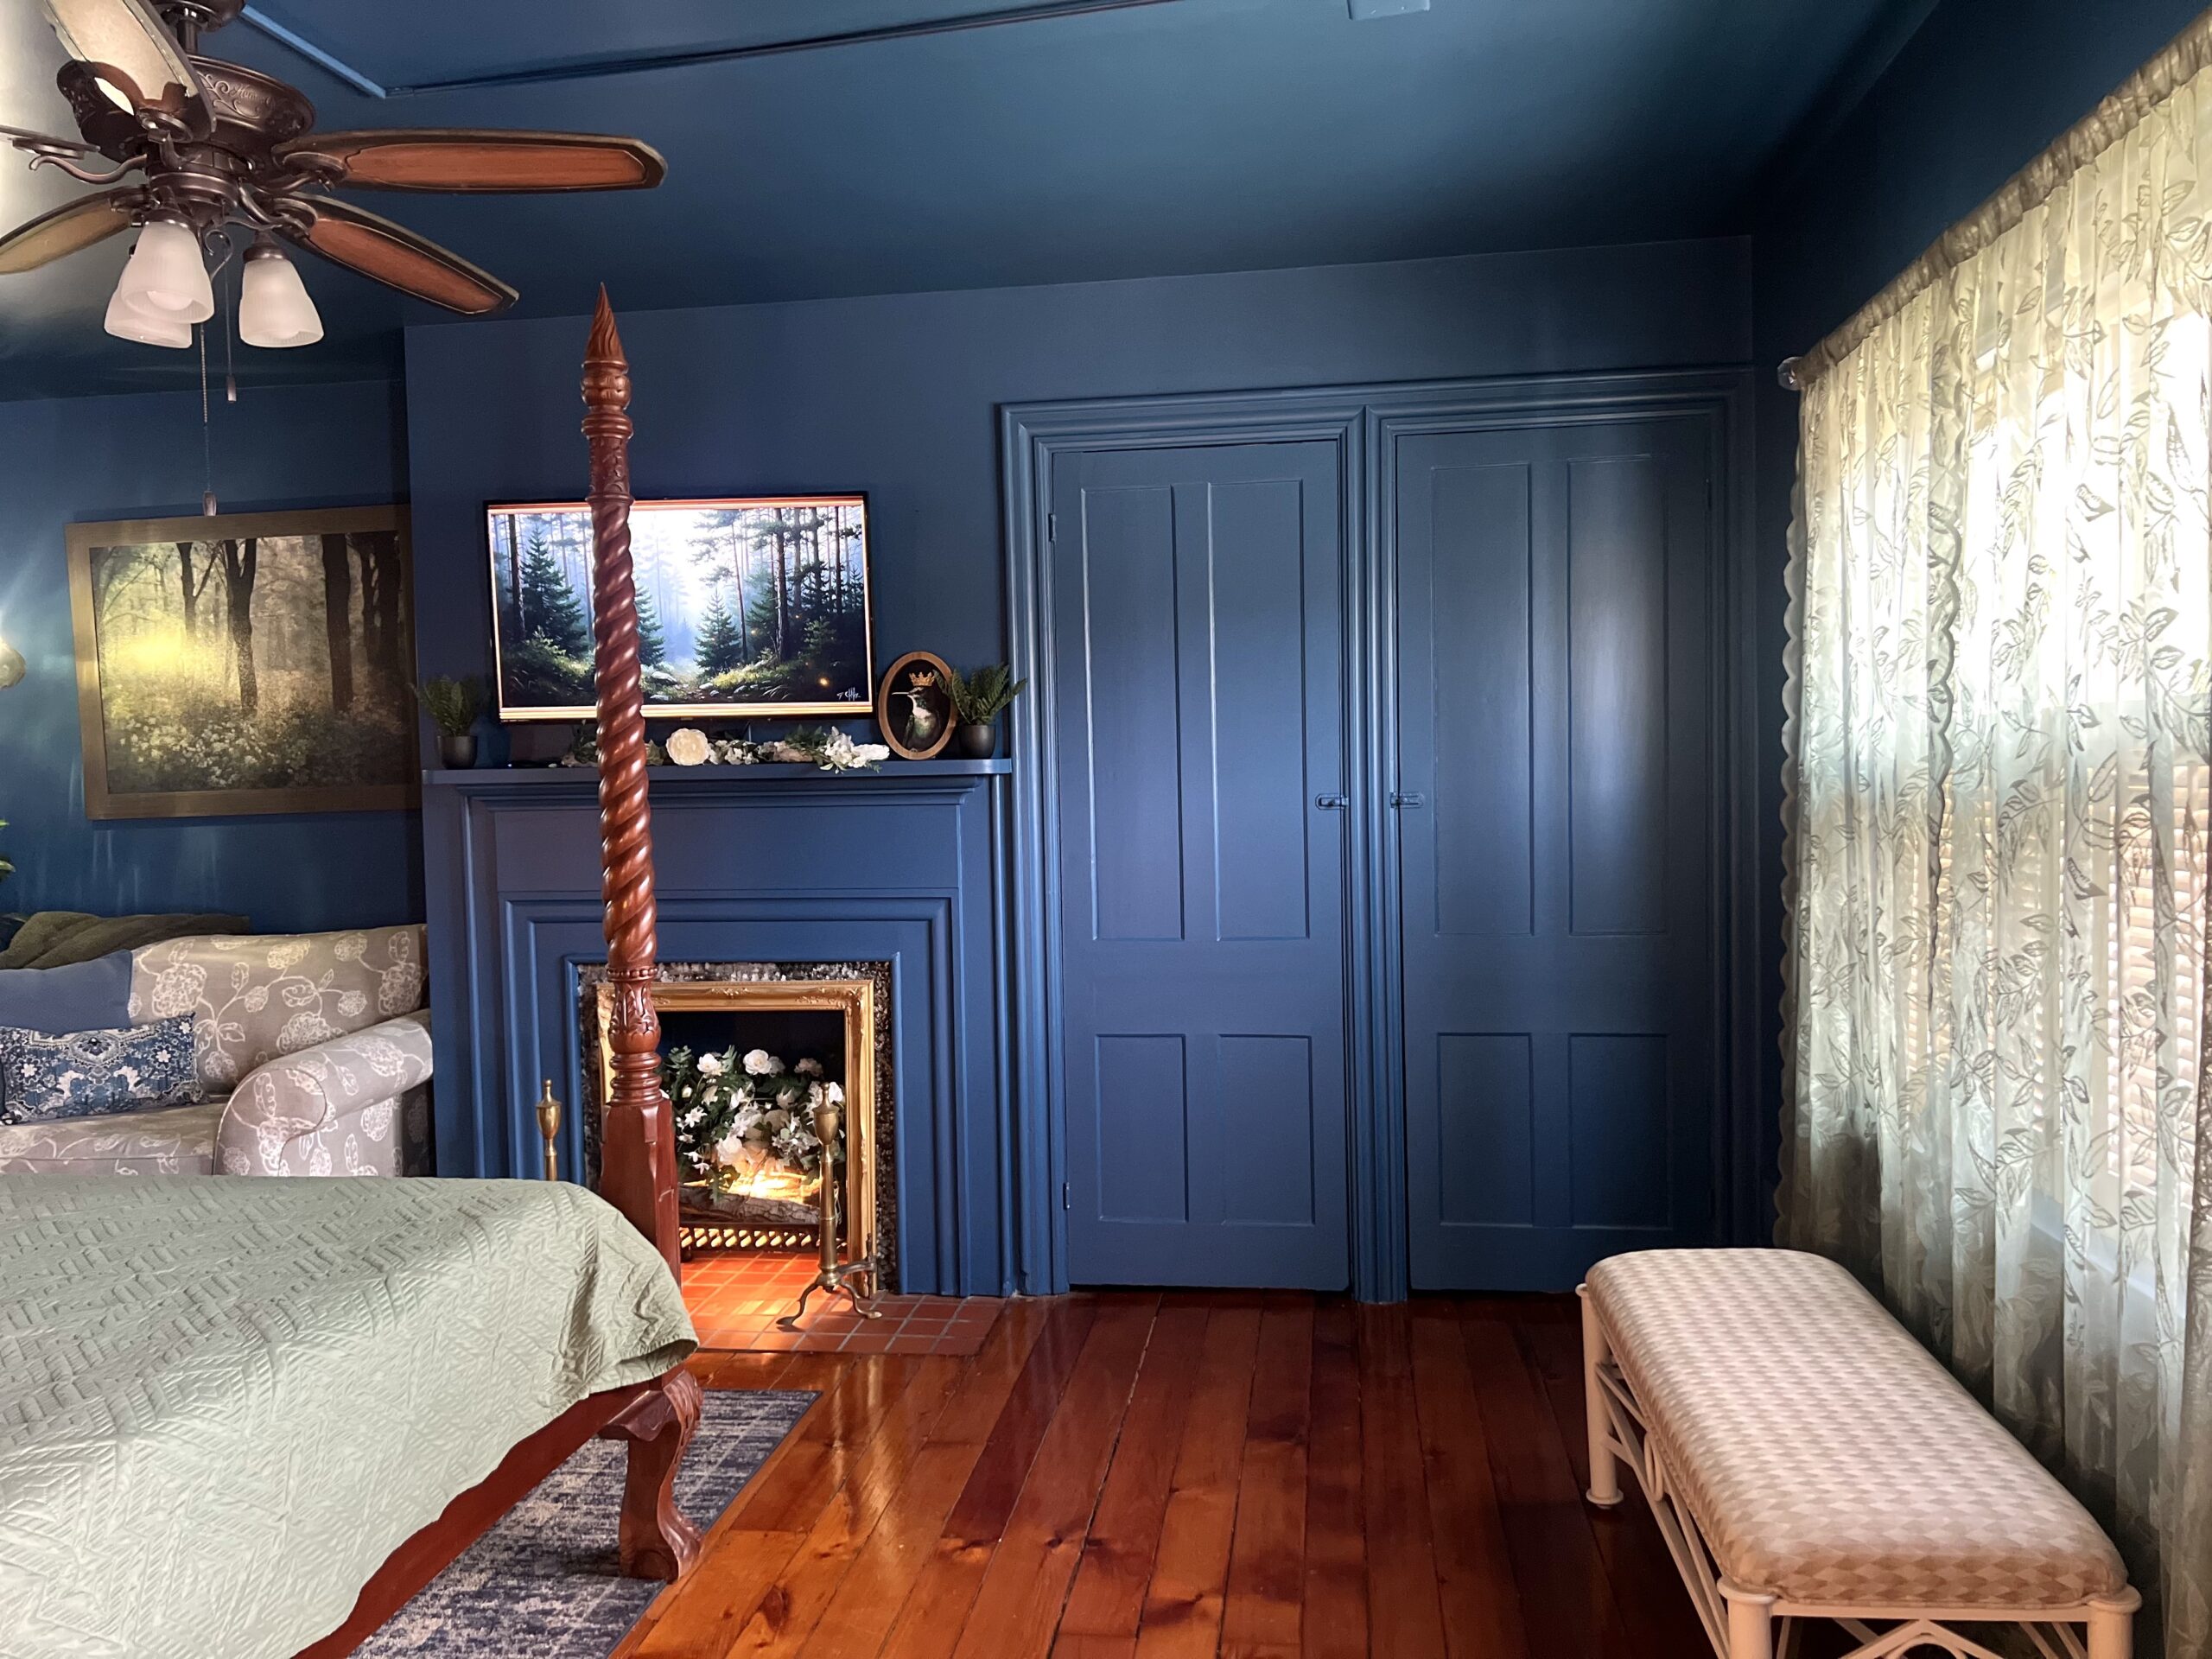
Color drenching is when an entire room is painted in one color tone.

Walls, trim, ceiling, doors. Everything stays within the same color family (or even the exact same shade).

Instead of contrast, the space becomes immersive, cohesive, and intentionally calm.

Why It Works

At first, it might seem like painting everything the same color would hide architectural details.

But interestingly, it often does the opposite.

Without sharp contrast, your eye relaxes… and that allows details to stand out in a softer, more subtle way.

The result:

  • A moody, cozy atmosphere
  • A clean, uncluttered look
  • A space that feels intentional instead of busy

It’s bold, but in a quiet, grounded way.

moody blue bedroom makeover with painted walls, wood floors, bench seating and soft natural light through curtains

How To Try It

If you’re curious but hesitant, here’s how to ease into it:

1. Start small
Try a powder room, bedroom, or office first.

2. Rethink light vs. dark

  • Bright room? Don’t be afraid of lighter tones
  • Low light? Go deeper and moodier (this often works better than fighting it)

3. Use tones if you’re unsure
Same color family, slightly different shades = softer version of the look.

4. Layer in texture
Wood, linens, rugs, metal accents. This keeps the room from feeling flat.

My First Color Drenching Experience

four poster bed styled with layered blue and green pillows and quilt with a wall canopy of green sheet curtains, curtain lights and floral garland

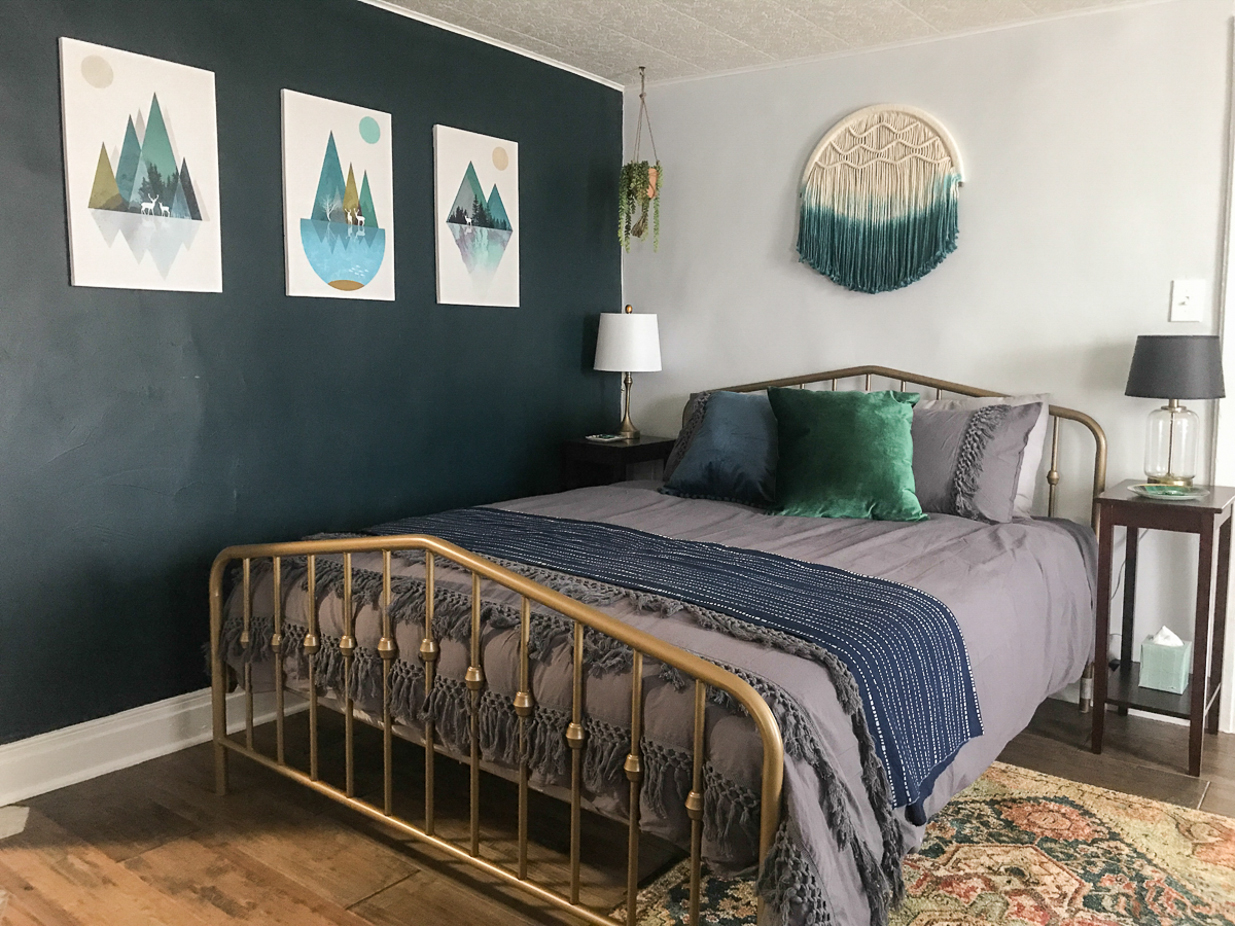
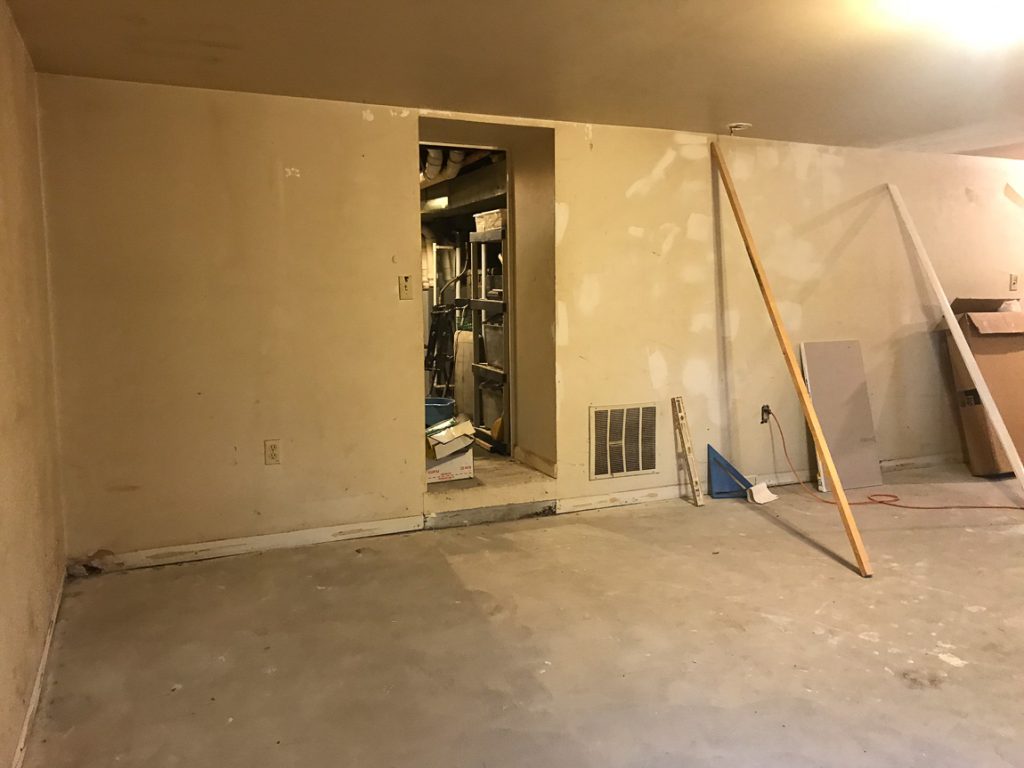
This project was for a short-term rental bedroom.

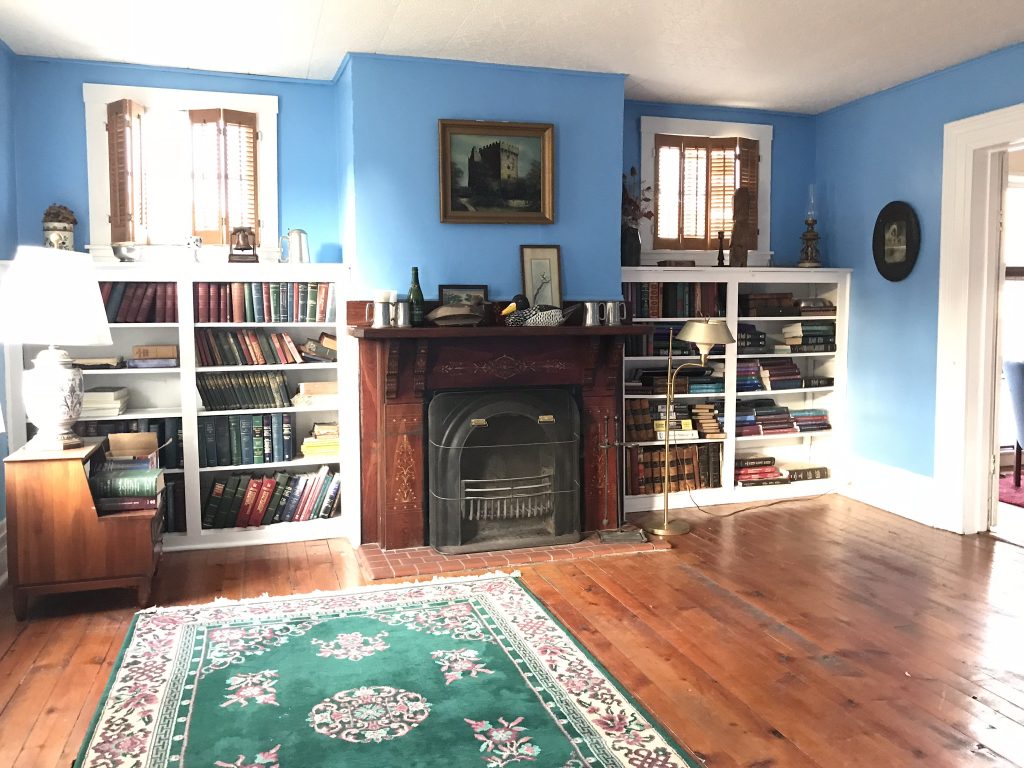
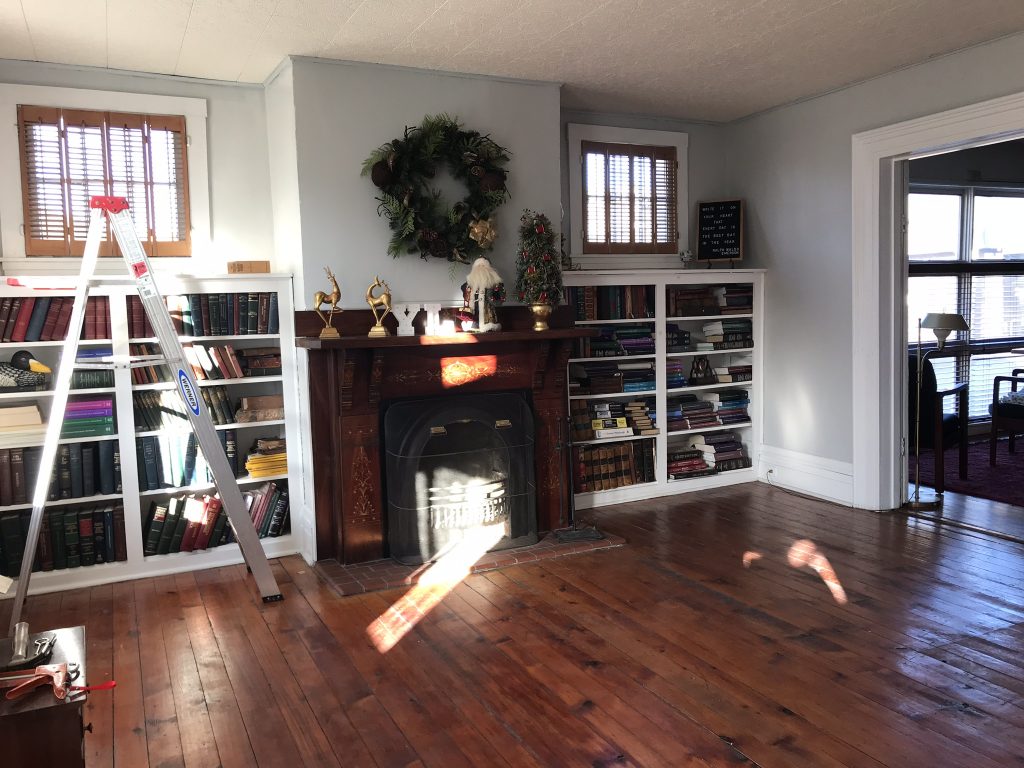
The space had all the charm of a traditional bed and breakfast.
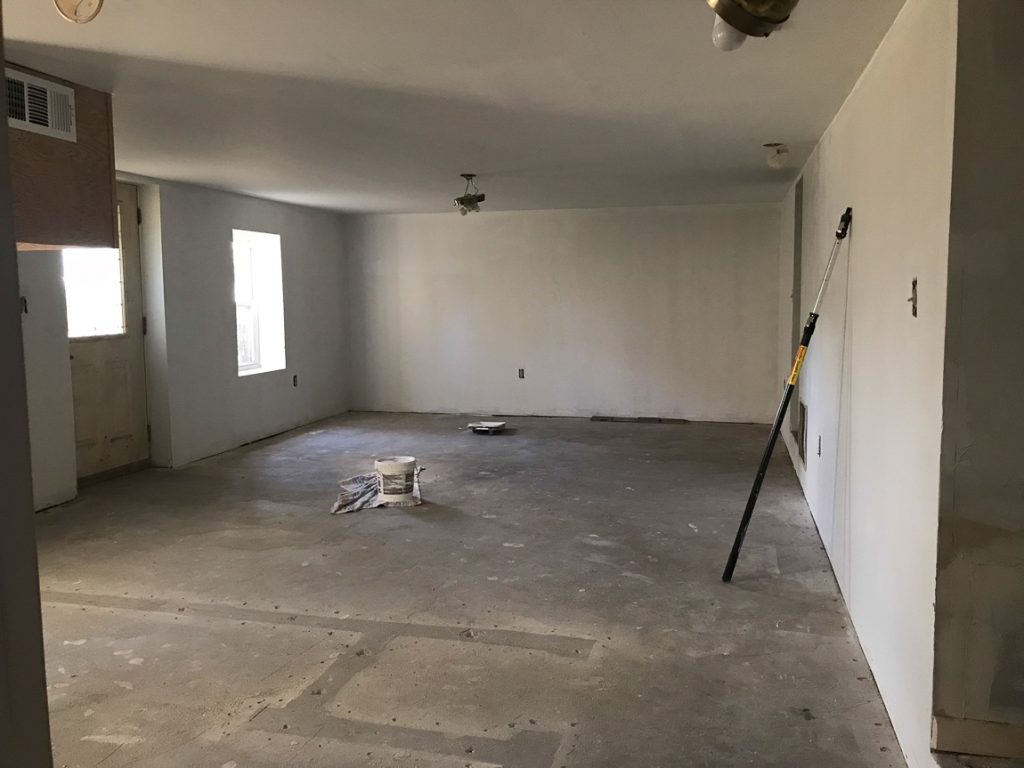
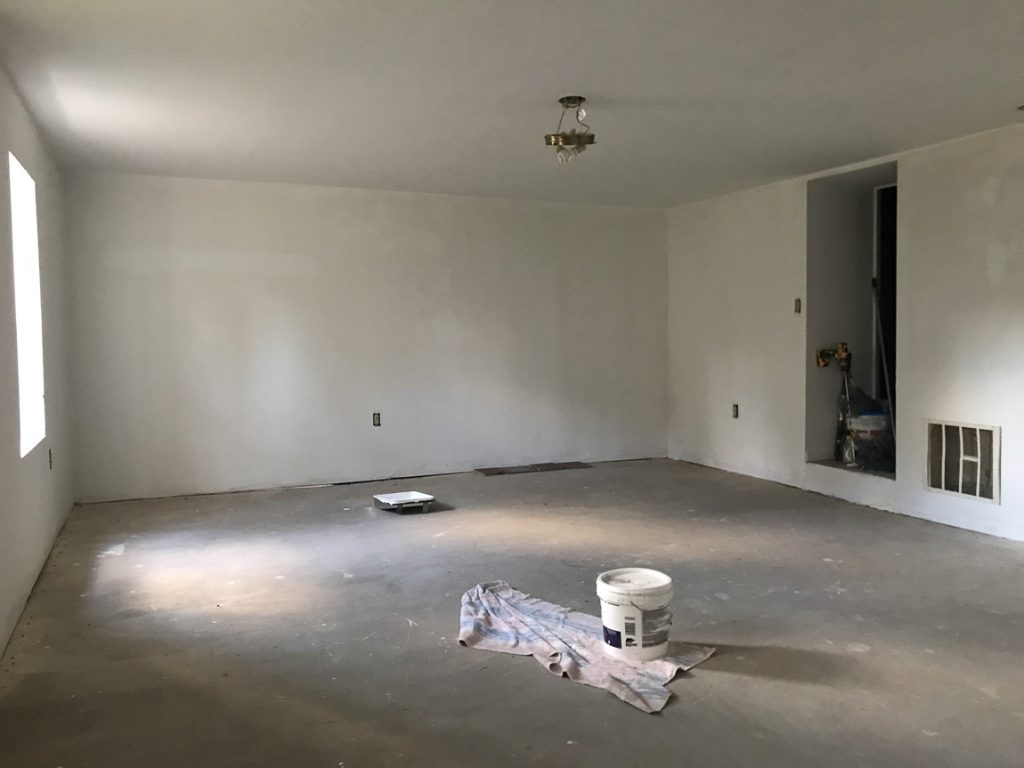
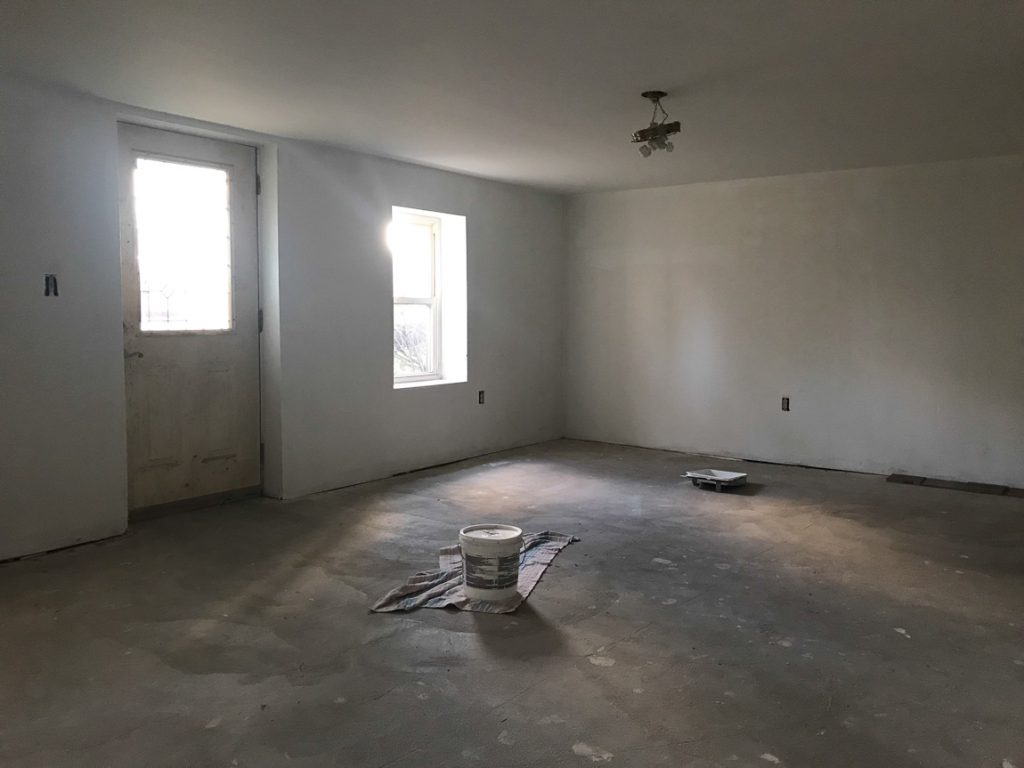
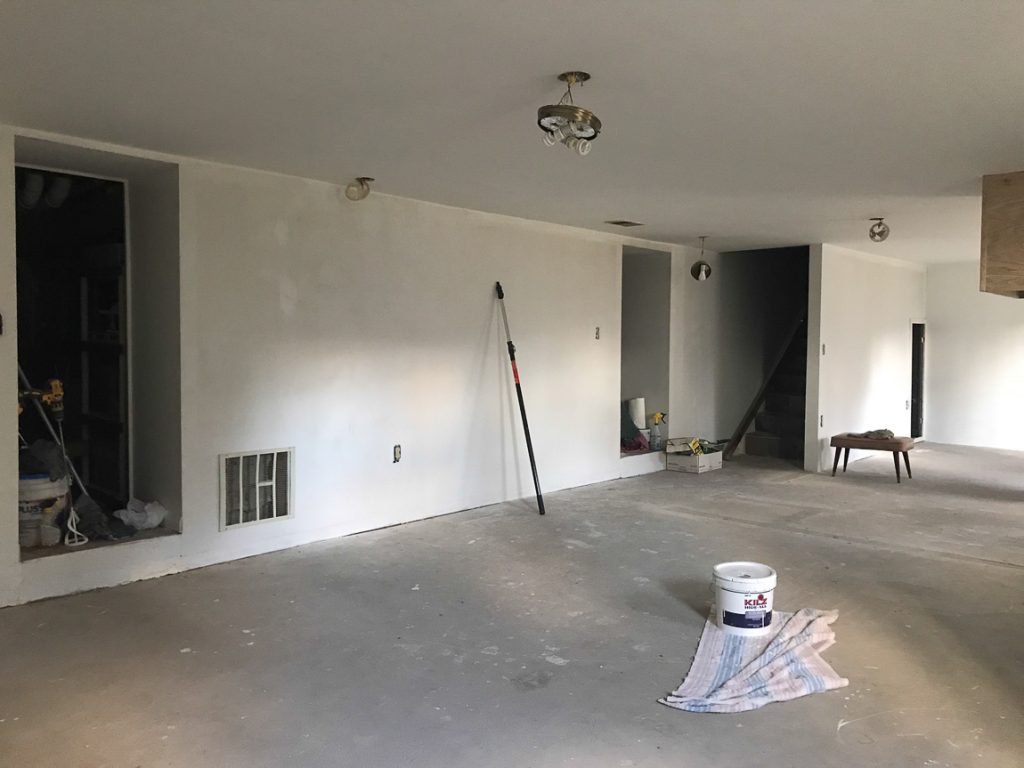
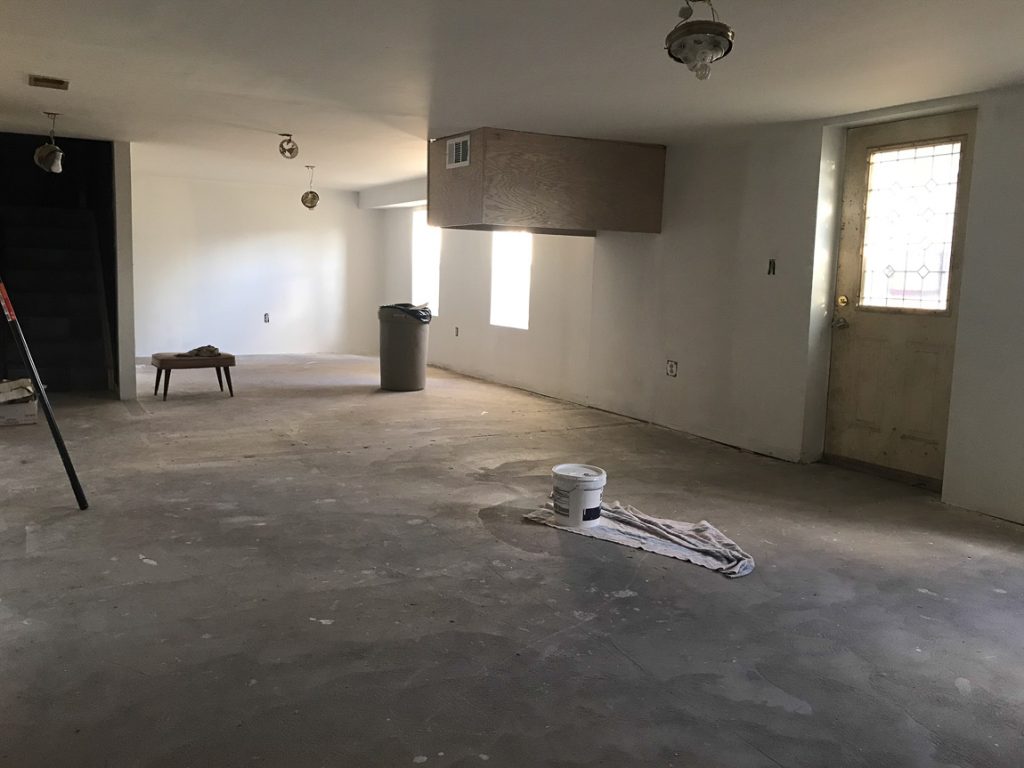
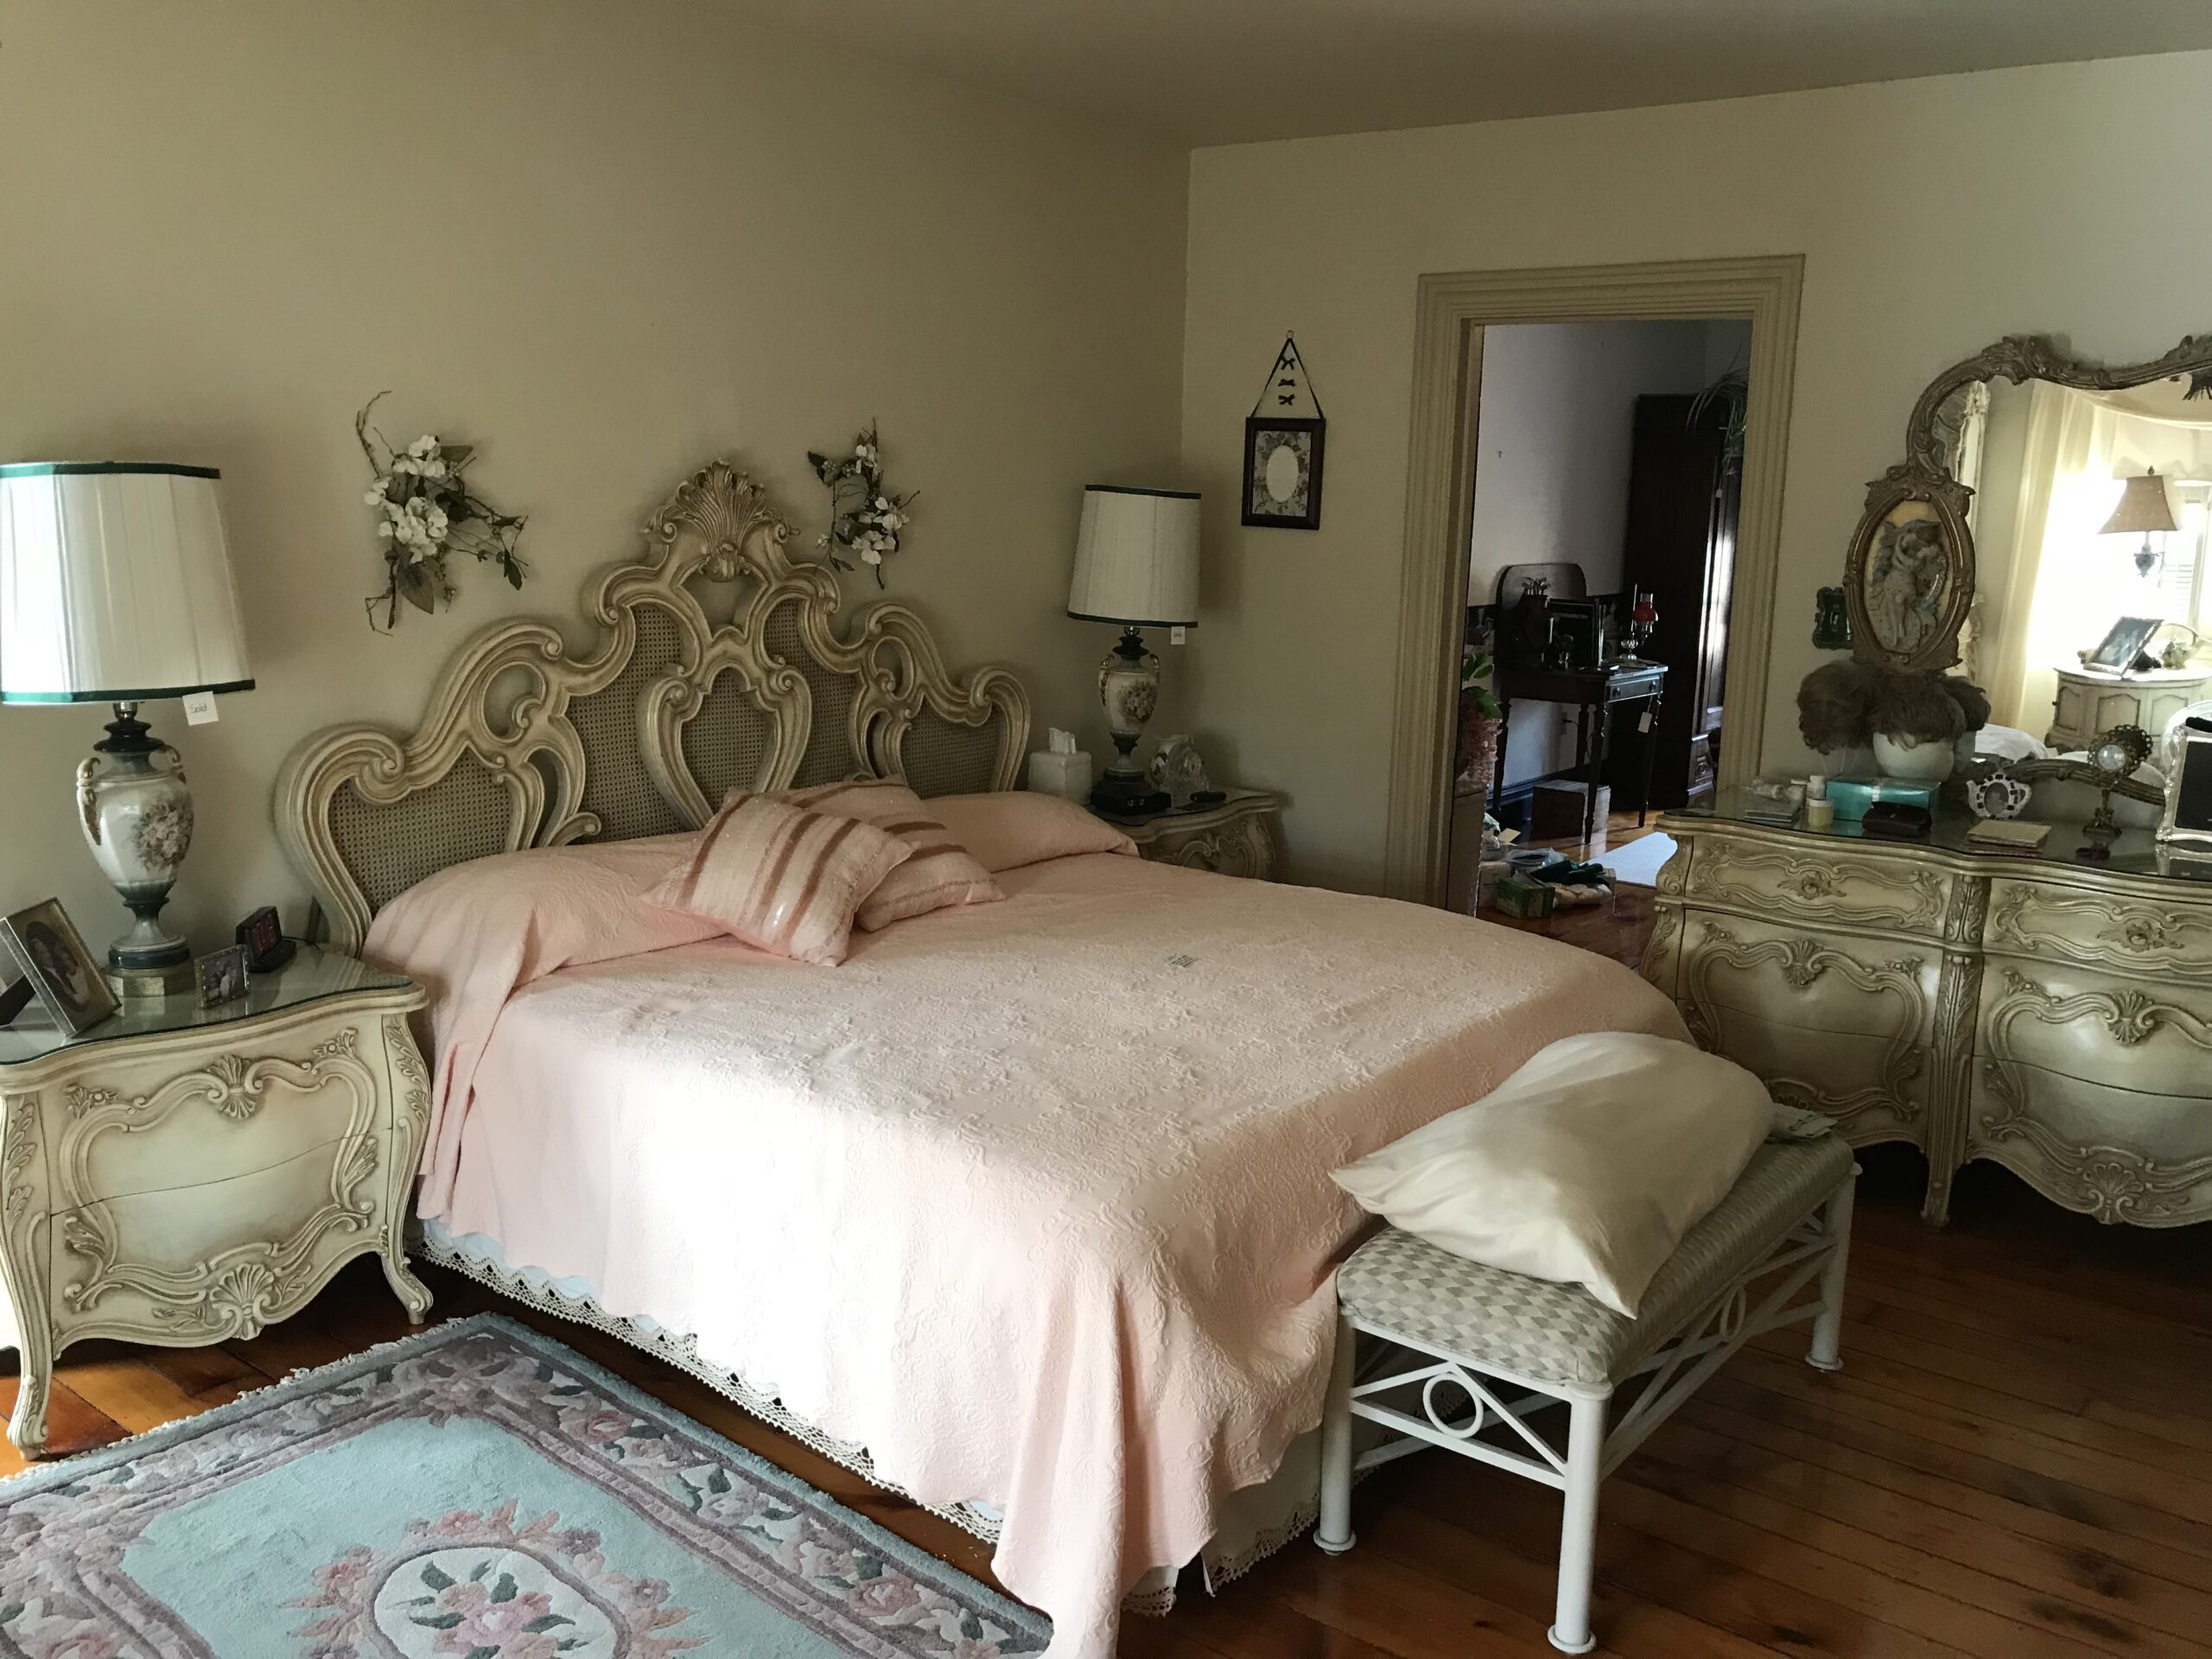
Traditional before

This is going way back to previous owners and the traditional B&B called “A Step Back in Time”. It was very traditional.
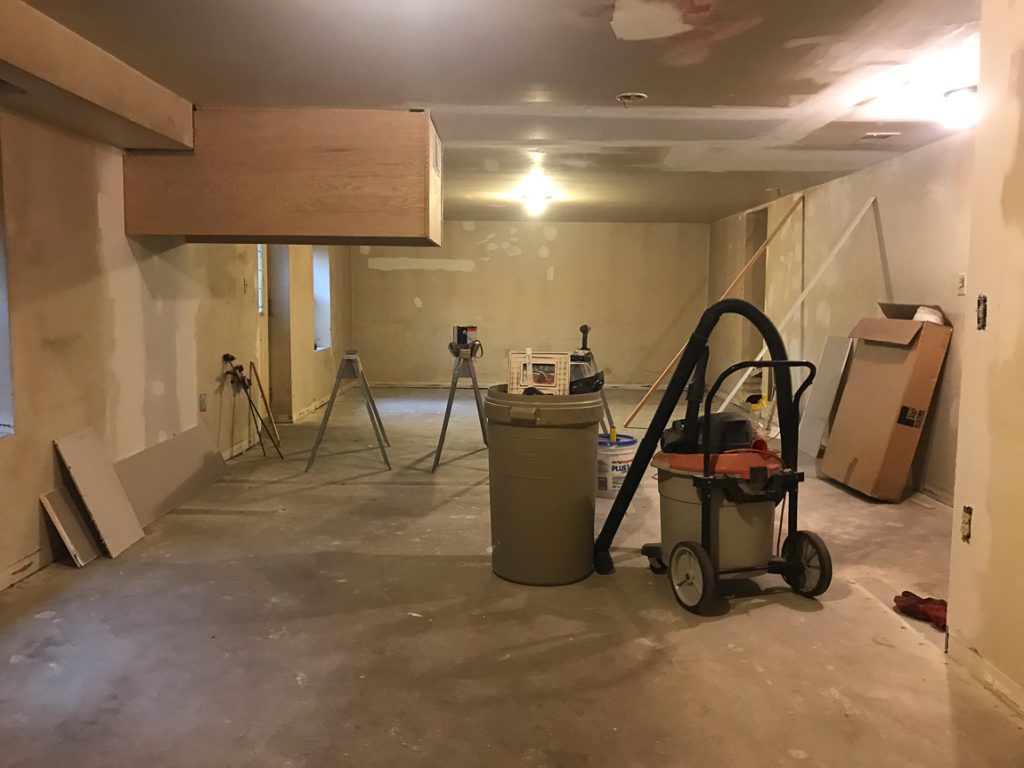
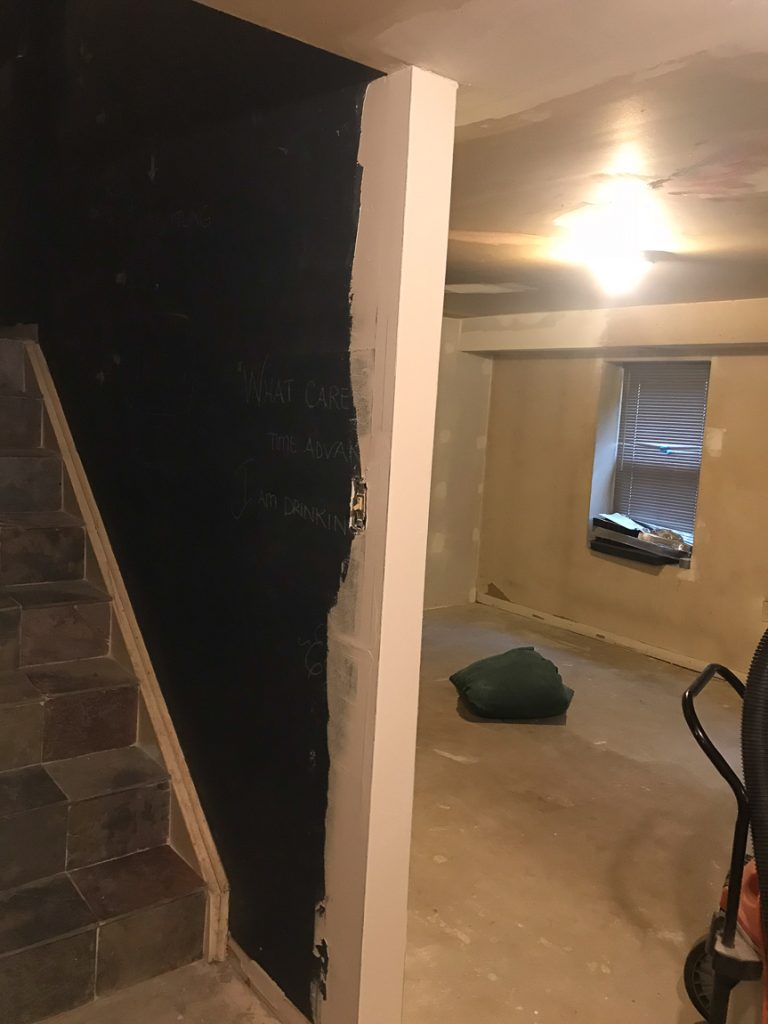
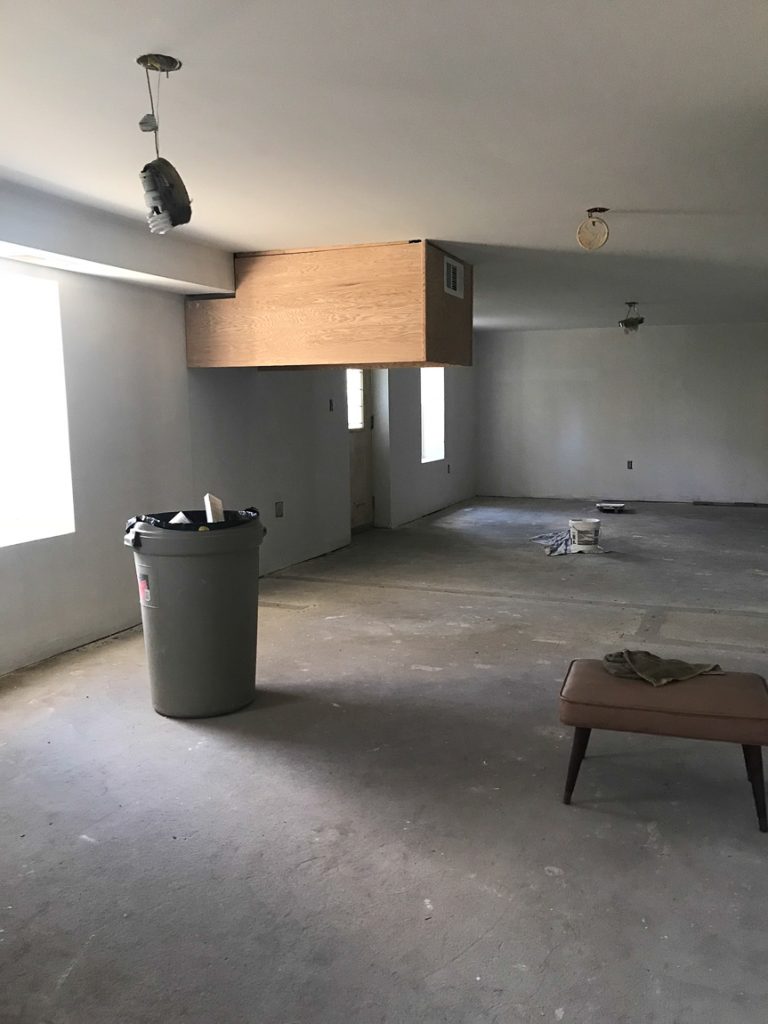
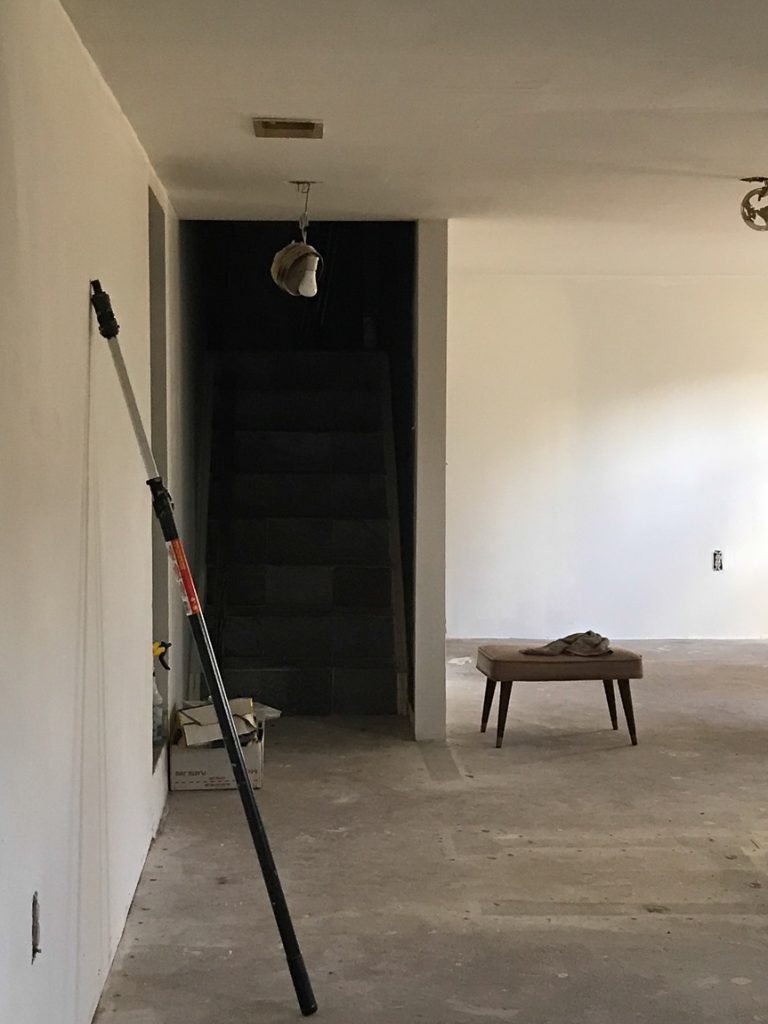
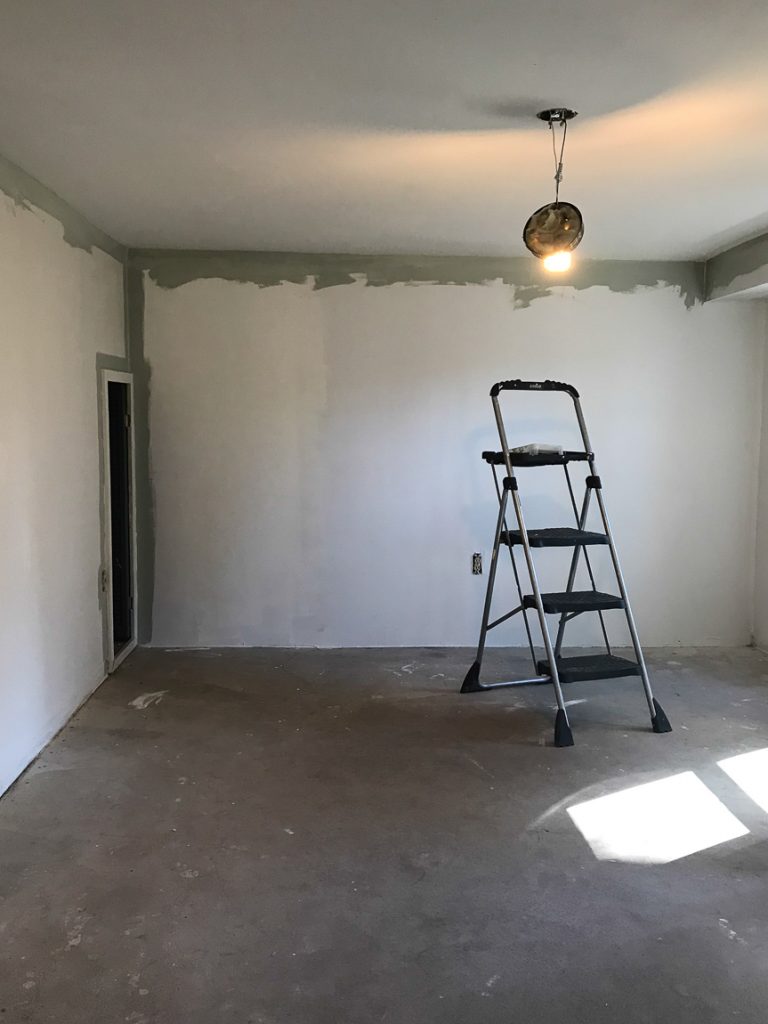
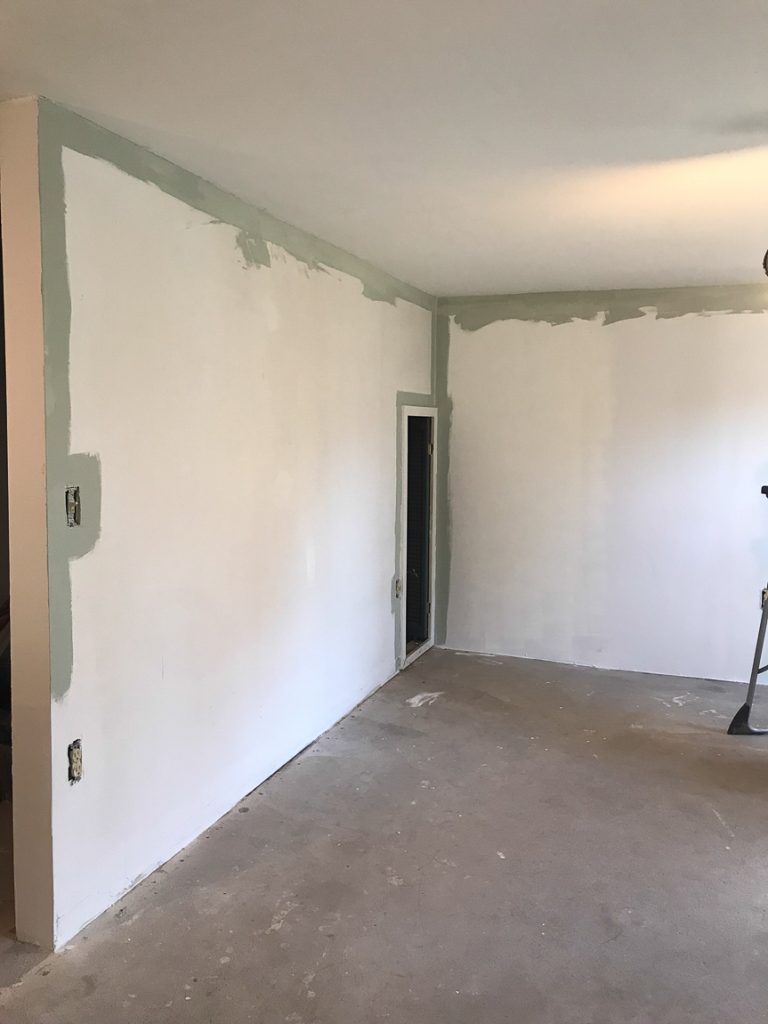
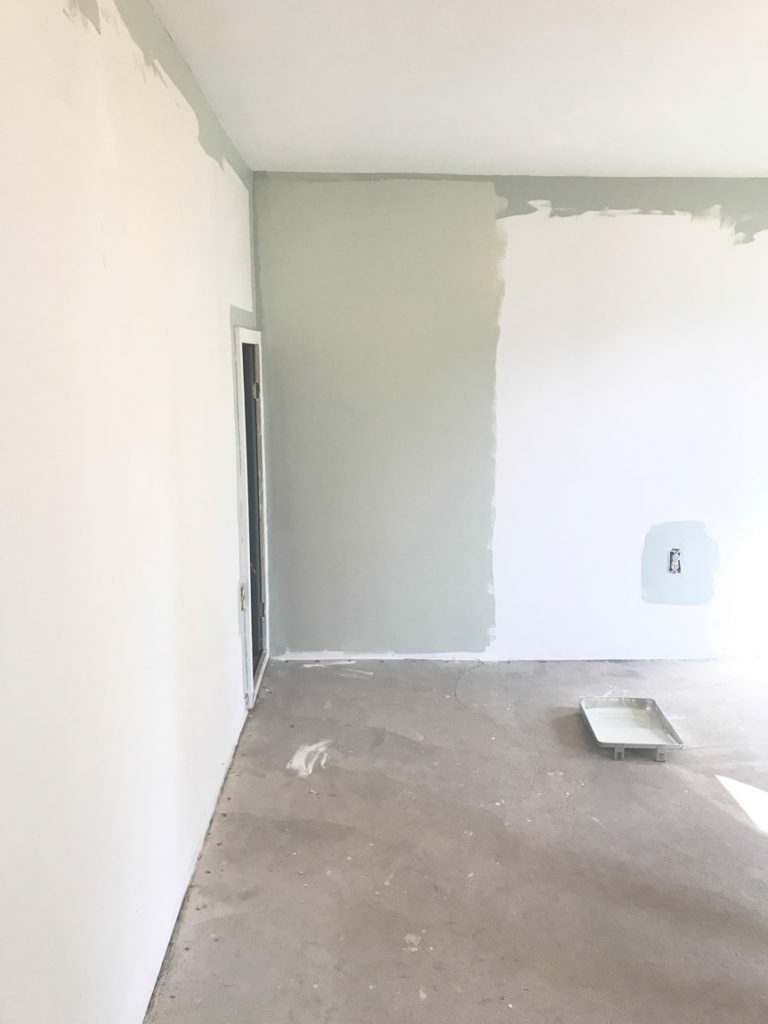
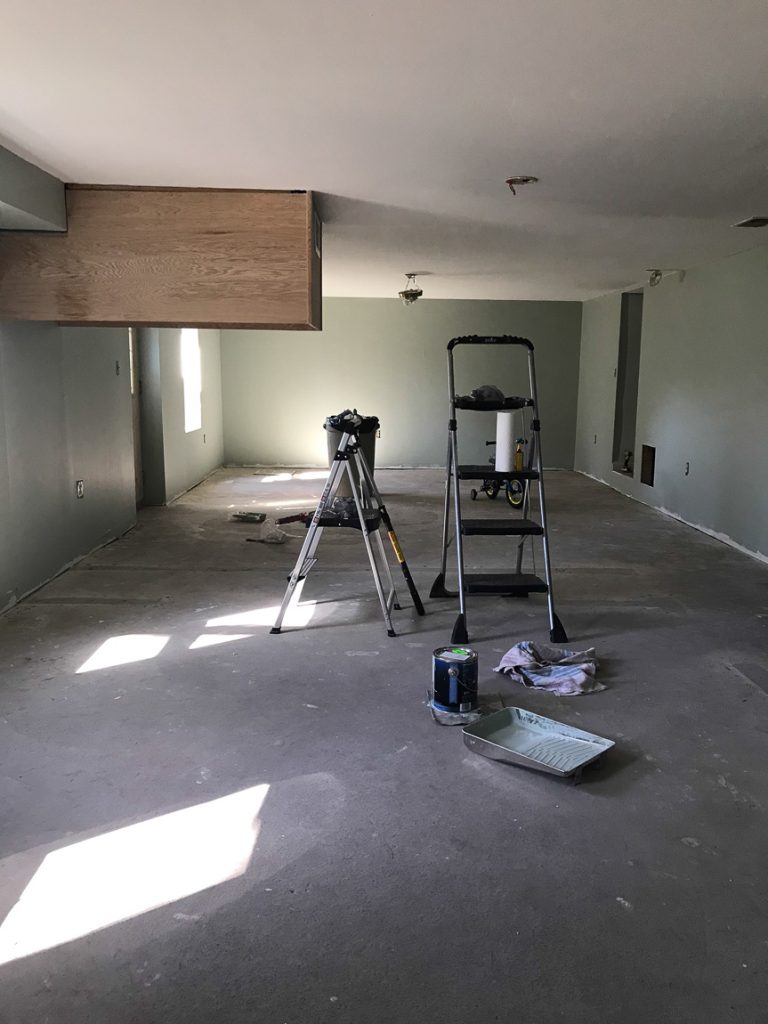
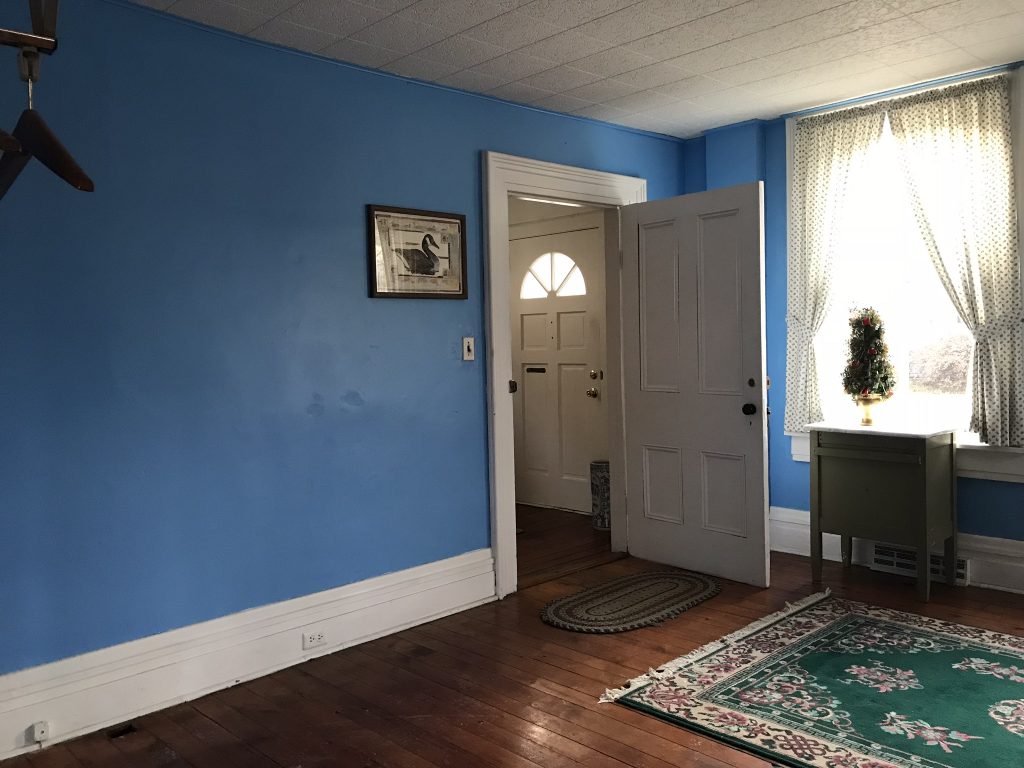
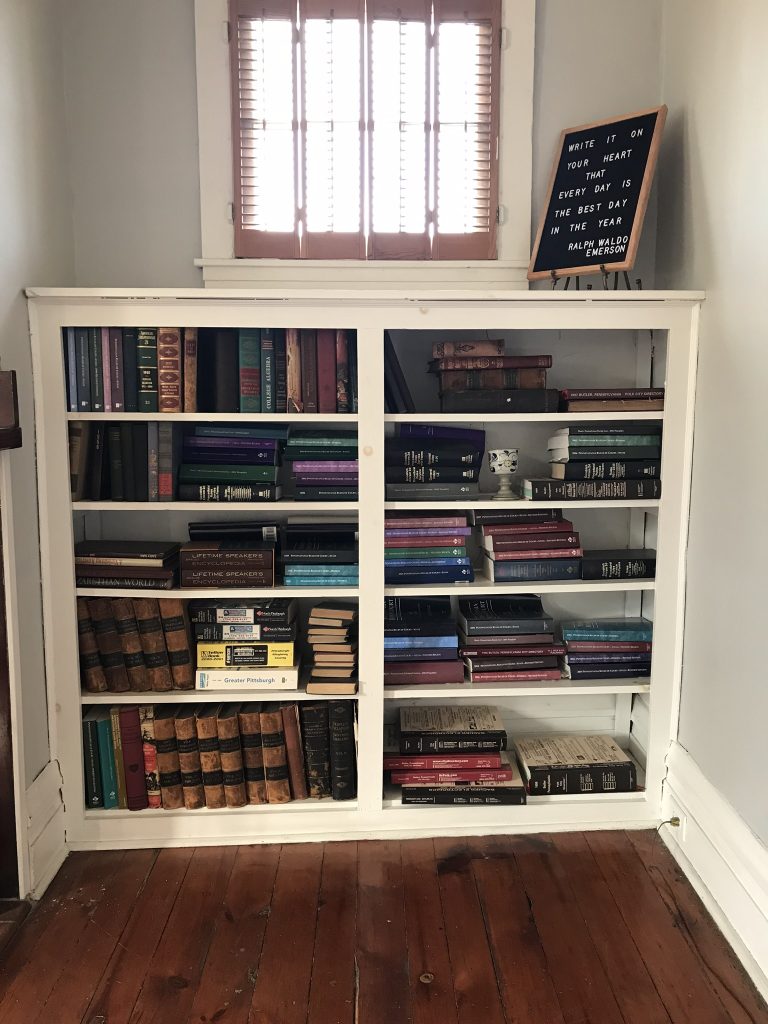
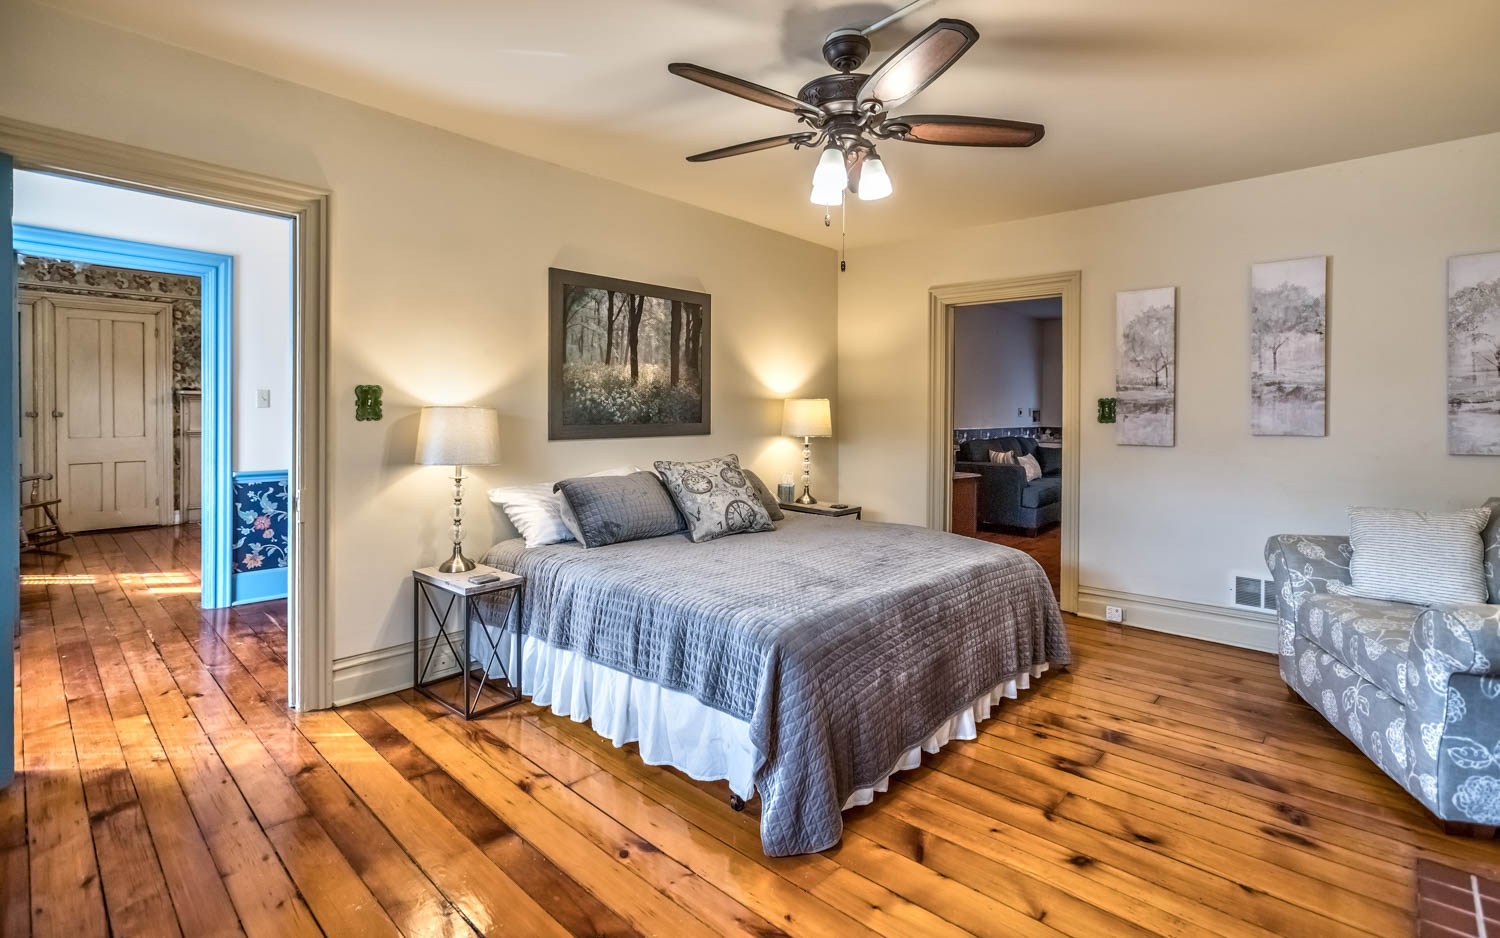
traditional B&B bedroom before

Updated Before

  • Transitional style
  • Worn finishes
  • No headboard
  • Ready for a refresh

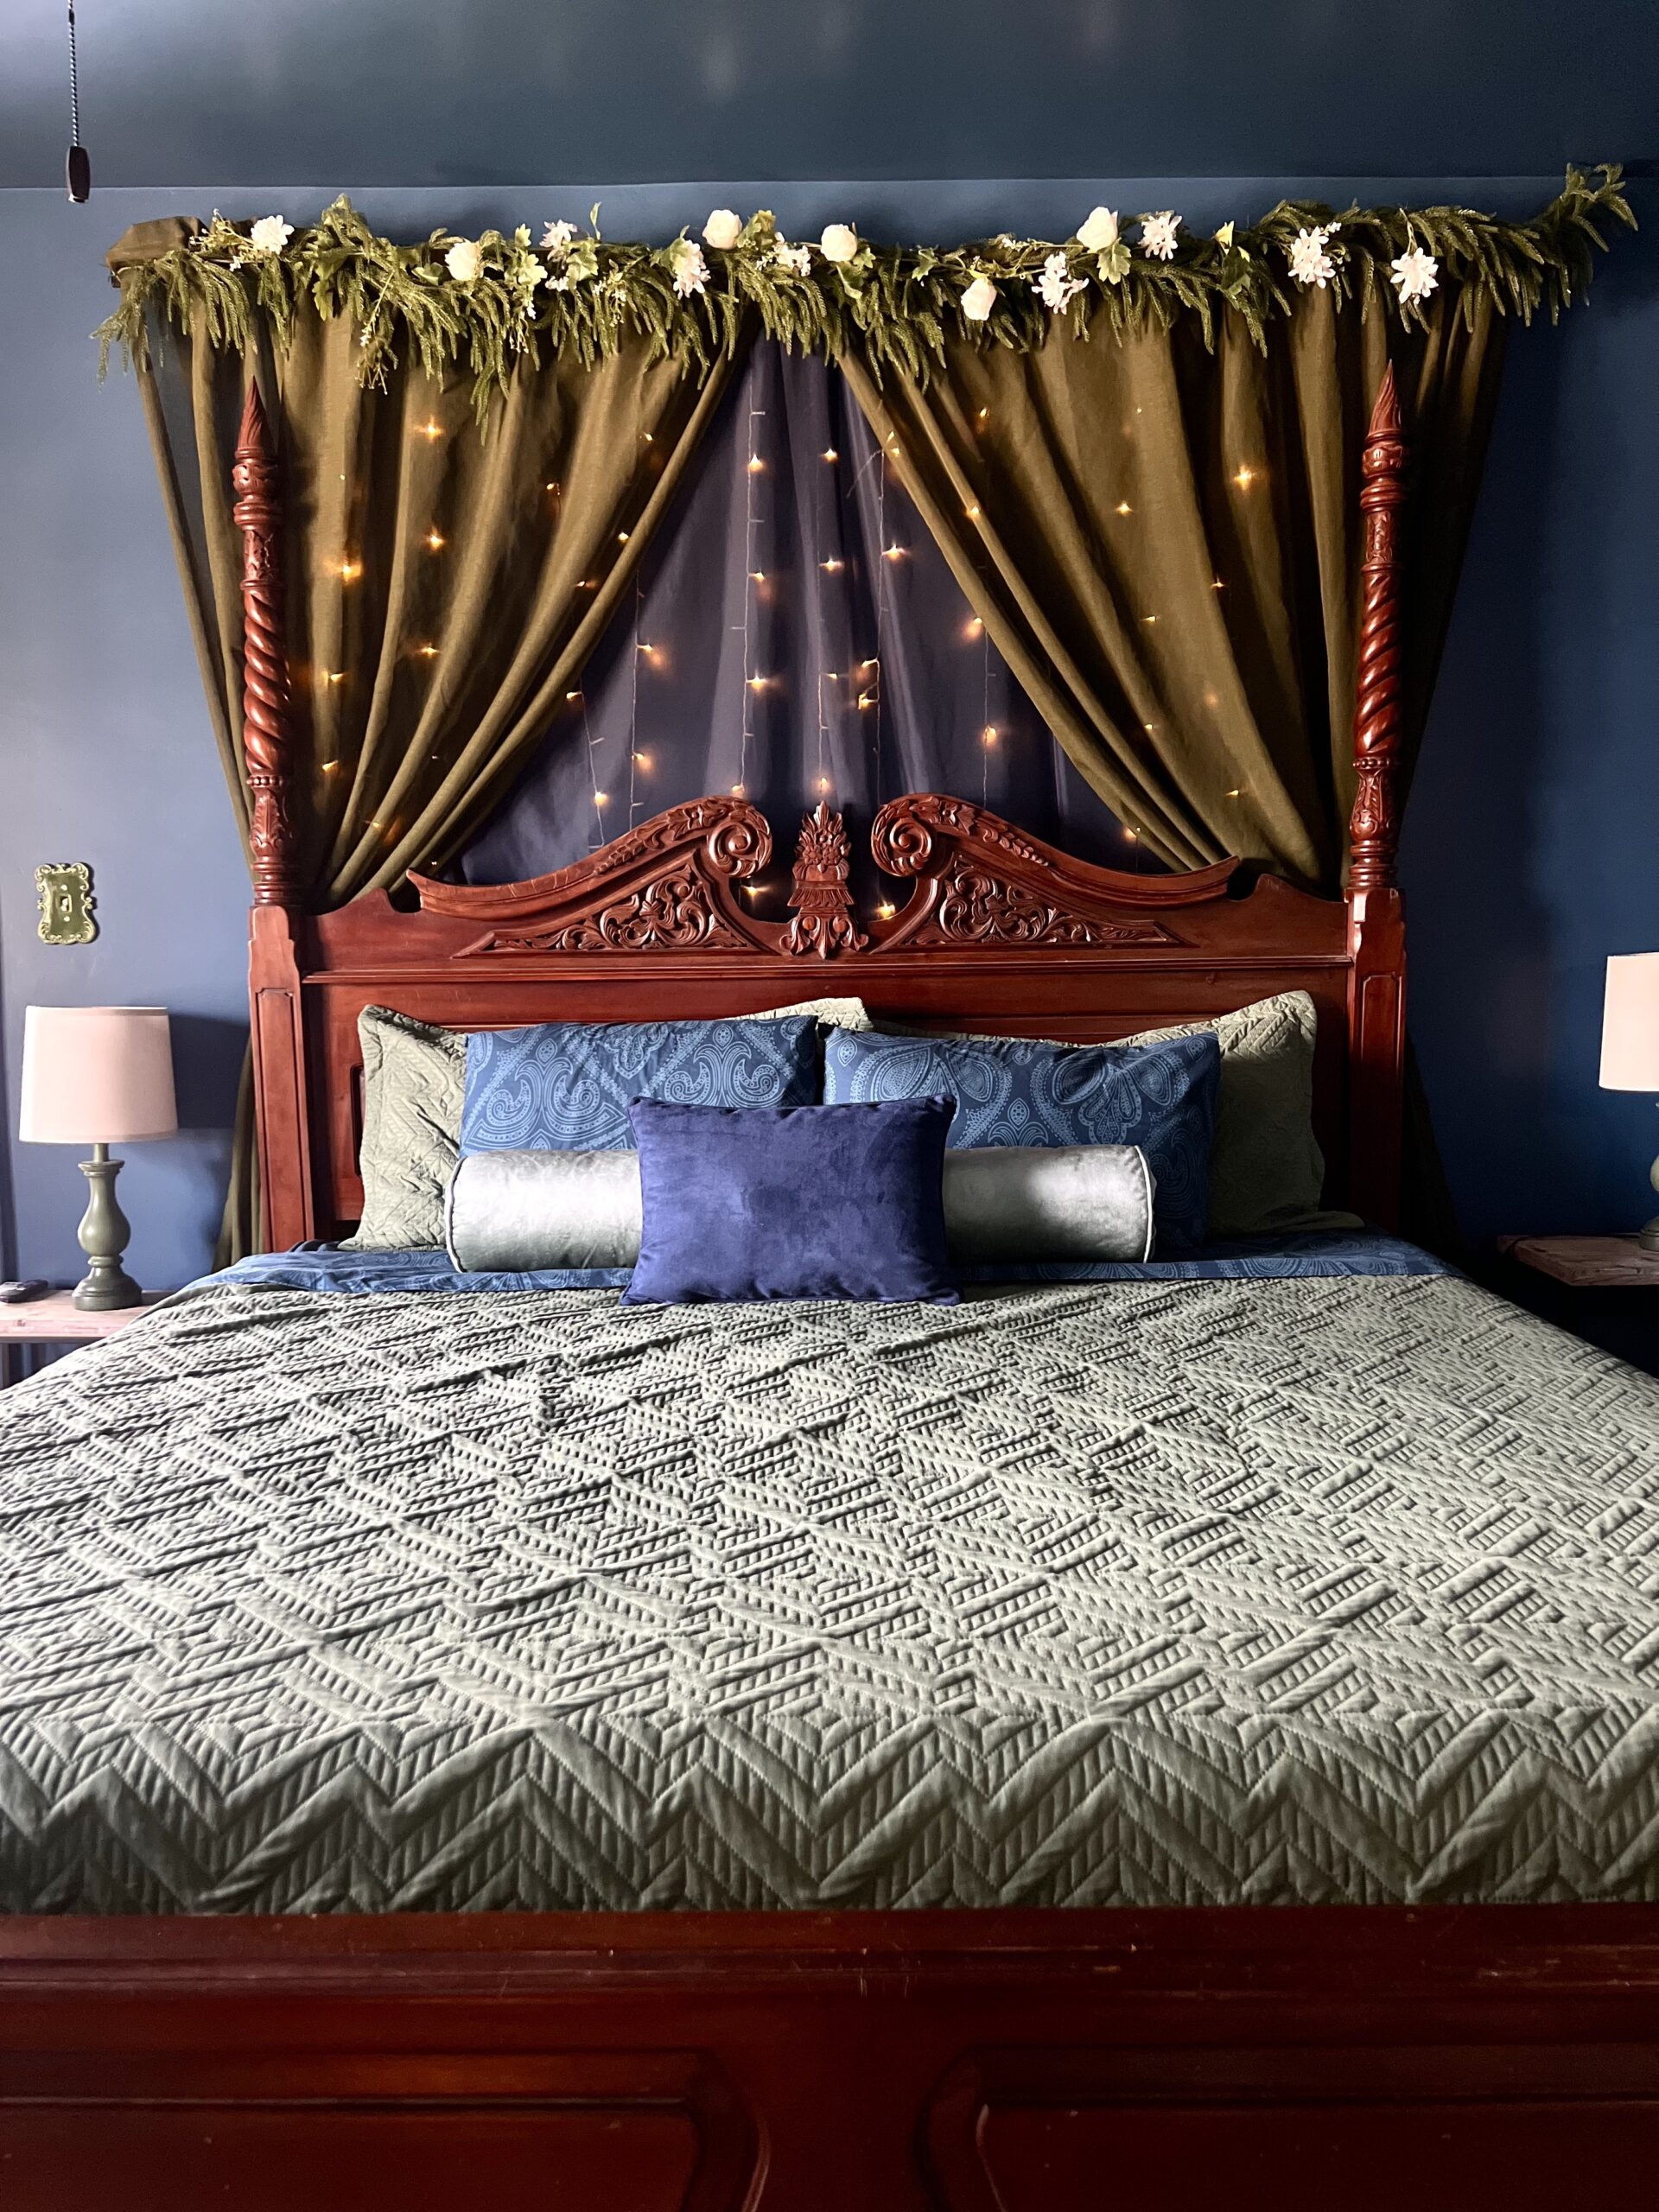
The Bantam Bungalow showed a huge improvement, but in person, it felt a little tired and outdated. It was time for an update. Shelby (the owner) was upgrading to a four-poster bed and wanted to create a canopy-style feel.

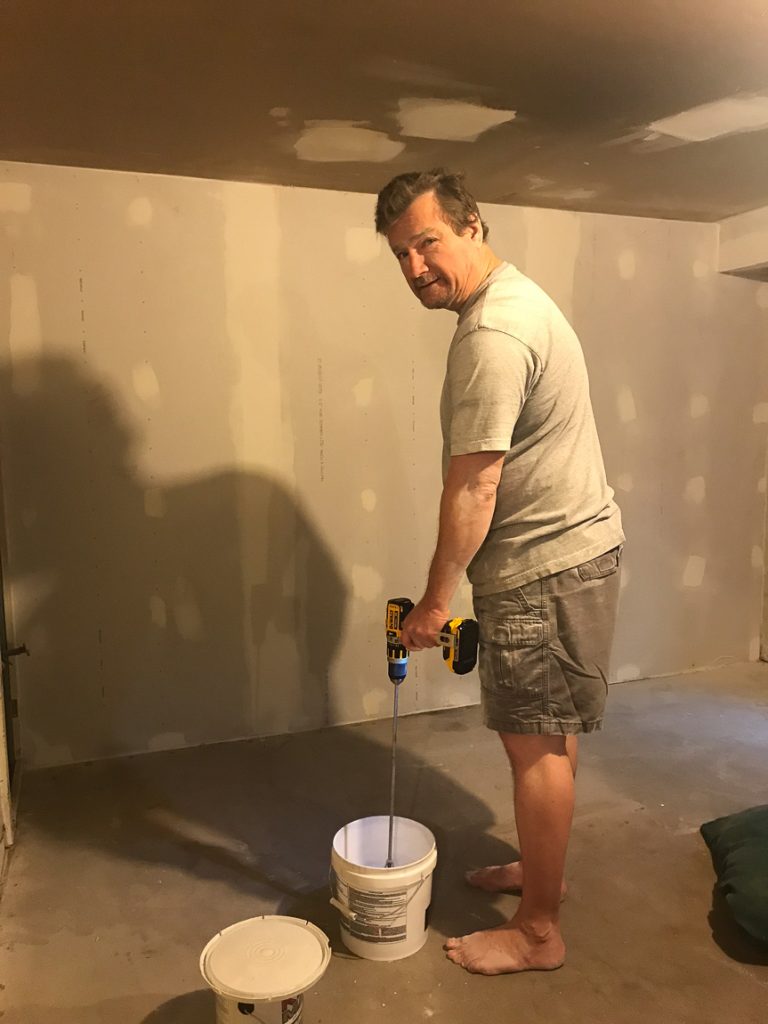
That decision naturally led to:
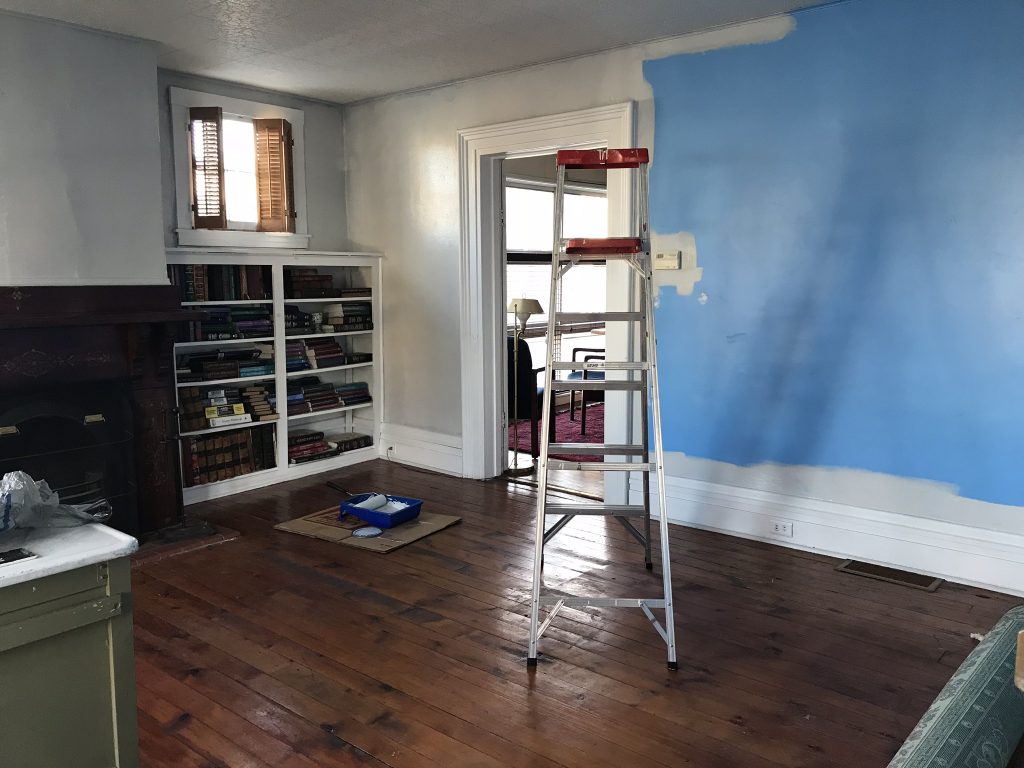
  • Fresh paint
  • Updated accessories
  • A more intentional design direction

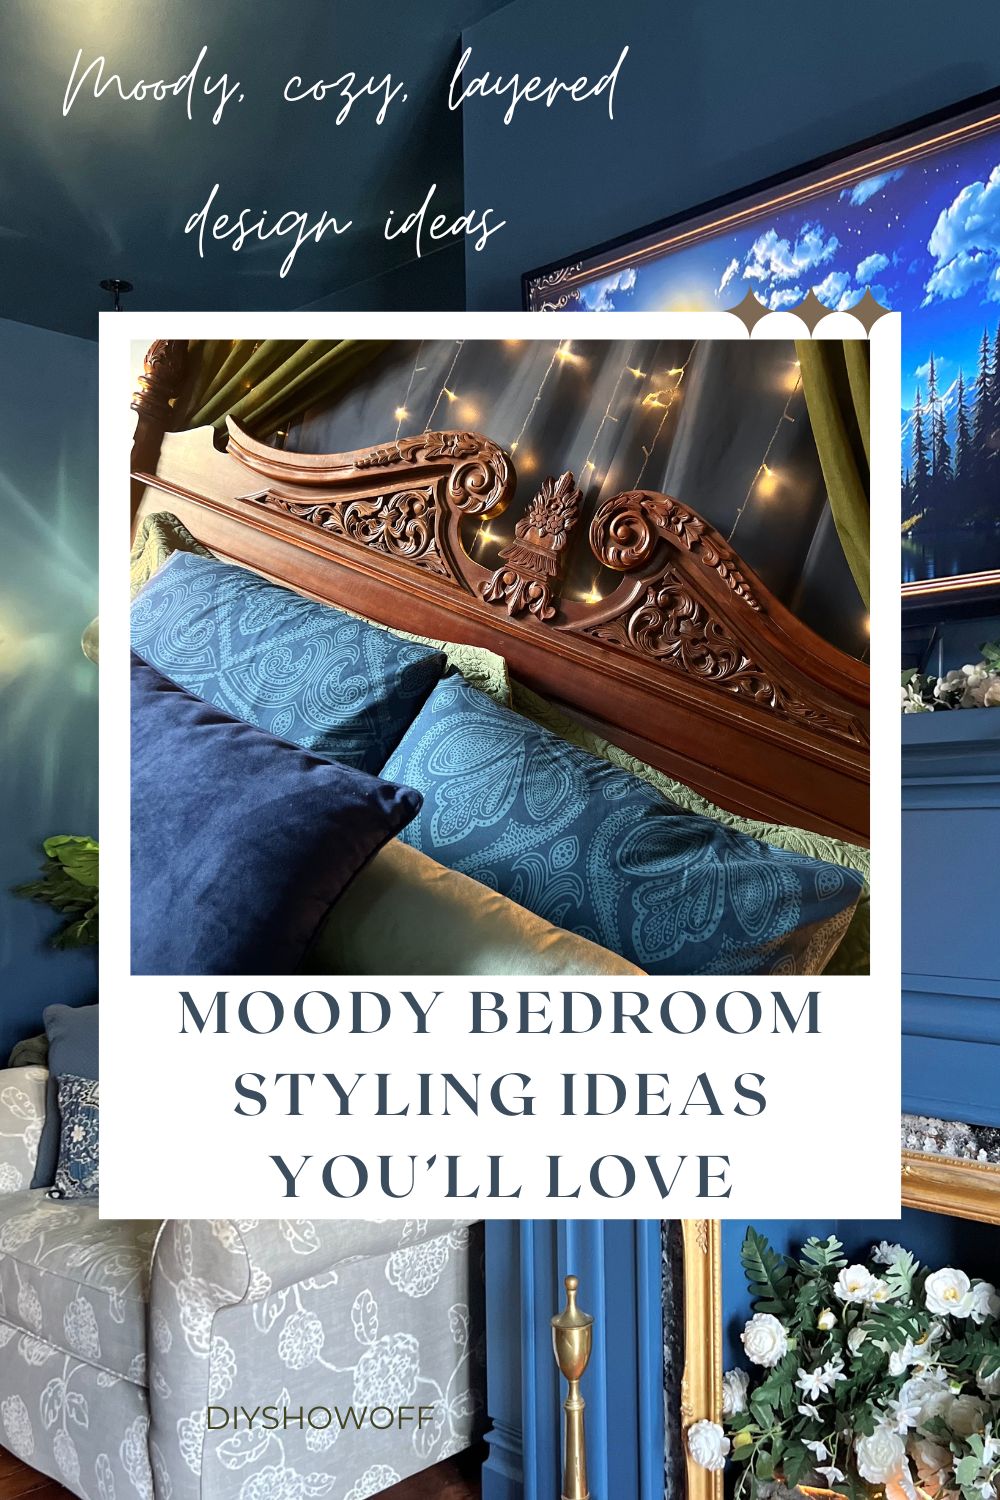
We wanted something moody, cozy, and memorable.

That’s when we decided to try color drenching.

cream and gray bedroom

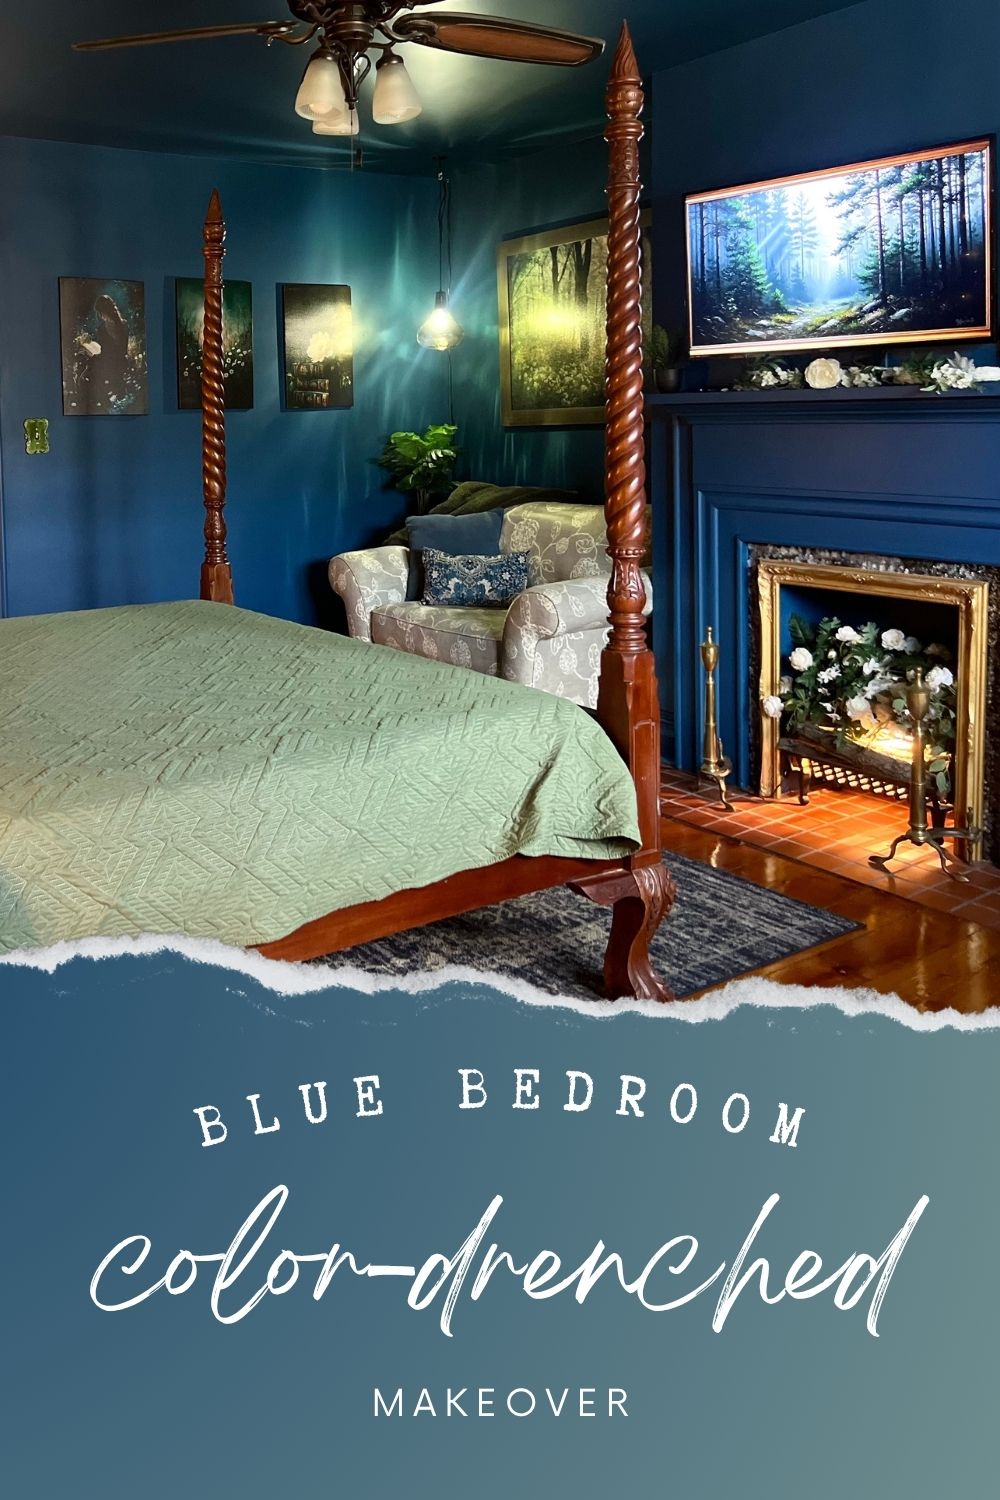
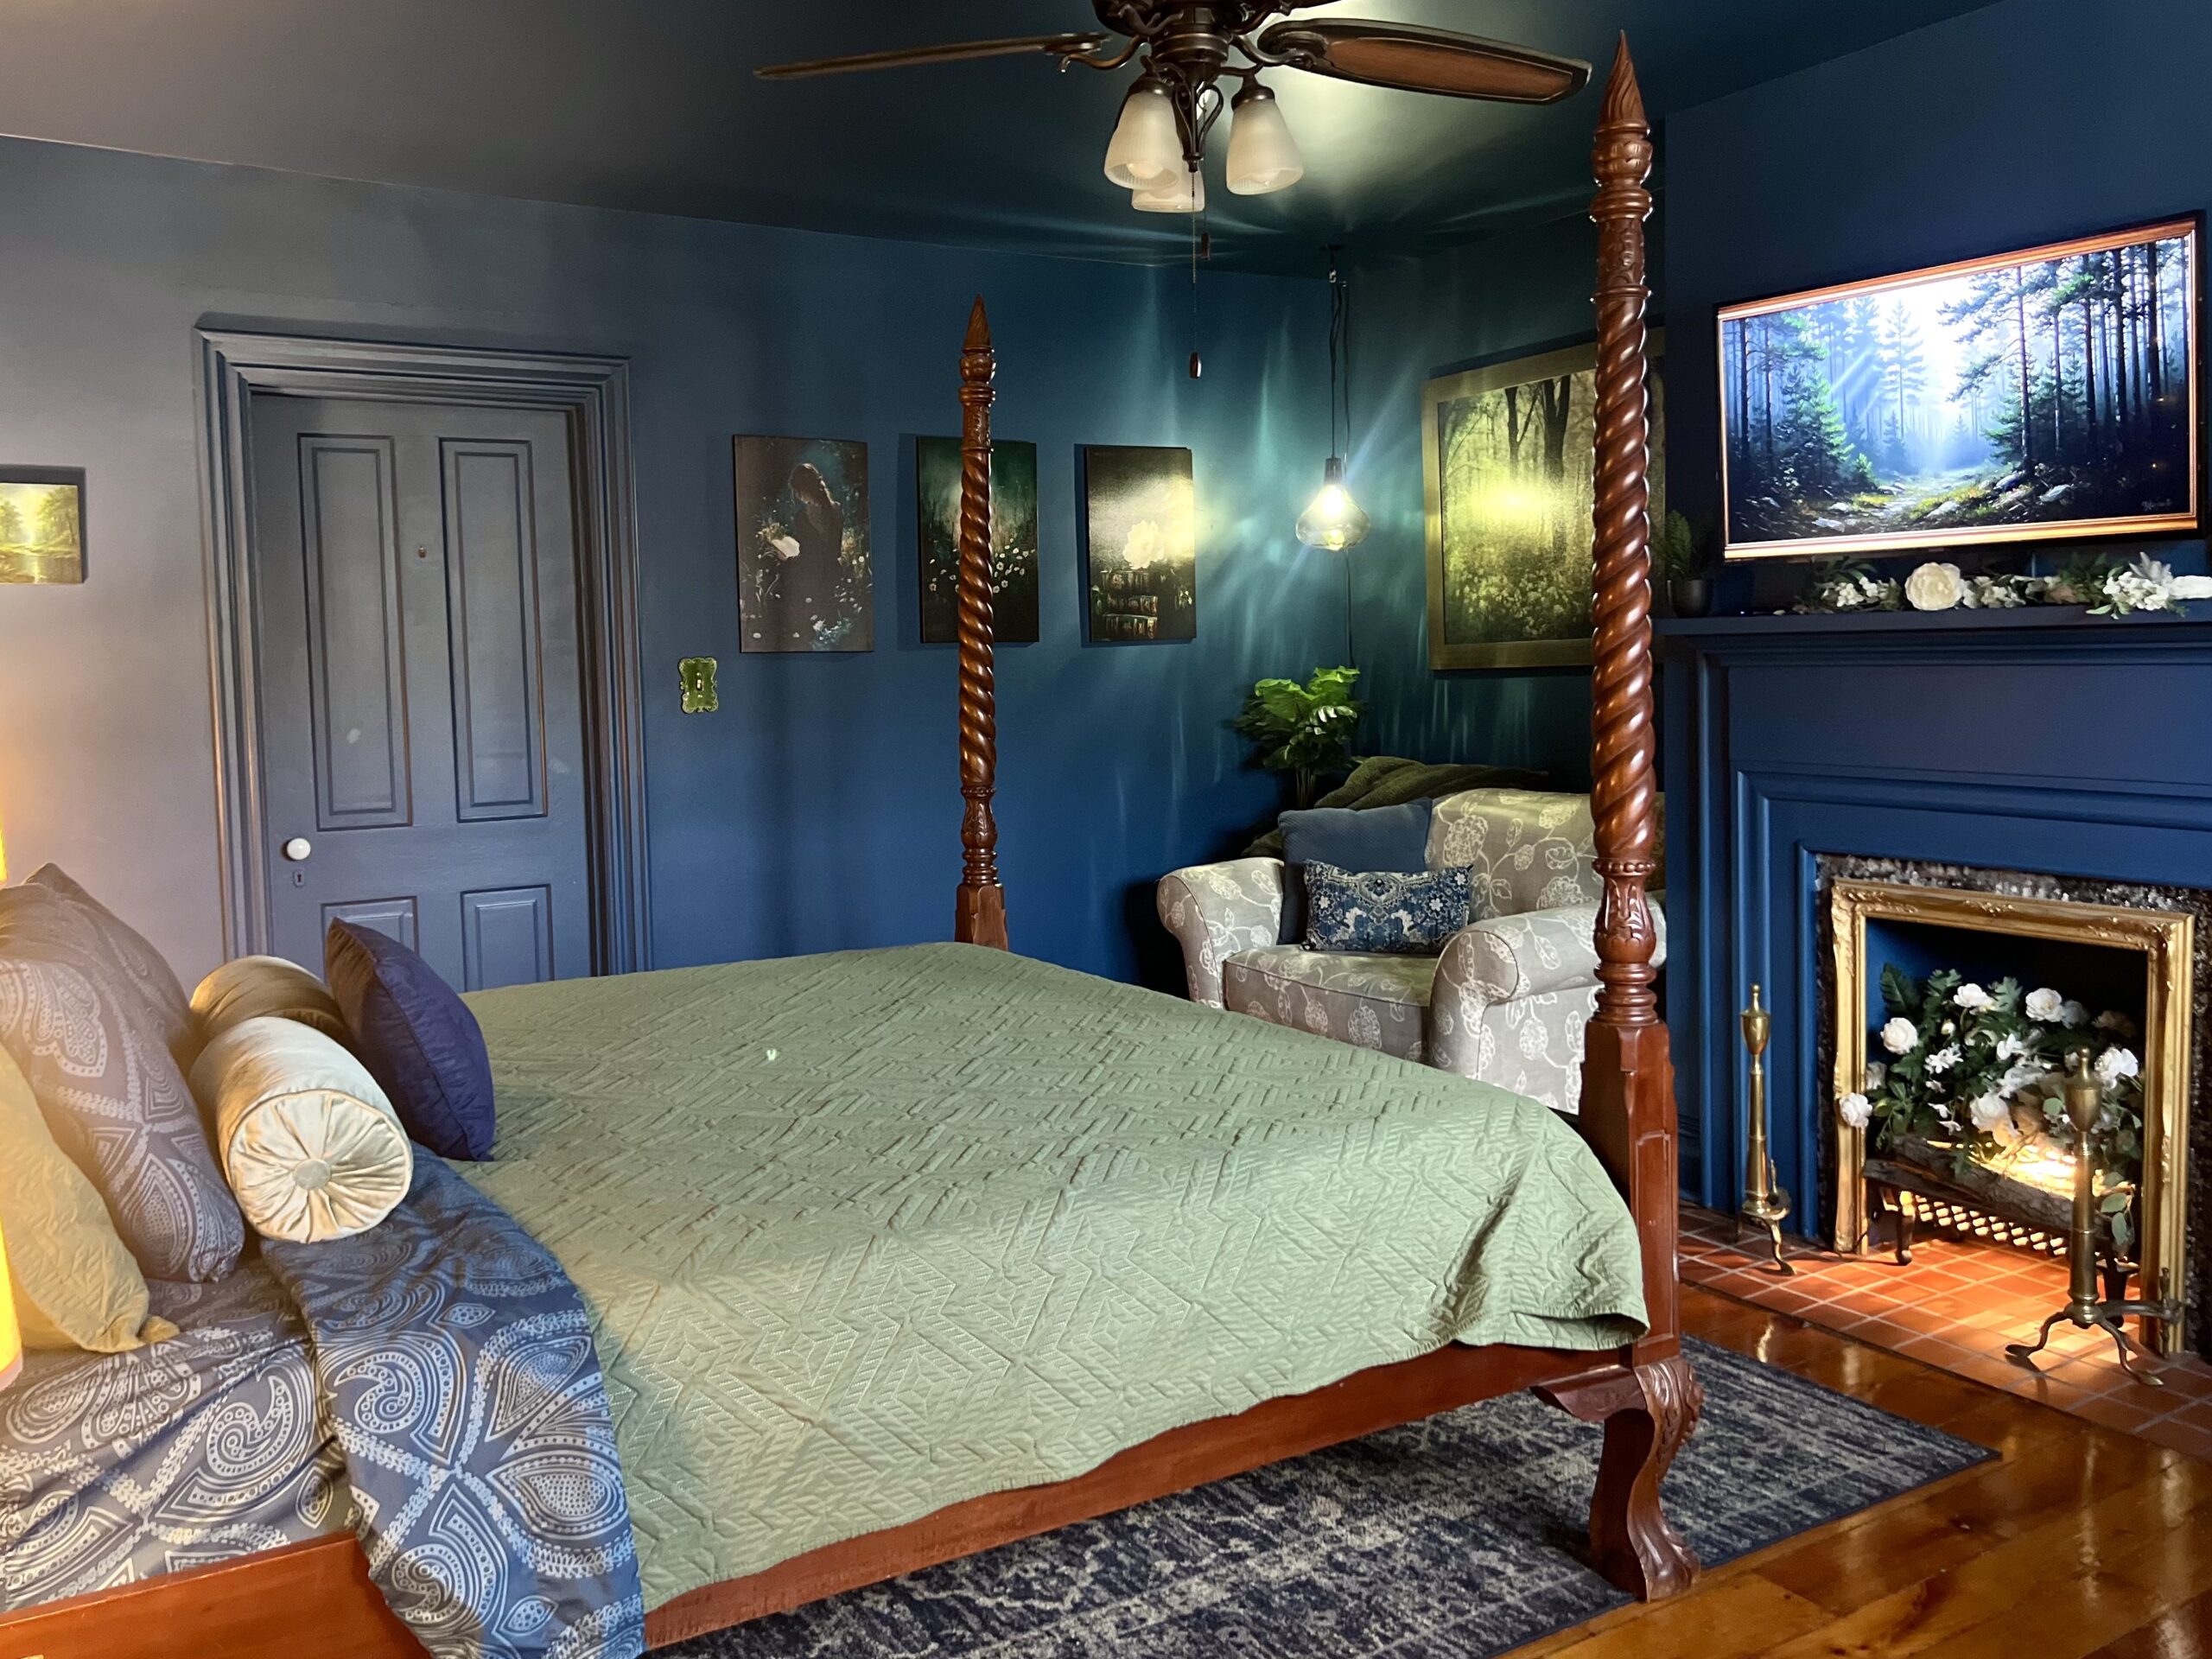
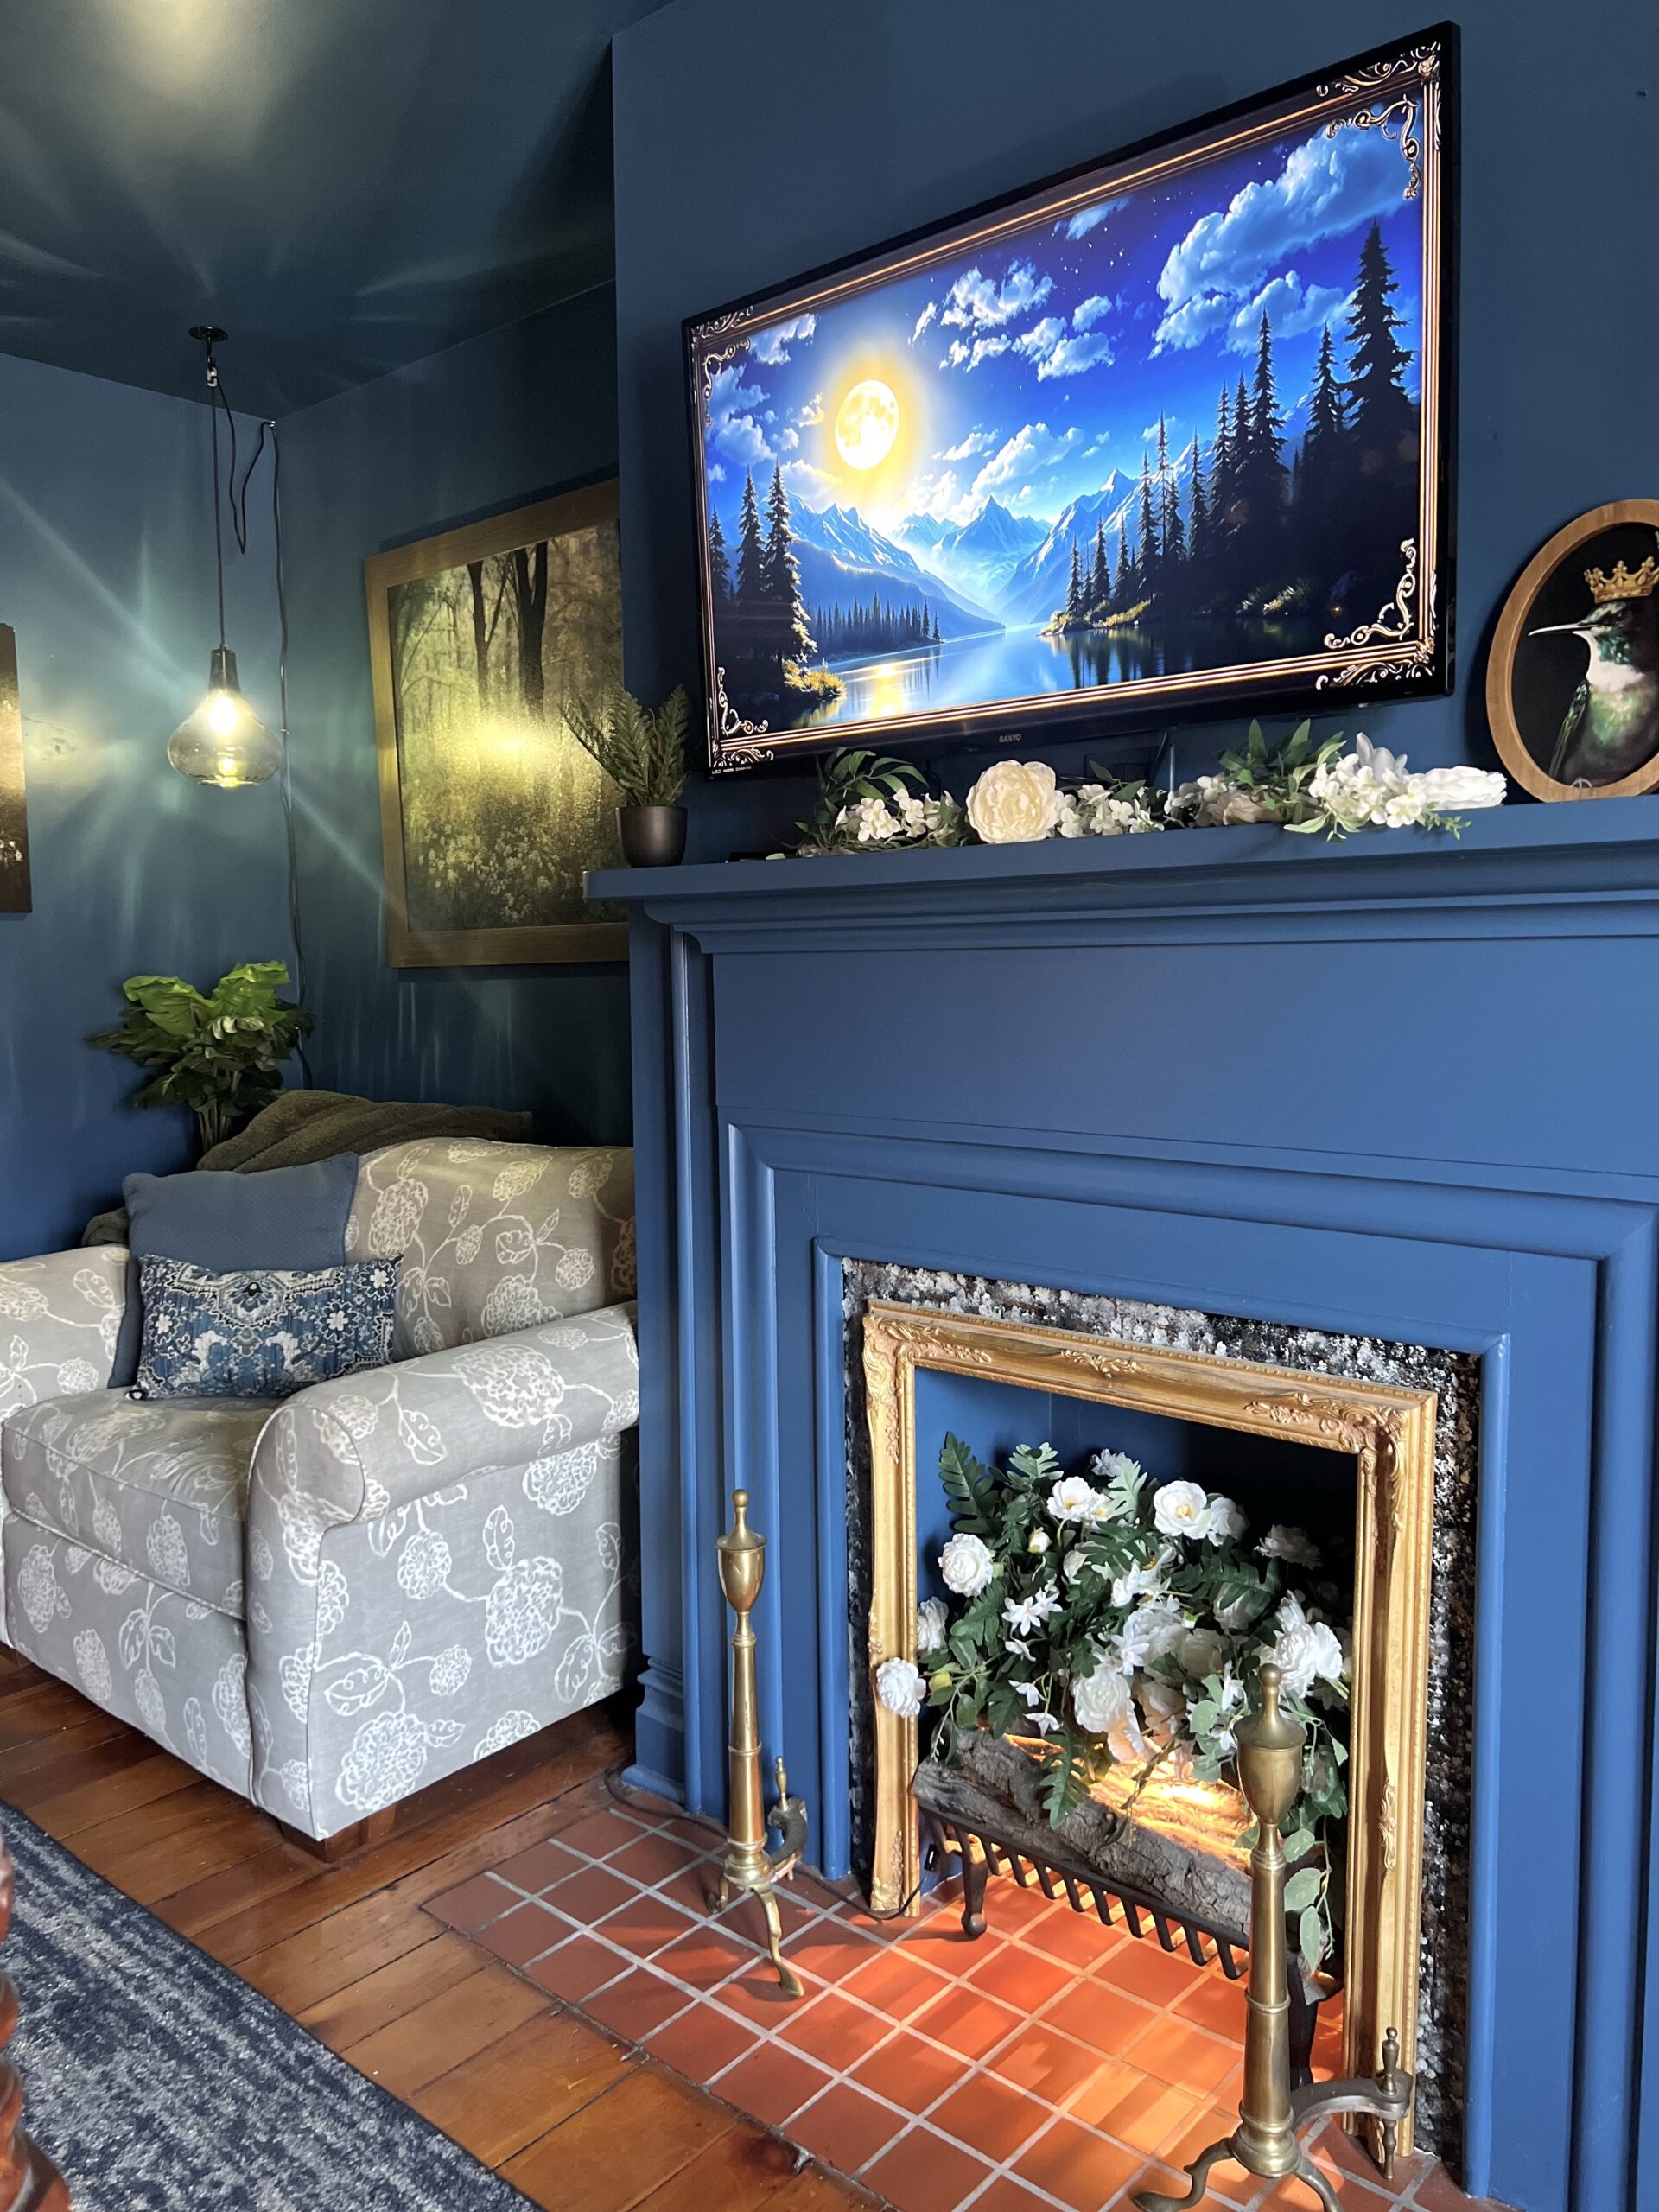
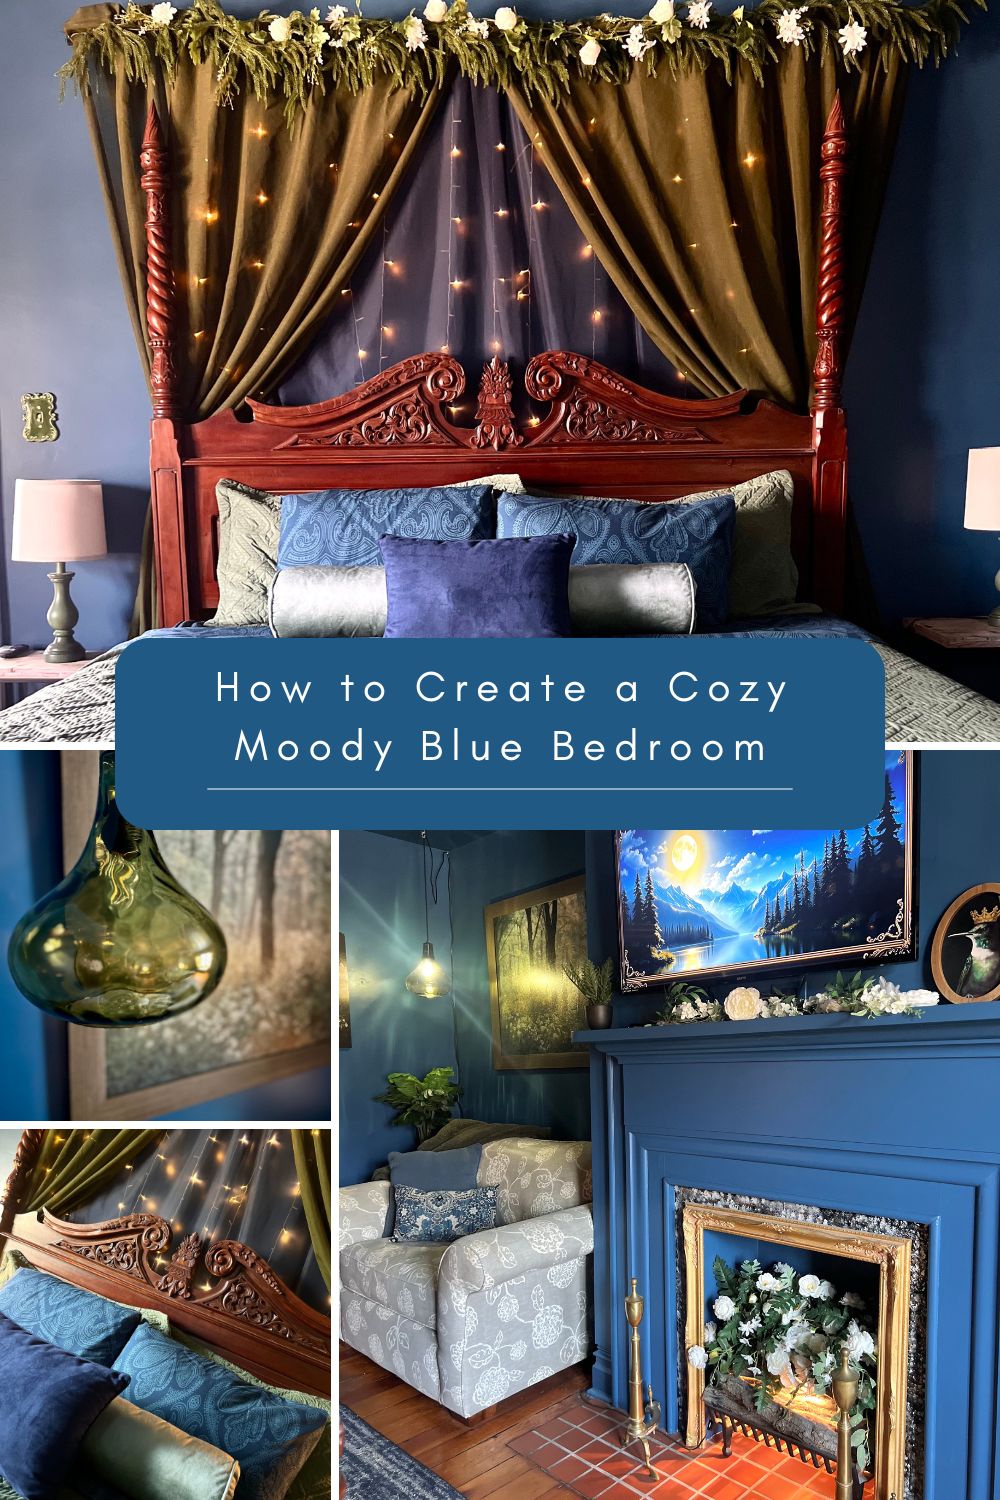
After: A Cozy, Immersive Guest Experience

And the result?

Completely transformed.

The room now feels:

  • Comfortable
  • Unique (not your average rental)
  • Immersive in the best way

It’s one of those spaces that feels good the second you walk in.

And based on guest response right away, it quickly became a favorite.

blue painted fireplace with brass surround, floral arrangement and cozy seating in a color drenched moody bedroom

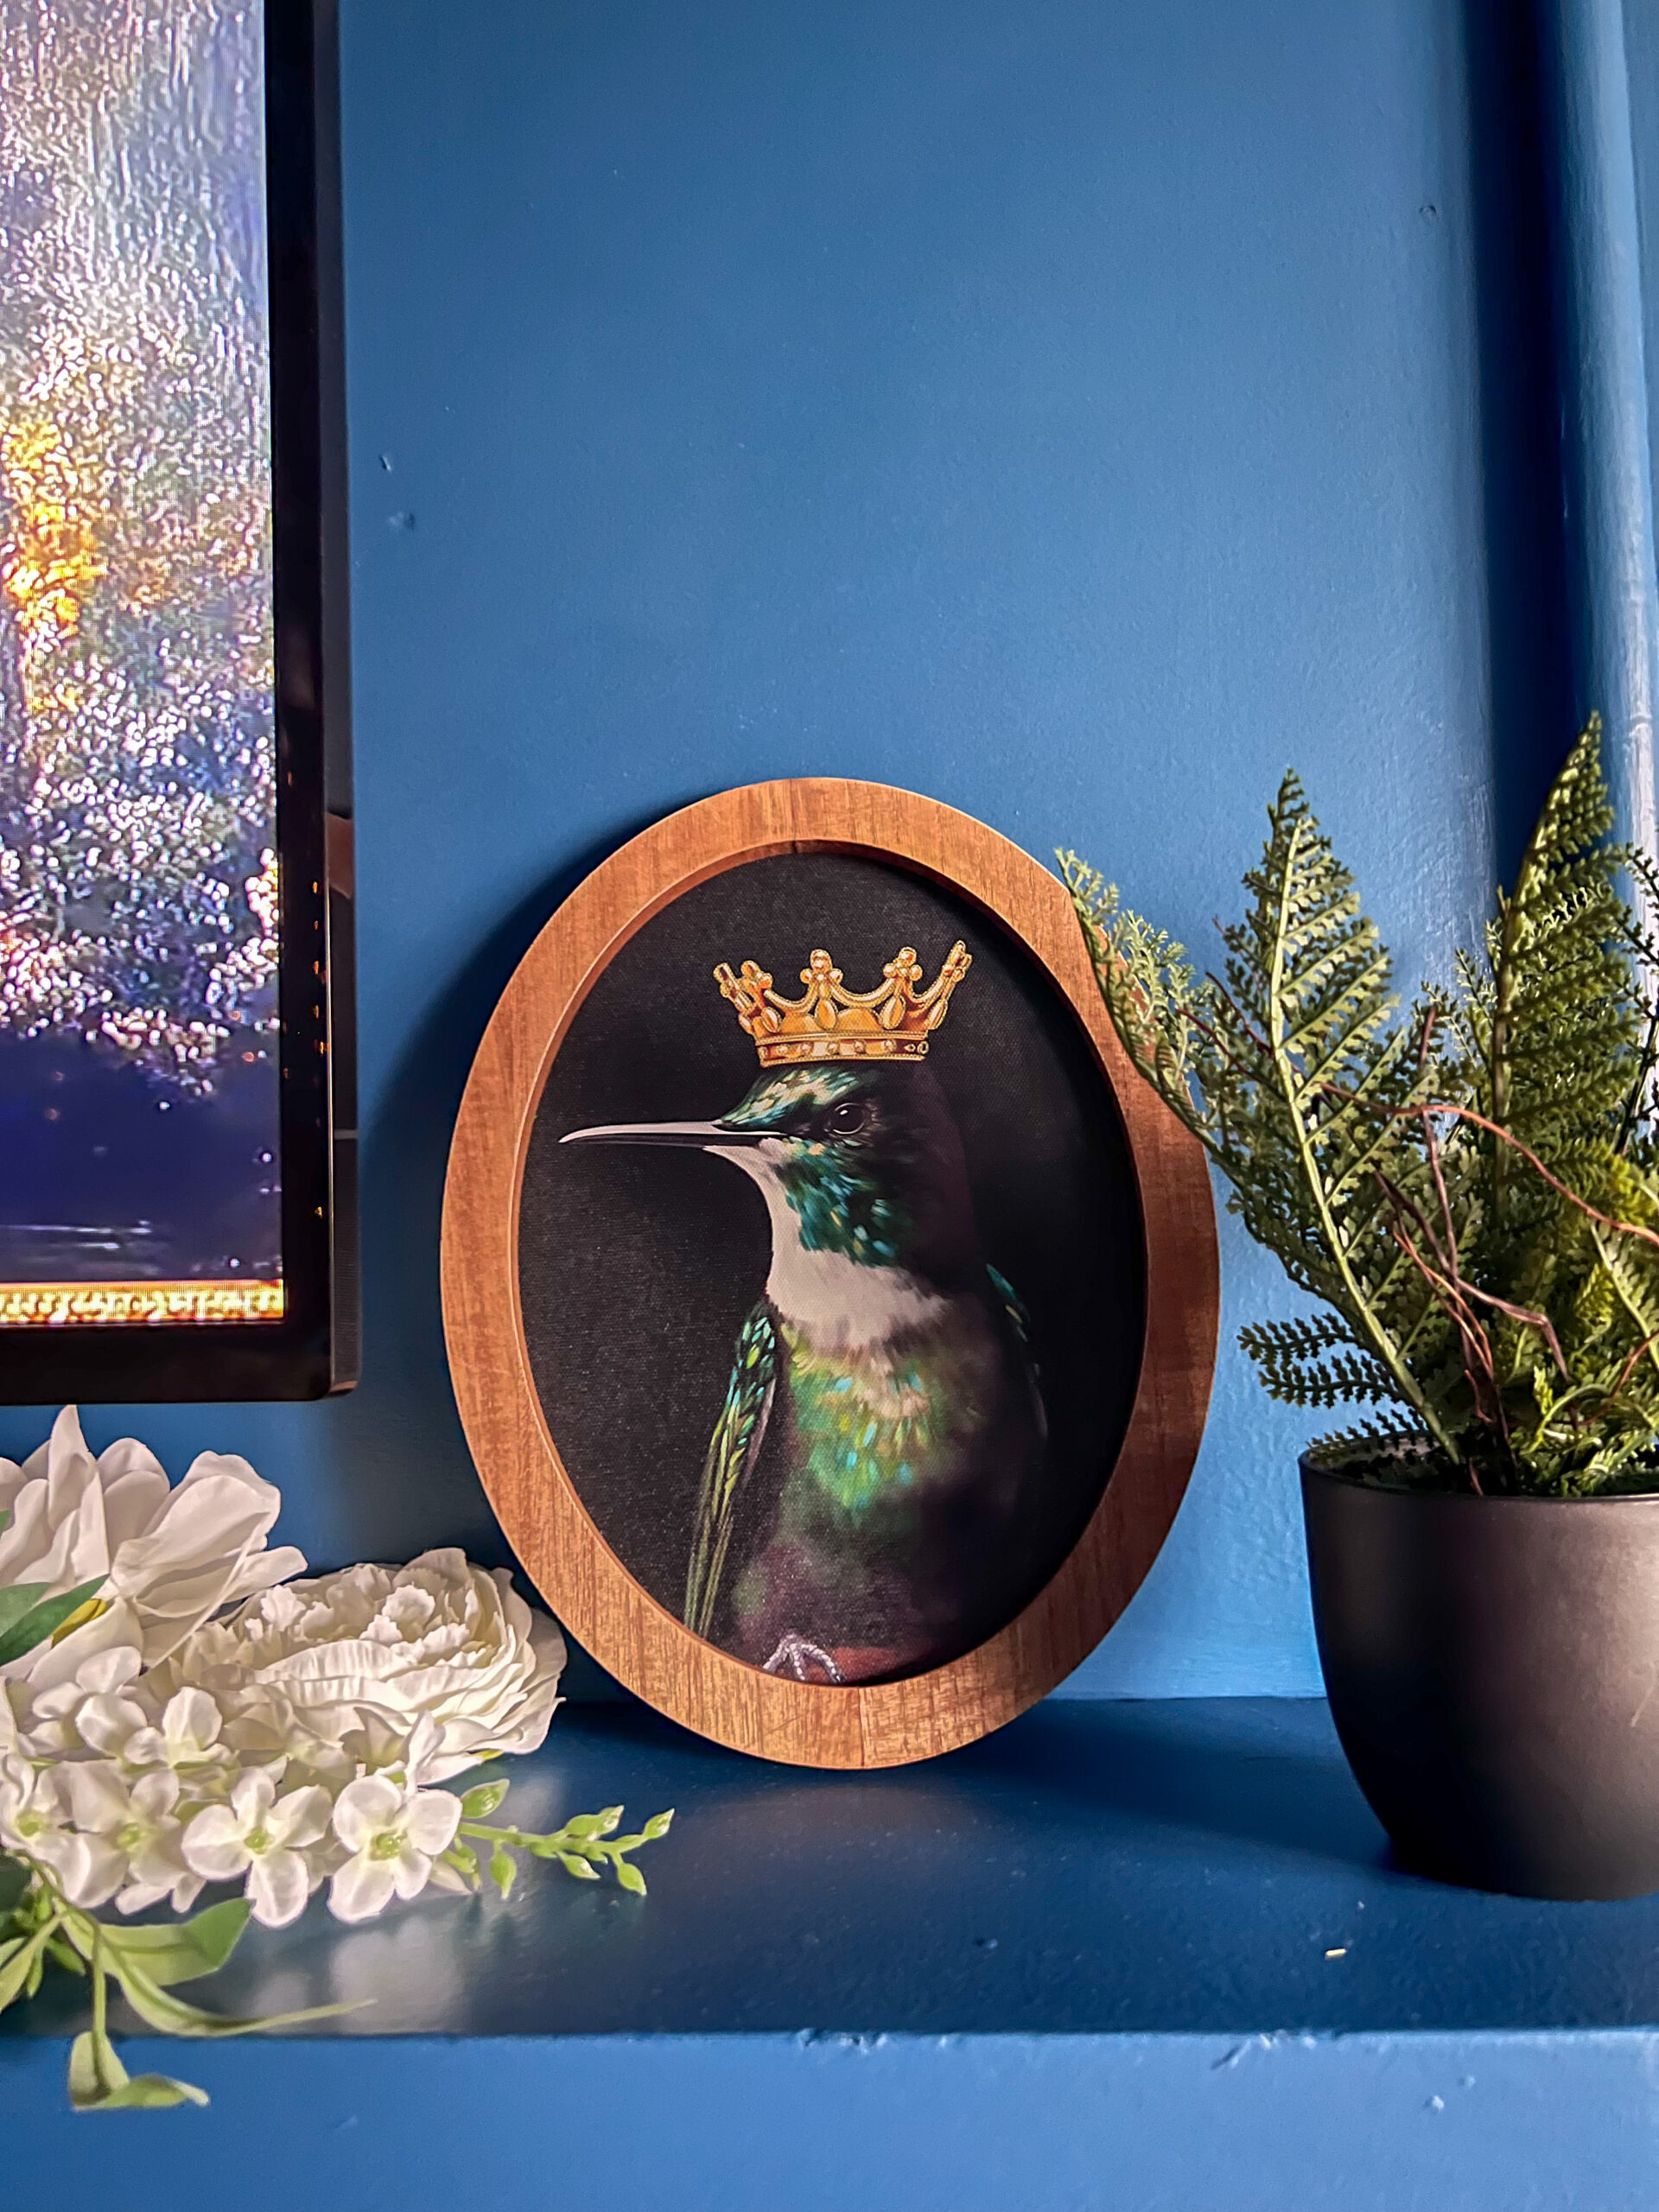
The twinkling lights behind sheer curtains and topped with garland gives this moody space an enchanted forest energy.

carved wood headboard with blue and green pillows and soft string lights in a wall canopy cozy bedroom setting

Is Color Drenching Right for You?

moody cozy layered design ideas for blue color drenched bedroom

If you love a cozy, slightly bold look (but still want calm and simplicity), this is absolutely worth trying.

It works especially well if:

You want your home or rental to stand out

Your room has character you want to enhance

You’re tired of playing it safe with neutral contrast
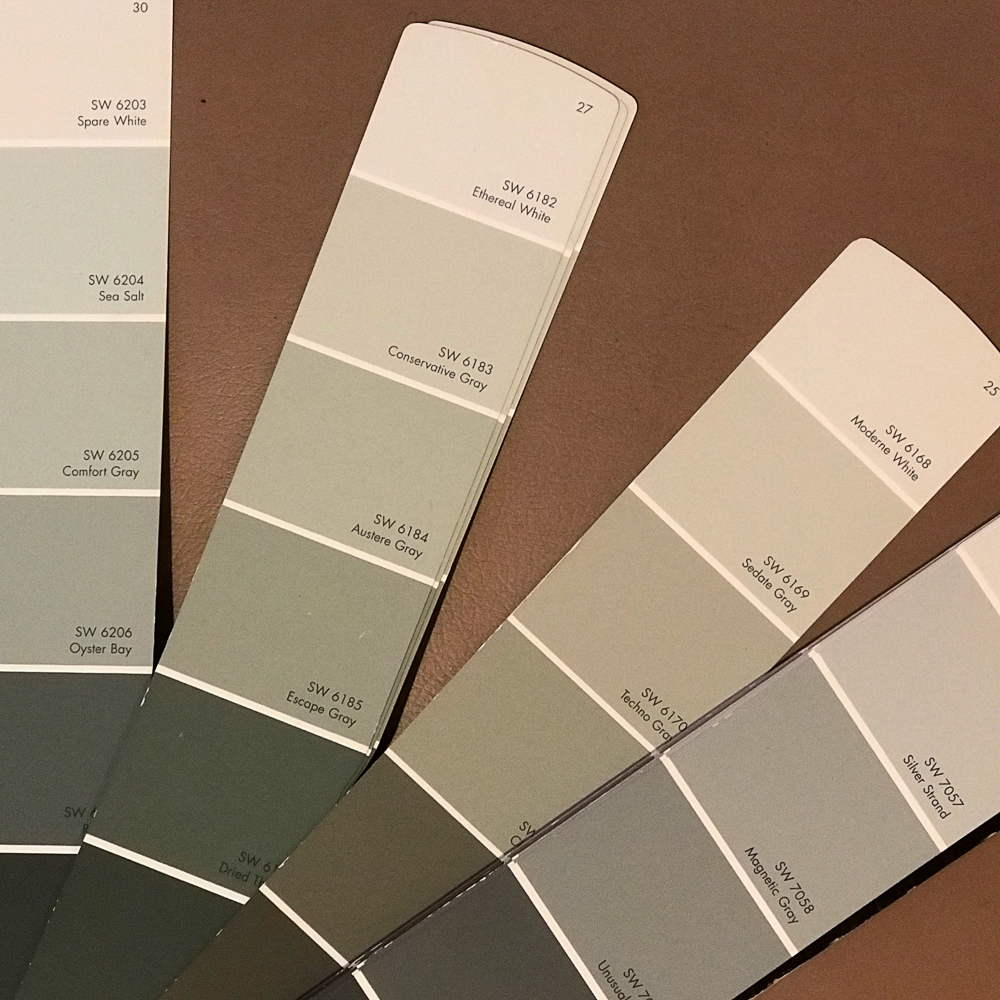
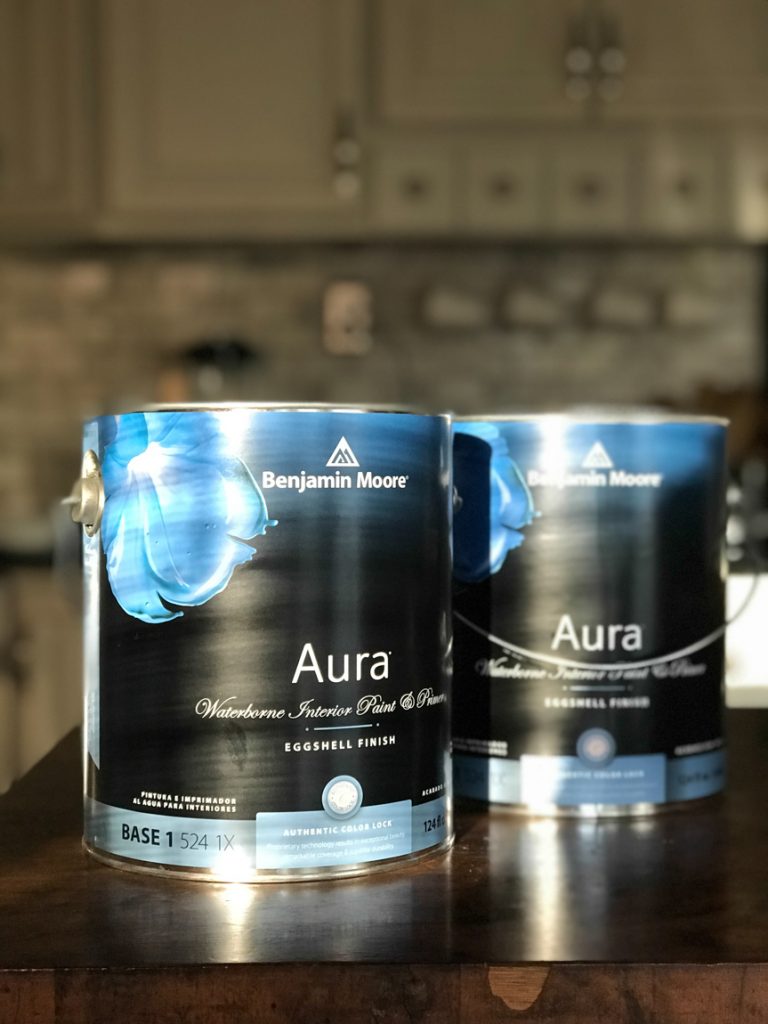
crowned oval bird art

Paint Color Used

  • Color name: Sherwin Williams Regatta
  • Finish: Eggshell
  • Brand: I believe it was color-matched in Behr. Because in this space, it reads as a rich deep blue with subtle teal undertones depending on the light. So it’s “Regatta” but color match + lighting. Opinion: In this full room application, it reads more like a historic color than a water-inspired color to me.

Get the Look

green glass pendant light glowing against blue color drenched walls and framed forest artwork in moody bedroom

This cozy, color-drenched bedroom came together with layered texture, soft lighting, and a few simple elements that make a big impact.

moody color drenched blue bedroom collage

Bedding & Comfort

  • Oversized Luxury Quilt Set – (it’s not the one shown, it’s in laundry rotation), it’s a rich texture and cozy layering (we’ve even had guests ask to buy it!)
  • Sheet Set – soft, neutral base for contrast
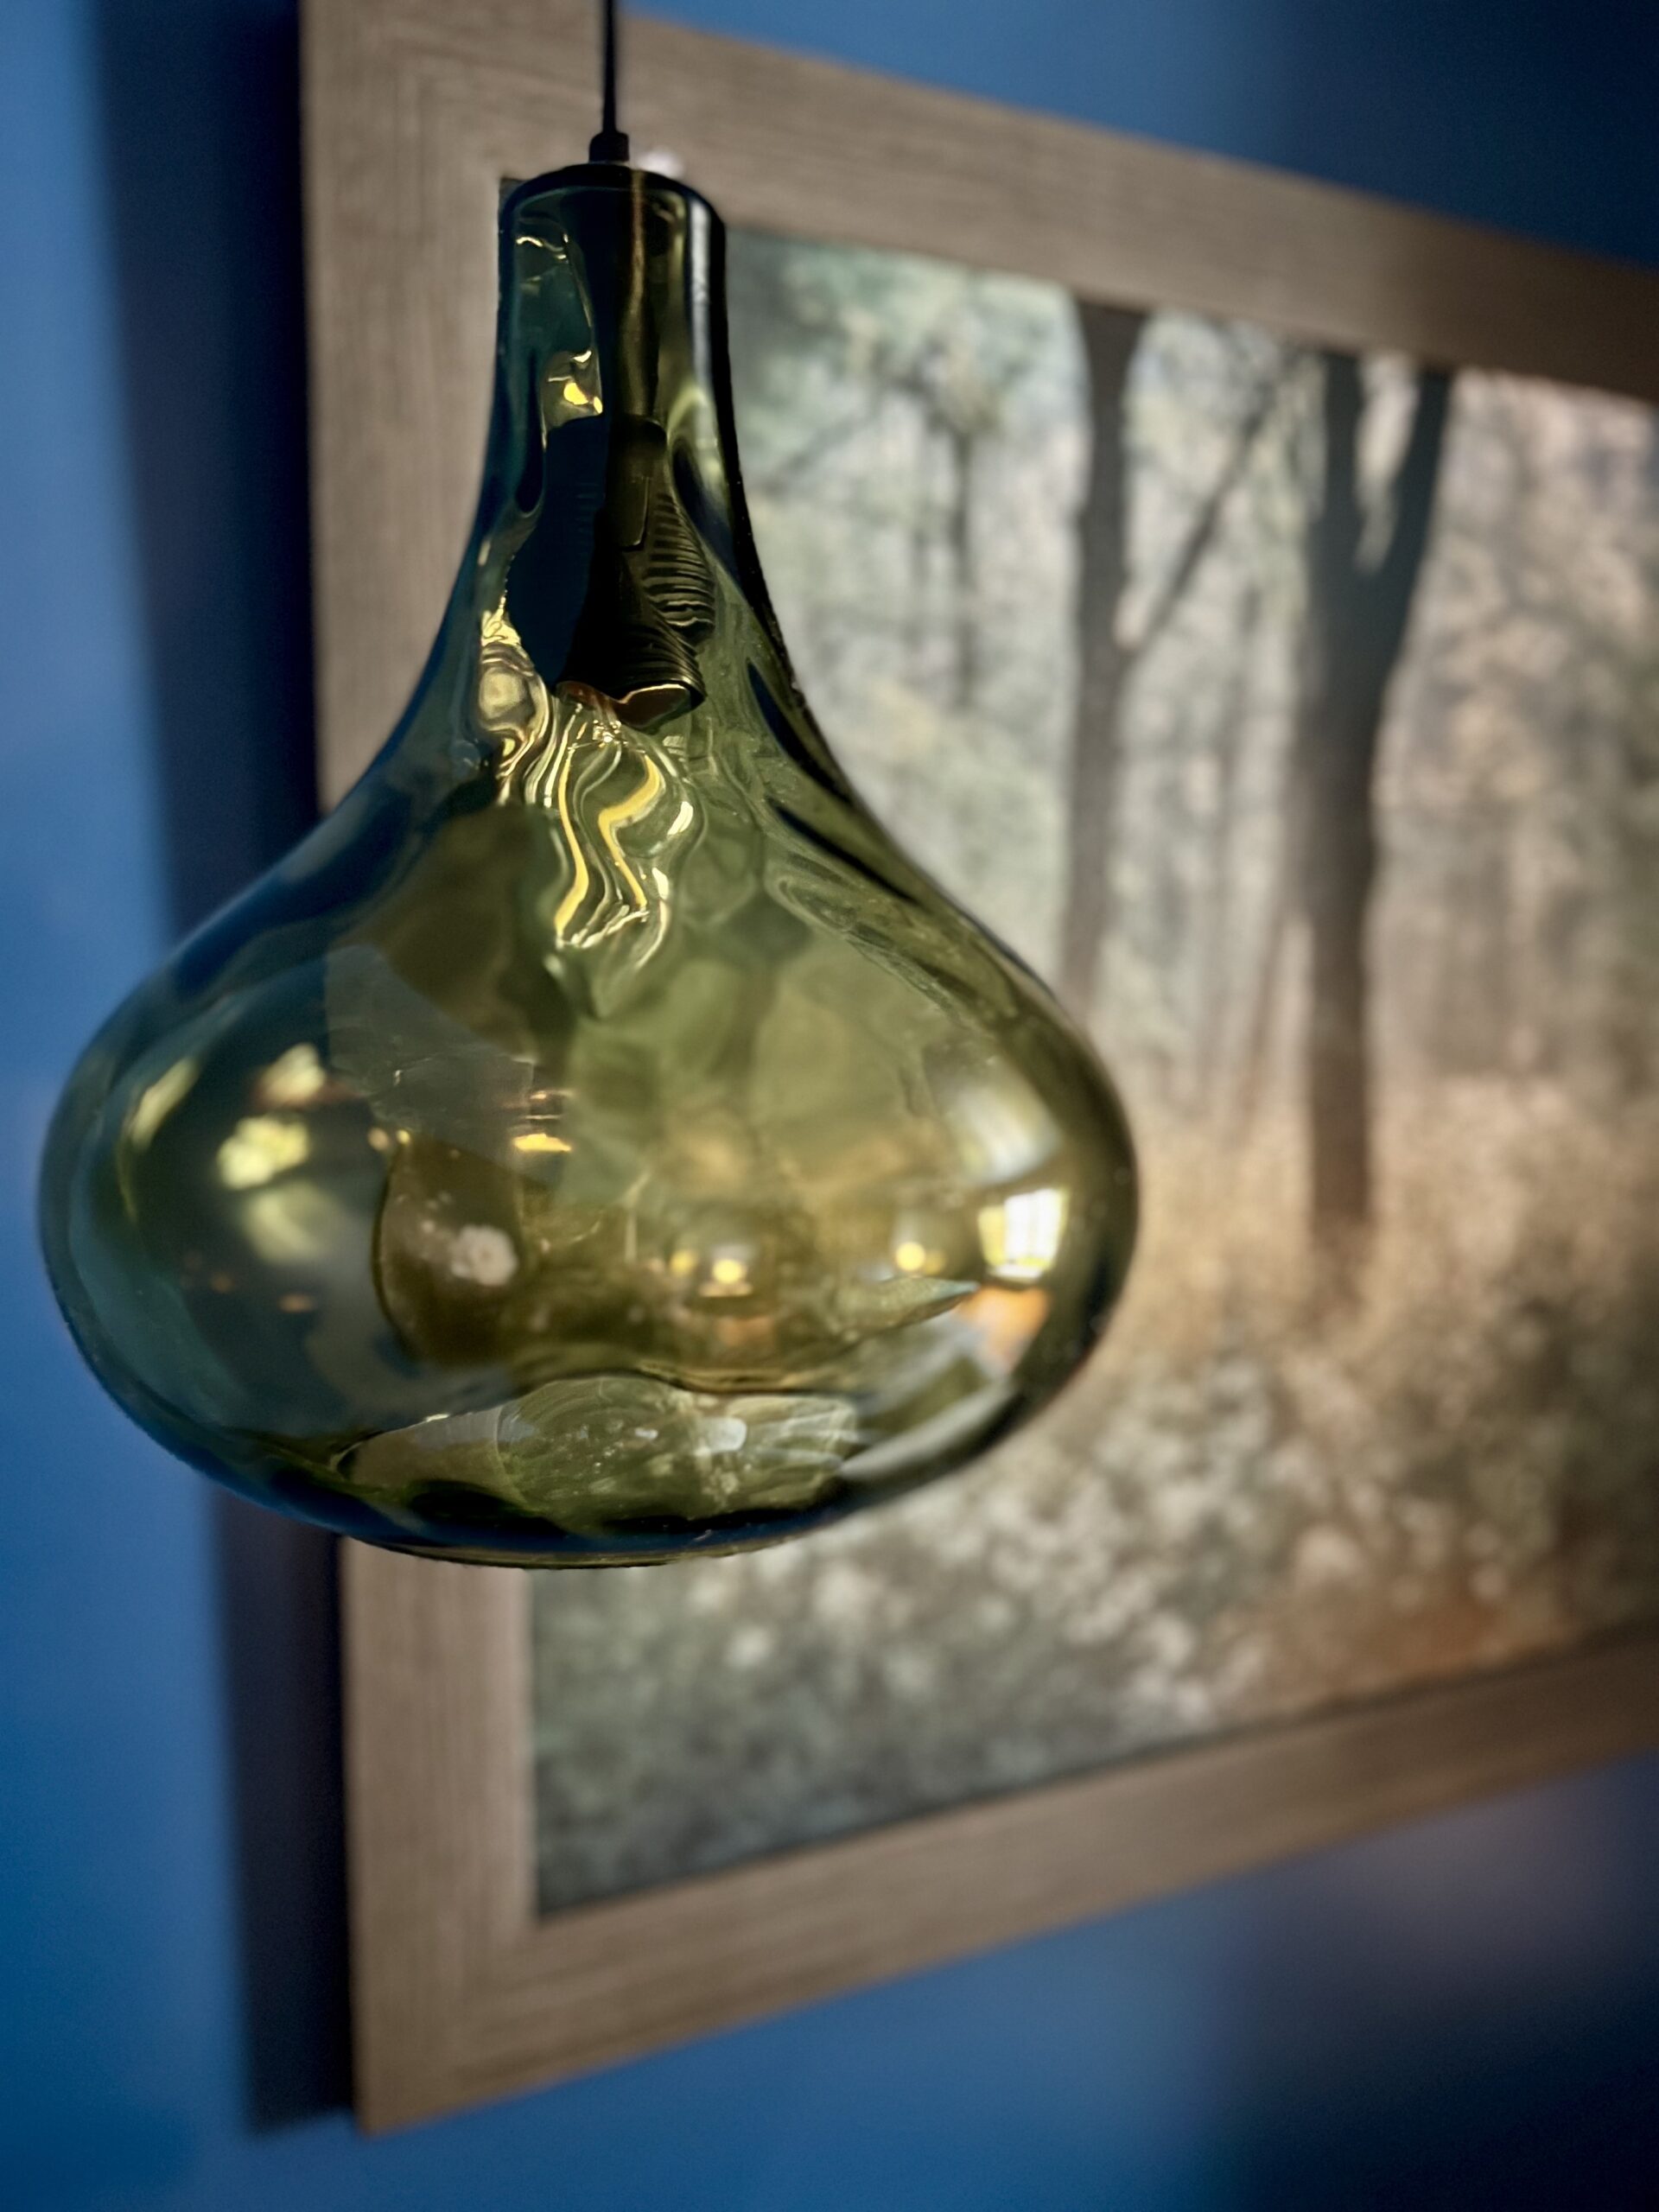
Lighting

Canopy Look (Behind the Headboard)

Helpful Tools

The Confident Room Method

If you’re staring at a space and thinking “I know I want change, I just don’t know where to start…”

That’s exactly why I created this.

The Confident Room Method™ is a guided decorating workbook that walks you step-by-step through creating a space you love, without overthinking every decision.

Think of it like having a design friend sitting beside you.

Get it here: Confident Room Method – Decorating without Doubt

Confident Room Method cover with interior design flatlay

Want More Personalized Help?

I also offer remote design consults through Style Thyme.

If you want:

  • A second set of eyes
  • Clear direction
  • Help pulling everything together

…it’s exactly what I do. Learn more here: Style Thyme Design Consults

Before & After Reveal

Related posts

boho airbnb bedroom makeover suite thyme diyshowoff

Boho AirBnB Bedroom Makeover

blue orange and gold eclectic guest bedroom at diyshowoff.com

Eclectic Guest Room Makeover

foldable luggage rack tutorial

DIY Luggage Rack

Mancave in Progress (Part 1)

We have a mancave makeover in progress! Hurray!!! 

basement // mancave makeover #shawstyleboard

Well, to be precise…we’ve never had a mancave in our home so we’re doing a basement makeover and creating a mancave for Russ. When it comes to our home, my husband has pretty much given me free reign to DIY, design and decorate as I please. We call it my life sized doll house. As you know, it’s kind of my thing, what I love to do and it’s still a work in progress with lots to be done but last summer, we started cleaning out the basement and it was time to start planning a space just for him. 500+ square feet all dedicated to him, his hobbies and his likes. He’s a home brewer so the mancave will include a bar for entertaining and because he enjoys football season, a living room area with enormous television…I’d call that a mancave, right?

I want him to make the decisions on this space but I appreciate that he includes me in his decision making and asks my opinion. See my Pinterest Board of Mancave Inspiration here


Our basement is two parts. 1 part old 1927 below the original house with ceilings so low he has to duck his head and 1 part newer addition – we’re guessing sometime in the early 1990s. The overflowing storage of junk had reached our puke point. We had a yard sale last summer. He tore down a wall that separated the space. Here are some before photos when the wall was removed and the junk was heading out the door…

basement // mancave makeover basement // mancave makeover basement // mancave makeover #shawstyleboard Shaw Maverick Leather

We’ve been here going on 12 years and never really did anything with the space other than he ripped up some nasty carpet when we moved in and we did have a wood burner for a while before insulating our home and new windows. But mostly, it just sat collecting junk, dirt and dust. It often also served as a workshop for DIY projects upstairs so lots of sawdust too! 

basement // mancave makeover #shawstyleboard basement // mancave makeover #shawstyleboard basement // mancave makeover #shawstyleboard

The duct work that sits head-hitting low for his 6’3″ height will be encased in cabinetry. More details on why coming up later!

basement // mancave makeover #shawstyleboardbasement // mancave makeover #shawstyleboard basement // mancave makeover #shawstyleboard

Once we got it empty, he patched, primed and painted walls.

basement // mancave makeover #shawstyleboard basement // mancave makeover #shawstyleboard basement // mancave makeover #shawstyleboard basement // mancave makeover #shawstyleboard basement // mancave makeover #shawstyleboard basement // mancave makeover #shawstyleboard basement // mancave makeover #shawstyleboard basement // mancave makeover #shawstyleboard basement // mancave makeover #shawstyleboard basement // mancave makeover #shawstyleboard

He really liked the sage green walls we used to have in our kitchen and I really like gray so we decided on a gray-green. He used Benjamin Moore Aura paint color matched  – Sherwin Williams Comfort Gray.

basement // mancave makeover #shawstyleboard basement // mancave makeover #shawstyleboard basement // mancave makeover #shawstyleboard basement // mancave makeover #shawstyleboard basement // mancave makeover #shawstyleboard basement // mancave makeover #shawstyleboard

Then we started the search for flooring. We had our local Shaw Floors dealer stop by to determine which floor covering suited our space best. Frank from our local Shaw dealer, A&S Carpet recommended engineered hardwood for our basement. 

basement // mancave makeover #shawstyleboard basement // mancave makeover #shawstyleboard

Stay tuned for Part 2 for what we chose and installation! 


Project Diary Entry #3 Color Passive Paint

There’s more progress on the studio and the #helloredreno series. I need to get you caught up. I am a big lover of the power of paint. It’s such a game changer and a budget friendly one at that! There are so many possibilities. Dark and moody, fun and colorful, light and airy, neutral and soothing. Do you gravitate towards specific colors?

library/meeting room before…

library before

So this room. Oy. The color. Yikes. A bit on the aggressive side if you ask me. lol 

blue room

Blue is one of my favorite colors but this shade is just so very…smurf-y. It’s just not my style. blue wall

Perhaps that’s why this color called “Passive”, a pretty and neutral shade of gray from {HGTV} Sherwin Williams jumped out at me. I have painted walls in bright shades in the past and I’m a fan of accent walls, but for the most part, I prefer a neutral wall shade. 

Sherwin Williams Passive Paint Color

Because I like to decorate and redecorate so often. I’ve learned that I prefer a neutral back drop so that as my style changes or evolves, I can easily swap out decor and color schemes to fit my fickle choices.HGTV Home Sherwin Williams Passive

It’s gonna take two coats to cover all of the blue but I’m already feeling soothed! 

paint in progress wall paint

I even put up a few accessories previous owners left behind and what was in my car to help get an idea. Final thoughts? It’s definitely the right color for me. What a difference, right? 

paint after

So pretty! Ugh, this last photo shows just how much work there is to do! I spy a lot of caulking in my near future. And book donating! Stay tuned for a design board and more progress. Follow #helloredreno

helloredreno

Hallway Paint Refresh

Remember our bathroom remodel? So light and pretty!

LampsPlus Monroe Adjustable Wall Sconce

All of a sudden, the beige hallway felt drab in comparison. The yellowed color just seemed “dirty” next to all that glam. Hey! It’s nothing a quick coat of paint can’t cure!

Hallway before:

hallway refresh @diyshowoff #frogtape


A lot doorways in one small area means a lot of trim in this old house so FrogTape® MultiSurface is a must have for creating crisp clean lines, especially in hard to reach spots.

Tape off trim in hard to reach areas.

hallway refresh @diyshowoff #frogtape


Burnish edges of tape using thumbnail to activate the Paintblock technology and begin painting.

hallway refresh @diyshowoff #frogtape


The difference is subtle when all is said and done but you can see how much brighter the new wall color is during the progress…

hallway refresh @diyshowoff #frogtape


While the second coat of paint is still wet, carefully remove FrogTape by pulling away from paint.

hallway refresh @diyshowoff #frogtape


After:

hallway refresh @diyshowoff #frogtape


I love how clean and fresh it looks and since there is no natural light in this space, the new light color makes a huge difference to me.

hallway refresh @diyshowoff #frogtape

before…

hallway refresh @diyshowoff #frogtape


after…

hallway refresh @diyshowoff #frogtape


Of course you know what I see, right? A big blank canvas for a future painted accent wall using FrogTape! To be continued!

I received compensation to complete this project for using FrogTape® products. All opinions, projects and ideas are based on my own experience.

Industrial Milk Can turned Side Table

I’ve had old industrial milk can laying around, collecting dust (cobwebs too) just waiting for a fun DIY and repurposing it for a fun side table to add some charm to the patio seemed like just the right idea. 

DIY industrial milkman side table @diyshowoff summer patio

Materials I used:

  • found industrial milk can
  • black paint + primer in one
  • FrogTape® MultiSurface
  • round wicker-like tray (also found…thrift store, I think) 

What I did: 

I like the distressed/dinged up paint finish but it needed a little pizazz. I gave it a good cleaning, then using FrogTape, I added some bold stripes. 

DIY industrial milkman side table @diyshowoff summer patio

A spider crawled out of that hole too! Yikes! Once that was taken care of, using my thumbnail, I burnished the edges of the FrogTape to ensure crisp clean stripes.

DIY industrial milkman side table @diyshowoff summer patio DIY industrial milkman side table @diyshowoff summer patio

I applied two coats of black paint. Paint. Dry. Paint. 

DIY industrial milkman side table @diyshowoff summer patio

Right after I applied the second coat, while the paint was still wet, I carefully removed the FrogTape then let the paint dry. 

DIY industrial milkman side table @diyshowoff summer patio

Secure a tray using whatever method you find best (glue and clamps, screws, etc.), (a round wooden table top or an old clock would be cool too) and ta-da! A fun side table for our patio: 

DIY industrial milkman side table @diyshowoff summer patio DIY industrial milkman side table @diyshowoff summer patio

I added in some coordinating accent pillows and I have a fun new look to a usually neutral area. The old industrial milk can is a great conversation starter too. DIY industrial milkman side table @diyshowoff summer patio DIY industrial milkman side table @diyshowoff summer patio DIY industrial milkman side table @diyshowoff summer patio DIY industrial milkman side table @diyshowoff summer patio

LOVE IT! Have you added any fun elements to your outdoor areas this summer? 

*I received compensation to complete this project for using FrogTape® products. All opinions, projects and ideas are based on my own experience.

 FrogTape Blog Squad