Mancave – basement Flooring (Part 2)

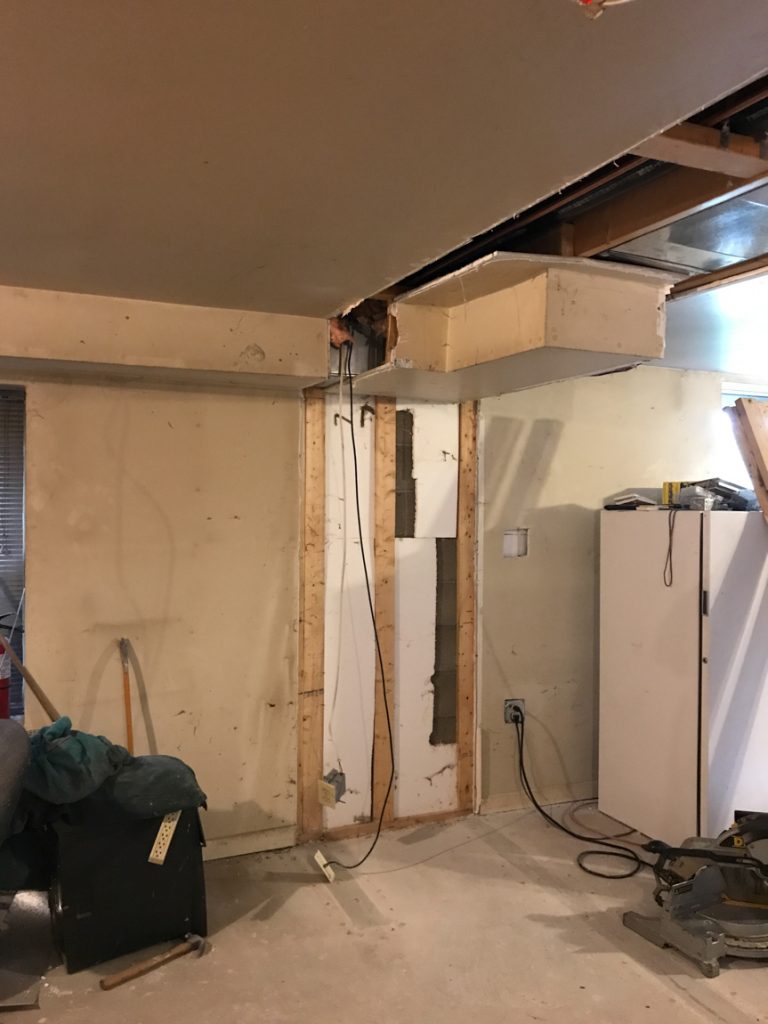
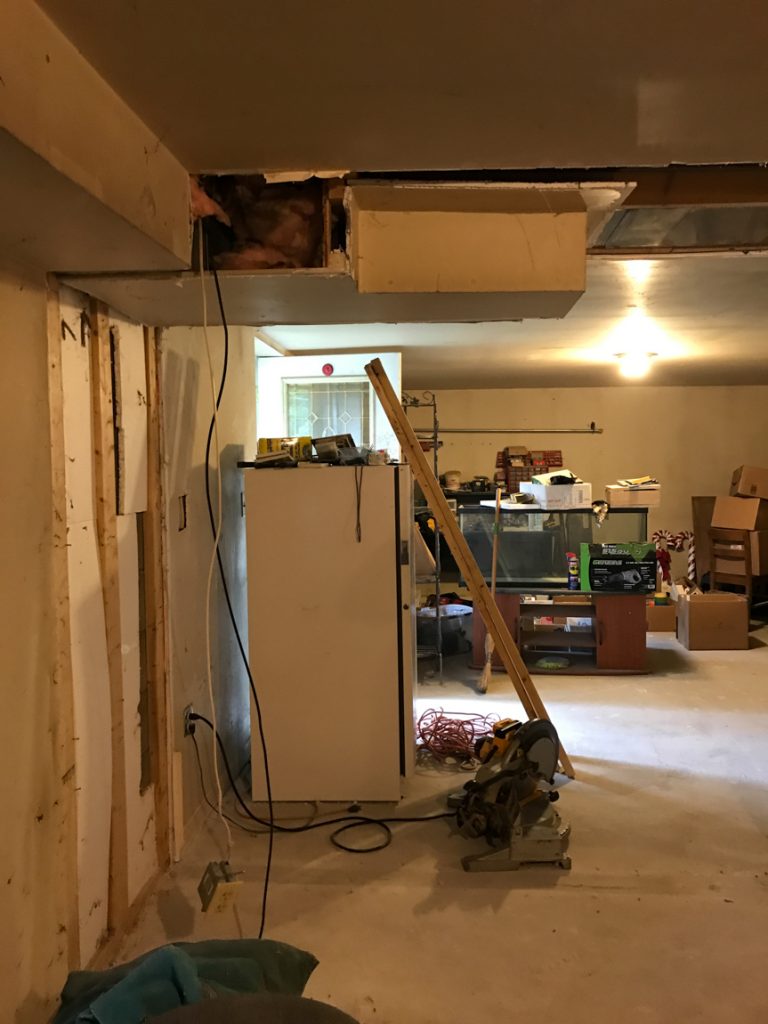
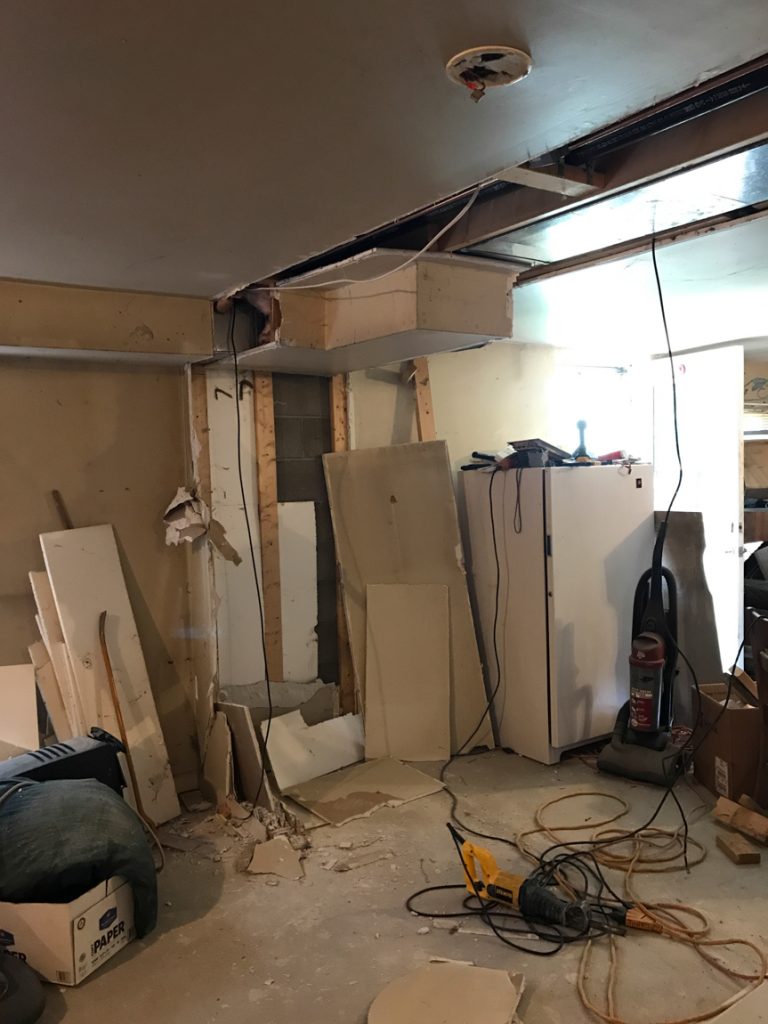
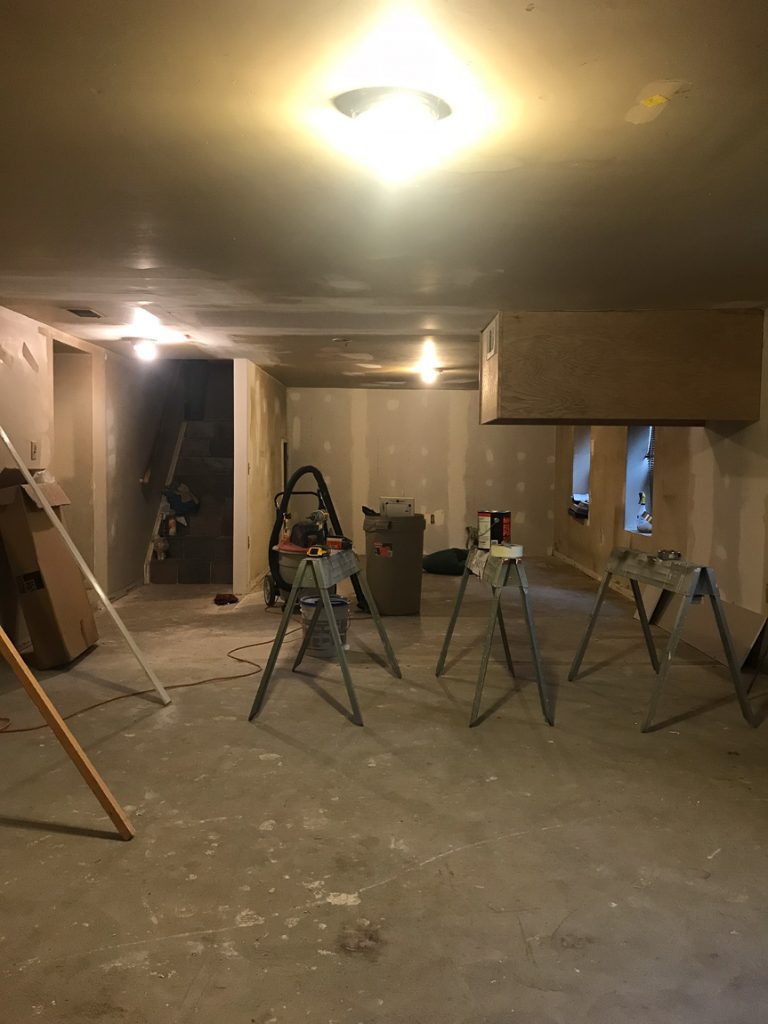
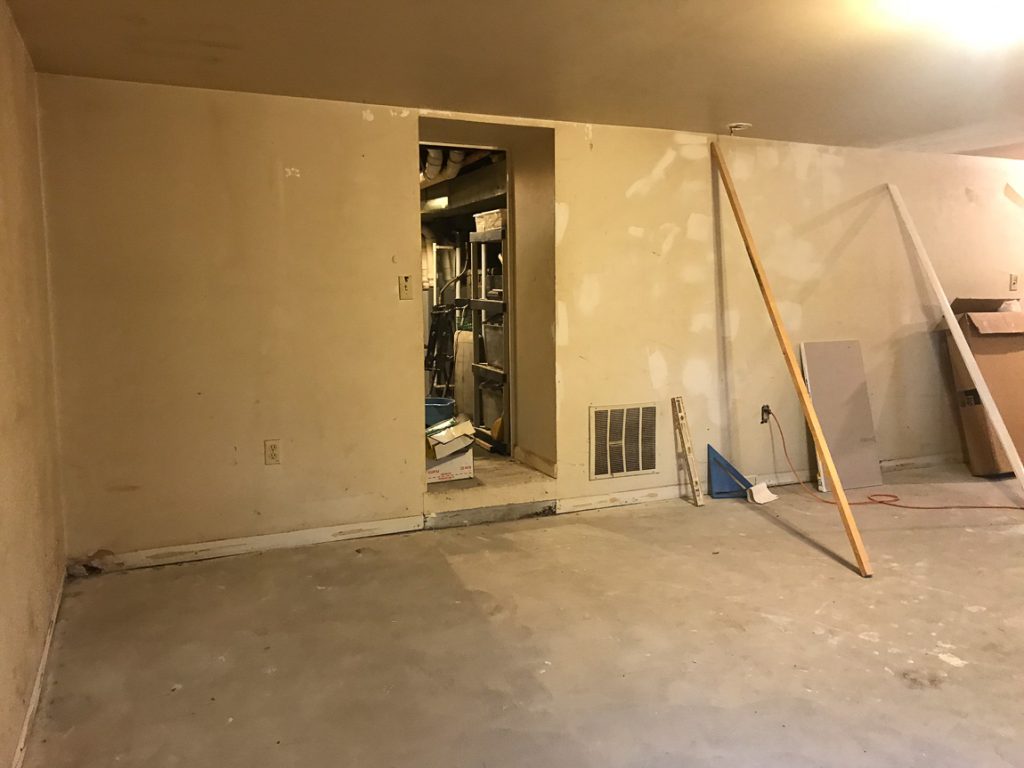
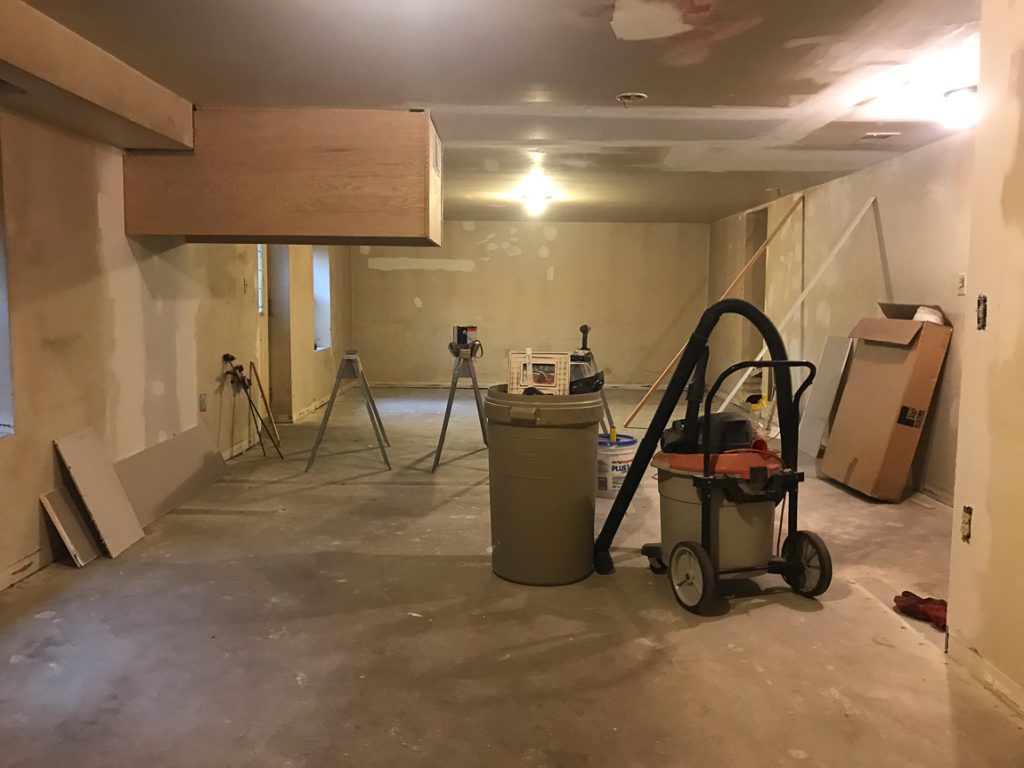
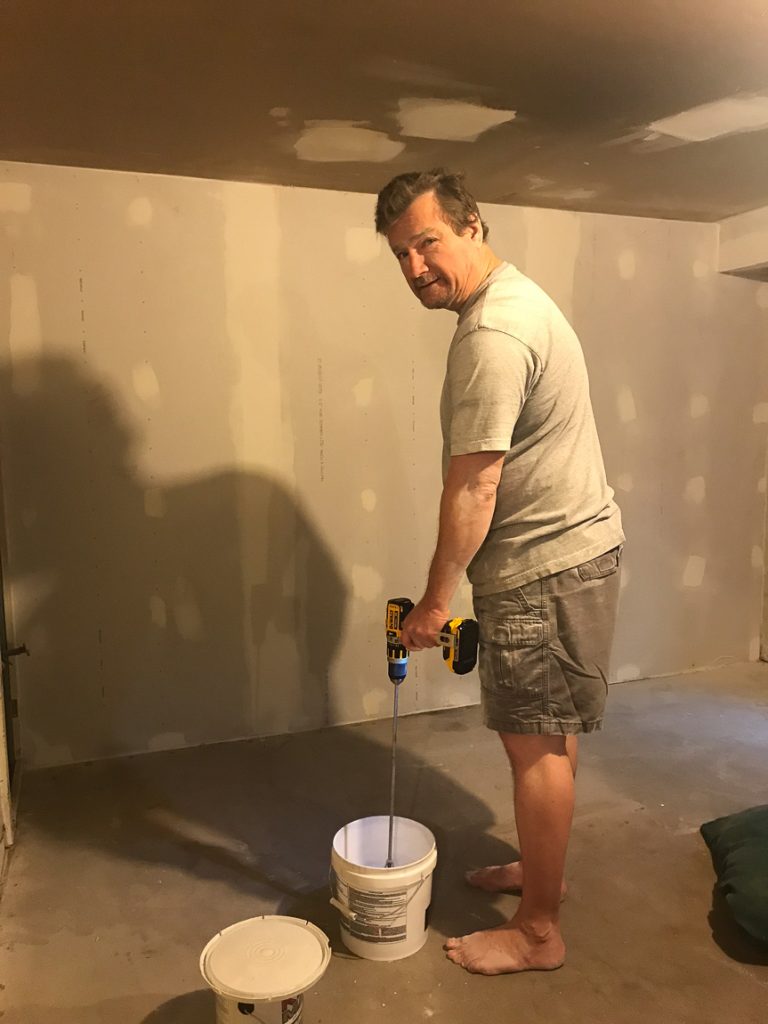
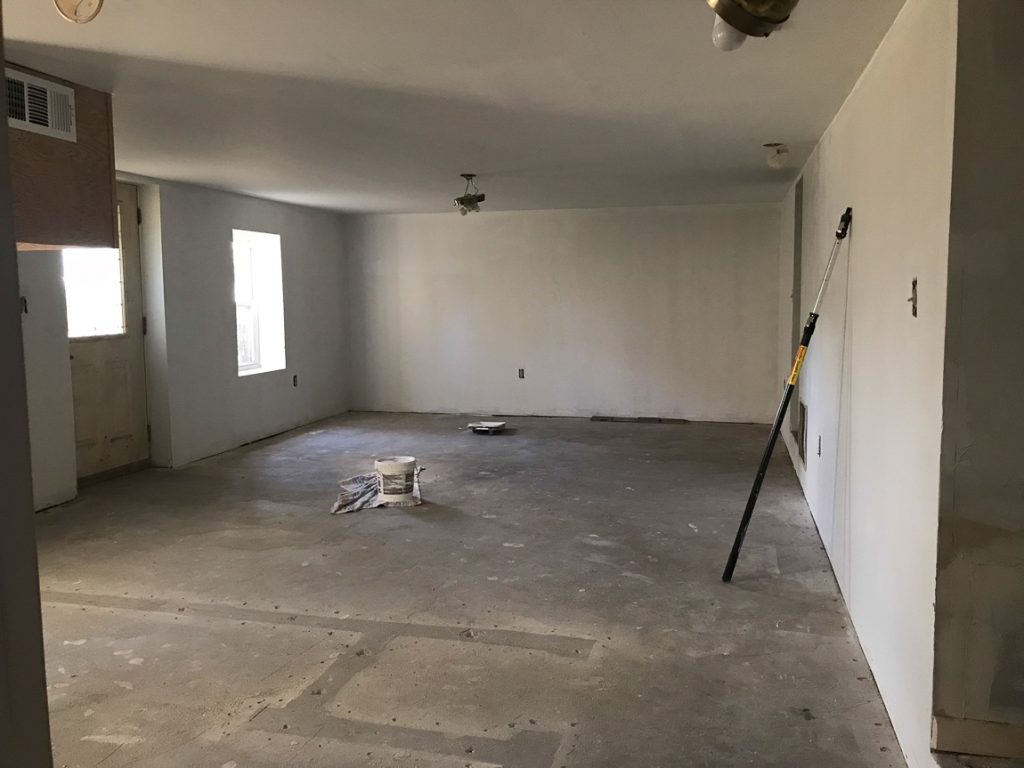
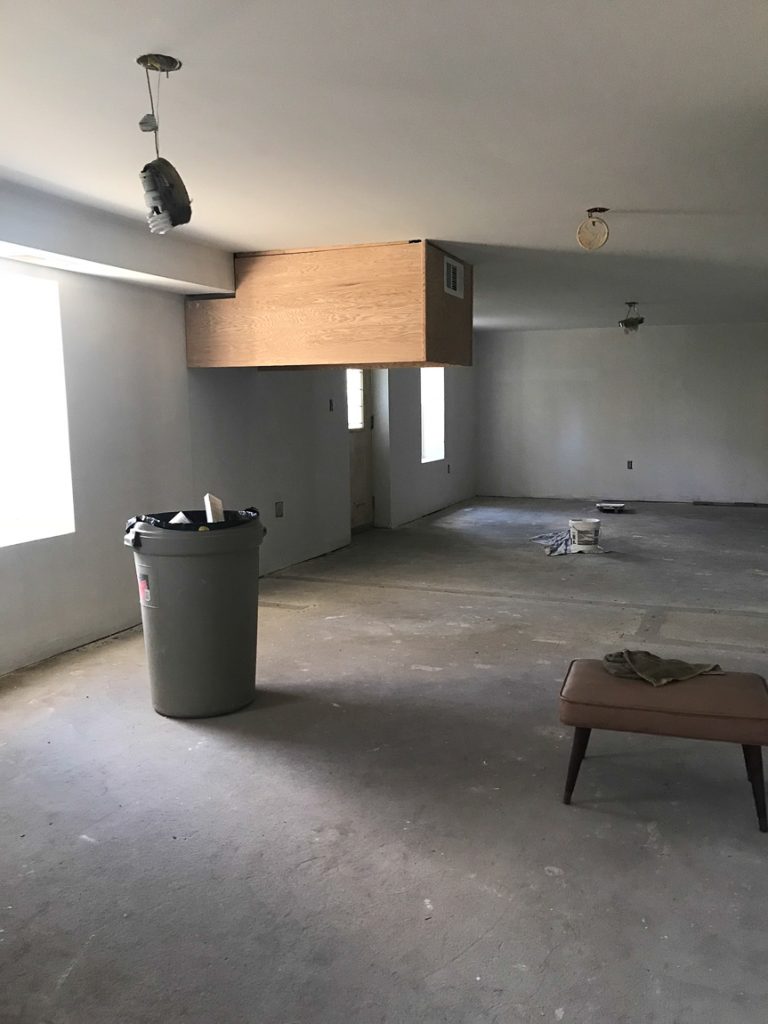
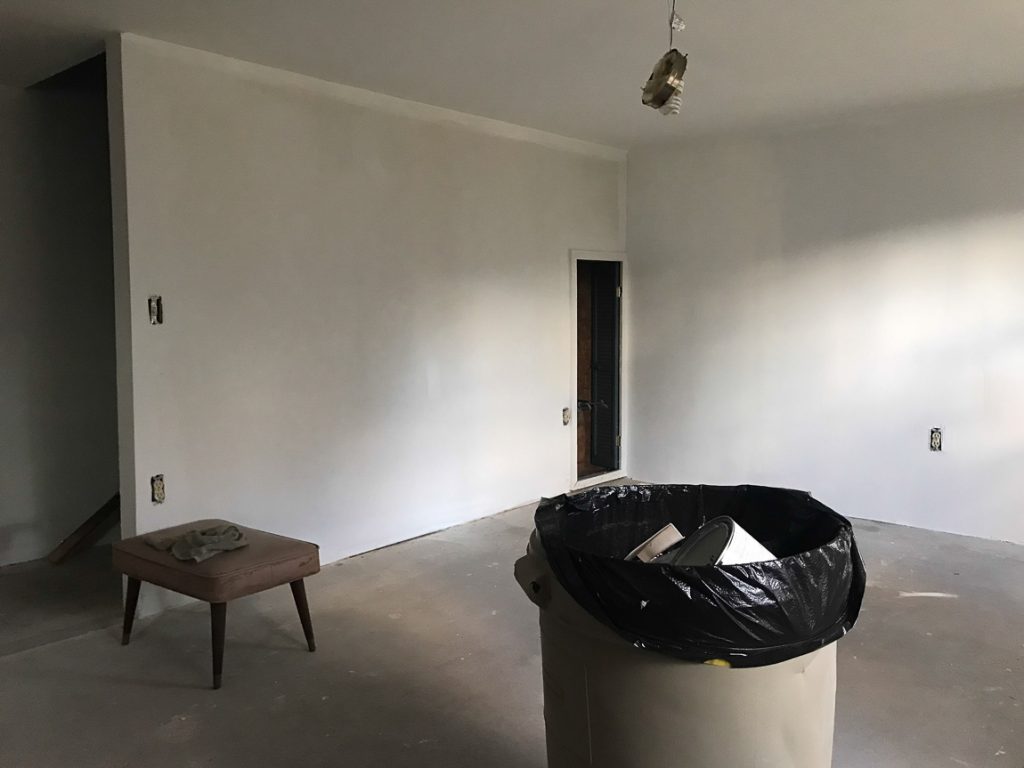
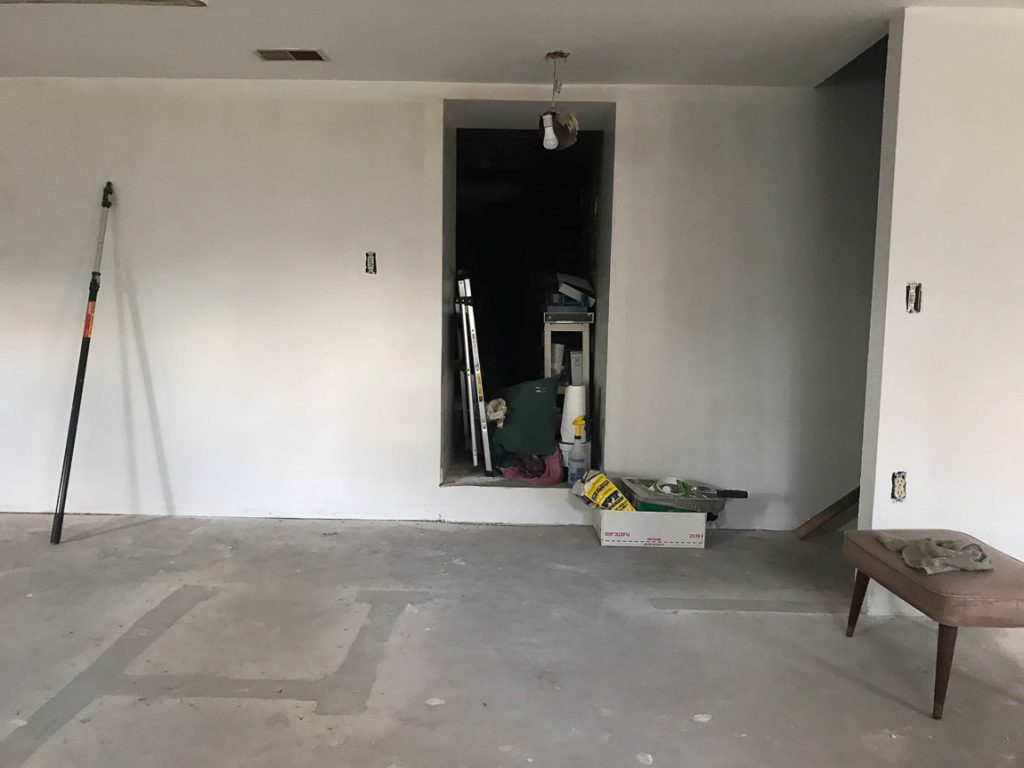
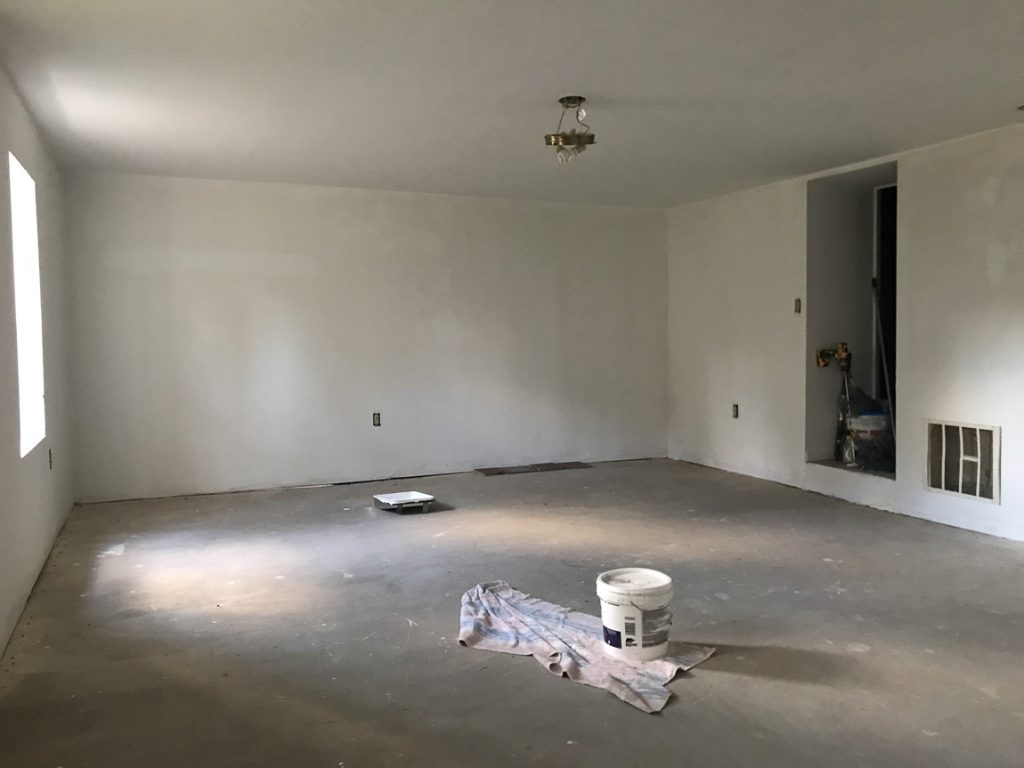
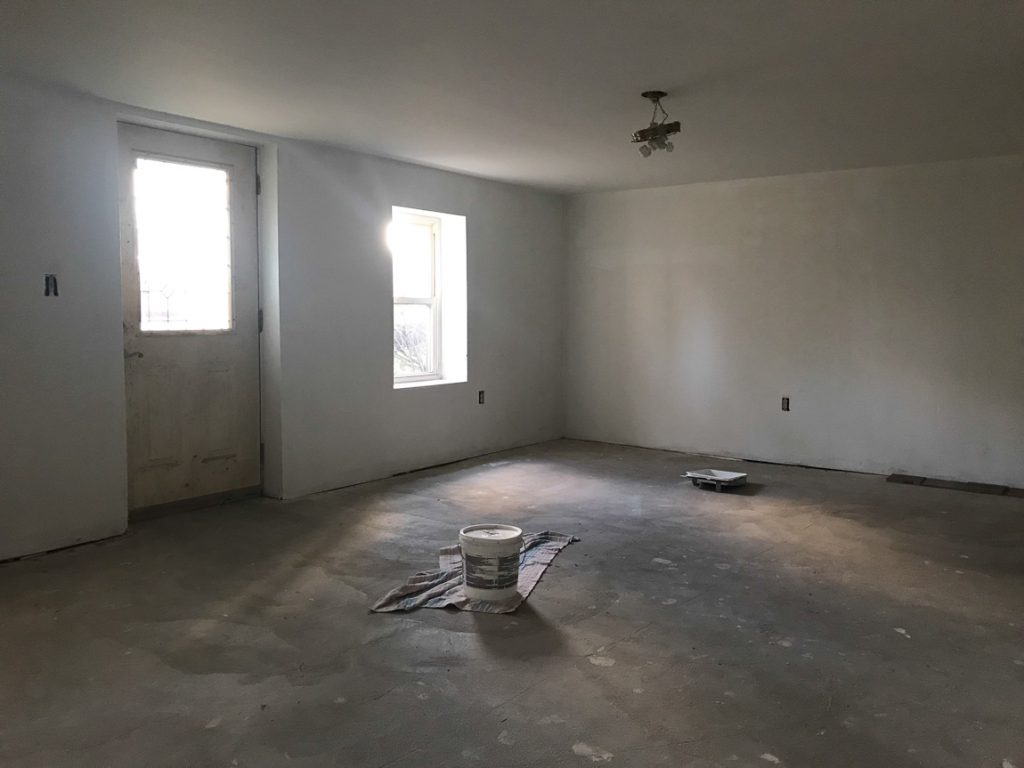
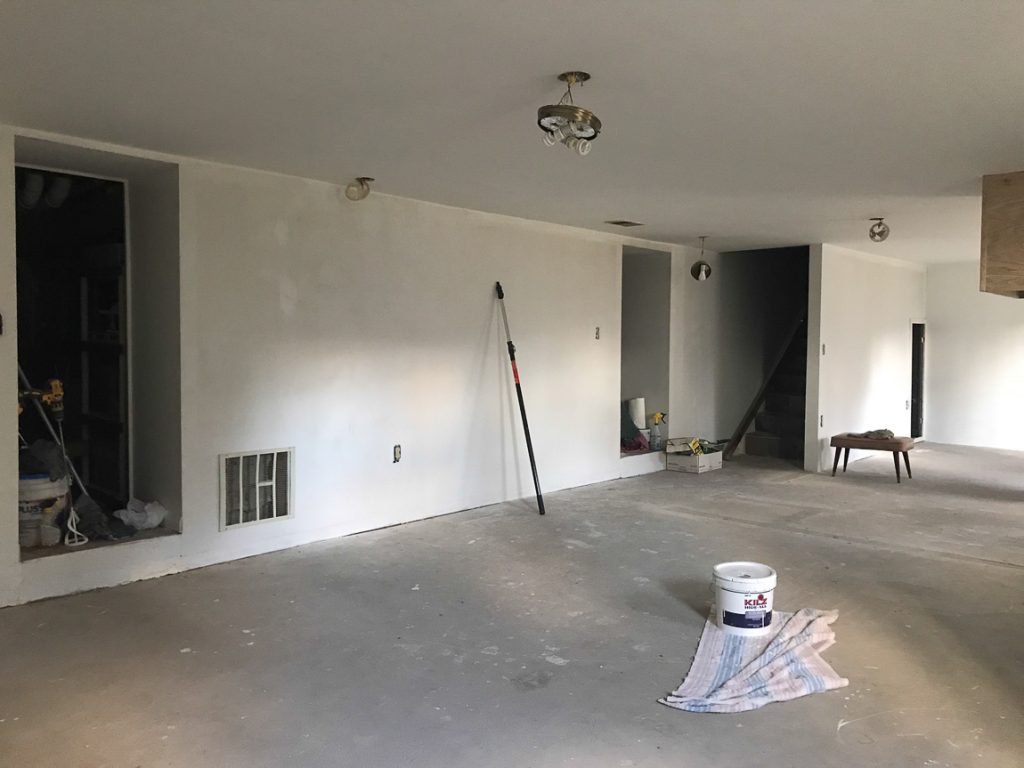
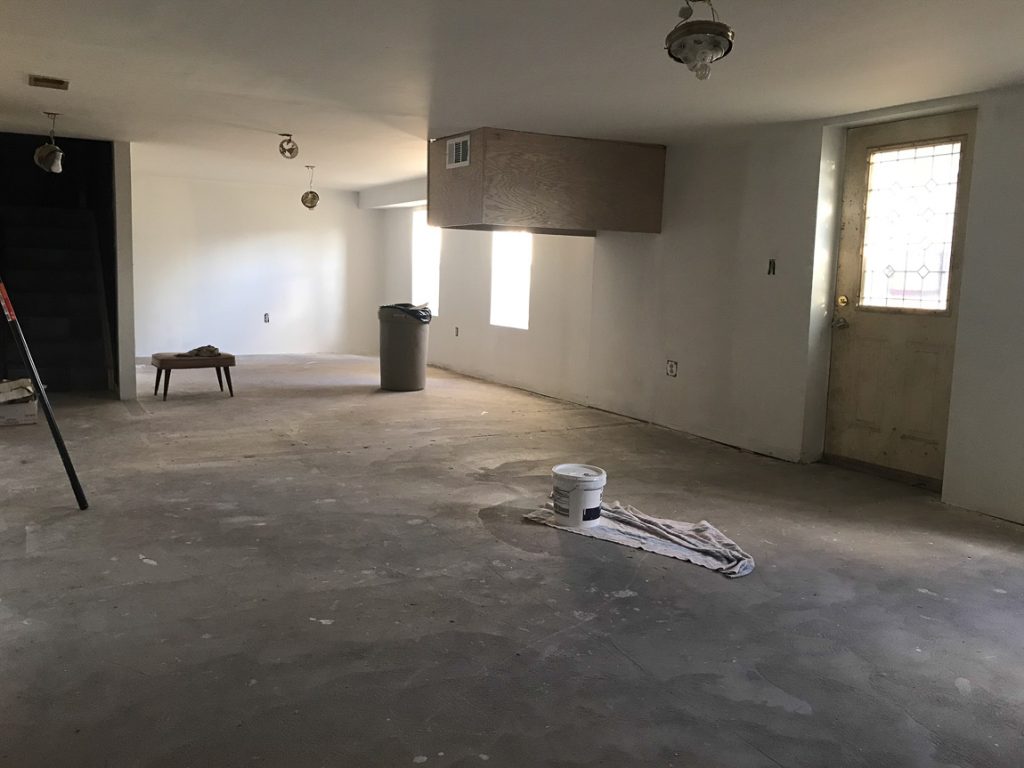
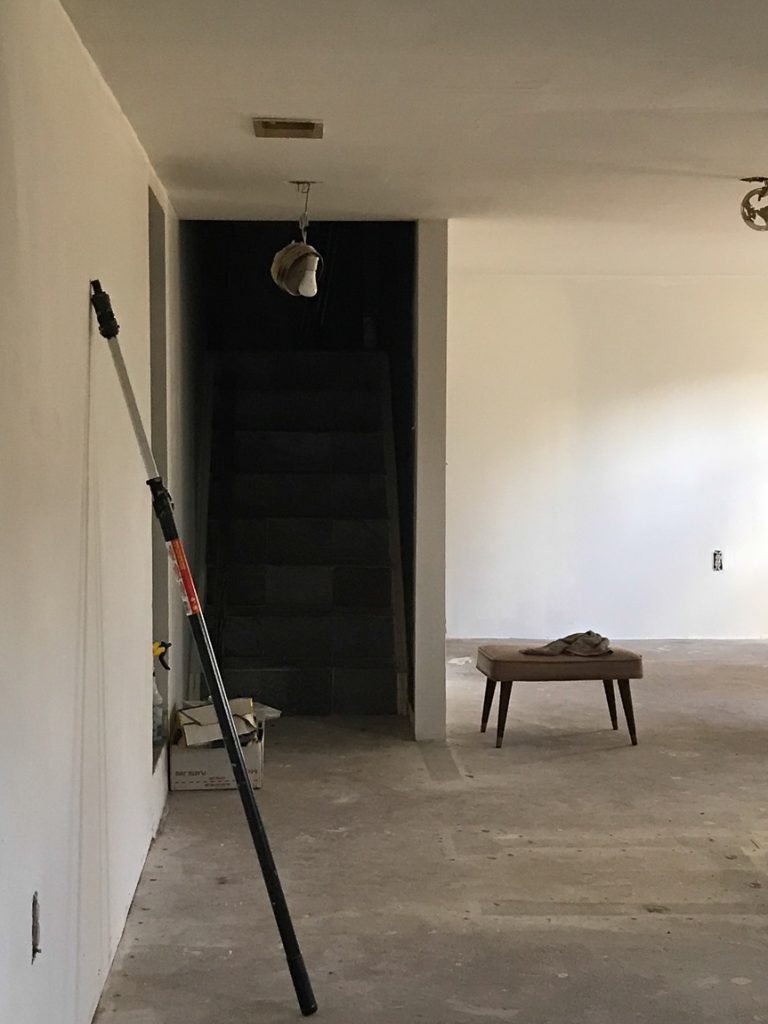
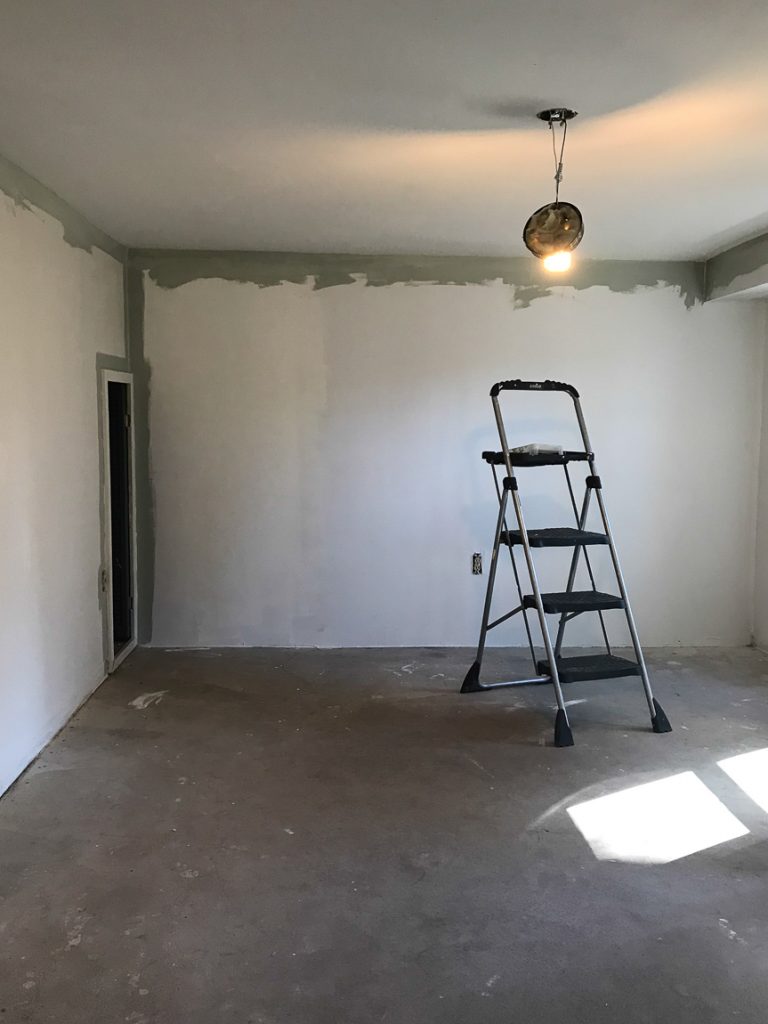
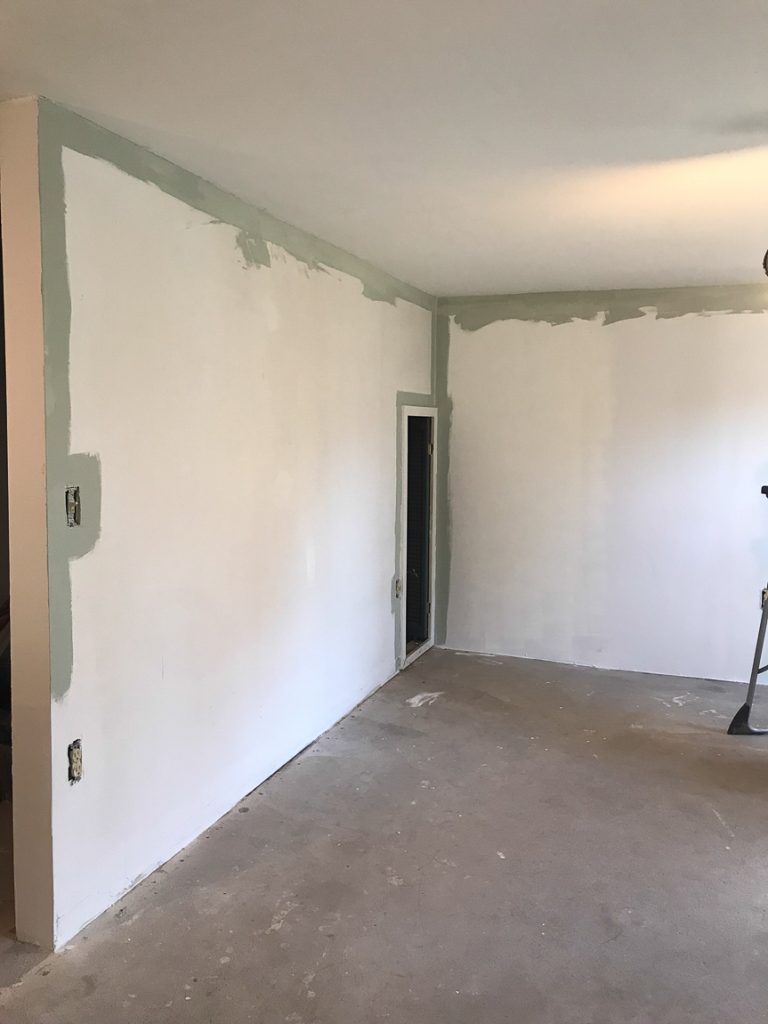
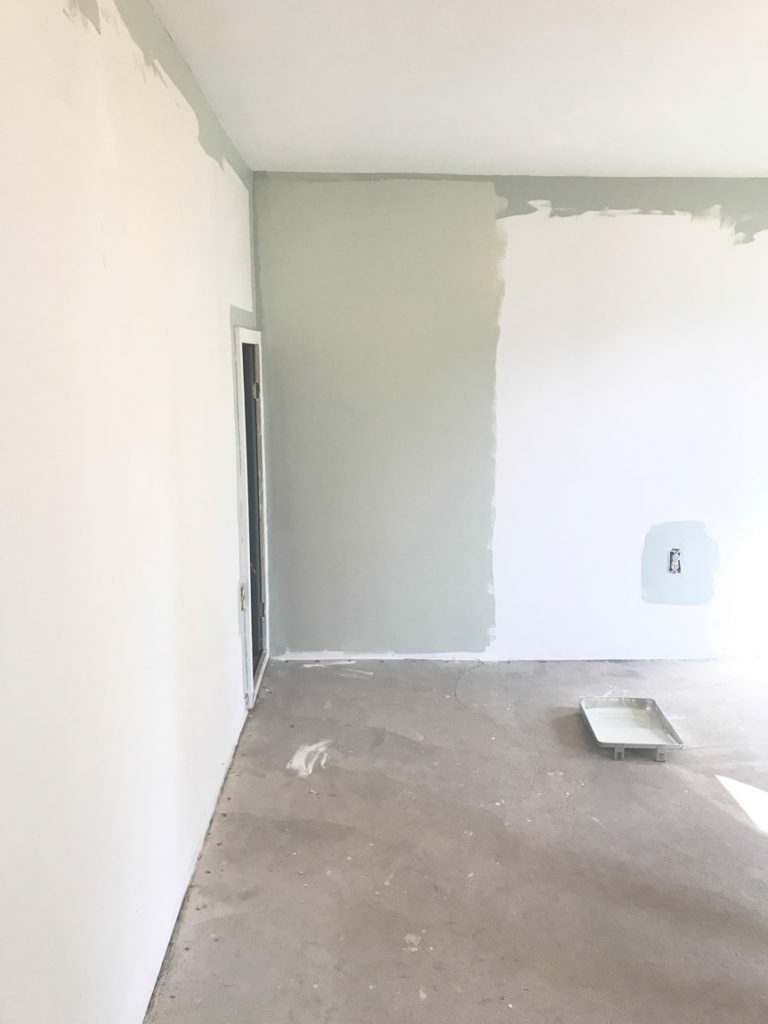
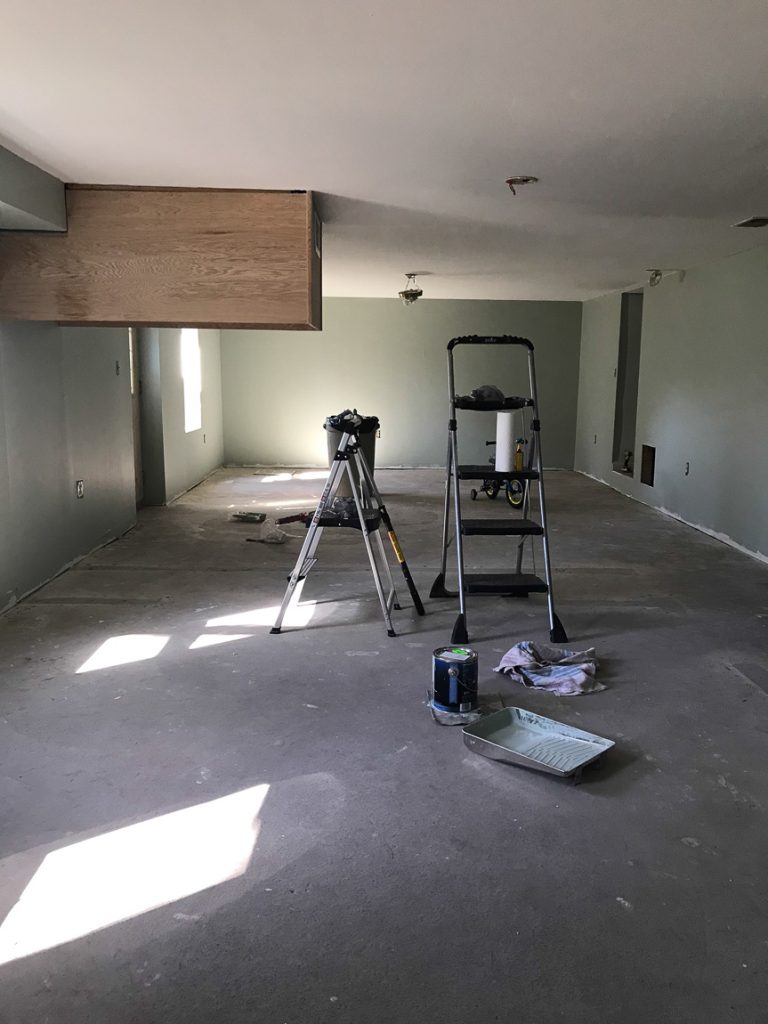
Last week I shared the beginnings of a basement makeover with major clean up, a wall removed, fresh new paint (Mancave in Progress – Part 1) and today…you guys! I’m so excited to show you the floor! Hurray! One step closer to completion!

basement // mancave makeover #shawstyleboard

My contacts from A&S Carpet are Jeff and Frank and Frank stopped by to check out the area and do some measurements and since it’s a basement space, gave us some product recommendations. 

basement // mancave makeover

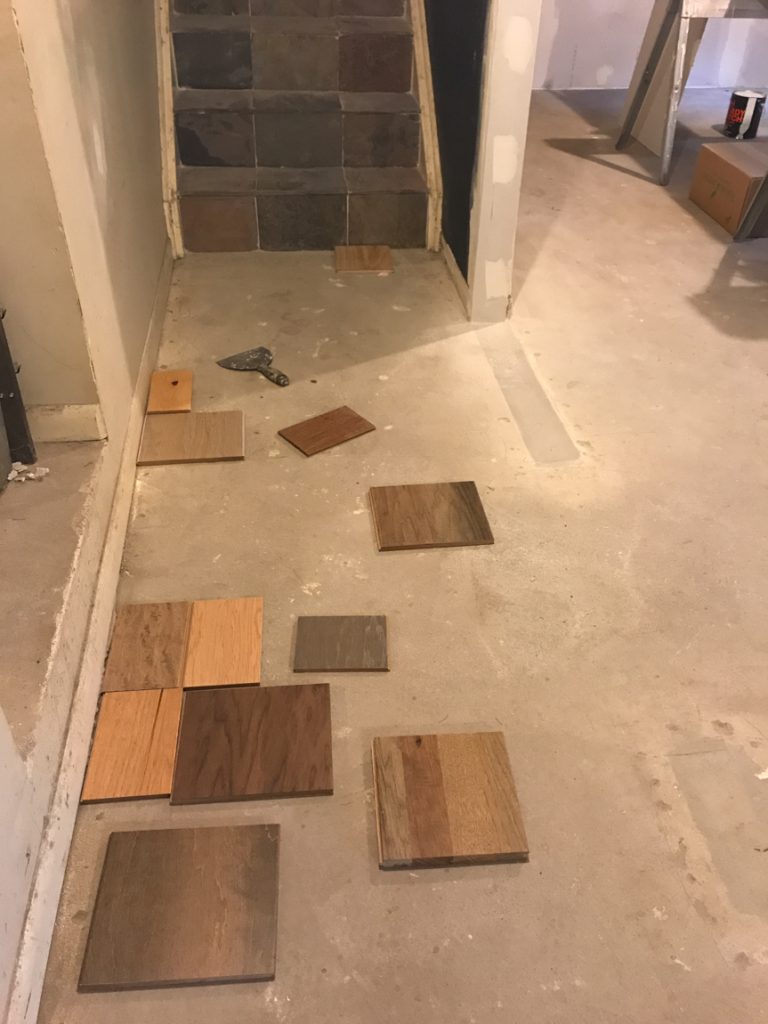
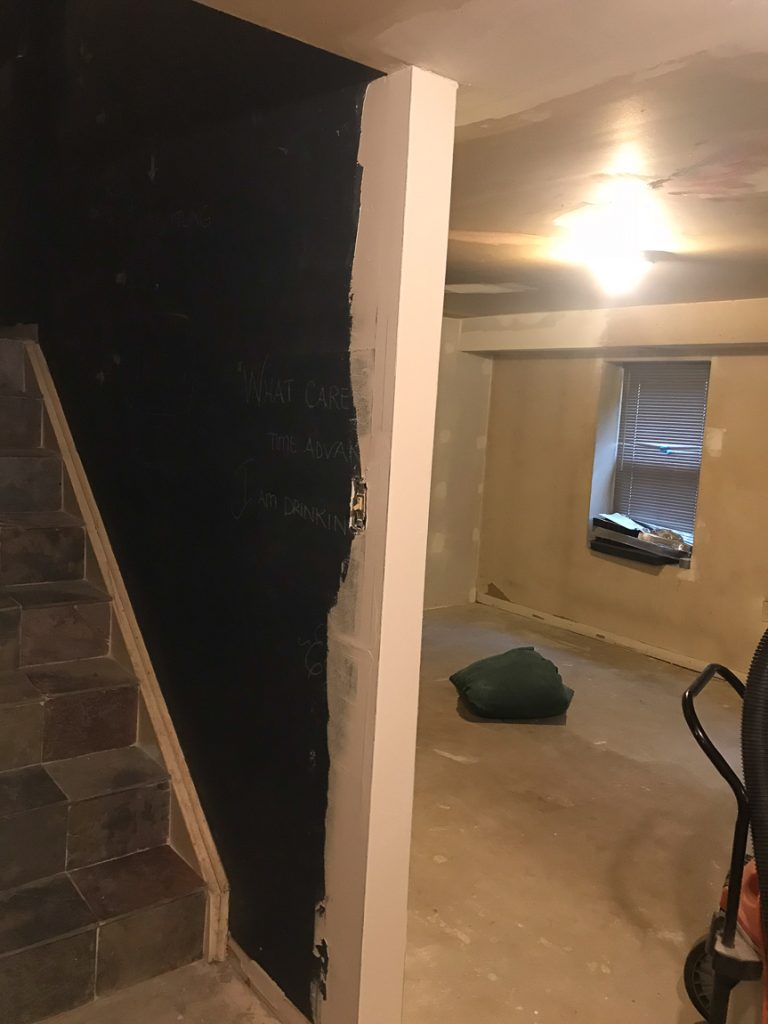
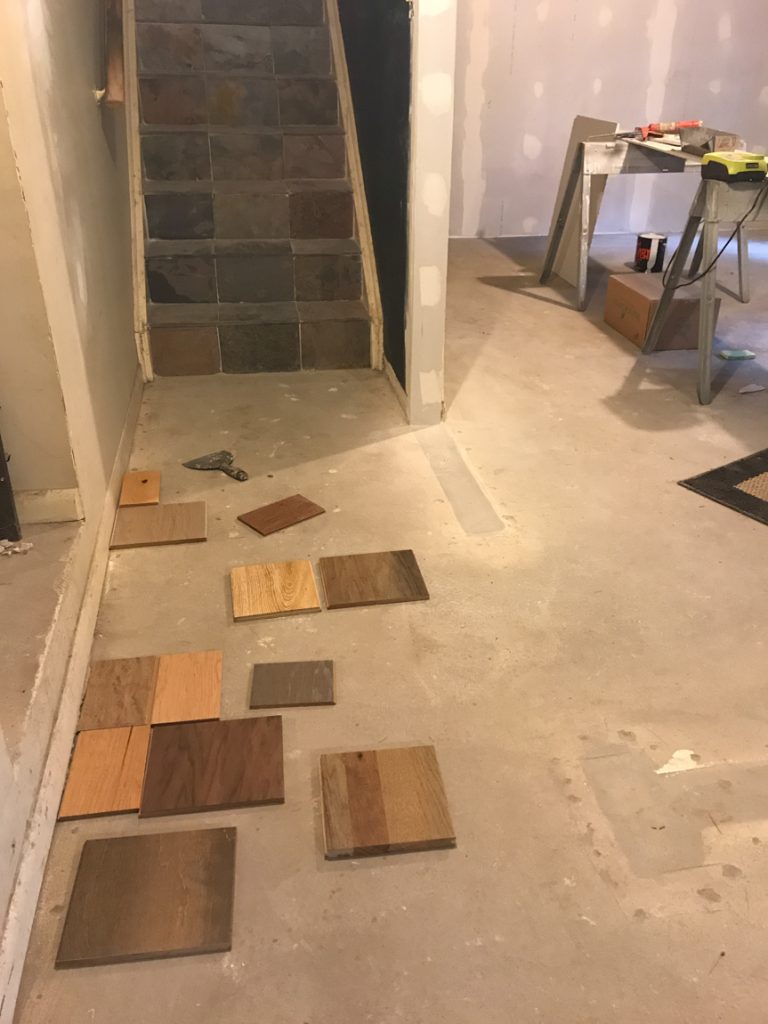
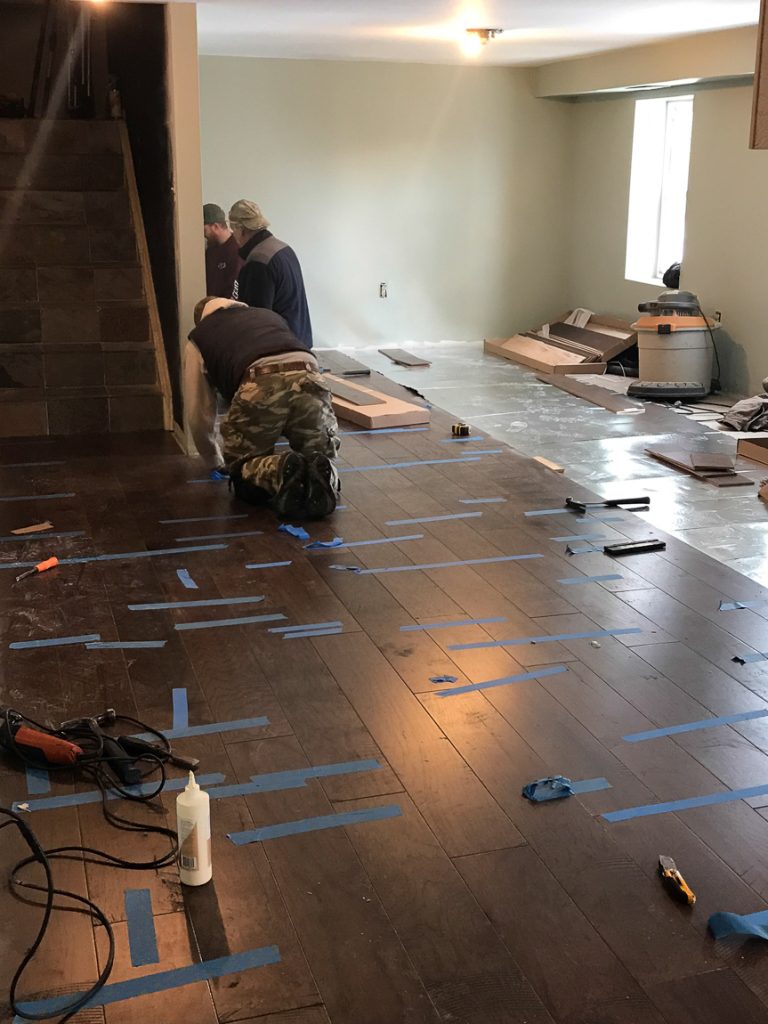
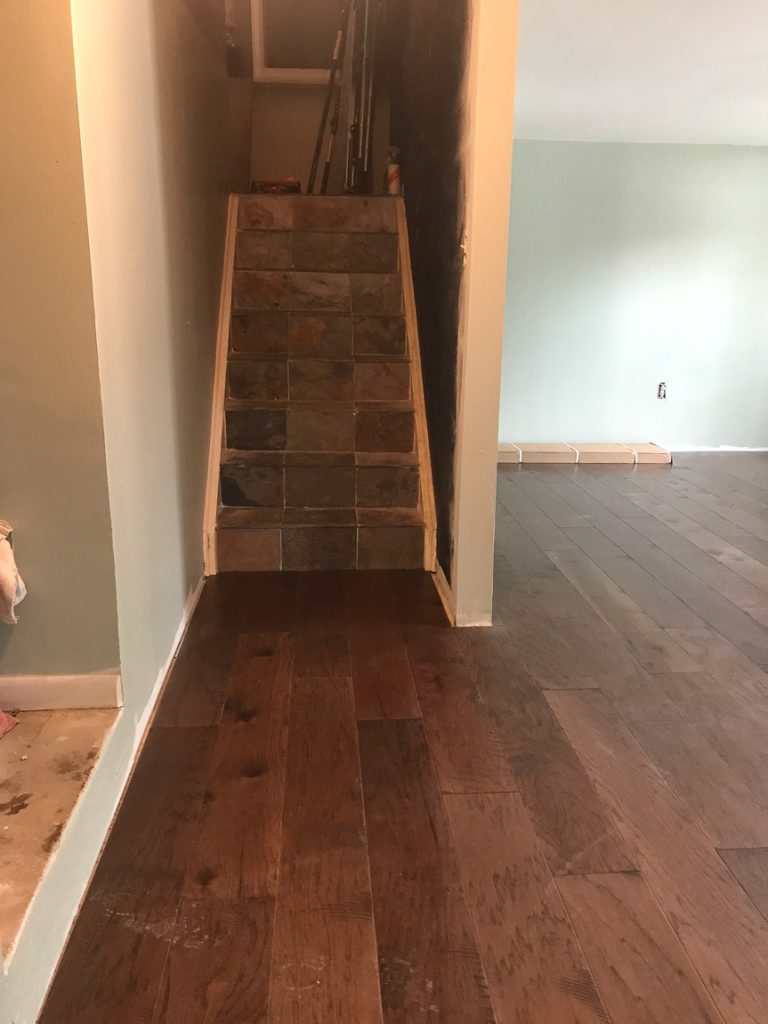
After looking at TONS of samples, we fell in love with a hardwood called Maverick from Shaw Floors. We love the color, the rustic design, how it looked next to the slate tile on the stairs, the durability and the distressing. It would have been love at first sight for you too. Not too dark, not too light. Lots of character! 

basement // mancave makeover #shawstyleboard

Pretty detail!!!basement // mancave makeover #shawstyleboard

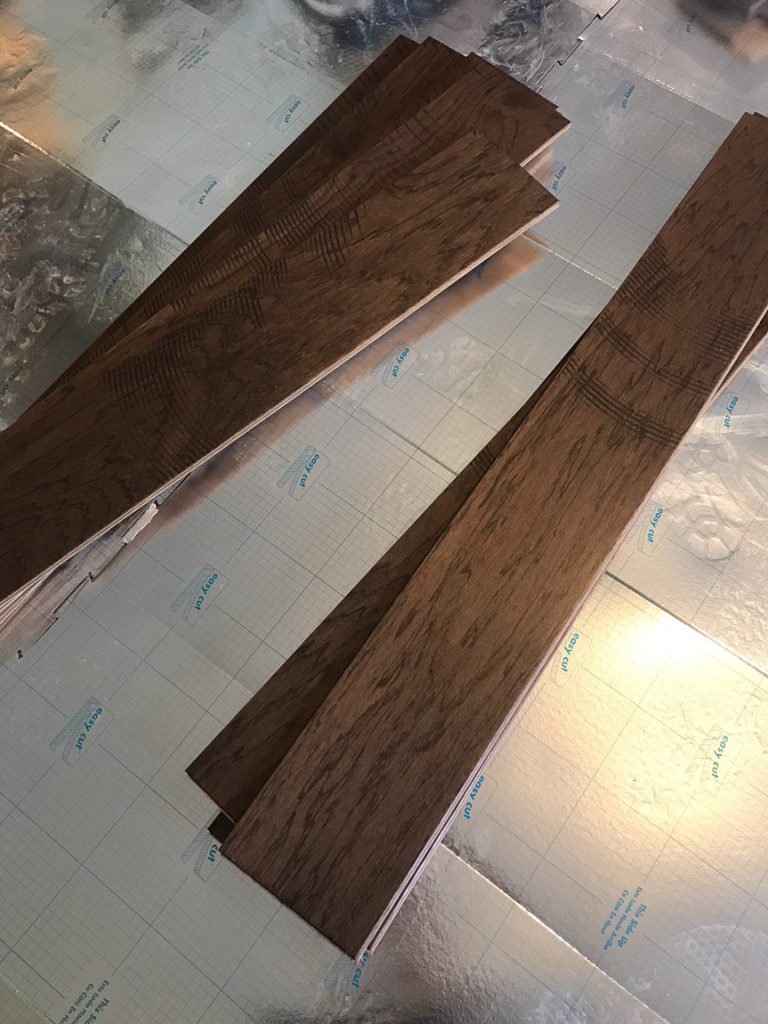
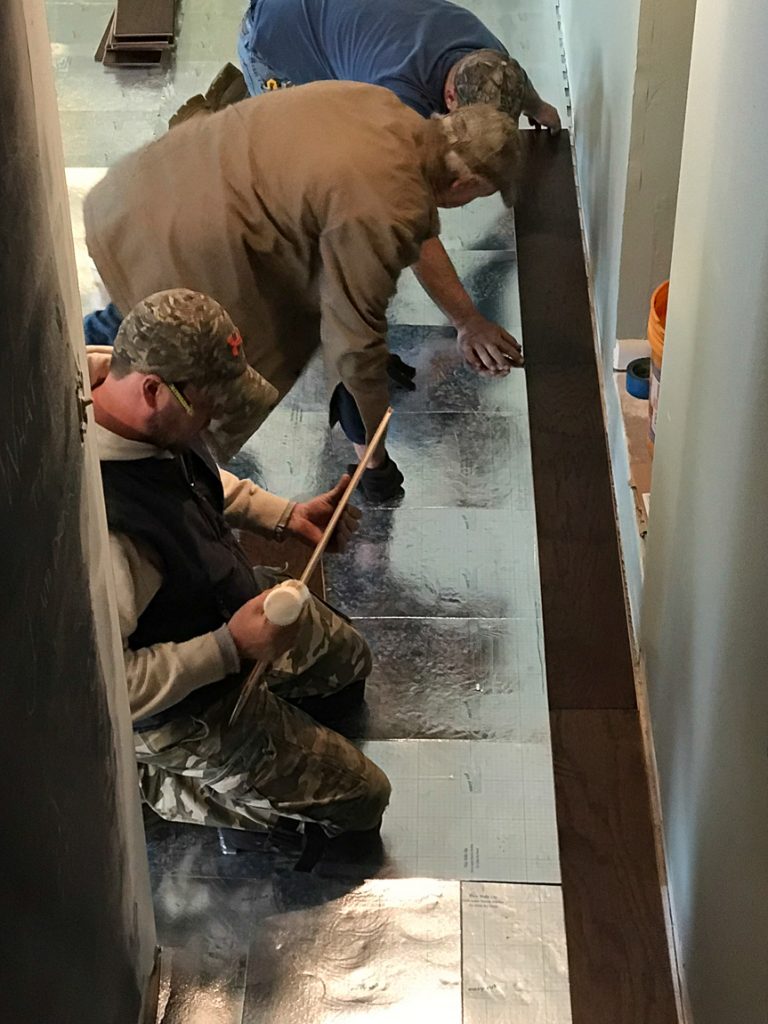
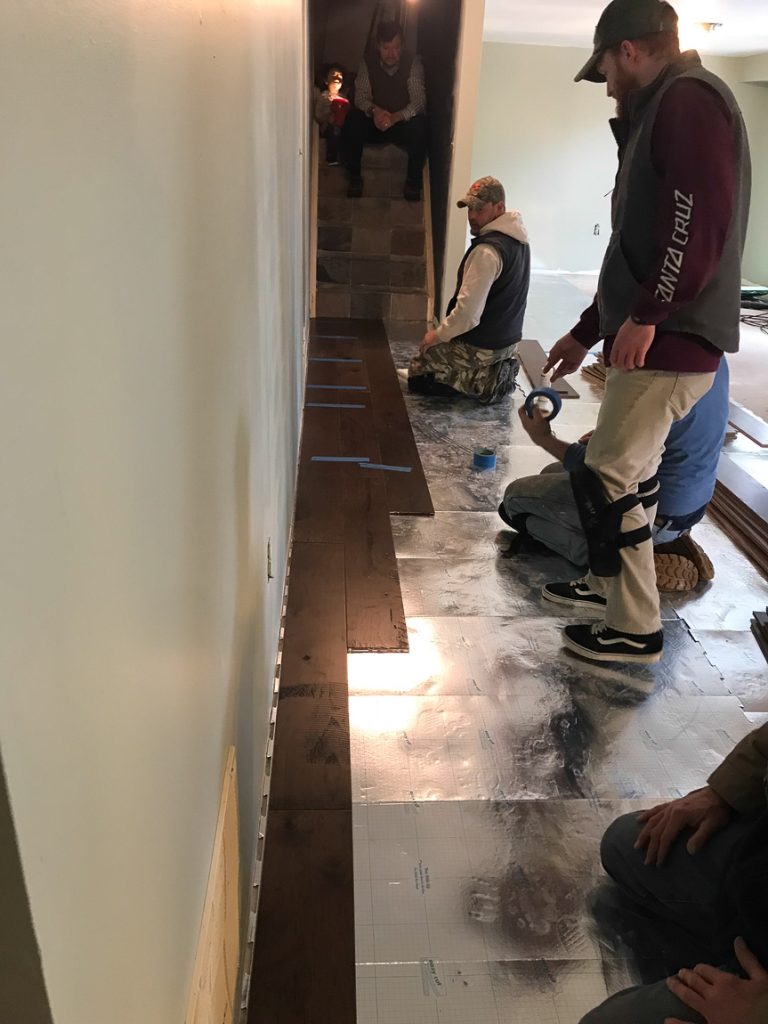
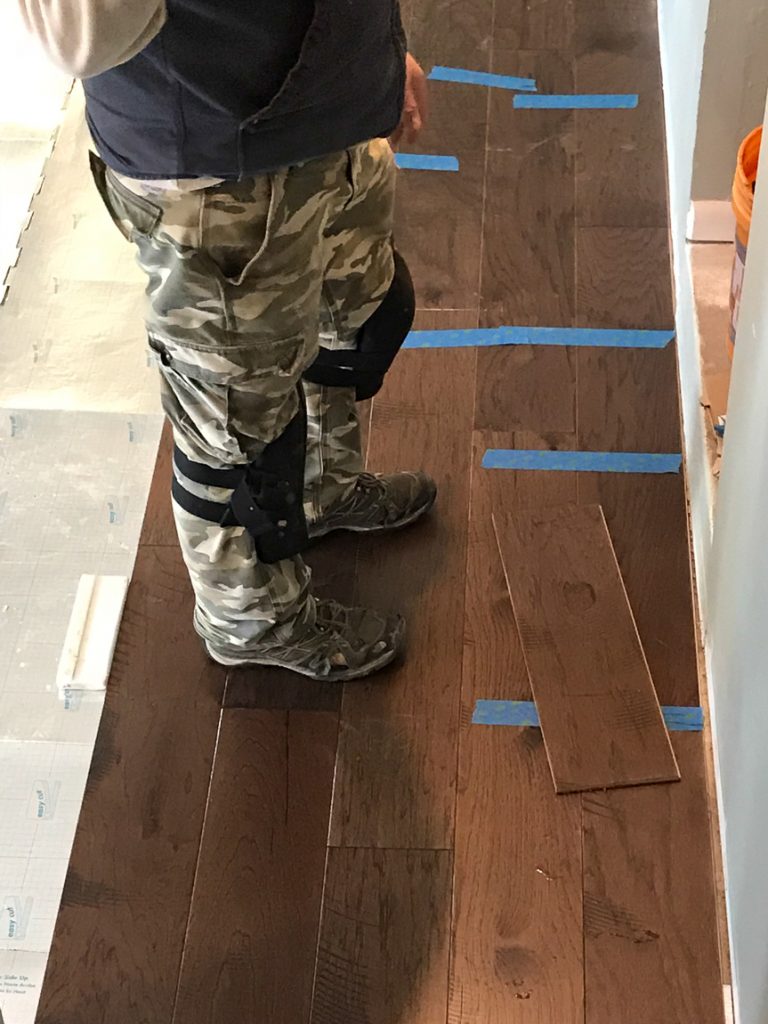
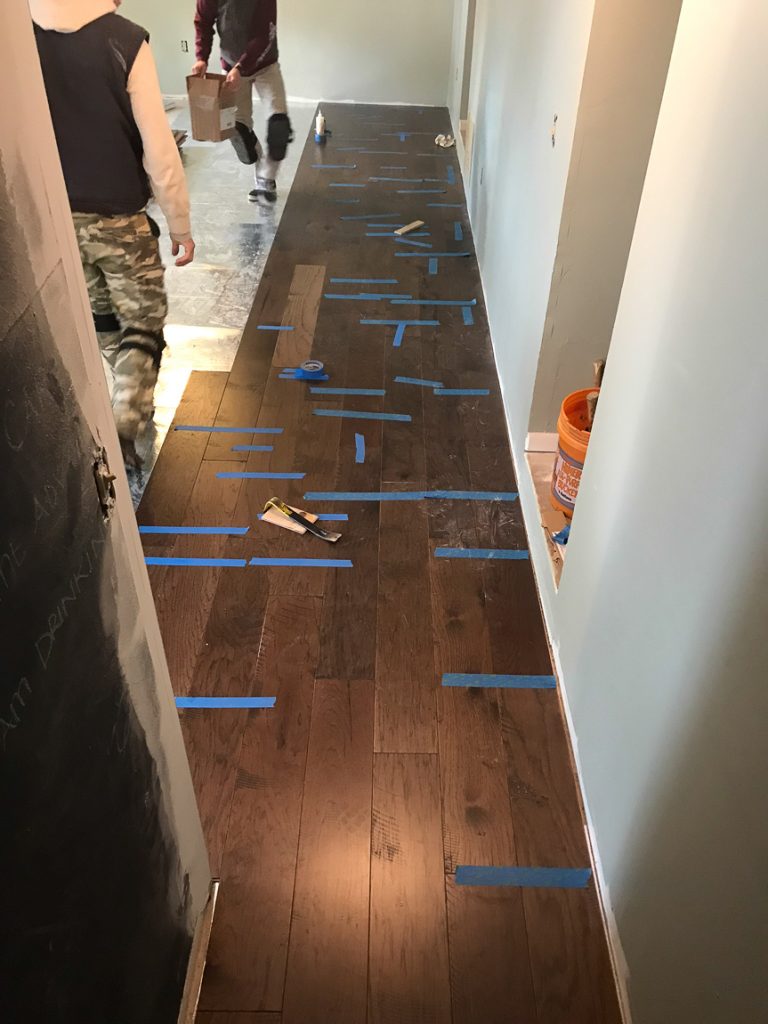
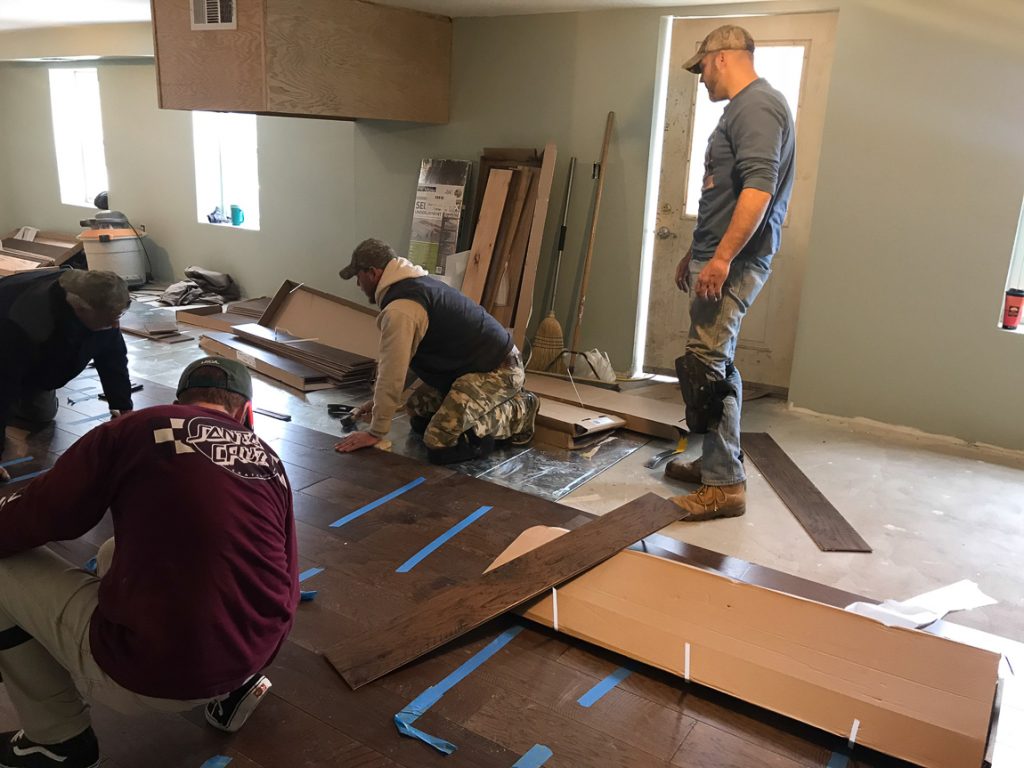
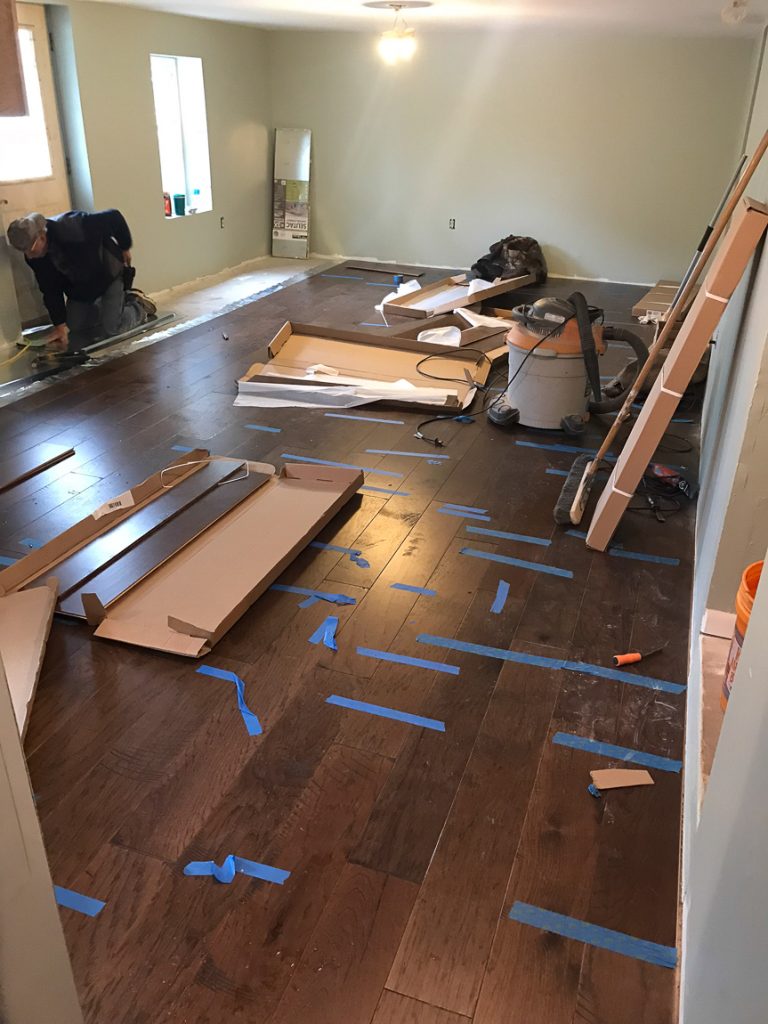
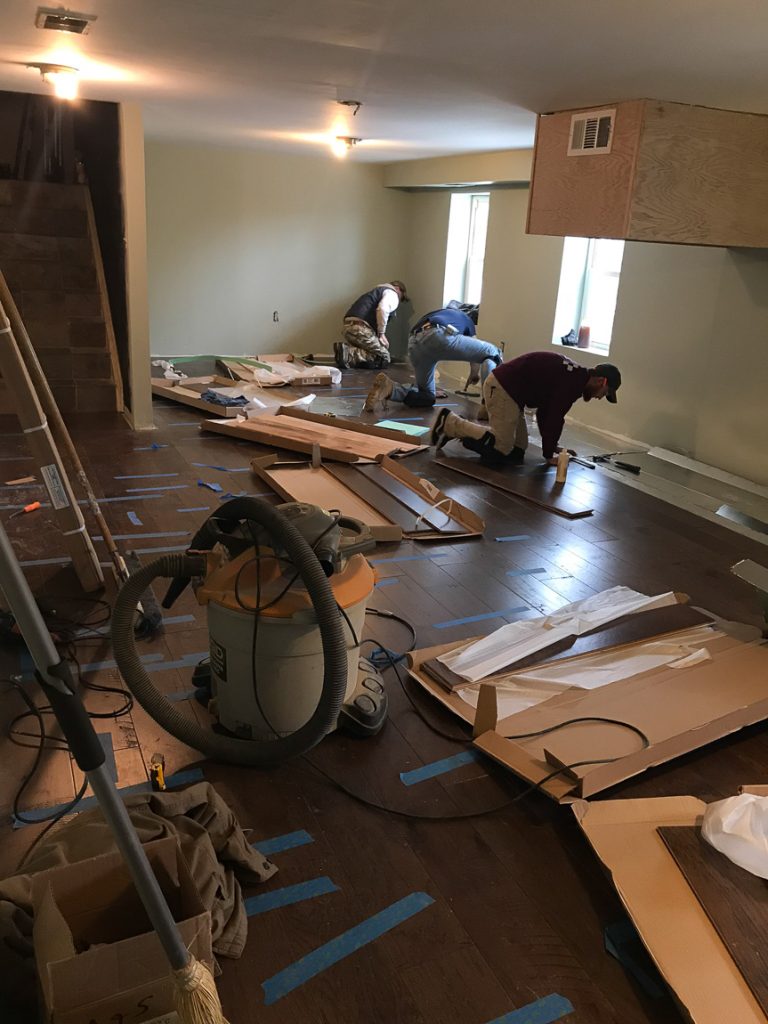
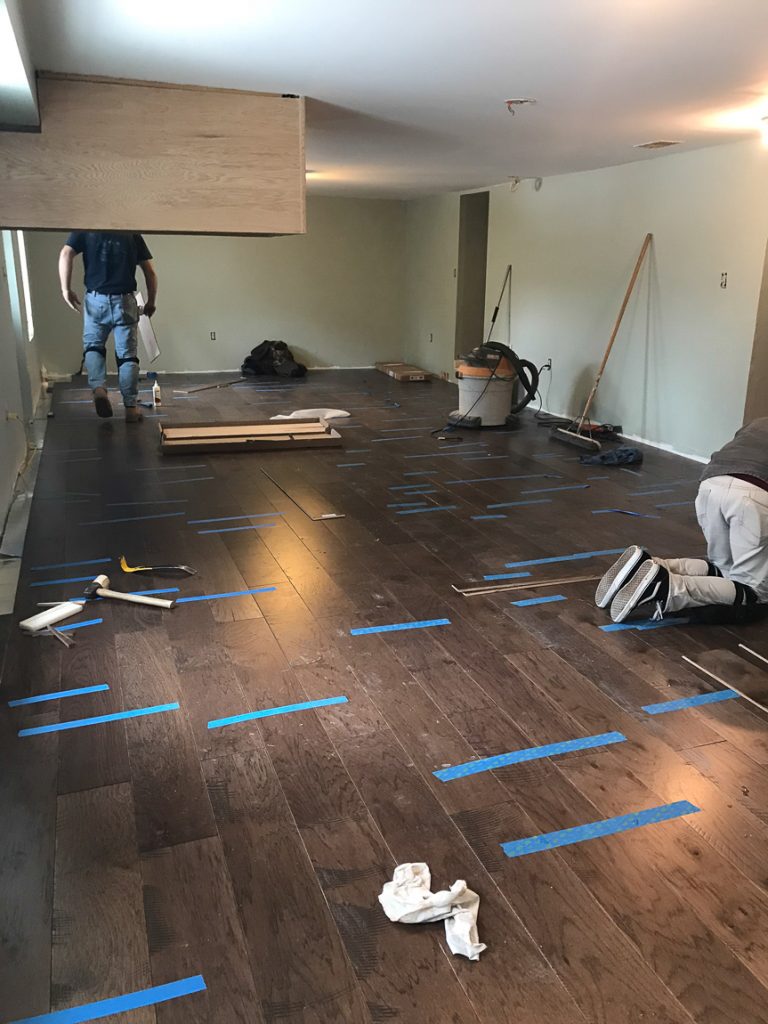
And the professional hardwood floor team A&S sent over had it installed in just a few short hours! There’s something about watching professionals … they make it look so easy. basement // mancave makeover #shawstyleboard basement // mancave makeover #shawstyleboard basement // mancave makeover #shawstyleboard

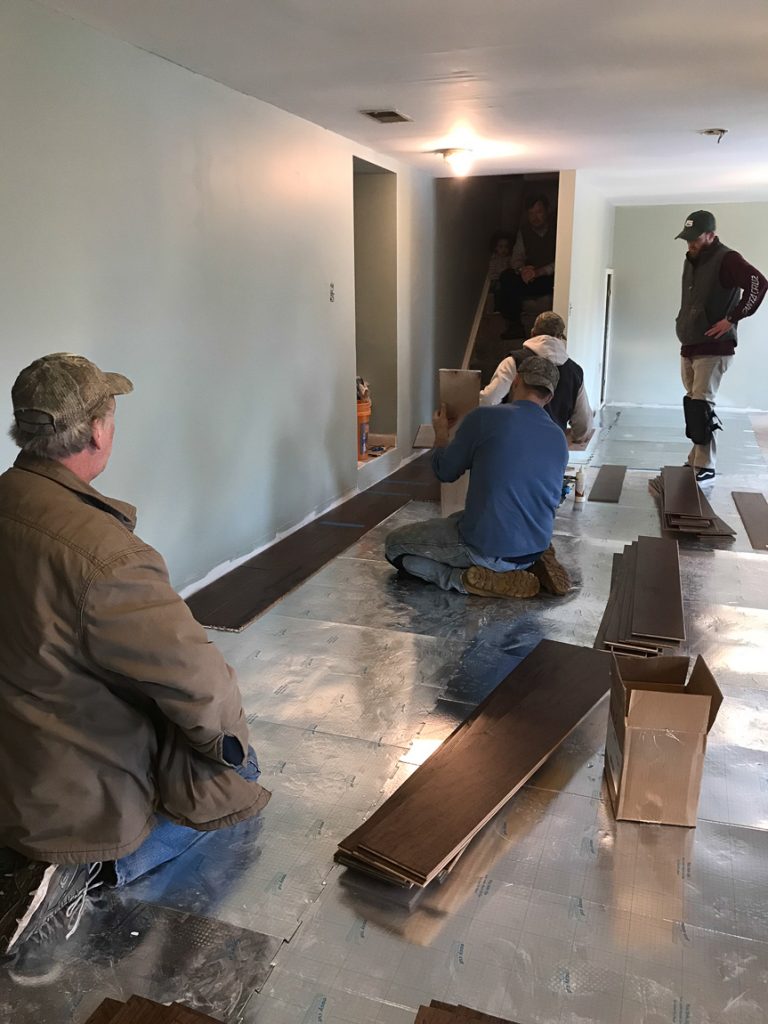
Tim has installed over a million square feet of flooring! basement // mancave makeover #shawstyleboard

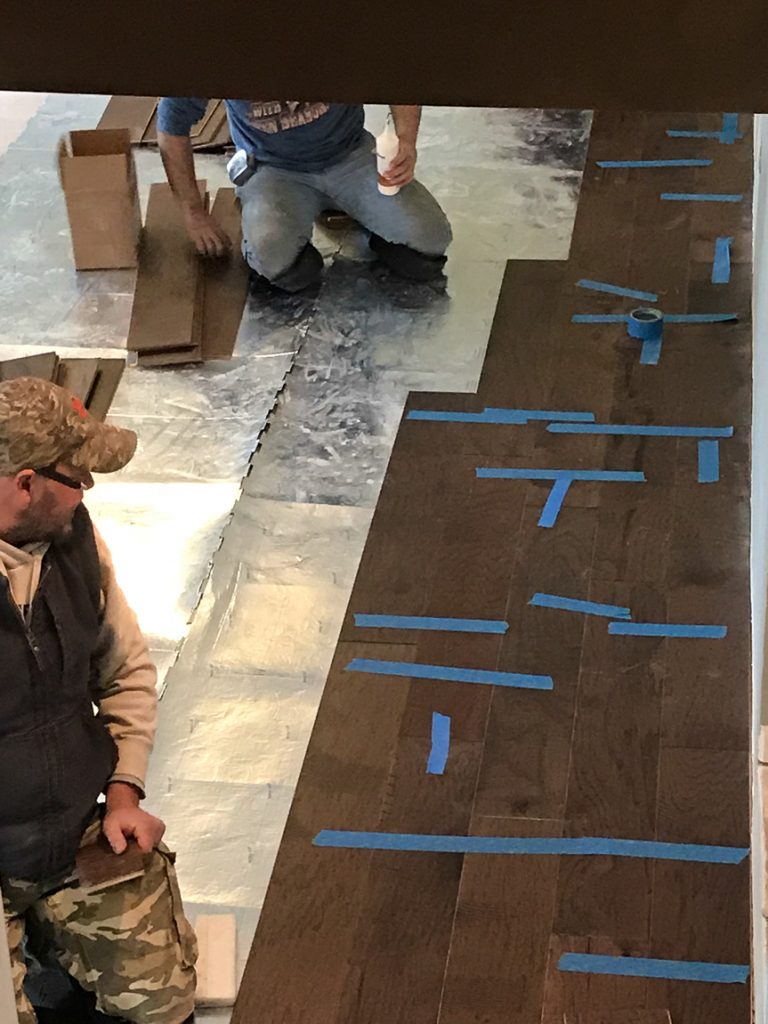
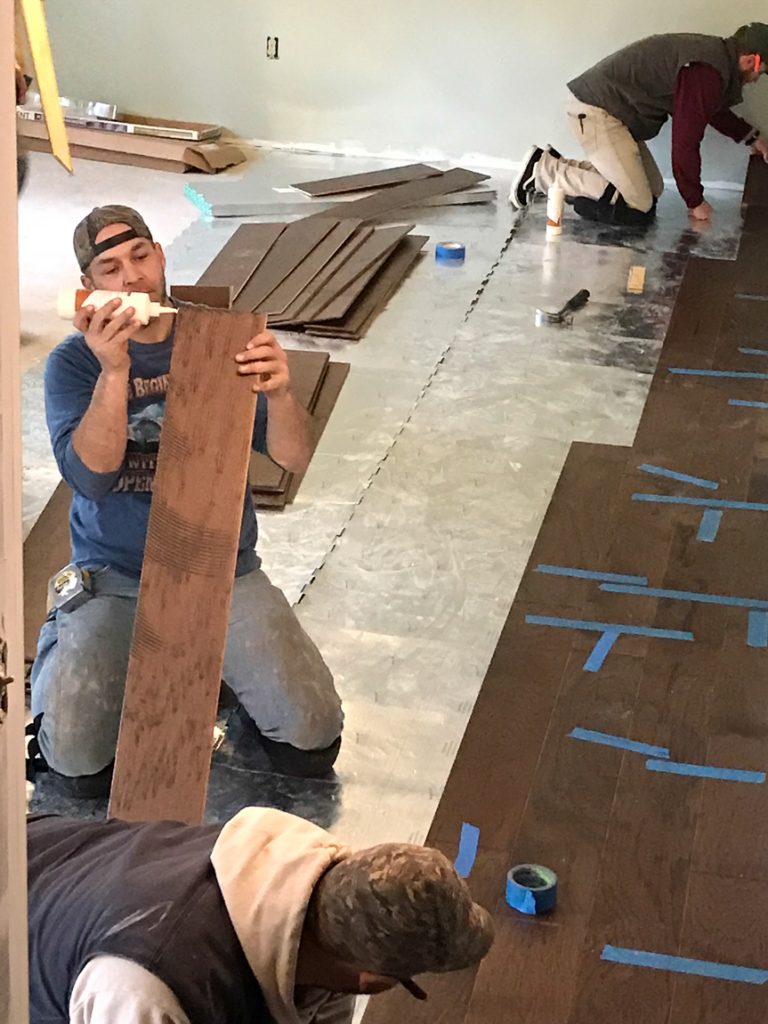
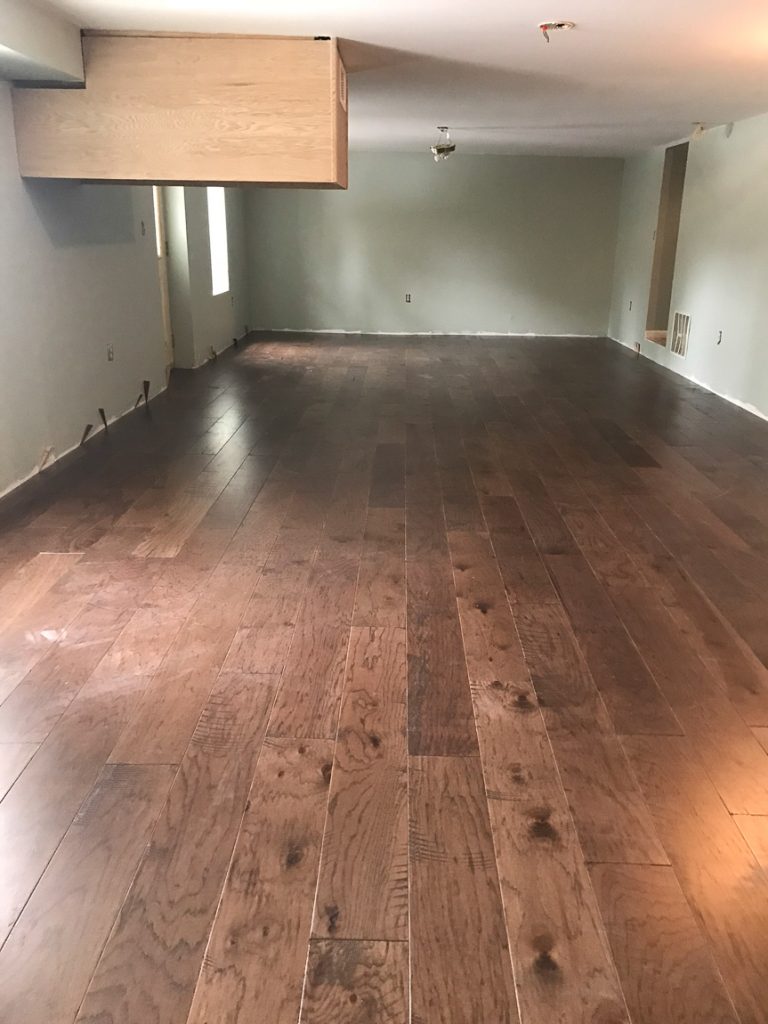
Maverick is a 7″ ply-core engineered Hickory with a pretty texture unlike any other product in the Shaw Hardwood Collection. It showcases a timeworn rustic distressed look with circular saw marks randomly peppered throughout the design. It gives the appearance of reclaimed old flooring in a wider width. 

basement // mancave makeover #shawstyleboard Shaw Maverick Leather basement // mancave makeover #shawstyleboard Shaw Maverick Leather basement // mancave makeover #shawstyleboard Shaw Maverick Leather basement // mancave makeover #shawstyleboard Shaw Maverick Leather

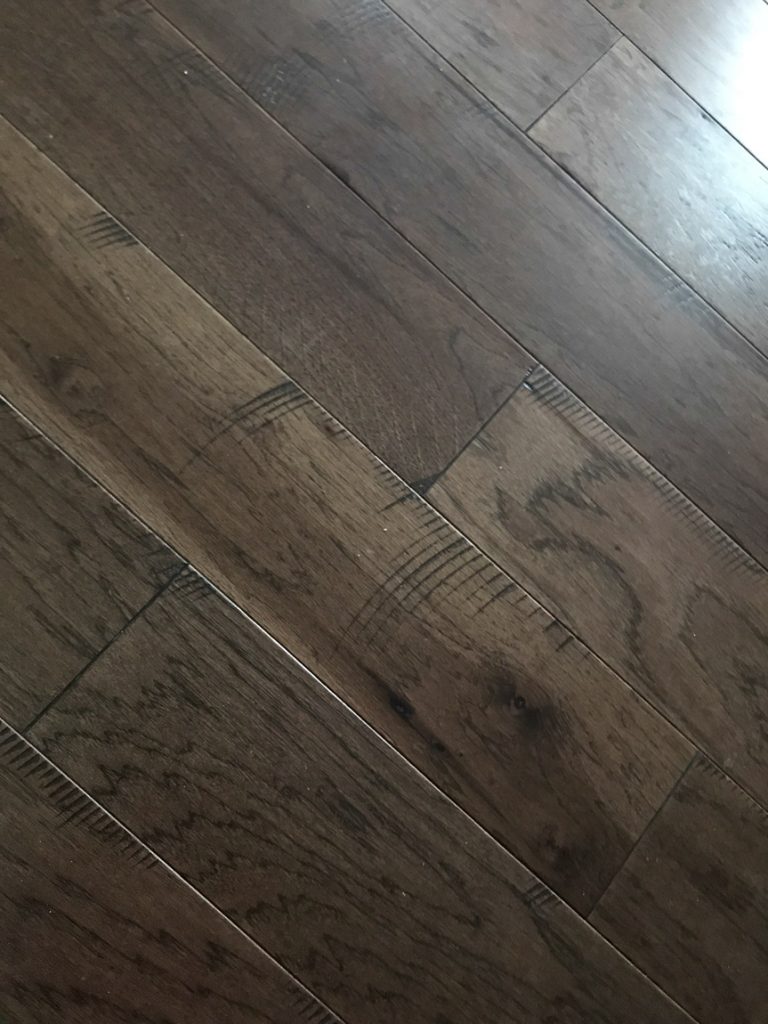
See that random light piece in the middle?basement // mancave makeover #shawstyleboard Shaw Maverick Leather

I loved that light piece and anticipated random light pieces throughout the design. However, when that didn’t seem to be the case, I requested it be removed. Thankfully the glue hadn’t completely dried and the guys got it swapped out. basement // mancave makeover #shawstyleboard Shaw Maverick Leather basement // mancave makeover #shawstyleboard Shaw Maverick Leather basement // mancave makeover #shawstyleboard Shaw Maverick Leather basement // mancave makeover #shawstyleboard Shaw Maverick Leather basement // mancave makeover #shawstyleboard Shaw Maverick Leather basement // mancave makeover #shawstyleboard Shaw Maverick Leather basement // mancave makeover #shawstyleboard Shaw Maverick Leather

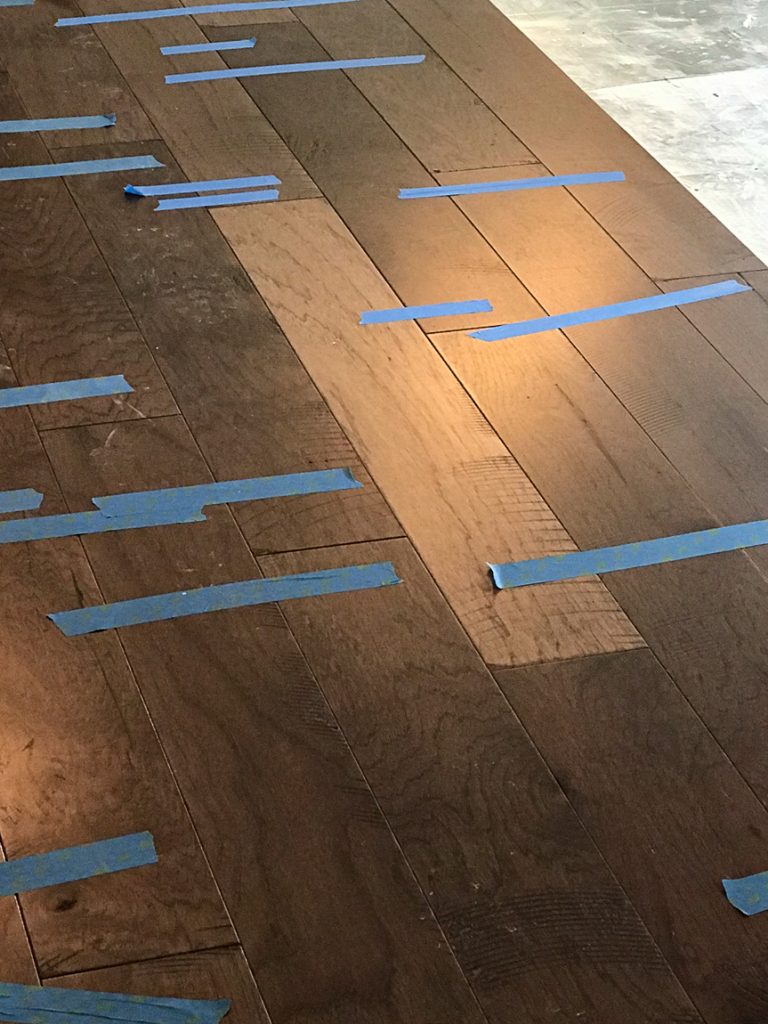
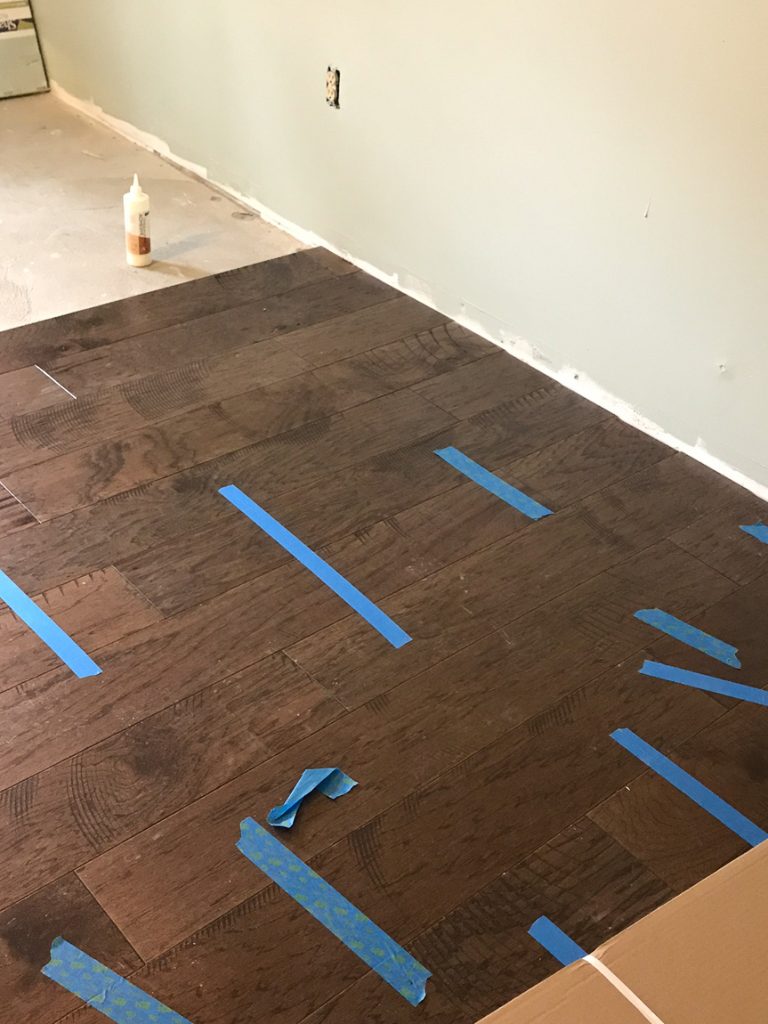
We went with the color “leather”.

basement // mancave makeover #shawstyleboard Shaw Maverick Leather basement // mancave makeover #shawstyleboard Shaw Maverick Leather

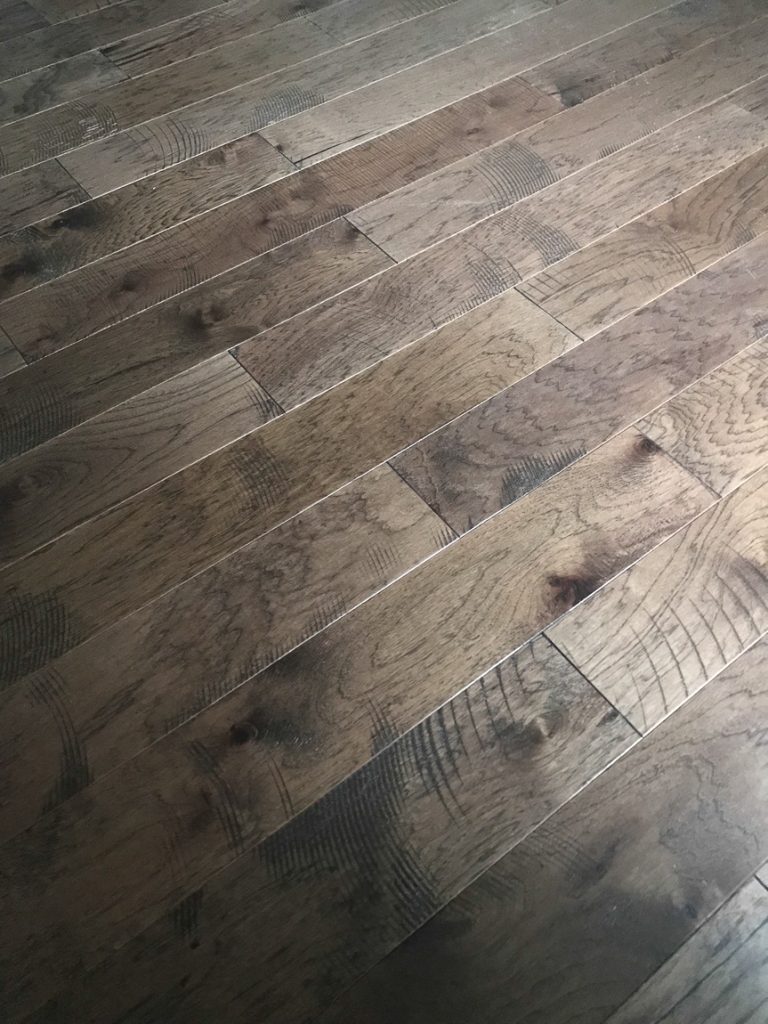
Isn’t it pretty? Isn’t the distressing awesome?

basement // mancave makeover #shawstyleboard Shaw Maverick Leather basement // mancave makeover #shawstyleboard Shaw Maverick Leather basement // mancave makeover #shawstyleboard Shaw Maverick Leather basement // mancave makeover #shawstyleboard Shaw Maverick Leather basement // mancave makeover #shawstyleboard Shaw Maverick Leather

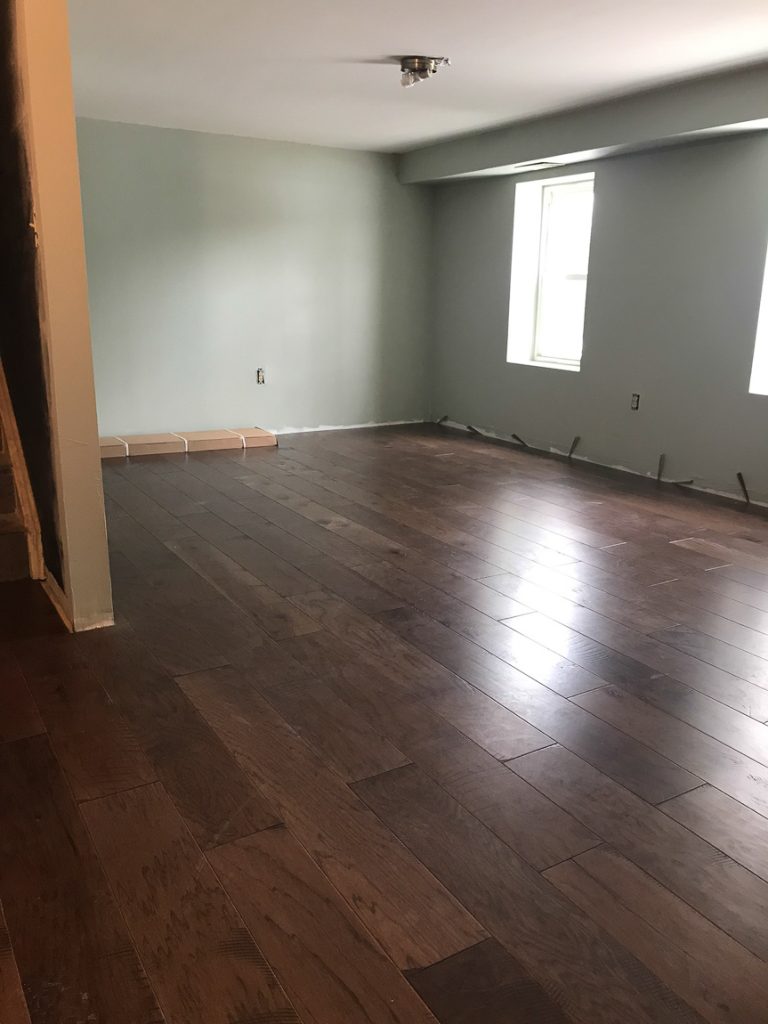
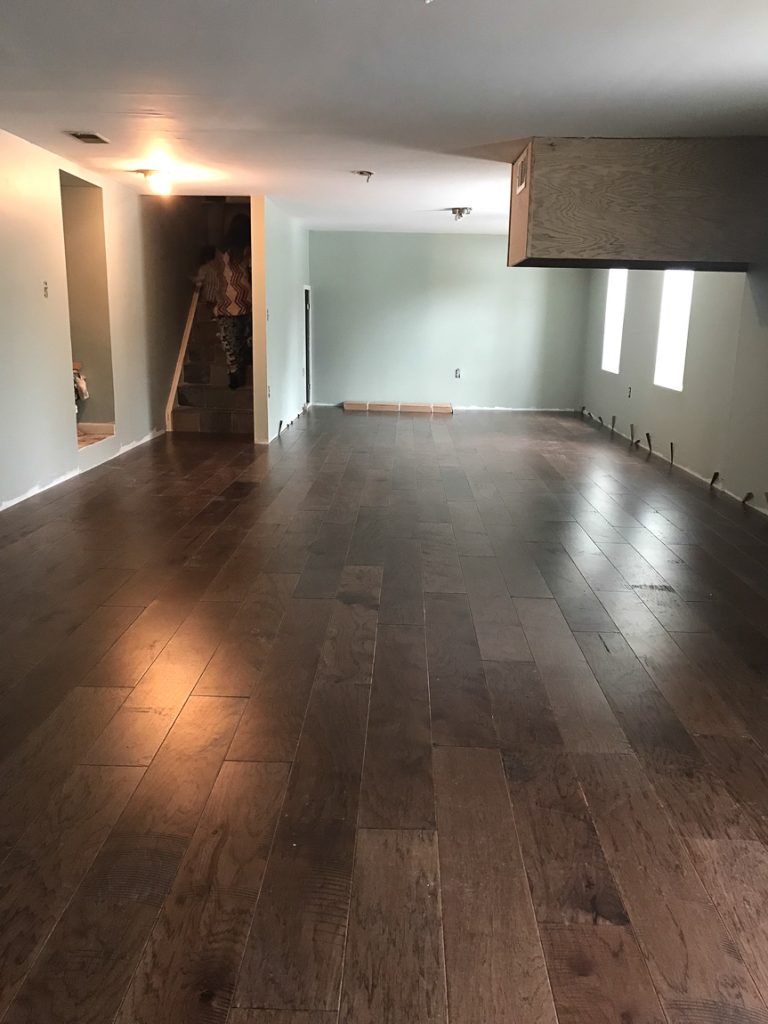
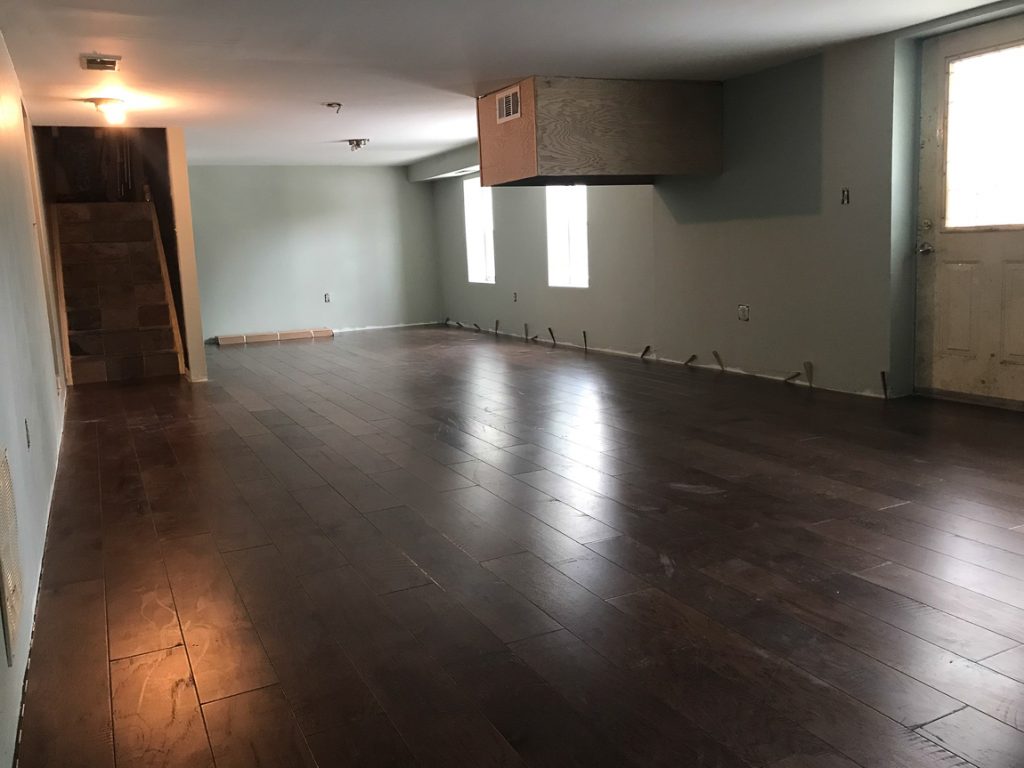
Since this will be a space for entertaining and play, it’s a great durable option!  What do you think? 

Do you have a finished basement? Is it a mancave type space? What type of flooring did you choose?


Mancave in Progress (Part 1)

We have a mancave makeover in progress! Hurray!!! 

basement // mancave makeover #shawstyleboard

Well, to be precise…we’ve never had a mancave in our home so we’re doing a basement makeover and creating a mancave for Russ. When it comes to our home, my husband has pretty much given me free reign to DIY, design and decorate as I please. We call it my life sized doll house. As you know, it’s kind of my thing, what I love to do and it’s still a work in progress with lots to be done but last summer, we started cleaning out the basement and it was time to start planning a space just for him. 500+ square feet all dedicated to him, his hobbies and his likes. He’s a home brewer so the mancave will include a bar for entertaining and because he enjoys football season, a living room area with enormous television…I’d call that a mancave, right?

I want him to make the decisions on this space but I appreciate that he includes me in his decision making and asks my opinion. See my Pinterest Board of Mancave Inspiration here


Our basement is two parts. 1 part old 1927 below the original house with ceilings so low he has to duck his head and 1 part newer addition – we’re guessing sometime in the early 1990s. The overflowing storage of junk had reached our puke point. We had a yard sale last summer. He tore down a wall that separated the space. Here are some before photos when the wall was removed and the junk was heading out the door…

basement // mancave makeover basement // mancave makeover basement // mancave makeover #shawstyleboard Shaw Maverick Leather

We’ve been here going on 12 years and never really did anything with the space other than he ripped up some nasty carpet when we moved in and we did have a wood burner for a while before insulating our home and new windows. But mostly, it just sat collecting junk, dirt and dust. It often also served as a workshop for DIY projects upstairs so lots of sawdust too! 

basement // mancave makeover #shawstyleboard basement // mancave makeover #shawstyleboard basement // mancave makeover #shawstyleboard

The duct work that sits head-hitting low for his 6’3″ height will be encased in cabinetry. More details on why coming up later!

basement // mancave makeover #shawstyleboardbasement // mancave makeover #shawstyleboard basement // mancave makeover #shawstyleboard

Once we got it empty, he patched, primed and painted walls.

basement // mancave makeover #shawstyleboard basement // mancave makeover #shawstyleboard basement // mancave makeover #shawstyleboard basement // mancave makeover #shawstyleboard basement // mancave makeover #shawstyleboard basement // mancave makeover #shawstyleboard basement // mancave makeover #shawstyleboard basement // mancave makeover #shawstyleboard basement // mancave makeover #shawstyleboard basement // mancave makeover #shawstyleboard

He really liked the sage green walls we used to have in our kitchen and I really like gray so we decided on a gray-green. He used Benjamin Moore Aura paint color matched  – Sherwin Williams Comfort Gray.

basement // mancave makeover #shawstyleboard basement // mancave makeover #shawstyleboard basement // mancave makeover #shawstyleboard basement // mancave makeover #shawstyleboard basement // mancave makeover #shawstyleboard basement // mancave makeover #shawstyleboard

Then we started the search for flooring. We had our local Shaw Floors dealer stop by to determine which floor covering suited our space best. Frank from our local Shaw dealer, A&S Carpet recommended engineered hardwood for our basement. 

basement // mancave makeover #shawstyleboard basement // mancave makeover #shawstyleboard

Stay tuned for Part 2 for what we chose and installation! 


Decorating Obsessed – Man Cave

Ashley from Decorating Obsessed is so DIY skilled.
Button
They did an awesome job on their “man cave” but it’s so cool, I’d call it a co-ed cave.  After all – girls get thirsty too! 
Look at this bar her husband made.  All DIY.  I love the molding detail on the front, don’t you?  Gorgeous!

Before:
After:


They gave the old wet bar a new look to match:

The wet bar project is almost done

Remember the ugly wet bar we had in the basement?

Well, it definitely got a facelift.

The most important task was replacing that dated green countertop with the matching countertop we got for the bar.


Unfortunately, pre-made countertops are one of the few things hardware stores will not cut (because of possible splintering), so this was a project Brent got to freehand. Yes, freehand.

So, he set up a cutting station using my other Craigslist dresser and a trash can, and went to work:

Brent did 3 practice cuts on the extra material before starting on the cut. To help prevent splintering, he placed masking tape down the center of the cut.

Before:

After:

I think it turned out great. And the best part? We only spent $60 on this update – and that was for the countertop. The mirror is one I bought on clearance at TJ Maxx 4 years ago, and could never find a home for, and I already had the black paint.

We still have to get a mini fridge for underneath, since the former one was sacrificed for the kegorator. We have some Best Buy gift cards left over from the holidays, so hopefully we’ll find something we like there.

 
Now, my absolute favorite part?  Take a look for yourself.  
(That’s ALOT of wine, Ashley…had I known, I’d have pitched in on that DIY step!)

My wine cork dresser

Remember this guy I scored on Craigslist for $20 several weeks ago?


Well, it found a new home behind the bar as a buffet.


I’m not positive for many wine corks I used, but I would say it’s in the 800+ range.


At first I started out using a hot glue gun, but I was having issues with all of the corks properly sticking – so at Brent’s suggestion I switched to liquid nails and those suckers aren’t going anywhere now. Once the glue was done, I did 2 coats of poly over everything. 

 
Fantastic!
Super job Ashely & Brent!

Don’t forget to enter the Gorilla Glue Giveaway!
All you have to do is be a follower and comment!
If you love to DIY – I know you’ll LOVE this prize pack!
More details HERE as well as info on an upcoming DIY Club Inc. party!