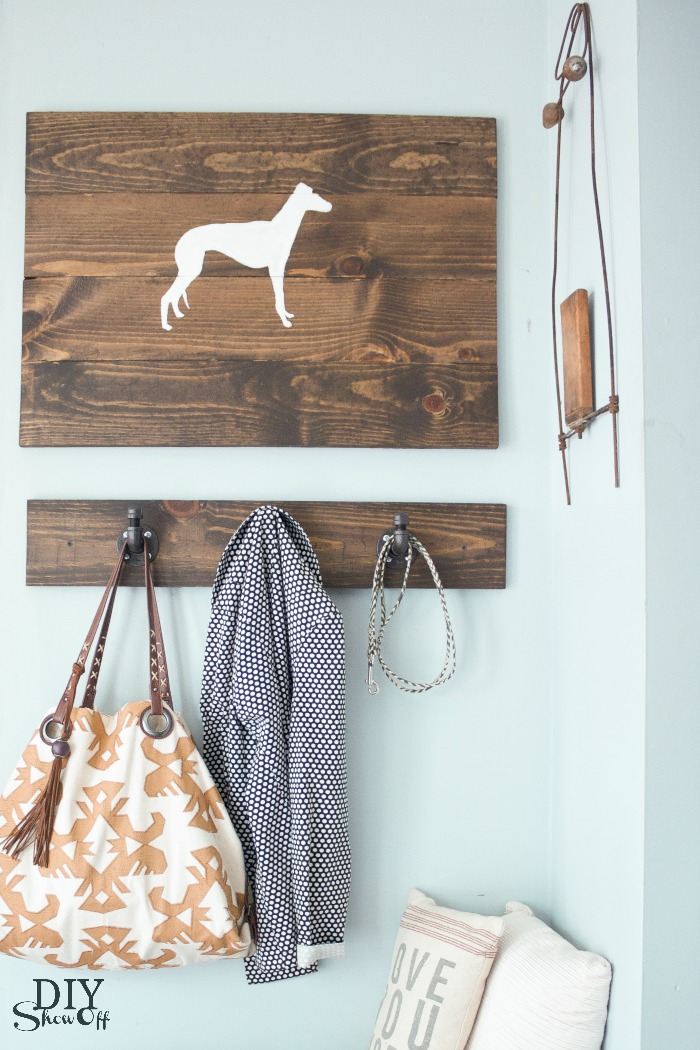
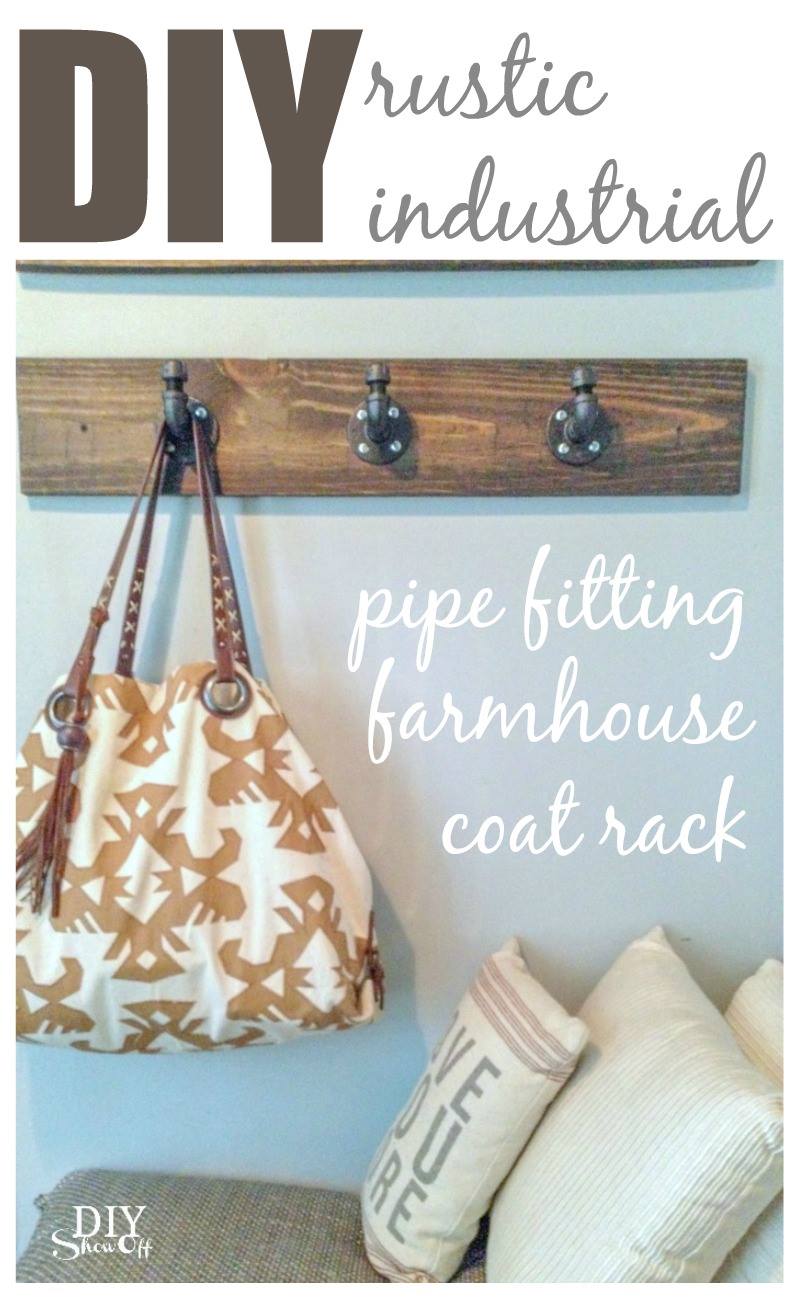
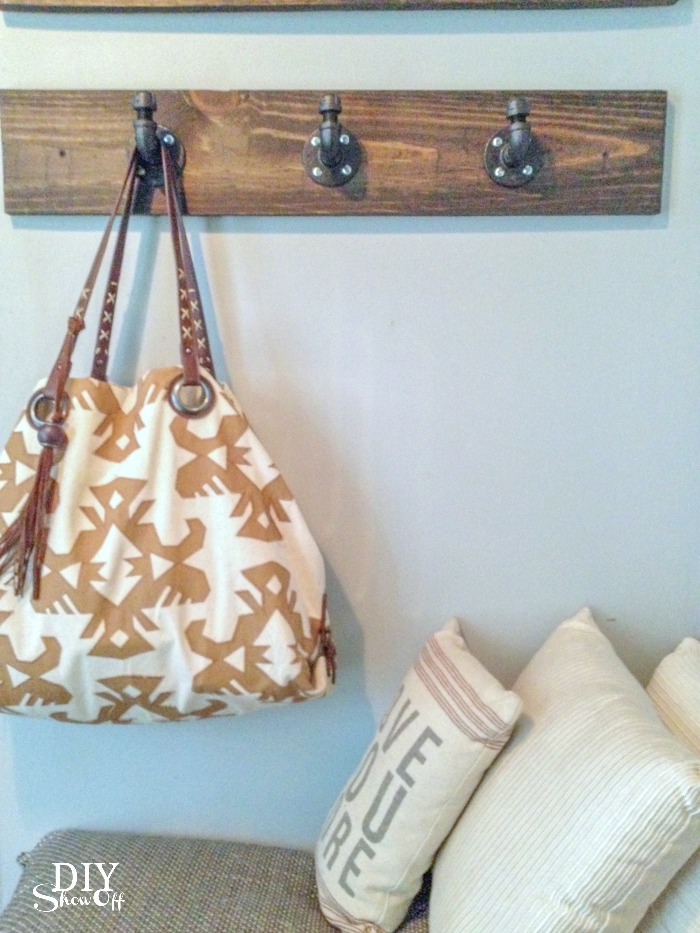
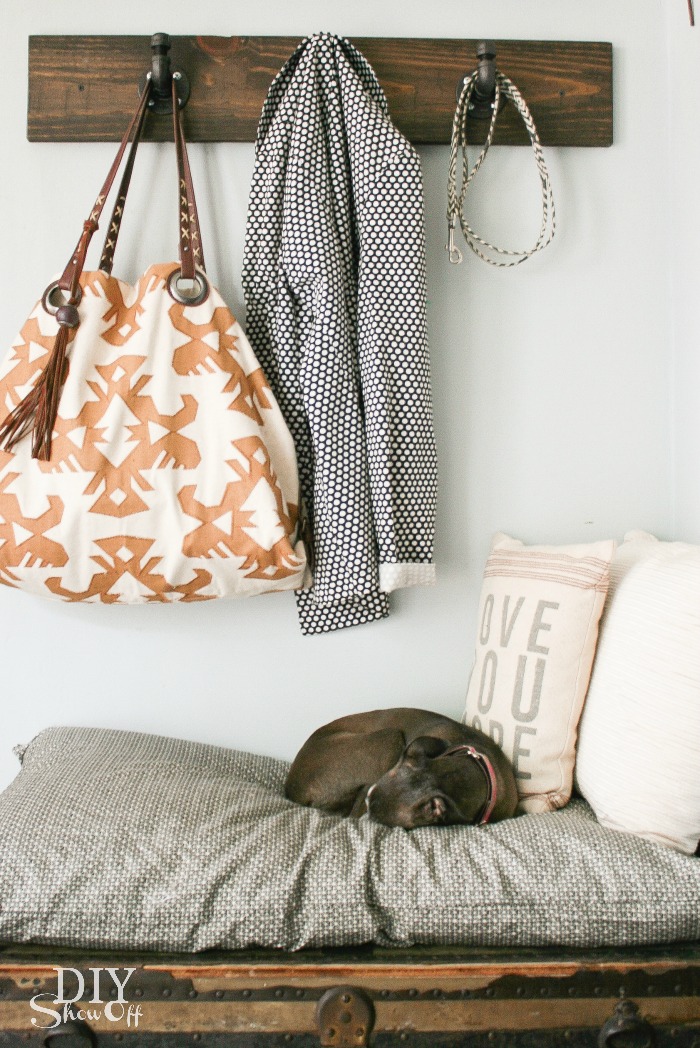
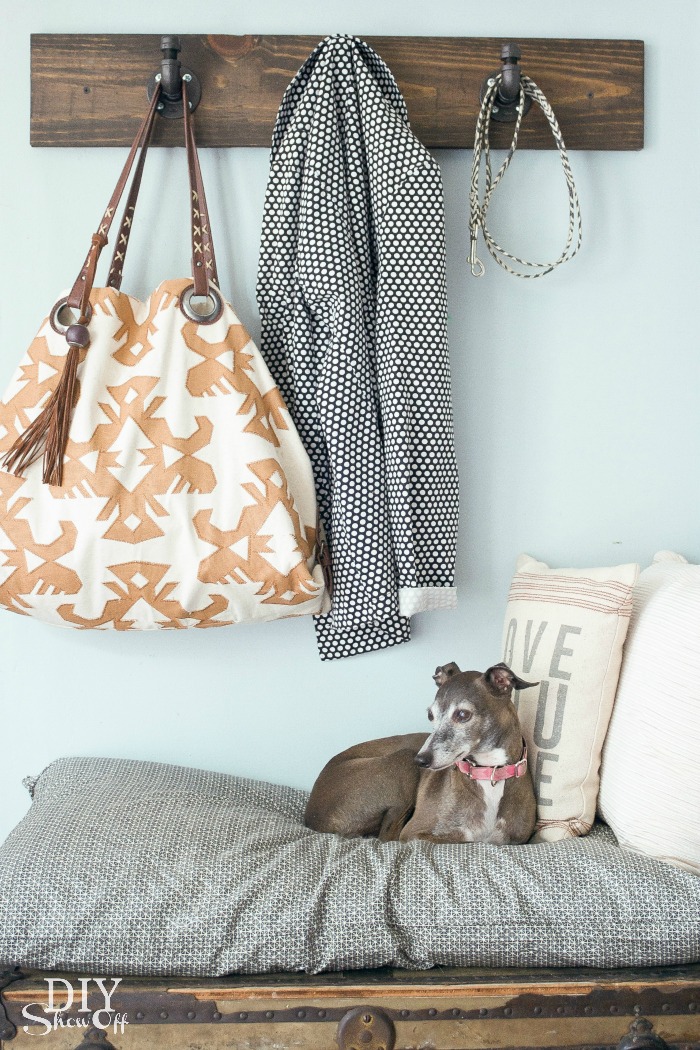
I recently shared the DIY coat rack we’re now utilizing in our sitting room above a vintage trunk used as a bench…
See who loves to rest here? It’s a tiny little Italian greyhound named Rosie…
One more picture. She’s just so stinkin’ cute!
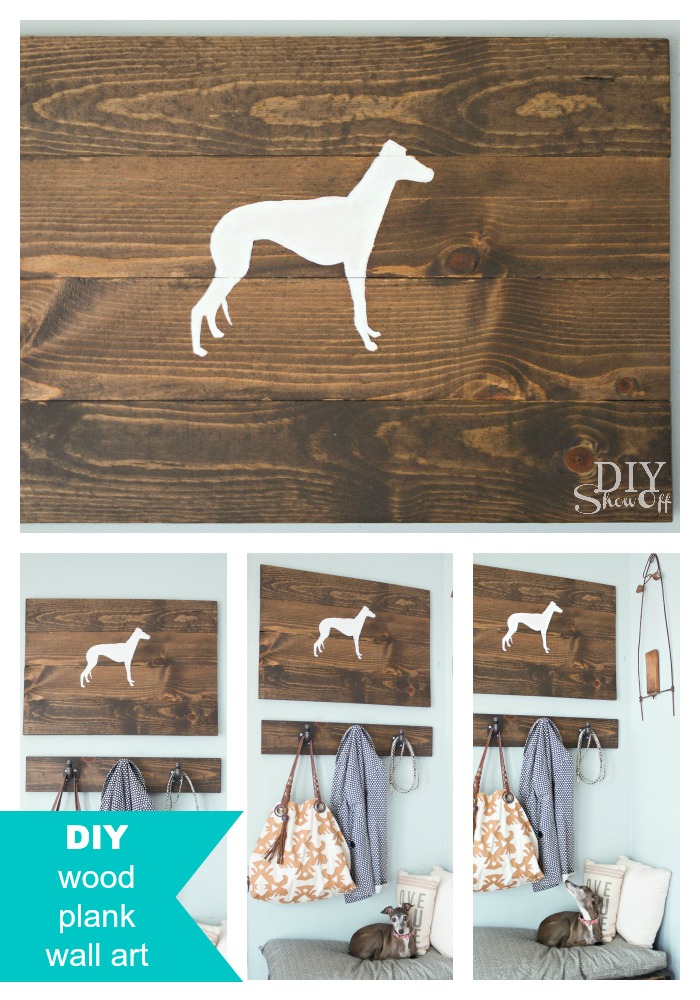
and I’m loving this scrap wood turned silhouette art placed above it. Rosie approves!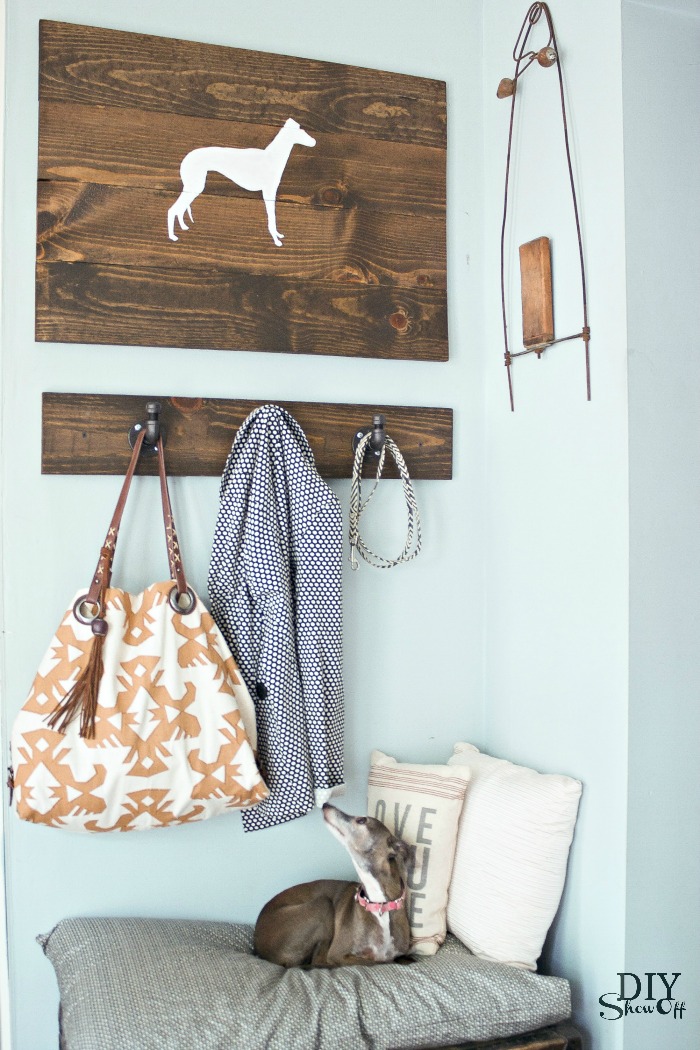
Materials I used:
- scrap 1 x 6 pine boards
- RustOleum Ultimate Wood Care (kona)
- RustOleum Ultimate Polyurethane
- Gorilla wood glue
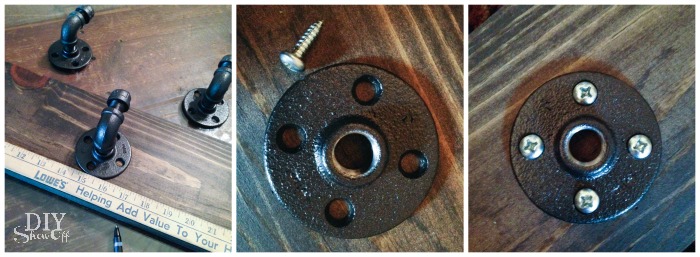
- picture hanging hardware
- vinyl decal (I used a greyhound shape)
- white acrylic craft paint
What I did:
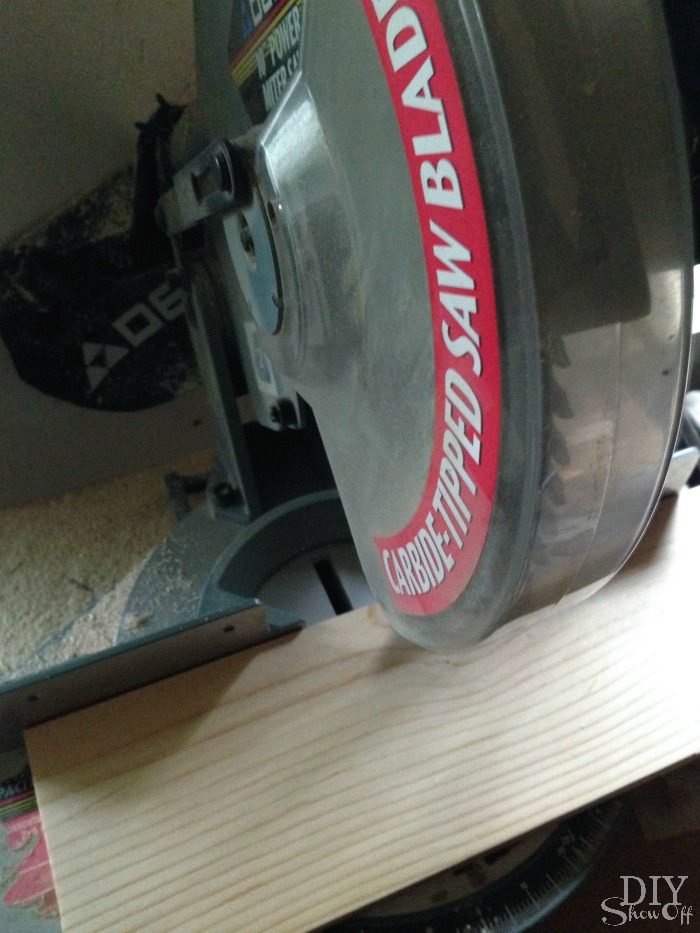
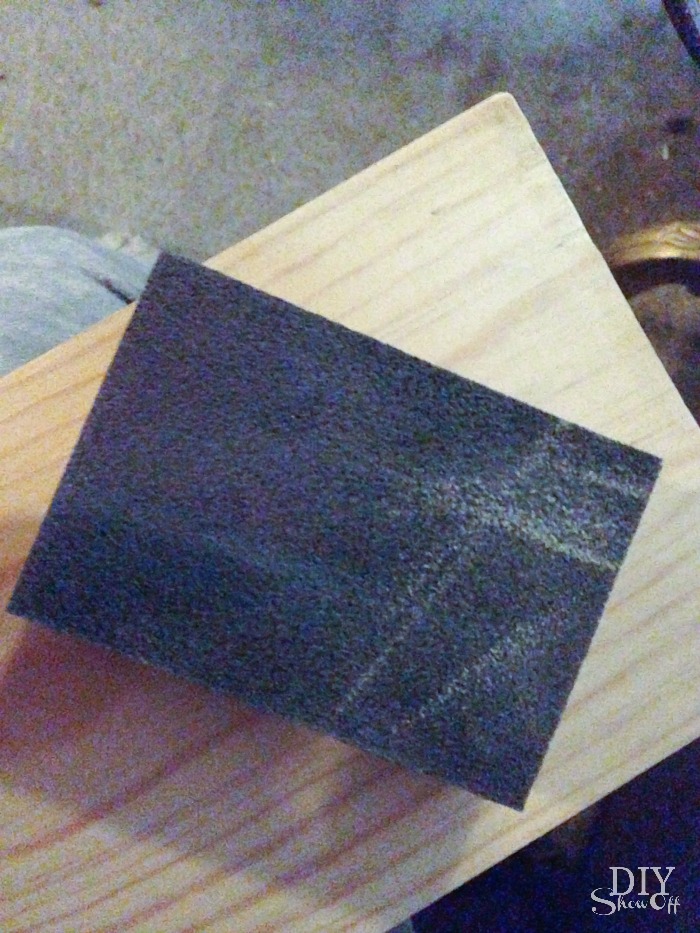
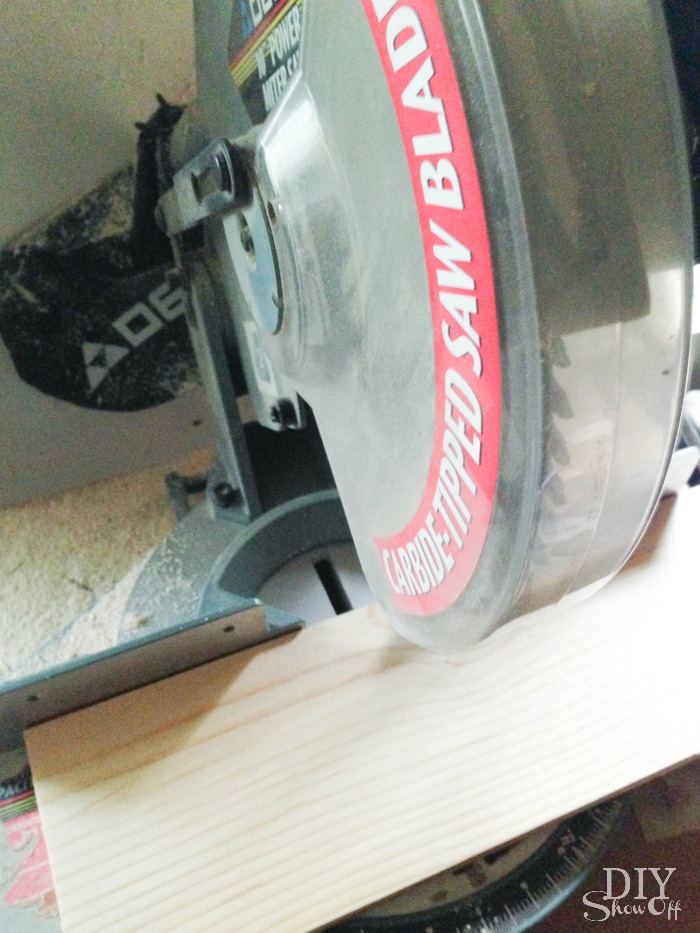
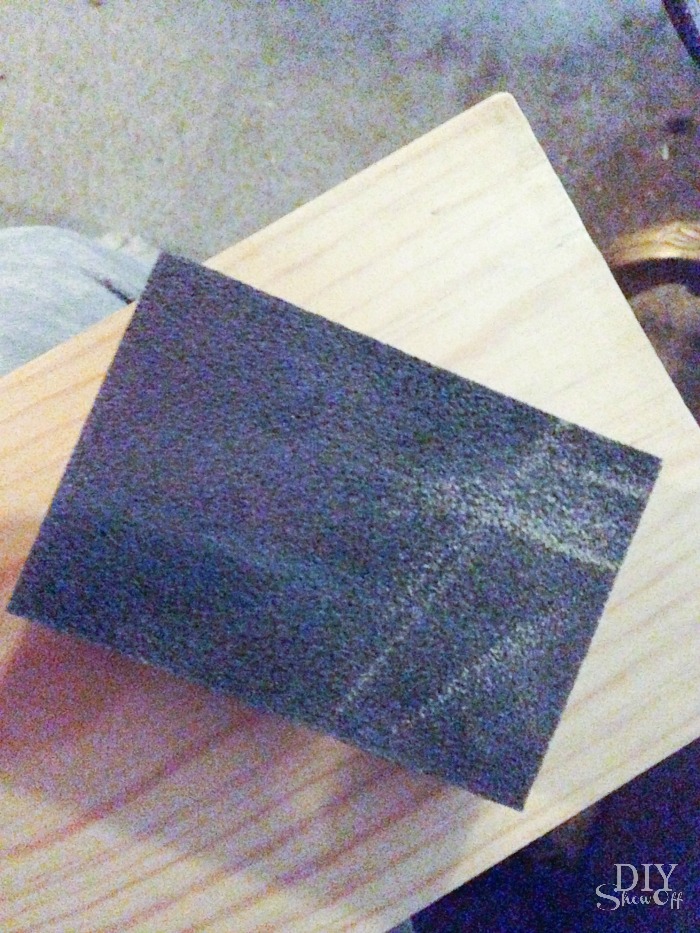
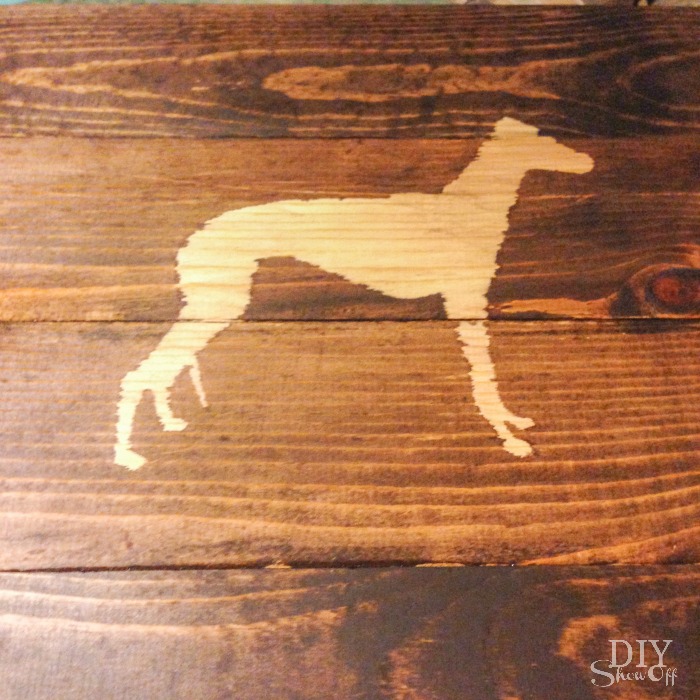
I cut my pine boards so that they all measured the same 30 inches long then sanded the edges.
Next I used wood glue and clamps to create a large wood plank canvas. Let dry.

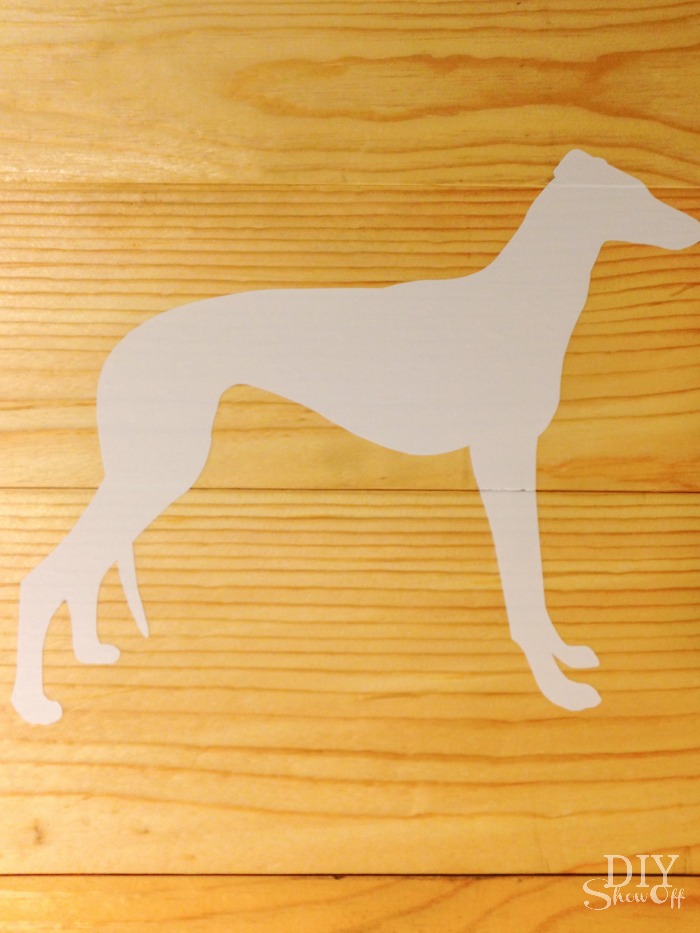
I applied my vinyl decal to the center of my wood canvas, burnishing the edges using my thumbnail.
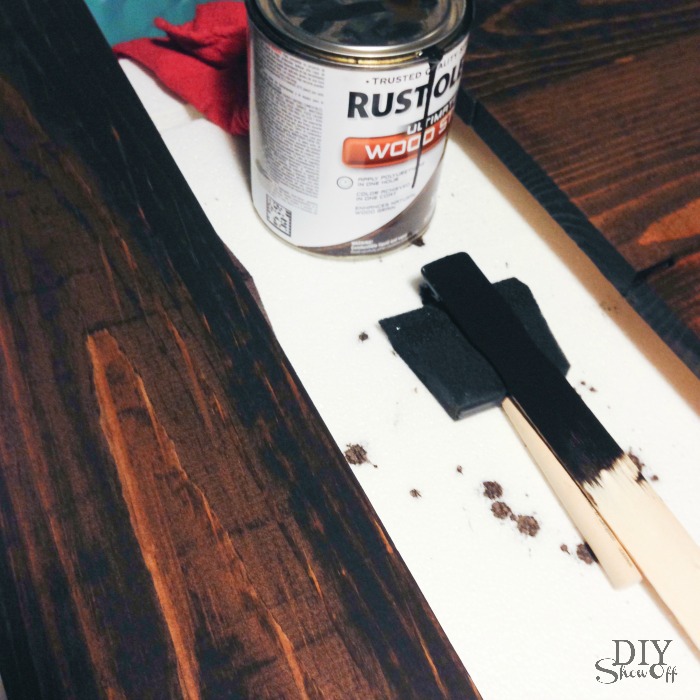
Then using a foam brush, I applied the stain in the same direction as the wood grain.
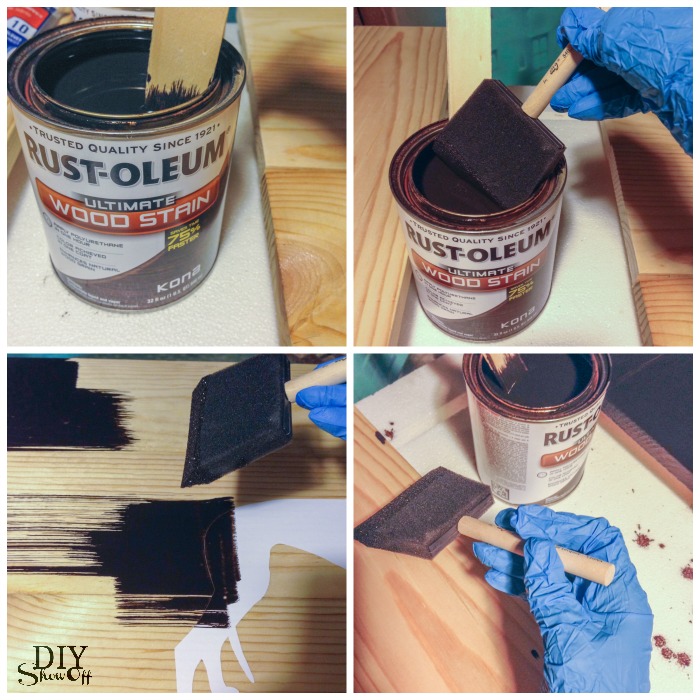
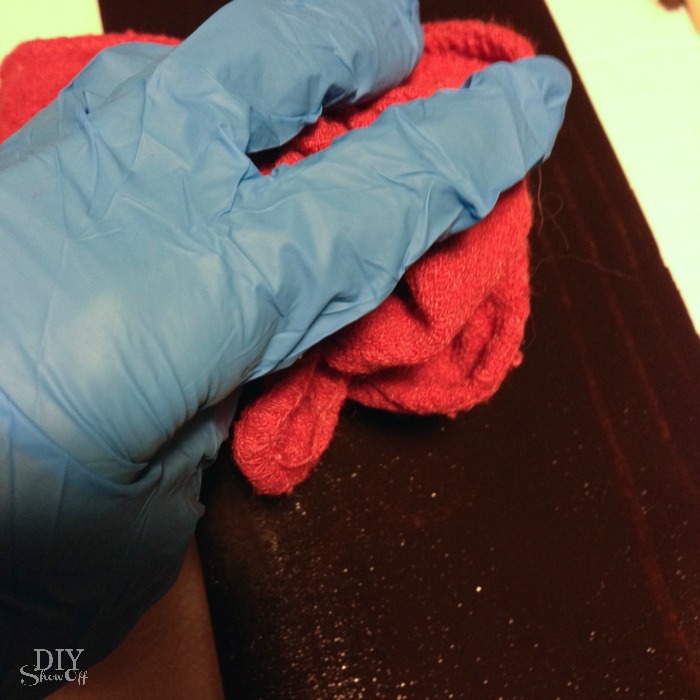
After a few minutes, I wiped away the excess stain, again in the direction of the wood grain, with an old rag. Let dry one hour.
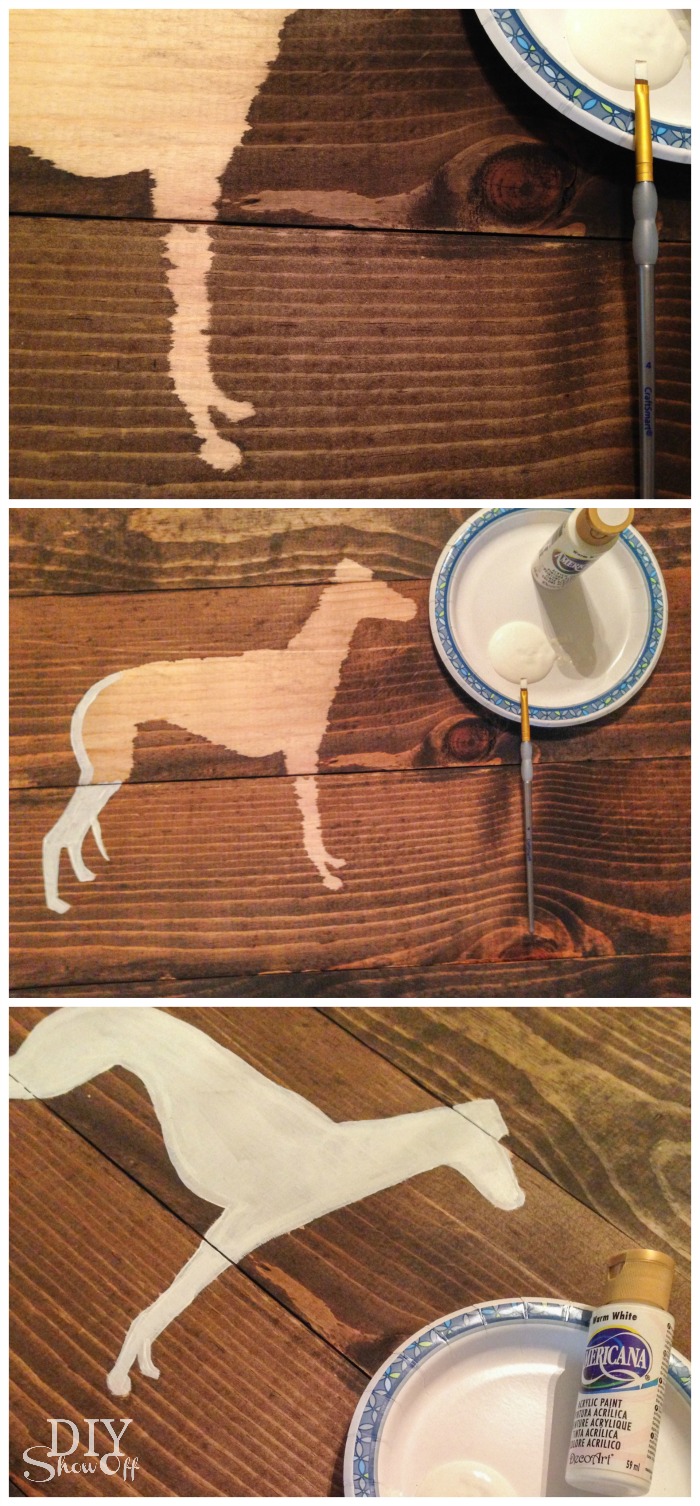
Then I removed the vinyl decal. I was hoping that there wouldn’t be any seeping but there was. No problem! Change of plans. Sometimes DIY doesn’t always go according to plan.
I used a small craft paint brush and white acrylic craft paint to fill in the unfinished portion of the greyhound stencil. Let dry.
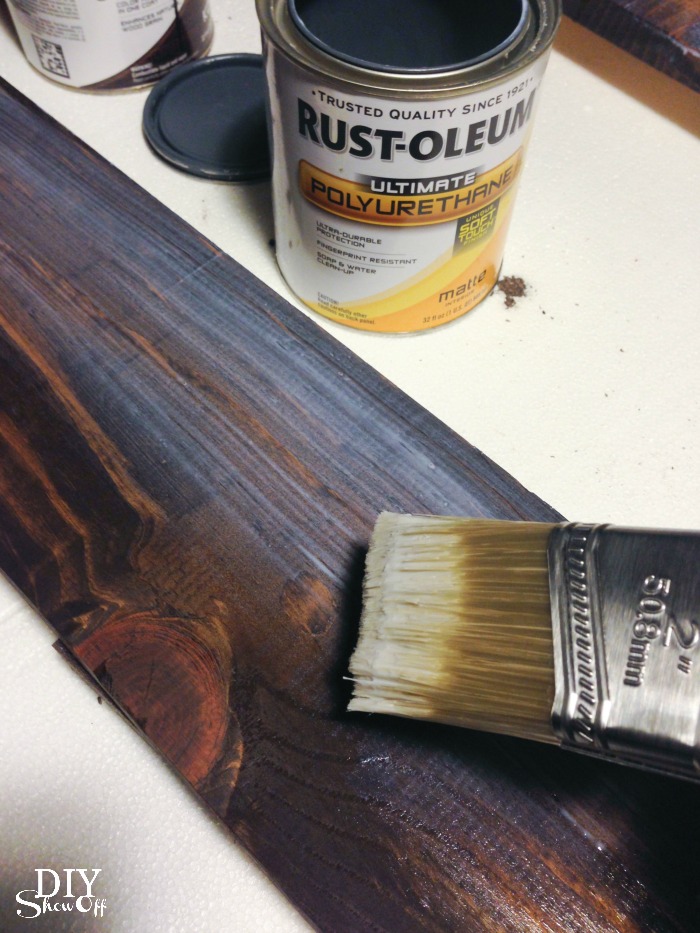
I then applied a coat of the polyurethane over the stain, brushing on in the direction of the wood grain. Add picture hanging hardware to the back and hang to display.
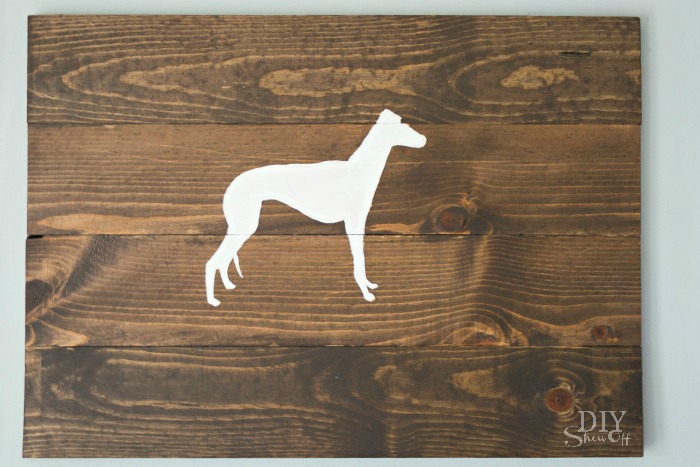
Perfect complimentary wall art for above the coat rack.