A Chartreuse Door

Mini-makeover…

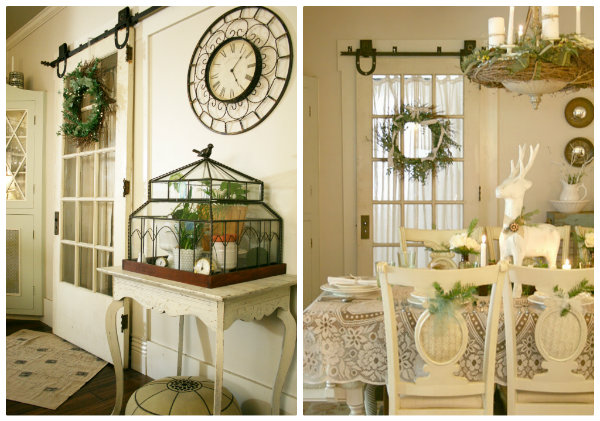
When we first installed the sliding door, I embraced it’s original old paint.

interior sliding door

But over the past year, it did feel more “dirty” even after a good scrubbing than “charming”. It just reminded me of the cold weather and dirty snow…blah. You can’t tell from the pictures. But it did have that dirty old worn finish.

Remember how my brain sometimes works with DIY? It’s usually a spur of the moment decision that wasn’t in my plan for the day or ever. That happened with painting the sliding door in our dining room.

And remember when I painted the door in the apartment renovation

apartment door

I fell in looooove with that color. A beautiful happy shade of green.

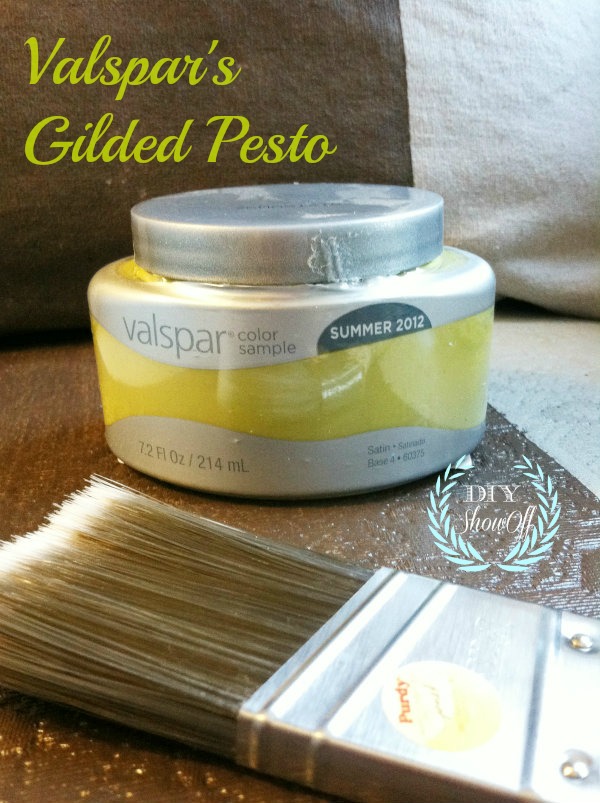
The beginning of the new year consisted of cleaning and organizing the basement somewhat. I stumbled across packed boxes of supplies and tools from the apartment renovation…still not unpacked since November. While putting things away, looky what I found:

Valspar Gilded Pesto

chartreuse green

And just like that, in that five minute time span, I decided to paint the sliding door in the dining room, to add some “spring” color to the dingy, dirty, neutral white. No wonder it takes me FOREVER to clean. Distractions get me every time.

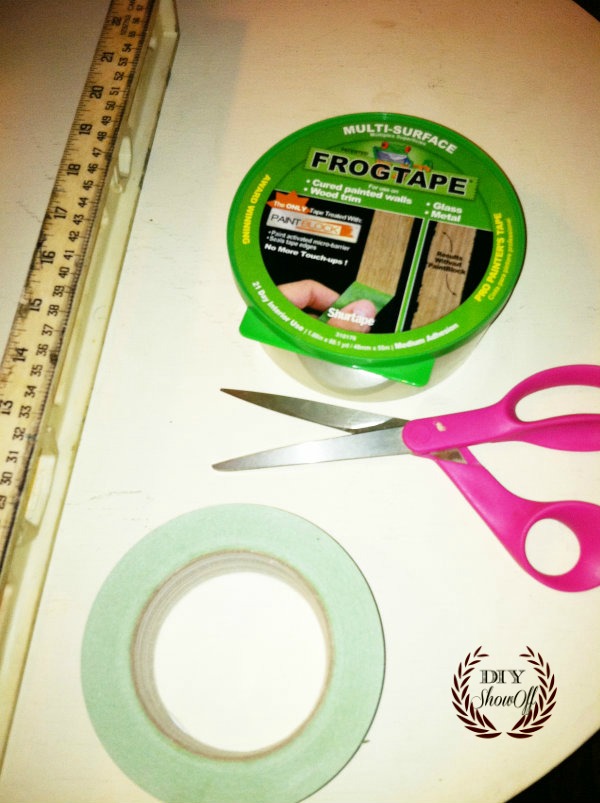
FrogTape

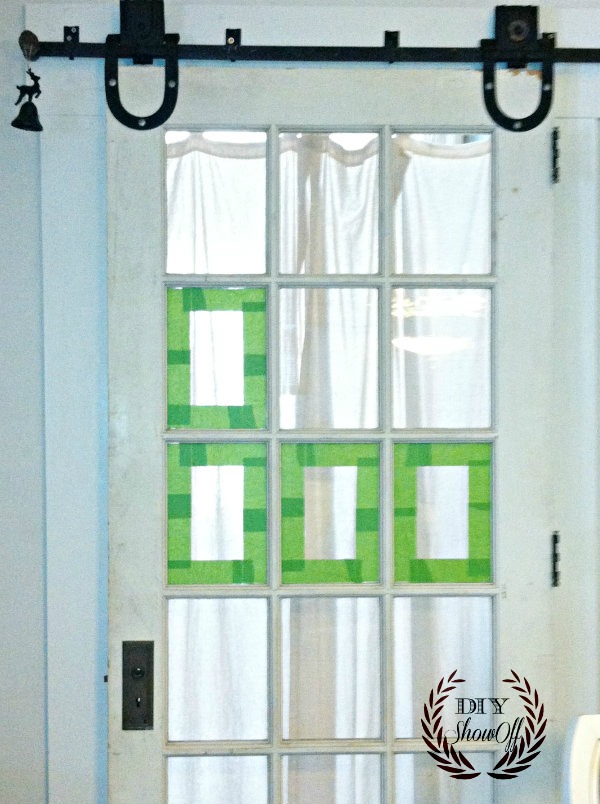
I started by taping off the glass around the mullions with my favorite stash of FrogTape, making sure the edge of the tape was flush against the corner where wood met glass. It doesn’t leave a sticky residue when removed…and I’m all for making a last minute DIY easier.

{you can see the dirty original paint job better in this picture}

FrogTape on glass

{curtain is for privacy in the guest room or maybe hiding junk in what’s become a storage room…ummm, I’m not telling}

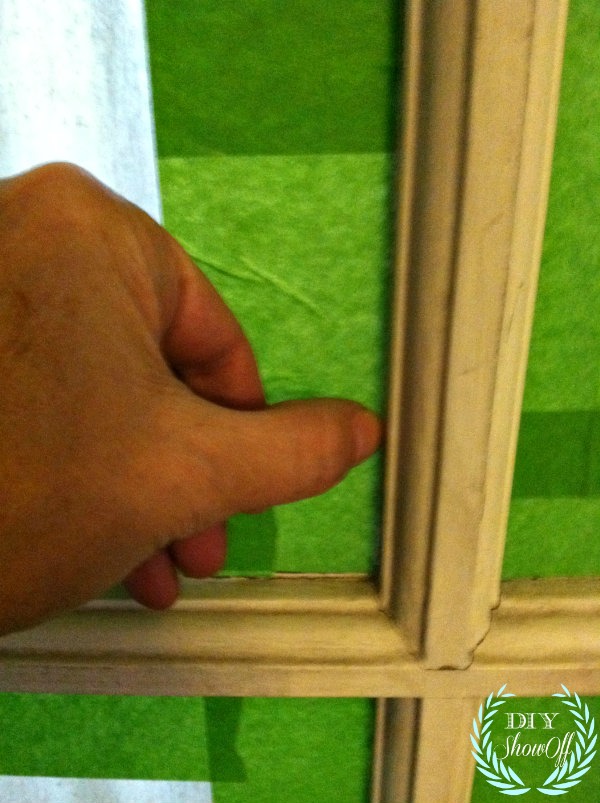
I used my thumb to burnish the edges of the Frogtape to prevent paint from seeping underneath.

burnishing the tape

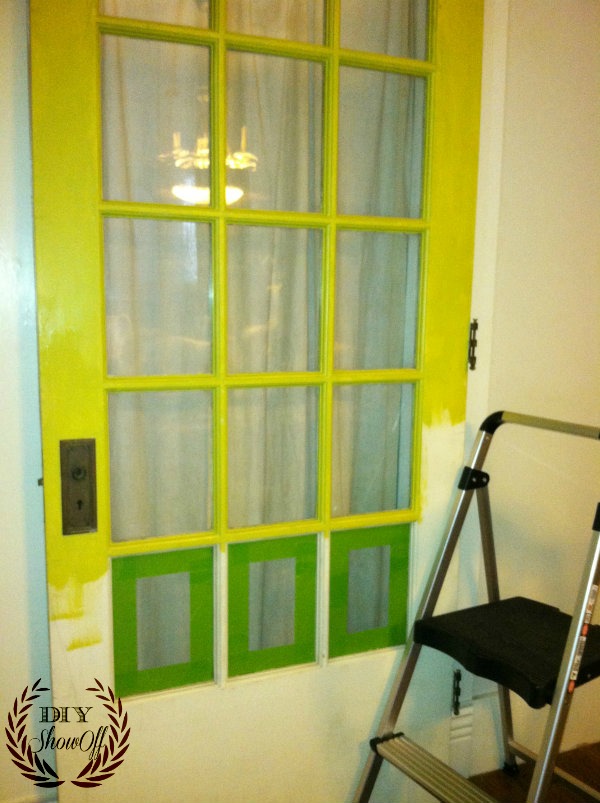
Then applied two coats of my sample container of paint.

painting door


{oops…One coat looked great while wet so I removed tape. I did a second coat on the flat parts after coat 1 was dry}

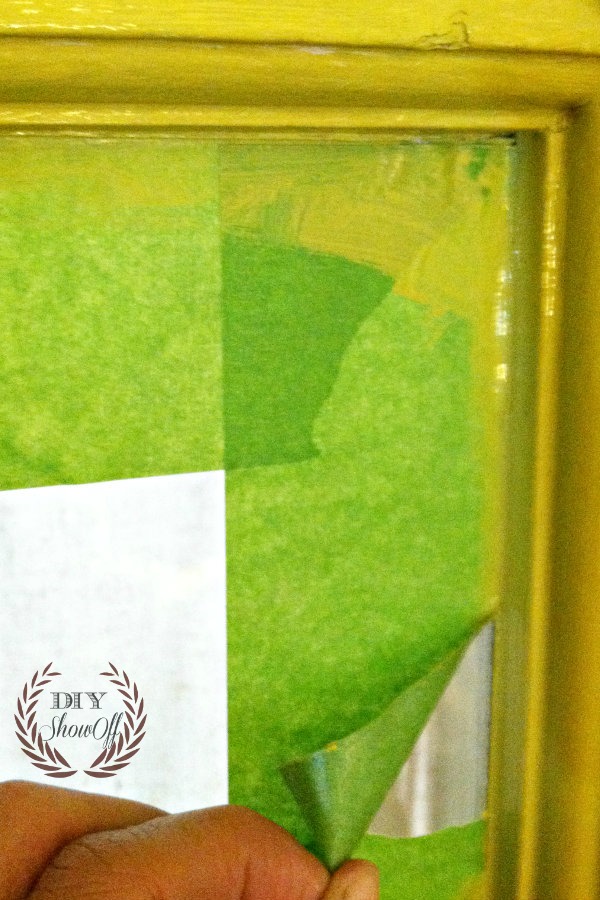
I removed the tape immediately after the second coat, pulling away from the wood.

removing tape

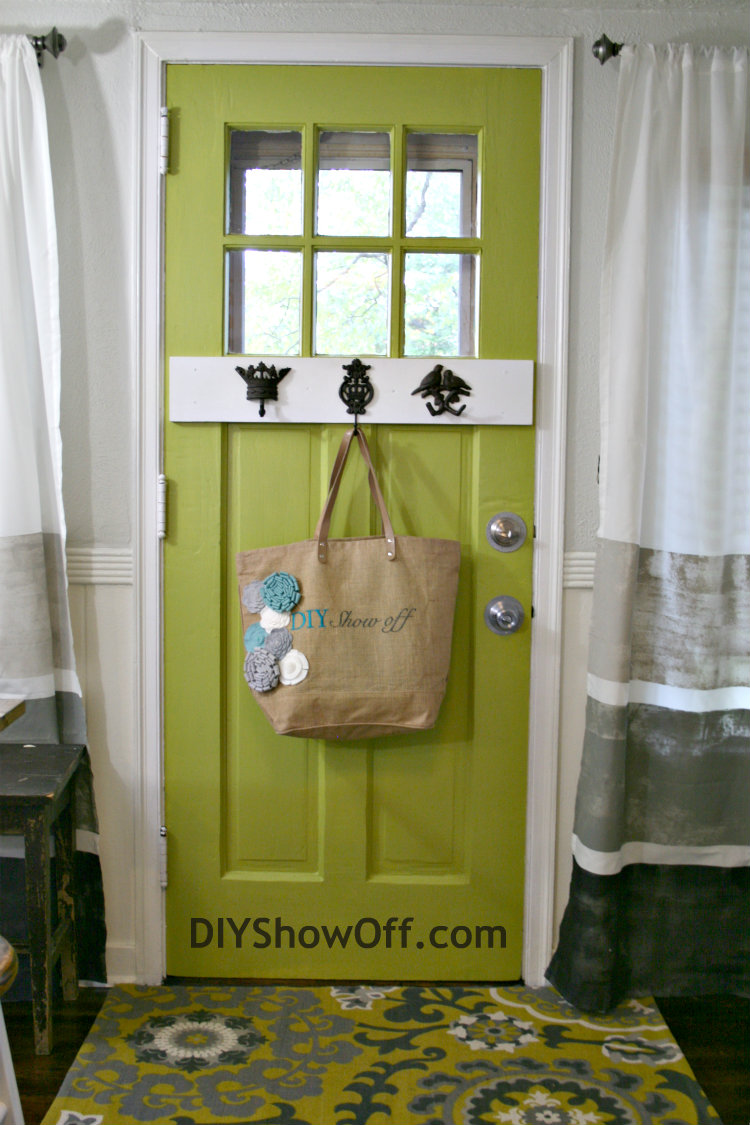
Ta-da…the after:

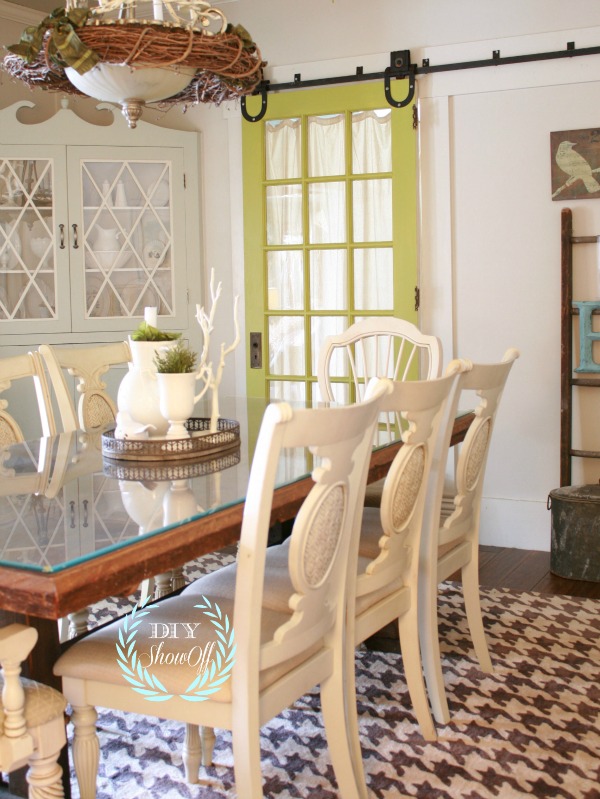
painted door after


again…here’s the before:

shabby chic dining room

What do you think? Do the seasons aid in changing your decor? How finding inspiration and materials that you forgot you had when cleaning and organizing? Either way…I’m loving the new pop of color!

chartreuse paint

  • paint the built ins and add hardware to the bottom doors
  • swap out the light fixture (wait ’til you see the new one!!!)

*This is a sponsored post brought to you by FrogTape. The opinions are completely my own based on my experience. Results may vary. 

FrogTape Blog Squad

Sharing at:

Beneath My Heart’s Best DIY Projects of January

FJI’s Saturday Night Special

Thrifty Decor Chick Before and After party

Christmas ~ Dining Room

Gifts are wrapped. Shopping is done.  The last of my Christmas decorating is complete.

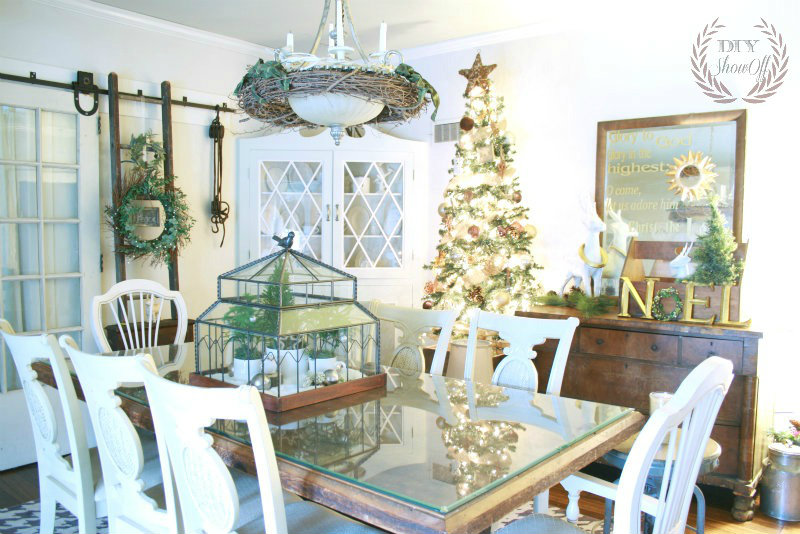
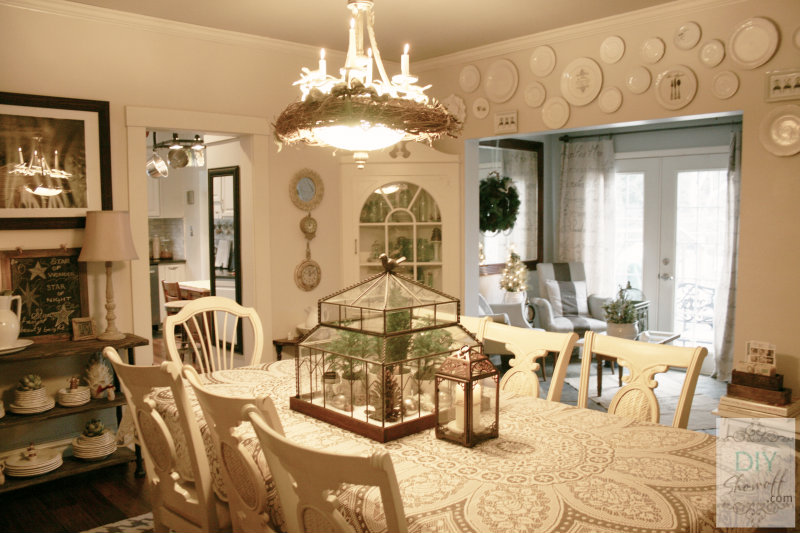
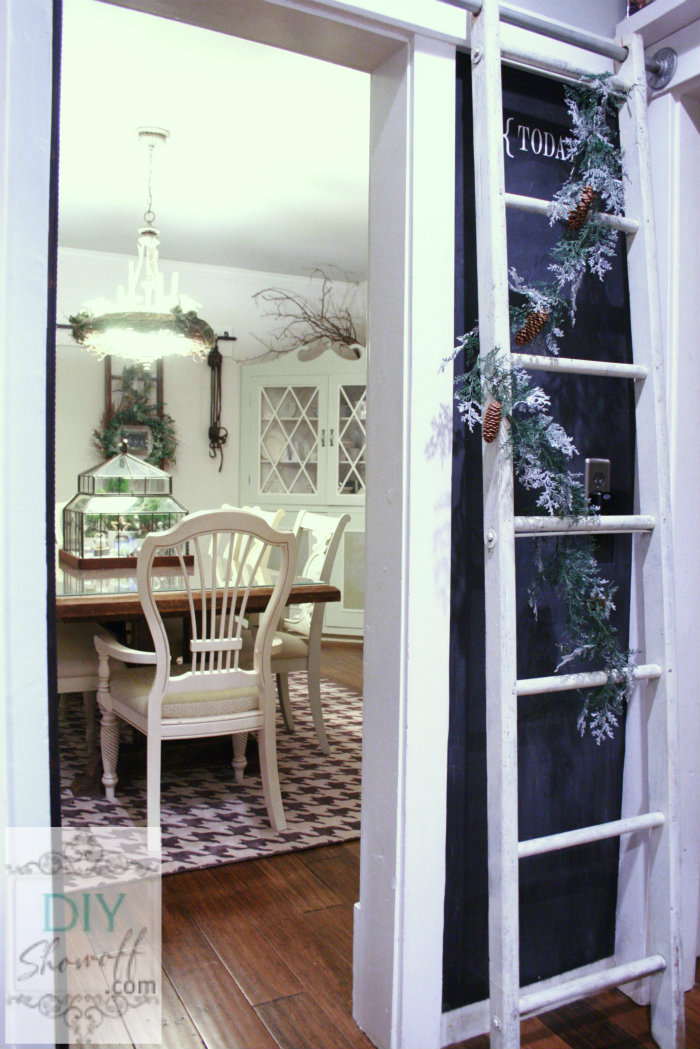
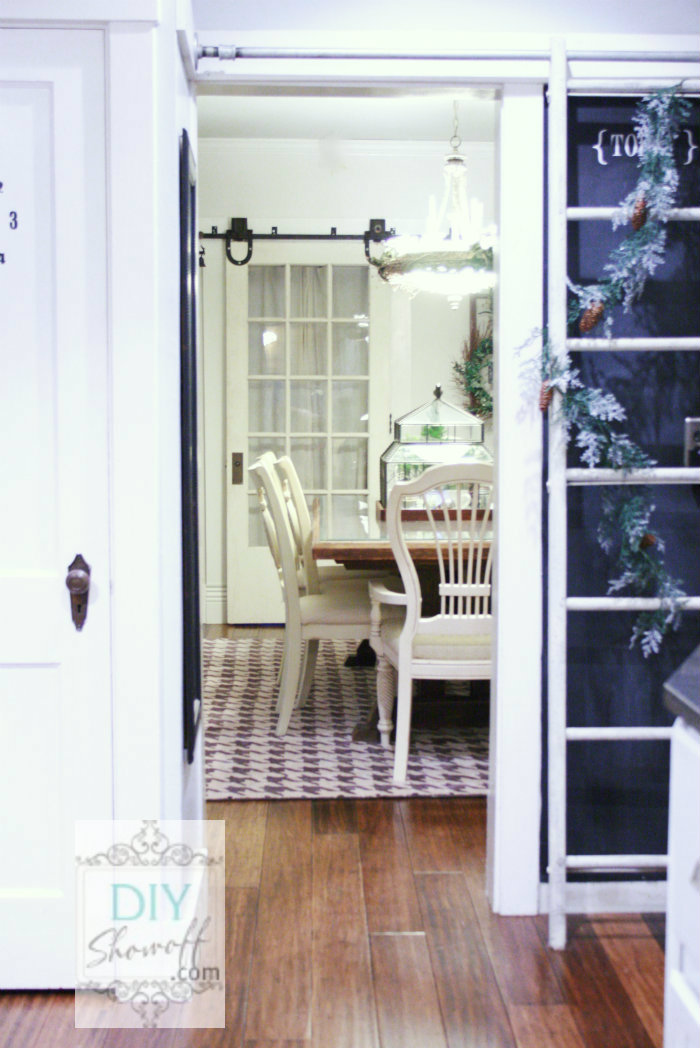
The dining room lighting and arrangement has made pictures a challenge, but here it is. As you can see, some pictures are a little different. I’ve been snapping pictures almost every day for a weeks to try to get it right and during that time, a little rearranging happened. Does that happen to you too?

View from the kitchen…

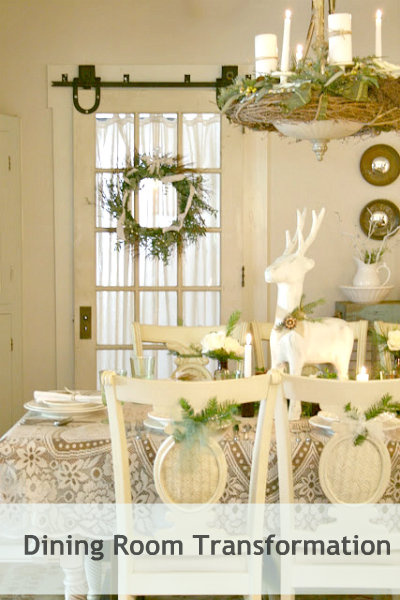
Christmas dining room

I love this view.

Christmas dining room

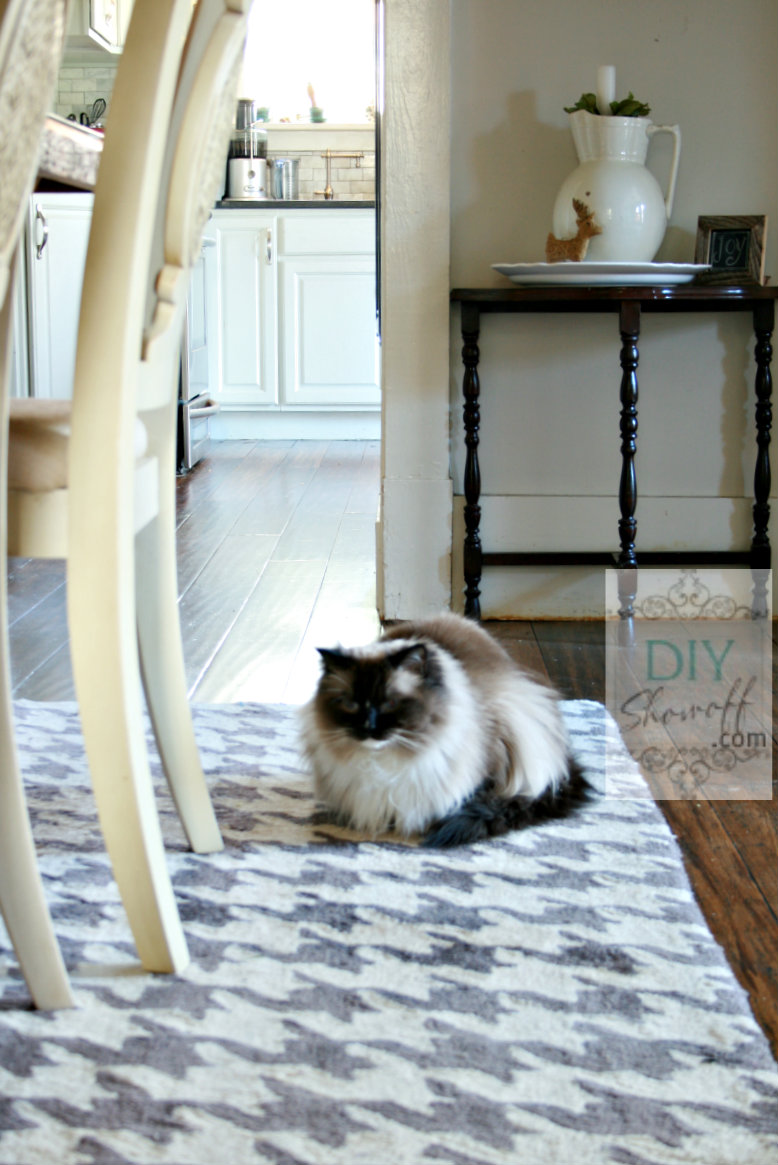
What do you think of the new area rug? I love adding in a modern element. But hey, hounds-tooth is classic.  Someone loves it…

houndstooth area rug

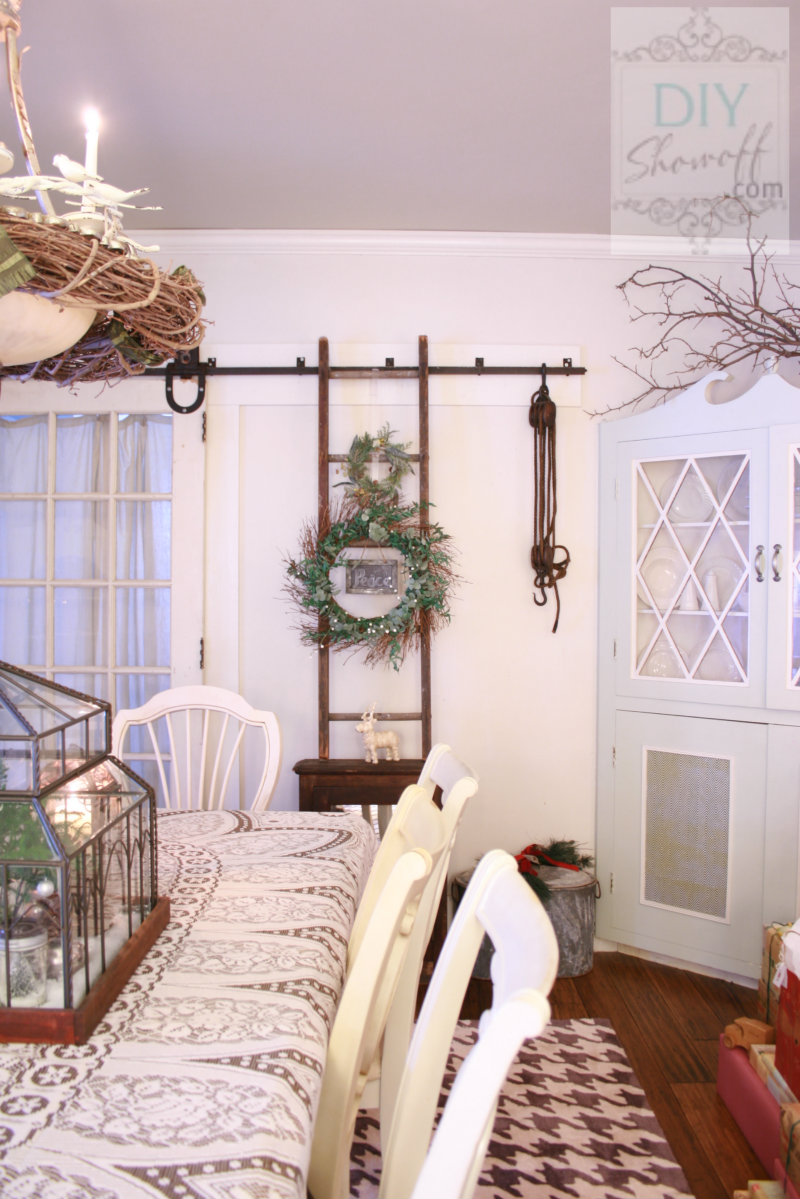
A little shabby. A little rustic. A little country. A little natural. A touch of vintage…our cozy farmhouse.

DIYShowOff Christmas dining room

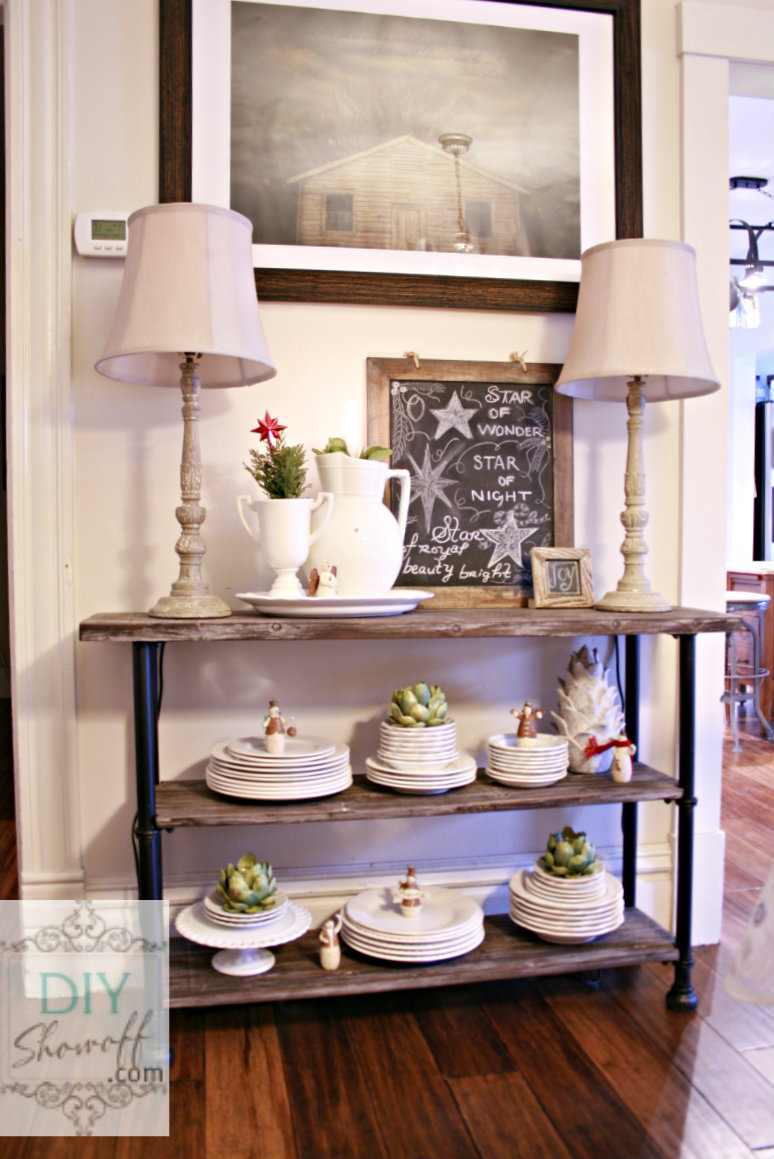
Clean dishes within easy reach for entertaining…

Christmas dish display

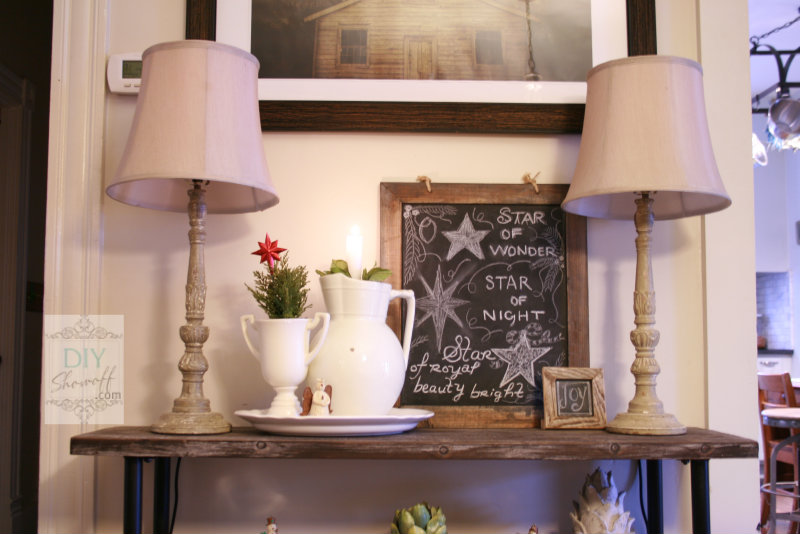
Christmas chalkboard…

Christmas dining room vignette

farmhouse Christmas dining room

A big coincidence with other blog friends, but I added vinyl lettering to my big mirror too, along with a thrift store sunburst mirror.

Christmas mirror

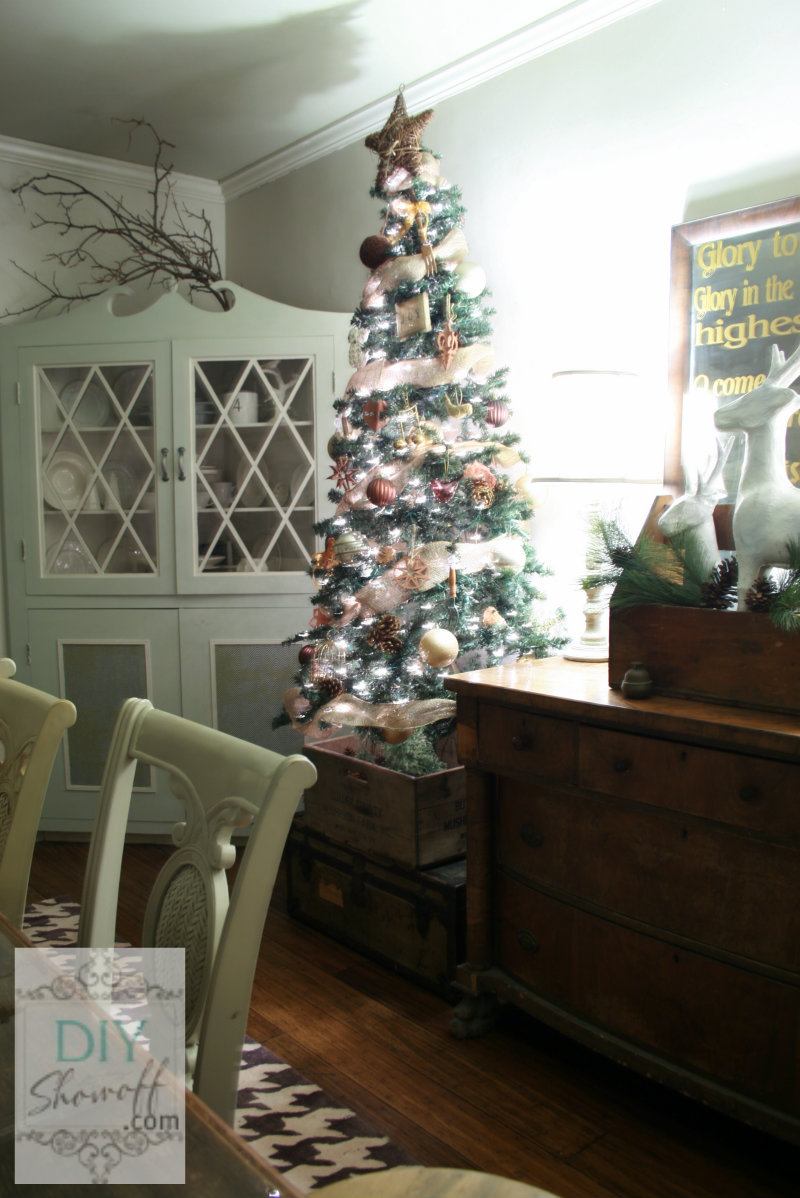
The tree is decorated with burlap ribbon, thrift store finds including a sweet bird cage, eating utensils with wooden handles, pine cones, gold and brown ornaments and topped with a grapevine star…

vintage natural Christmas

nestled in an old crate, atop an old steamer trunk to give it some height.

rustic Christmas tree

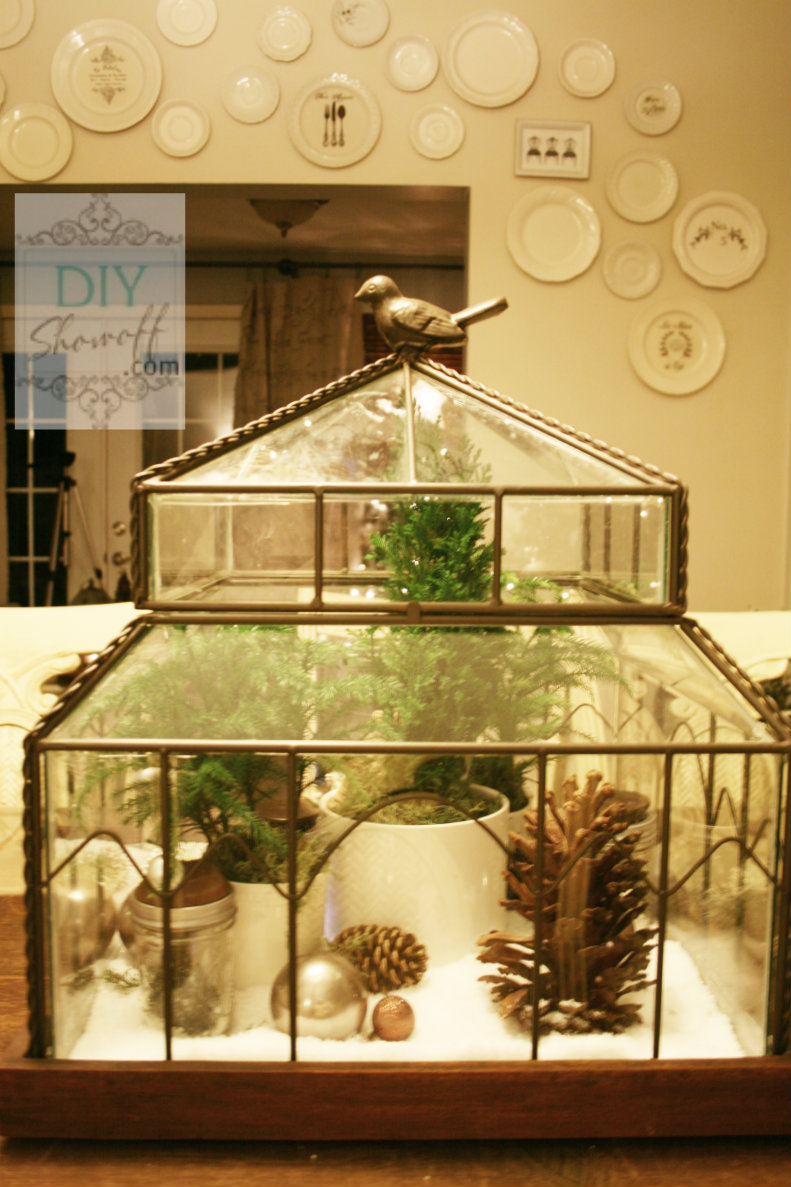
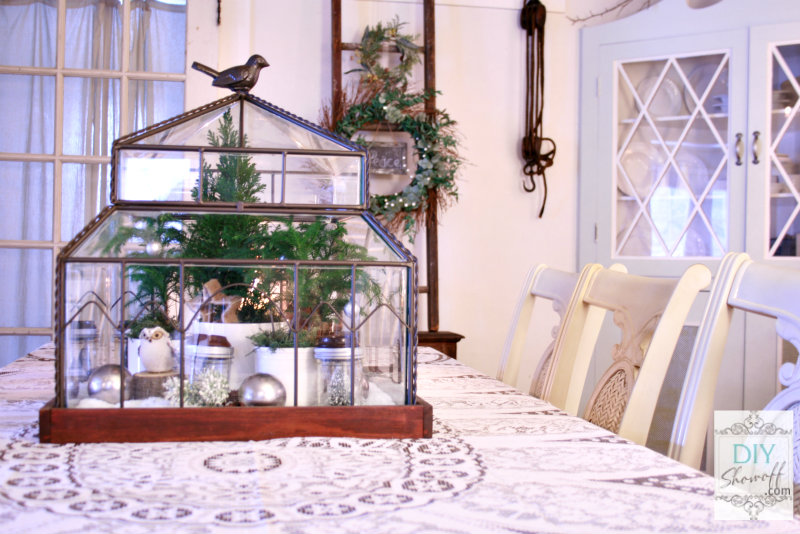
Christmas centerpiece this year is a winter wonderland terrarium. A little Christmas-y greenhouse…

Christmas winter wonderland terrarium

{photographing glass is not easy!}

Christmas terrarium centerpiece

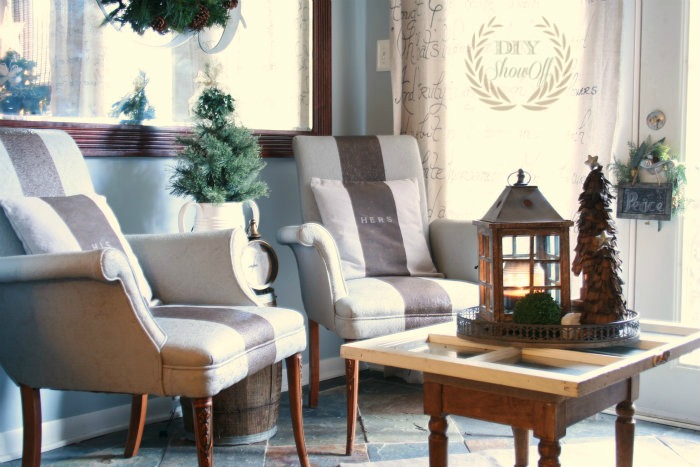
Right off of the dining room is the sitting room

Christmas dining room

I love the flow from the dining room into the sitting room…all neutral, warm, full of charm. More seating for entertaining too. 🙂

Merry Christmas

One room, multi-functional – a makeover story {dining room/home office}

Meet: Sweet Monica from Monica Wants It. I’ve e-known Monica and her amazing DIY talents for quite a while. I’m super excited to ‘show off’ her most recent project. This girl (and her hubby) put in some long hours and hard work and it’s well did an amazing job!

Combined Home Office/Dining Room Makeover

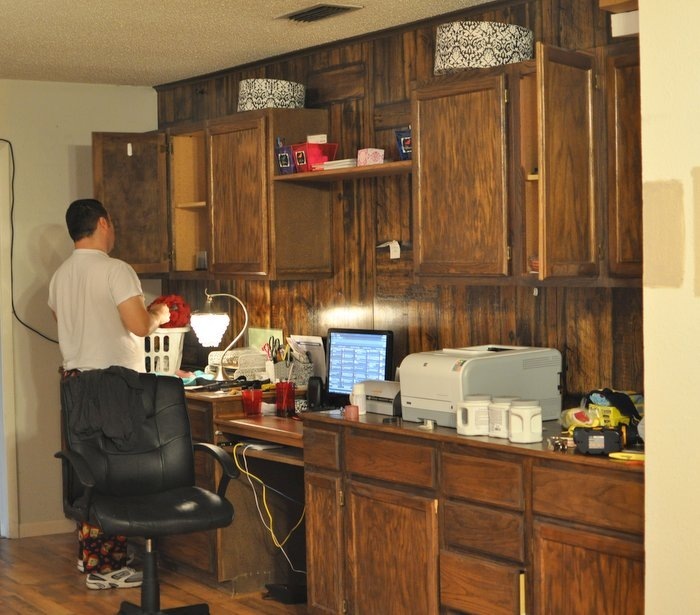
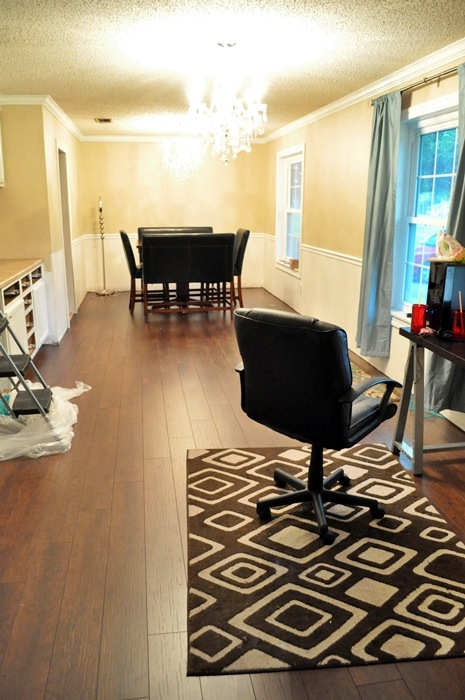
They started with a room which is a combined home office and dining room with dark paneling, wall paper and nothing Monica’s style…

before

dark cabinets and paneling before

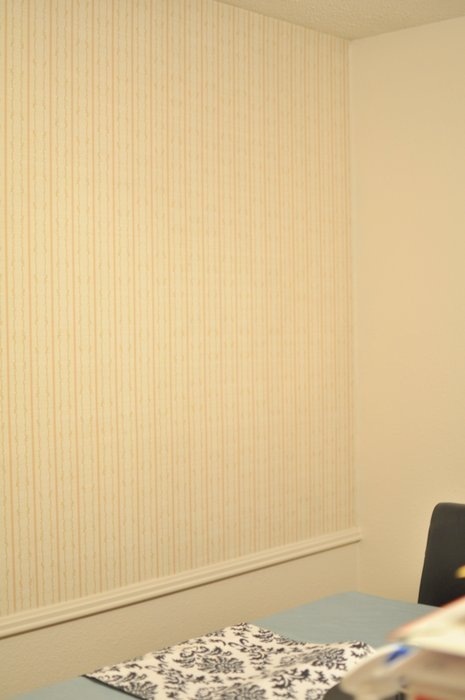
They took down the cabinets, removed the dark paneling and stripped old wallpaper…

old panelingold wallpaper

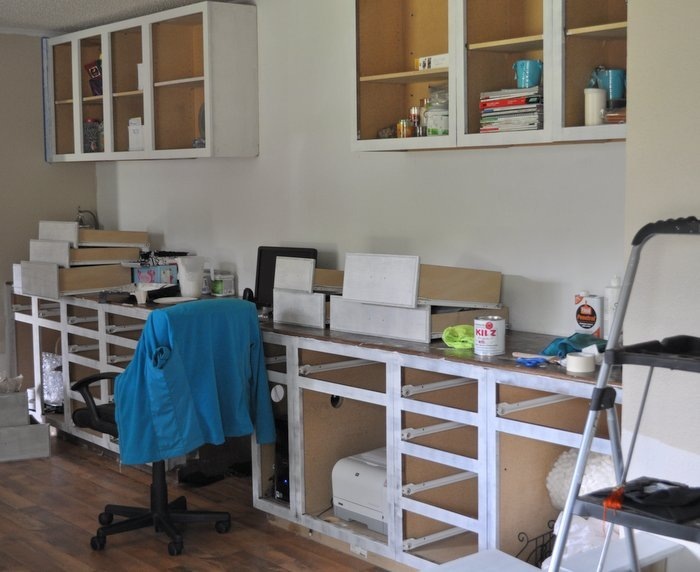
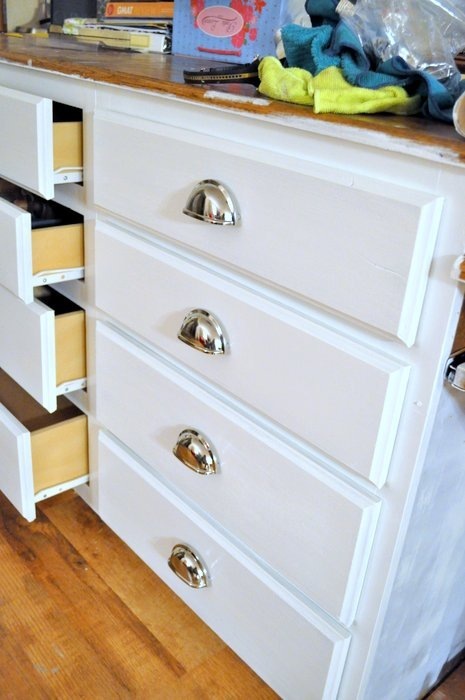
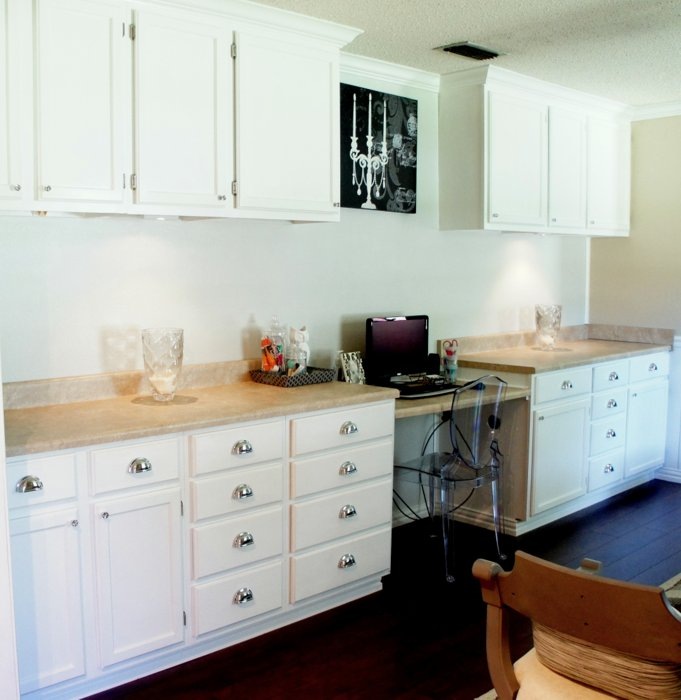
put the cabinets back, gave them a fresh new look with paint, new countertops and hardware.

in progress…

painting cabinets

after

painted cabinets

Huge difference from the old dark before…

painted cabinets

They painted the walls and installed crown molding. The installed new flooring and swapped out the ceiling fan. Makes you crave a break just reading about it, doesn’t it?

DIY room makeover

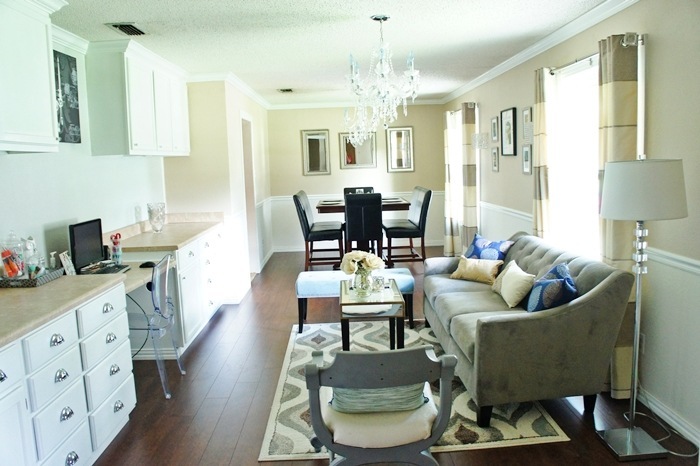
Then Monica worked her decorating magic…

Wow!

home office

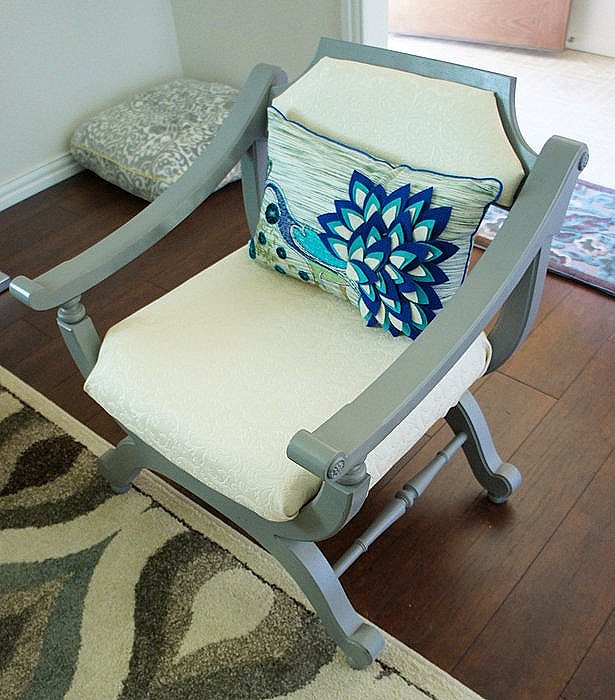
My favorite of her DIY decorative accents is this chair

chair makeover

and framing Restoration Hardware catalog pages…brilliant and so pretty!

DIY framed Restoration Hardware catalog page

The entire room is a beautiful place to entertain, dine, work, relax…I might even sleep in there!

DIY dining room makeover

dining room makeover

dining room makeover

What do you think? It’s so hard to believe it’s the same space. Glam and comfy and so functional! Love it! There is so much more to see! Pop over to see the full original post with more pictures and details at

Monica Wants It

DIY Show Off - FacebookDIY Show Off - TwitterDIY Show Off - PinterestDIY Show Off - Feed


A Chair Affair – thrift store dining chair makeovers

Just a quick “after” of the chairs my sister Patti got for around $2-3 each for her dining room (she just moved her family back and is on a tight budget for furnishing her new home). Shopping was done at thrift stores, 2nd hand furniture store, yardsales and auctions.

thrifty store chairs

A little clean up and all chair cushions were re-upholstered. Patti chose coordinating royal blue floral and paisley patterns.

  • Remove seats from wooden chair base.
  • Remove old fabric (usually stapled on)
  • Lay out new fabric with seat upside down in the middle of a piece of fabric (about 1/2 yard should be more than enough). Cut fabric to size (a couple of inches larger all the way around).
  • I fold my unfinished edges under while working my way around the seat, stapling as I go.
  • Start with the center of one side, fold fabric under then pull and staple to the under side of the seat. Do the center of each side, pulling tight as you go.
  • After each side center is stapled, I move the corners. Taking the corner of the fabric, pull tight and staple. I wrap the corners the same way I wrap a gift.
  • Staple the fabric all the way around (fabric folded under) the bottom of the chair seat.
  • Reattach the seat to the chair frame with screws.

reupolstering chairs

We love the dark stain on these and that they’re all different but all coordinate now…

dining room chair seat makeover

Click the pictures below for original links to more beautiful dining room chair makeovers by some super talented blog friends:

DIY Show Off - FacebookDIY Show Off - TwitterDIY Show Off - PinterestDIY Show Off - Feed


Living & Dining Room before and after

Hi Blog Friends! I’d like to introduce you to Maggie from

The Reformed Ranch

A couple of years ago Maggie and her husband purchased a 1951 ranch in Texas that needed a lot of work. They knew it would require a lot of commitment, but they both love do-it-yourself projects {who doesn’t?!} and knew that they could tackle it on their own.

living room before

The room that needed the most help was their living room, which looked more like an Italian restaurant than a cozy country cottage. The amazing after…

living room after

Their goal was for the space to feel organic, like it had been collected over time. Maggie found that by purchasing only the things that they love, the space, in turn, feels more cozy than if they were to go to one store and buy a lot of coordinating items.

DIY living room

window seat

built in book case

Here are some more tidbits about the makeover:

  • The wall color is Olympic “Toasted Almond” in flat and the color on the trim, built-ins, and fireplace is Olympic “Ultra White” in semi-gloss
  • The decorations are from a variety of discounted home stores including TJ Max, HomeGoods, Tuesday Morning, Target, and even Walmart. They also found a lot of great things at resale and antique shops. {Sounds just like my own decorating plan of action!}
  • The curtains are actually painter’s drop-clothes from Lowe’s. Maggie wanted something light and airy, but also didn’t want to spend a ton of money since they needed 8 curtain panels. They fit perfect in the room, and the $9.99 price tag wasn’t too shabby either.
rustic charm
I love the rustic/vintage details.
~*~*~*~*~
The dining room was also in desperate need of some help. The walls were also faux finished and the room was just dark and dingy.
dining room before
Maggie and her husband installed beadboard for some cottage charm. They installed wallpaper on the top portion of the wall which gave the room the elegance it deserved as a dining room.
dining room after
Because they’re fans of an industrial farmhouse look, they installed two industrial outdoor light fixtures on the wall.
farmhouse sconce lighting
The chandelier is a DIY West Elm inspired knock off.  $10 price tag by using an old lampshade and a lamp kit.
diy drum chandelier
They purchased the buffet from an antique store and painted it a coral shade of red to coordinate with the couch that is in the adjoining living room.
charming centerpiece
~*~*~*~*~
Beautiful transformations! See more DIY from Maggie at
The Reformed Ranch

DIY Show Off - FacebookDIY Show Off - TwitterDIY Show Off - PinterestDIY Show Off - Feed


Dining Room Plate Wall

I love the look of plate walls – a great way to fill a wall with so many options to fit your own personal style.

Meet: Hilary from My So-Called Home.

dining room before

Hilary shares my issues with indecision. What to put on the walls? She finally realized it would be better to put something there and change her mind later on than to do nothing at all. And of course, lots of Pinterest browsing helped, specifically these two lovely rooms:

Then her idea became a reality. Now all she needed was a whole mess of random plates and she knew exactly where to get them– the same place she scored her awesome campaign dresser. This place has more dishes so many dishes (how dreamy!) Most of the dishes Hilary got were about 50¢ each.

Hilary washed and dried and numbered (masking tape) her plates.

Secret: One of her plates is not actually ceramic but this sweet little incredibly tarnished silver dish that took a couple coats of primer and white paint to fit in with the rest.


Hilary found adhesive cloth hook hangers in the “hooks and hangers” section at Lowe’s.

Hilary used paper plates and paper patterns to create a template.

Before:

And After!


Who knew that a few thrift store plates could create such a big fun impact?

Hilary is also happy to report that three moons have passed since these plates went up and they’re all holding strong.

I love Hilary’s collection of plates. I also love every other dining room detail. A beautiful appetizing dining area.

Do you have a plate wall?

I have a dining room plate wall too. Let me clean up in there and I’ll share an update in the near future. Hilary, thanks for sharing your beautiful dining room, inspiring plate wall and tips for a hanging! Pop over to see more budget friendly LOVELY DIY at My So Called Home.
DIY Show Off - FacebookDIY Show Off - TwitterDIY Show Off - PinterestDIY Show Off - Feed