Build a Beautiful Pallet Flower Planter + Blog Updates

Vertical pallet garden full of colorful flowers.

A Quiet Comeback + A Favorite DIY Revisited

There’s something comforting about returning to familiar places. Especially the creative kind and I’ve missed this space. After a little time away from blogging, I’m finding my rhythm again and thought I’d start by dusting off a simple, cheerful project from the archives: a DIY pallet flower planter. It’s a reminder that sometimes beauty blooms best when we revisit what we’ve already begun.

Materials I Used for a DIY Pallet Flower Planter

  • 1 kiln-dried pallet (in good condition)
  • Scrap wood. Here’s what I grabbed: (1) 1×4 board, (2) 2×4 boards, (1) 4×4 block
  • Exterior nails or wood screws
  • Wood stain (optional, for color and finish)
  • Clear protective topcoat (weather-resistant)
  • Heavy-duty staples or staple gun
  • Fabric weed barrier or landscape fabric
  • Potting soil (suitable for flowers)
  • Seasonal flowers of your choice
flower pallet garden

How to Make a DIY Pallet Flower Planter

Step 1: Choose and Prep Your Pallet
We had plenty of pallets on hand and selected a kiln-dried pallet marked “HT” (heat-treated), which indicates it’s safer for garden use compared to chemically treated wood. We gave it a thorough scrub with bleach and water to clean off any dirt or residue (important if you’re planting anything edible or placing it near your home).

Step 2: Remove Boards to Create Planting Space
Using a pry bar, we carefully removed three of the horizontal boards from one side of the pallet. This helped open up the structure, creating more vertical room for taller flowers to grow freely.

Step 3: Sand and Prep the Wood
Next, we sanded down all rough edges and splinters using medium-grit sandpaper. I also hammered in any protruding nails to ensure the surface was smooth and safe to work with, especially important for a garden piece that’s often handled.

Step 4: Add Stability and Feet
To give the pallet a flat base, we attached scrap 1×4 boards to the bottom edges of each side, creating a shelf-like structure. This gave us a place to attach “feet” made from more scrap wood. We experimented with adding a caster to one side for mobility, but when that didn’t work as well as we hoped, we opted to secure the pallet to the side of our patio swing instead. You could also anchor yours to a deck railing or set it securely into the ground.

pallet garden tutorial

Step 5: Stain and Seal the Wood
I stained the pallet using Rust-Oleum Wood Stain in Kona, applying it with a brush and wiping away the excess. Although the stain dries in about an hour, I let mine cure for a few days before sealing it. Once dry, I gave the entire pallet a quick coat of clear protective spray to help it stand up to the elements.

rust-oleum stain and pallet

Step 6: Cut Fabric for Planting Pockets
To create planting pockets, I used newspaper and junk mail to make a simple pattern. Be sure to account for folding the edges under and covering the sides of each pocket. Once the pattern was dialed in, I used it to cut my fabric weed barrier to size.

weed barrier planter pockets on pallet garden

Step 7: Staple the Fabric Weed Barrier
I folded under the raw fabric edges for a cleaner look and then stapled the fabric in place between the pallet boards, forming deep planting pockets. The corners were a little tricky—I used a trial-and-error folding technique and may have gotten a bit staple-happy. My final setup created 12 planting pockets in total.

Step 8: Set Up Your Planter
Once everything was secure, I moved the pallet into its final position. You can lean it, secure it to a railing, or anchor it in the ground depending on your space and preference.

DIY flower pallet garden tutorial

Step 9: Fill and Plant
Time to get planting! Fill each pocket with quality potting soil and your favorite flowers or herbs. The fabric allows for natural drainage, helping prevent overwatering.

watering flowers in vertical pallet garden

Finished and Flourishing

Ready to bloom! I love how this project gives new life to old materials and brings a pop of color to any outdoor space. If you give it a try, I’d love to see how yours turns out! Tag me on social media @DIYShowOff or leave a comment below!

vertical pallet flower garden

Get More DIYs in Your Inbox

Subscribe below for creative project ideas, free printables, updates and more.


Let’s Show Off Your Creativity!

Have a DIY project you’re proud of? Whether it’s a craft, home improvement idea, seasonal decor, or something uniquely creative, I’d love to feature it here on the blog or on social media! Sharing inspiring ideas is what this space is all about and your creativity could spark someone else’s next project. Fill out the form below to submit your tutorial, photos, or story. Let’s inspire each other!

Flower Pallet Garden

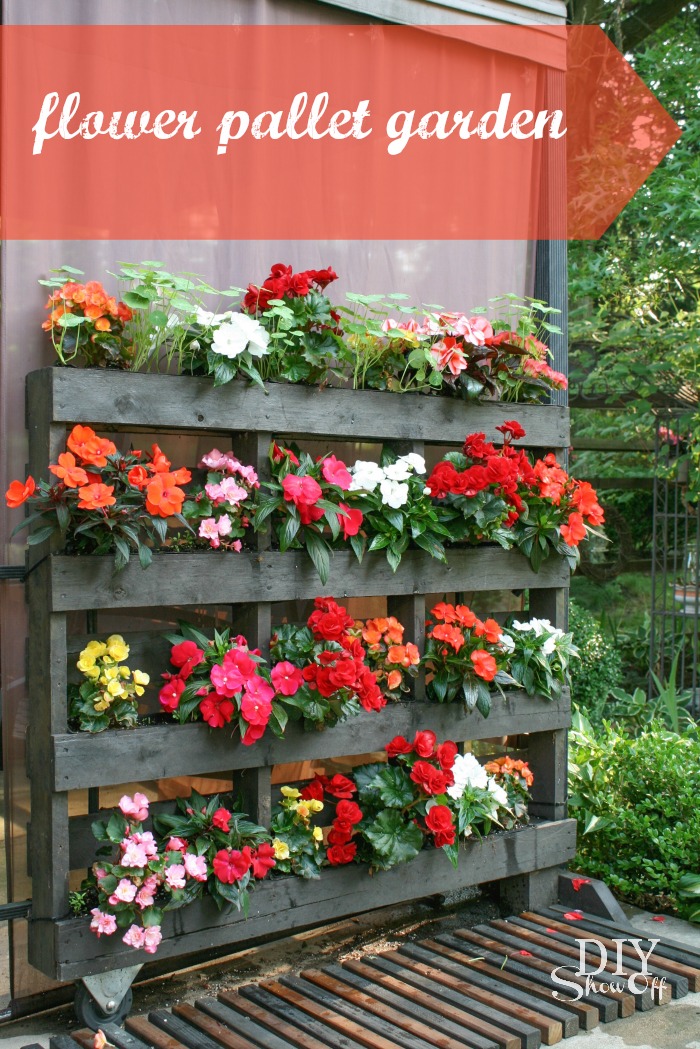
This year I wanted to give my pallet garden a new look. It’s the third year we’ve been using it and it’s still in great shape. The Project Garden campaign was the perfect opportunity for a little assistance. Since we entertain outdoors often in the summer months, I really wanted to add color and pretty blooms to our patio area rather than herbs this time around.
Miracle-Gro’s® latest product innovation, Liquafeed® Universal Feeder, makes feeding as easy as watering.
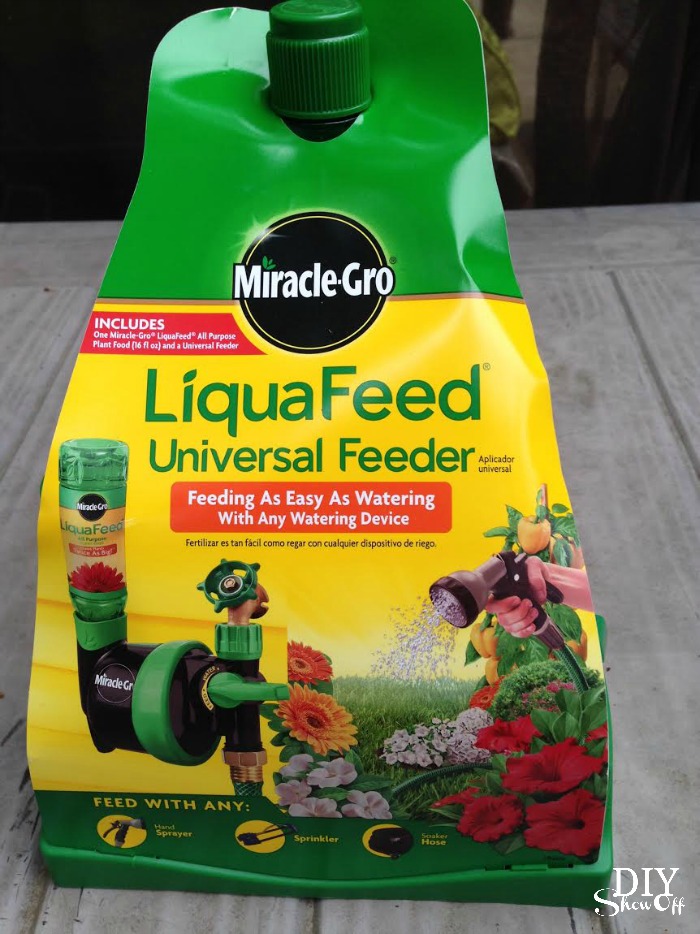
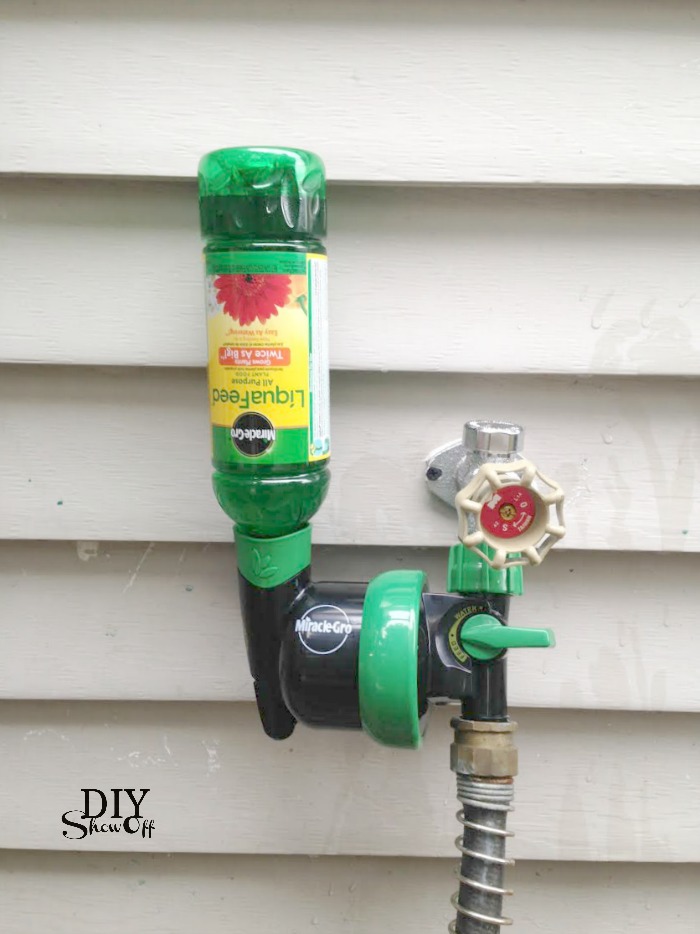
We simply installed the Liquafeed® Universal to our outdoor spigot, then screwed on our hose. Then just pop in a bottle of MiracleGro feed.
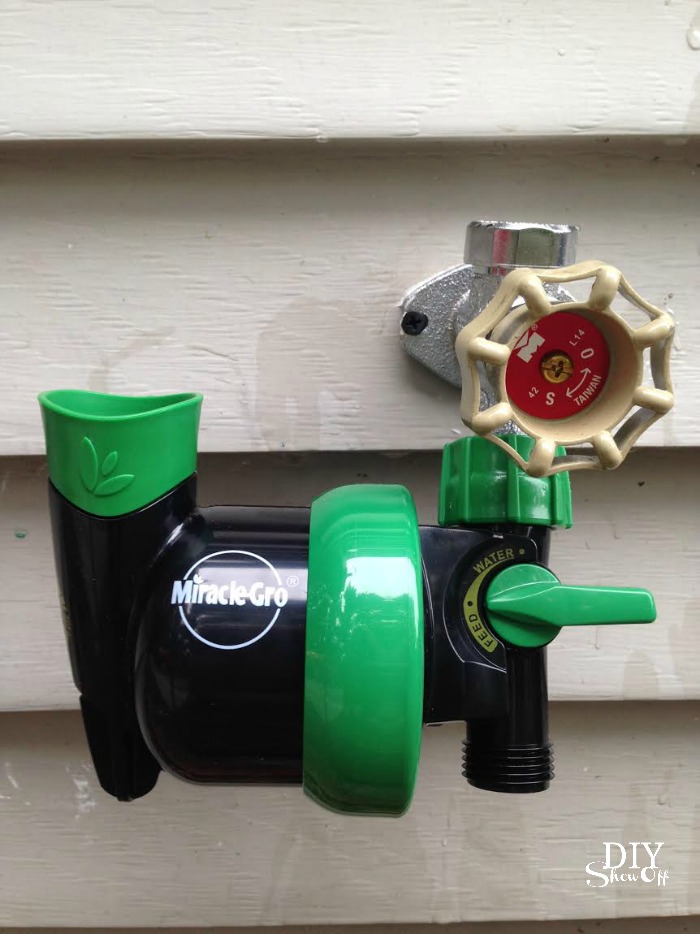
Down position when not in use. Up when feeding.
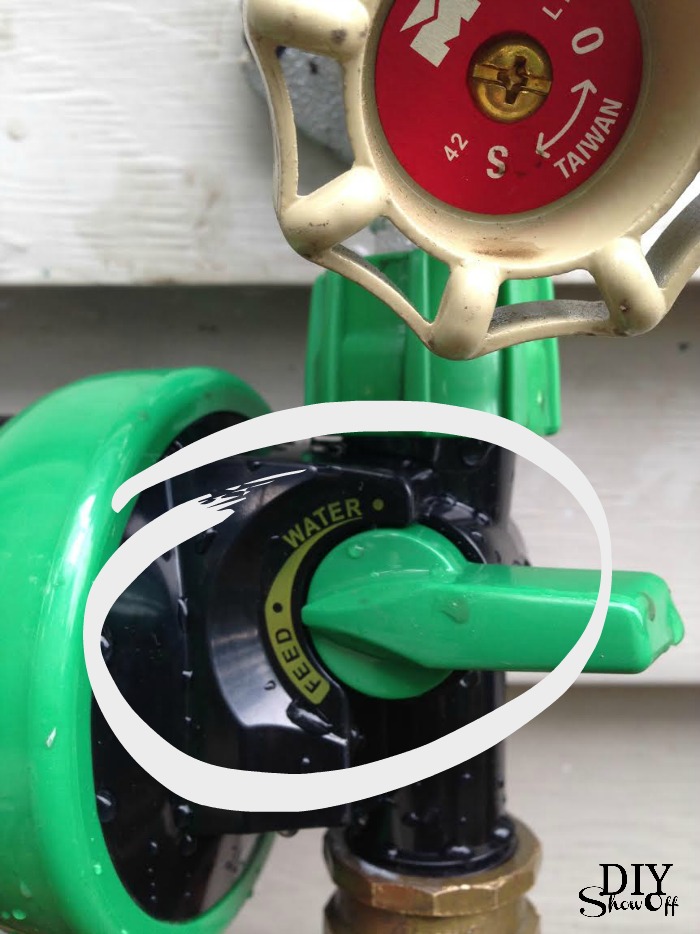
There’s also a handy water/feed switch so the Liquafeed® Universal can remain in place.
We planted the flowers then soaked the soil with using the Liquafeed® Universal attached to the hose on the mist or shower setting, the same as when I’m watering.
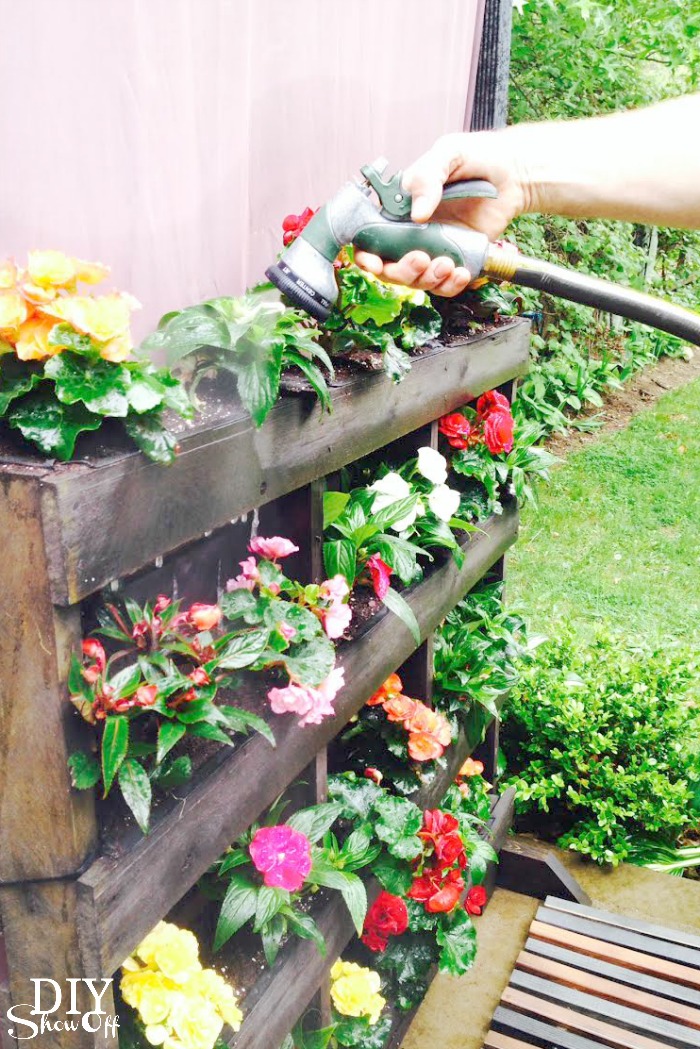
I water my flowers every evening then flip the switch to feed every other week for bigger, more beautiful plants. Feed every 7-14 days with Miracle-Gro All Purpose Plant Food or Miracle-Gro Bloom Booster Flower Food to help plants grow bigger and more beautiful versus unfed plants.

Flowers can be quite the investment and a risky one if your track record isn’t so great with plants, like mine. I want to make sure these beauties thrive all season long!

Oh my goodness! Gorgeous!
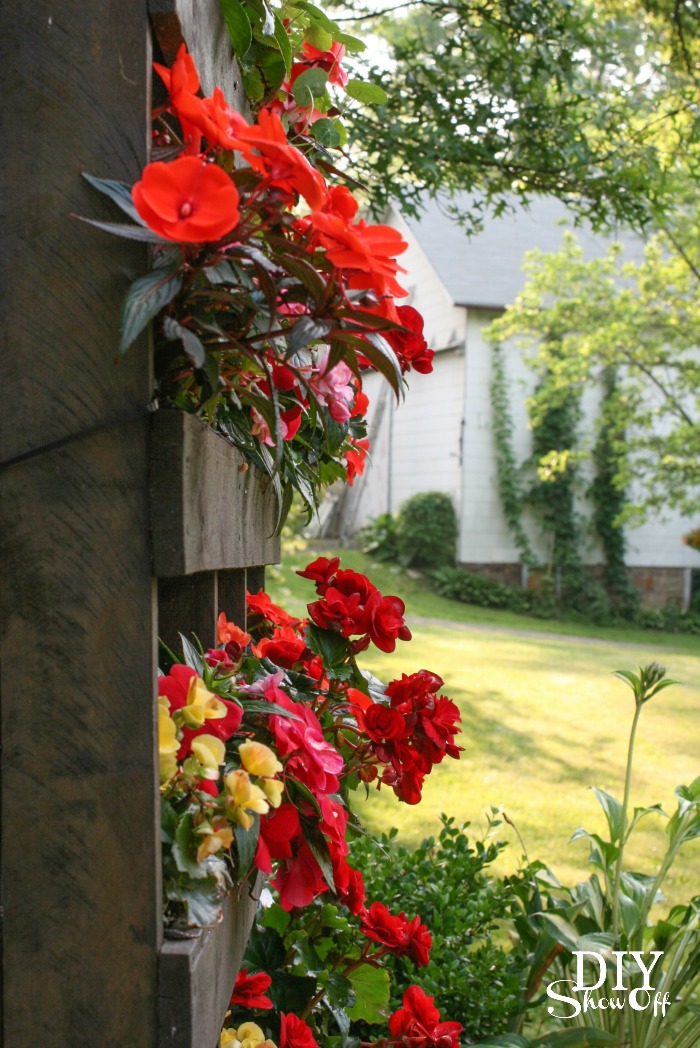
Spilling out like flower gardens on a European balcony but it’s really just a vertical pallet garden in western PA. 😉
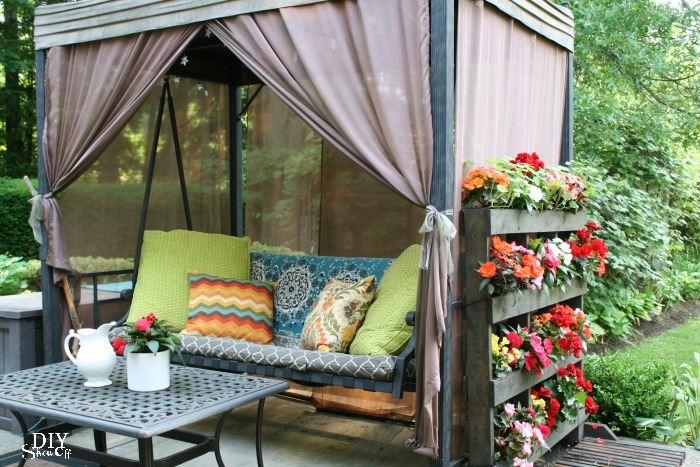
I am in love with these bright colored impatiens and happy begonias! Stunning, right?
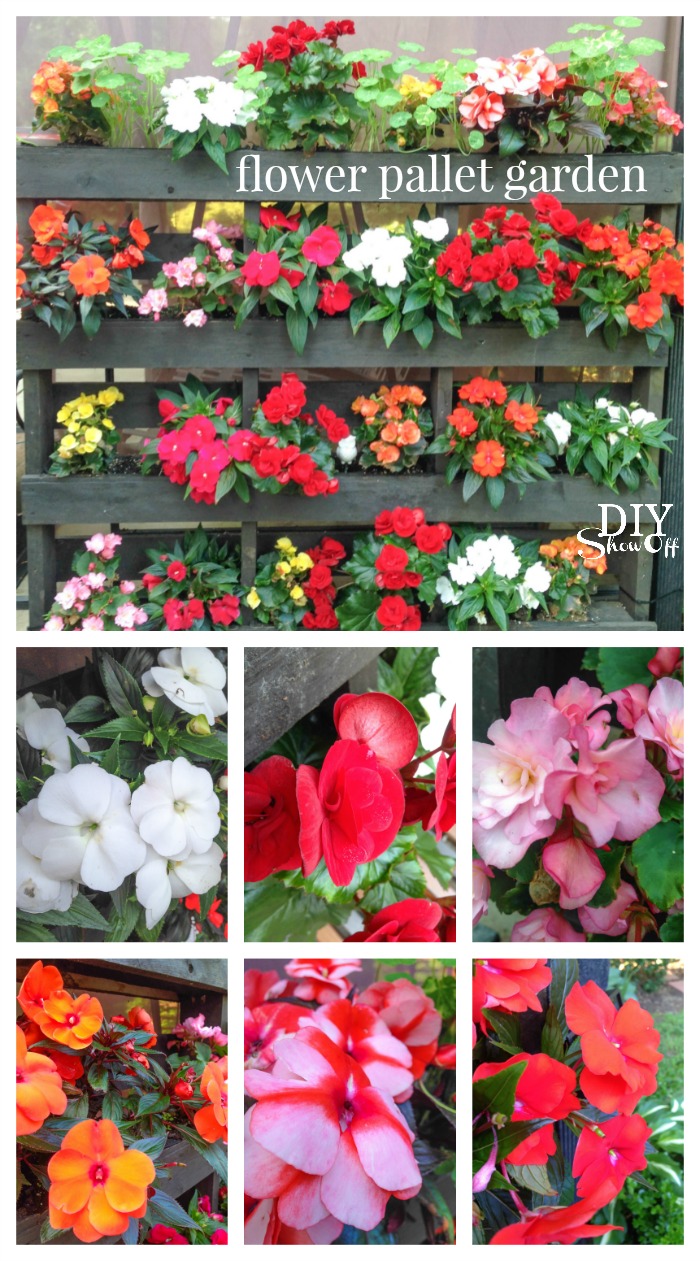
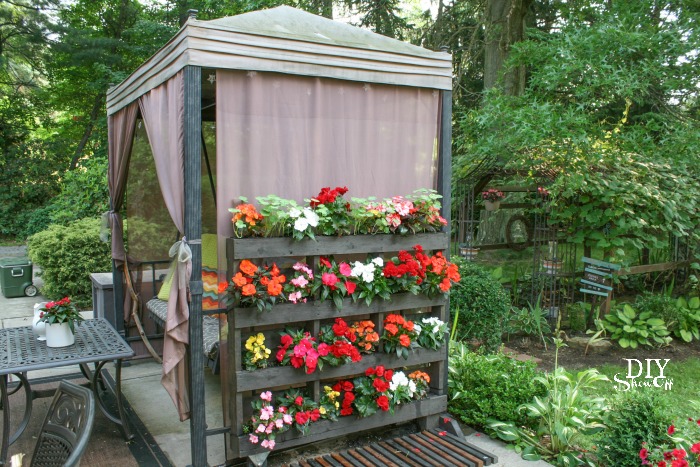
Get tips for making your own vertical pallet garden tutorial HERE.

Do you have a green thumb? Any helpful tips for maintaining beautiful plants? My new favorite flowers are impatiens. How about you?

FAQ’s about the LiquaFeed Universal

More information about the LiquaFeed Universal Starter Kit

*If it waters, now it feeds with Miracle-Gro® LiquaFeed® Universal Feeder. It’s a great tool to help you reach your gardening goals by providing the essential nutrients your plants need to thrive all season long.

*Miracle-Gro® sponsored this blog post. The opinions and text are all mine.


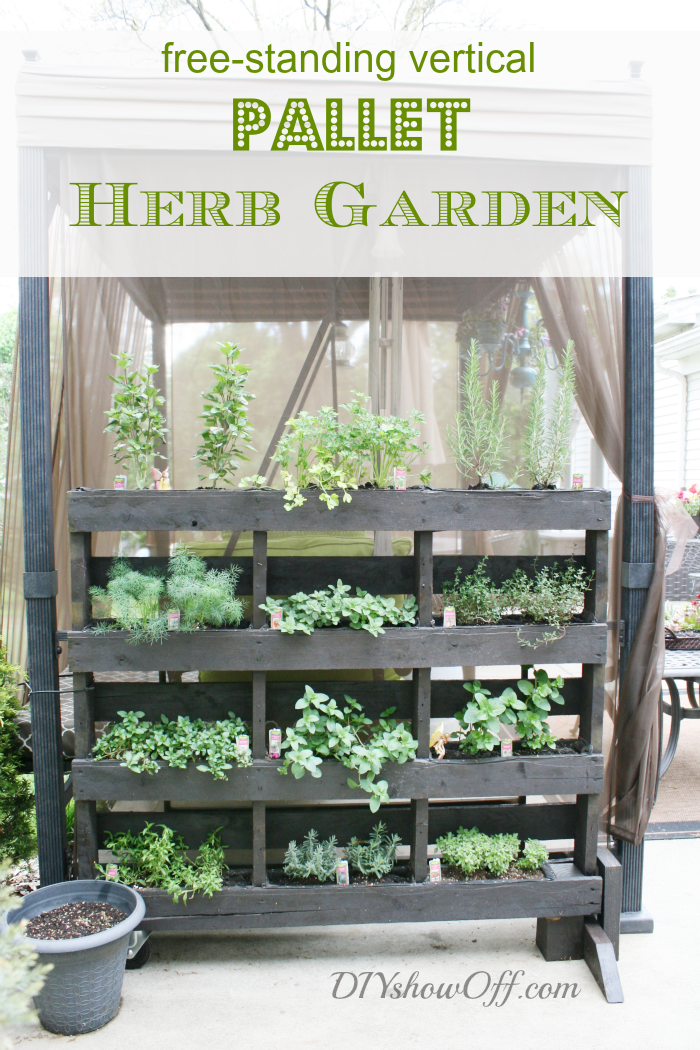
Free Standing Pallet Herb Garden

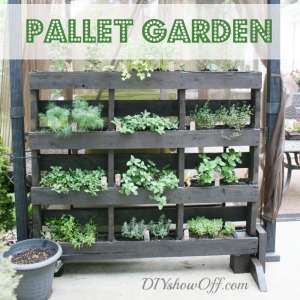
Our vegetable garden is located a few acres from the house. Wanting to have a small herb garden closer to the patio, grill and kitchen and inspired by so many vertical pallet planters (thanks, Amanda!), Mr. DIY and I created a free standing (moveable) vertical pallet herb garden.

free-standing-vertical-pallet-herb-garden 

CONTINUE TO THE TUTORIAL 

DIY Feature: Vertical-Pallet-Garden

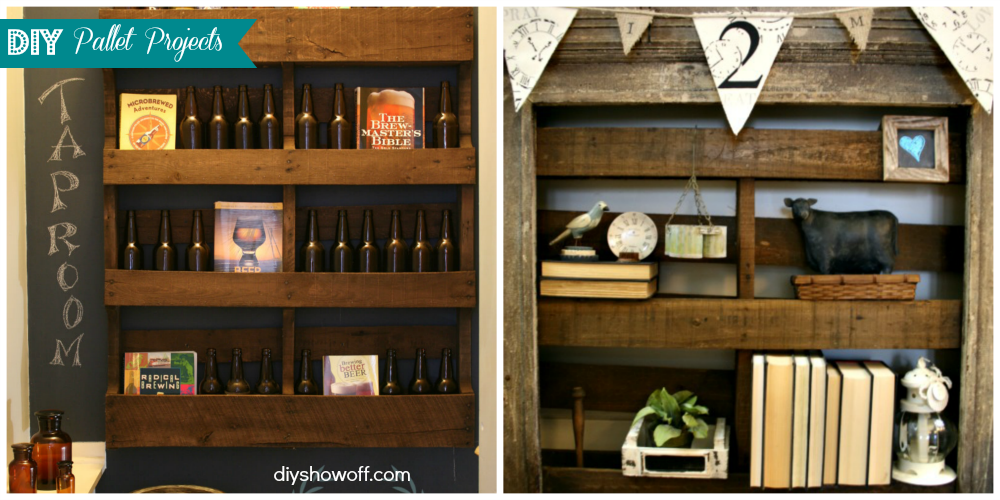
Since finishing our wall mounted pallet project and we use a pallet as shelving in our faux mantel

diyshowoff-pallet-projects

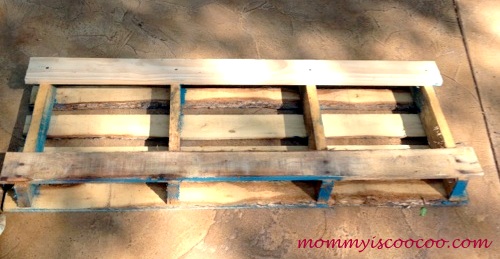
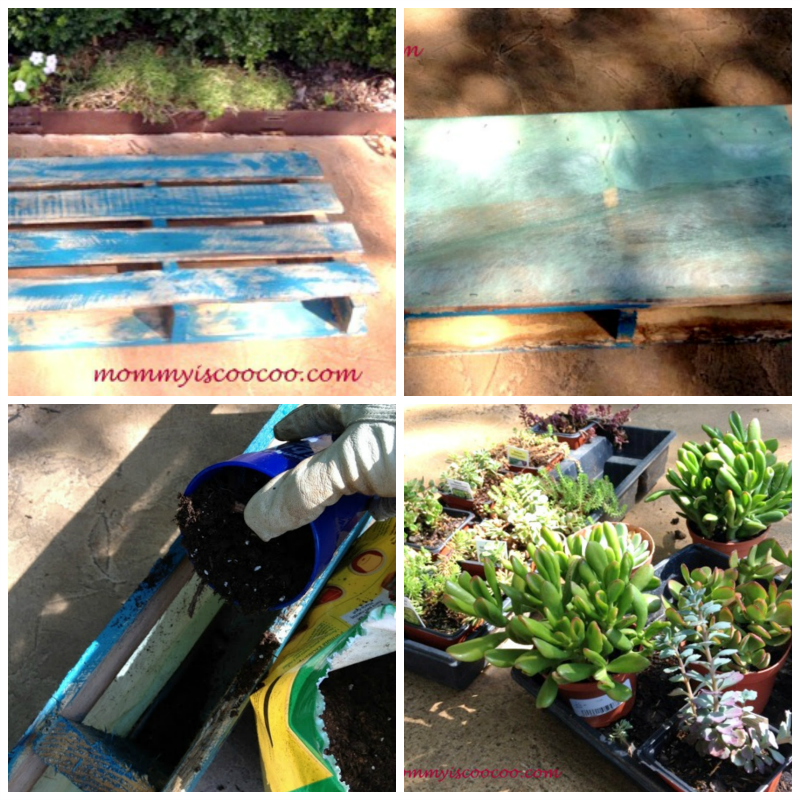
and I have a few more wood pallets for DIY projects, I wanted to share this beautiful vertical pallet garden from Amanda at Mommy is CooCoo.

before:

pallet

vertical pallet garden tutorial here

vertical-pallet-garden-tutorial

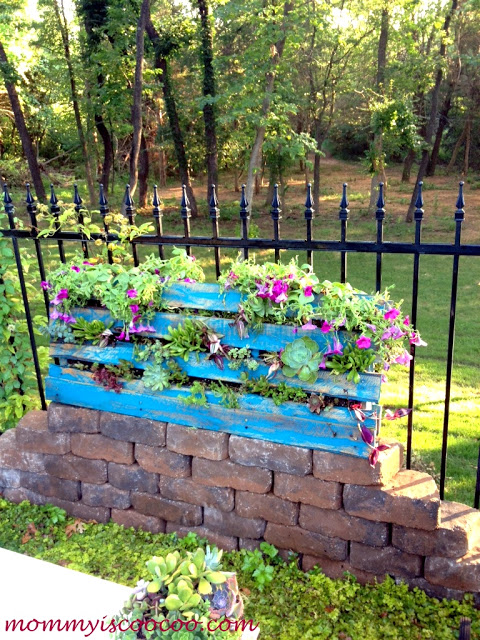
after:

vertical-pallet-garden

Awesome, right? A beautiful garden feature! Love it! Now if the weather would cooperate around here, I’d be a copy cat!

Thanks so much for sharing, Amanda!

DIY Project Parade and a Canvas and Burlap Banner tutorial

I’ve been working hard on a project this past week in hopes of sharing it today. However, it’s not quite yet done so stay tuned {hopefully} Monday to see my guest room double as my dressing room along with a fun giveaway!  {EDIT: Dressing Room/Closet Organization post here:} If I survive, that is.  I must be using muscles I don’t normally use to drill into the studs and to screw into to studs and I am out of shape sore!

So, today I’m sharing the banner I made a few weeks ago and posted at the DIY Club. A banner for our dining room mantel – Time to pray, eat & love…

Continue reading

DIY Project Parade ~ Dining Room, Faux Fireplace Fix and Banner

It’s been a busy week but I managed something small. We found this old fireplace mantel/surround in the barn when we moved in. I love that it’s original to the house and new I wanted to add it to a wall in our dining room.  I love the flexibility of moving things around, so I boxed it in so it is ‘freestanding’ and not attached permanently to the wall.

Continue reading