Flower Pallet Garden

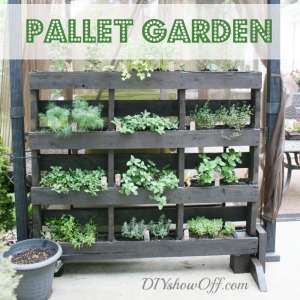
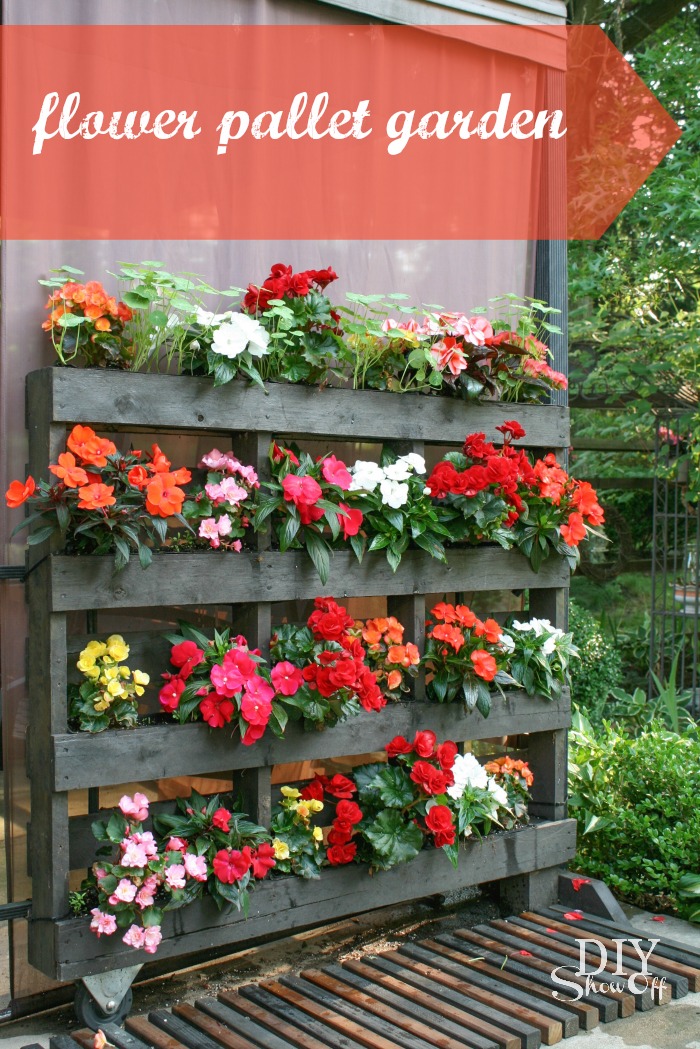
This year I wanted to give my pallet garden a new look. It’s the third year we’ve been using it and it’s still in great shape. The Project Garden campaign was the perfect opportunity for a little assistance. Since we entertain outdoors often in the summer months, I really wanted to add color and pretty blooms to our patio area rather than herbs this time around.
Miracle-Gro’s® latest product innovation, Liquafeed® Universal Feeder, makes feeding as easy as watering.
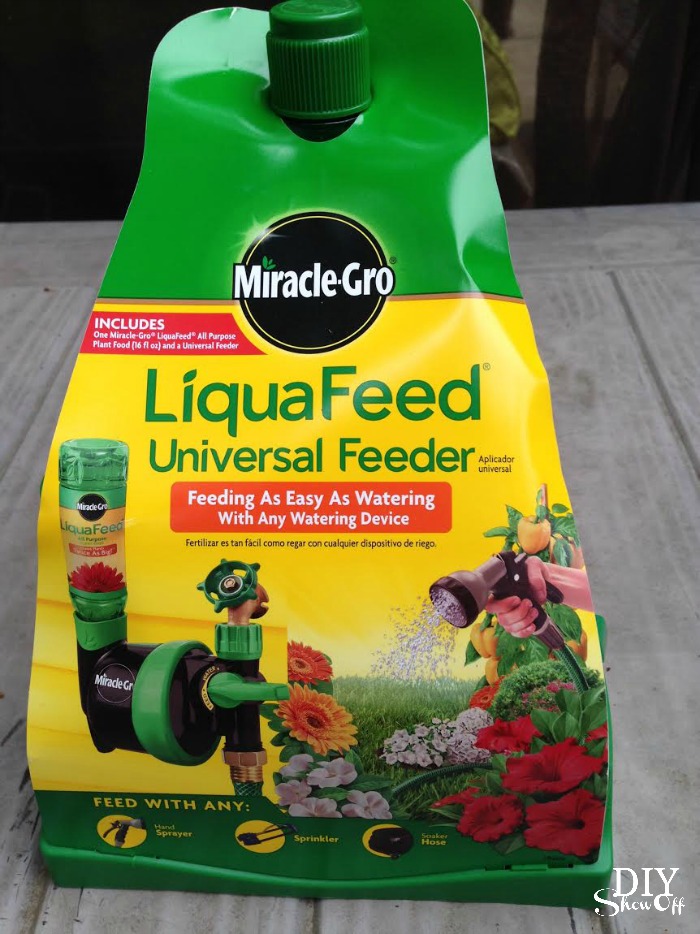
We simply installed the Liquafeed® Universal to our outdoor spigot, then screwed on our hose. Then just pop in a bottle of MiracleGro feed.
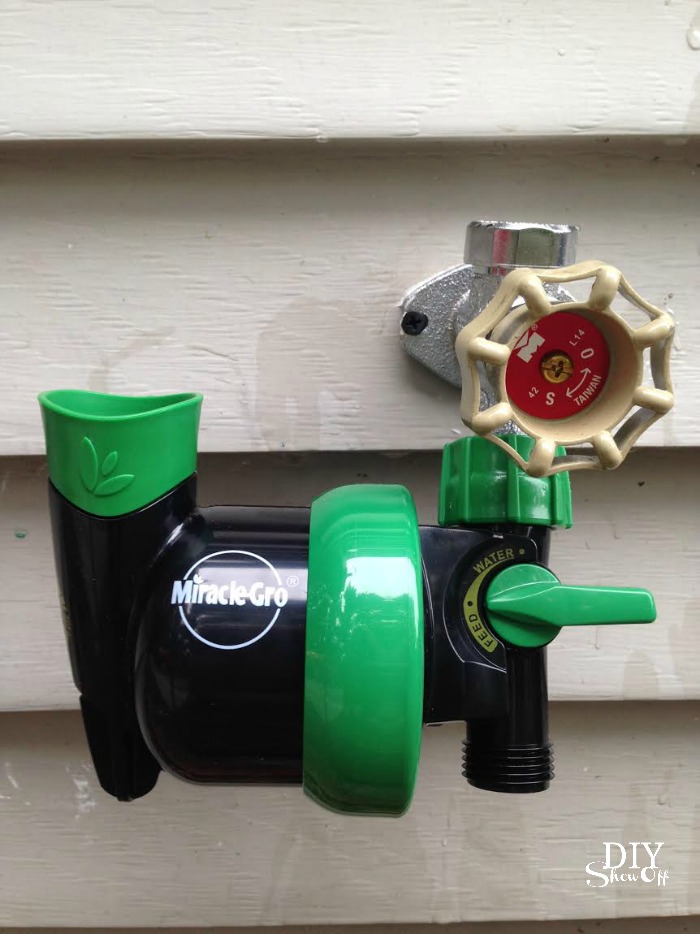
Down position when not in use. Up when feeding.
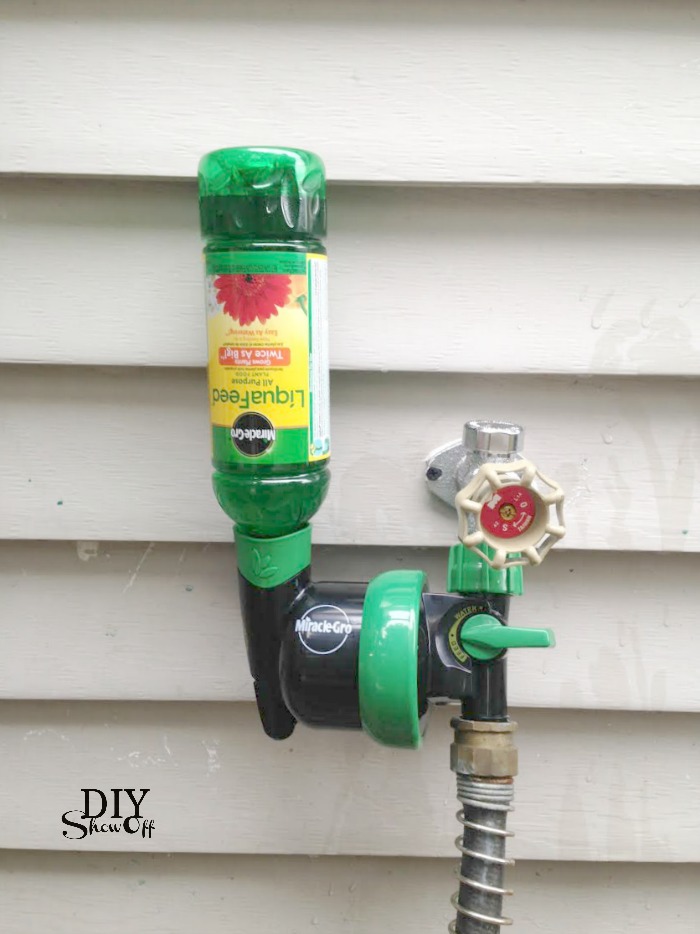
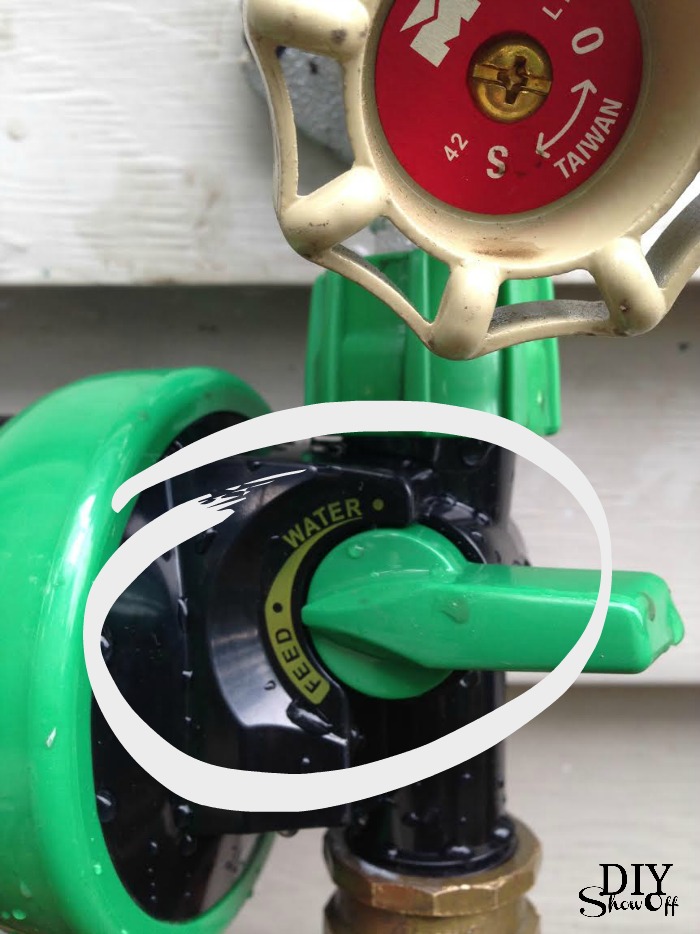
There’s also a handy water/feed switch so the Liquafeed® Universal can remain in place.
We planted the flowers then soaked the soil with using the Liquafeed® Universal attached to the hose on the mist or shower setting, the same as when I’m watering.
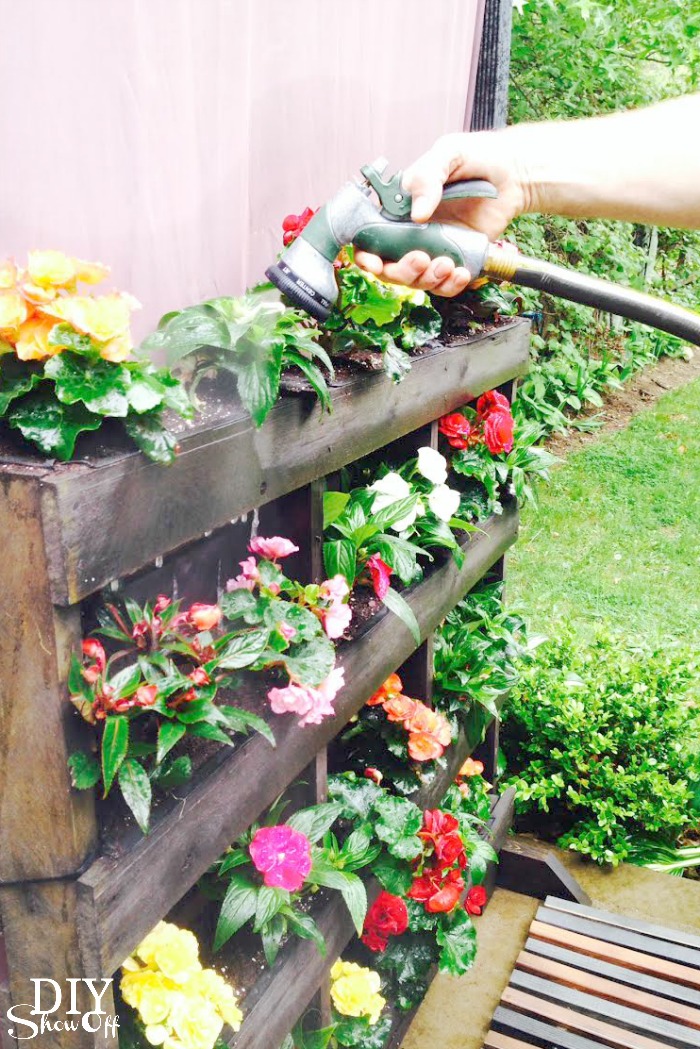
I water my flowers every evening then flip the switch to feed every other week for bigger, more beautiful plants. Feed every 7-14 days with Miracle-Gro All Purpose Plant Food or Miracle-Gro Bloom Booster Flower Food to help plants grow bigger and more beautiful versus unfed plants.

Flowers can be quite the investment and a risky one if your track record isn’t so great with plants, like mine. I want to make sure these beauties thrive all season long!

Oh my goodness! Gorgeous!
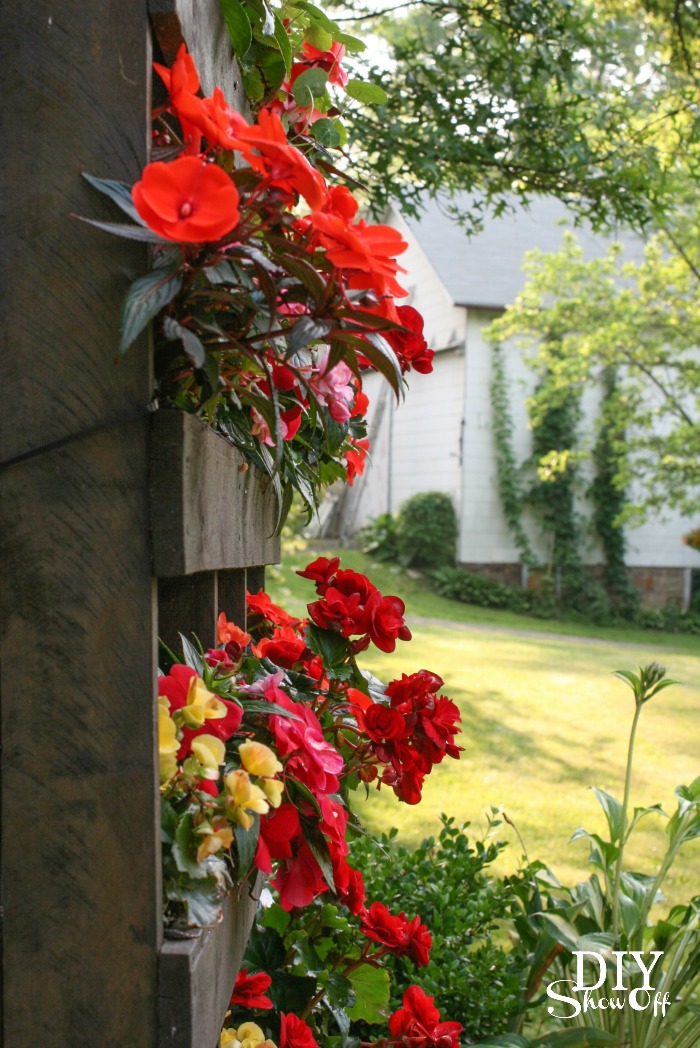
Spilling out like flower gardens on a European balcony but it’s really just a vertical pallet garden in western PA. 😉
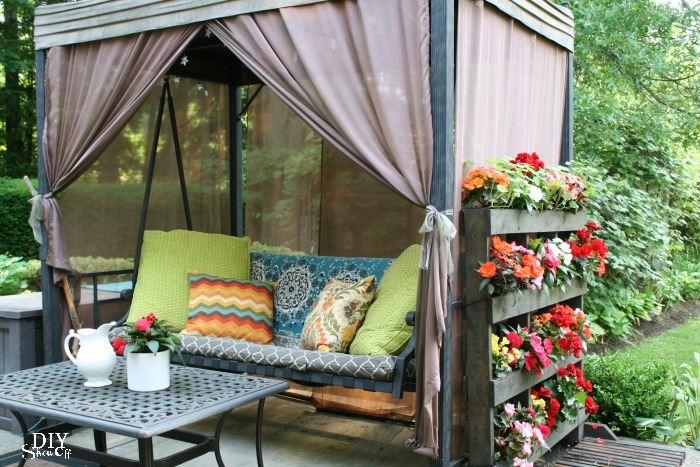
I am in love with these bright colored impatiens and happy begonias! Stunning, right?
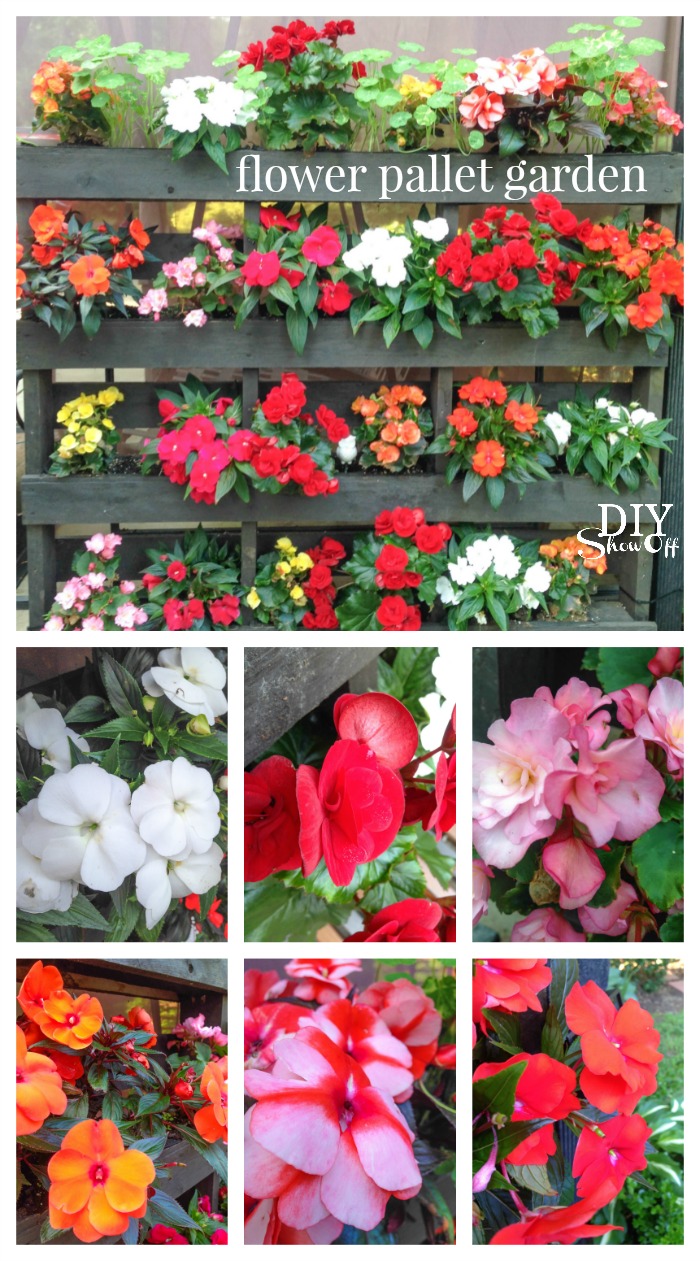
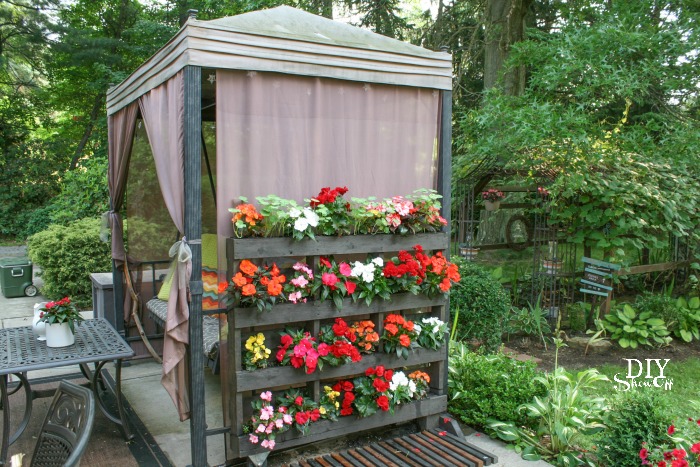
Get tips for making your own vertical pallet garden tutorial HERE.

Do you have a green thumb? Any helpful tips for maintaining beautiful plants? My new favorite flowers are impatiens. How about you?

FAQ’s about the LiquaFeed Universal

More information about the LiquaFeed Universal Starter Kit

*If it waters, now it feeds with Miracle-Gro® LiquaFeed® Universal Feeder. It’s a great tool to help you reach your gardening goals by providing the essential nutrients your plants need to thrive all season long.

*Miracle-Gro® sponsored this blog post. The opinions and text are all mine.


Decorating Outdoor Living Spaces

sensational summer blog hop, giveaway and link party @diyshowoff

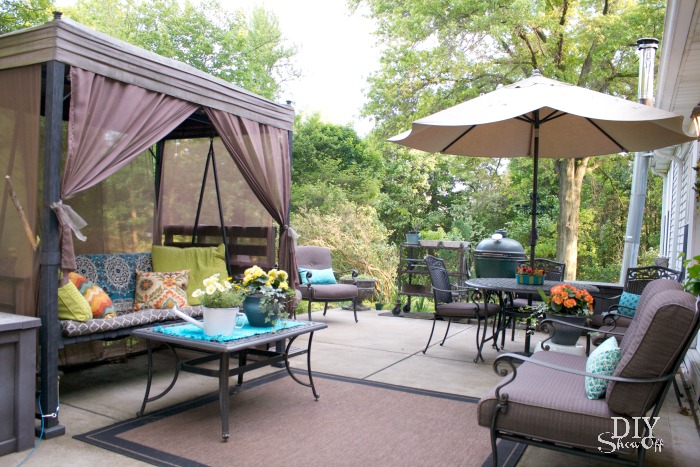
Summer is my favorite season of all – warm weather, long days and relaxing outdoors.  We enjoy our patio, gazebo/grape arbor and barn patio area more than being indoors this time of the year. And I love decorating our outdoor living spaces just as much as I love decorating indoors. 

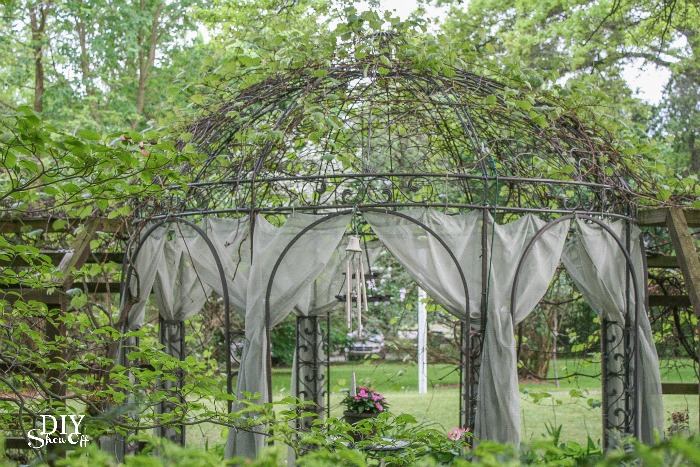
gazebo @diyshowoff

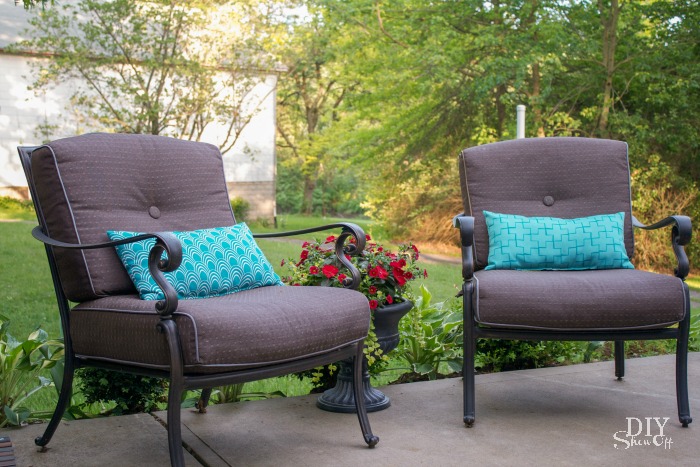
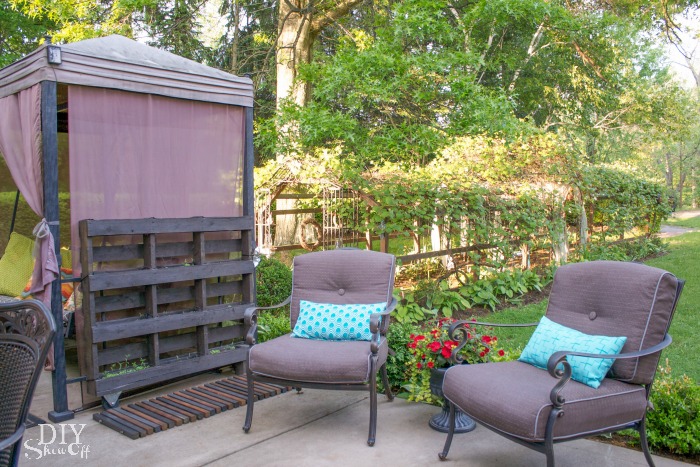
Pops of color: Because I love to change things up every year, I find that keeping larger furniture pieces neutral works best since we tend to use them for 10 years or more at a time and to decorate with colorful accents. 

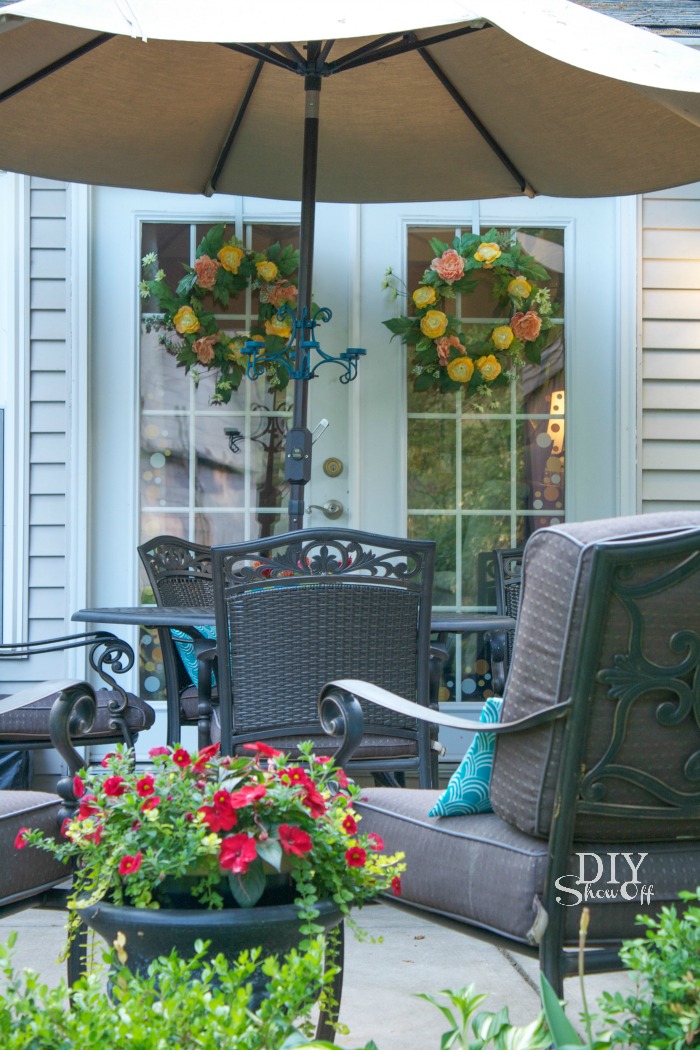
outdoor living space and patio @diyshowoffoutdoor living space and patio @diyshowoff

Planting flowers breathes life and color into outdoor living areas. This year it’s shades of yellows, oranges, pinks and reds. 

outdoor living space and patio @diyshowoff

Colorful accent pillows are an invitation to get comfy and kick back with a frosty glass of lemonade. I like lots of pillows to soften things up.

outdoor living space and patio @diyshowoff

Decorative accents: 

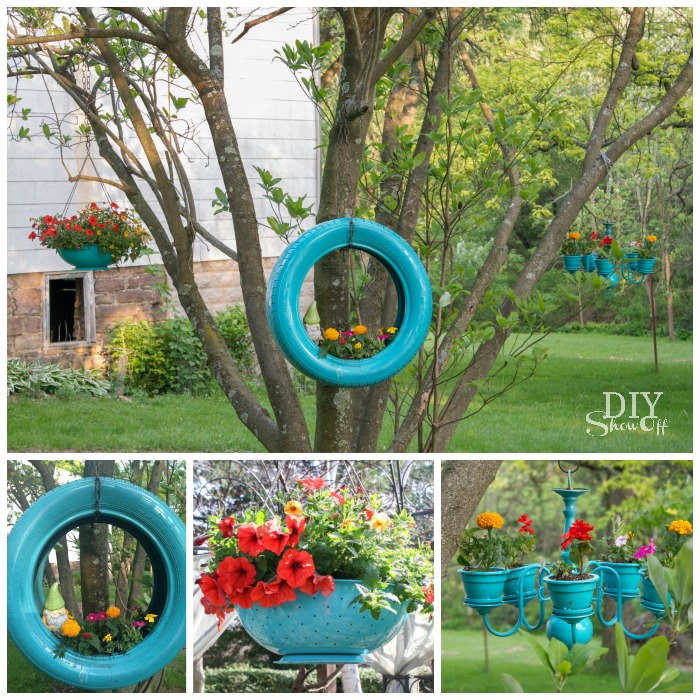
Fun planters add a whimsical touch. (pallet, chandelier, tire)…

outdoor living space and patio @diyshowoff

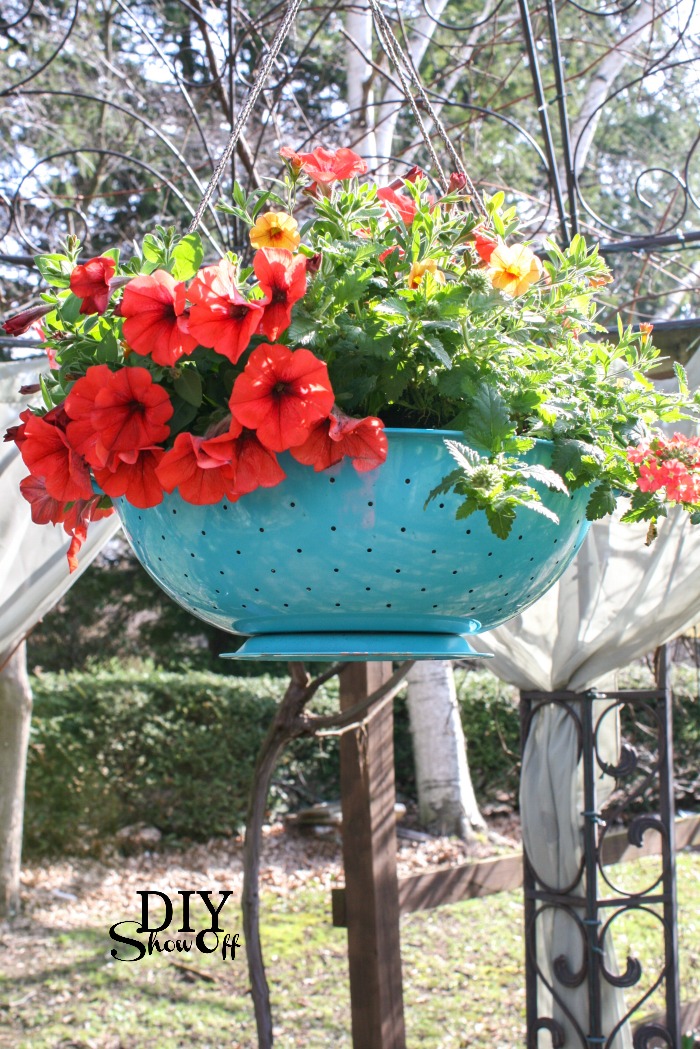
I recently spray painted a colander to add balance to the planters displayed in our magnolia tree …

DIYShowOff Colander Planter

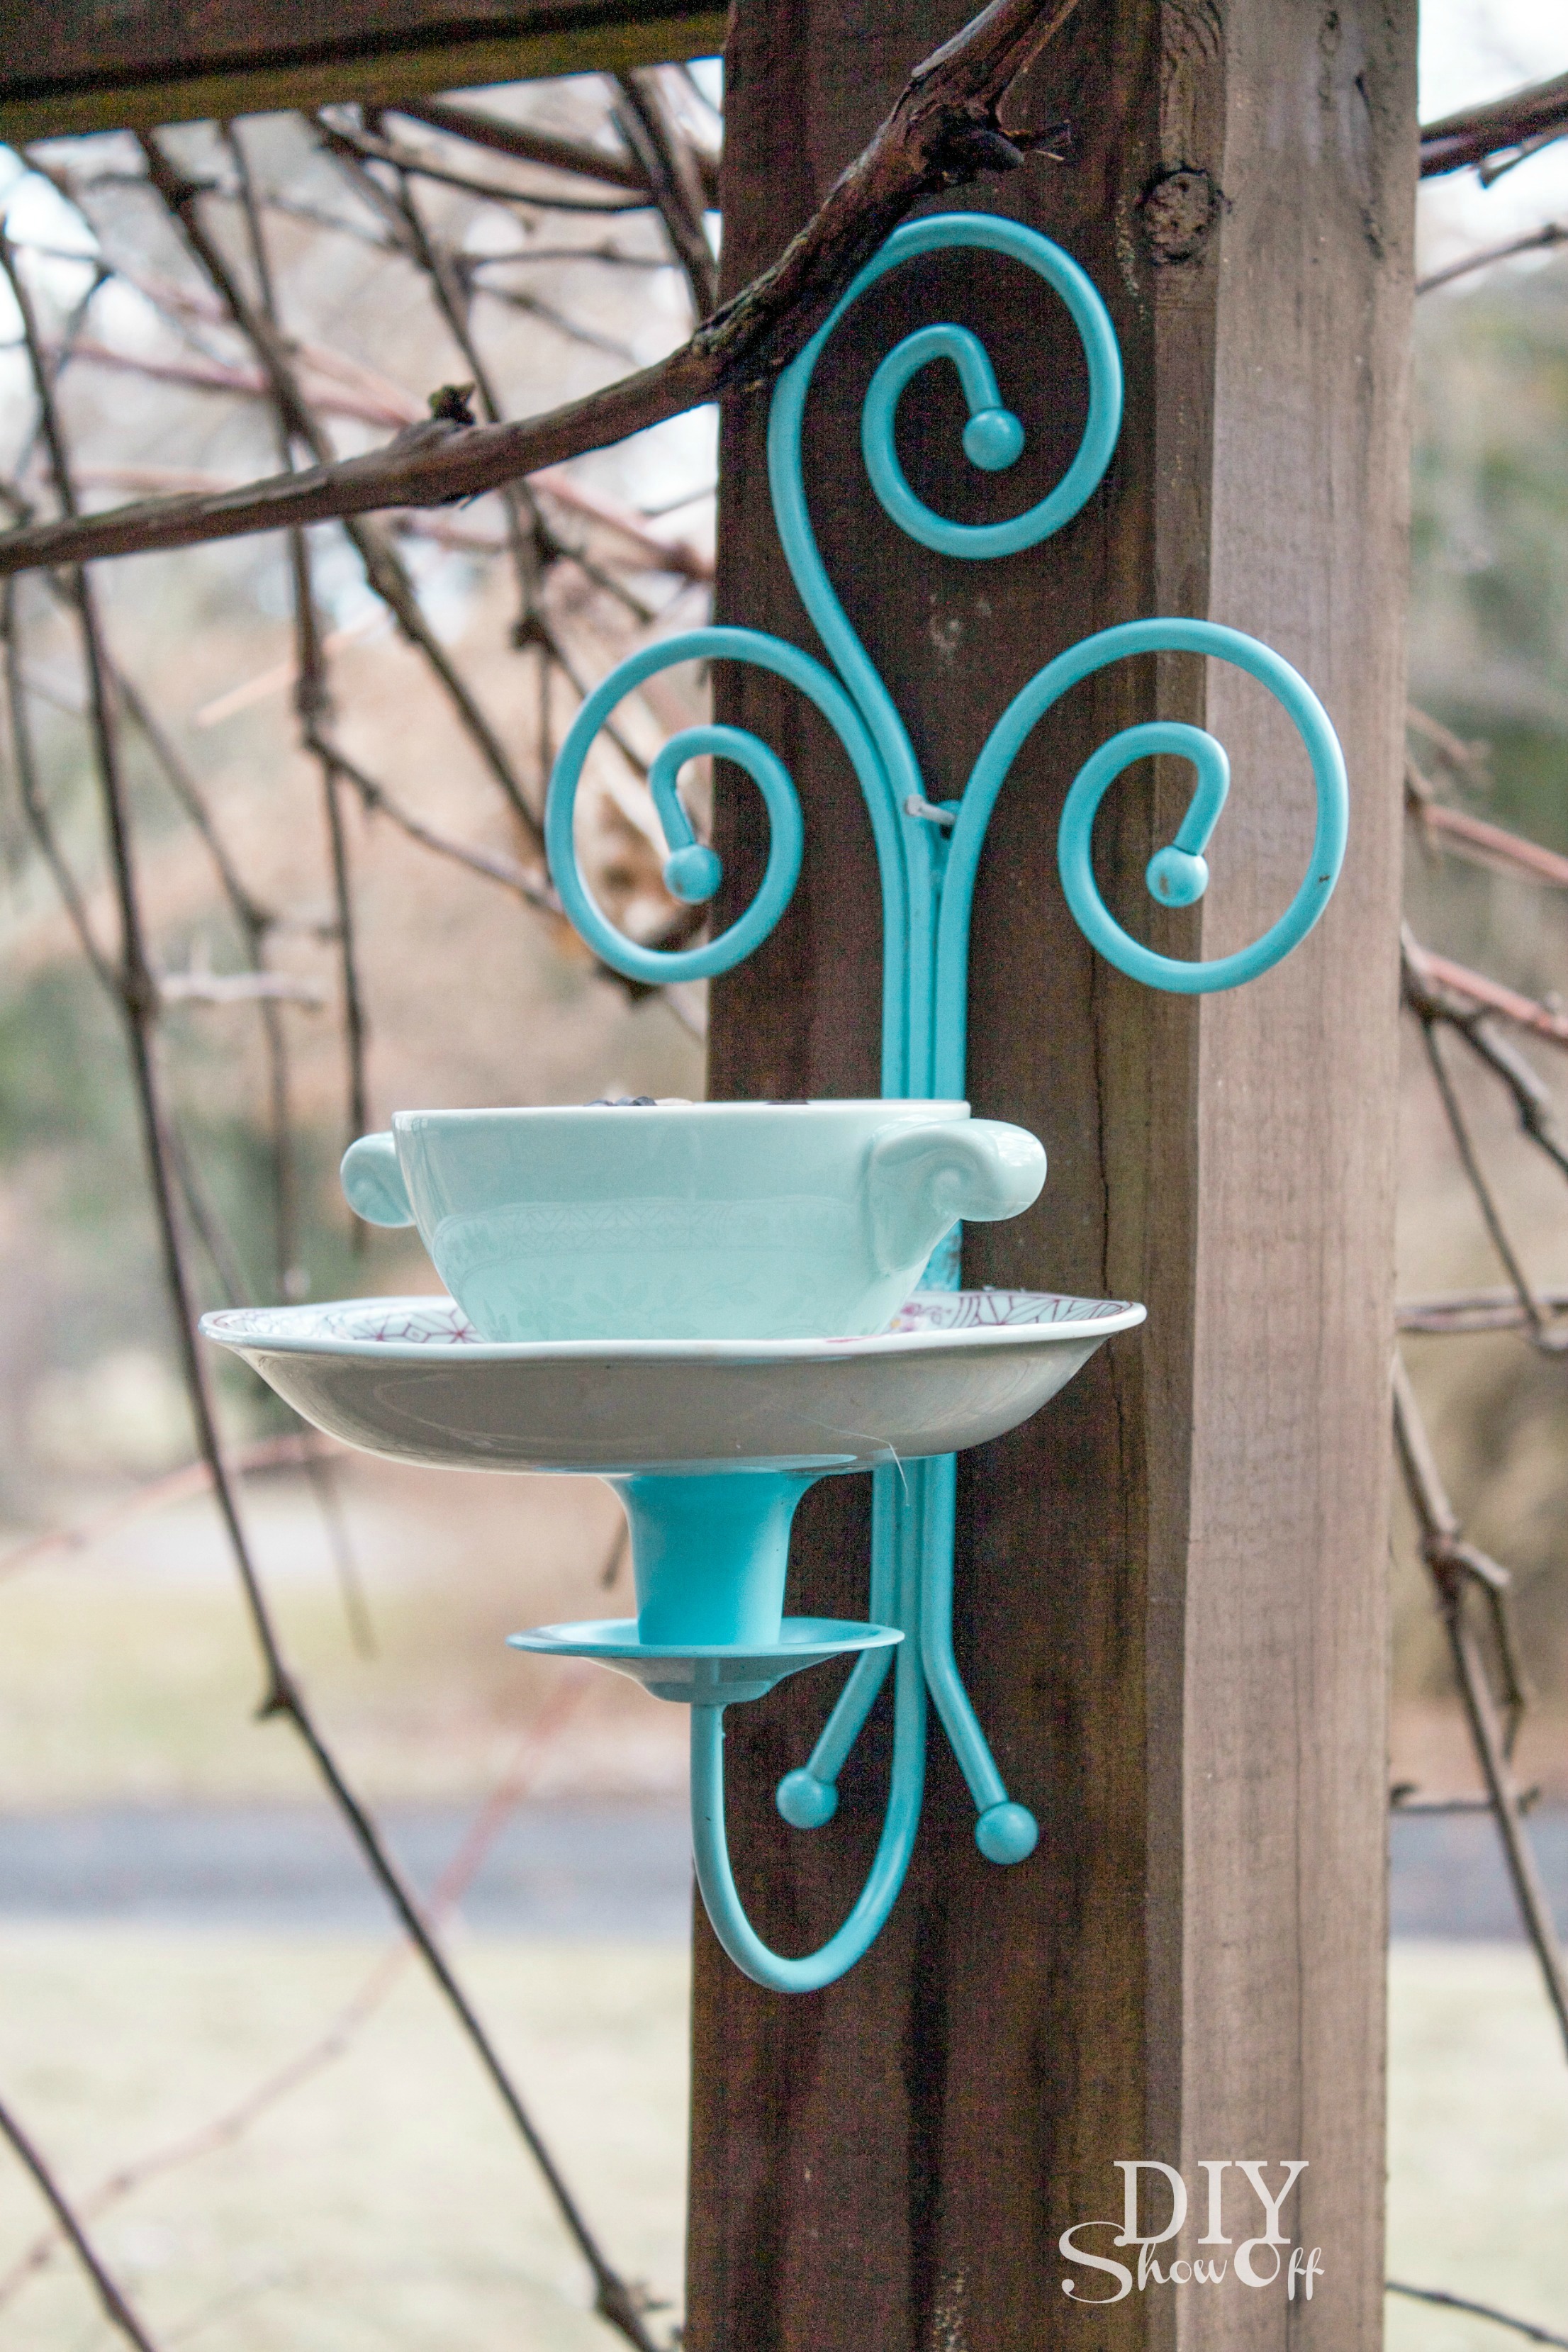
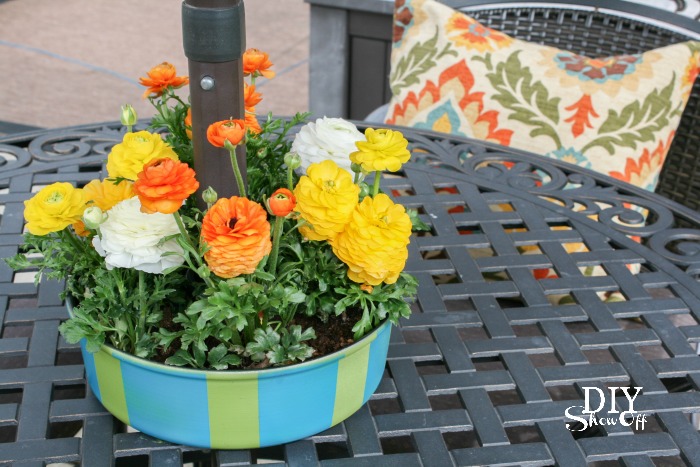
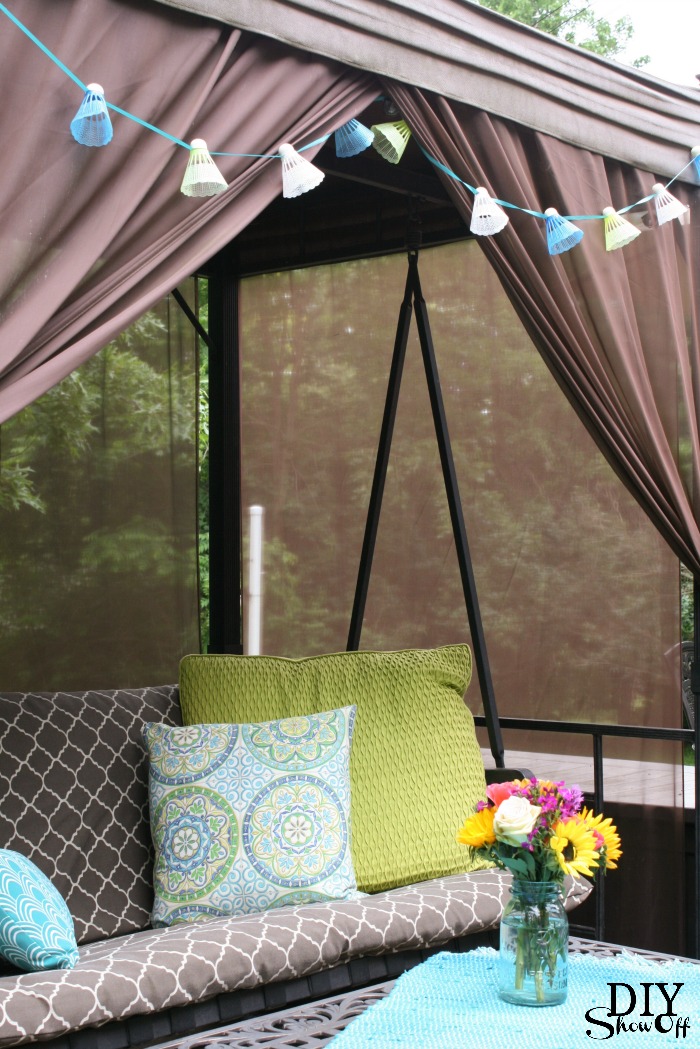
Repurposed items add interest. (bird feeder, bundt pan, birdie garland)…

DIY tea cup candle sconce bird feeder tutorial @diyshowoffpatio umbrella table planter/centerpiece (repurposed bundt pan) @diyshowoffHow to make a birdie garland at diyshowoff.com

Furniture placement:

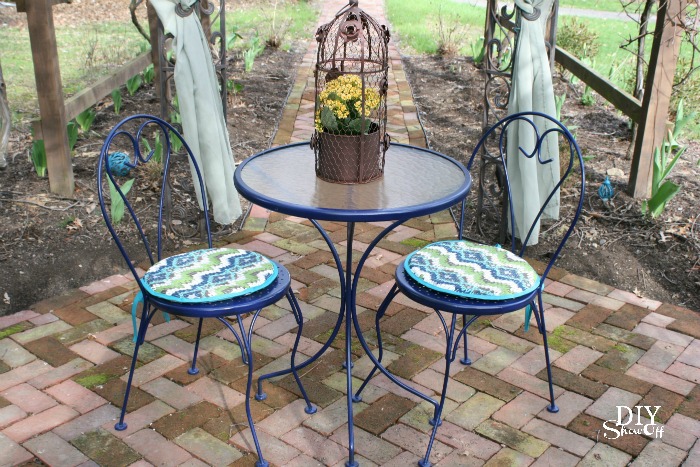
I love creating different cozy conversational areas like under the grape arbor for catching up with friends on this little bistro set

Bistro Set Makeover @diyshowoff

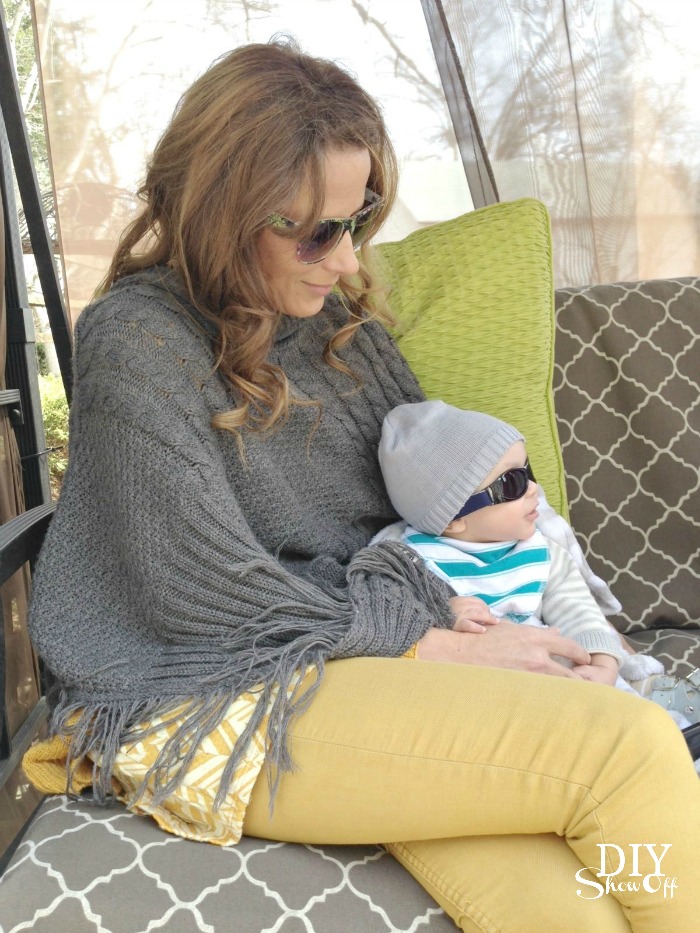
swinging with the baby…

sensational summer blog hop, giveaway and link party @diyshowoff

or positioning our canopied porch swing into a daybed position for curling up with a good book or a sweet pup…

outdoor living space and patio @diyshowoff

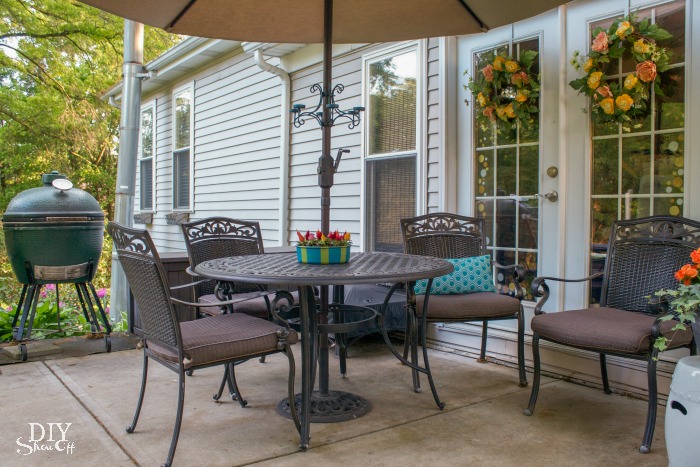
al fresco dining near the kitchen door and grill…

outdoor living space and patio @diyshowoff 

areas to encourage conversation…

outdoor living space and patio @diyshowoff

 The flowers in my pallet garden have sprouted but aren’t visible yet. 

outdoor living space and patio @diyshowoff

For entertaining, we set up a buffet on the harvest table at our barn area with outdoor games in the yard near by. We add rental tables and chairs in the shade for large gatherings, a smaller comfortable area for more intimate parties. I haven’t tackled de-winterizing yet, but here’s now it usually looks all cleaned up…

barn party patioparty patio

To celebrate the start of summer we have an AWESOME Sensational Summer Outdoor Spaces Cash Giveaway for you! Enter to win $300 PayPal CASH! 

Enter Now 

a Rafflecopter giveaway

Visit more outdoor spaces/outdoor living inspiration from these talented blog friends: 

Setting for Four

Sand and Sisal

Domestically Speaking

My Uncommon Slice of Suburbia

Cupcakes and Crinoline

DIY Show Off

At the Picket Fence

StoneGable

Debbie Doos

Redhead Can Decorate

On Sutton Place

Clean and Scentsible

Yesterday on Tuesday

Top This Top That

Town and Country Living 

And a link party too! Share your summer related blog posts, browse the links for more inspiration!  
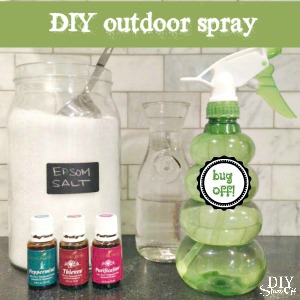
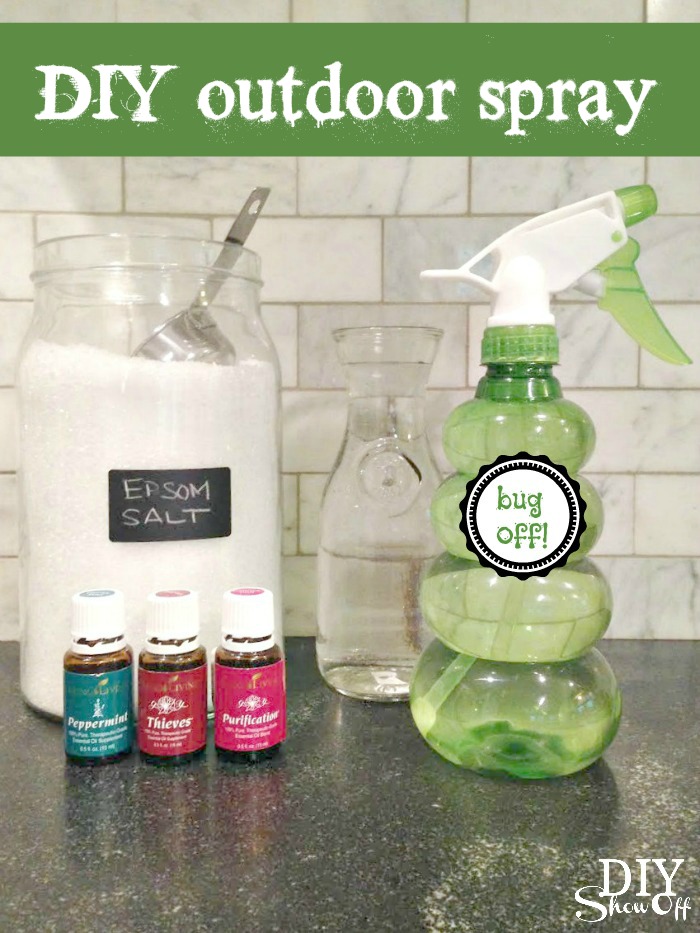
OH! And you’re going to need this for your outdoor living areas too! Chemical-free DIY outdoor spray. I just whipped up a batch for my mosquito-magnet hubby and love that I can use it on the dog too! 

essential oils DIY outdoor spray recipe


DIY Outdoor / Camping Spray

It’s getting to be that time of year. There are TONS of DIY outdoor summer spray recipes using essential oils. I don’t think you can go wrong with choosing to make a homemade batch with natural ingredients over a store bought chemical version. Here is the DIY outdoor spray recipe I make up for my family. Mosquitoes LOVE my husband (I call him the mosquito magnet) so this is what he uses nearly every day from May through October. 

DIY outdoor spray recipe

Ingredients I use (I recommend Young Living essential oils): 

  • 10 drops of Purification essential oil blend
  • 10 drops of Thieves essential oil blend
  • 10 drops of Peppermint essential oil
  • distilled water (or equal parts distilled water/witch hazel)
  • pinch of epsom salt
  • It’s best to use a glass spray bottle, however we use a medium sized spray bottle from the dollar store since we go through it pretty quickly. We just keep it handy near the back door or on the patio table.

What I do: add the above ingredients to the spray bottle and shake before each use. It’s pretty hard or near impossible to mess it up. No explosions if measurements are off. 

Optional: Sometimes I’ll add 5 drops of Citronella essential oil. Sometimes I’ll add Palo Santo/Lavender essential oil for tick prevention. If I’m out of distilled water, I do use regular water in a pinch until we get to the store. Prefer a cream? Mix your essential oils with coconut oil instead. 

Note: Low on essential oils? Try Purification + distilled water only. Or depending on my own supply, sometimes I’ll alter the recipe above and still have amazing results. Need something stronger? Add more drops. YOU control the strength. Take a look at the properties/benefits of your essential oils, play around and test/create your own special blend. Just remember that citrus oils are photo-sensitive and will break down plastics so it’s best to avoid those for this recipe. 

What I love: Overspray (well, I don’t love that part at all) but I do love that it’s chemical-free, DEET-free and if the dog or cat are nearby, they’re safe. Even my bamboo floor is safe. If I walk through overspray, I’m not gagging at the scent or trailing chemicals across the floor. I also love that since we do go through a lot of outdoor spray during the summer months and it’s something my husband is applying everyday, he’s not absorbing chemicals through his skin, but essential oils with amazing benefits. Hey, it’s one way to get those essential oils into his system! I also love that it’s safe to give the dog a spray and rub down for dissuading pesky critters this time of year too. I’ve even soaked her collar in the mixture and let it dry. 

Relief: Lavender or Purification. 

Another Note: I personally never really have an issue. Guess I’m just not that tasty. Wonder why that is or what makes the difference? However, this kind of weather seems to make the flies bite and this outdoor spray seems to be working for that for me. 

Going to try: This year, I’m going to try diffusing citronella essential oil on the patio too. I will keep you posted on the results! 

One last note:  Having my Young Living essential oils on hand means we have something on hand every day for things that come up. I only use and recommend Young Living essential oils. I love the Seed to Seal Guarantee of this world leading essential oil company with a 20 year history. Love them! YOU NEED THESE! How do you get your hands on them? Get more details and an amazing deal HERE!

essential oils @diyshowofff

Reach out with questions any time! Creating a beautiful home begins with making a safe environment. 

Covered Patio Transformation

When we bought our home, the lower area of our bank barn was junky and scary.

Before – previous owner’s things. It’s dark, scary, spidery and a little dangerous with broken glass. Old picture…sorry about the tiny size.

barn-before

I shared some photos in our summer home tour but I wanted to share some true before along side the after pictures. 

After – paneled wall, a LOT of paint and a concrete patio. 

barn patio 

The transformation in pictures:

Yikes!

New Back Wall

The harvest table looked liked this before and was actually nailed to the back wall…we gave it a makeover too.

New Concrete Patio
 
Russ tries out the paint sprayer

Now:

barn party patio

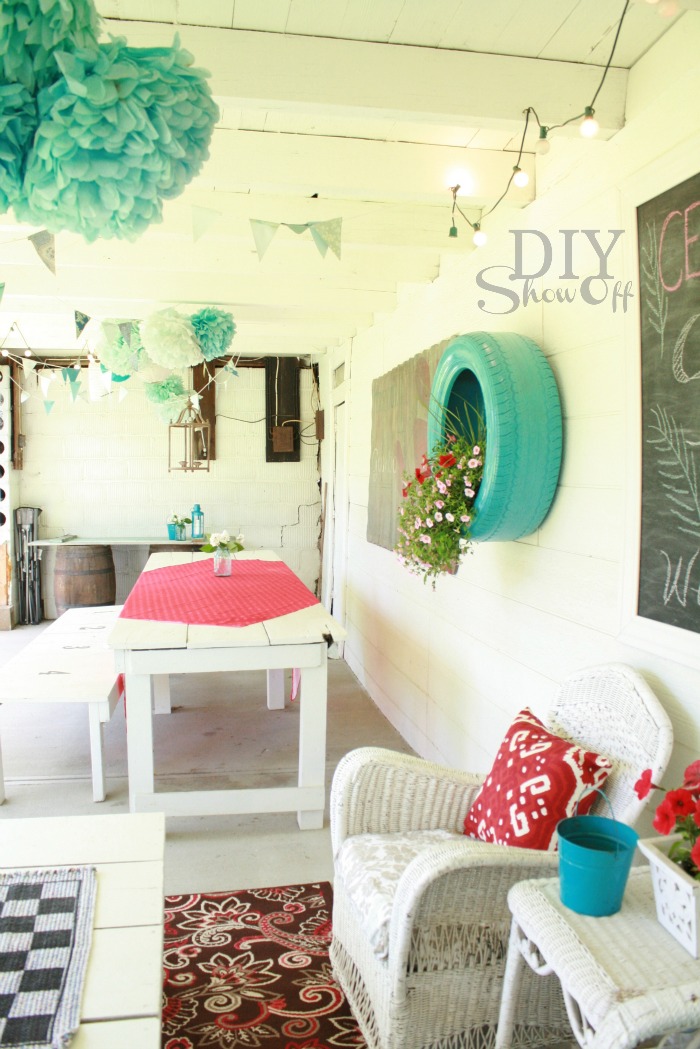
On the far wall, two old barrels topped with a door serves as a buffet table near the electrical outlet…great for serving and keeping crockpots and slow cookers warm. 

barn patio makeover

Doesn’t the harvest table look 100% better with a paint job? The bench was ‘rescued’ too. 

party patio

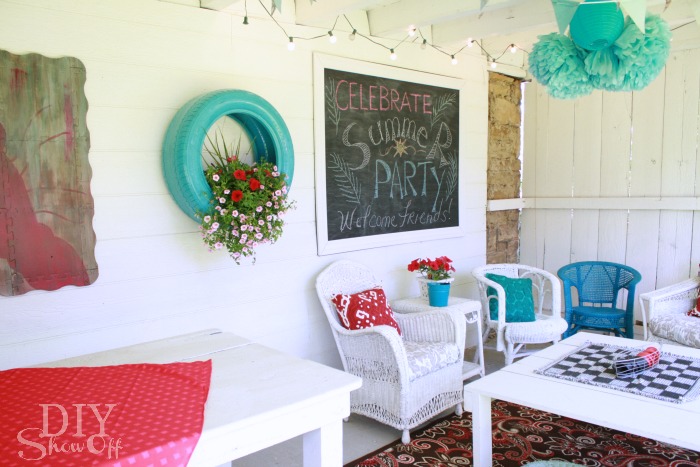
A framed chalkboard gets a new message with each party. Birthdays, graduations, etc. The tire planter is on the wall when we entertain but gets moved to the sun/rain otherwise. My giant painted puzzle playmat serves as wall art. 

outdoor entertaining

Wicker furniture is all from estate and yard sales – just a fresh coat of spray paint. 

outdoor living

I still need to get two outdoor pendants/lighting. I’d love to stain/paint the concrete. I also have plans for moving things around and building a ‘bar’ type area. But for now, it’s perfect for parties and sometimes I come down here for some quiet time too. 

red and turquoise patio

It’s a fun area for hosting cookouts since it opens up into our huge back yard with plenty of room for volley ball, badminton, corn hole and a fire pit. 

tire flower planter tutorial at DIYShowOffWall art….

Painted Foam Playmat

Games…

DIY giant outdoor LCR dice game tutorial


DIY Show Off – DIY Grape Arbor and Gazebo

The Grape Arbor Transformation in Progress.

I fixed up the bistro set I scored for $15 at a yard sale. It’s painted to match our existing patio furniture for extra seating under the grape arbor.
The cushions we have are brown for the most part except for the swing which has sage/tan and gold stripes so I felt limited by that.  🙁  But, I was able to find a fabric that looks good with everything!
I wanted round extra-poofy cushions for the chairs.  Goal achieved and then some. Oops! It’s cushion overkill.  But, it is what it is.  No pattern and my first attempt at round, 3D cushions with piping.  Not too bad but definitely  Poofy. Tall. Unique.  🙂
First, here was the grape arbor when we bought the house.  Quite a rustic eyesore but potential beauty in those old vines regardless and a 50 foot mostly shaded area not to mention tons of grapes!
Before Pictures – Here is what it looked like the day we closed on the house.
Yikes!
 Here’s a close up.  “Hello Chippy!”
Even at it’s ugliest, it was a beautiful space for my brother’s small wedding in 2008.
And a great space for shaded seating for my sister’s baby shower last year.
Mr. DIY (and talented stepdad, Butch) built up the new wood structure around the old rusty iron skeleton, lifting and shifting the grapes in the process before removing the old iron poles.  It’s about 7’x7’x50′ (except for the gazebo area).  The grapes survived the stress!
Here are the after pictures with the new bistro set and sheers.
I sewed ribbon to sheers that I got here (very cheap + no fading from being outside for two summers) to tie to the grape arbor to disguise the imperfections…I mean create a romantic atmosphere.
Too windy for candles in the candelier but we do have white lights at night that follow the lines of the gazebo.
And the grape arbor now ‘in progress’
Still a little work with the pavers or flagstone path underneath.  It’ll look so much better after staining the wood structure, but what do you think so far?   Care to join me for a glass of wine and relaxing under the rotunda?  Perhaps with Keanu Reeves from a Walk in the Clouds?  🙂
And some new pillow covers for the existing patio furniture (and the swing fabric that I had to consider with the new fabric).
And my window boxes:

DIY Show Off - FacebookDIY Show Off - TwitterDIY Show Off - PinterestDIY Show Off - Feed


DIY Show Off – Barn Patio Before and After Makeover

Barn Patio Before & After
I’m so excited to share my barn before/after pictures. This space was completely un-usable, except to store/throw junk. Now it’s a functional clean party space hidden from the rest of the house and road. I’m still working on some additional DIY touches, but in the meantime, I think you’ll agree that the transformation is a HUGE improvement.
 
To keep costs low since this area is only used for occasional entertaining, we re-used a lot of the things we discovered in the barn already (and more DIY coming). We also obtained a few things from estate sales.
Before (left side):
The “barn red” paint was faded to a really ugly pink. The ‘floor’ was dirt with broken bricks/pavers. There were LOTS of spiders.
 

We took out the crumbling brick and concrete pavers that formed a broken floor on top of dirt, some broken glass and weeds. We added paneled siding to the back wall and painted (thanks to Butch for his help!). We poured a concrete patio (professionals did that part since it was a large area).

My husband framed the door and the wreath was on clearance at Joann Fabrics for $8.

I’ve had these old looking milk bottles for years … in the basement/storage.

I also have special plans for the short table (hope to finish it this week).


I love it. I changed my mind – it’s not all about entertaining. This is a great spot to relax! The wicker furniture was picked up at an estate sale. Isn’t the footstool the cutest? I didn’t even bother with repainting it. I loved it the light faded blue that it is. I did give the wicker chairs a coat of white spray paint to freshen them up.

I sewed cushion covers with fabric I bought at Goodwill. (I’ll spare you the nasty before picture.)

We found the old Coca Cola sign in the barn.

I made a table from a crate and old window we also found in the barn.

The other accents we got at estate sales (the book and gauge). The blue canning jar I confiscated from my brother. The bird house was hanging on the old grape arbor.

The only thing new is the birdie cloche I got at TJ Maxx a few months ago (how perfect for a barn!) and the white lantern (above).

I also ran out of time for replacing the hanging light bulb fixtures since I’m so indecisive. Paper lanterns for less than $2 on sale at Michaels (until a more permanent choice is made) and I already had the area rug too.

I did make a chalkboard from one of the old windows.

The tables looked liked this before. The first one was actually nailed to the back wall.

Tables/etc. now, with new legs and paint and a “found” bench…they’re perfect for picnics, cookouts and to use as a buffet table.

Here is the transformation one more time:
Before

New Back Wall

New Concrete Patio
 
Russ tries out the paint sprayer

And now….

I do have a huge wall to decorate yet too and I’ll share details as they happen.

Latest Updates:

white cottage barn

DIY painted foam playmat becomes wall art

painted foam playmat
DIY Show Off - FacebookDIY Show Off - TwitterDIY Show Off - PinterestDIY Show Off - Feed