


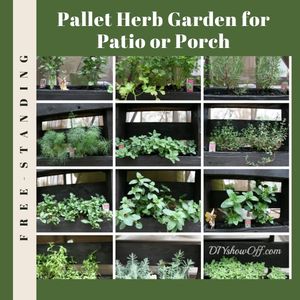
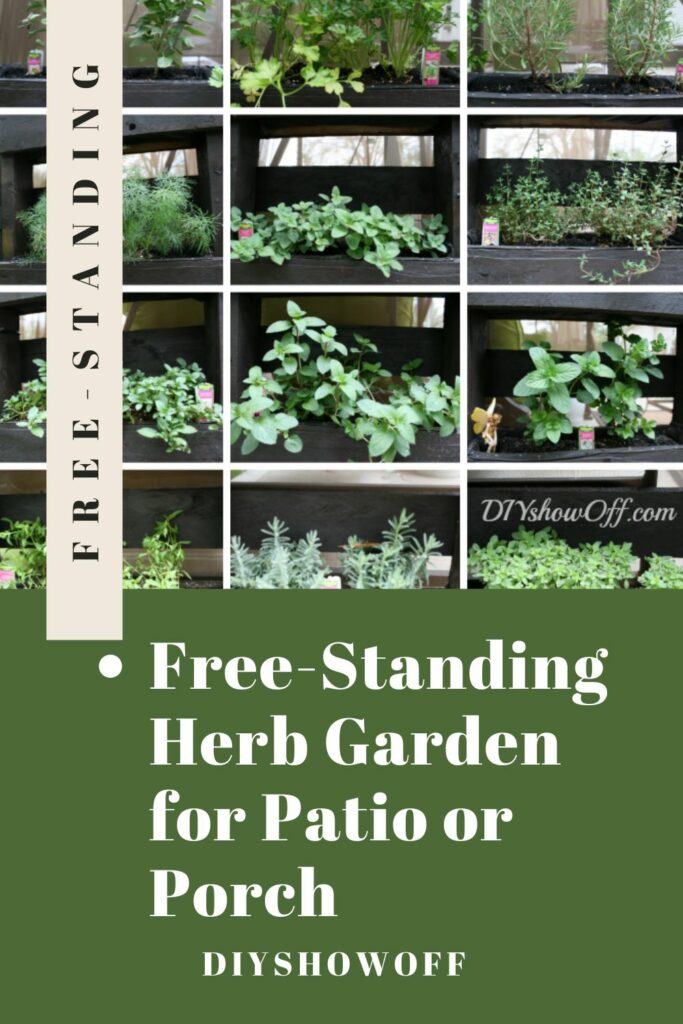
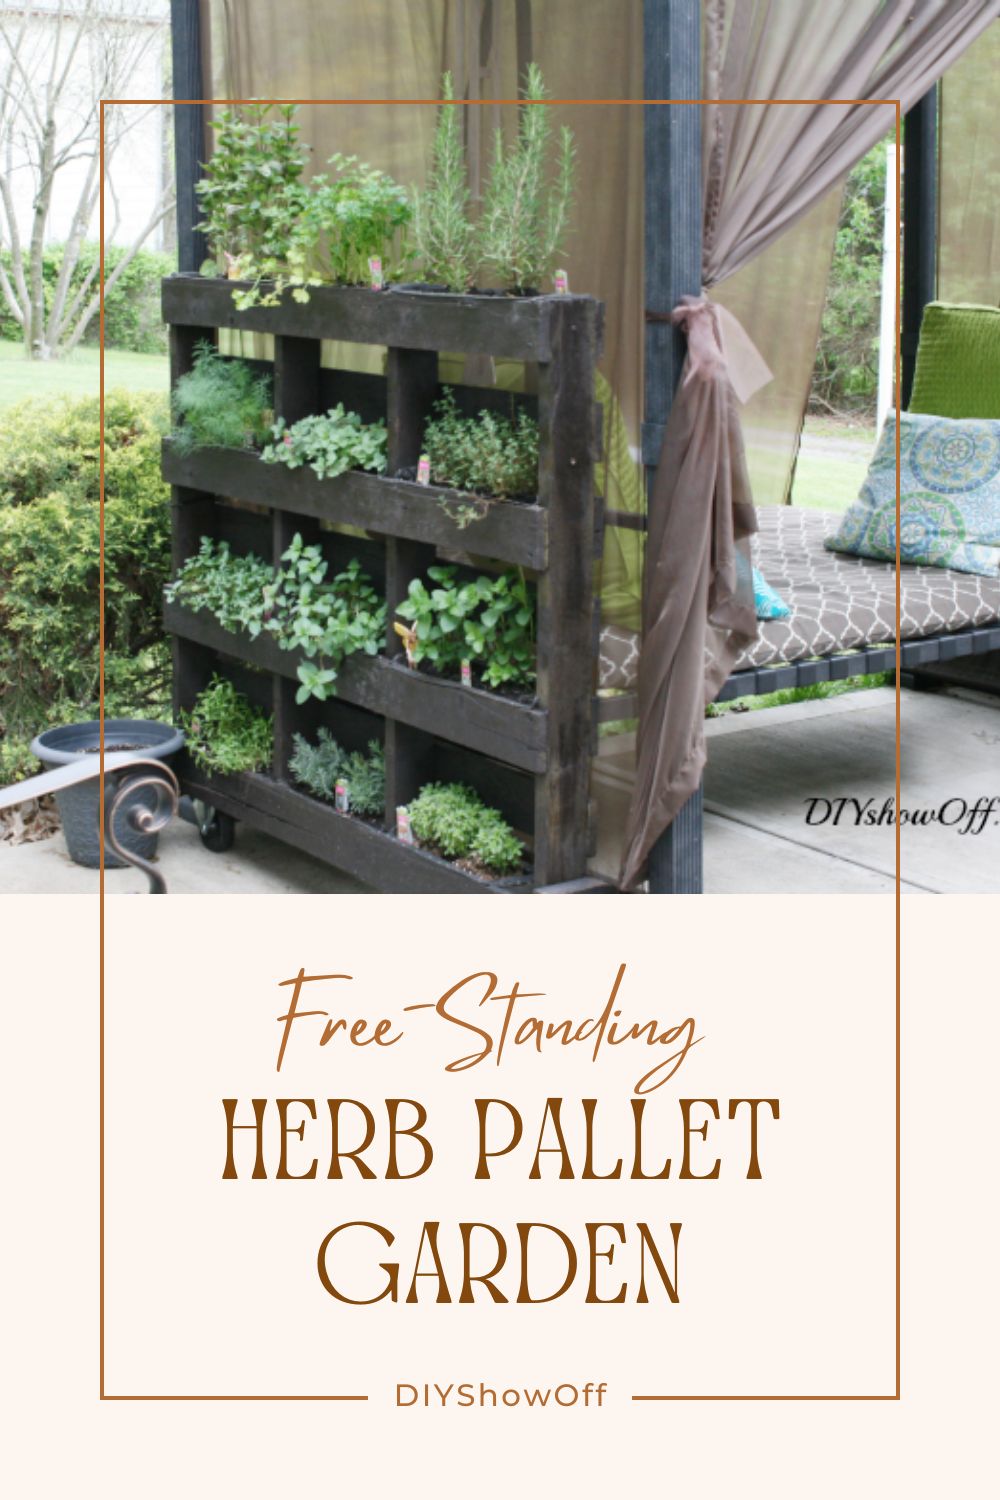
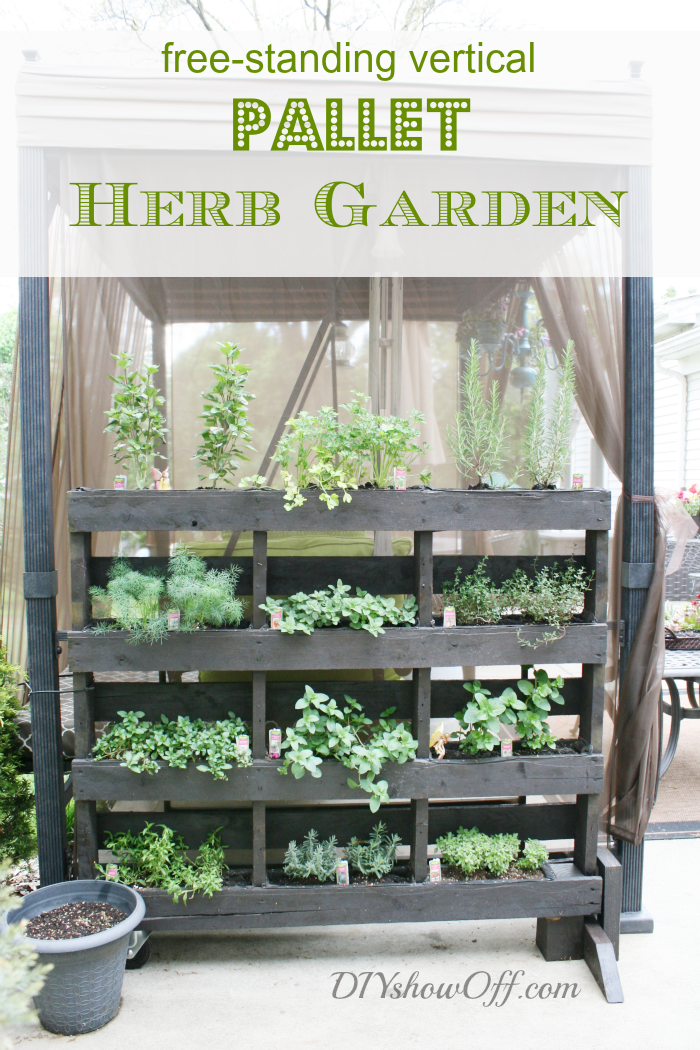
Want to grow fresh herbs but don’t have a lot of space? This DIY free-standing pallet herb garden is an easy and affordable way to create a vertical garden for your patio, porch, or small backyard. Here’s how we built ours and what worked best.
Materials:
(Some affiliate links included.)
- pallet (choose an untreated chemical-free pallet)
- wood supports or frame
- screws
- drill
- stapler
- landscape fabric
- potting soil
- herbs
Step-by-Step (what I did):
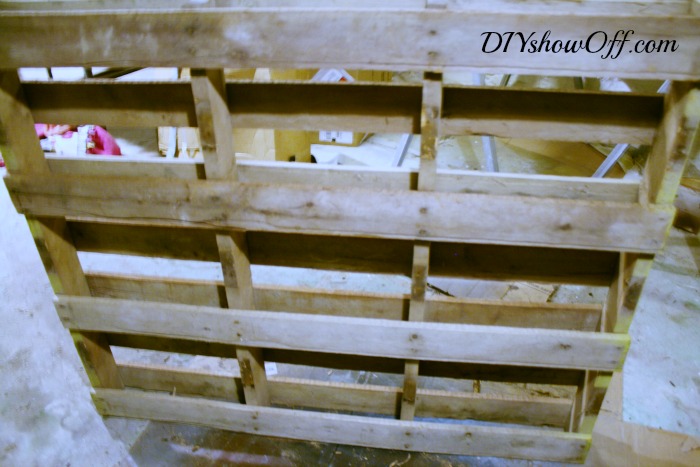
Step 1: Choose and Prep the Pallet
We started with a basic pallet and made sure it was sturdy enough to stand on its own. If you’re using an older pallet, check for loose boards or splinters before starting.
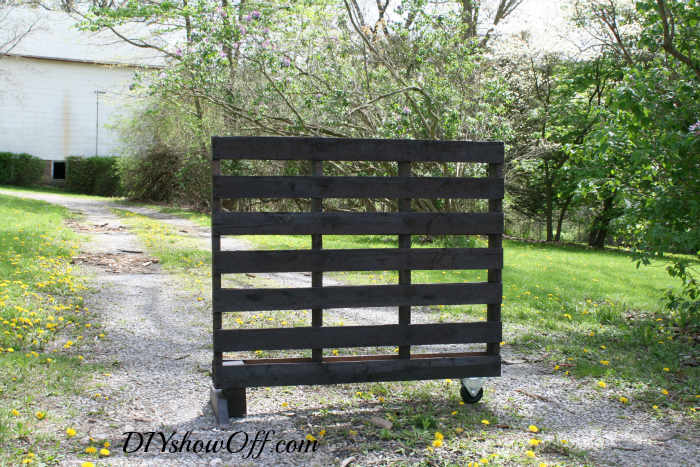
Step 2: Create a Free-Standing Frame
The goal was to create something that didn’t need to lean against a wall. We added simple support so the pallet could stand upright on its own, which makes it perfect for patios or small spaces.
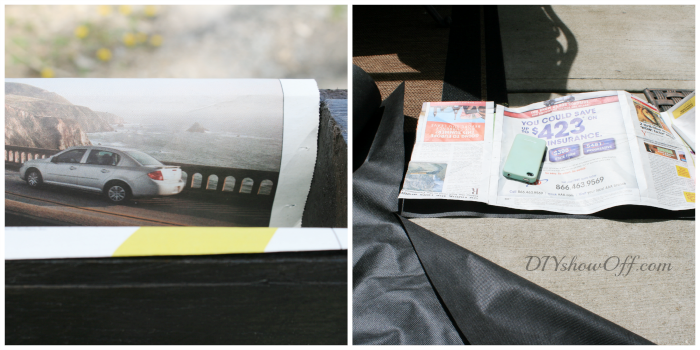
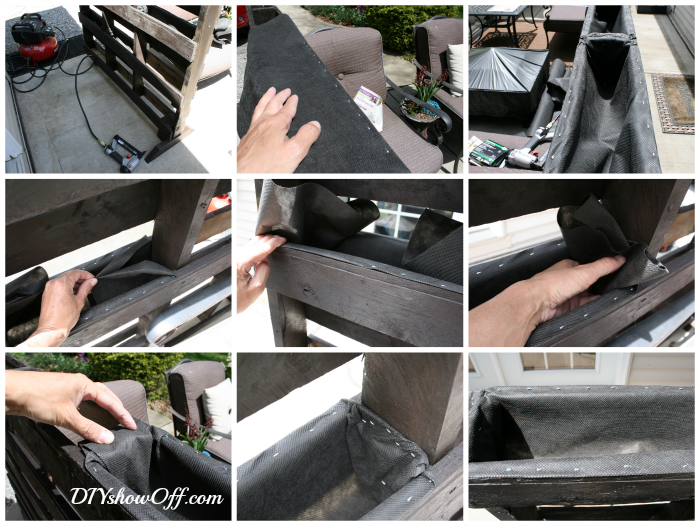
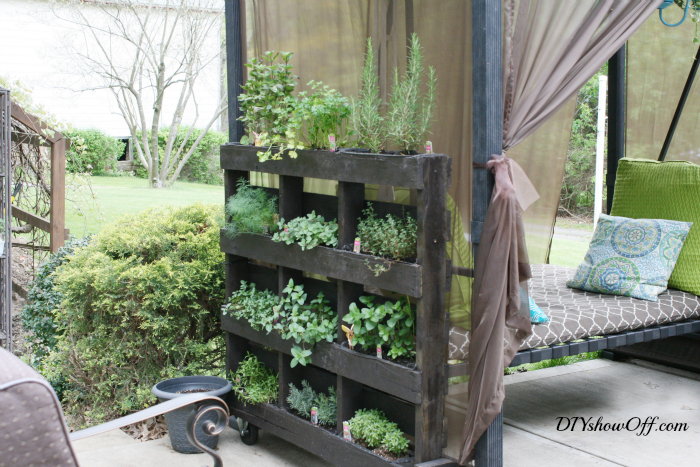
Step 3: Add Landscape Fabric
To keep the soil in place, we used landscape fabric to form pockets behind each row. This helps hold everything together while still allowing for drainage. I used newspaper to create a pattern, then cut the pattern out of landscape fabric and stapled into place.
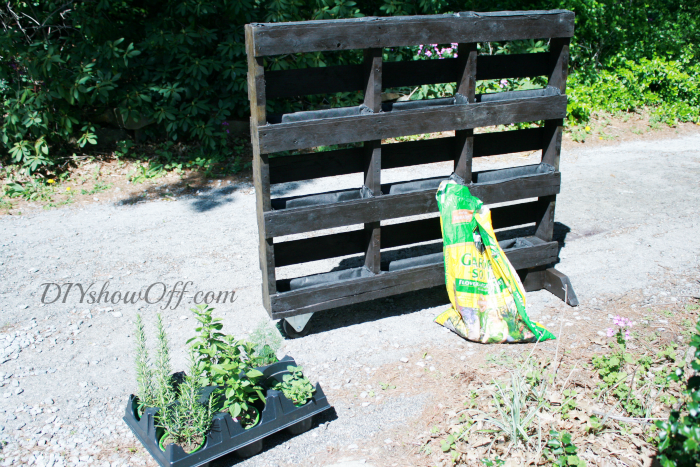
Step 4: Fill with Soil
Pack tightly so it holds shape.
Step 5: Plant Herbs
We chose a mix of easy herbs like basil, parsley, and mint. If you’re new to gardening, these are forgiving and grow quickly.
Step 6: Water and Maintain
Sunlight + watering.
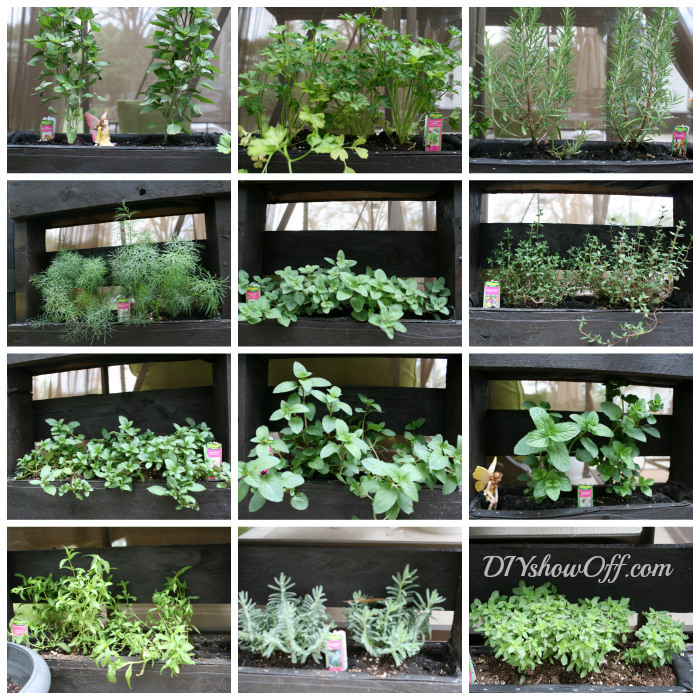
Best Herbs for a Pallet Garden
- basil
- parsley
- rosemary
- dill
- oregano
- thyme
- peppermint
- chocolate mint
- spearmint
- tarragon
- lavender
- another type of spicy globe basil
What I’d Do Differently/What Worked.
This worked well for adding greenery in a small space, but it does dry out quickly in full sun, so regular watering is key.
Doesn’t it look amazing?! I looooove it!
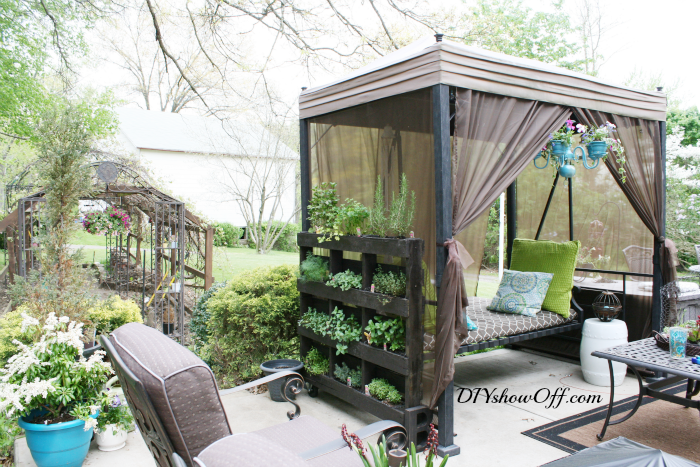
We spend most of our time on the patio on pretty days…I love the fresh herbal scents too!
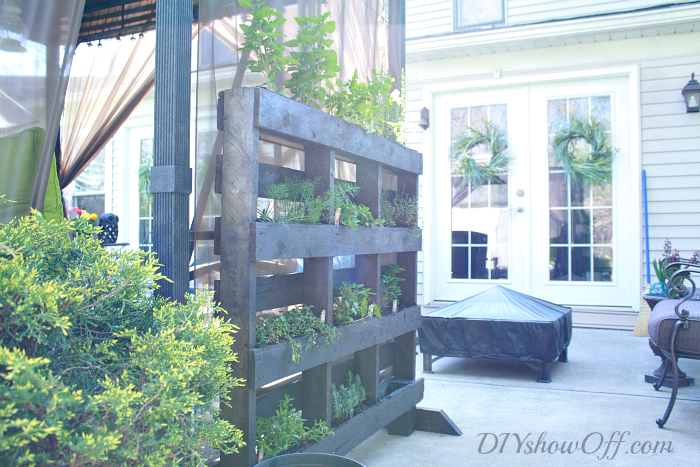
And having fresh herbs right off of the kitchen is so convenient.
Whatcha think?
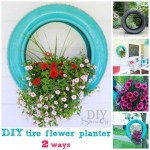
More Outdoor DIY Projects You’ll Love:


If you’re feeling stuck or second-guessing your own space, I created something to help. It’s a simple step-by-step method to help you move forward with clarity and confidence—using what you already have.
👉 Confident Room Method™ – Decorate Without Doubt
I think it’s awesome. What a great idea! I love cooking with herbs.
Awesome project! Such a great idea,
Deb
I would have never thought to use fabric weed barrier – how clever! I love the idea and may have to give this a try! Thanks for sharing!
Blessings,
Doreen
This just may be my favorite pallet project EVER! Great idea, and it looks terrific!
This is fabulous Roeshel,,,,enjoy harvesting your bounty!
Love it and love that its moveable.
I have a pallet Herb garden and I love it….what a great idea making free standing. Love it. Would love it if you came by and shared it at One More Time Events. http://www.onemoretimeevents.com/2013/05/share-it-one-more-timemay-features-and.html
I love it, such a good idea. I wish I had many pallets. I have a need for lumber and no way to get anything that big, and they don’t give anything away around here from the grocery stores.
craigslist freebies can be your best friend
I LOVE this. 🙂
Thank YOU for the inspiration, Amanda! 🙂
As always, this is fabulous! 🙂
LOL Great minds think alike! I literally just did this last weekend!
haha! Awesome, Lesley! 🙂
I love it so much that when the Lowes delivery guy brought my new riding lawn mower I asked him for the pallet it was sitting on. And he gave it to me. After my gall bladder surgery this is on my list to do. Thanks for sharing the step by step instructions. Love it
That’s awesome, Pamela! Hope you’ll share a picture! Good luck with your surgery!
AMAZEBALLS! That is so pretty – and it adds even more character to your great outdoor space!!!
Hey, Diane! Good to ‘see’ you! And thank you 🙂
That’s cool! Do you think strawberries would grow in something like that? I’ve been looking for different ways to plant strawberries but keep them out of the yard so hubby doesn’t have to mow around them.
Thanks, Nicki! I’m not sure! I’ve never planted/grown strawberries but I think it could work! 🙂
IT’s amazing, girl! I bet it smells divine out there!
Wow! I LOVE this Roeshel! What a fantastic idea! I never thought of building up!
I’ve been doing a lot of planting projects myself and I’m “pinning” this for the To Do list!
Nothing better than going to your own garden for the herbs…they taste SO much better!
The herb garden looks great on your patio,which is totally AMAZING by the way. I can visualize myself sitting in the patio swing for hours, with a cool beverage, as the herbs scent the air…How do you ever get anything done?? : )
Happy Sunday!
xoxo
Roeshel, I just LOVE this! I grow a lot of herbs and love the idea of having them all together like this in a free-standing, dedicated garden. Such a great idea and thanks so much for sharing!!! Have a wonderful week!
Fantastic! I just made an herb garden from an antique crib and I thought I was clever until I saw yours;)
Pinning your genius!
Fabulous! I have a pallet I need to do something with!!!! Can’t wait to get started!!!
I would love for you to share and link up at my TGIF Link Party. The party is open every Thursday night and closes Wednesday’s at midnight.
http://apeekintomyparadise.blogspot.com/
Have a wonderful week!
Hugs, Cathy
Thanks so much Roeshel for sharing your gorgeous pallet room garden at Project Inspire{d}! I featured you today here: http://www.settingforfour.com/2013/05/12-fabulous-vintage-and-repurposed-diy.html I would love if you have a chance to swing by this week’s party too! Have a fabulous weekend! http://www.settingforfour.com/2013/05/project-inspired-linky-party-no_27.html
Pinned and shared it too! Have a great weekend Roeshel!
I love that you posted a modified/improved version of the DIY vertical pallet garden that is so popular on the Internet right now! I made one of the type where you just pack the dirt in and it wasn’t so successful, so I was already planning on making one like yours next year. Great idea to use the landscaping cloth; I had thought of just using scrap wood, but landscaping cloth looks so much easier. Another person mentioned to me the idea of using window screen on the bottom of each section; I wonder how that would compare to the cloth in terms of watering. Do you feel like your pallet has a good balance of drainage / moisture retention?
Hi Ashley, thanks! Yes, the herbs are thriving so the fabric weed barrier seems to promote a healthy balance. I’d worry that window screen would allow the dirt to come through with draining as well. ?
Hi Roeshel,
I follow many of your projects and plan to make quite a few of them in the future. My first priority is actually an herb garden and I love your vertical pallet herb garden however we don’t have a good outdoor location (future projects). I do have ample space & sunlight for an indoor herb garden. My question is do you think it is possible to modify your plan to make it indoor? I was thinking at the very least using good containers for the plants in each planting place much as I was planning to do if using something like a bakers rack to hold plants purchased from Lowes. Do you have any better suggestions?
Thanks for all of your great ideas. I hope to start my blog soon, I think I lack the courage to begin but I am so encouraged by following you and a few others. Again thanks.
Hi Suzie! I think you could definitely alter it to work indoors. Check out the wall mounted pallet shelves that we created: https://diyshowoff.com/2013/03/28/diy-pallet-shelf-and-organizing-home-brew-supplies/
You could do that – shelves but mix it with the free standing design (be sure to read the herb garden recommendations/changes to what we did too). Then find planters that fit inside the shelf holes (large mugs even maybe – I add packing peanuts to the bottom of my container gardens to help with drainage).
Hope that helps! Good luck!
I love the garden, but what do you do when it gets cold? I live in the Northeast and I have a small deck. I would love to do this project, but the herbs won’t last through the winter 🙁
I live in the NE too. It’s nearly end of season and time to cut and dry them then replant next year. For us, it’s just like planting our regular vegetable garden in the spring and harvesting in the fall.
Love this and want to do it, but ran into a problem. I have a pallet, actually several and the wooden slats don’t match up where I can successfully staple the fabric cloth to make pockets. Did you run into this? I was considering just removing the slats on one side and repositioning them but I am not that handy so wanted to get your input first. TIA.
oh, I’m not sure, Tara. My pallet was pretty level with the slats on each side. If it makes the pockets slant too much, you may have to remove and reposition them on one side but if it’s just a bit/not too noticeable, then a pocket that’s a little higher in the back might be okay.
Thank you Roeshel – fantastic and so effective. Can’t wait to make one! 🙂
Hmm, I was thinking of making something like this, and was planning on wheels on both ends, as it needs to move out of the way. Do you think it would be too unstable like that? Looks great!
Hi Erin – yes. Our original plan was to have wheels on both ends but it was definitely unstable which is why we altered the design.
Getting traffic from this post today. Thank you! Hope you had a great birthday.
Amanda
I absolutely love your herb pallet. I have a few here that I will use and follow your insts. Thanks
I have a question about the watering. Does it leak on plants below? Are you filling with potting mix in each row? When it drains, does it leave a mess on the ground/floor?
WEED BARRIER/ LANDSCAPE FABRIC are they being used to make a box for plants or you filling using planters. Sorry, trying to get it in my head.
Hi Rose. Yes, it’s weed barrier/landscape fabric and not planters. Yes, water does run through a little (depending on how much I add) to the plants below but no, I’ve never notice a mess on the concrete from the bottom row…I don’t recall anything looking like a big mess or being anything I even noticed. Hope that helps!
very nice !
love this idea dear. definitely showing this to the hubby 🙂 thanks!
I think it might make a great wind buffer, too. I was wondering about some tomatoes in the top…? Not sure I follow making the paper patterns though but I guess I’ll find out for sure when I get to that point. Terrific project I think I could do on my (female) own 🙂
Using paper to make a pattern helped with knowing the exact size I wanted to cut the fabric weed barrier to create a pocket. But you could just measure each pocket area instead. 🙂 Great idea for a wind buffer!
Woot – love your new site design Roeshel! Gorgeous!! Love your Herb pallet garden too! This is on my to-do list for this summer!
Oh, I love this idea!
Roeshel this is amazing! I can’t wait to make one as soon as it gets below 90 degrees again!
Love it! Great inspiration. I want to do this now and I have the perfect spot outside my kitchen door to set this up. I will just need to find someone who is chucking out some pallets that I can reuse as eco friendly furniture 😉
That pallet garden looks awesome! I’m starting my own and I had a quick question. How does drainage work here? Should I drill some small holes before laying down the landscape fabric? Or is drainage not an issue with the pallet garden? Thanks!
Thanks, Cassandra!
Water drains through the landscape fabric which is designed to allow drainage (just prevent weeds). When I water each level, it does drain a little onto the row below so I haven’t noticed that holes are needed (there is no bottom to each row…just the bottom of fabric pocket).
Very nice garden. I’m about to put my own together : )
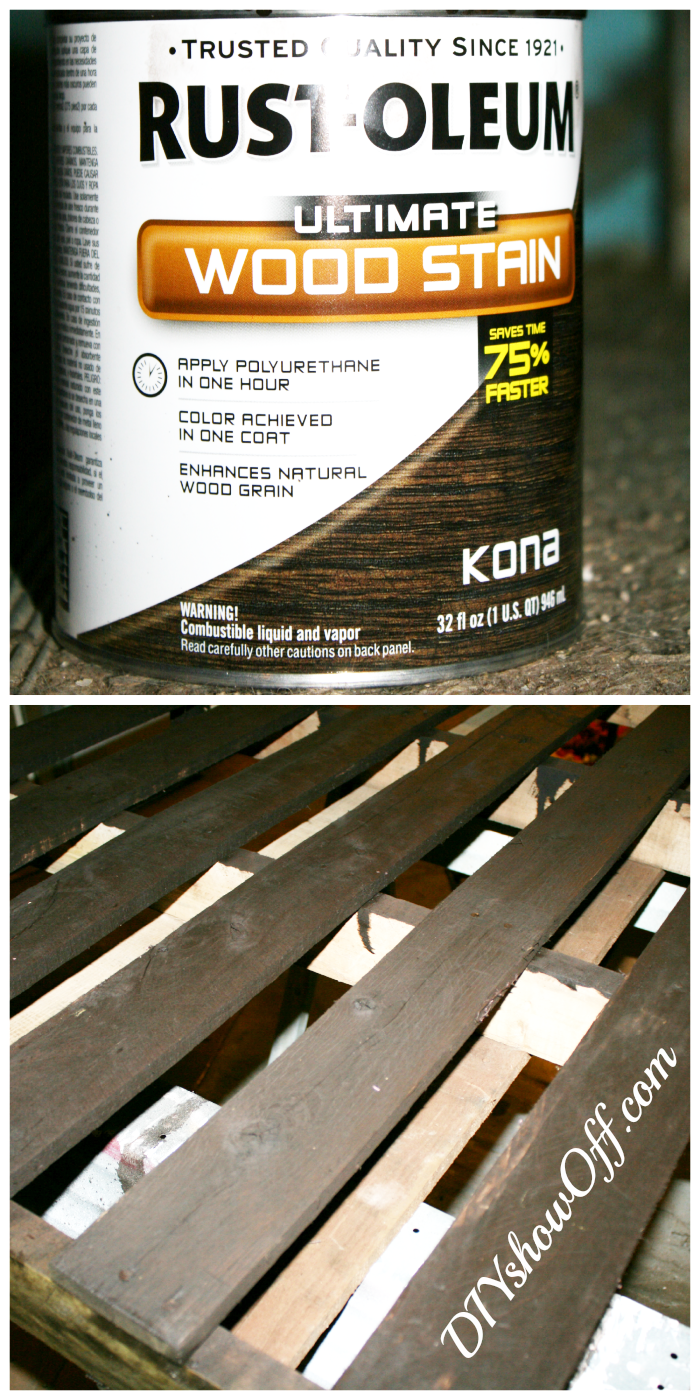
Are you concerned about the stain and clear coat chemicals affecting the plants?
Thanks, Devon. Nope, it doesn’t concern me. We haven’t noticed any issues. But as always, do what you feel works best for you. This is just us sharing our personal experience. 😉 Good luck!
love this!
Does anyone know about the stain leaching into the plants? Is it toxic?
Hi Ian, using raw linseed oil would be a better option if leaching is a concern. Hope that helps!
Also, see if you can find a product called ecowoodtreatment.
Hi! I just ran in to this and was wondering, if I didn’t want to use a pallet due to fear of chemicals – hoe much extra wood, would be needed? Thanks!!
Hi Miranda, My guess is you’d want to craft an entire pallet yourself, which wouldn’t be hard at all! Amount of wood would depend on the size you want. Sorry I can’t be more helpful. I chose a pallet that was un-treated. More details with a link to the source for choosing pallets in the blog post. Good luck!
This is so fabulous – I’m pinning !!!
Thanks for sharing ♥
Wow…if ever there was aa project that made me say I want to use a power tool, this is it! I love it!
I am totally making this in the summer. Thanks!
I want to know how you repel the fiddlebacks and black widows who just LOVE pallets?
I don’t have any problems with spiders. ??? Maybe that’s something specific to where someone lives? I mean…I’m certain there has been a spider here or there over the past couple of years but nothing that I’d attribute to having a pallet or an issue.
I love this idea! I made something similar to this last year. Please be aware that pallets may be treated with chemicals like formaldehyde to preserve the wood. And weed barrier paper is a creative idea! It may dry out a bit faster and need more frequent watering.
Thanks for stopping by, Ninnie Bee! And yes! All mentioned in the post (tips and safety) but always a good reminder! Take care! xo
Looks fabulous! I pinned this awhile ago and am now getting ready to do a similar project.
Since some time has passed, I was wondering how it worked out. Are you still using the planter? Did the bottom plants get too much shade?
Thanks for posting the project – and your modifications!
Hi Stephanie. Yes, I still use it! It’s still amazing and no problems with plants on the bottom row. I love this pallet garden. It’s been durable and so much fun! Good luck!
Thanks! I’ll let you know!
Hello! I love this pallet garden. Could you detail how the plants did throughout the time you had the garden functioning? I was wondering if they were likely to dry out because of the air that must move around the roots due to the spaces between the wood pieces? Is there anything you would do differently after having experience with this design? Beautiful photos and such a neat idea. Thank you for posting.
Hi Gracie, we still use this pallet garden every year with success. I just take extra care to water daily and have no issues at all (western PA). Hope that helps. Good luck!
I looked at making this for a school project and I think it would go great!
Awesome, Angel! Good luck! I’d love to see it when you’re done!
This is amazing!!! Just the motivation I needed 🙂 THANK YOU!!!
Hurray! I’m glad you stopped by. Good luck, Daphne!