Flower Pallet Garden

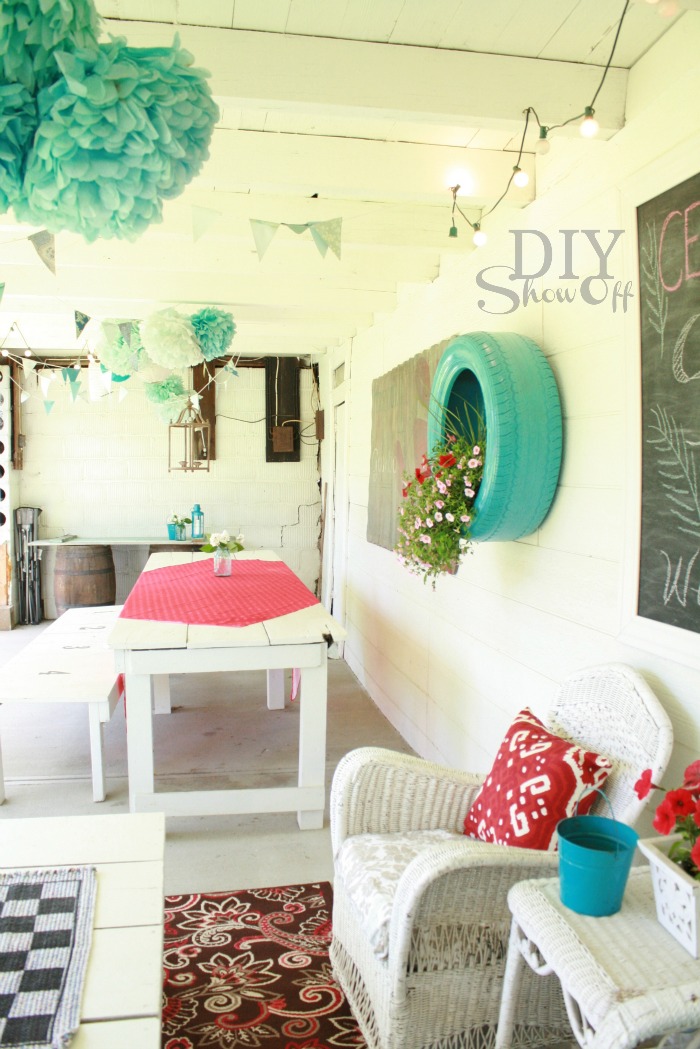
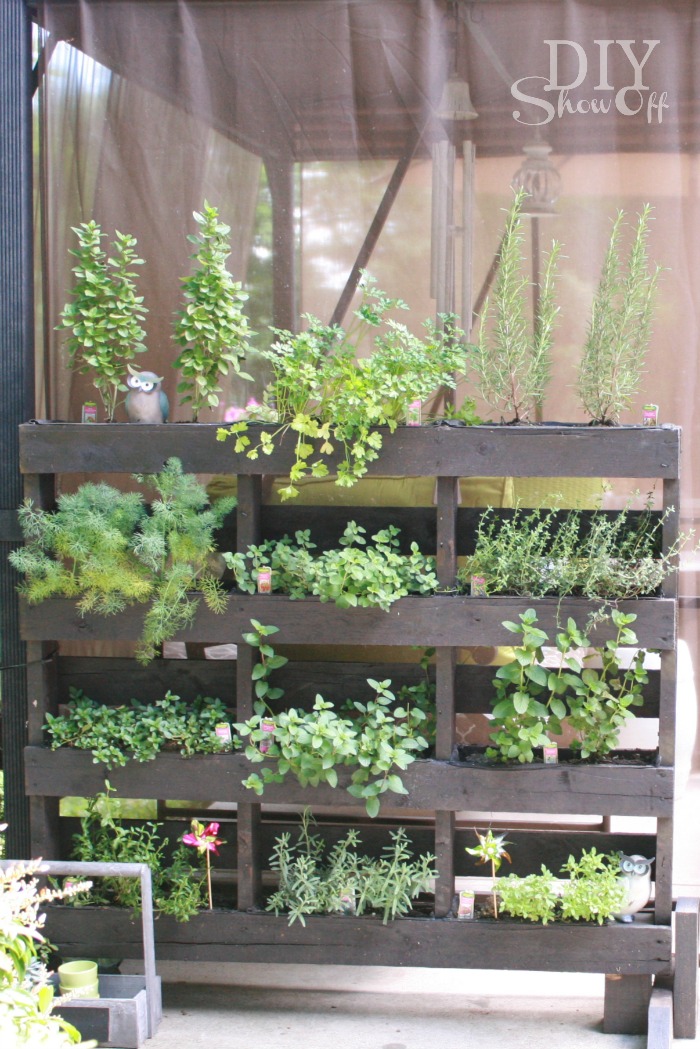
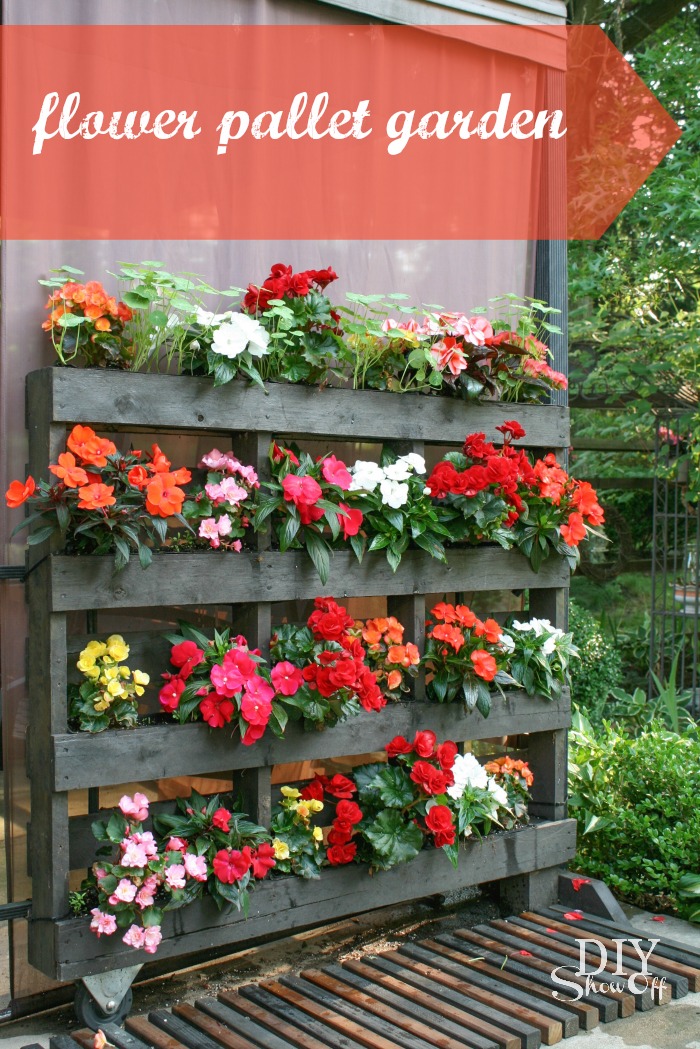
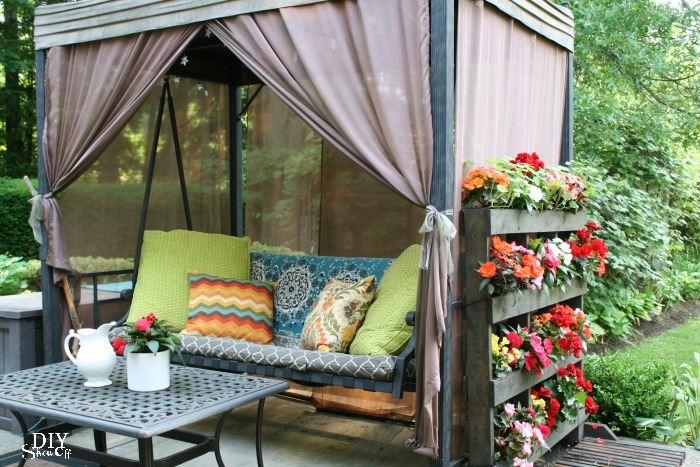
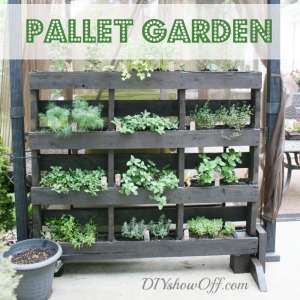
This year I wanted to give my pallet garden a new look. It’s the third year we’ve been using it and it’s still in great shape. The Project Garden campaign was the perfect opportunity for a little assistance. Since we entertain outdoors often in the summer months, I really wanted to add color and pretty blooms to our patio area rather than herbs this time around.

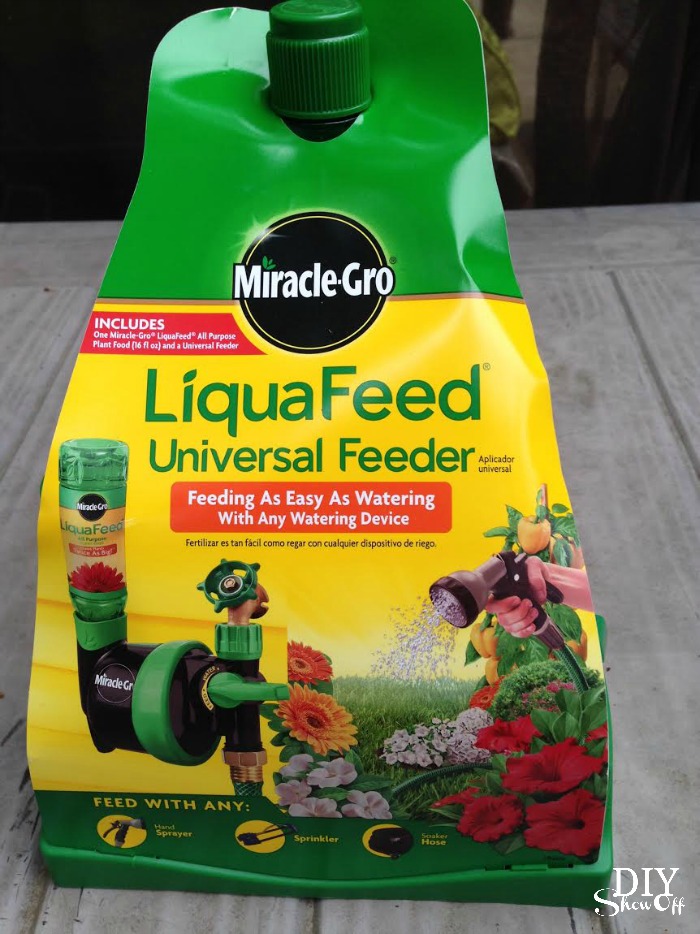
Miracle-Gro’s® latest product innovation, Liquafeed® Universal Feeder, makes feeding as easy as watering.

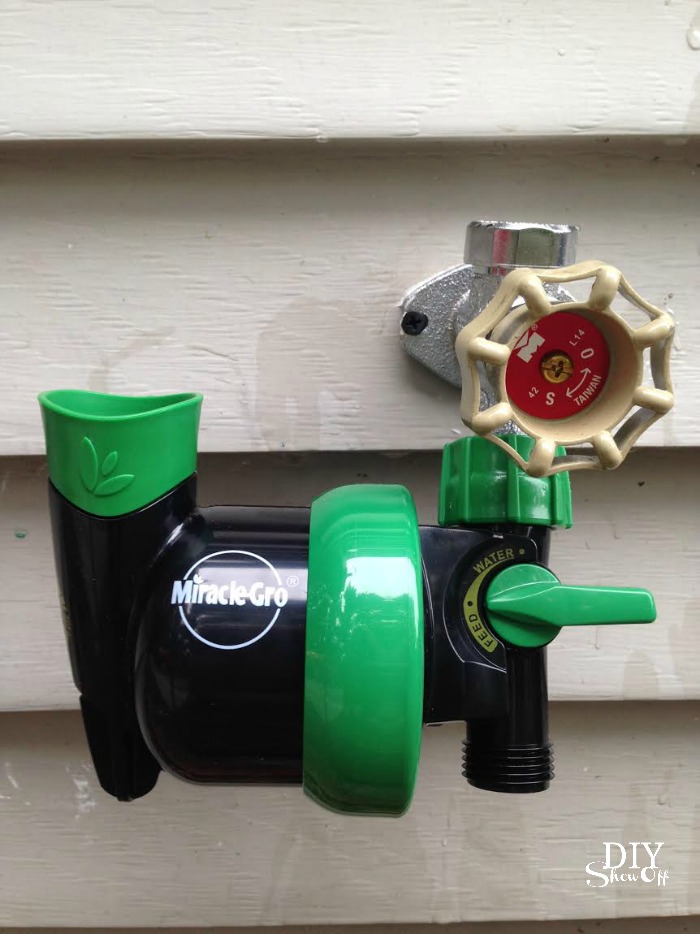
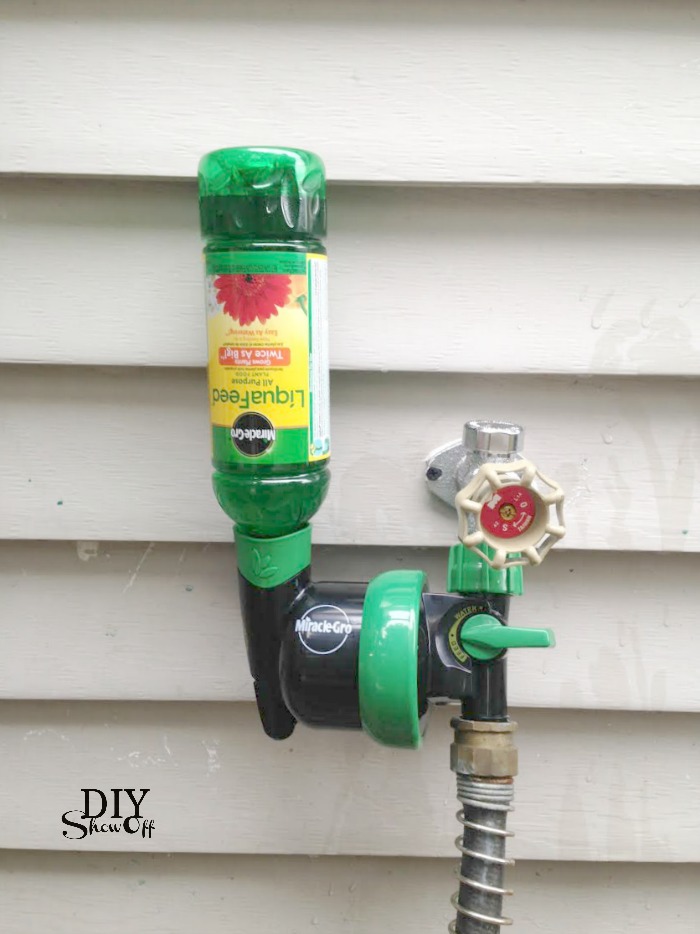
We simply installed the Liquafeed® Universal to our outdoor spigot, then screwed on our hose. Then just pop in a bottle of MiracleGro feed.

Down position when not in use. Up when feeding.

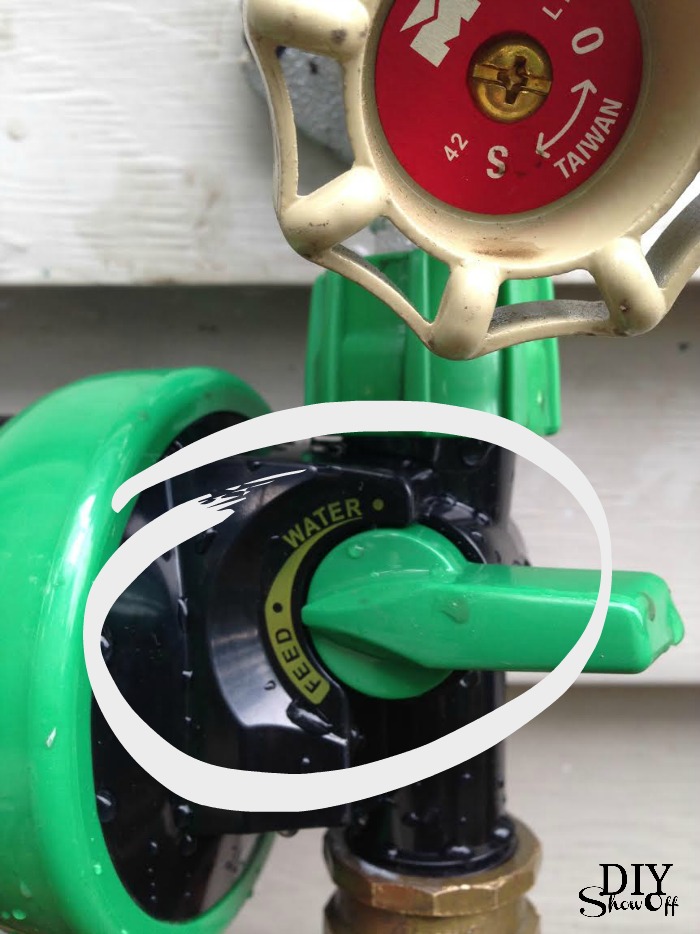
There’s also a handy water/feed switch so the Liquafeed® Universal can remain in place.

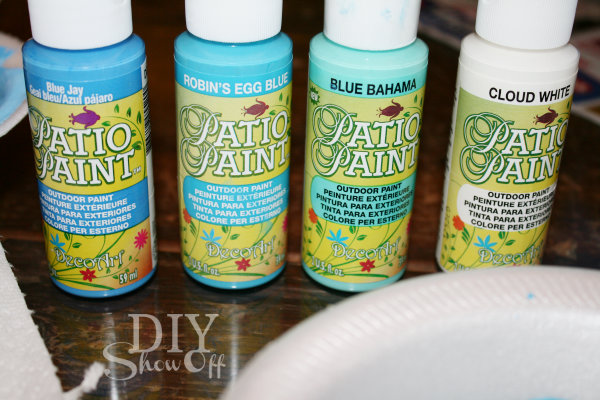
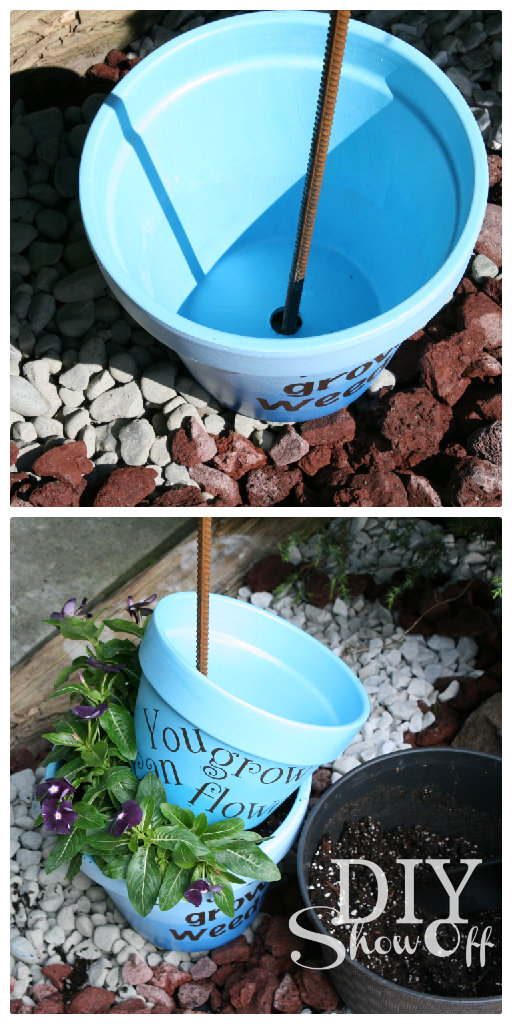
We planted the flowers then soaked the soil with using the Liquafeed® Universal attached to the hose on the mist or shower setting, the same as when I’m watering.

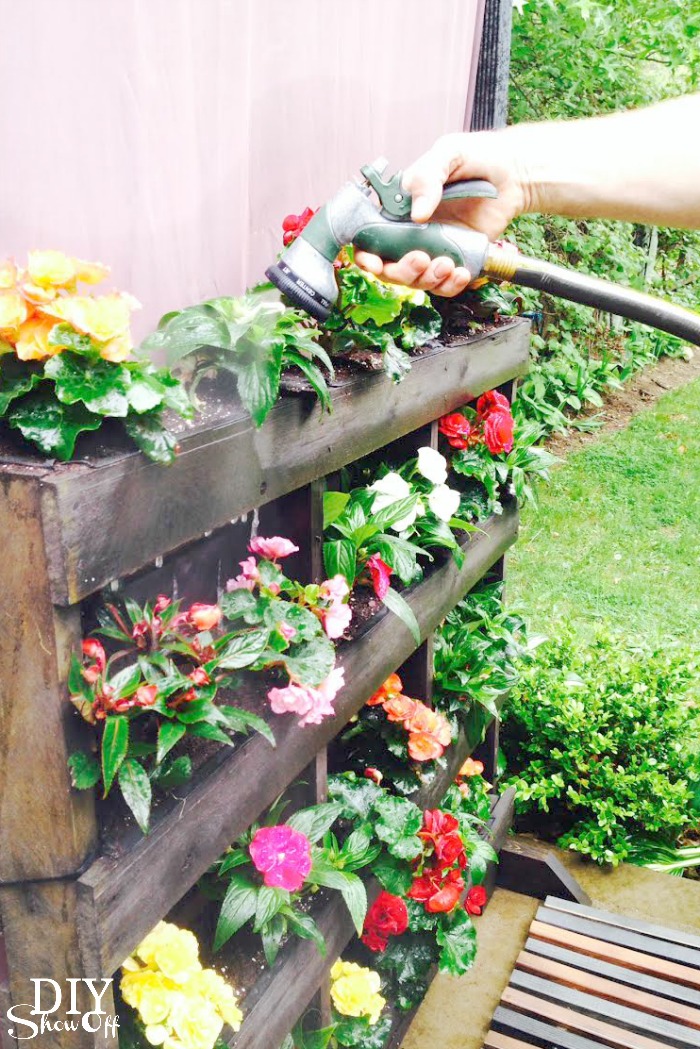
I water my flowers every evening then flip the switch to feed every other week for bigger, more beautiful plants. Feed every 7-14 days with Miracle-Gro All Purpose Plant Food or Miracle-Gro Bloom Booster Flower Food to help plants grow bigger and more beautiful versus unfed plants.

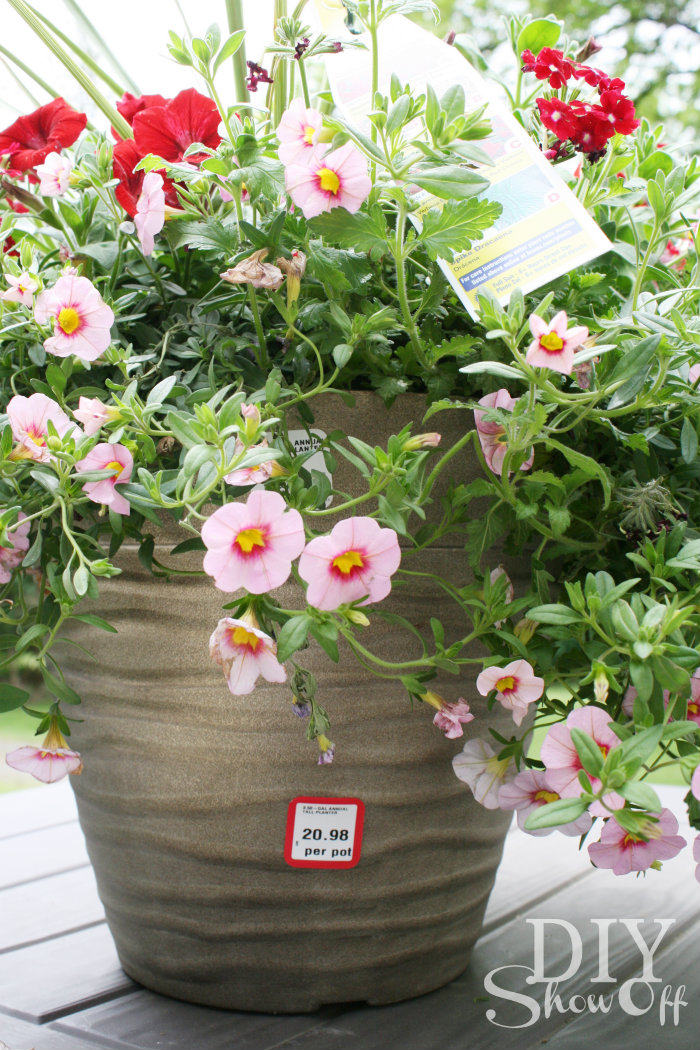
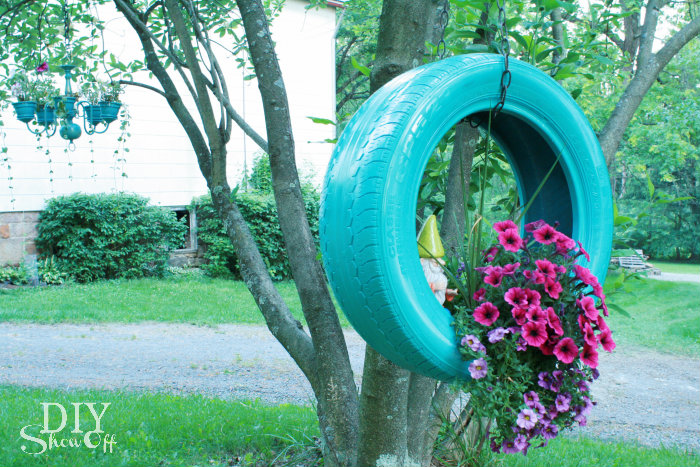
Flowers can be quite the investment and a risky one if your track record isn’t so great with plants, like mine. I want to make sure these beauties thrive all season long!

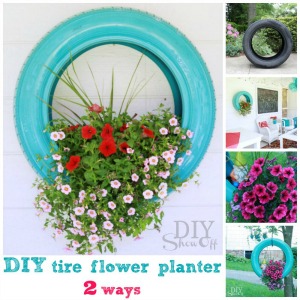
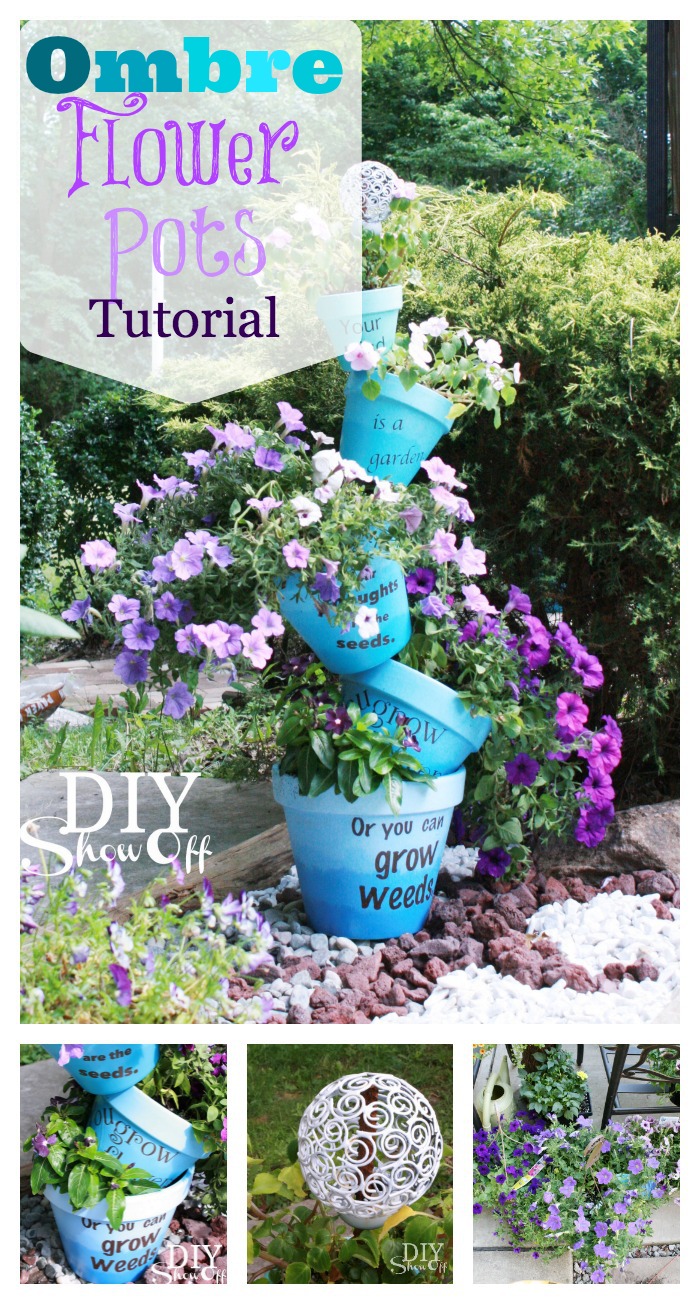
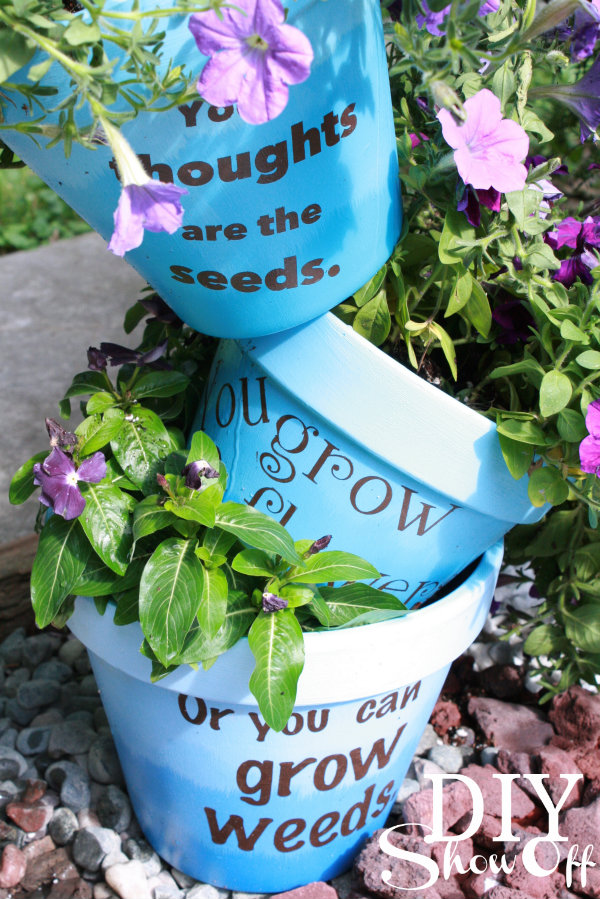
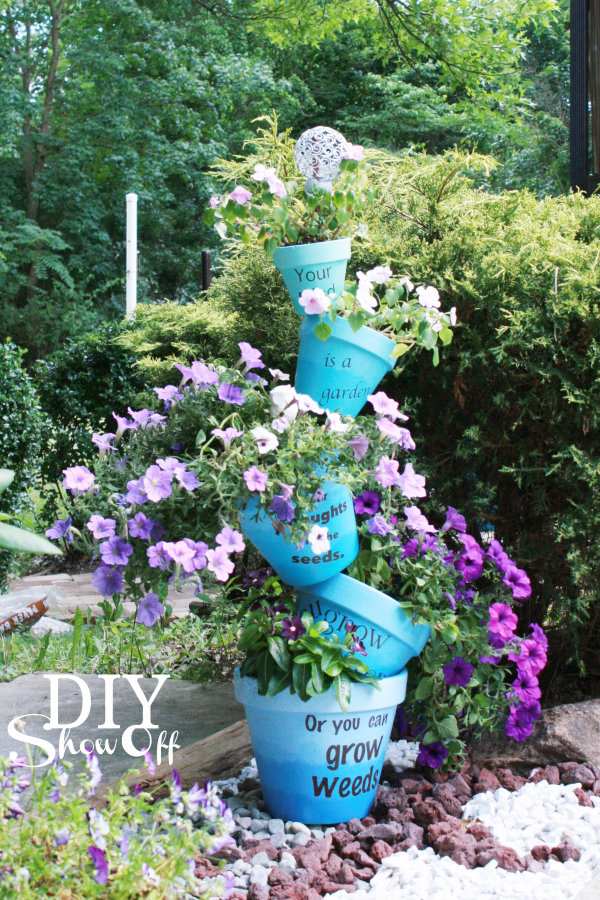
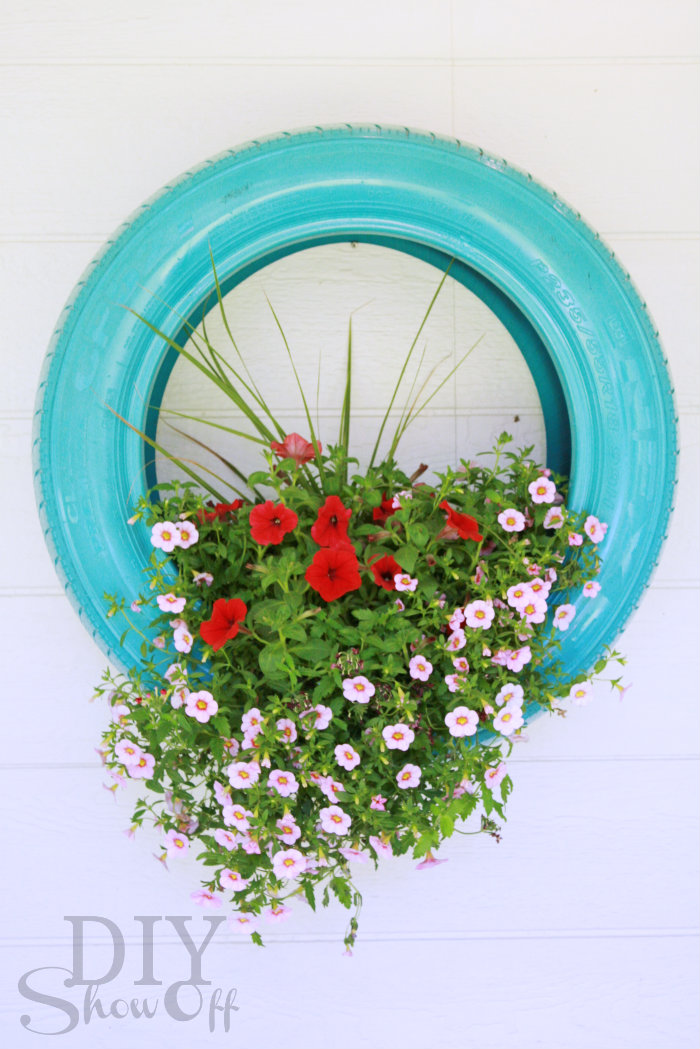
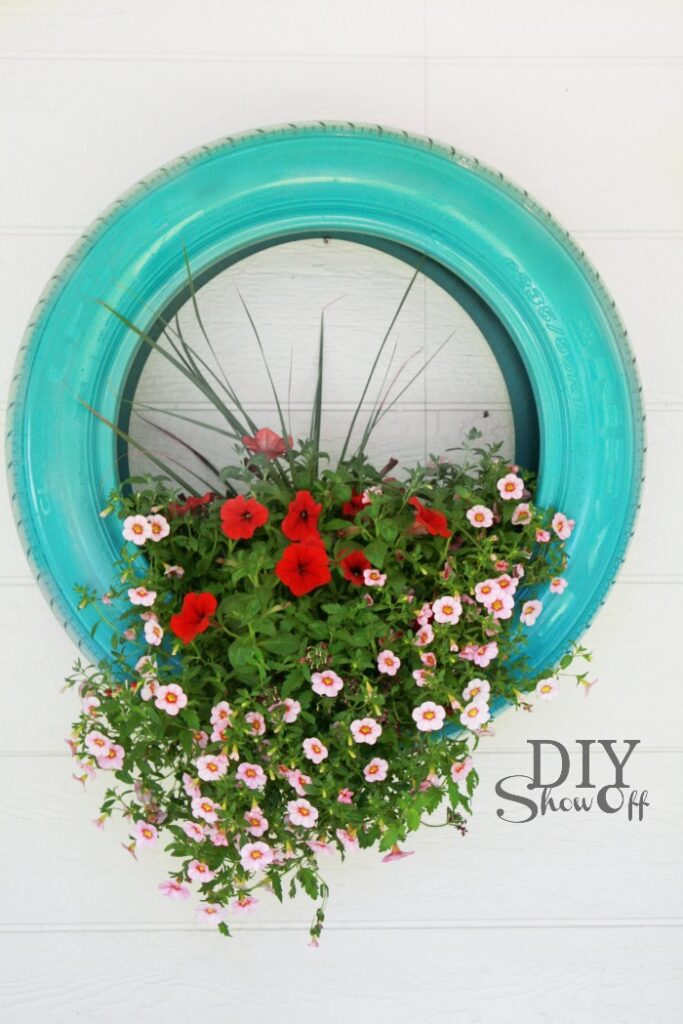
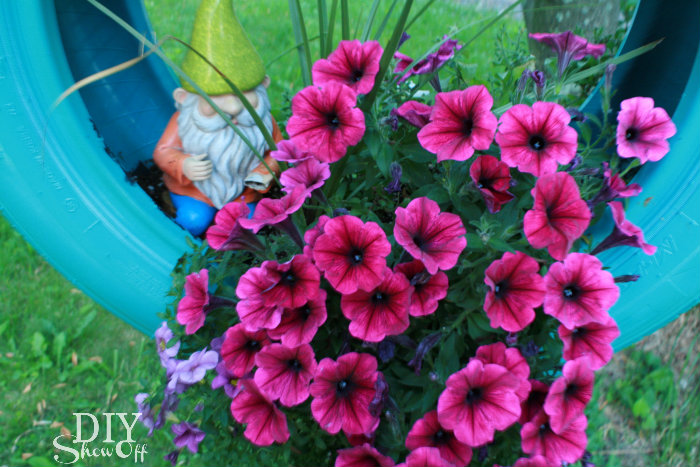
Oh my goodness! Gorgeous!

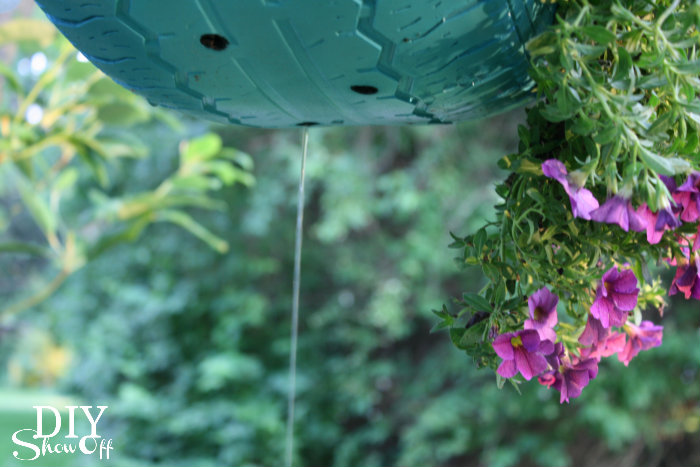
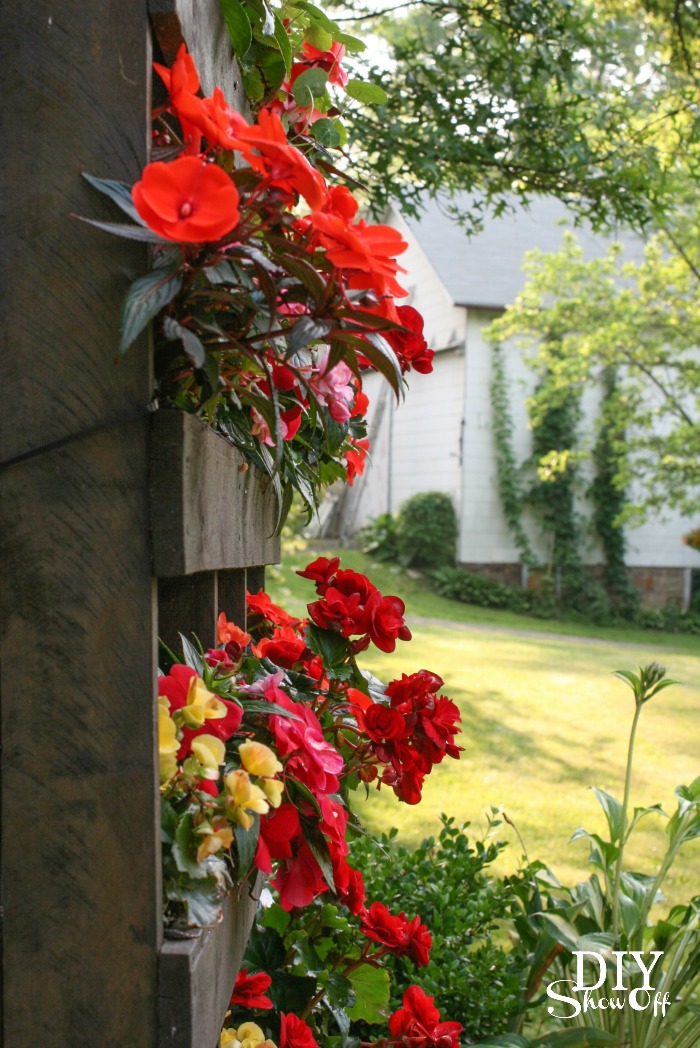
Spilling out like flower gardens on a European balcony but it’s really just a vertical pallet garden in western PA. 😉

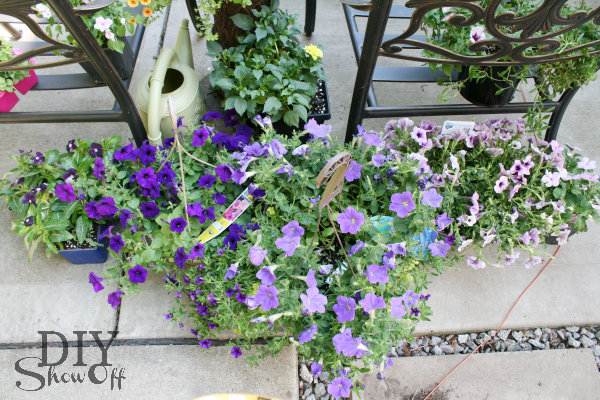
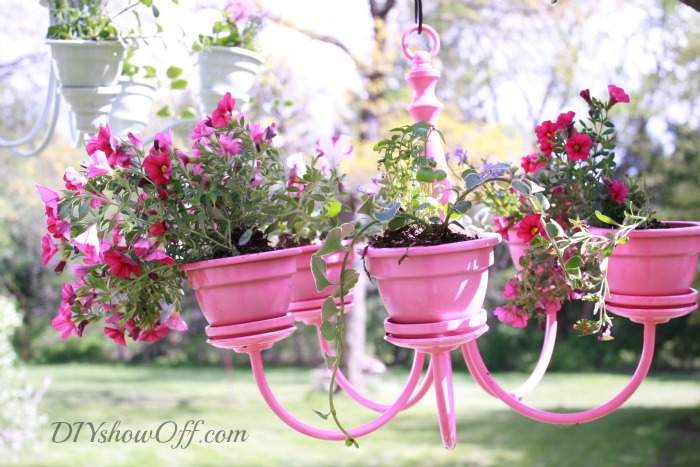
I am in love with these bright colored impatiens and happy begonias! Stunning, right?

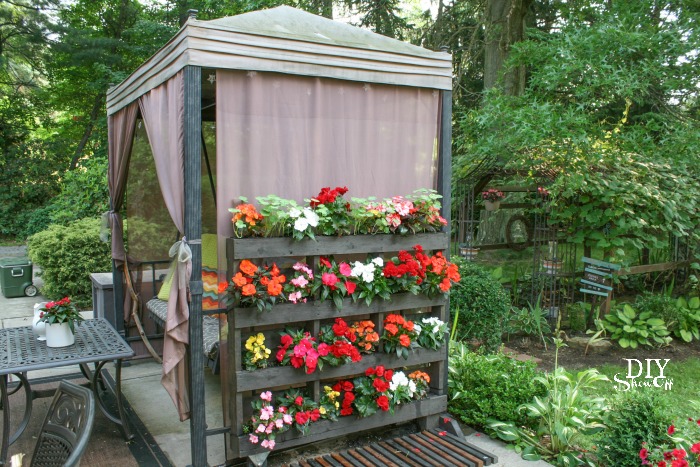
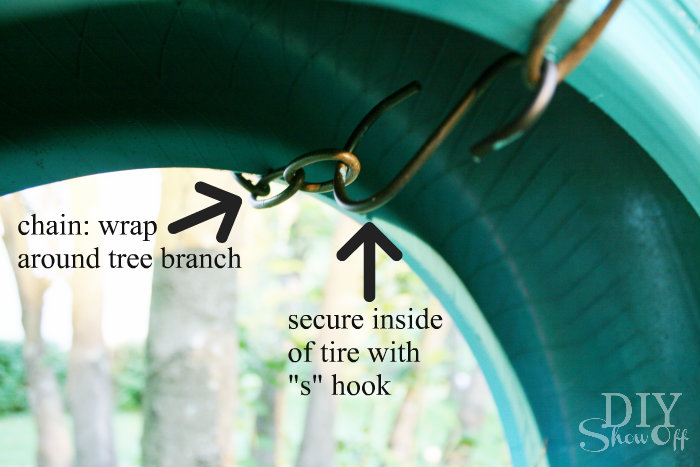
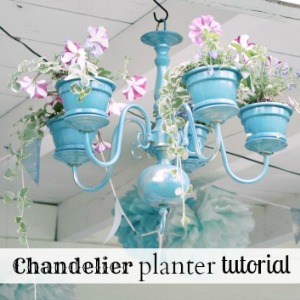
Get tips for making your own vertical pallet garden tutorial HERE.

Do you have a green thumb? Any helpful tips for maintaining beautiful plants? My new favorite flowers are impatiens. How about you?

FAQ’s about the LiquaFeed Universal

More information about the LiquaFeed Universal Starter Kit

*If it waters, now it feeds with Miracle-Gro® LiquaFeed® Universal Feeder. It’s a great tool to help you reach your gardening goals by providing the essential nutrients your plants need to thrive all season long.

*Miracle-Gro® sponsored this blog post. The opinions and text are all mine.


Easy DIY Indoor Outdoor Honeycomb Wall Art

As a member of the Lowe’s Creative Ideas team, I have the opportunity to participate in monthly DIY challenges. One of the themes for April is outdoor wall art. I just happen to have a bare outdoor wall. This easy DIY indoor/outdoor honeycomb wall art project is super easy and perfect for decorating an outdoor wall in our covered party patio area. 

easy DIY hexagon wall art at diyshowoff.com

 Materials I used:

hexagon wall art tutorial at diyshowoff.com

What I did:

I spray painted the pieces of the drawer organizers (not assembled) using Valspar Outdoor Spray Paint. I sprayed one side Peacock Blue and let dry about 6 hours then flipped and sprayed the other side Koi Pond and let dry overnight. 

Once the paint was dry, I assembled my pieces. The honeycomb-shaped organizers simply snap together. No tools required!

easy honeycomb wall art tutorial

Since I have 3 sets, I assembled two sets with closed ends and one with open ends (both options shown on pamphlet with instructions included in the box).

easy DIY hexagon honeycomb wall art

You could even leave them white = the only DIY is snapping them together! I hung mine using Command outdoor light clips. 

Face on: 

Easy DIY hexagonhoneycomb wall art tutorial at diyshowoff.comDIY honeycomb hexagon wall art at diyshowoff.comeasy hexagon wall art at diyshowoff.com

From the side:

honeycomb wall art tutorial at diyshowoff.comDIY honeycomb wall art at diyshowoff.comhex wall art at diyshowoff.com

From above: 

DIY hexagon wall art tutorial at diyshowoff.com

They’re very light weight so not ideal for displaying heavy items but a great way to add color, dimension and interest to an otherwise plain outdoor or even indoor wall. I tucked in a few succulents for now.

outdoor hexagon patio wall art at diyshowoff.com

My covered patio area still hasn’t been cleaned up for summer. I just grabbed some accessories for photo-staging. Pardon the leaves and dirt!

outdoor honeycomb patio wall art at diyshowoff.com

The outdoor hexagon/honeycomb wall art is going to look great on that back wall when the patio is cleaned up. See the patio when it IS ready for summer lounging and entertaining here.

barn patio makeover

LCI Spring

I received a Lowe’s gift card to complete this challenge. Opinion and above idea is 100% my own. More DIY ideas at Lowe’s Creative Ideas, follow Lowe’s on InstagramPinterest and sign up for the Creative Ideas magazine and app!  

More of my Lowe’s Creative Ideas challenges:

DIY hanging organizer - Pantone radiant orchidDIY Chalk Finish Paint Recipepipe shelving how toDIY foldable luggage rack tutorial DIYShowOfftire flower planter tutorial at DIYShowOffLCR dice game tutorial

Covered Patio Transformation

When we bought our home, the lower area of our bank barn was junky and scary.

Before – previous owner’s things. It’s dark, scary, spidery and a little dangerous with broken glass. Old picture…sorry about the tiny size.

barn-before

I shared some photos in our summer home tour but I wanted to share some true before along side the after pictures. 

After – paneled wall, a LOT of paint and a concrete patio. 

barn patio 

The transformation in pictures:

Yikes!

New Back Wall

The harvest table looked liked this before and was actually nailed to the back wall…we gave it a makeover too.

New Concrete Patio
 
Russ tries out the paint sprayer

Now:

barn party patio

On the far wall, two old barrels topped with a door serves as a buffet table near the electrical outlet…great for serving and keeping crockpots and slow cookers warm. 

barn patio makeover

Doesn’t the harvest table look 100% better with a paint job? The bench was ‘rescued’ too. 

party patio

A framed chalkboard gets a new message with each party. Birthdays, graduations, etc. The tire planter is on the wall when we entertain but gets moved to the sun/rain otherwise. My giant painted puzzle playmat serves as wall art. 

outdoor entertaining

Wicker furniture is all from estate and yard sales – just a fresh coat of spray paint. 

outdoor living

I still need to get two outdoor pendants/lighting. I’d love to stain/paint the concrete. I also have plans for moving things around and building a ‘bar’ type area. But for now, it’s perfect for parties and sometimes I come down here for some quiet time too. 

red and turquoise patio

It’s a fun area for hosting cookouts since it opens up into our huge back yard with plenty of room for volley ball, badminton, corn hole and a fire pit. 

tire flower planter tutorial at DIYShowOffWall art….

Painted Foam Playmat

Games…

DIY giant outdoor LCR dice game tutorial