Finally! I know. It’s been a while since the last update. Lots of work! There is something to report in the #helloredreno series, a bit of progress that includes beautiful new vinyl floor tiles and walls in a back entry and main floor restroom area for the workshop. I’m still working on final details like getting a sink/vanity installed, trim work, some fun DIY projects and decor but I just can’t wait to show you this beautiful flooring!
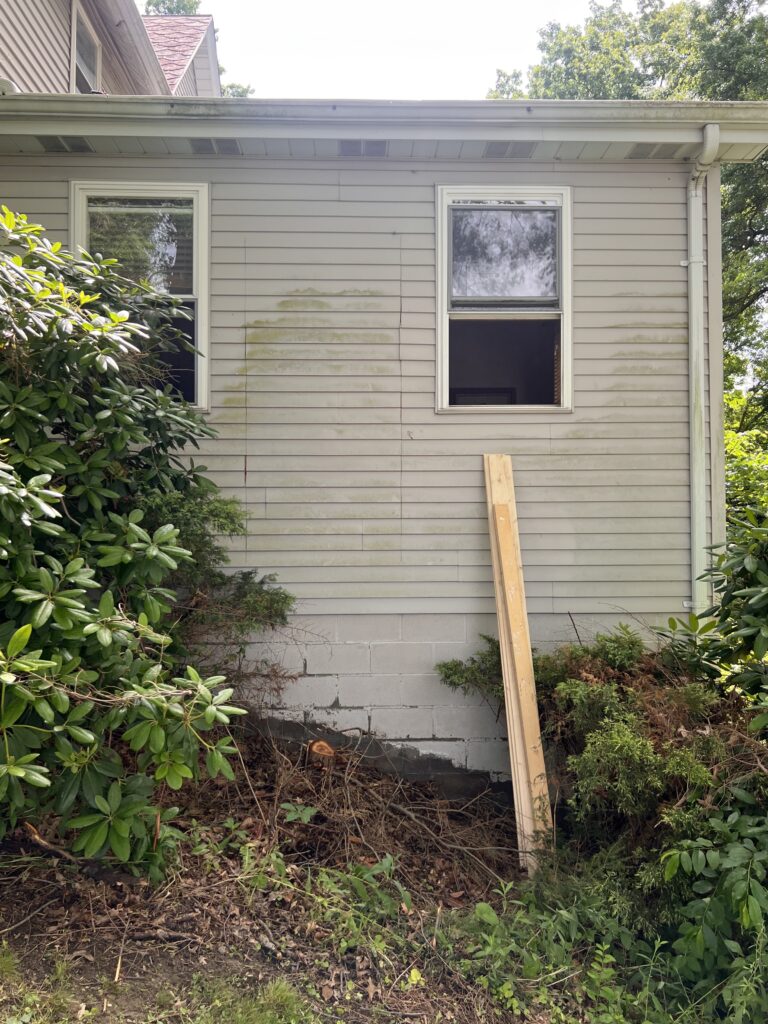
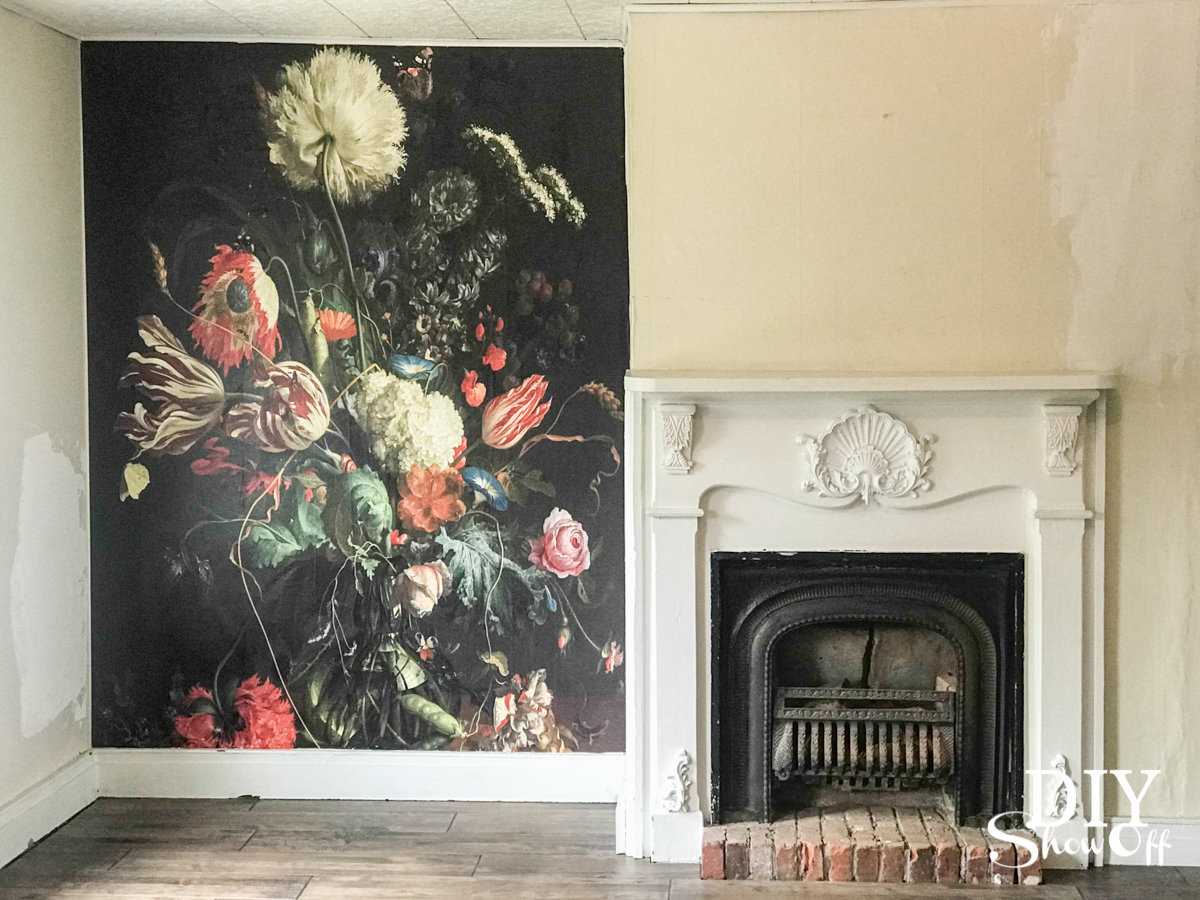
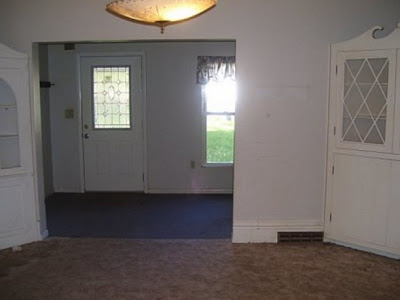
Back Story // Before:
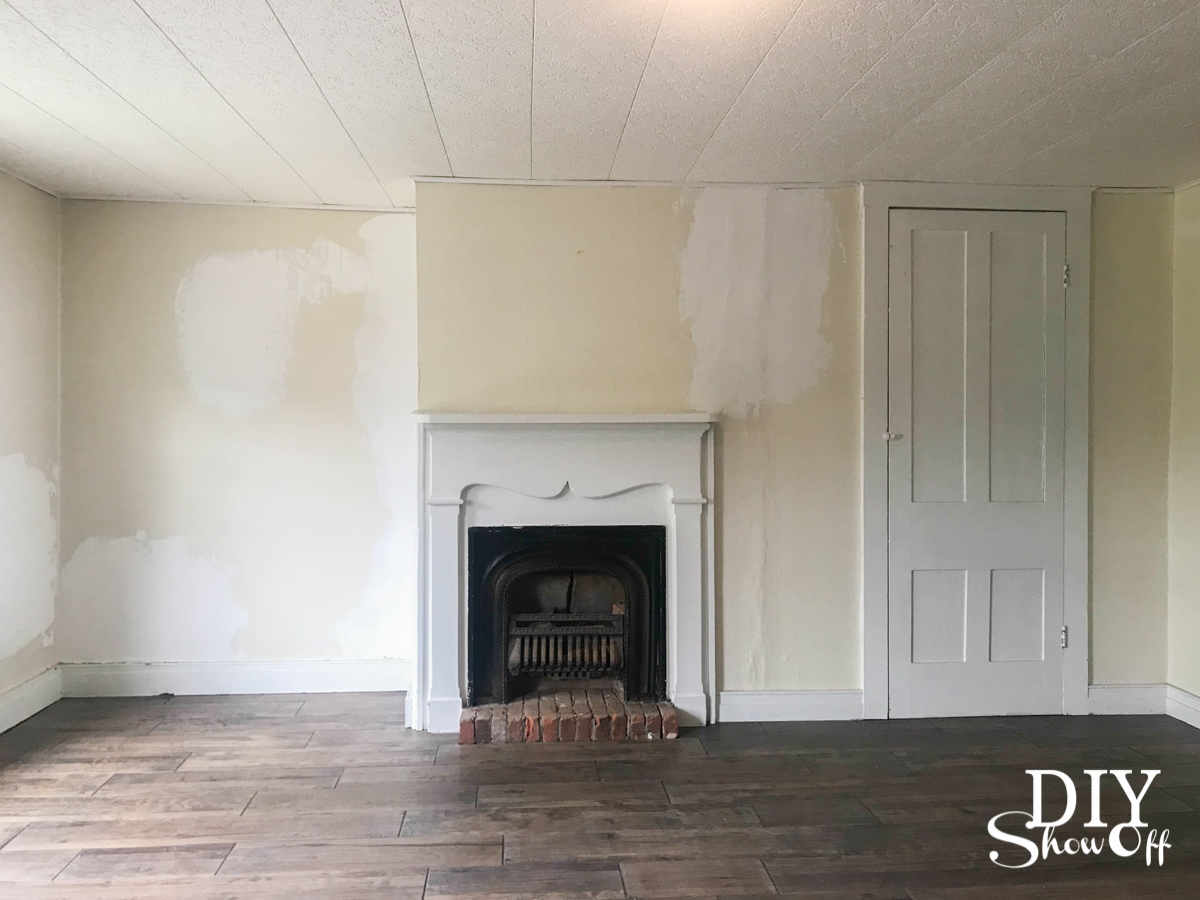
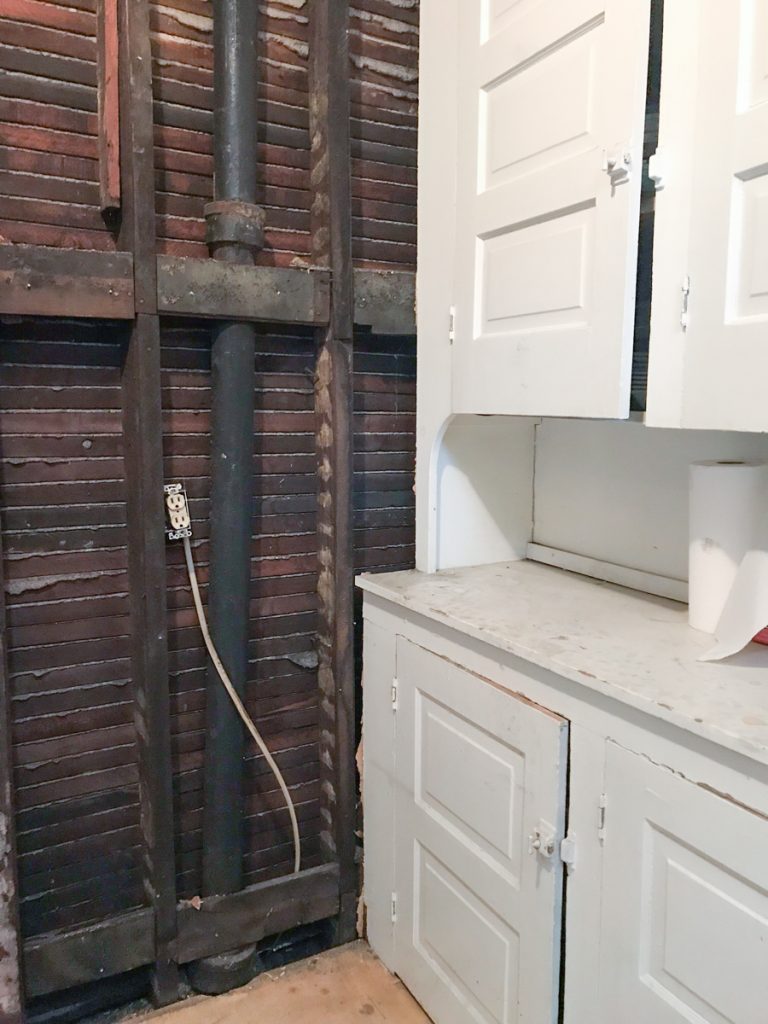
Real quick: the “painted cardboard” walls were removed to reveal very dirty lathe? I’m not sure but it was filthy. Oh and the ceiling tiles are gone as well! We installed some insulation and my sweet Mr. DIY guy put up some fresh new drywall. Side note: It was a very verbally colorful experience since nothing is square in this 100 year old building but thank goodness it’s done! Now Let’s get the the before shots from when it just changed hands from the previous owner to us…
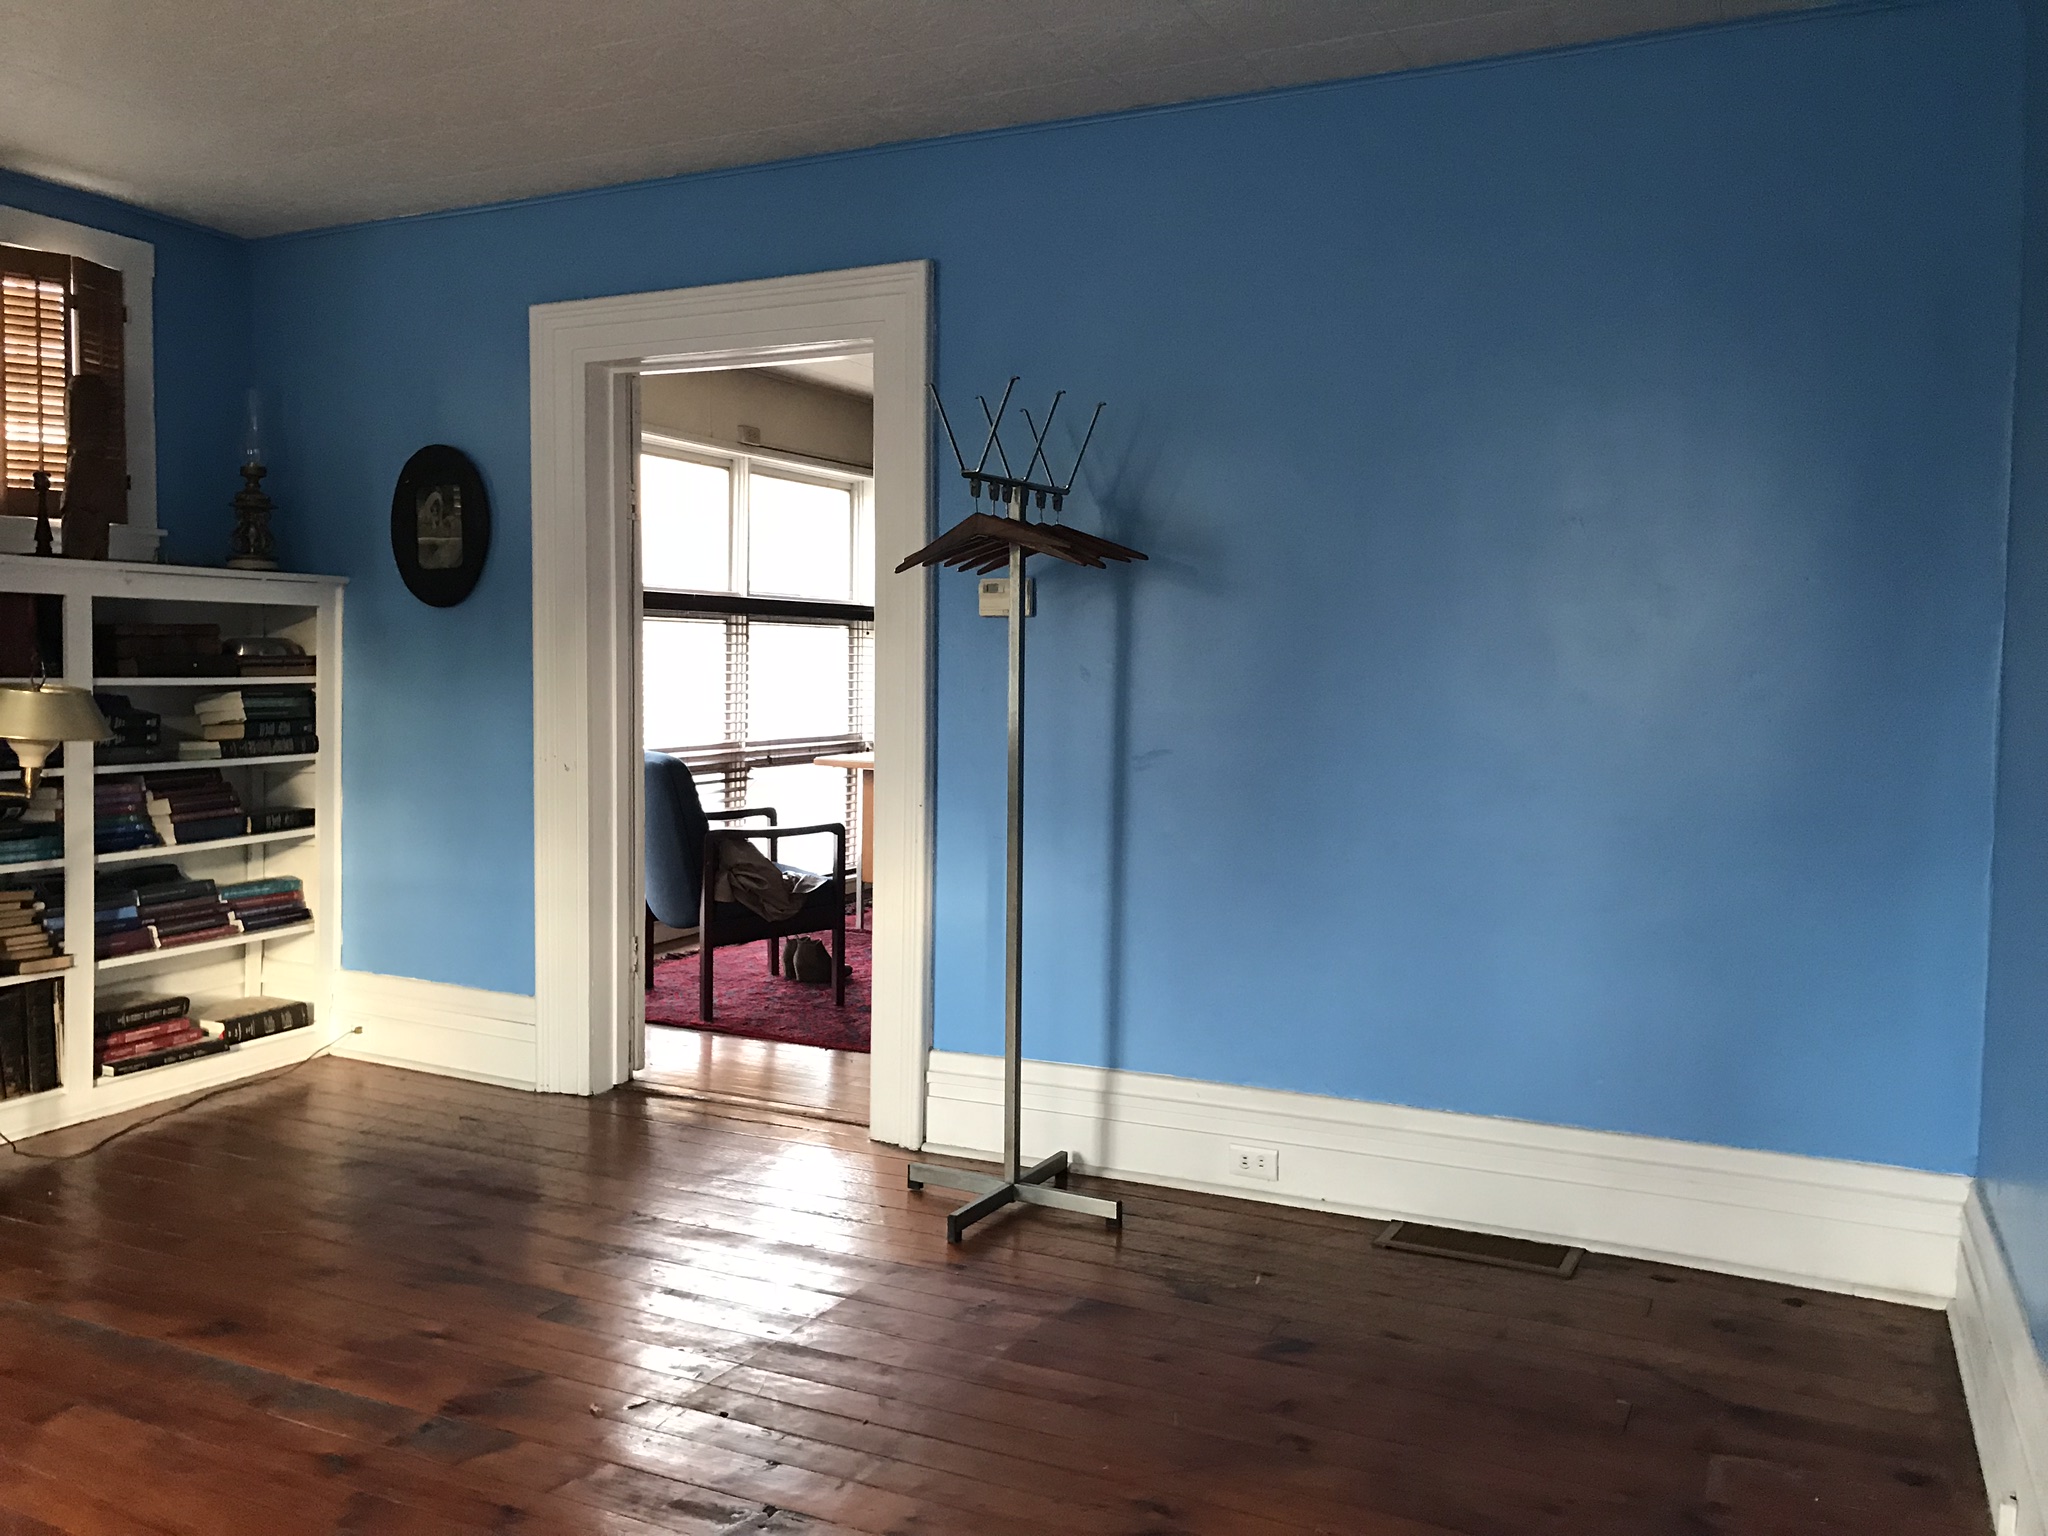
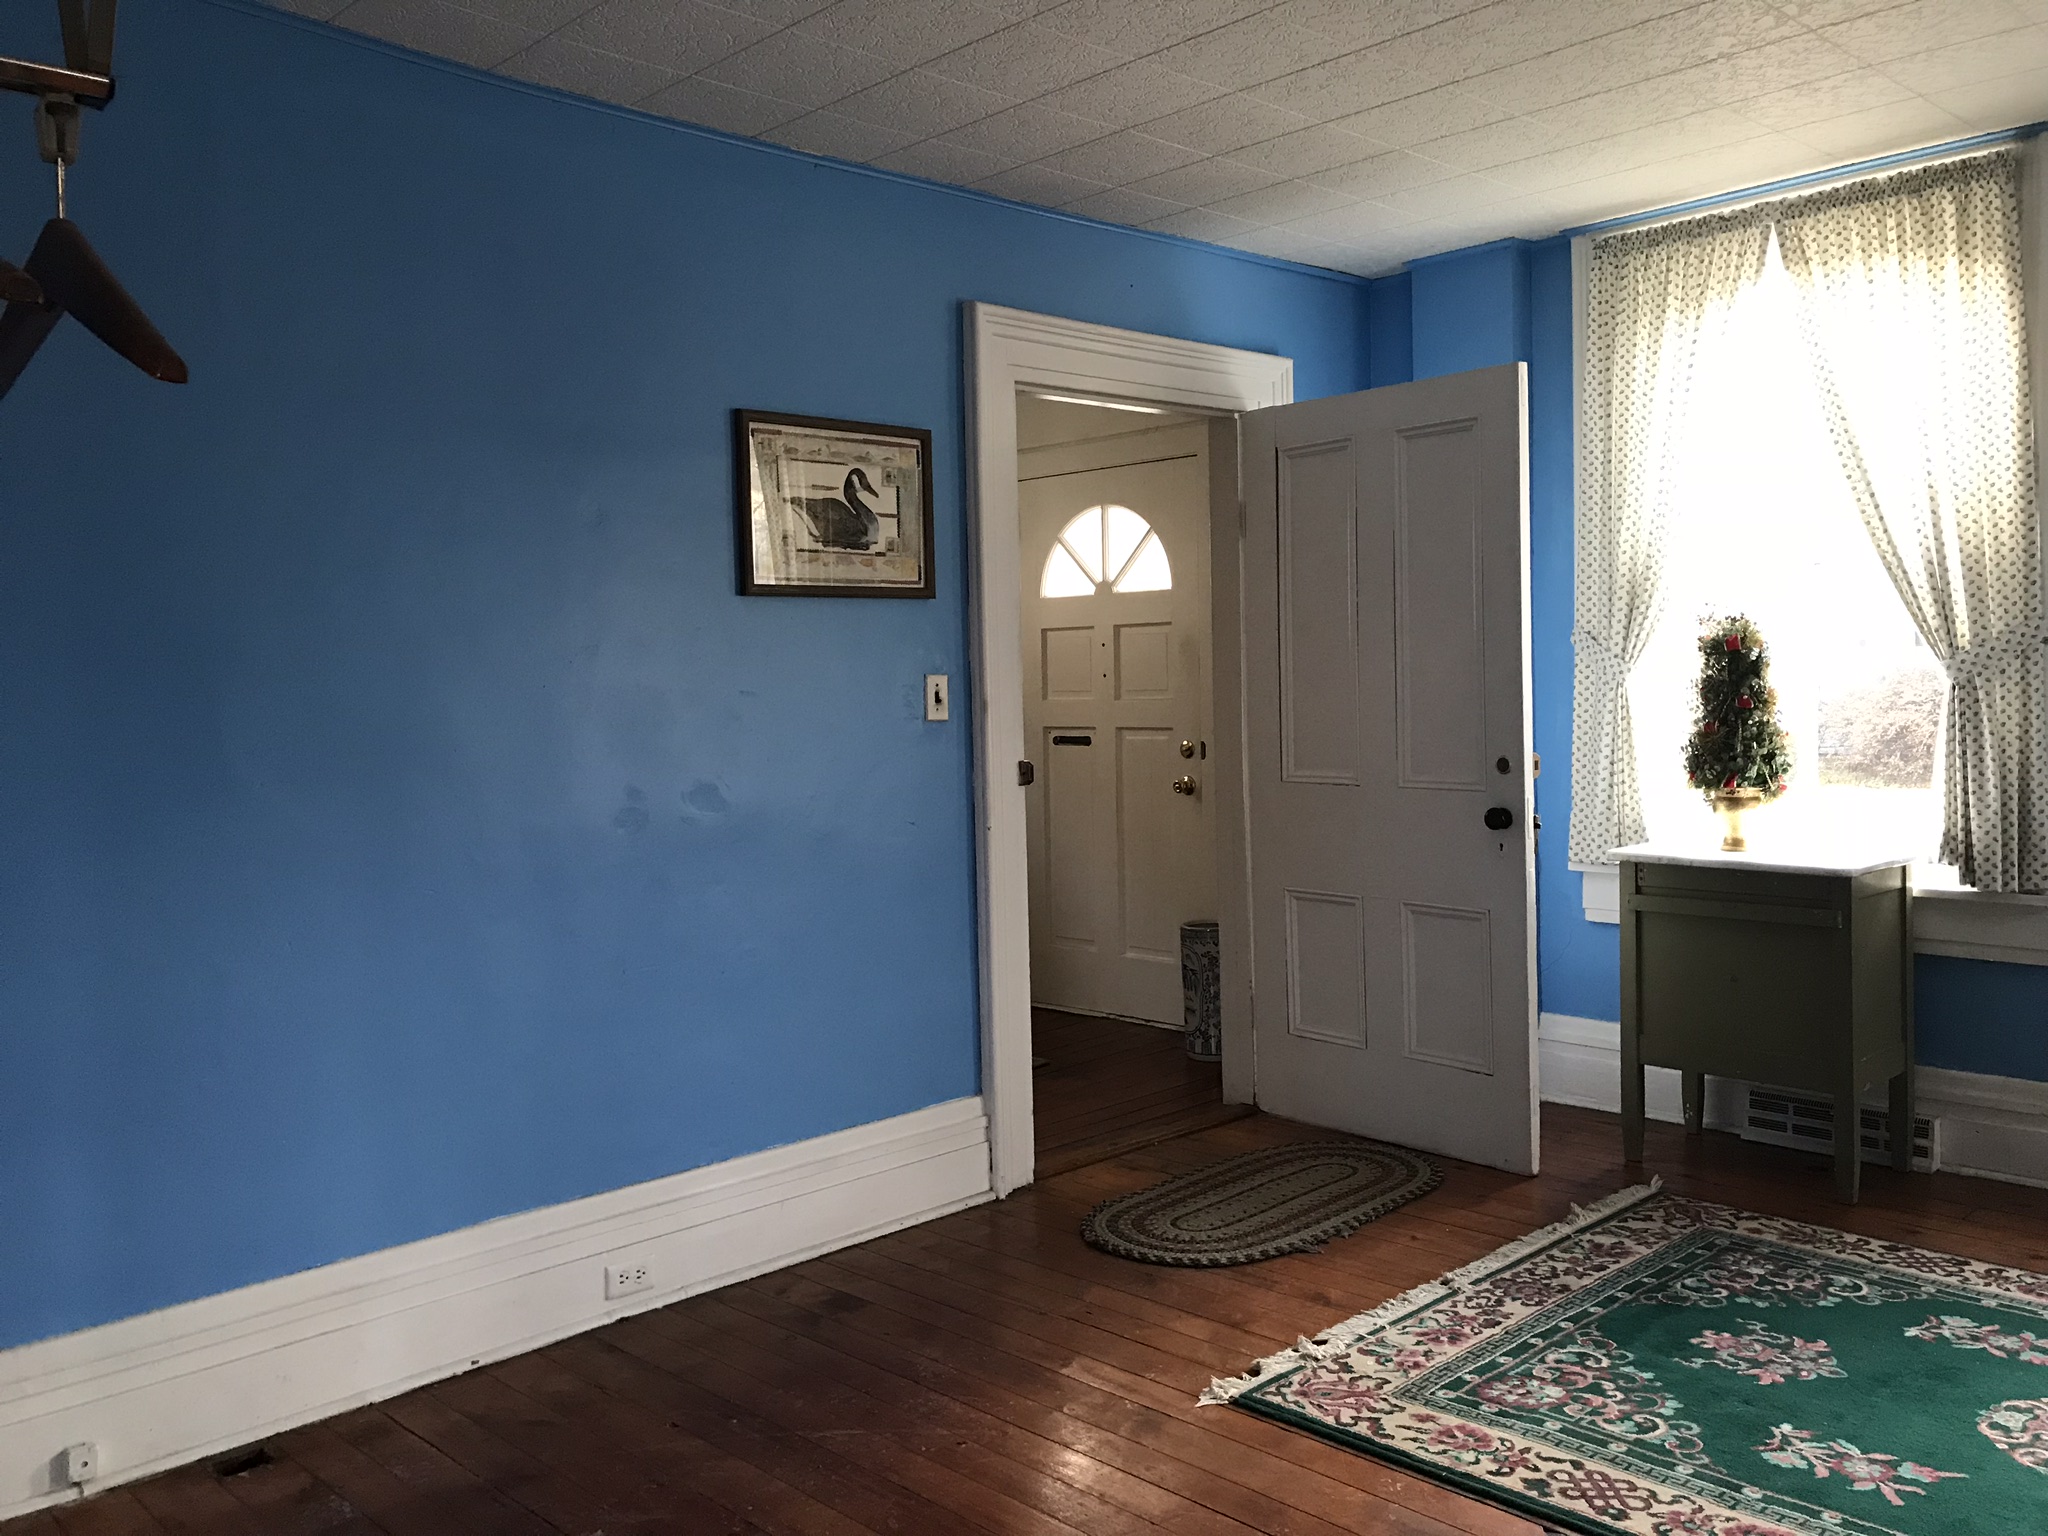
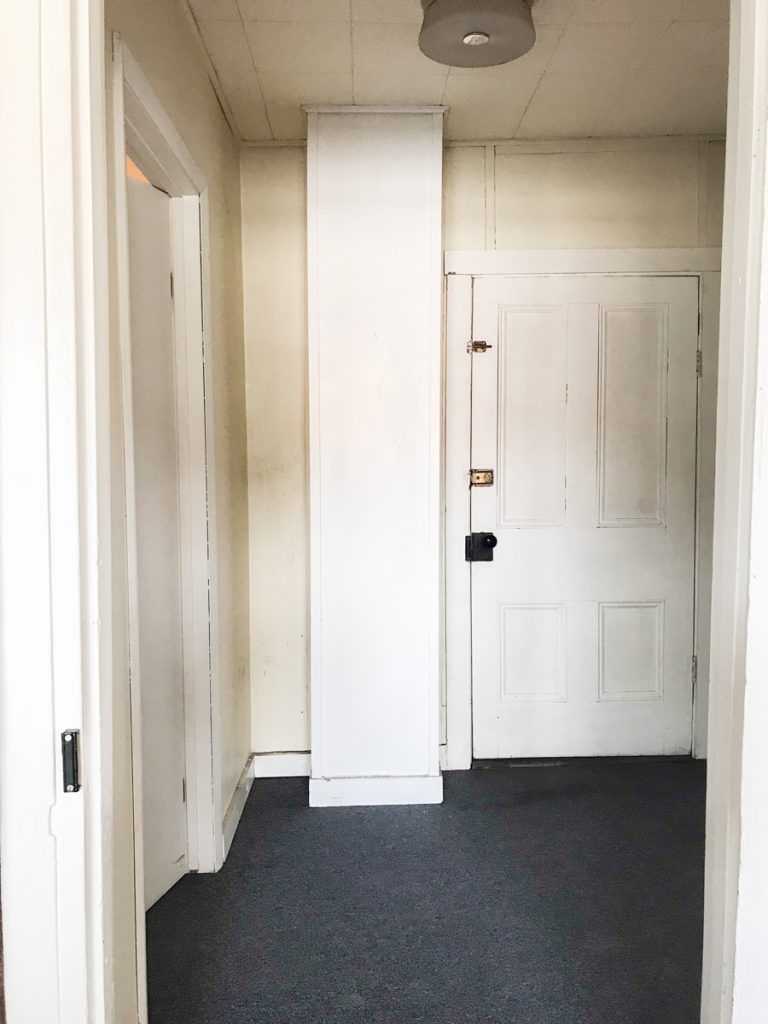
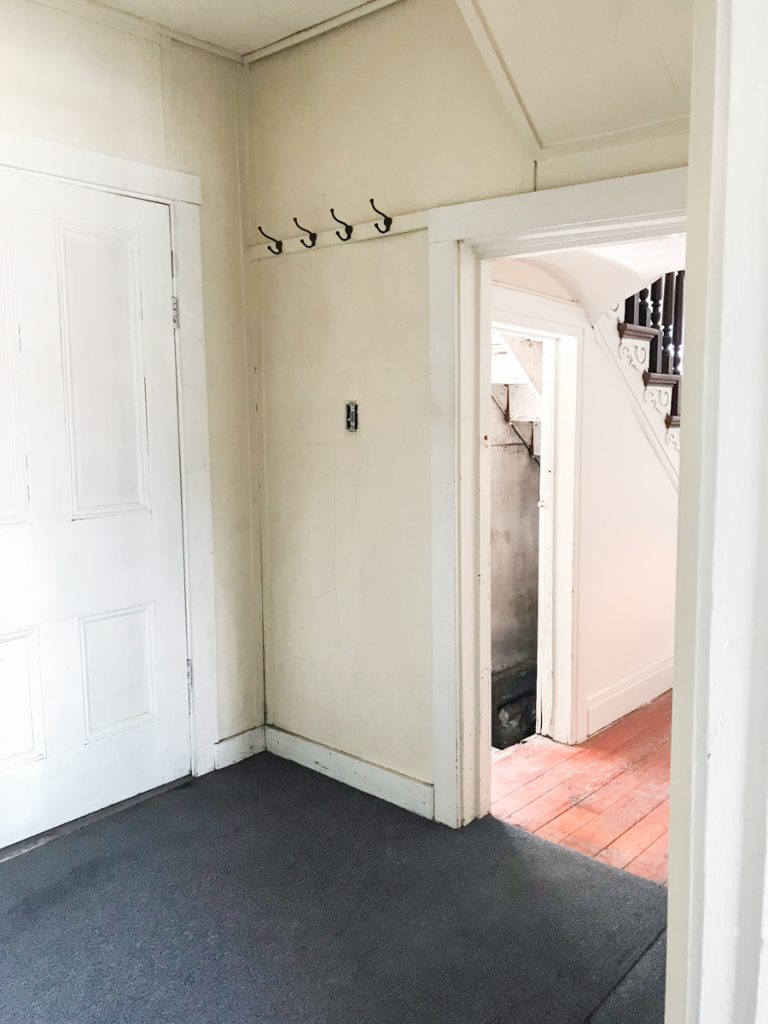
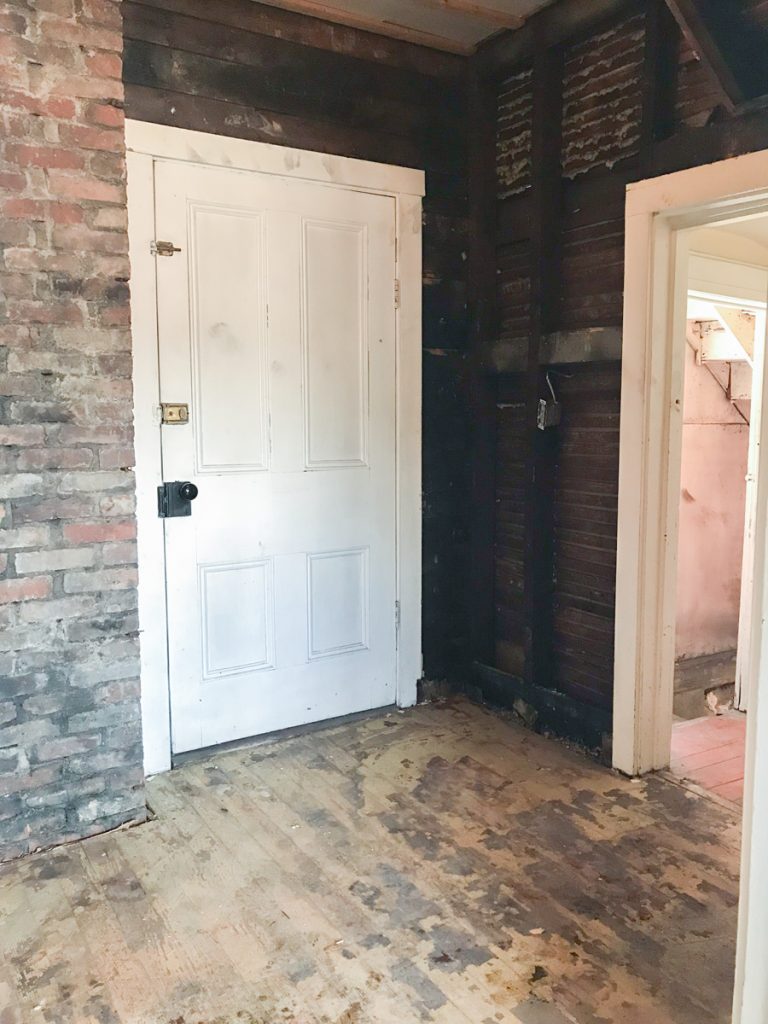
back entryway – everything was so dirty
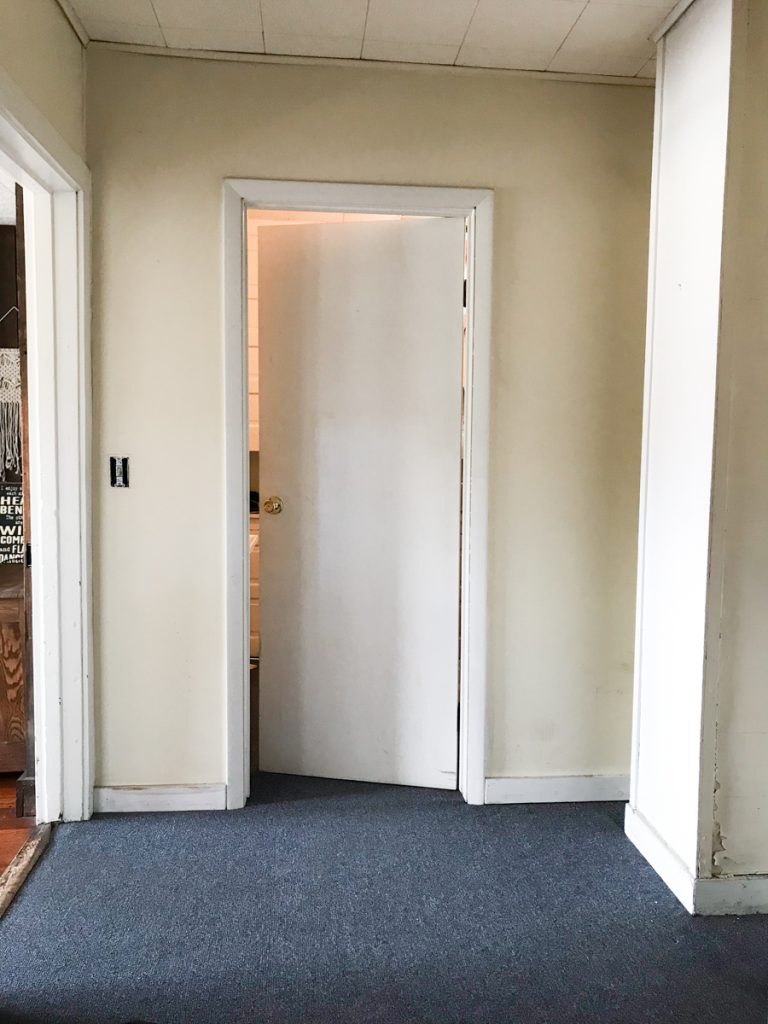
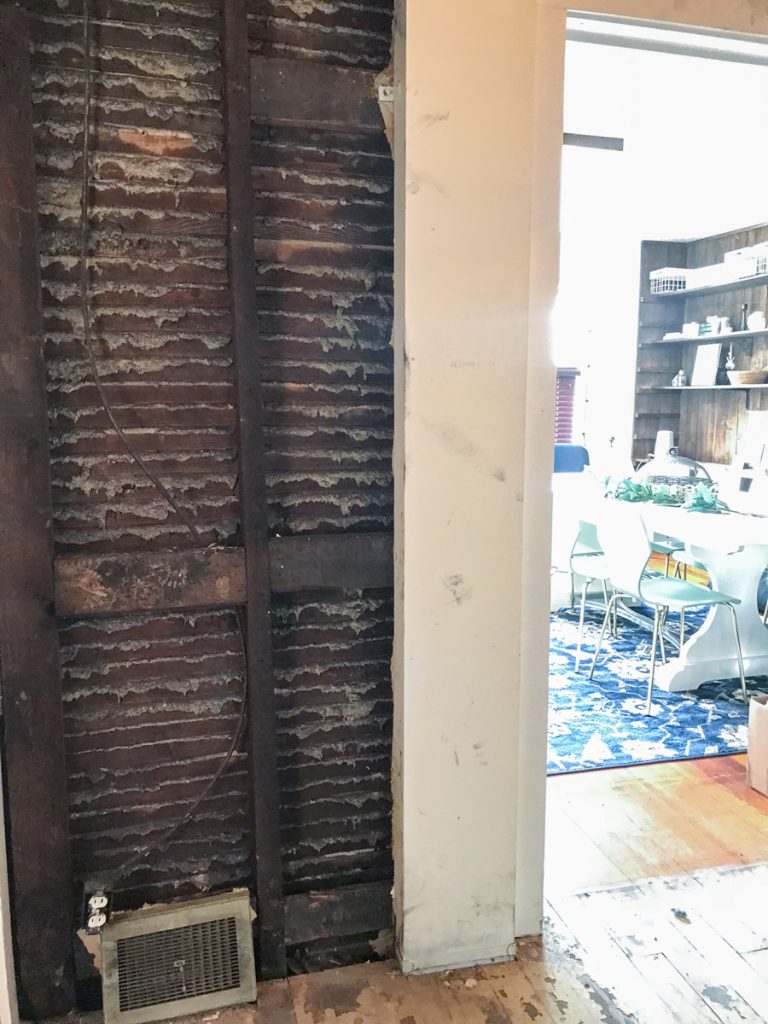
back entryway looking into the main {half} bathroom area
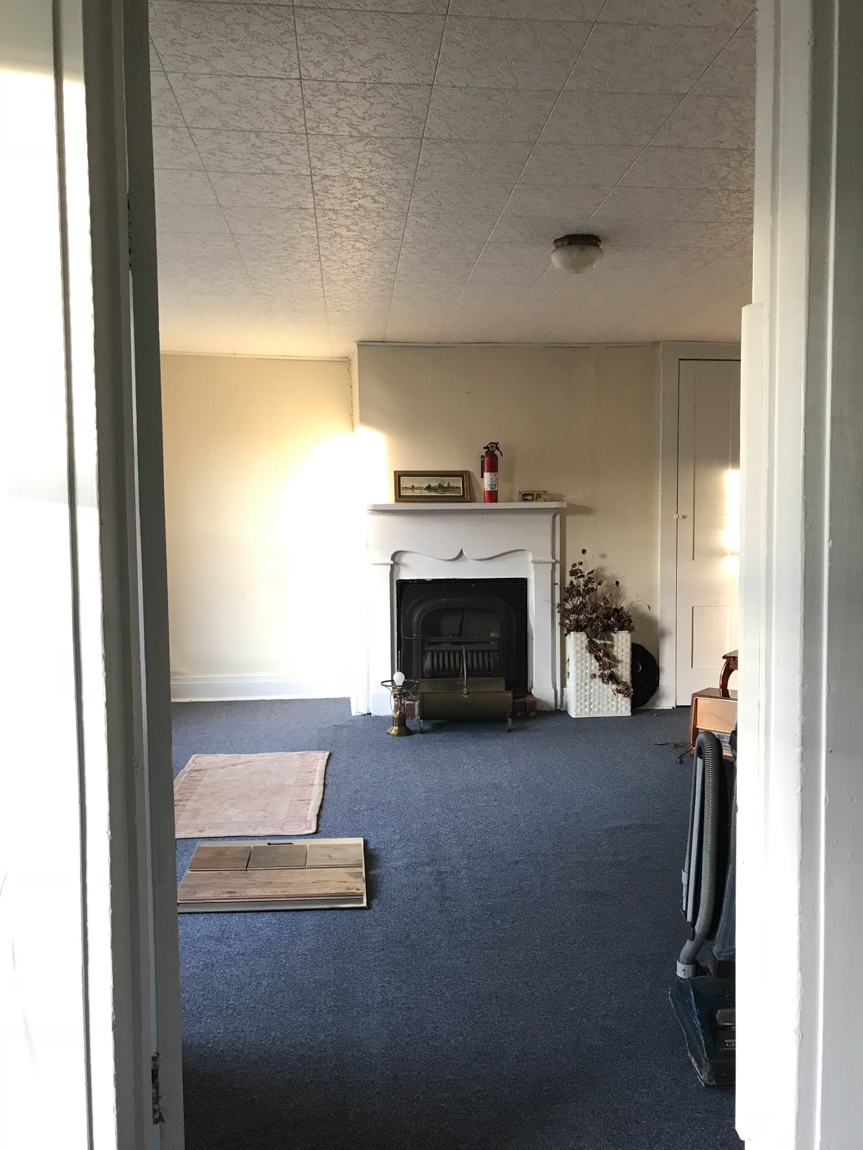
back entryway and what we call the hobbit door (watch your head!) leading to the basement stairs, front door and staircase
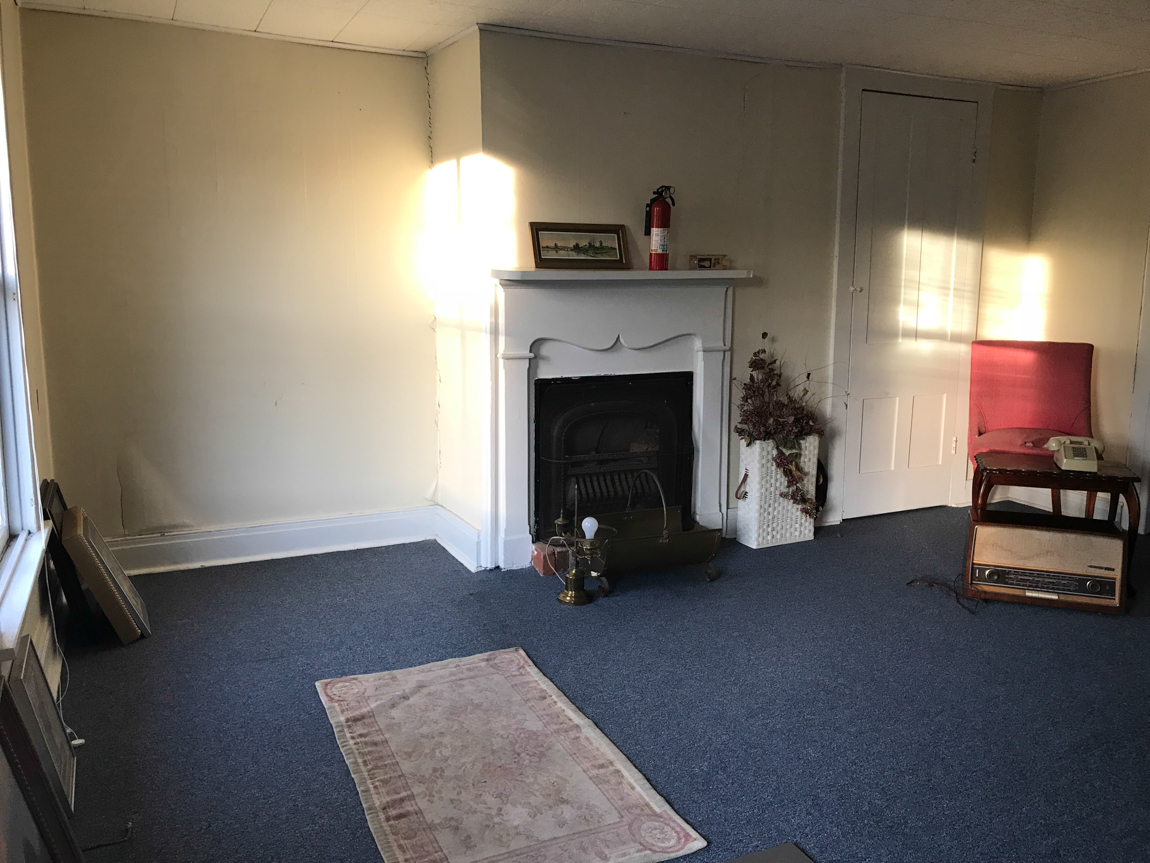
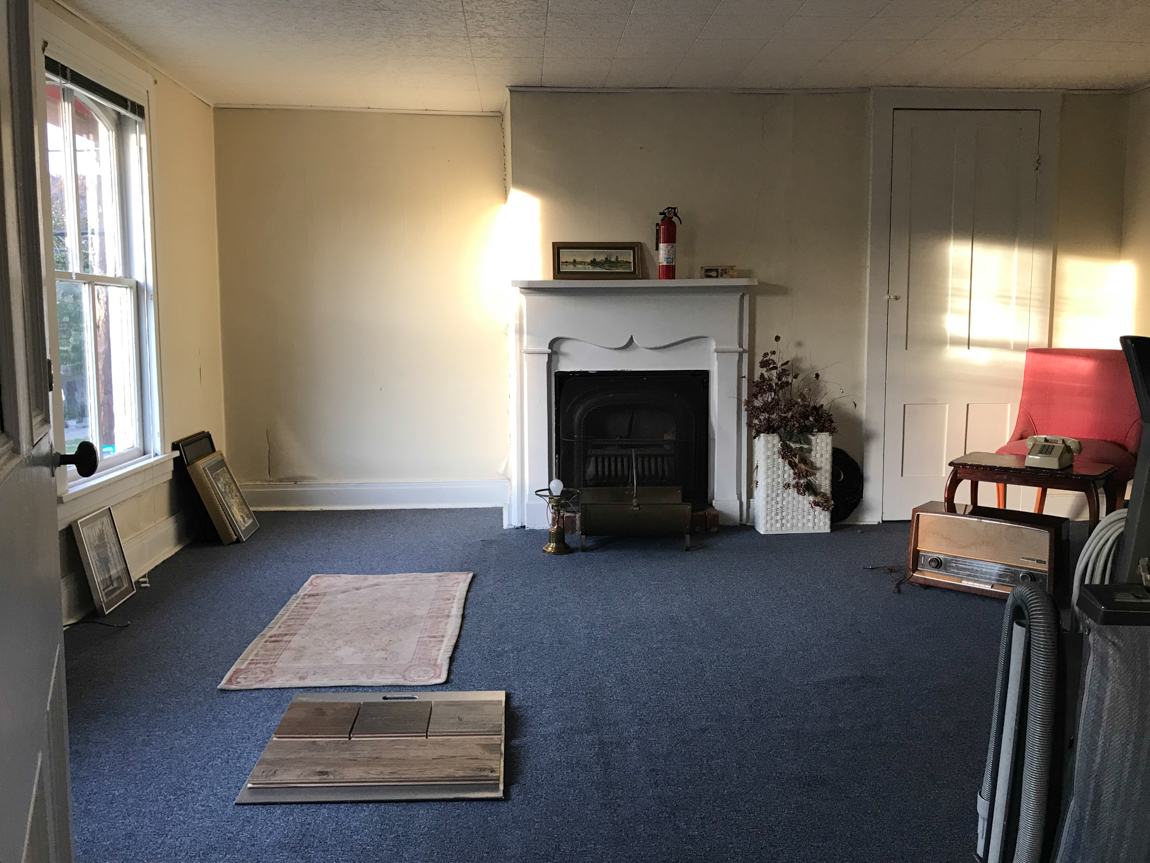
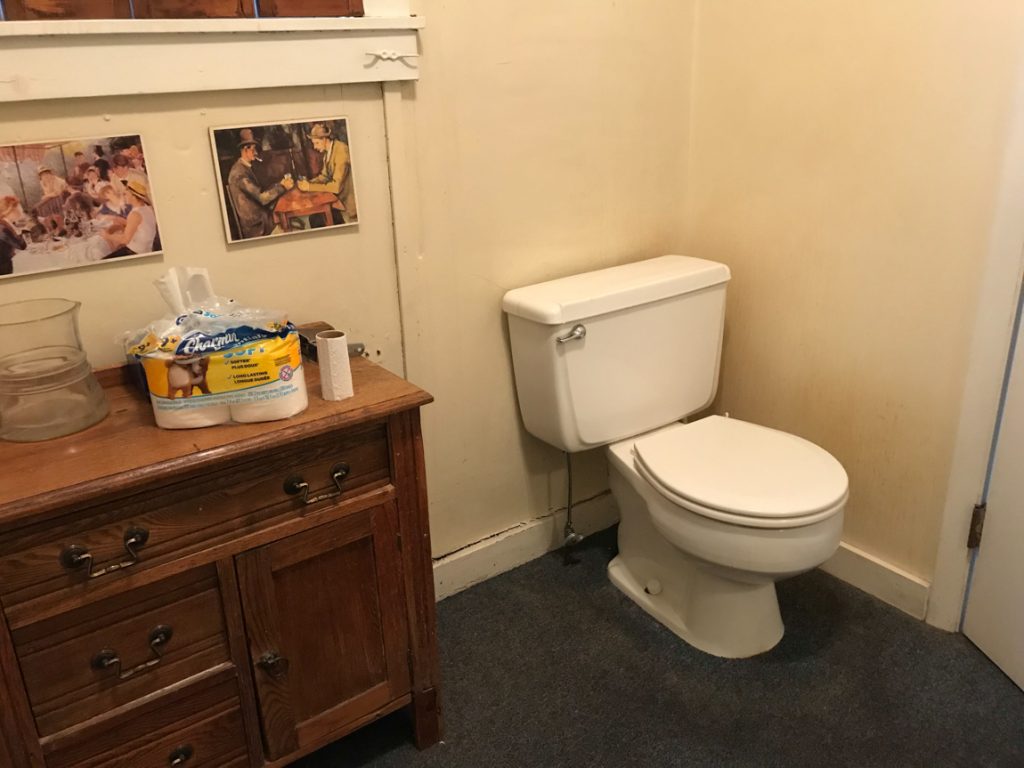
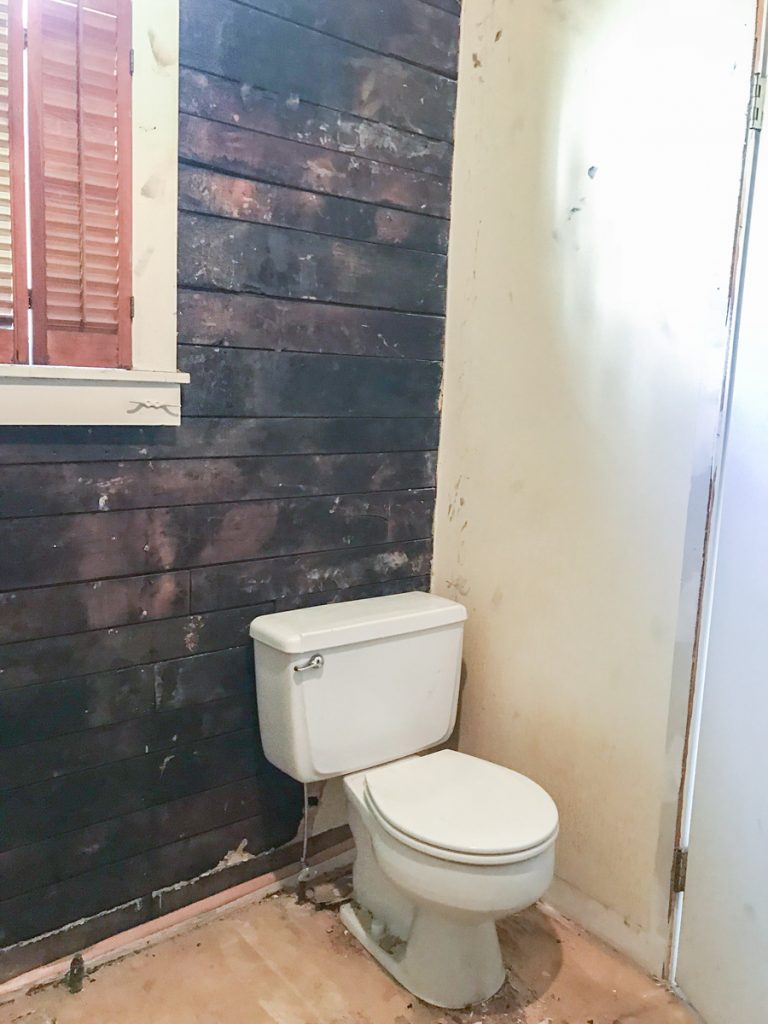
bathroom before
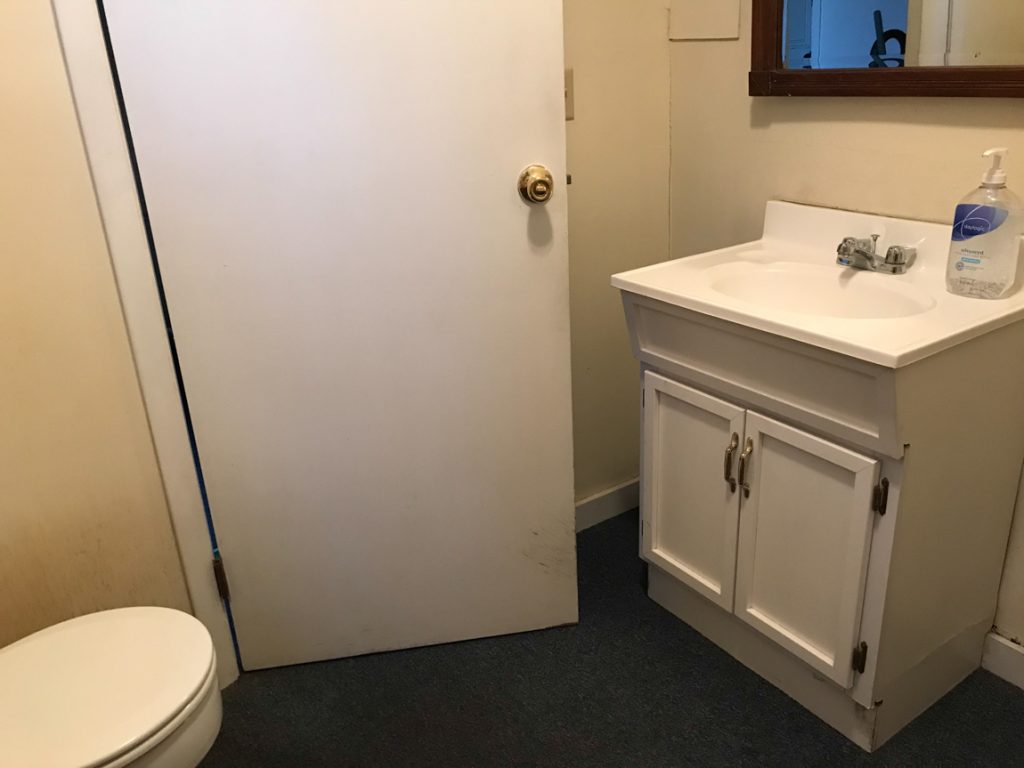
bathroom before ownership
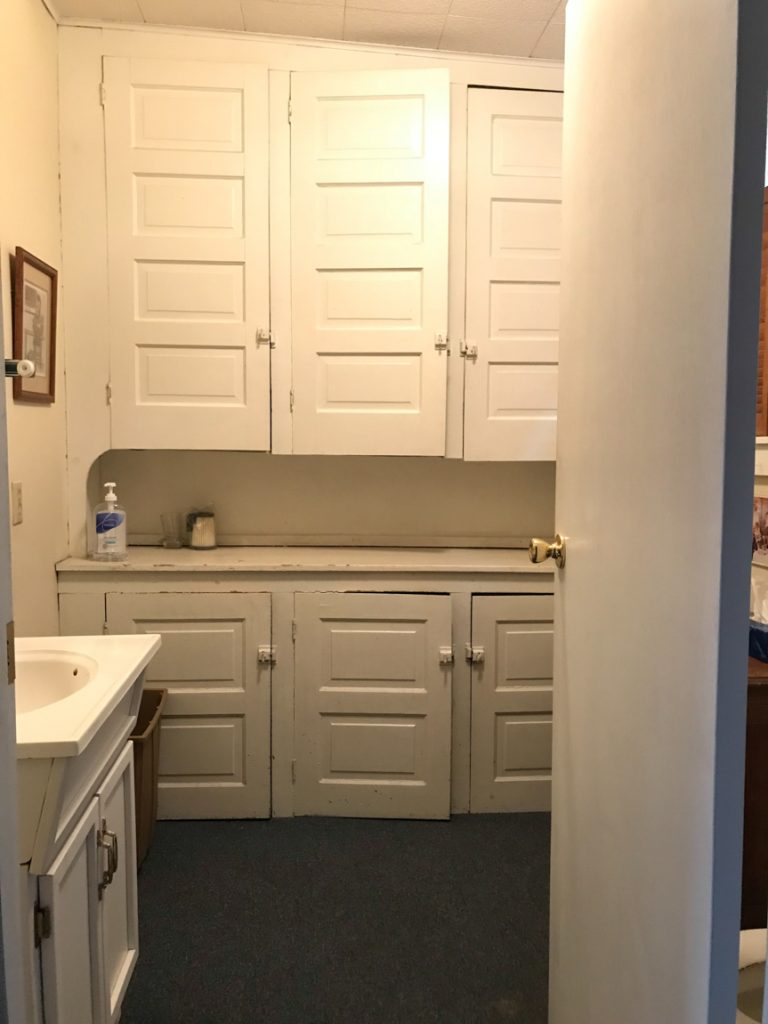
bathroom before – those cabinets were from the original kitchen over 100 years ago!
Okay, the floor before had blue industrial carpeting (in.a.bathroom!, you guys!). ::gag:: That definitely had to come out! Good bye flimsy walls. Good bye ceiling tiles. Good bye carpet! Good bye!
Demo day:
Behind those walls? SO much black sooty dirt. It was everywhere! Fingerprints for months!

We kept the original pine floors throughout the rest of the main floor.
Product Choice:
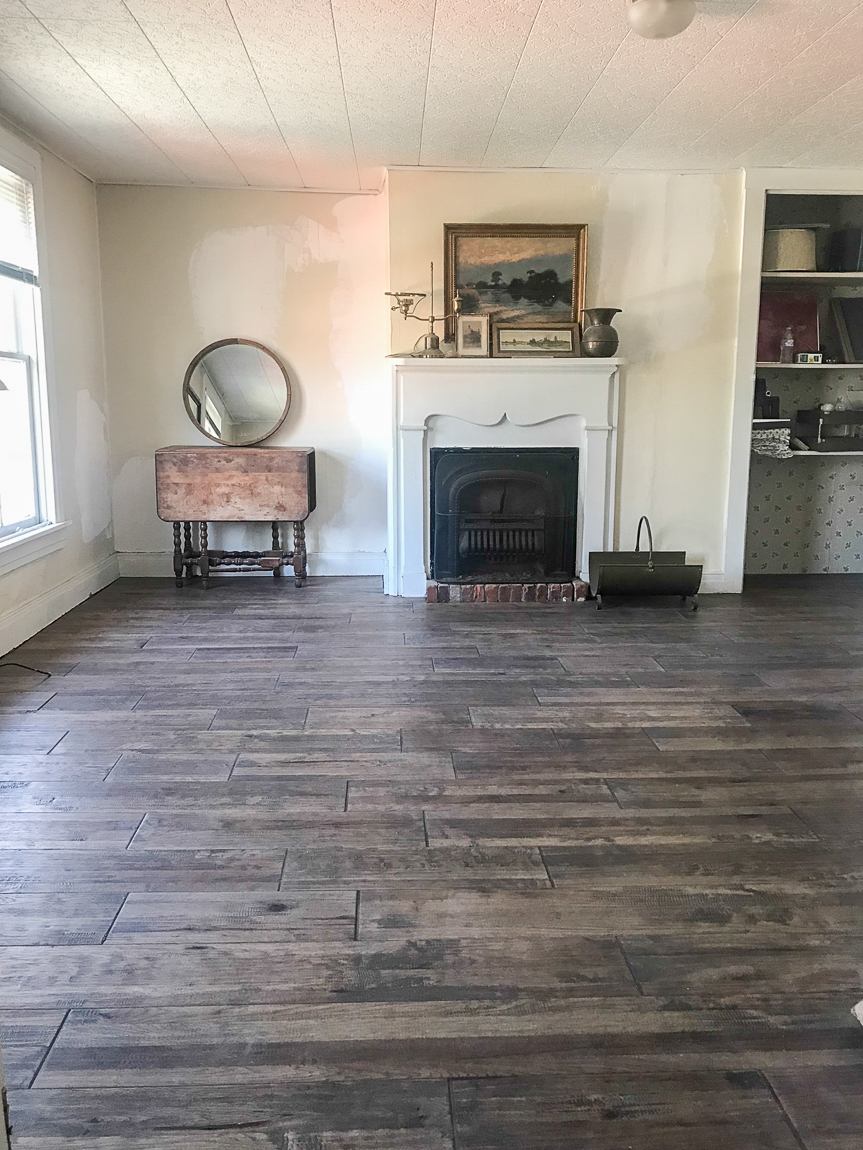
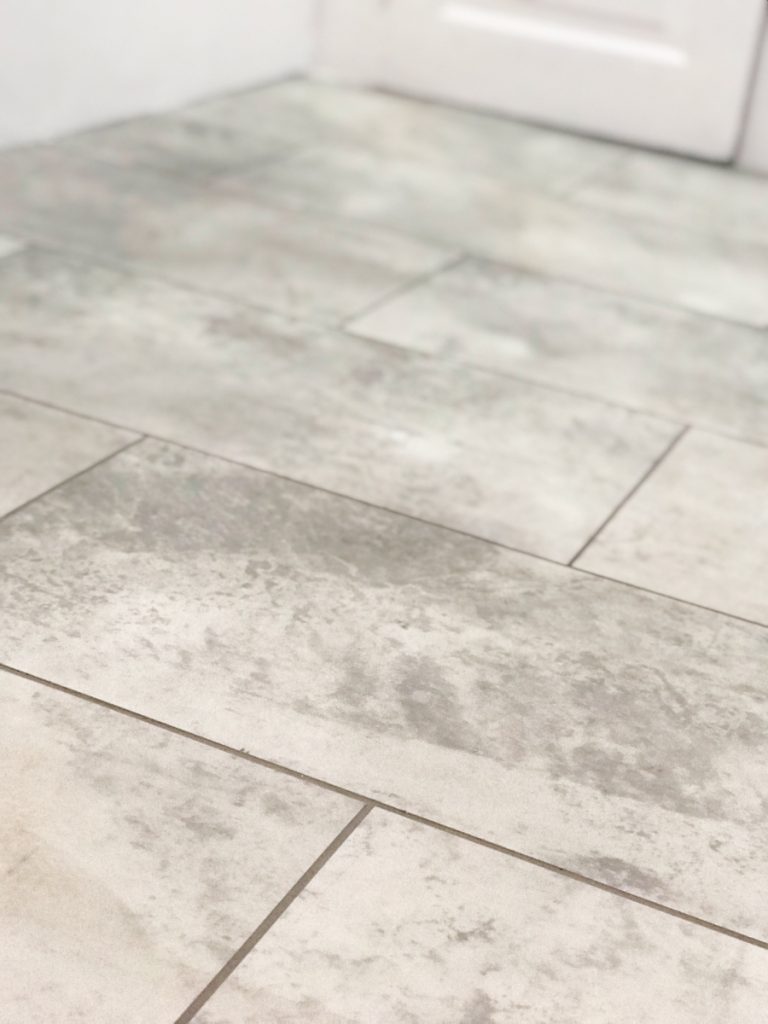
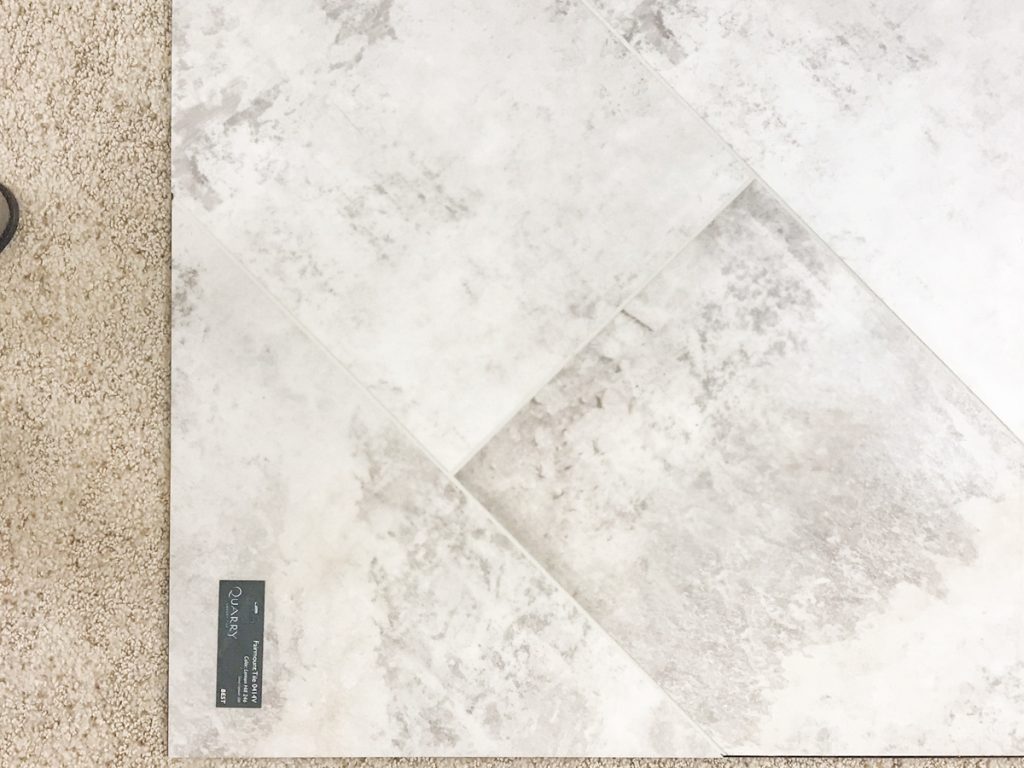
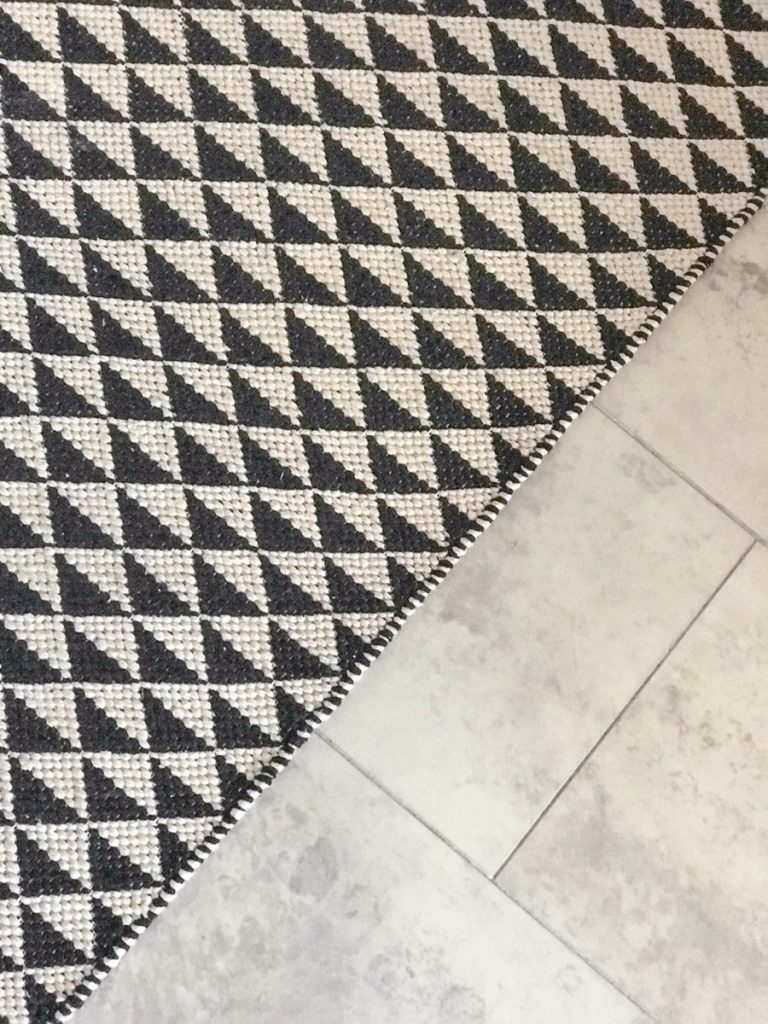
I chose these gorgeous grouted vinyl tiles for their durability, beauty and warmth – a perfect choice for this space. It’s a product from the Shaw Fairmount collection. Design is “Sweetbriar”.
Fairmount Sweetbriar
From the Shaw inspiration gallery:
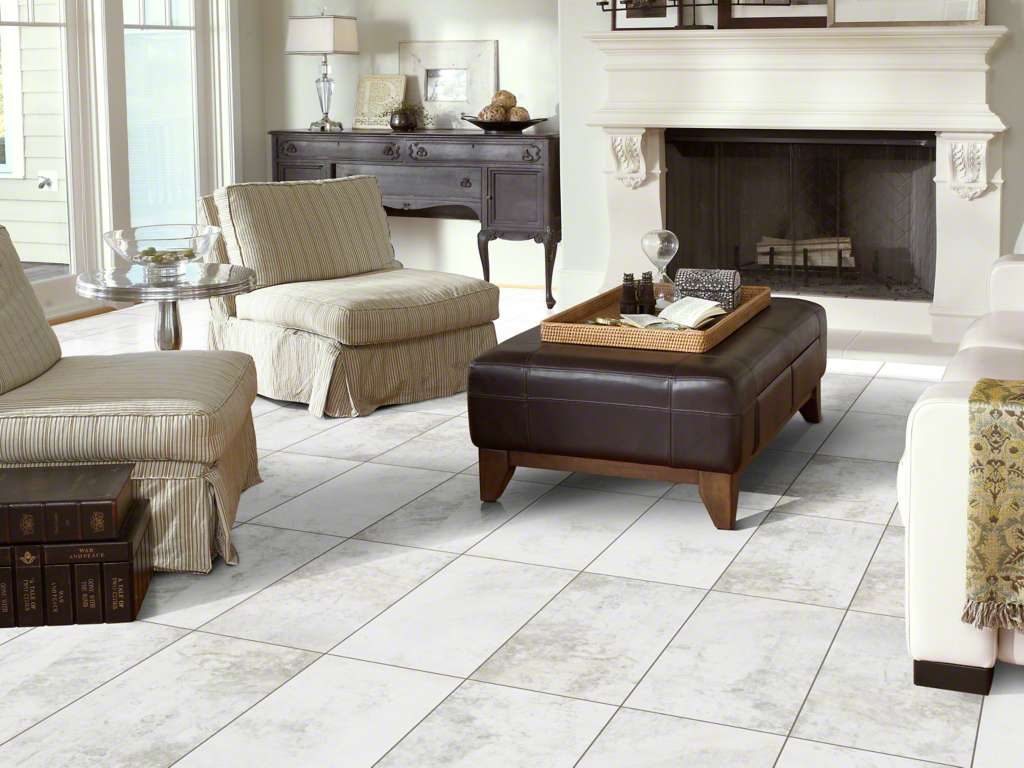
Fairmount is a 12×24 rectangle vinyl tile. I love the color variation and that it’s super resilient! And boy can we ever attest to that!
Installation:
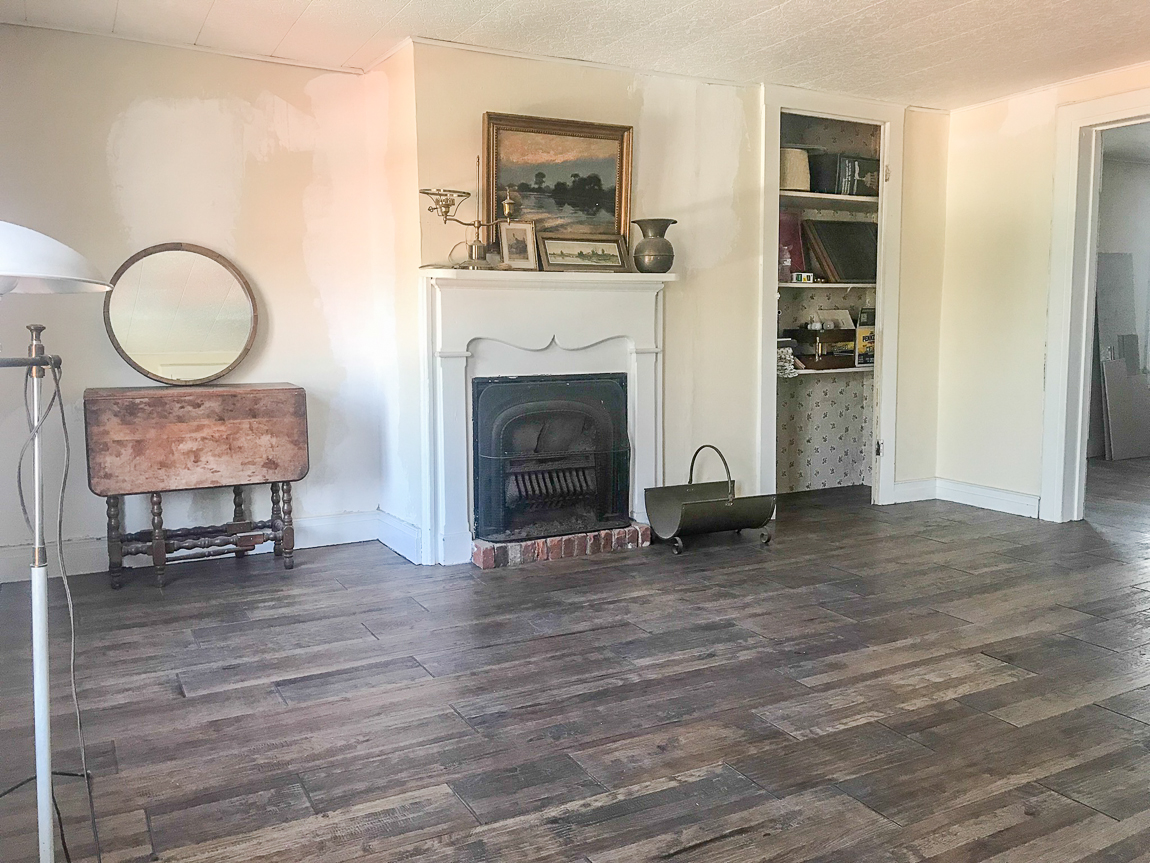
Mike, a subcontractor with A&S Carpet in Allison Park, PA utilized a glue-down installation in a brickwork pattern. The fun part? This product can be installed with or without grout! How cool is that? I went with the grouted installation.

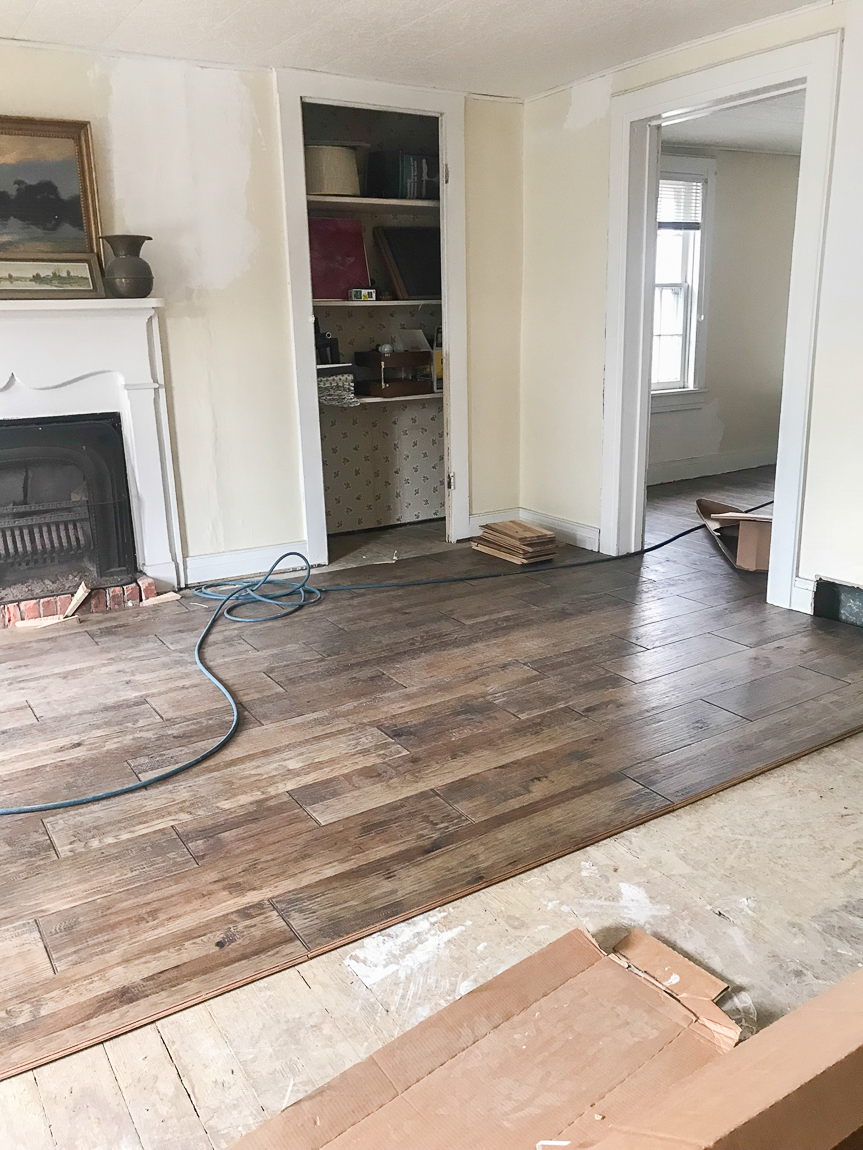
 See how the flooring was installed before the walls? When I say this floor is durable, I speak from experience! More on that below.
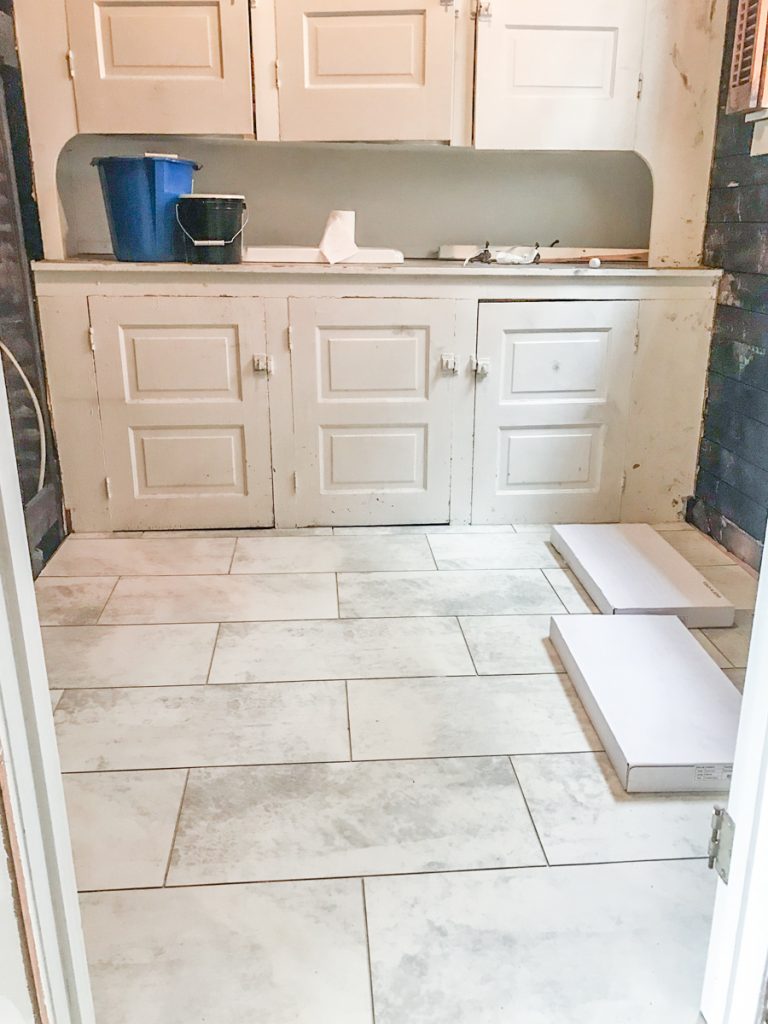
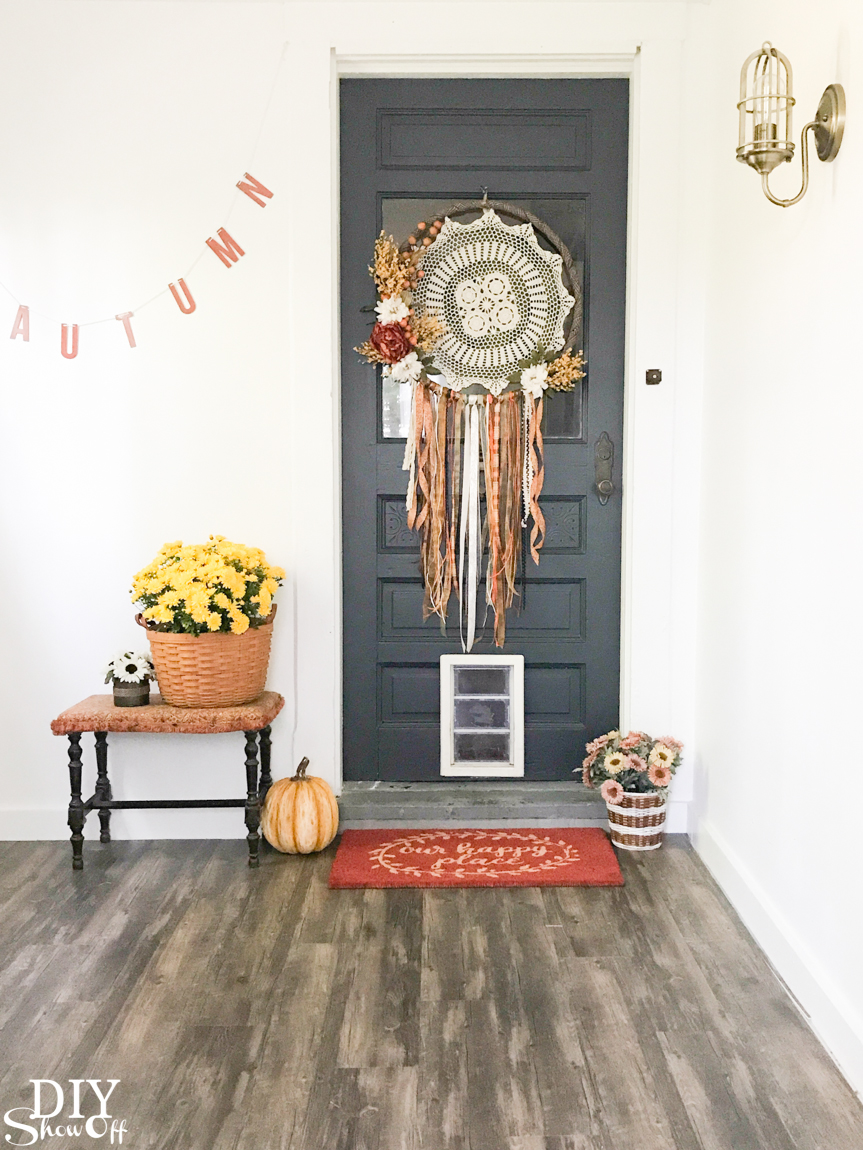
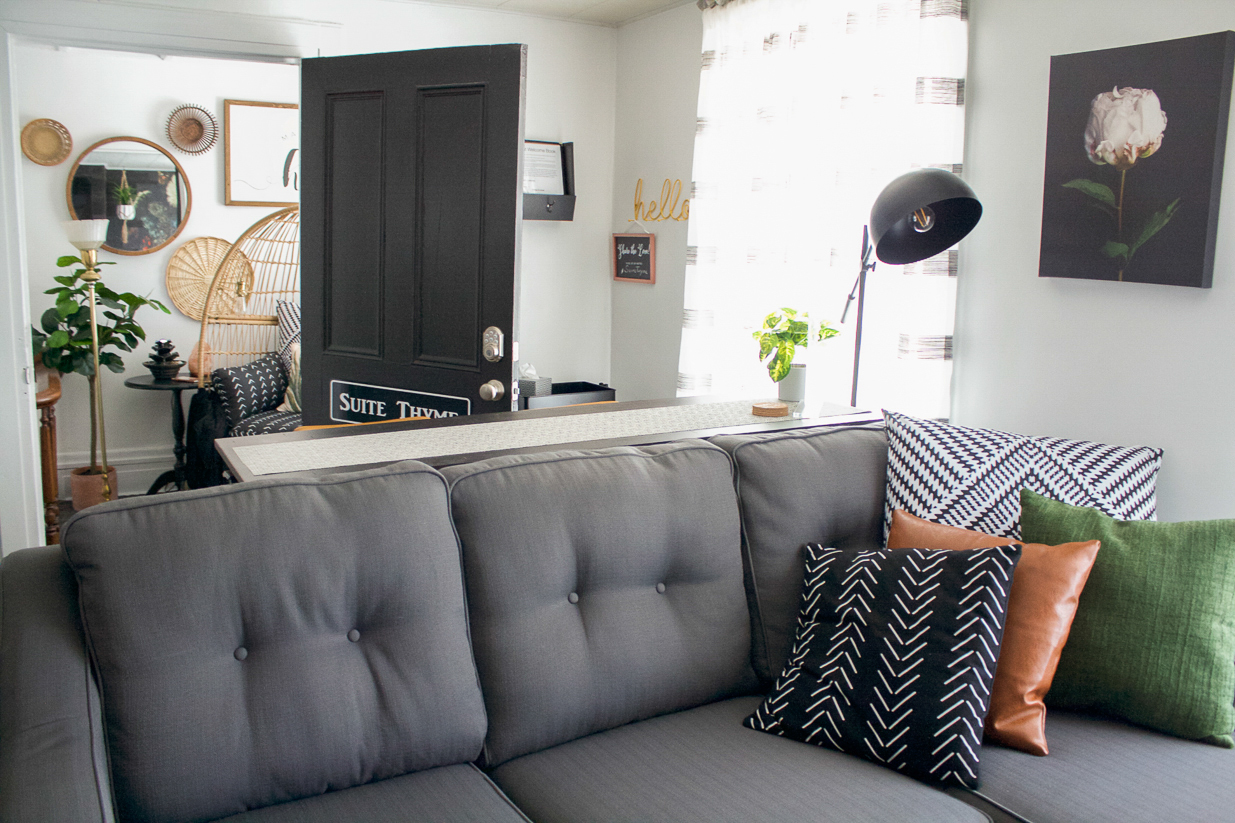
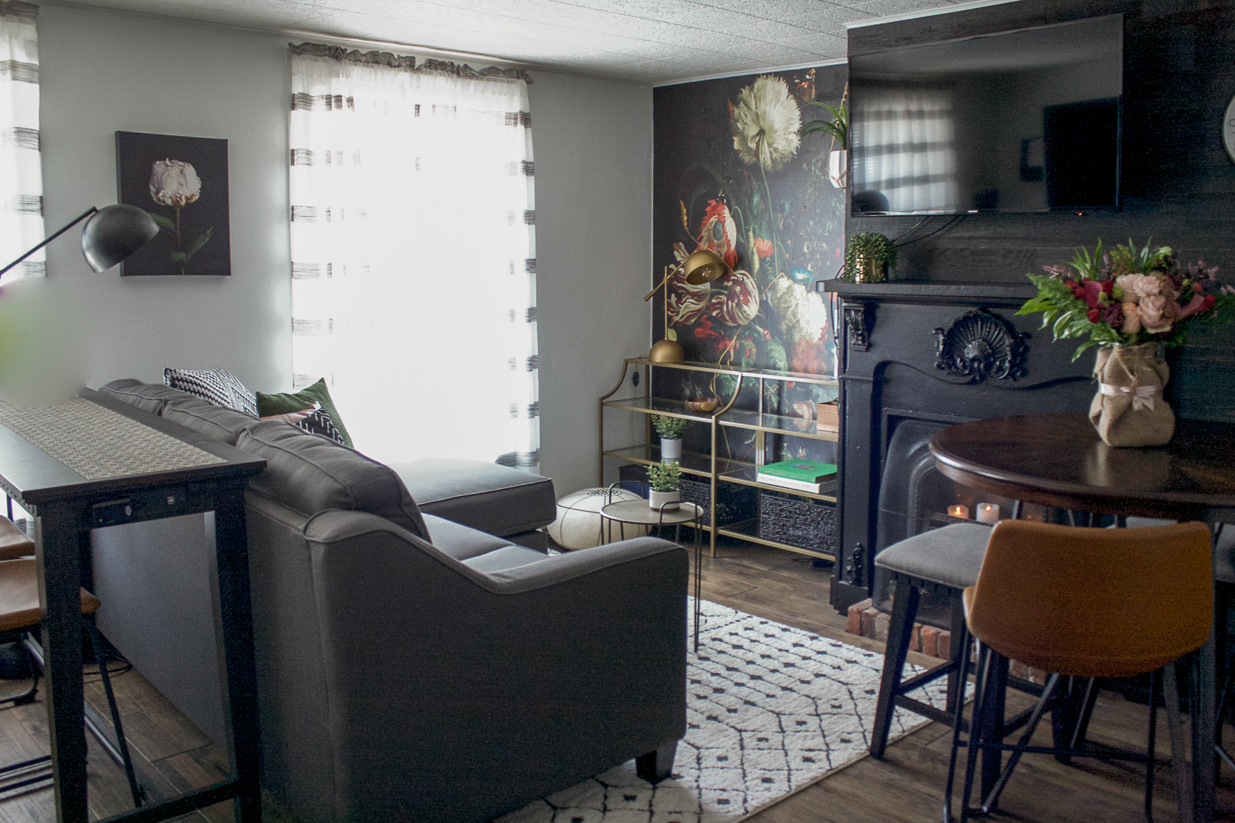
Progress // After:
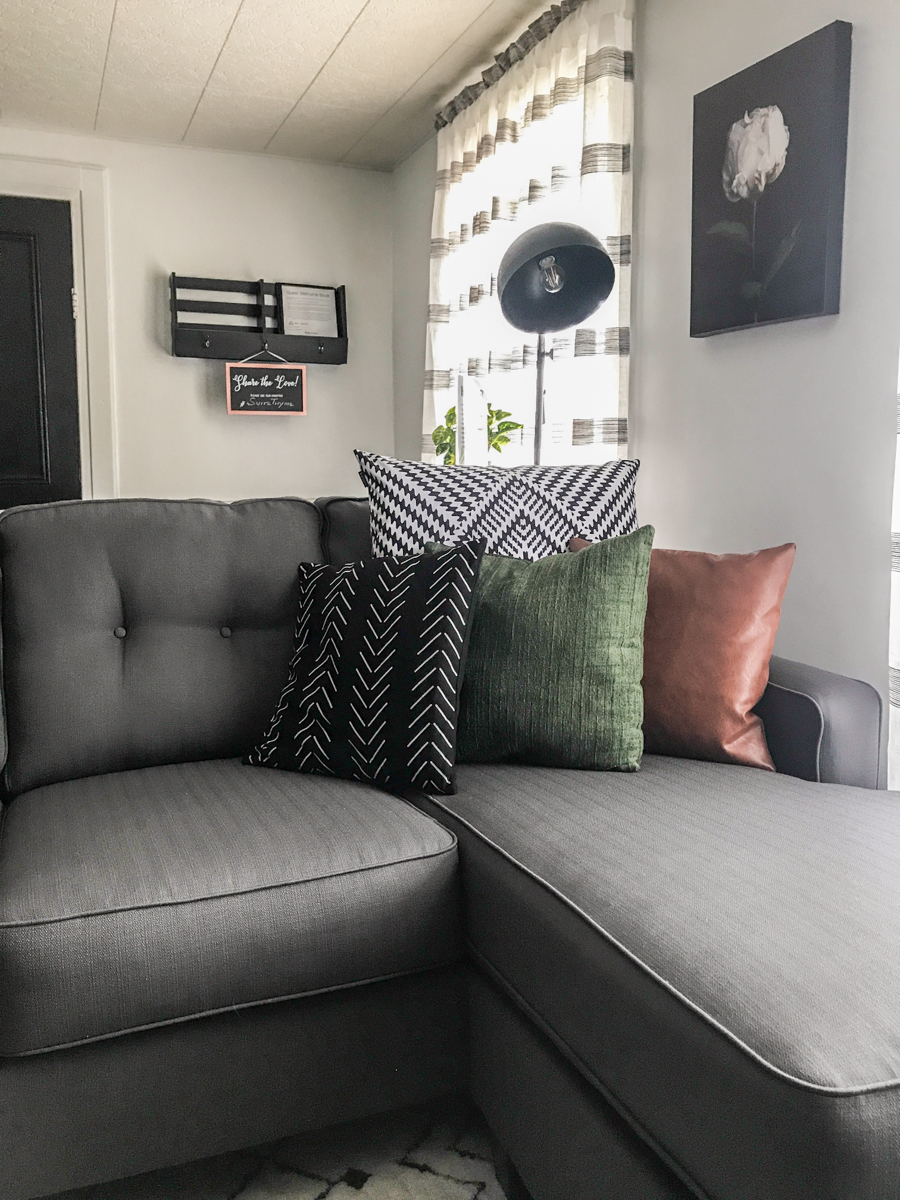
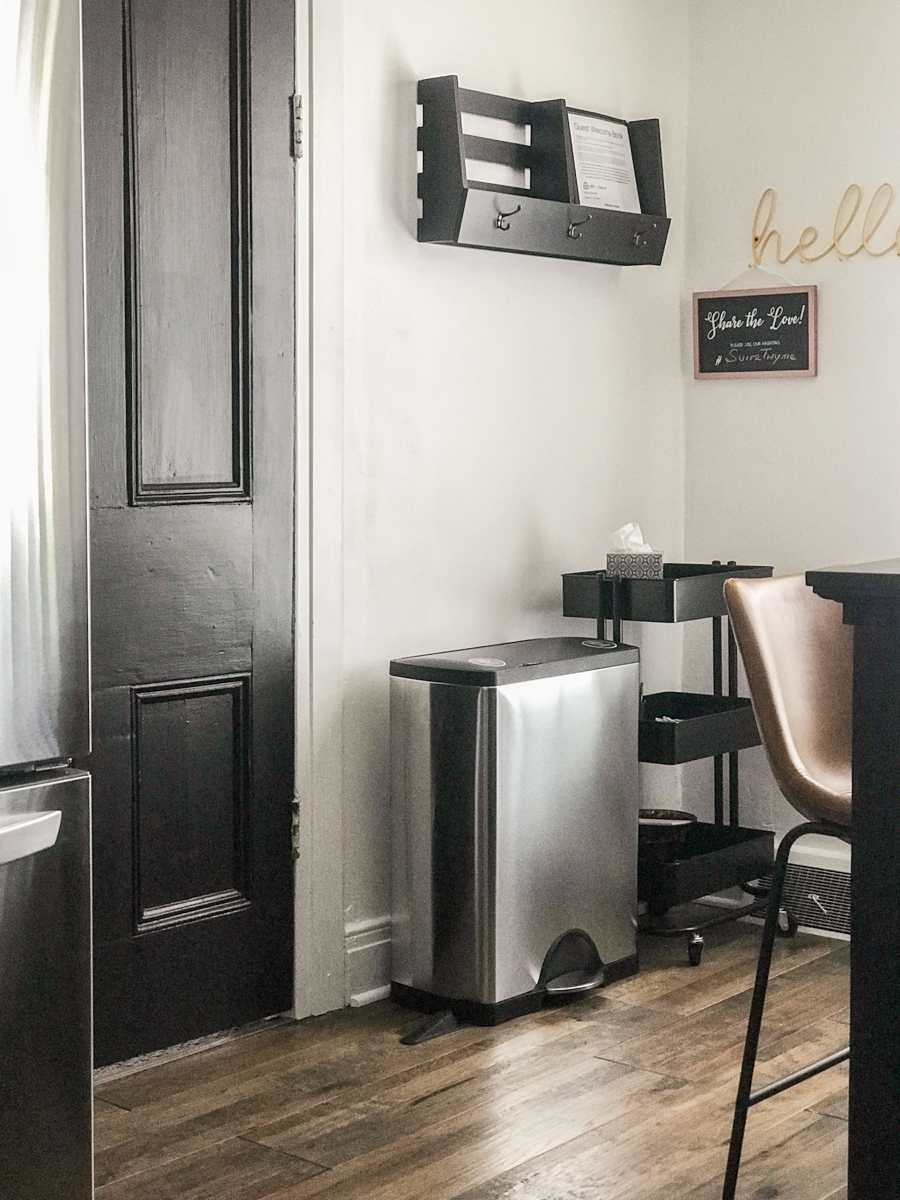
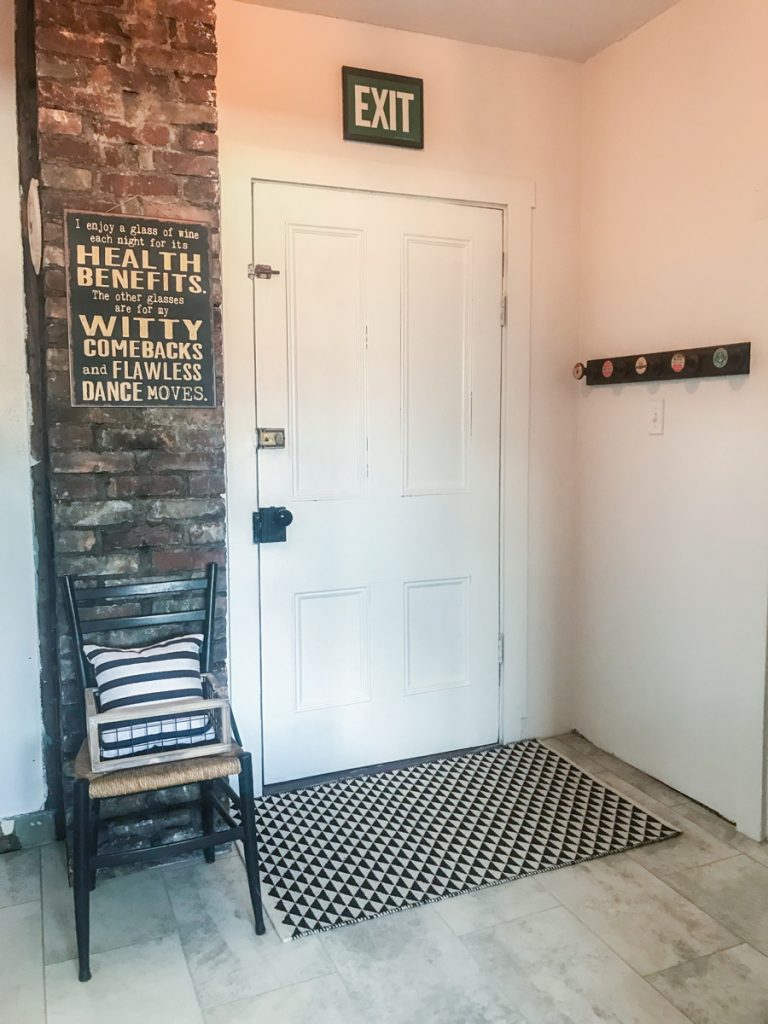
Since it’s not fully completed, I don’t have true reveal photos just yet but here are some sneak peeks. This space is a back entryway which will also house a small beverage station, built in wine storage and a place to hang coats.
view through the back door
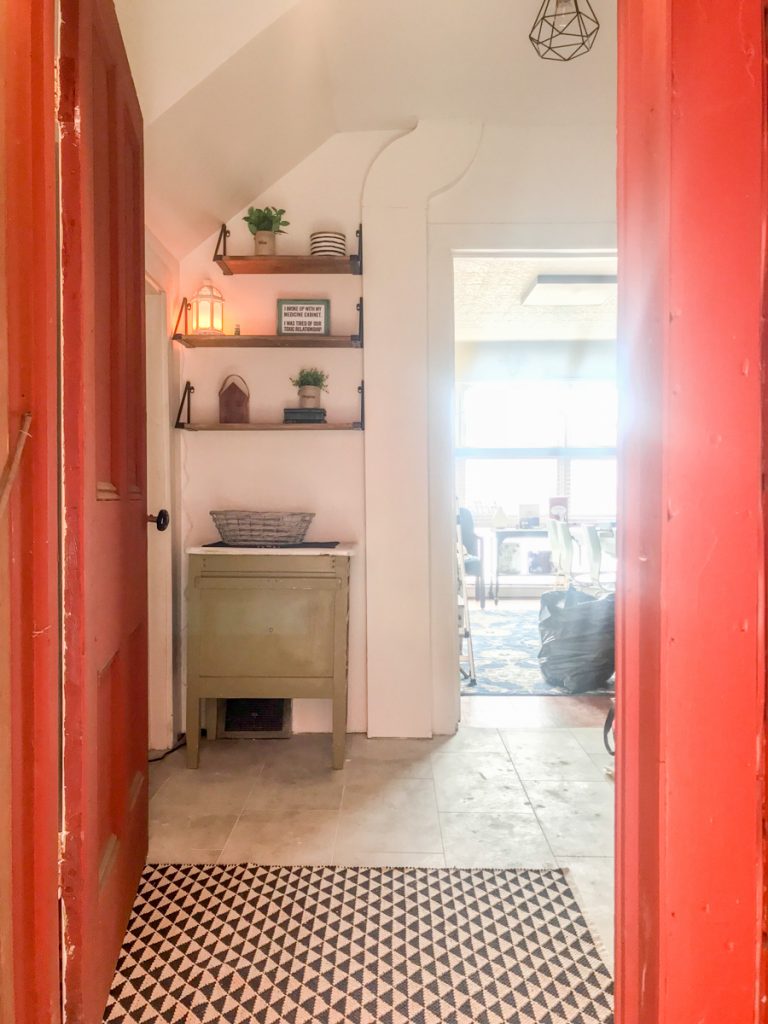
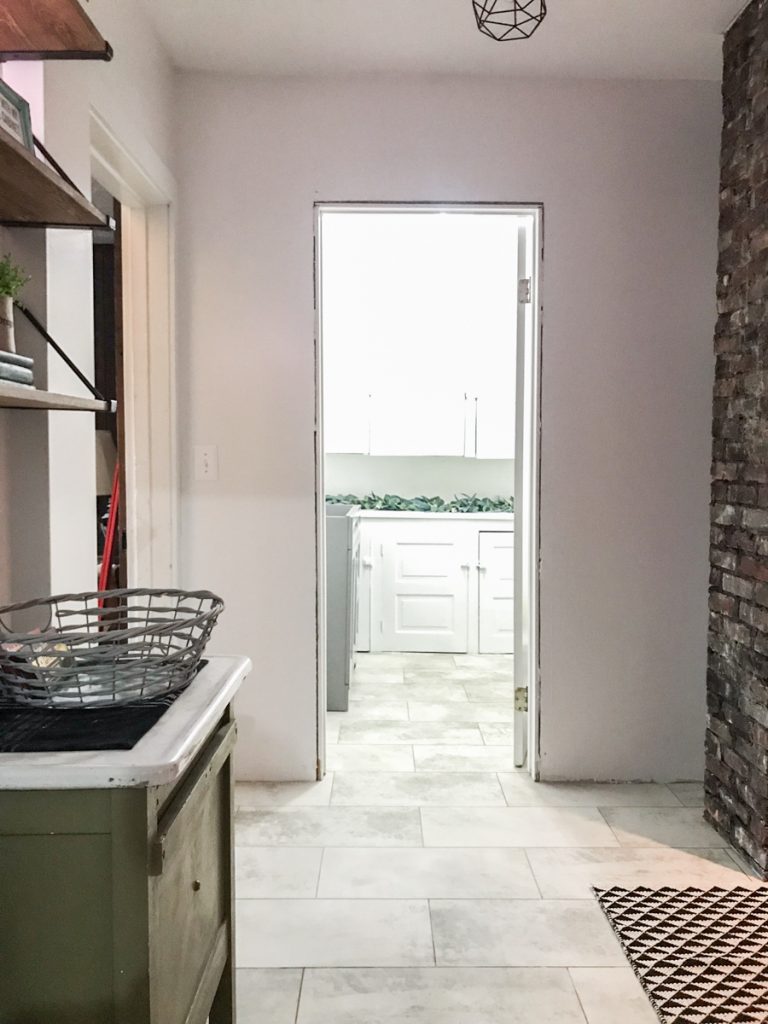
back room
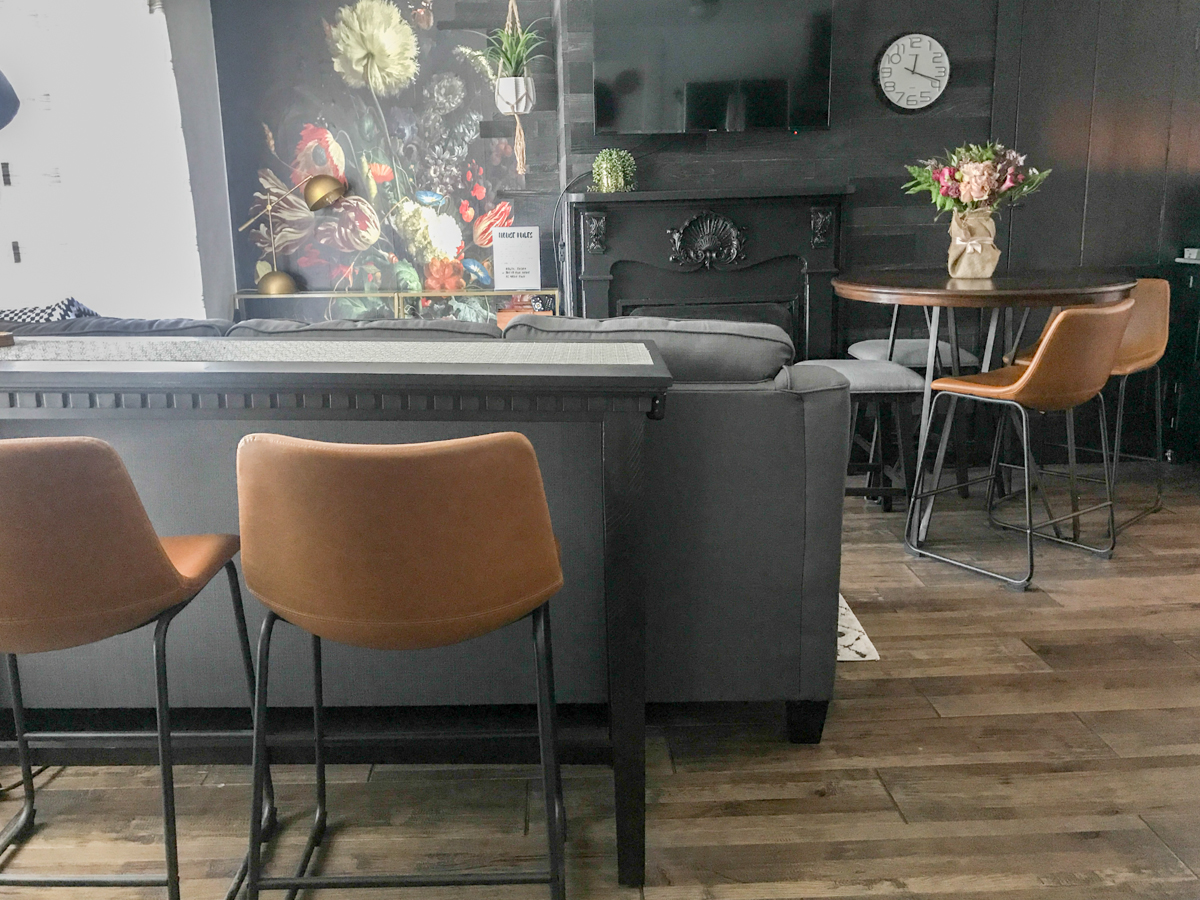
And this is the main floor restroom for the studio/office/workshop. I love the durability and warmth of the vinyl tile, especially since we may be working with glass…a harder surface wouldn’t have been as forgiving or functional in that case so this softer surface was a pretty and wise choice.

So, what do you think? Isn’t it gorgeous? If you’re choosing a vinyl flooring for it’s warmth, durability and beauty, you’re going to want to add this to your list of options for sure!
Stay tuned for a completed reveal of these two spaces!
Care and Maintenance:

How do I know this floor is durable and the right choice? Because of timing, the flooring was installed prior to the walls, so you can just image the mess (drywall mud and dust, caulk, paint, dirty shoes, tools, renovation, etc.). It stood the test of time and workers! All of that grime and dirt, dragging ladders, tools, supplies and drywall, all that comes along with renovating, the behind the scenes not so pretty stuff. And despite my warnings, I didn’t see a drop cloth in sight!
No worries! When I reached out to Shaw, they provided me with some great vinyl floor cleaning tips:
Proper care will help protect and maintain the appearance and performance of your Shaw resilient floor!. A care program consists of key areas: 1) Preventive maintenance; 2) routine maintenance; and 3) spot and spill removal.
1) Preventative Maintenance
Always protect floors when moving heavy objects to prevent permanent scratches and tears.
Walk-off mats should be used at all externally facing entrances to absorb soil and moisture.
2) Routine Maintenance:
Daily removal of dirt and dust is important to prevent particles from abrading the surface of resilient floors.
Sweeping, dust mopping and vacuuming are recommendations to remove soil particles that can result in scratches and worn appearances. IMPORTANT: Do not use vacuums with rotating beater bars on hard surfaces.
Periodic wet cleaning will be necessary to help maintain the floors appearance.
3) Spot and Spill Removal
Absorb wet spills as quickly as possible by white paper or cloth towels.
Recommended by Shaw: Use Shaw’s R2X® Hard Surface cleaning products or products formulated for vinyl floor cleaning.
Remember: The most effective part of any floor maintenance program is the simplest: sweep, dust mop, or vacuum your Shaw resilient flooring daily, or more frequently if needed.
Next up on the renovation:
Baseboards and door trim, a fun door DIY to dress up the cheap hollow bathroom door, light fixtures, sealing brick, a wine cubby and beverage station, decorating and then the reveal! Then we’ll be back in business!
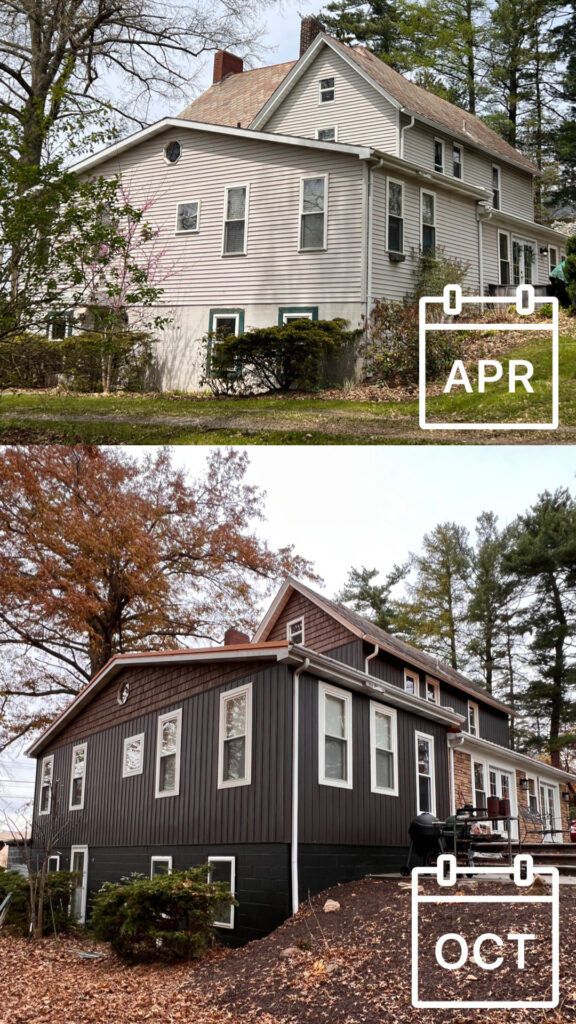
The building has so much historical charm. It’s about one block from our town’s Main Street. The bus stop is literally steps away. There are breweries, the YMCA, shops, restaurants, salons, florists, candy/coffee shop, holiday parades and festivals within walking distance. So fun! If renovation from blah to ahhhhh is your thing, stay tuned!
So subscribe and be reminded of updates as the renovations progress! I’ll share before and after photos, projects underway and updates, plans and design boards, sources and links as they relate as well as fun events going on in and around the downtown area. I’ll be using a specific hashtag on social media to keep things all neat and tidy and organized.
#helloredreno
I welcome your thoughts and ideas! And as always, thanks for your encouragement and support and for sharing in my joy and vision! Watch for #helloredreno!