How to Get Rid of a Raccoon in the Attic (The Humane DIY Way)

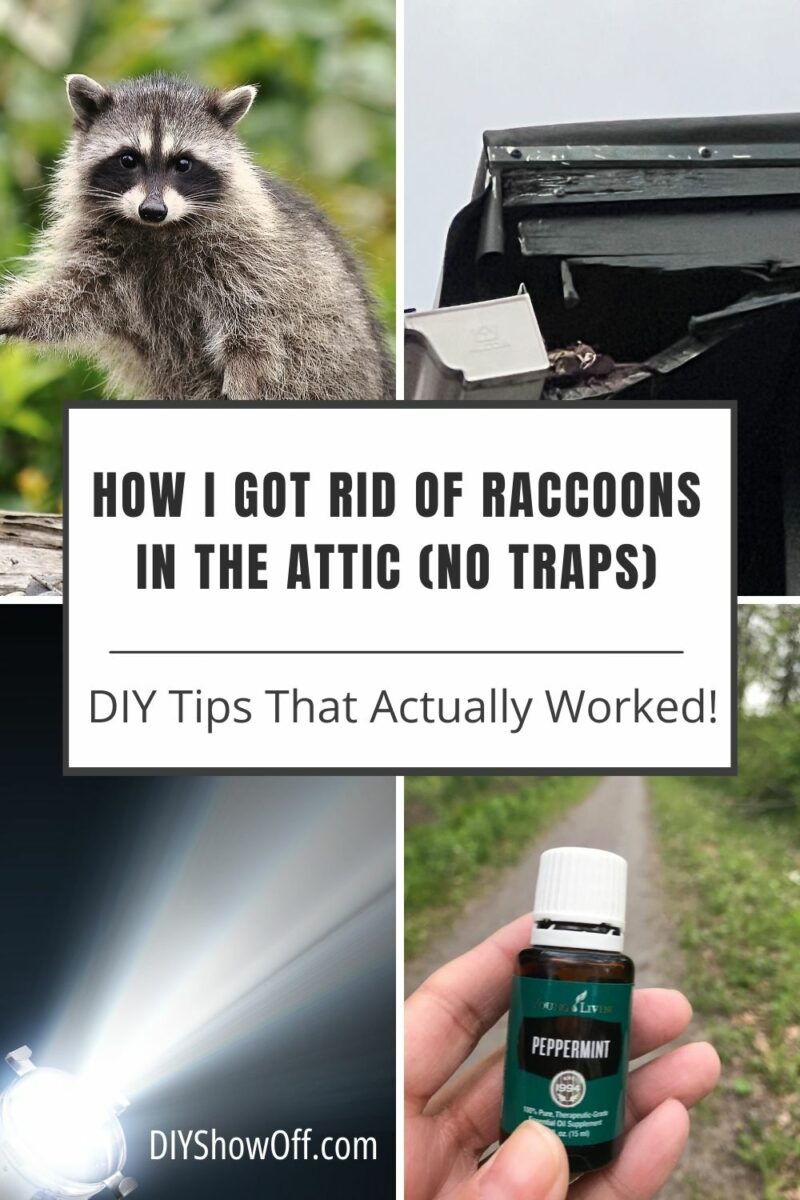
What worked, what didn’t, and how I peacefully evicted our uninvited guest.

A raccoon mama moved her family out after we made the attic a little less cozy. (No traps, no harm, just DIY persistence.)

How I Got Rid of a Raccoon in the Attic (Without Expensive Traps)

Volume up! Because this guest wasn’t on the reservation.

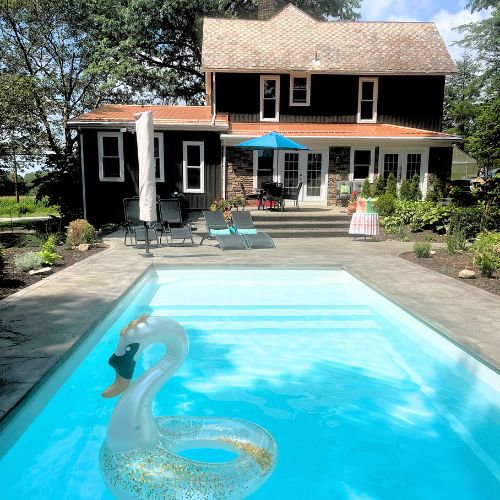
Last spring, A mama raccoon in the attic at the studio made herself right at home. Unfortunately, her new home was directly above the guest bedroom… and the nighttime noises were hard to miss.

Thankfully, our actual guest was incredibly understanding (shoutout to the real MVP). But the situation had to be handled quickly, humanely, and ideally without calling in an expensive wildlife service.

The Clues: Scratches, Sounds, and a Rooftop Break-In

If you’ve ever had a raccoon in the attic, you know the sounds aren’t subtle. One night, a guest messaged me:

“There’s something in the ceiling. It’s chirping.”

Sure enough, it sounded like something was having a party in the attic crawl space.

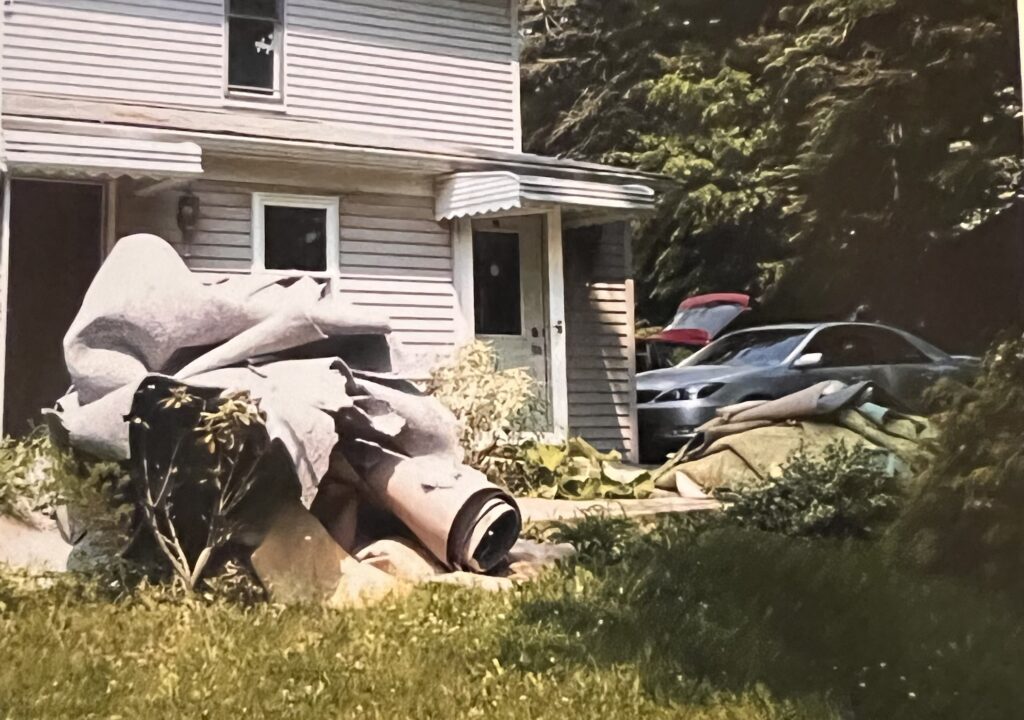
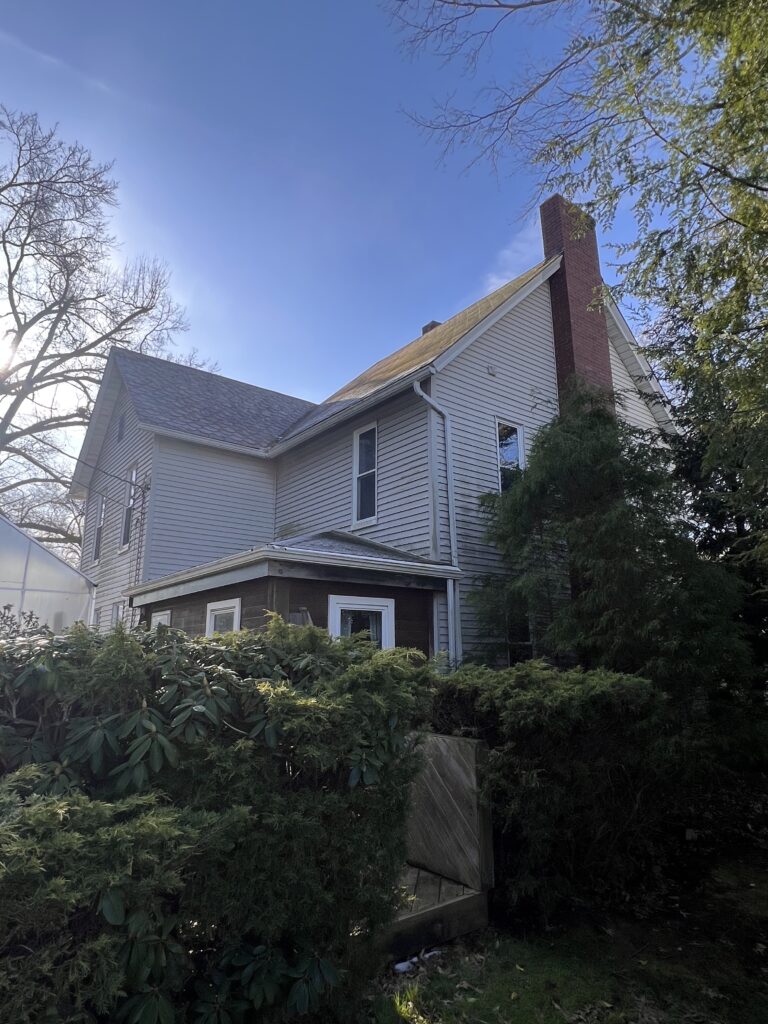
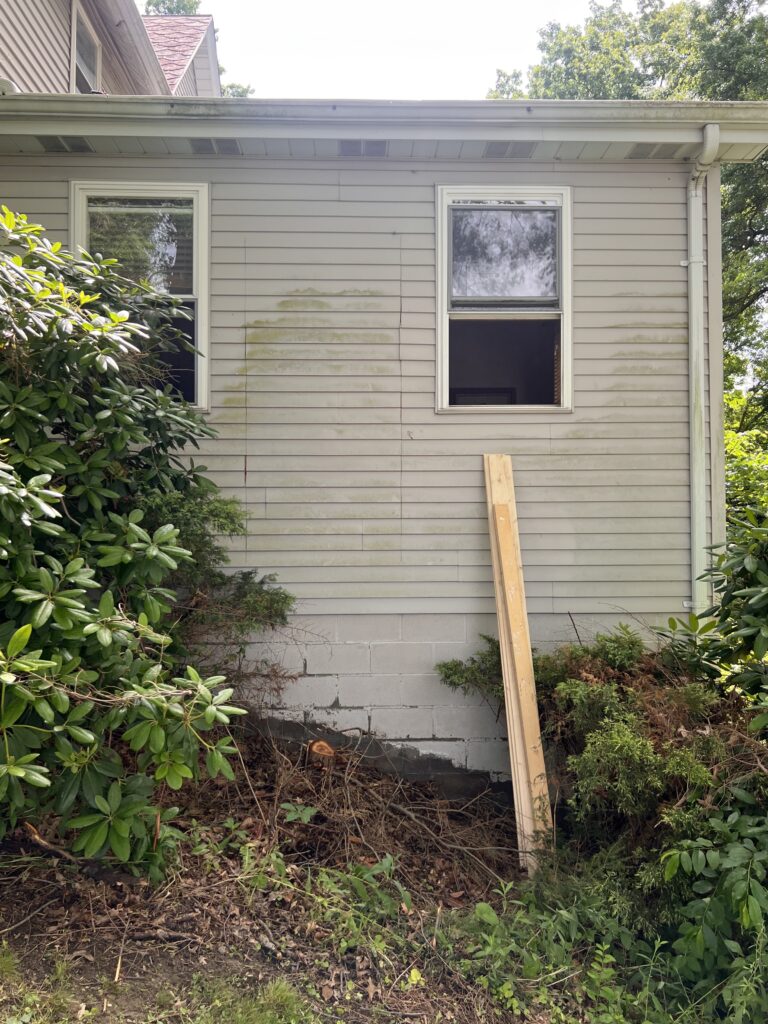
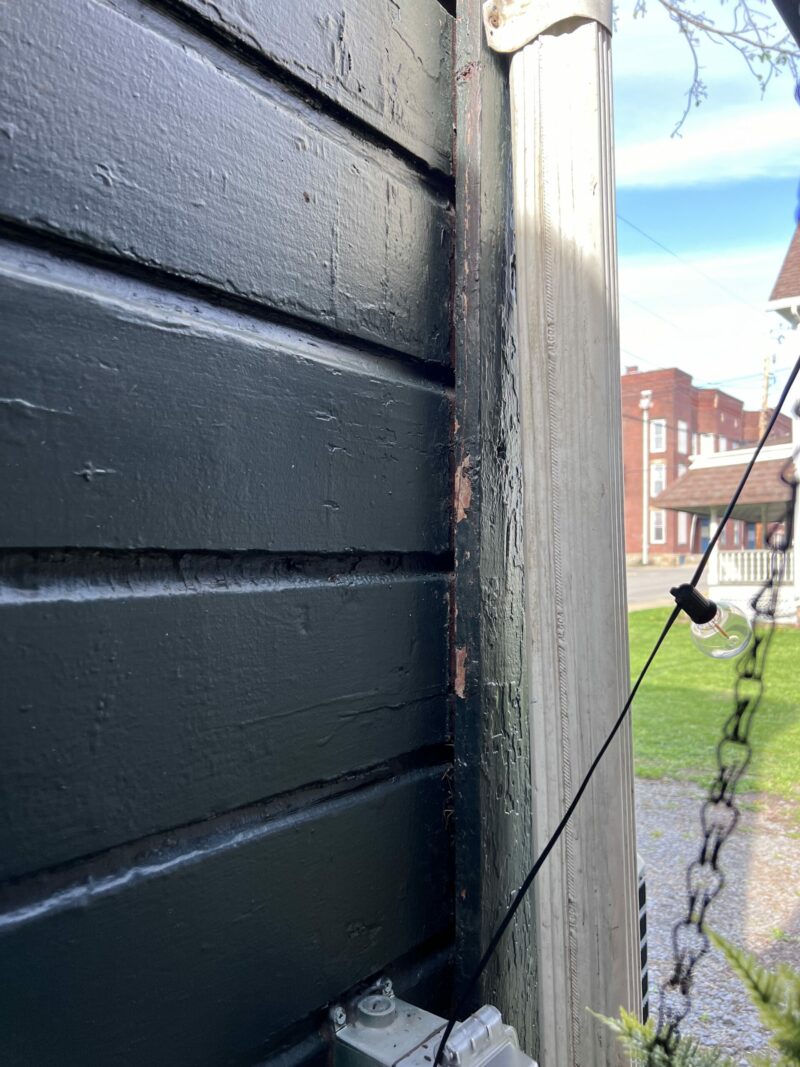
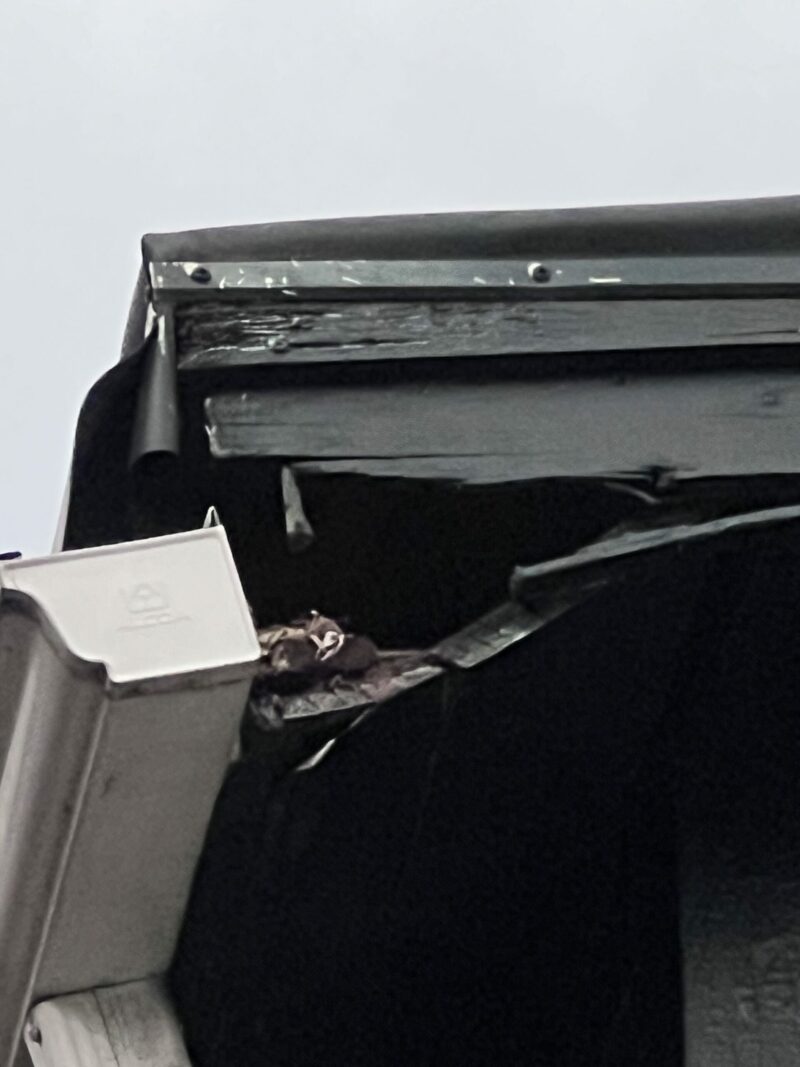
I investigated and spotted muddy paw prints (not visible in photo) and scratch marks going up the white drainpipe and my freshly painted exterior straight to a gaping hole near the soffit and fascia at the roofline. Raccoon. Of course.

Scratches and paw prints on siding beside a white drainpipe from raccoon climbing
Roofline damage near white gutter where raccoon entered attic through soffit

Professional Help? Pricey.

I called a few local wildlife services and got the scoop:

  • Trapping fees were high. They’d set, check in a few days and if she didn’t take the bait,
  • prices went way up if they had to go into the attic.
  • There was no guarantee they’d catch her, especially with babies involved.

So… I went into research mode.

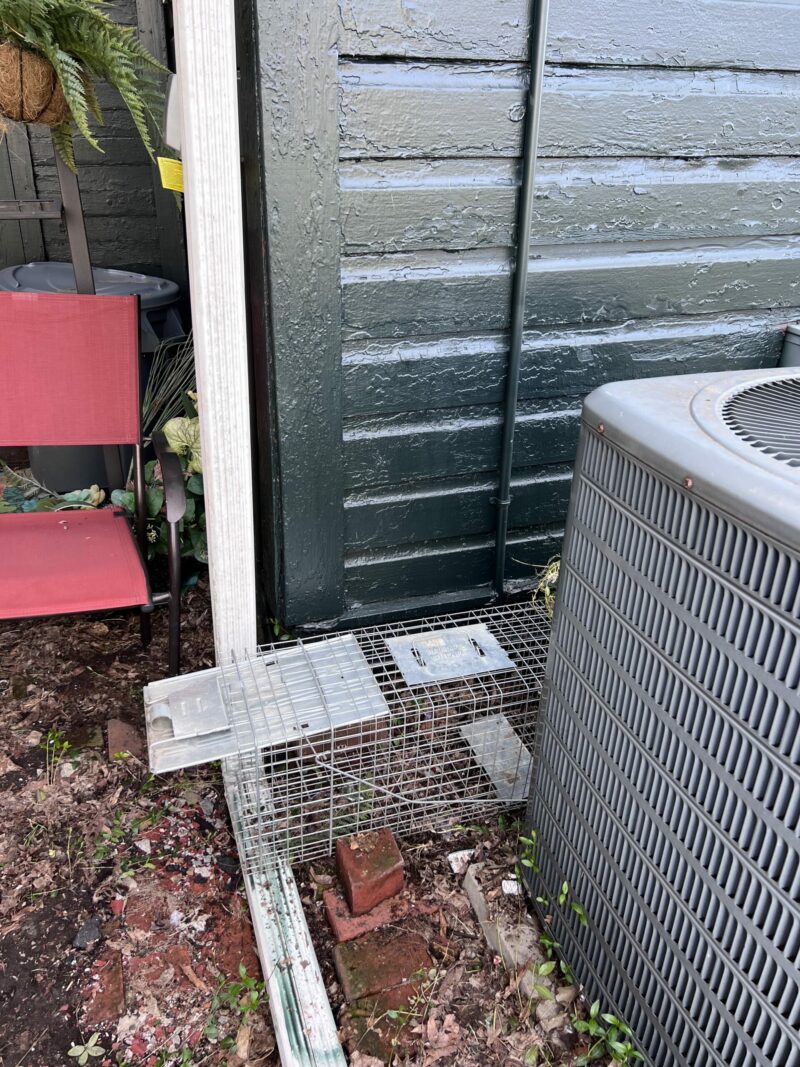
What Didn’t Work: Classic Traps

We placed a humane trap near the entry point and tried a few bait combinations:

  • Tuna and eggs
  • Peanut butter and marshmallows
DIY marshmallow and banana sheep on a plate as a humorous raccoon bait idea

One of our light-hearted bait attempts. Marshmallow banana sheep. Spoiler: she was not impressed. Humor meets trial and error.

Just kidding on the presentation! haha! But I did try peanut butter and marshmallows.

Ps. I didn’t want to use tuna or cat food…I didn’t want to catch a feral stray or neighborhood cat.

She didn’t take the bait. Not once. I later read that raccoons who’ve been trapped before are trap-shy and this clever mama seemed to know the drill.

Humane raccoon trap near downspout with peanut butter and marshmallow bait

How I Got a Raccoon in the Attic to Move Out Naturally

My guest was leaving for the weekend. I had a small window to evict the unwanted raccoon-squatter. Raccoons love quiet, dark, undisturbed spaces. So I flipped the vibe completely.

Here’s what I used to encourage a peaceful exit:

Young Living peppermint essential oil bottle held on a wooded path
Peppermint essential oil: part of my humane DIY raccoon eviction plan.

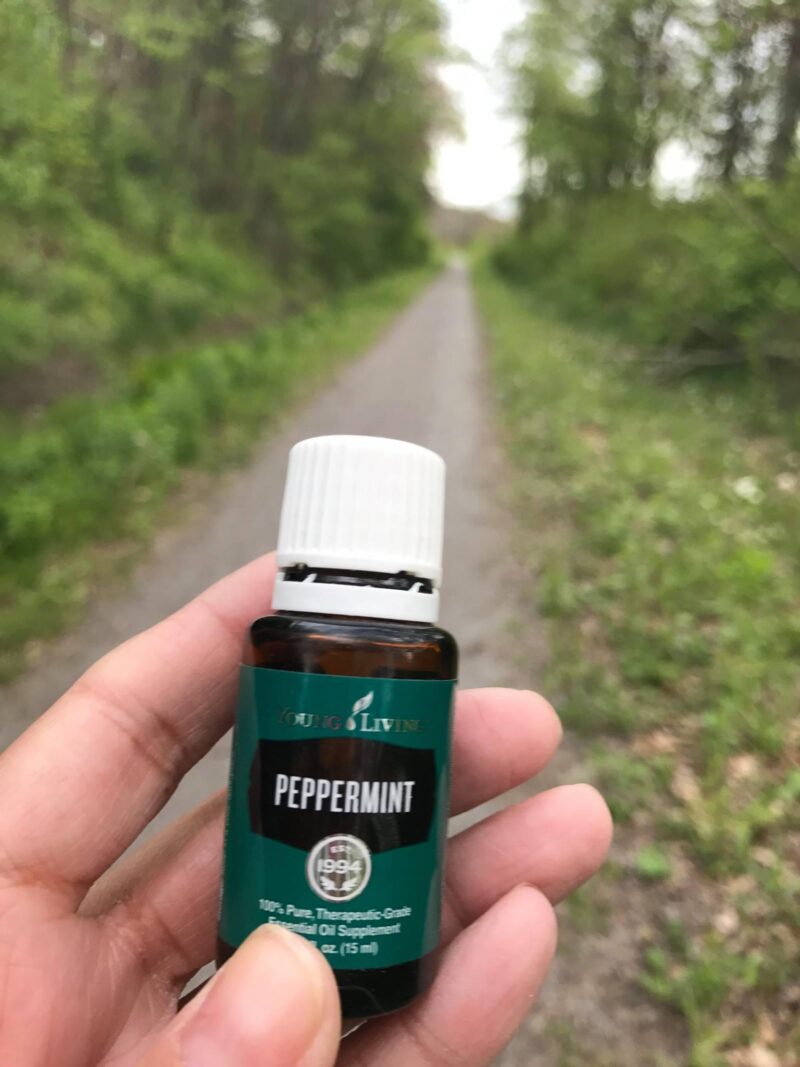
*I always have Young Living peppermint essential oil on hand … it’s one of my favorites for DIY, wellness, and even (apparently) raccoon evictions. Here’s my YL referral link if you want to try it too. Just a few drops in the diffuser and the attic smelled like a spa (to me but not a fan favorite for raccoons).

A full-on raccoon rave. Minus the fun.

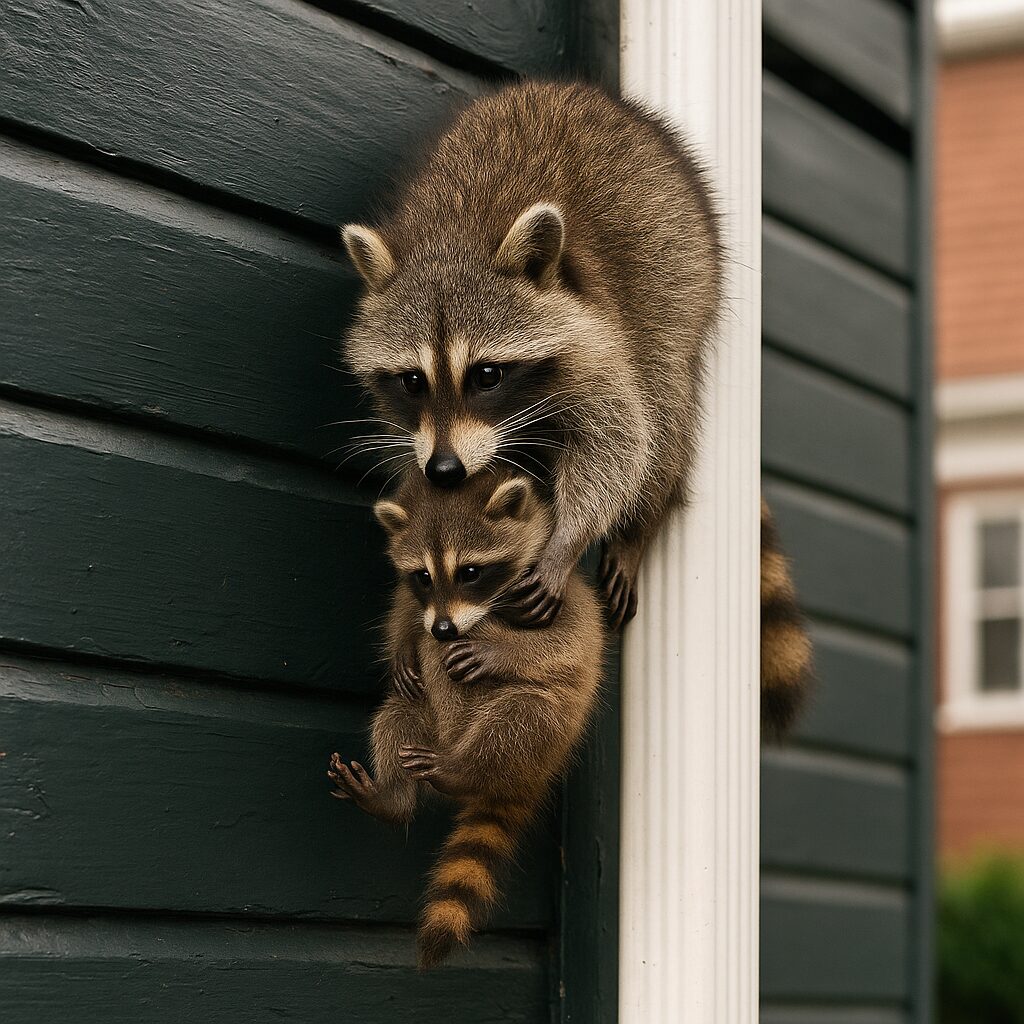
And… it worked. That night, she packed up her babies and moved out.

Raccoon climbing siding next to spotlight at night, captured by security camera

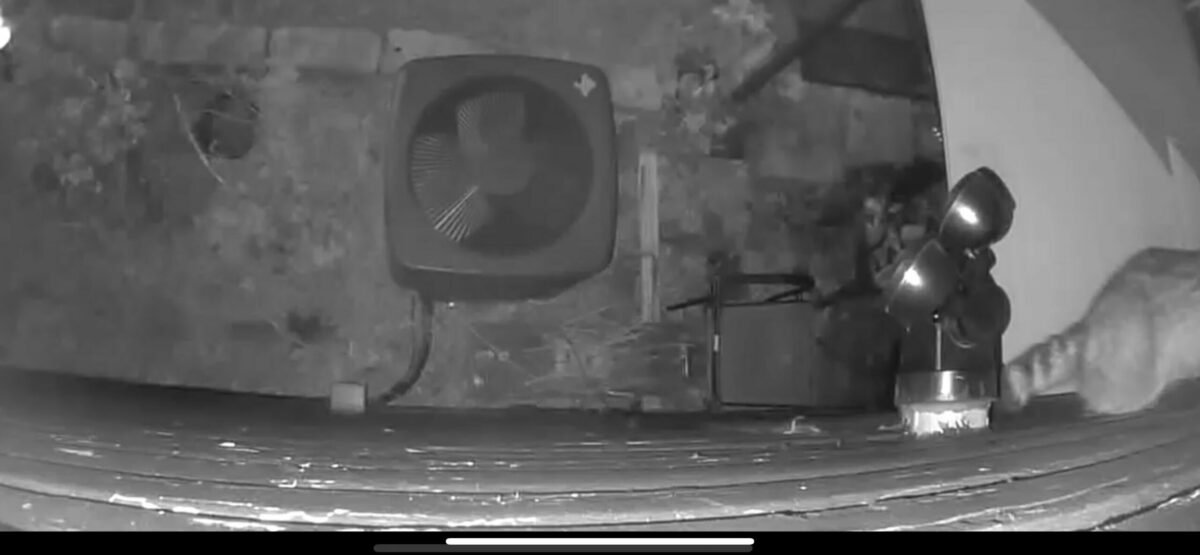
🎥 Watch it happen: Mama raccoon moves out with her baby (caught on cam!)

What We Did Next: Prevention Mode

Once she was out:

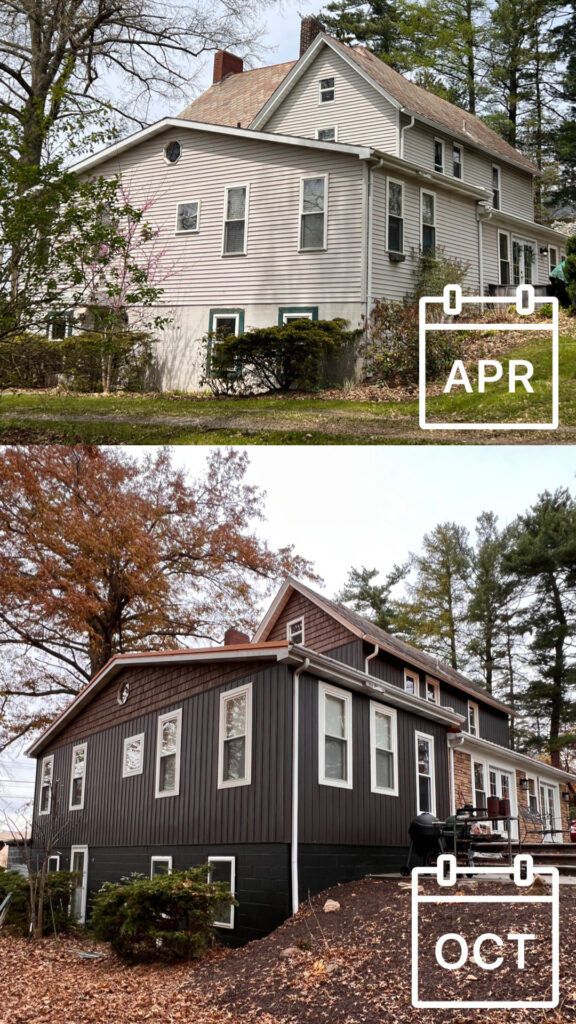
  • We sealed up the hole near the roofline (there was plans for a new roof in the works anyway so that also helped in the long run).
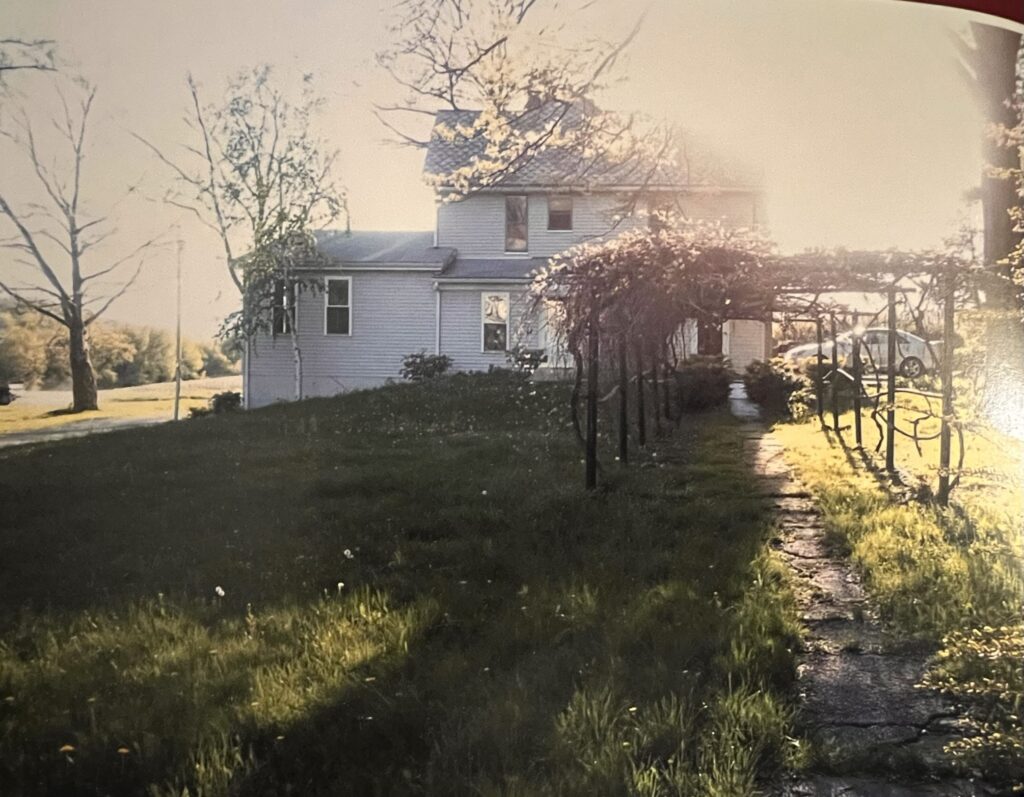
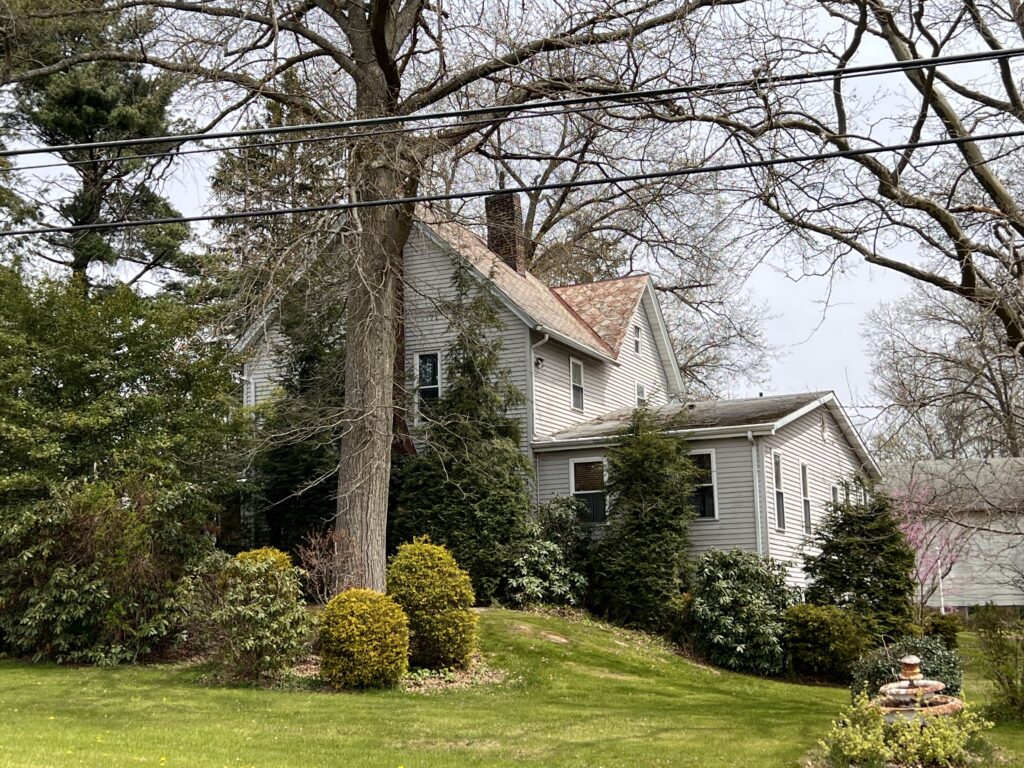
  • Did a full check of other outdoor structures (sheds, etc.). I read that they usually have a back up plan or two. (In fact, this is in a downtown neighborhood. The abandoned house next door was demolished. I have a feeling that was the original labor and delivery den and since it was no longer there this year, she made her way to her plan B…my attic.)
  • Gave the neighbors a heads-up. (Raccoons are sneaky and resourceful!)

Raccoon Prevention Tips (Humane + DIY-Friendly)

These are all helpful ways to prevent a raccoon in the attic from returning year after year.

  • Seal any small gaps around soffits, vents, or eaves—especially in spring.
  • Use peppermint essential oil or ammonia as deterrents (not poisons).
  • Place motion-activated lights near potential entry points.
  • Play a radio in the attic or unused spaces to discourage nesting.
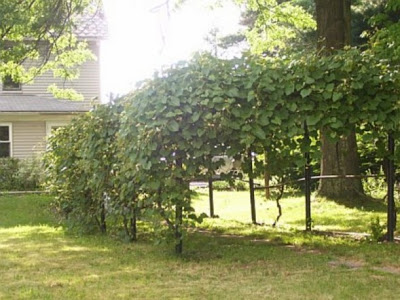
  • Trim tree branches that could act as raccoon bridges to the roof.
  • Try a humane trap if you’d like to first.
Collage of DIY raccoon deterrent methods including a raccoon, roof damage, peppermint essential oil, and a text that reads "How I Got Rid of Raccoons in the Attic (No Traps) DIY Tips That Actually Worked"
Pin for later…Humane DIY Raccoon Removal Tips

Final Thoughts (and a Gentle Disclaimer)

We got lucky. The mama raccoon moved out peacefully, and no one (no guest, human, or critter) was harmed. This DIY method was a last resort before calling in pros, and it worked because we acted quickly and respectfully.

If you’re dealing with something similar:

  • Be patient.
  • Act early in the season if possible.
  • When in doubt, call a licensed wildlife removal expert.

In addition, for more info on humane wildlife removal, I also found this guide helpful during my research: Humane World: Raccoon Removal Tips

Disclaimer: I’m not a pest control pro. I’m just sharing our personal experience in hopes it helps someone else avoid a costly or stressful situation. We chose humane, non-harmful deterrents and were mindful not to separate a mother from her babies.


Have you had an unexpected attic guest? Share your experience or tips in the comments—I’d love to hear what worked for you!

Some of the links above are affiliate links. That means I may earn a small commission (at no extra cost to you) if you decide to purchase something I’ve linked. I only share what I’ve personally used or researched thoroughly.

Farmhouse Exterior Makeover

Hello, DIYShowOff friends! If you’ve been a DIYShowOff follower, you’ll remember our farmhouse from back in the day. Ready for a farmhouse before & after exterior update and makeover? It’s undergone the biggest before and after exterior makeover to date. It’s hard to believe it’s the same farmhouse. Of course there are still projects on the list (porch railing, landscaping, etc.) but our property has never looked better! The exterior is so pretty and the yard is now an oasis, our personal retreat.

diyshowoff exterior farmhouse makeover

Farmhouse Before

Before…old windows, faded siding, back doors with awnings, sidewalks and a lack of landscaping. An old dilapidated grape arbor.

BEFORE:

farmhouse before

We definitely got the side eye when purchasing this fixer upper but my Mr. DIY and I saw the potential.

After: French doors, new windows, new siding, a new metal roof, concrete patio, concrete stairs and a stamped stained concrete pool deck and walkways were added, grape arbor rebuild. Years in the making!

AFTER:

farmhouse exterior makeover

Early Makeover Projects

One of the first projects was installing French doors where the single back doors were and removing the awning. Then came a patio and some landscaping.

back exterior farmhouse before

And a grape arbor gazebo makeover. Here’s the before:

grape arbor before

Pool Party

Then last year…a major update starting with an in-ground pool installation, stained & stamped concrete pool deck and patio. Check out our complete in-ground pool installation!

in-ground fiberglass pool patio

Welcome guests!

We have a new front door and porch! Our home didn’t have a front door (original was enclosed to create a ‘sun porch’) which we opened up into a home office when we got new windows. Original front door is in the wood sided addition shown below…

farmhouse addition

Here it is inside…

DIY fall autumn dreamcatcher door decor wreath @diyshowoff

Other side of the front yard…

farmhouse before makeover

BEFORE:

exterior door install

So we added a new front entry door and front porch leading into our family room. It’s still a work in progress with the need for railing and extending the sidewalk from bottom of stairs to the driveway but looking good!

dark home exterior front door

New Siding

Then new board and batten, cedar shake and ledge-stone (vinyl) siding for an amazing transformation for the biggest “wow”.

BEFORE:

exterior siding makeover before

AFTER:

board and batten siding

Siding is from CVS. Board and Batten color: Carbon Designer. Trim: Linen. Ledge stone siding is Arizona Sandstone and cedar shakes: Rustic Cedar Designer.

BEFORE AND AFTER different view:

carbon color board and batten siding before and after

Metal Roof

And a new metal roof on additions (keeping the original slate which is still in good condition in a copper color.

After (the transformation)

So, it’s been a minute. Okay, it’s been way longer. But I’m back! I’ve missed our connection. It’s so easy to get lost in the everyday, especially with how blogging has changed over the years and with losing my Facebook page to a hacker leaving me feeling defeated with the disappearance of years of hard work. Time to get back on the horse, ya know?! Time to catch up! I have so much more to share!


View this post on Instagram


A post shared by Roeshel (@diyshowoff)

What do you think? Big change, right?

Must Have Tool {and a giveaway!}

THIS GIVEAWAY IS NOW CLOSED. WINNER is Judy D. who says: “Planning on starting a dyi kitchen project and have only a couple tools on hand. Great giveaway.” Congratulations, Judy!
As you know, we renovated an apartment over the summer. We had the opportunity to review a screwdriver. The timing was perfect and the Master Mechanic Swift Driver seriously rocks! If I didn’t think so, I wouldn’t be writing this. Seriously, it’s the one tool that was always within reach and made a lot of our DIY projects easier.
Master Mechanic Swift Driver
Here’s the official description:

A new twist on an old tool. Master Mechanic dual-drive screwdriver employs a patented gear drive ratchet design that doubles your screwdriving efficiency. Drives the screw when you turn the handle clockwise AND counter-clockwise. 29-pc. set includes flexible shaft extension and multiple bit sizes for a variety of applications. Includes 7 phillips, 3 slotted, 4 hex, 3 square, 4 star, 6 SAE nut driver bits, and bit case. Ergonomic handle has a non-slip rubber grip and can store bits.

What I love. . .

  • No electric, no batteries required.
  • The dual ratcheting action was a lot easier on my hand and wrist! Every time I turned my wrist, it was working to get the job done, both left and right. It’s lightweight too.
  • I loved that I didn’t have to go searching for a specific type of screw driver since it has multiple interchangeable bit sizes (which can be stored in the handle) and since the bits are universal…I could grab one for the cordless drill when needed.
  • We ran into several tricky tight spots and the flexible shaft extension came in super handy (and even attached to the cordless drill).

Take a look at how I used it A LOT during the apartment renovation {still use it!}. From removing and re-attaching cabinet hardware to changing out doorknobs to installing shelving brackets to tightening vanity screws to hanging a mailbox to assembling furniture, this tool was super helpful.

Using the Master Mechanic Swift Driver

Example: When I’m re-attaching cabinet hardware and place the screw into the pre-drilled hole, I turn the screwdriver clockwise. Then, when I turn counter-clockwise, it’s turning the screw, pushing it further into place too. I love that! I don’t have to change my grip! Just keep winding right, left, right, left. Then with a push of a button, the same works in reverse to remove the screw. So cool!

So, if you are looking for a great gift idea for a DIY’er a non-DIY’er too or stocking stuffer OR you’re tired of sore palms or digging for the right screwdriver, I know this would be a HUGE hit. The recipient is not going to be disappointed, won’t ask for the gift receipt and WILL use it!

The Master Mechanic Swift Driver is available {and on sale!} at True Value Hardware.

$100 True Value gift card Giveaway

True Value gift card

Need a little help with Christmas shopping for a Master Mechanic Swift Driver? Want to grab one for yourself too? One lucky DIY Show Off reader will receive a $100 True Value gift card. Open to US residents 18+ only. Giveaway starts with the publishing of this post (TODAY! Monday, 11/26) and ends Friday, 11/30 at midnight EST. Winner will be chosen randomly and announced shortly after.

What is on your True Value Hardware wish list? Answer in the comment and check +1 on the rafflecopter widget. Follow True Value on Facebook and share the giveaway for additional entries (be sure to +1 on the widget!). Good luck!

a Rafflecopter giveaway

We were chosen by True Value to be one of the members of the 2012 DIY Squad. I have been compensated for the materials needed for my DIY projects. However, the thoughts and opinions expressed are completely honest and my own. I have not been paid to publish positive comments and no one has twisted my arm to participate. 


Tips for painting a herringbone patterned accent wall

Apartment progress!

Herringbone Accent {on textured} Wall

I’ve shown sneak peeks of the apartment renovation progress and you’ve likely seen the herringbone-like accent wall in the kitchen area…

painted accent wall

Base paint color: True Value Easy Care – Baby Elephant (soft neutral gray) & Accent color: True Value Easy Care – Sweet Honey

Since we own this rental space, I was able to get a little creative in adding a fun accent wall as a backdrop behind some open shelving. Before paint…

apartment walls before

Yes…I have ‘plans’ for a DIY radiator cover but I must confess that I feel it’s a LOT ambitious and I’m scared. Working up the courage to give it a try sometime this month. Anyway, after paint {including painting kitchen cabinets and Rustoleum Countertop Transformations}:

find center of wall

The open wall space above the wainscoting was the perfect spot to display open shelving as a solution for more storage/organization in this tiny apartment. True Value’s Easy Care Platinum and FrogTape were all I needed to add some interest to a flat textured wall. The pattern also helps disguise the un-hidden pipes. I put together a quick tutorial video using my iphone {pardon the portrait orientation, poor quality…amateur videographer but working hard on getting better!} explaining how I achieved the herringbone pattern:

The wall was finished and I was so happy to be able to move forward on the renovation! Shelves are budget friendly Ekby shelving and brackets from IKEA… IKEA Ekby

{installation was super easy using the Master Mechanic Swift Driver!}

Woo hoo! painted accent wall And just when I felt super good about a little DIY success, something went wrong upstairs with the plumbing. The joys of DIY… upstairs plumbing leak I was just too exhausted and heartbroken to deal with it. My Mr. DIY fixed the plumbing issue in the bathroom above and Bri’s boyfriend, Steve, saved the day by patching the ceiling below. patching ceiling textured ceiling and I set about touching up the paint… touching up paint Now, all done for real… herringbone accent wall If you missed it yesterday, I shared the hardwood floors before/after refinishing:

staining hardwood floors

More apartment renovation, decorating and furnishing coming soon!

TDC Before and Afterbest diy

We were chosen by True Value to be one of the members of the 2012 DIY Squad. I have been compensated for the materials needed for my DIY projects. However, the thoughts and opinions expressed are completely honest and my own. I have not been paid to publish positive comments and no one has twisted my arm to participate.  This is a sponsored post brought to you by FrogTape. The opinions are completely my own based on my own experience.  FrogTape Blog Squad

Family Room – sneak peek {repurposed headboard to door pediment}

The family room makeover has been on hold while we’re renovating the apartment but I wanted to share a little repurposed headboard project I finished up a couple of weeks ago.

Using an old headboard {a gift from Amber – thanks, Amber!}, Gorilla Wood Glue, Bessy ESZ Clamps (Rockler), TransTint Dye, vinyl stencil (created using Silhouette Cameo) and craft paint, I gave an old headboad a new purpose.

Here’s a little of what’s going on in the family room:

family room design

{see more about operation family room here}

The headboard was in very poor condition, broken and falling apart. I removed the legs and repaired the main wooden part of the headboard and added a stencil.

Before…{pardon the mess, it’s a work in progress!}
family room before
So easy! The space above the family room door just needed something, ya know? {French door color is Benjamin Moore Pacific Ocean Blue with a dark glaze}.
DIY pediment
Much better, don’t you think?
Happy Friday! Enjoy the weekend!
DIY Club Photobucket
Funky Junk's Sat Nite Special SouthernHospThriftyTreasures copy_thumb

DIY Show Off - FacebookDIY Show Off - TwitterDIY Show Off - PinterestDIY Show Off - Feed

Apartment Progress ~ floors are sanded!

It’s been a mega DIY couple of weeks here folks! Where I challenge myself to see just how much DIY I can squeeze into a tight deadline (6 wks.) in the apartment renovation. Sounds like work to most people I know but for me, I say “let the fun begin!”. This rental is my life sized mini-doll house! Here’s an update:

how-to-sand-hardwood-floors

{graphic courtesy of Fox Hollow Cottage}

Apartment Progress!

I rented an orbital sander and I enlisted the help from my 19 year old nephew, Kaleb. {muscles, people – I don’t have them!}

orbital sander

HOW TO SAND HARDWOOD FLOORS

{How we did it.}

  1. Floors were cleaned.
  2. Floors were sanded (24 grit) with the orbital sander. Thank goodness my nephew helped because I seriously doubt I could have carried that thing up the stairs and from the looks of it, once the power was turned on, that thing had a mind of it’s own and took off! I know my limitations. And orbital sander wrangling ain’t one of them. Paying a nephew was a wise choice. Much better for Kaleb to restrain the monster sander than me being spun around in circles and crashing through walls, gouging the floor as I go. (It really wasn’t that bad…I’m just little and wimpy but most people would control the orbital sander without difficulty.)
  3. I swept up the dust.
  4. Then he sanded again (60 grit).
  5. Then swept.
  6. Then sanded again (120 grit).
  7. Then swept again!
  8. I used my Dremel Multi-Max and a palm sander where needed in corners, under radiators and around the edges where floor met baseboards. My little muscles could handle those guys. I did the edging with the 3 levels of sandpaper.

{Please don’t mistake these legs for mine…they’re Kaleb’s!}

how to sand hardwood floors

I really don’t know anything about the previous renter/owner. Perhaps their situation wasn’t so easy, but they definitely were not clean and did some damage.

hardwood floors before

So, floors are now sanded!

sanding hardwood floor

There’s a method to my out-of-order renovating madness. I sanded the floors first before painting the walls because I didn’t want to have to scrub the walls twice (1 – the grime before and 2 – after sanding due to the fine layer of saw dust after sanding floors). Next up is covering the floors and painting the ceiling, walls then trim because I don’t want to lose the weekend waiting for the floor stain to dry.

As you’re reading this, I’m probably at the rental DIY’ing! More to come!

Oh! Hoping for better pictures in the near future. I always have trouble making what I’ve learned ‘stick’ and resort to shooting in auto but I sat in on the Photography session at the Haven Conference and Josh and Kevin really had a way with making it more interesting.  I’m all signed up for Photography 101 to learn how to use my DSLR and to finally learn the skills to take better pictures…

ShootFlyShoot.com

I’m also giving their affiliate program a try and invite you to join me in learning! DIY Show Off - FacebookDIY Show Off - TwitterDIY Show Off - PinterestDIY Show Off - Feed