Laundry Room Herringbone Pattern Tile Floor Details

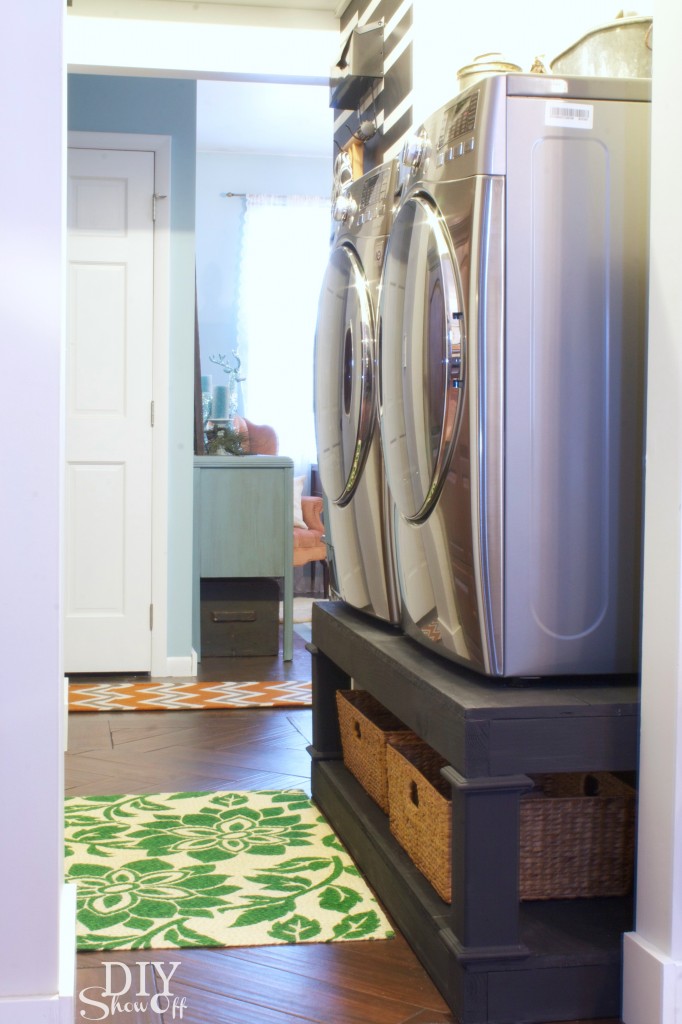
We’ve been working in the laundry room (see more in the home tour). We chose black walnut porcelain tile that looks like wood and oh my, it’s gorgeous!

Herringbone Tile Floor - DIYShowOff (38 of 83)

do-it-yourself laundry pedestals

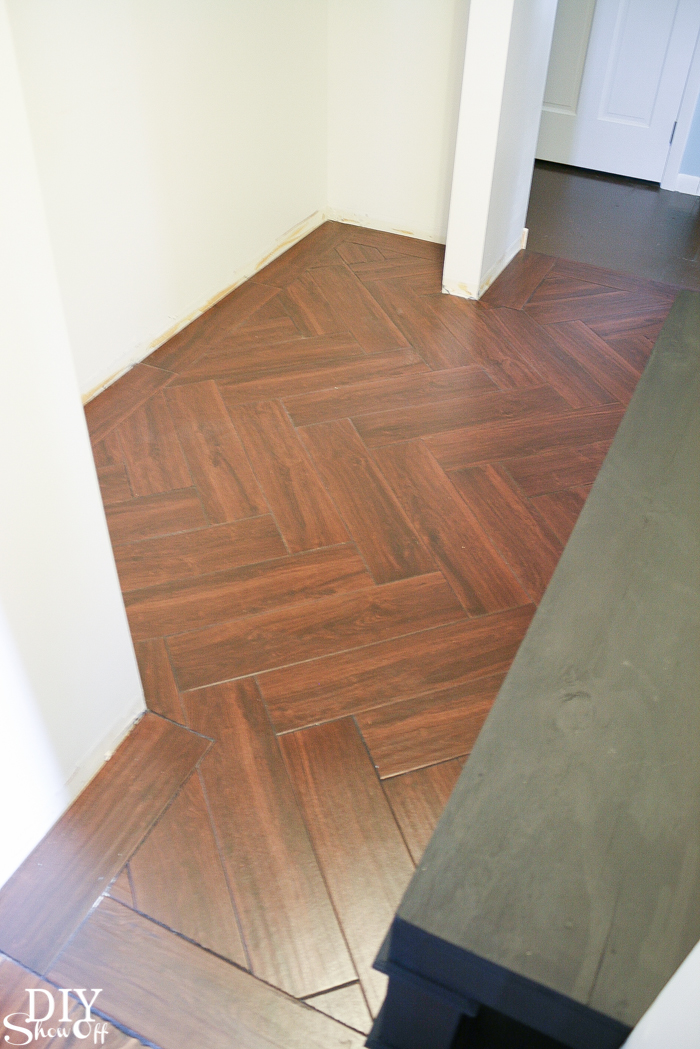
When we got it home from Lowe’s, my sweet husband suggested doing a herringbone pattern (because the herringbone patterned brick walkway and patio wasn’t enough torture, I guess) and I think he realized after his offer, that he may have stuck his foot in his mouth. But he did a beautiful job despite the tricky cuts, despite the fact that most of it is covered by a washer and dryer, a throw rug and someday soon, cabinetry and shelving. 

DIY laundry pedestal

This isn’t a full detailed tutorial per se because I’m not the one who did the work but I did take some pictures of the process for your DIY tiling enjoyment. Be sure to do plenty of research on tiling tips before beginning. Ready?

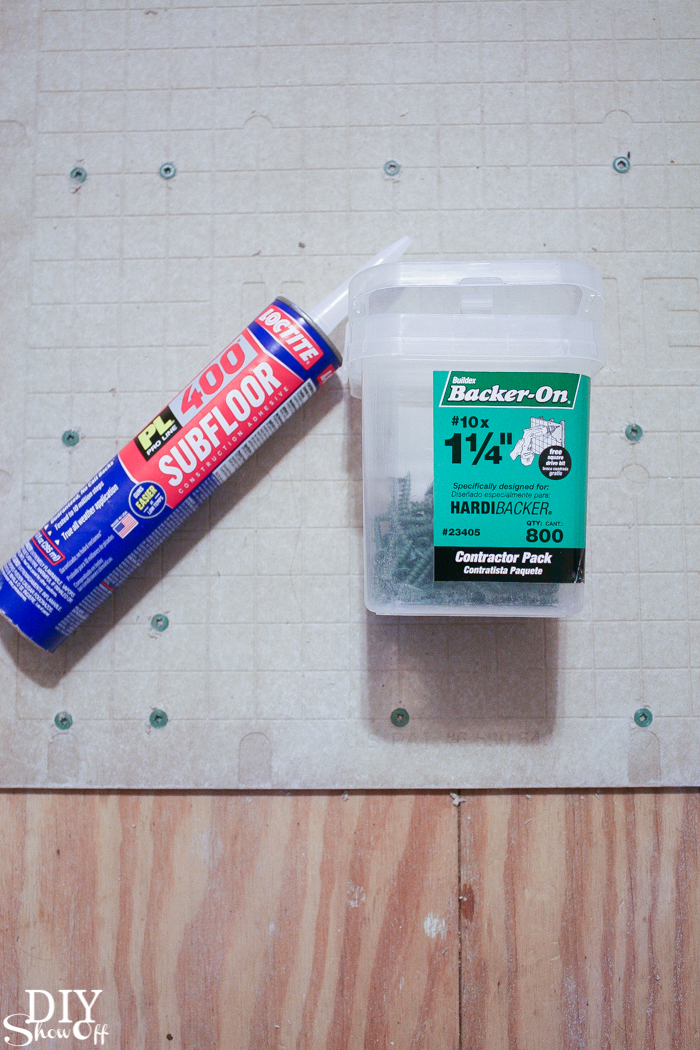
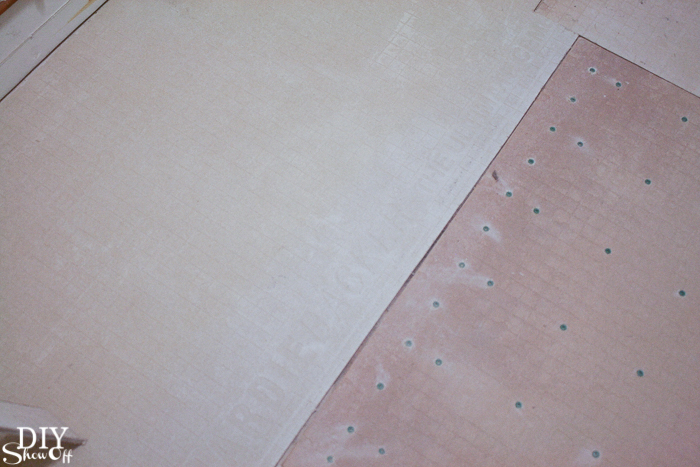
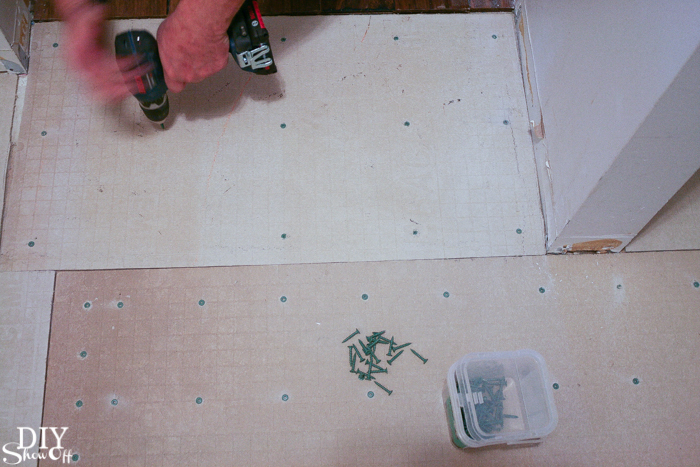
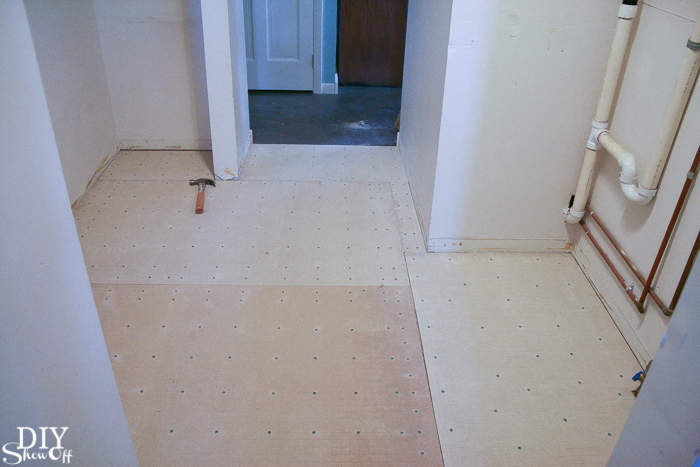
Level subfloor. Check. Hubby glued and screwed down Hardibacker. 

Herringbone Tile Floor - DIYShowOffHerringbone Tile Floor - DIYShowOffHerringbone Tile Floor - DIYShowOffHerringbone Tile Floor - DIYShowOff

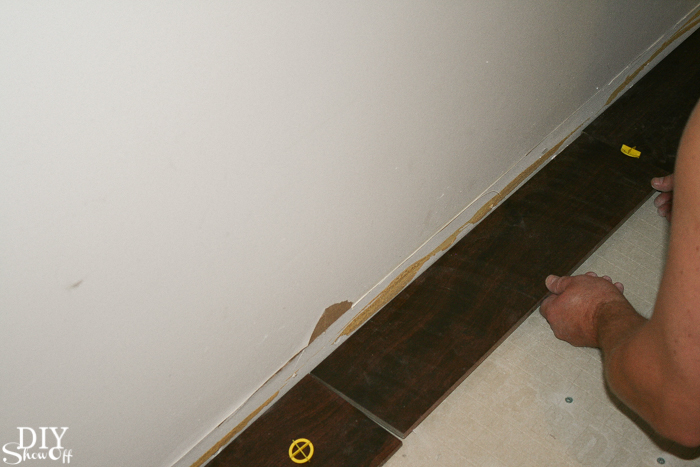
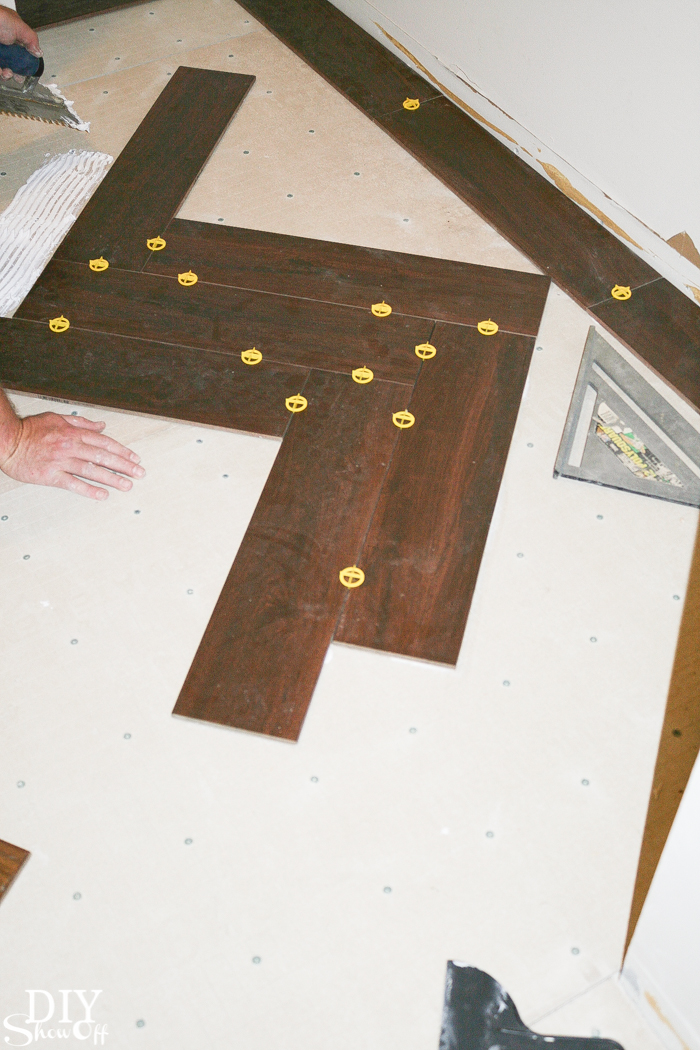
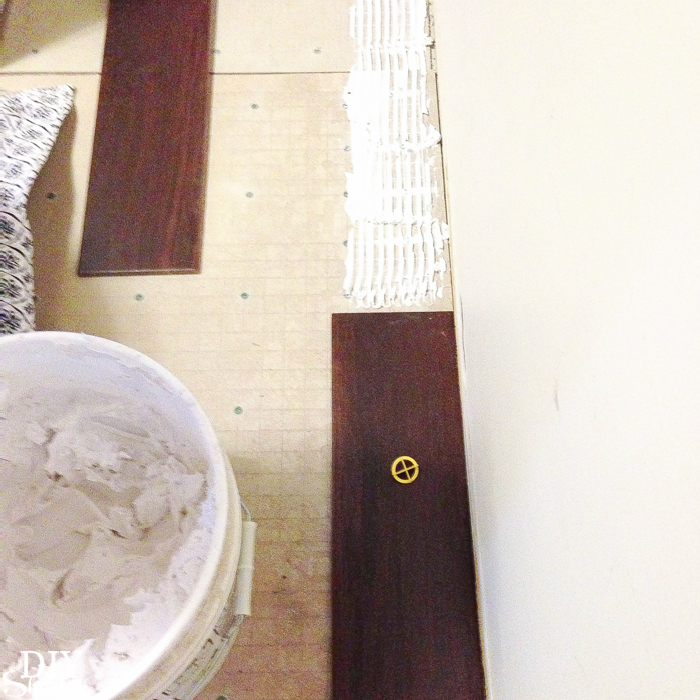
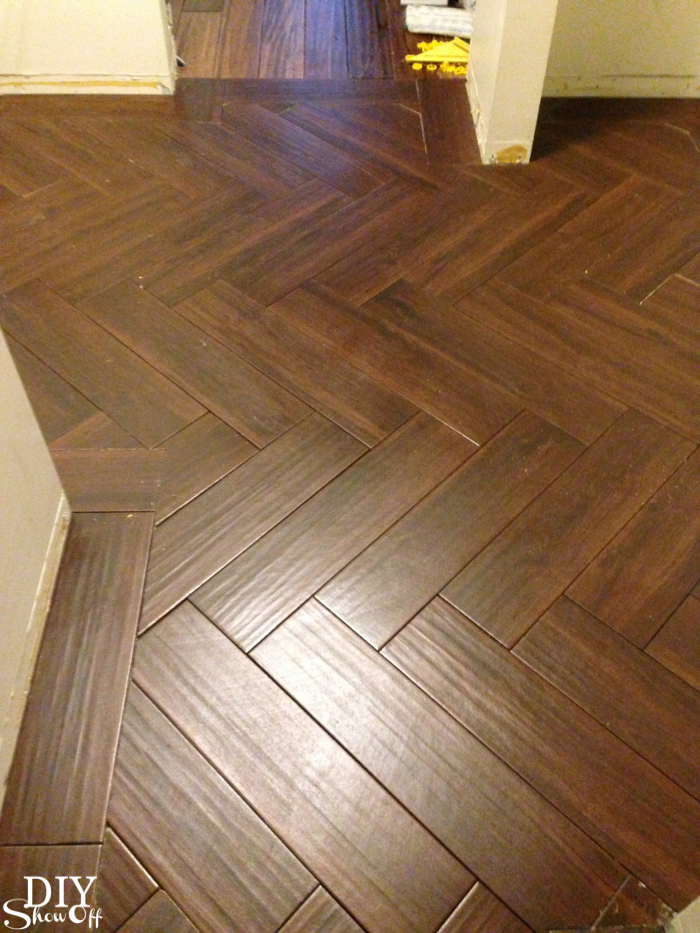
He started the tile pattern by creating a border around the space and cutting/laying out/fitting those tiles first.

Herringbone Tile Floor - DIYShowOff

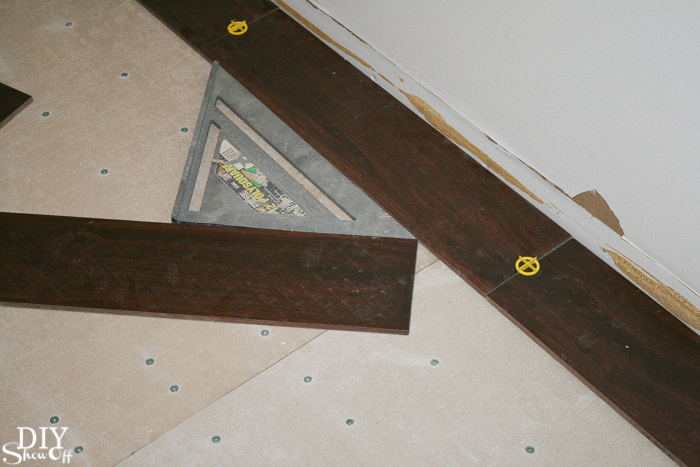
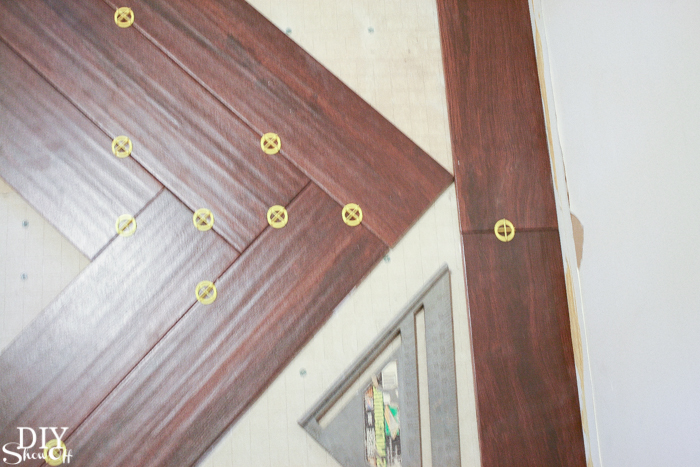
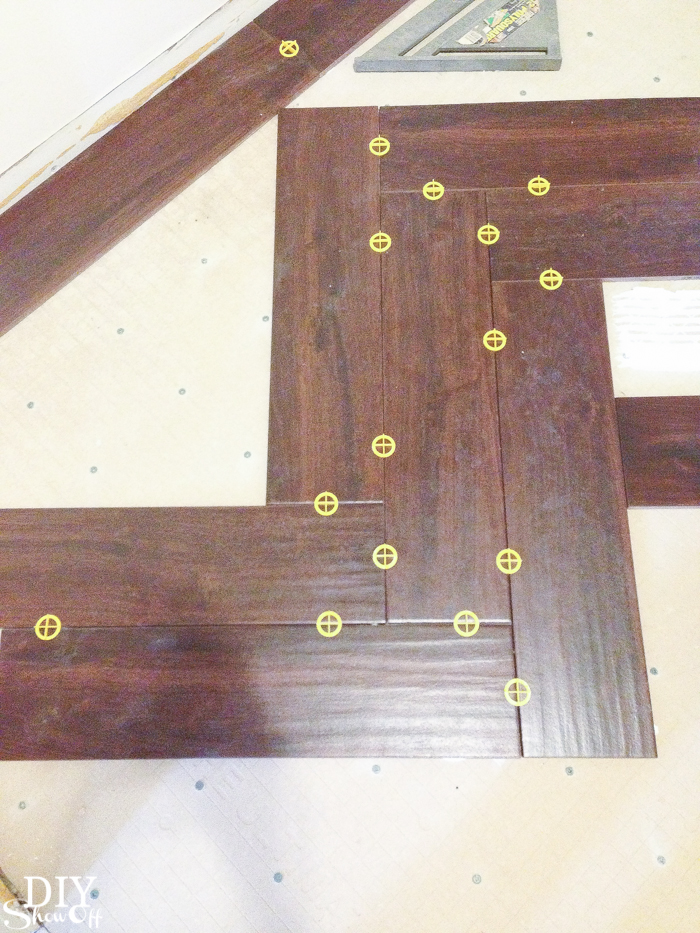
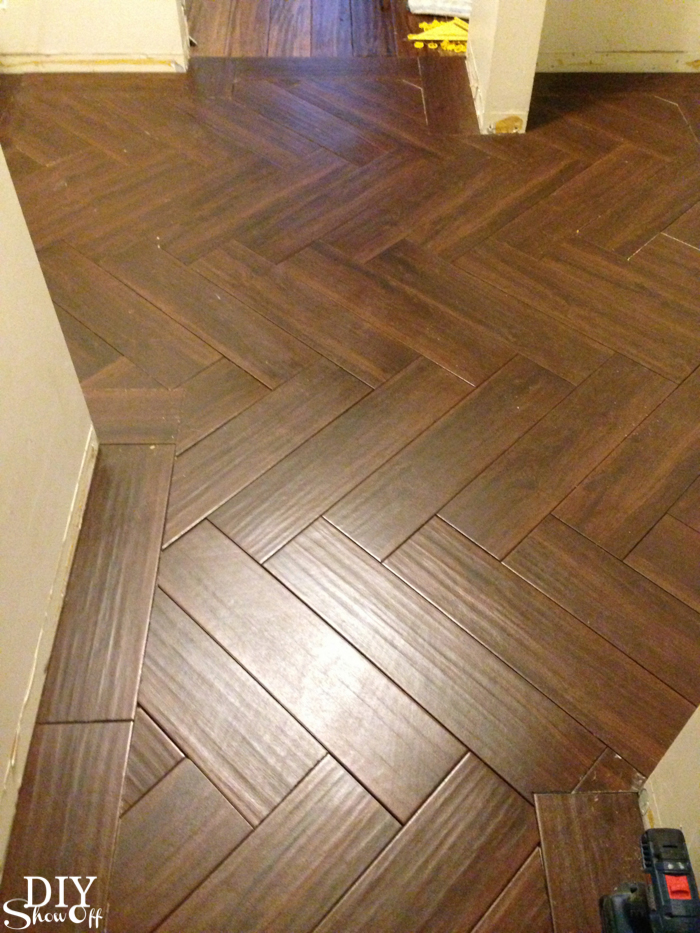
Then laid out the placement of the herringbone with solid un-cut tiles in the design. 

Herringbone Tile Floor - DIYShowOff

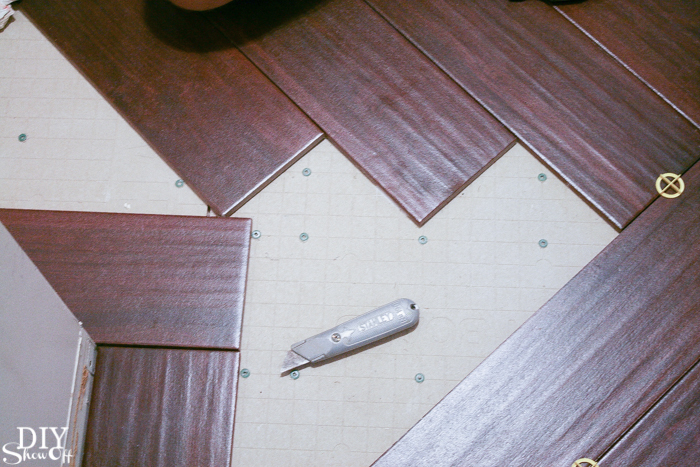
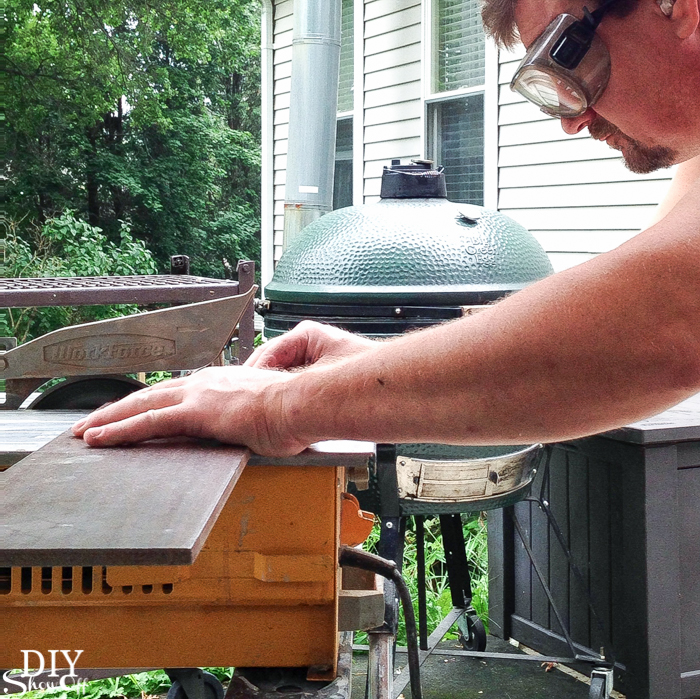
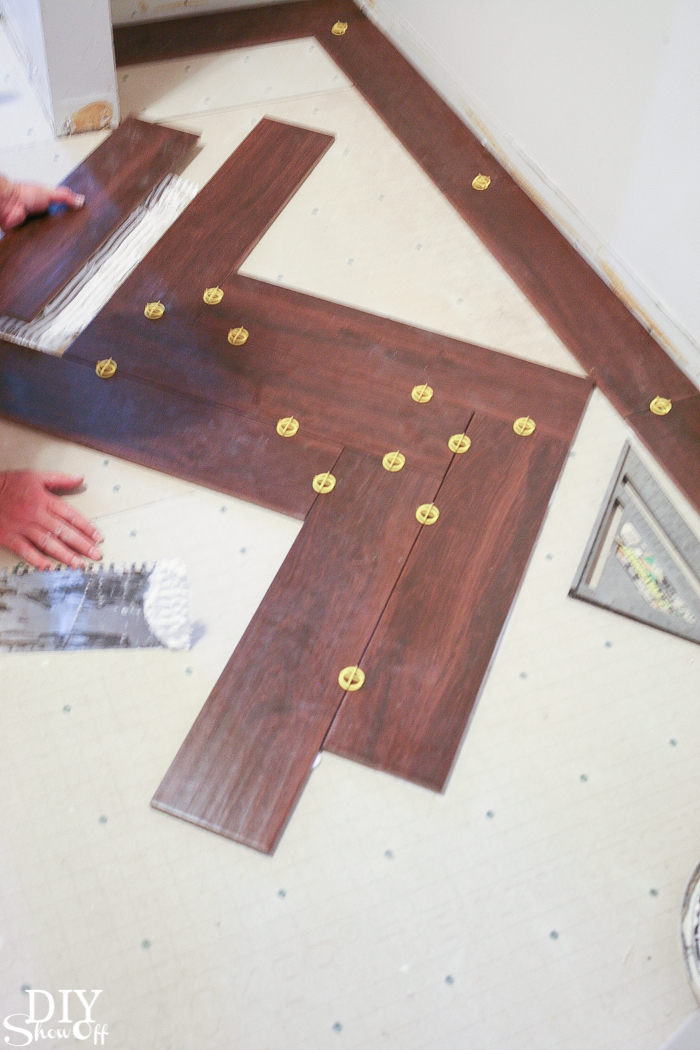
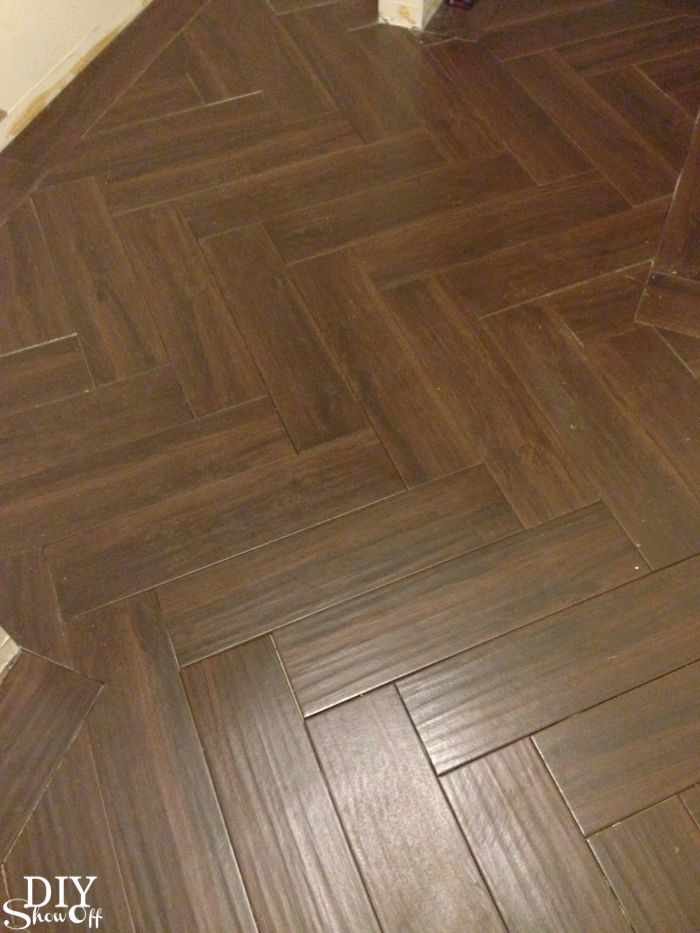
Next up is cutting the tiles needed to create a herringbone pattern in the space between the tile border. 

Herringbone Tile Floor - DIYShowOffHerringbone Tile Floor - DIYShowOff

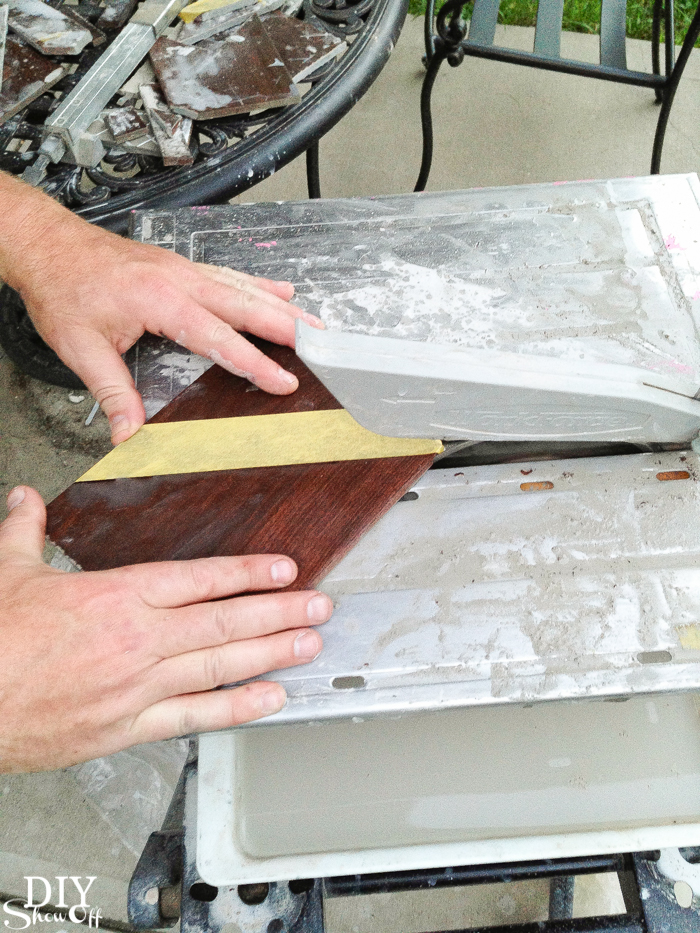
We find (he finds) that using FrogTape on the tile cut lines for tricky cuts with angles or small pieces helps prevent breakage. 

Herringbone Tile Floor - DIYShowOff

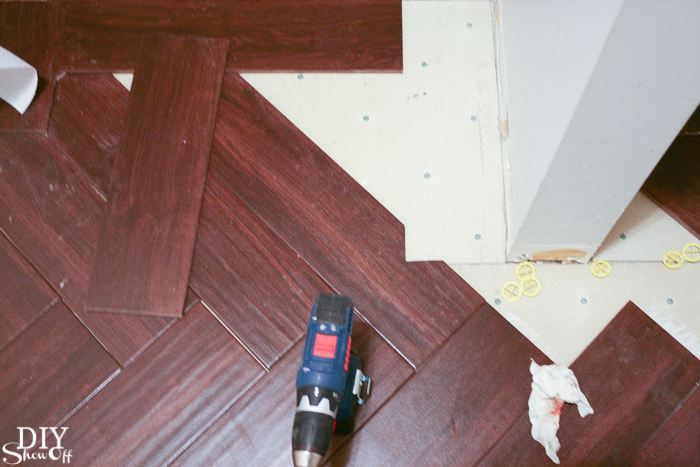
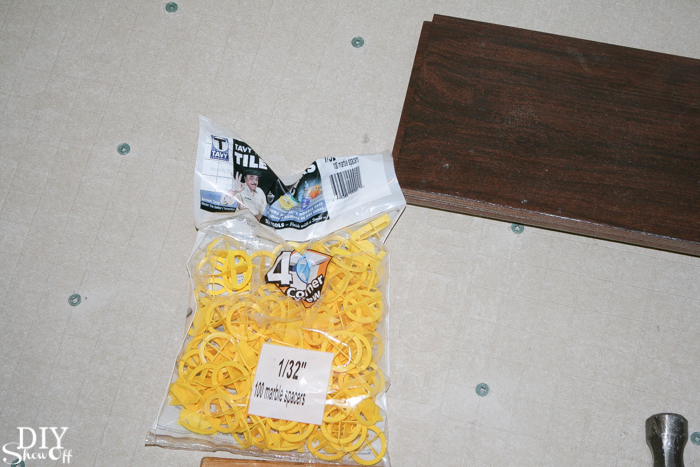
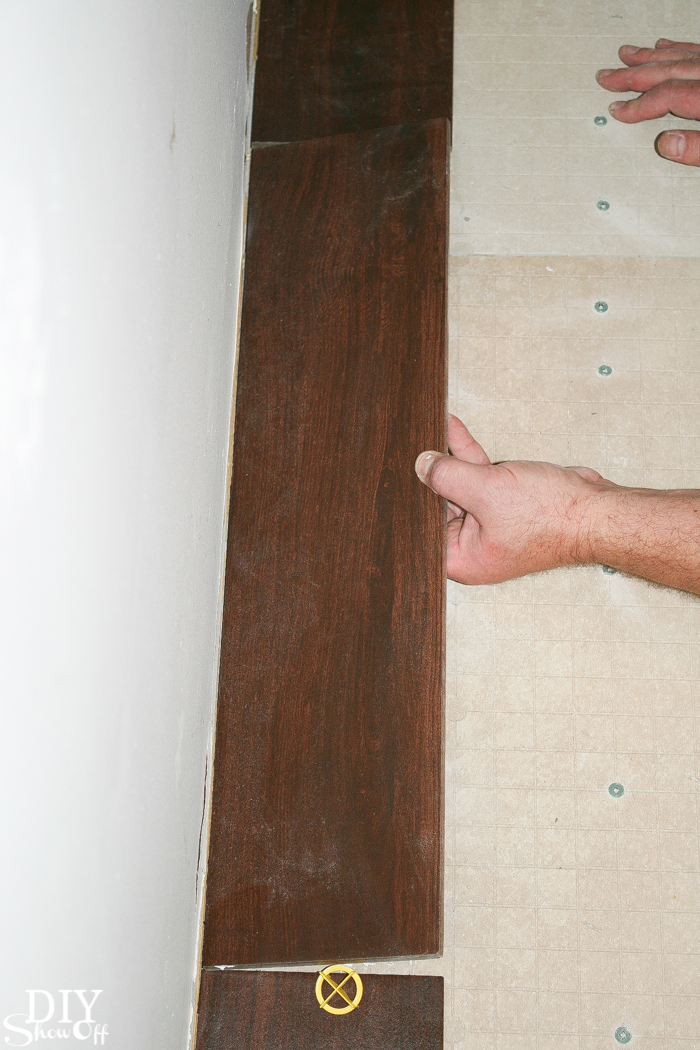
We used 1/32″ spacers. We didn’t want huge gaps between the tiles since they resemble wood. 

Herringbone Tile Floor - DIYShowOff

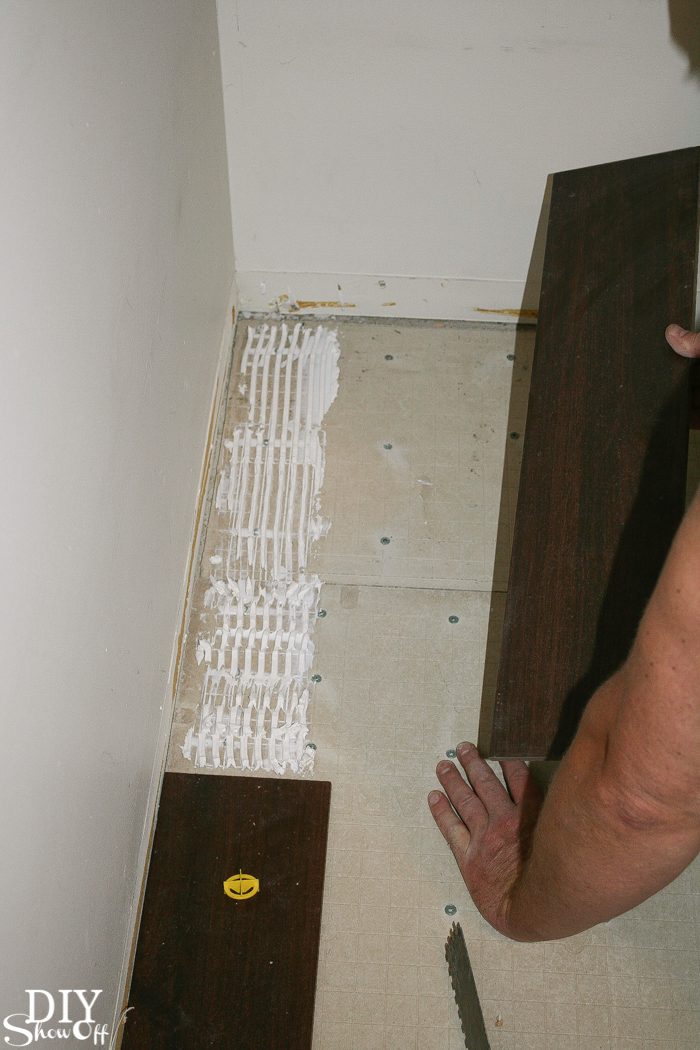
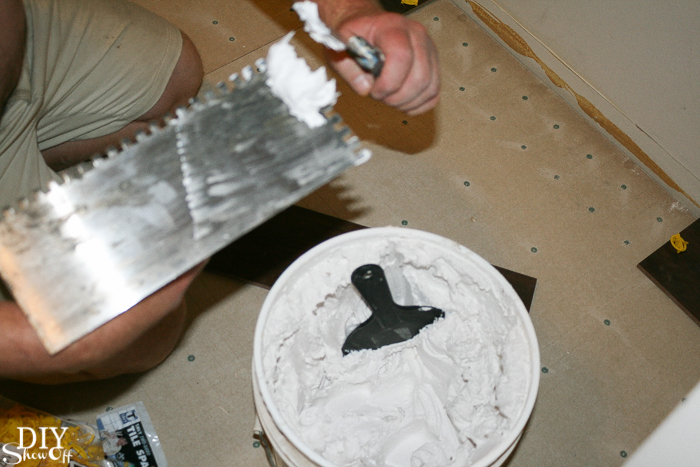
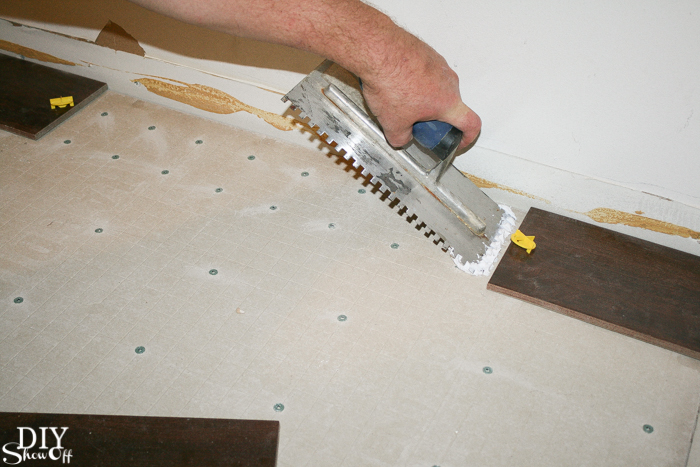
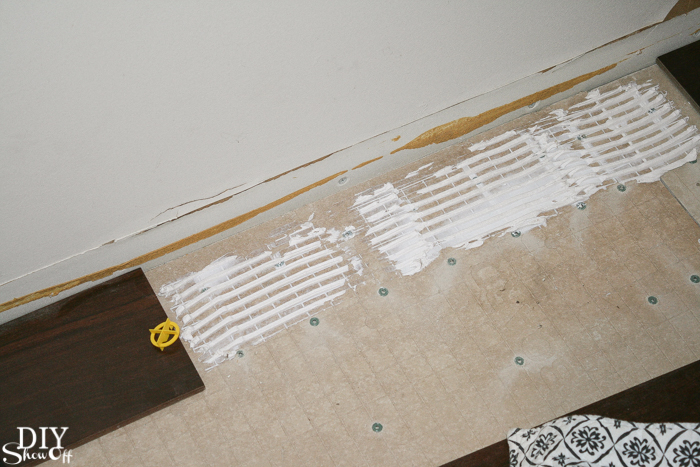
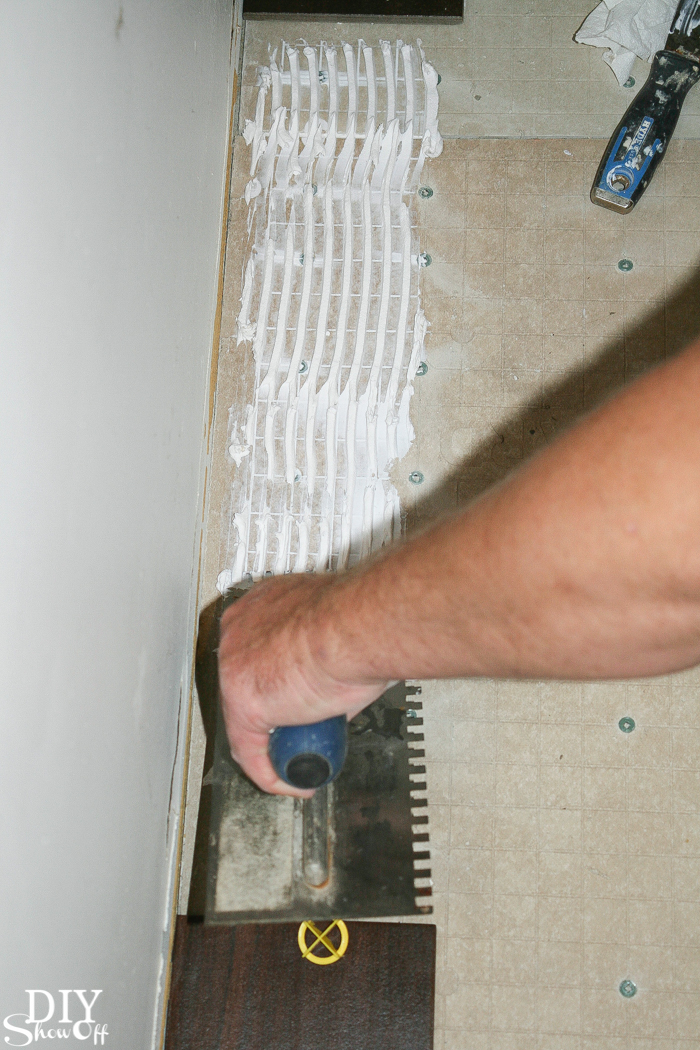
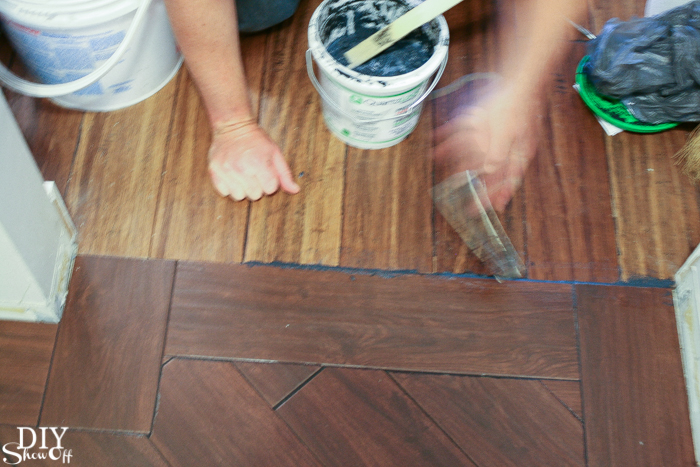
Next up, he set the tiles with mortar (OmniGrip) applied with a trowel. 

Herringbone Tile Floor - DIYShowOff Herringbone Tile Floor - DIYShowOff Herringbone Tile Floor - DIYShowOff Herringbone Tile Floor - DIYShowOff Herringbone Tile Floor - DIYShowOff Herringbone Tile Floor - DIYShowOffHerringbone Tile Floor - DIYShowOff Herringbone Tile Floor - DIYShowOff Herringbone Tile Floor - DIYShowOff Herringbone Tile Floor - DIYShowOff Herringbone Tile Floor - DIYShowOff Herringbone Tile Floor - DIYShowOff Herringbone Tile Floor - DIYShowOff Herringbone Tile Floor - DIYShowOff 

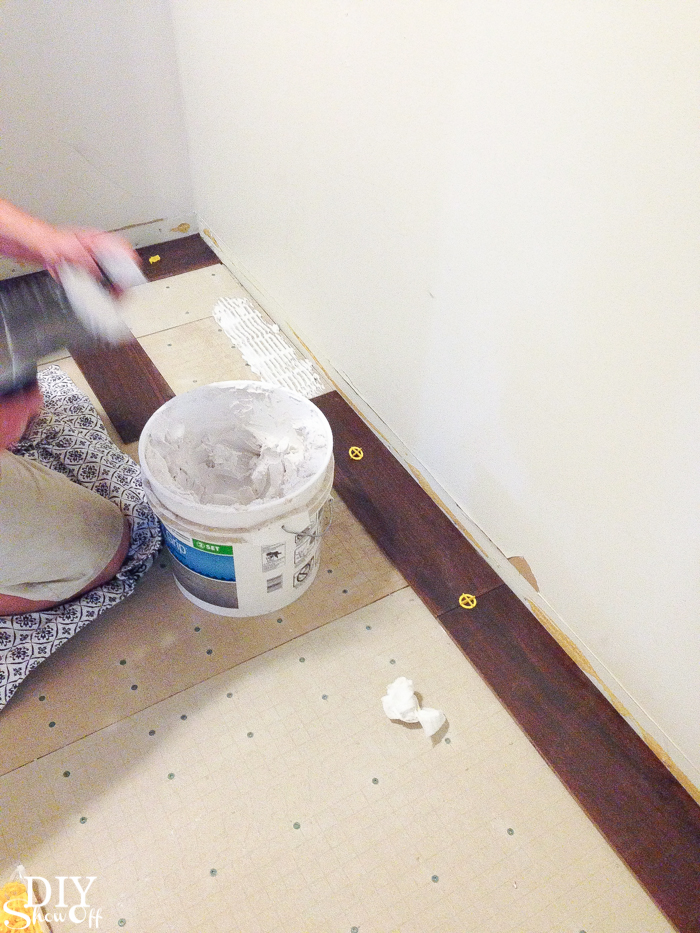
Then removed the spacers and started the grouting process. We let it ‘cure’ for a week before  applying the grout. 

Grouting: We chose a black grout because it gave a similar look to the edges of our distressed antique java bamboo floors in the adjoining room. He used a sanded black epoxy grout (Quartz Lock Urethane Grout – jet black), smushing it into the spaces between the tile with a float then wiping away the excess with a sponge.

Herringbone Tile Floor - DIYShowOff

Let dry a good 24 hours before walking on it and because we were awaiting appliances, it was a couple weeks before every-day traffic. 

Herringbone Tile Floor - DIYShowOff Herringbone Tile Floor - DIYShowOff Herringbone Tile Floor - DIYShowOff Herringbone Tile Floor - DIYShowOff Herringbone Tile Floor - DIYShowOff

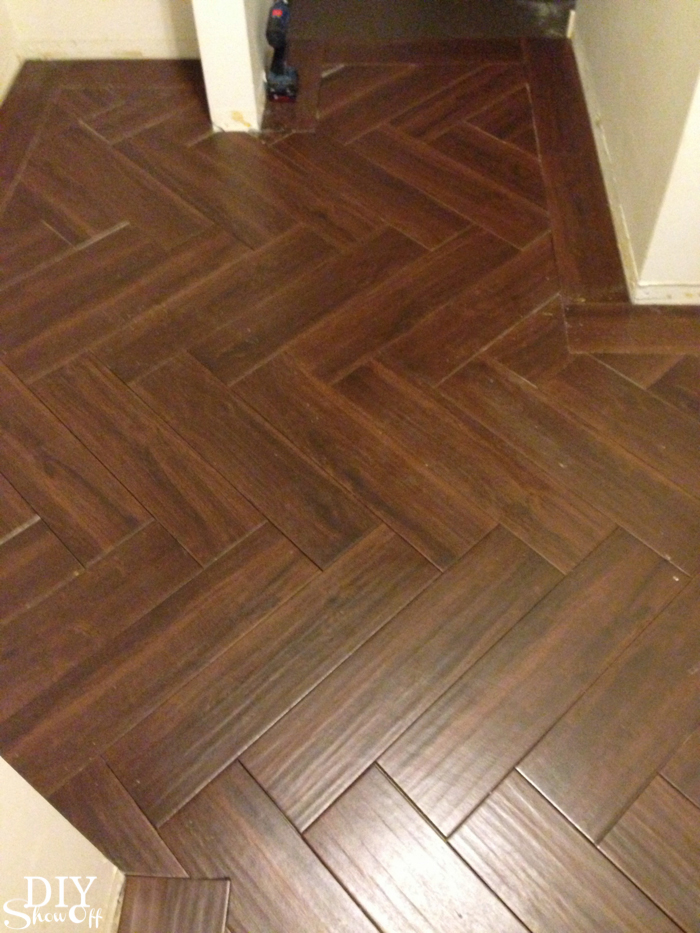
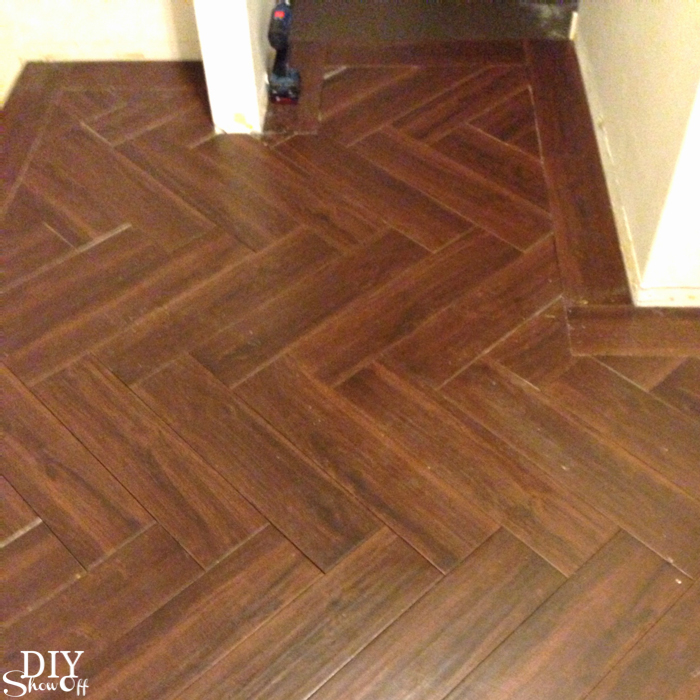
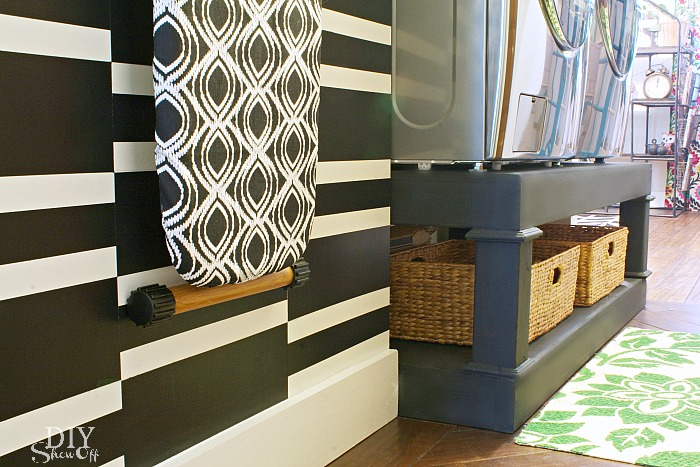
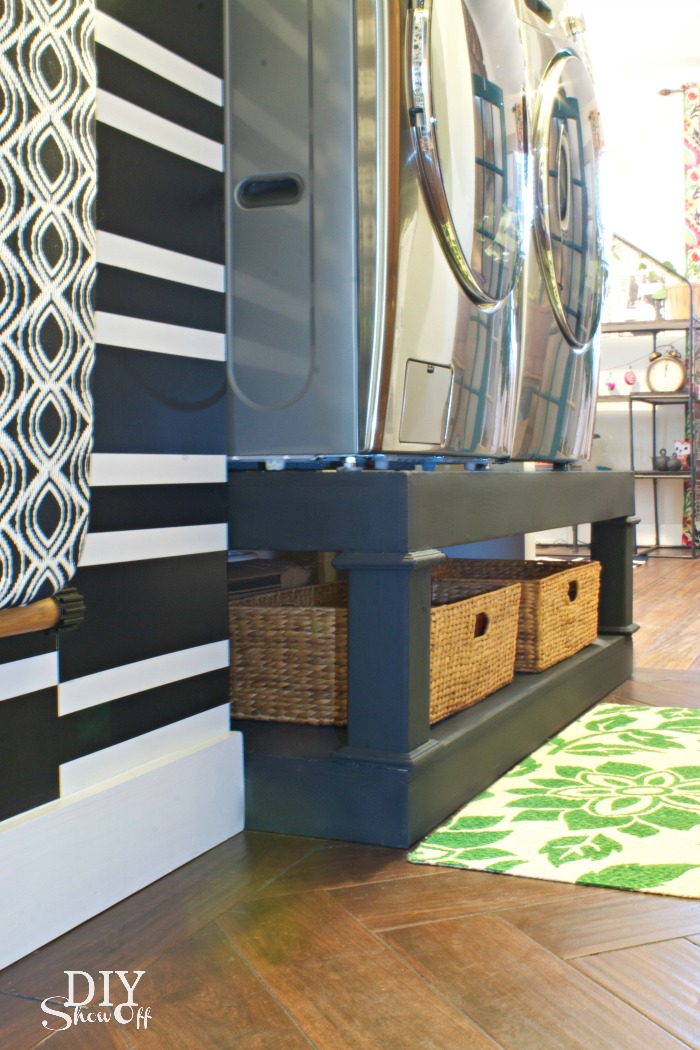
Isn’t it beautiful? I was half tempted to put the washer and dryer somewhere else so I don’t have to cover it up! More laundry room makeover details coming up. Stay tuned!

DIYShowOff Laundry Room Pedestals 

Tips for painting a herringbone patterned accent wall

Apartment progress!

Herringbone Accent {on textured} Wall

I’ve shown sneak peeks of the apartment renovation progress and you’ve likely seen the herringbone-like accent wall in the kitchen area…

painted accent wall

Base paint color: True Value Easy Care – Baby Elephant (soft neutral gray) & Accent color: True Value Easy Care – Sweet Honey

Since we own this rental space, I was able to get a little creative in adding a fun accent wall as a backdrop behind some open shelving. Before paint…

apartment walls before

Yes…I have ‘plans’ for a DIY radiator cover but I must confess that I feel it’s a LOT ambitious and I’m scared. Working up the courage to give it a try sometime this month. Anyway, after paint {including painting kitchen cabinets and Rustoleum Countertop Transformations}:

find center of wall

The open wall space above the wainscoting was the perfect spot to display open shelving as a solution for more storage/organization in this tiny apartment. True Value’s Easy Care Platinum and FrogTape were all I needed to add some interest to a flat textured wall. The pattern also helps disguise the un-hidden pipes. I put together a quick tutorial video using my iphone {pardon the portrait orientation, poor quality…amateur videographer but working hard on getting better!} explaining how I achieved the herringbone pattern:

The wall was finished and I was so happy to be able to move forward on the renovation! Shelves are budget friendly Ekby shelving and brackets from IKEA… IKEA Ekby

{installation was super easy using the Master Mechanic Swift Driver!}

Woo hoo! painted accent wall And just when I felt super good about a little DIY success, something went wrong upstairs with the plumbing. The joys of DIY… upstairs plumbing leak I was just too exhausted and heartbroken to deal with it. My Mr. DIY fixed the plumbing issue in the bathroom above and Bri’s boyfriend, Steve, saved the day by patching the ceiling below. patching ceiling textured ceiling and I set about touching up the paint… touching up paint Now, all done for real… herringbone accent wall If you missed it yesterday, I shared the hardwood floors before/after refinishing:

staining hardwood floors

More apartment renovation, decorating and furnishing coming soon!

TDC Before and Afterbest diy

We were chosen by True Value to be one of the members of the 2012 DIY Squad. I have been compensated for the materials needed for my DIY projects. However, the thoughts and opinions expressed are completely honest and my own. I have not been paid to publish positive comments and no one has twisted my arm to participate.  This is a sponsored post brought to you by FrogTape. The opinions are completely my own based on my own experience.  FrogTape Blog Squad