DIY Freestanding Mobile Pipe Coat Rack

Holiday season! That means some entertaining in our home, get-togethers with families, dinner parties (having a holiday open house today, in fact).  Time to get holiday guest ready! Did you ever notice that your own family fills up the coat closet (sometimes to the point of “avalanche!” when opening the door? Or is that just us?!)…and when guests arrive in colder months, coats are stored in the guest bedroom in a pile on a bed? Our solution: 

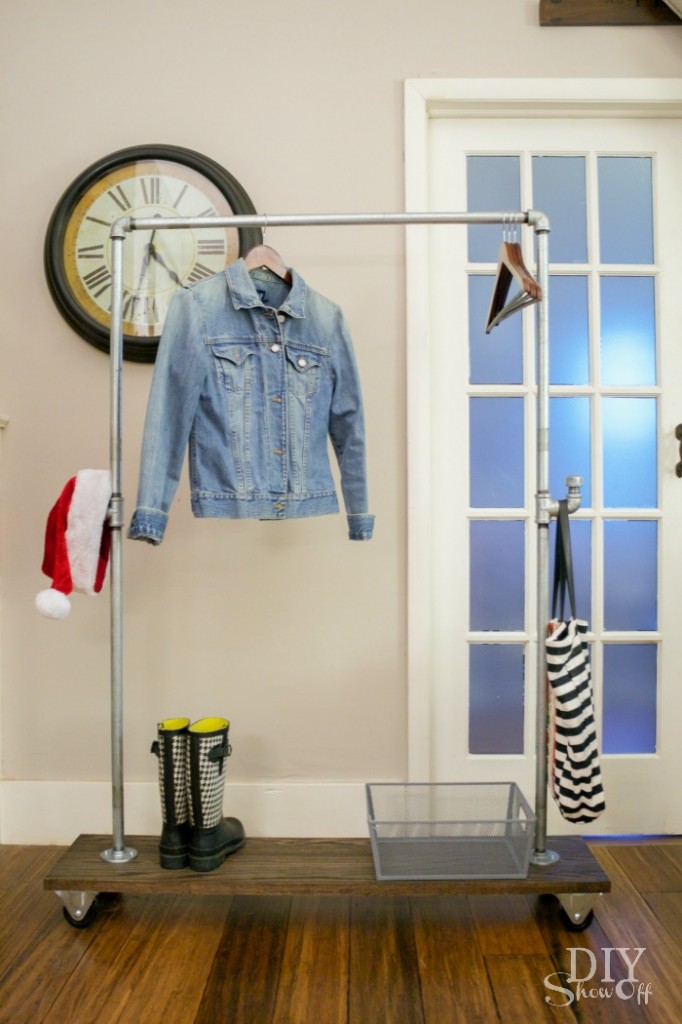
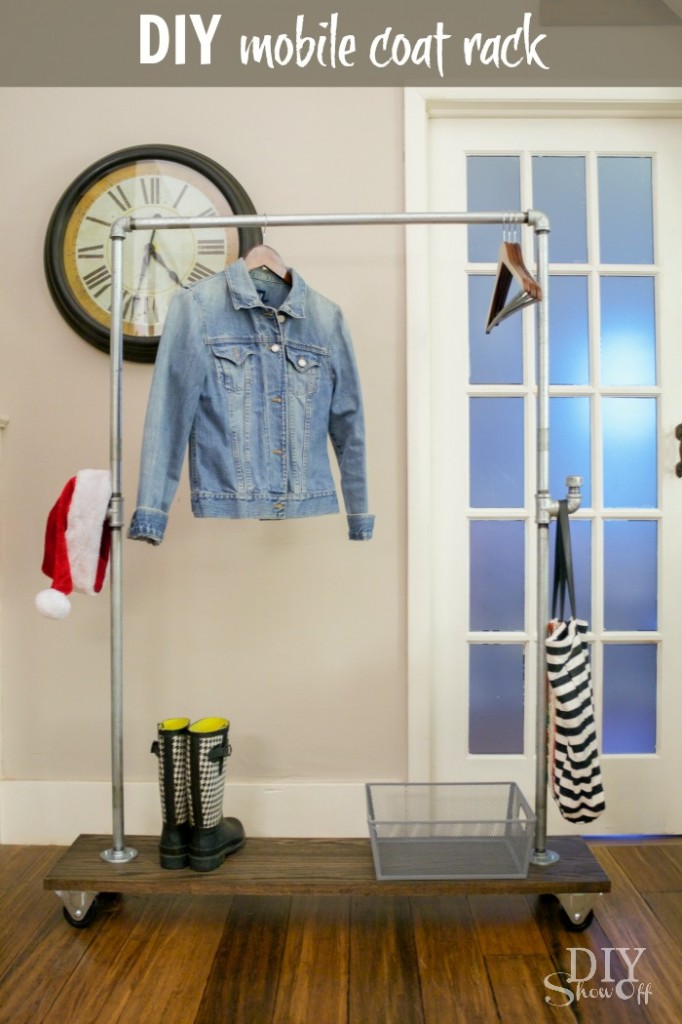
DIY galvanized pipe and wood mobile coat rack on casters @diyshowoff #lowescreator

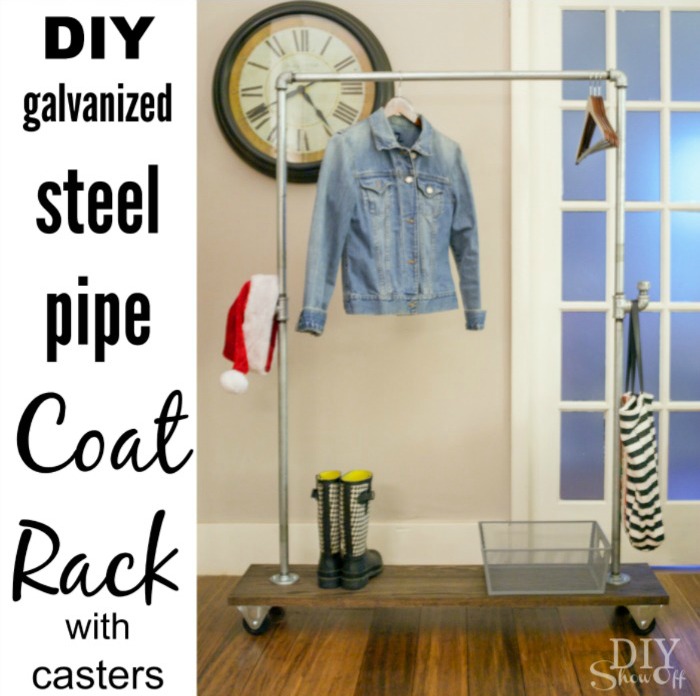
A DIY moveable, mobile coat rack. I am so over the utility types that teeter, lean or fall over when filled up. Know what I mean? This industrial looking DIY coat rack is sturdy, not to mention adds a touch of rustic industrial style.

Materials I used:

  • (1) 48 inch stair tread (I used red oak but for a more budget friendly option, there was also pine)
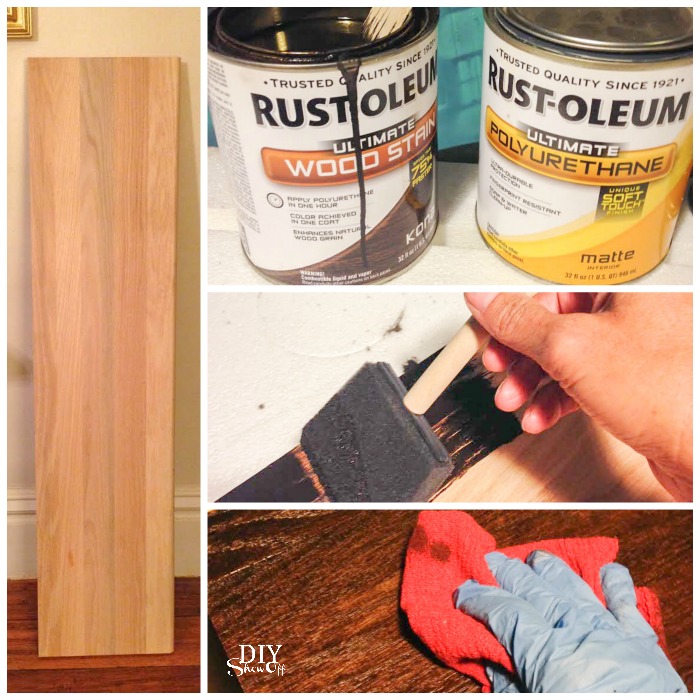
  • Rust-Oleum Ultimate Wood Stain (color is kona and ebony)
  • foam brush for applying stain, gloves & rags, paint brush for applying polyurethane
  • Rust-Oleum Polyurethane sealer (finish is satin)
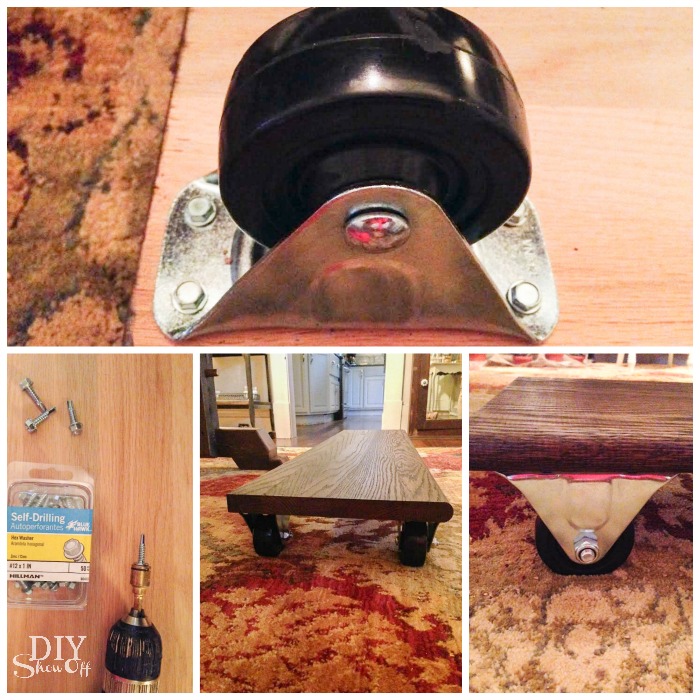
  • (4) heavy duty casters 
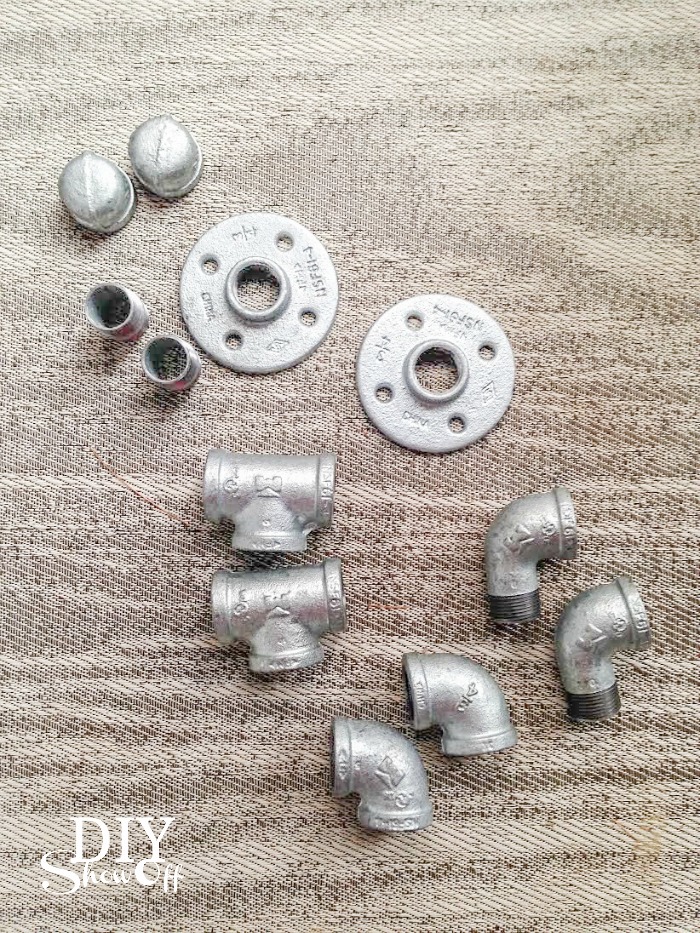
  • (2) 3/4″ flanges
  • (2) 24″ galvanized steel pipes
  • (2) 30″ galvanized pipes
  • (2) 3/4″ tee connectors
  • (2) 3/4″ nipple connectors
  • (2) 3/4″ 90 degree elbows
  • (2) 3/4″ 90 degree street elbows
  • (2) 3/4″ caps
  • (1) 36″ galvanized pipe
  • #12 1 inch hexagon washers (screws)

DIY galvanized pipe and wood mobile coat rack on casters @diyshowoff #lowescreatorDIY coat rack with galvanized steel pipe and casters @diyshowoff

What I did:

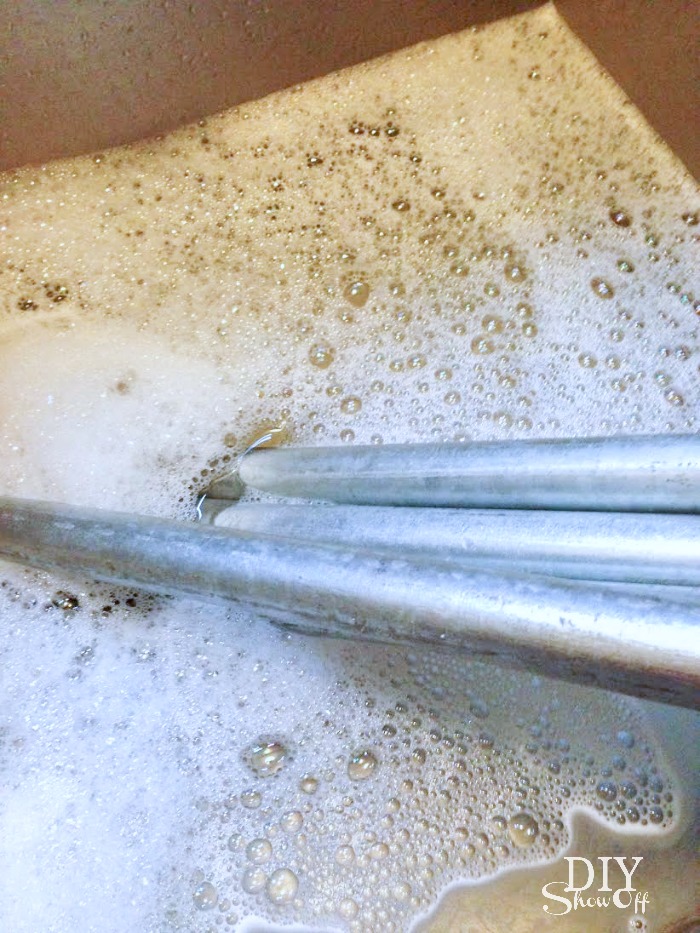
Soak the sticker parts of the galvanized pipes in hot soapy water. (It doesn’t take long.) Remove stickers. Dry pipes and set aside. 

DIY galvanized pipe and wood mobile coat rack on casters @diyshowoff #lowescreator

Finish the wood. Using the foam brush, I applied the wood stain (brush on in the same direction as the wood grain). Let sit for a few minutes then wipe away the excess with old rags. Unlike pine, the red oak wasn’t absorbing my favorite kona colored stain in as rich of a color so I also applied two coats of ebony in the same way to achieve a darker color. Stain then dries in about an hour. 

DIY galvanized pipe and wood mobile coat rack on casters @diyshowoff #lowescreator

After the stain was dry, I sealed the wood using a coat of polyurethane. Simply brush on (looks a bit milky when wet but dries clear). I let that dry overnight. 

I attached the four casters to the under (unfinished) side using the hexagon screws. Be careful with the screws on the cut side of the wood. Going too close to the edge may cause the wood to crack. 

DIY galvanized pipe and wood mobile coat rack on casters @diyshowoff #lowescreator

Flip right side up. Set aside the nipple connectors, two street elbows and the caps. 

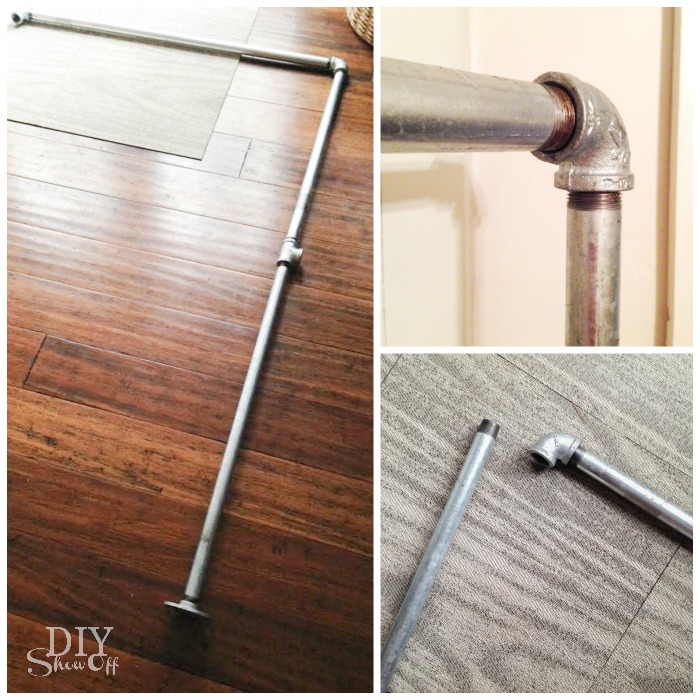
Next I assembled my pipe pieces. Starting with the flanges. Screw 30″ pipes into flanges.
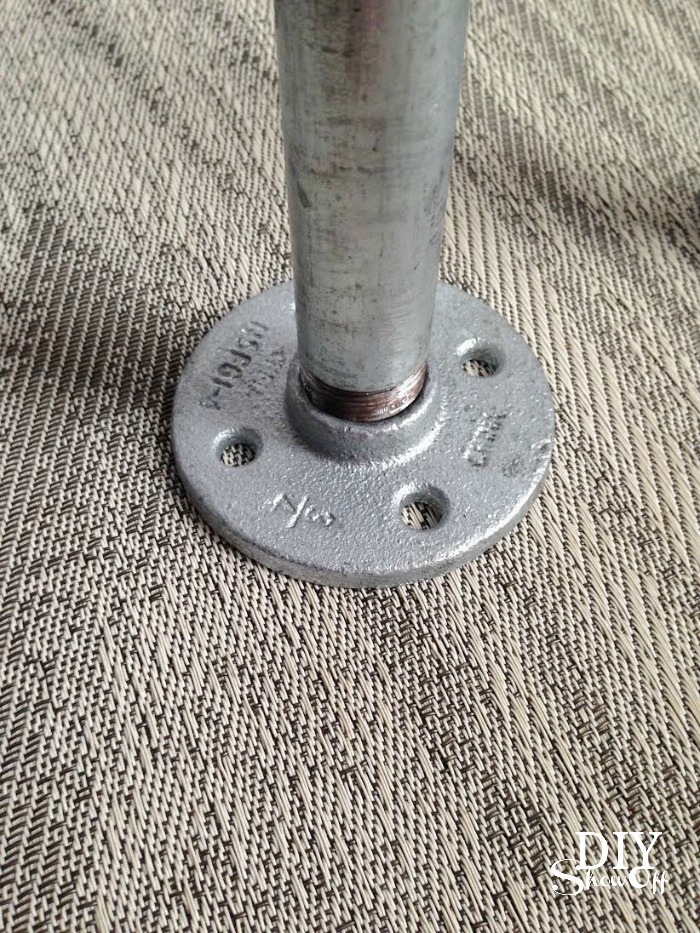
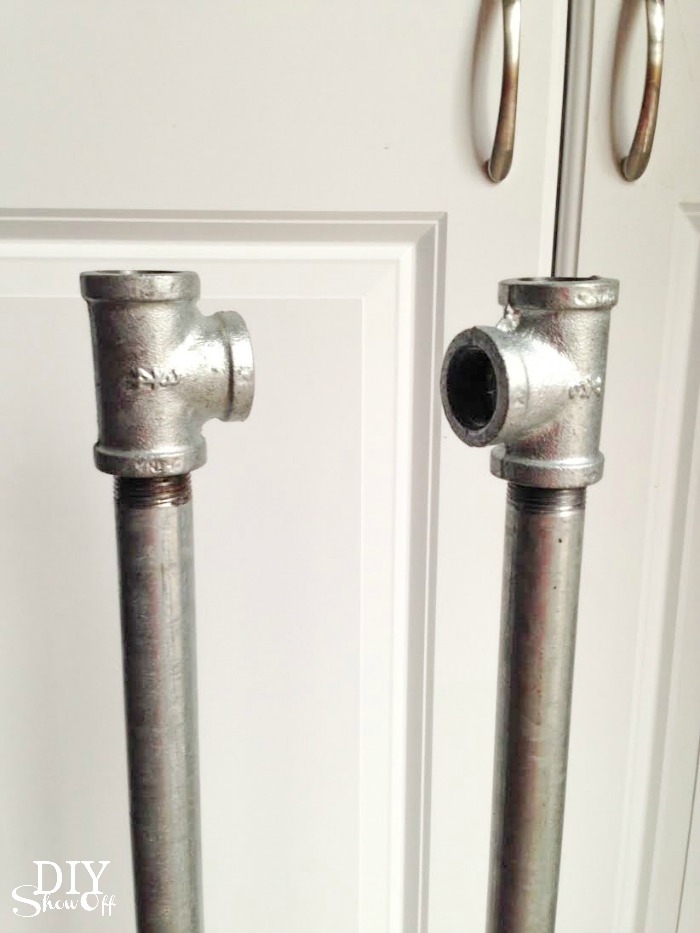
DIY galvanized pipe and wood mobile coat rack on casters @diyshowoff #lowescreatorThen add tees to the other end of each 30″ pipe.

DIY galvanized pipe and wood mobile coat rack on casters @diyshowoff #lowescreator


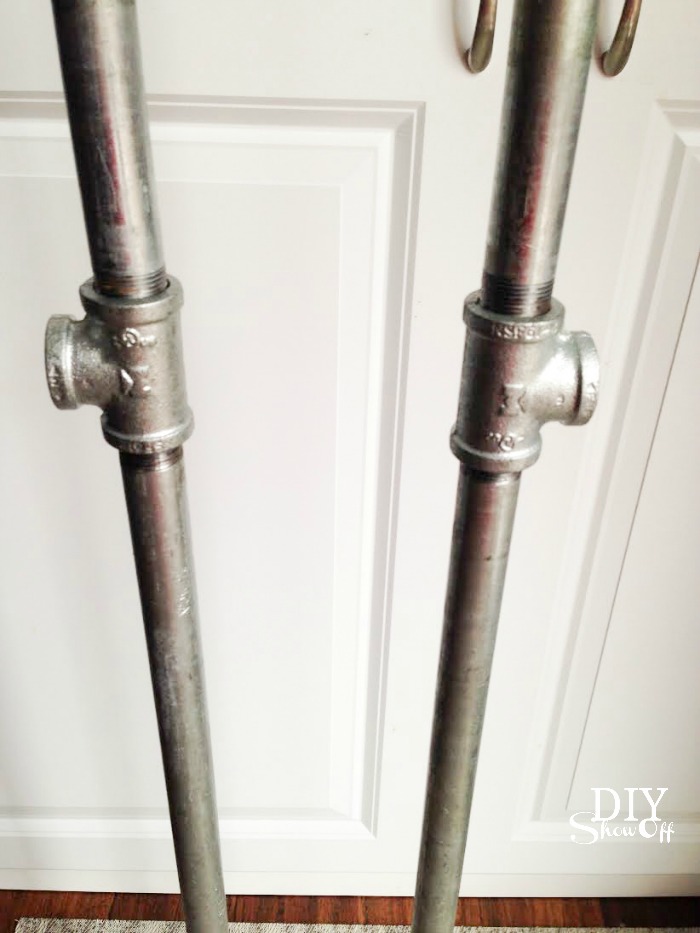
Then add the other 30″ pipe sections (one to each tee – you’ll have two poles at this point).

DIY galvanized pipe and wood mobile coat rack on casters @diyshowoff #lowescreator

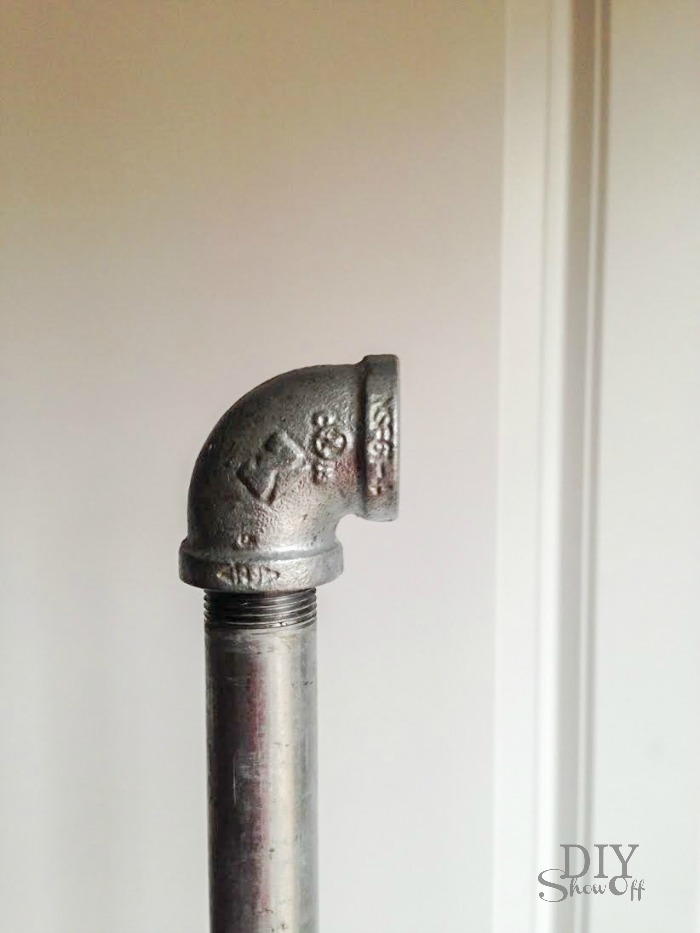
Add a 90 degree elbow to the top of one pole.

DIY galvanized pipe and wood mobile coat rack on casters @diyshowoff #lowescreator

Connect the 36″ galvanized pipe (center) piece. Add a 90 degree elbow to the end of the center pipe piece then add the other pole.  

DIY galvanized pipe and wood mobile coat rack on casters @diyshowoff #lowescreator

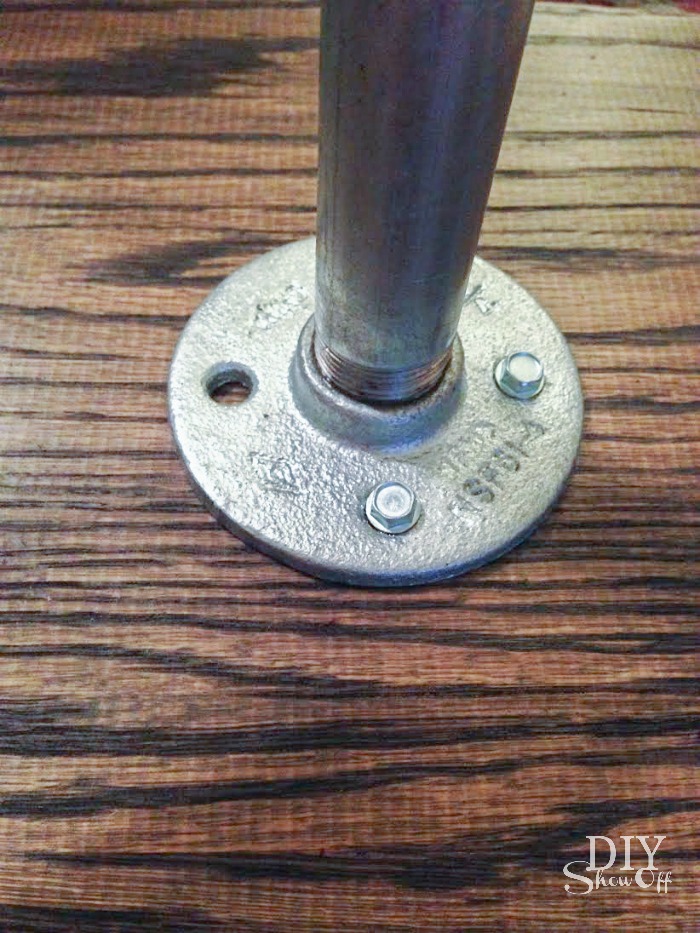
Place the pole-contraption onto the wood stair riser (I found the center by using a yard stick).  Attach flanges to the wood using the hex screws.

DIY galvanized pipe and wood mobile coat rack on casters @diyshowoff #lowescreator

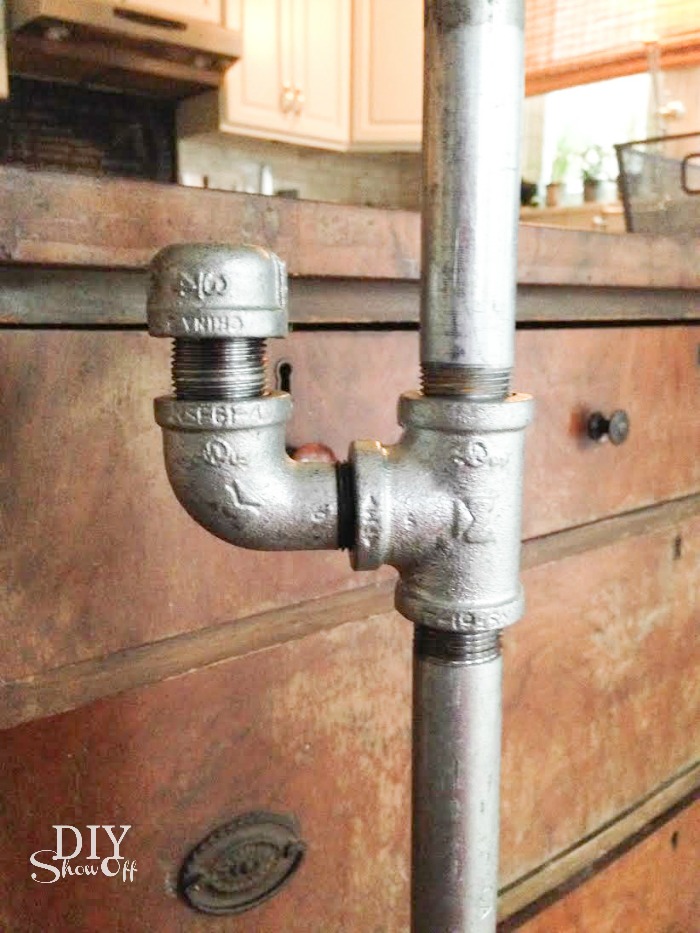
Add nipple connectors to the center tees, then elbows then caps. This creates a space for hanging purses, hats or scarves. 

DIY galvanized pipe and wood mobile coat rack on casters @diyshowoff #lowescreator

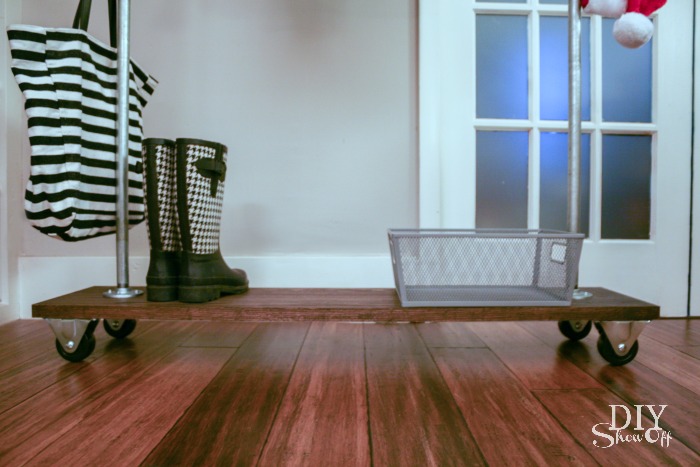
Now when we’re expecting guests, we can simply roll the coat rack near the door for hanging coats. Or use it as extra hanging space in a room without a closet (or one with a packed closet). Handy to have in the laundry room too! 

DIY galvanized pipe and wood mobile coat rack on casters @diyshowoff #lowescreatorDIY galvanized pipe and wood mobile coat rack on casters @diyshowoff #lowescreator

Store it in the basement, a closet, the laundry room, an office or guest room and then move near the door for parties and gatherings. Or if you have room, display near the front door entryway or mudroom area. 

DIY galvanized pipe and wood mobile coat rack on casters @diyshowoff #lowescreator 

DIYShowOff #lowescreator

I received a Lowe’s gift card to put towards this challenge. Opinion and above idea is 100% my own. More DIY ideas at Lowe’s Creative Ideas or follow Lowe’s on InstagramPinterest and sign up for the Creative Ideas magazine and app.

Laundry Room Herringbone Pattern Tile Floor Details

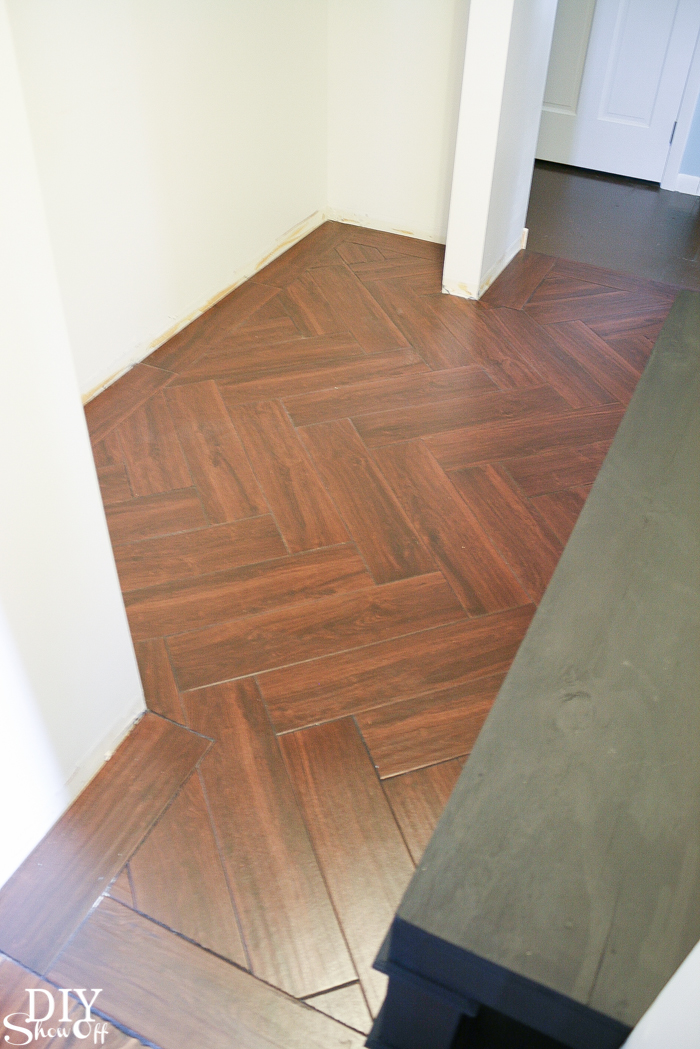
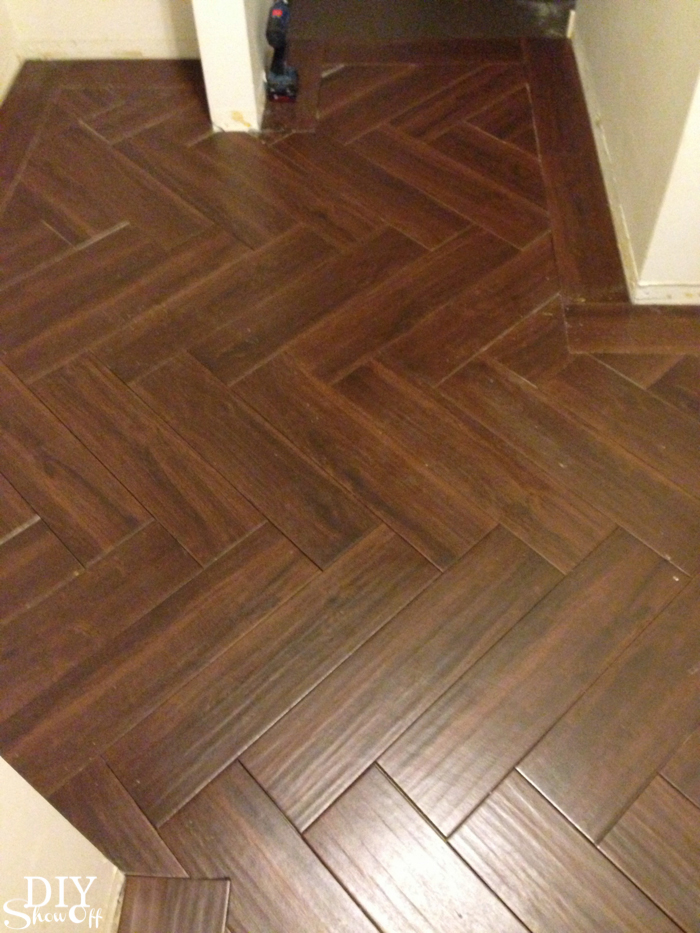
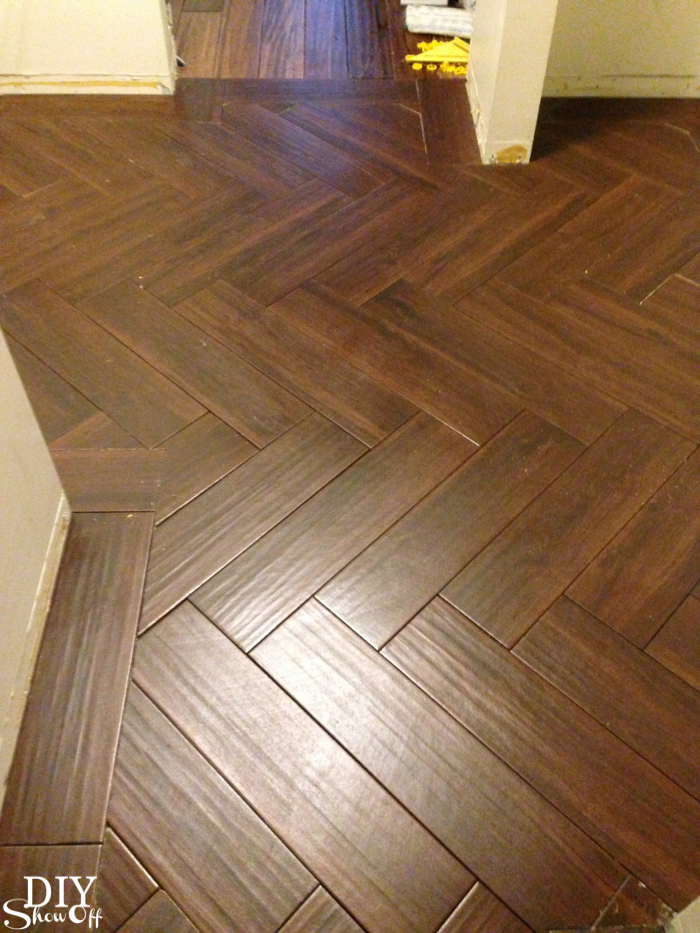
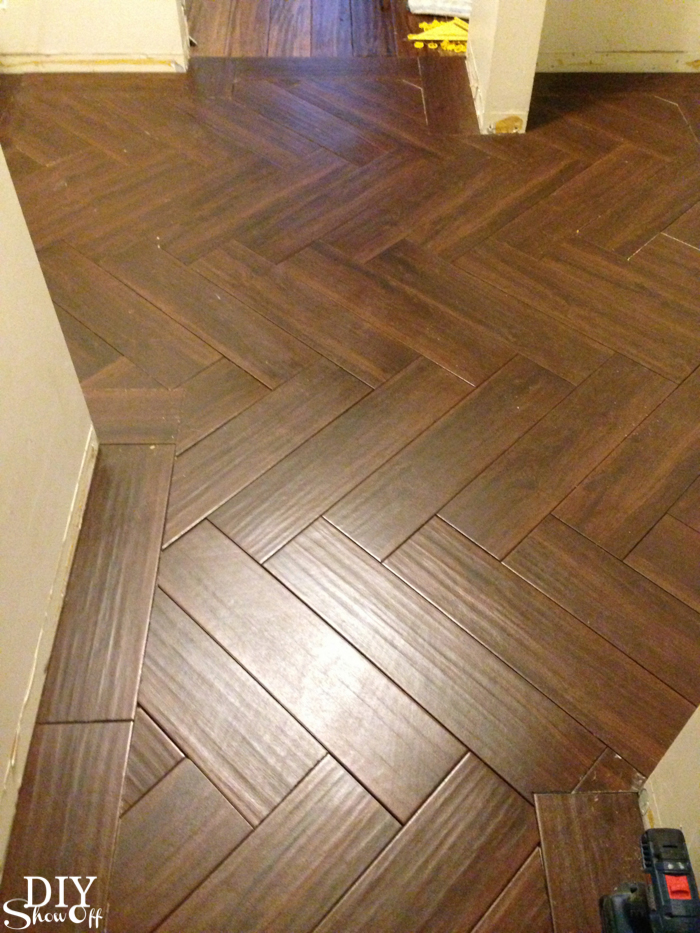
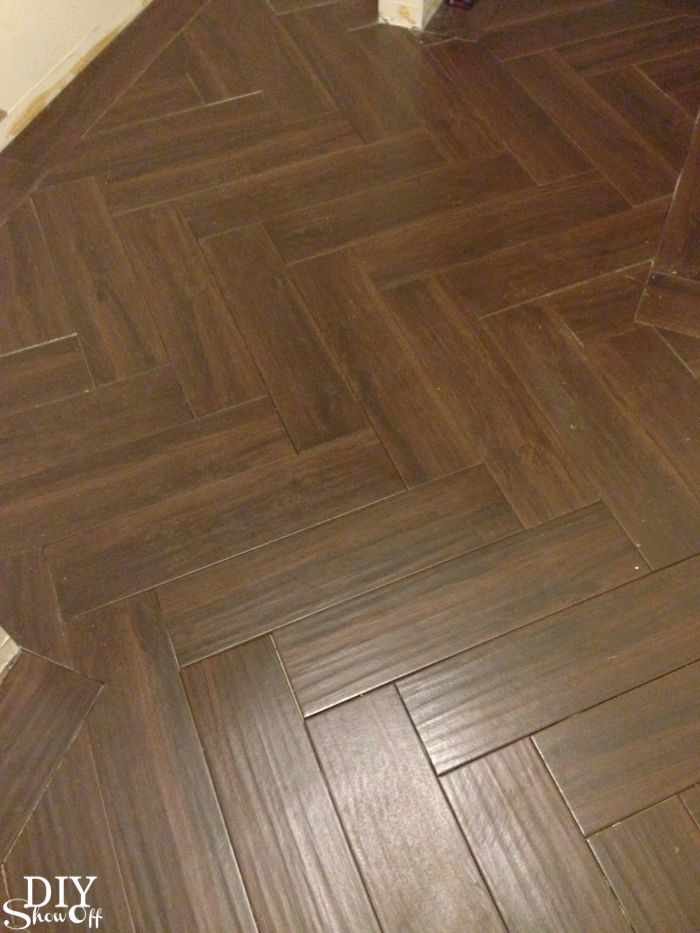
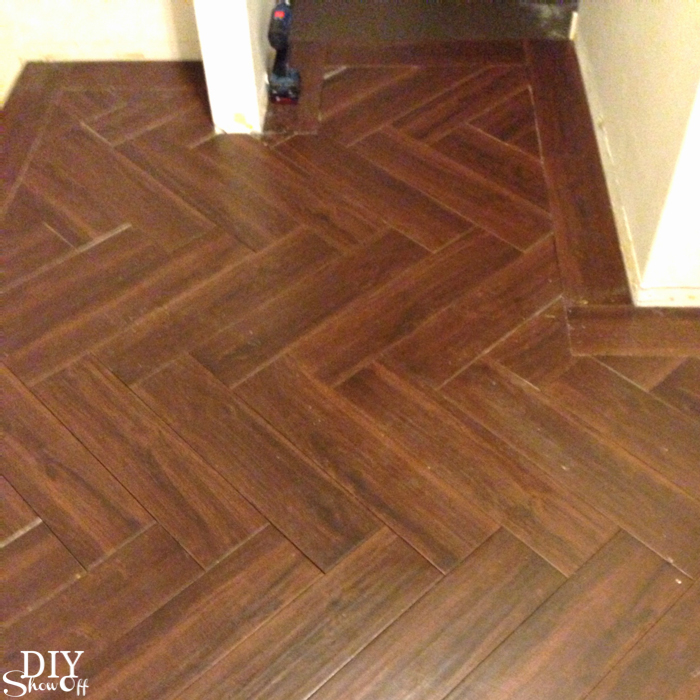
We’ve been working in the laundry room (see more in the home tour). We chose black walnut porcelain tile that looks like wood and oh my, it’s gorgeous!

Herringbone Tile Floor - DIYShowOff (38 of 83)

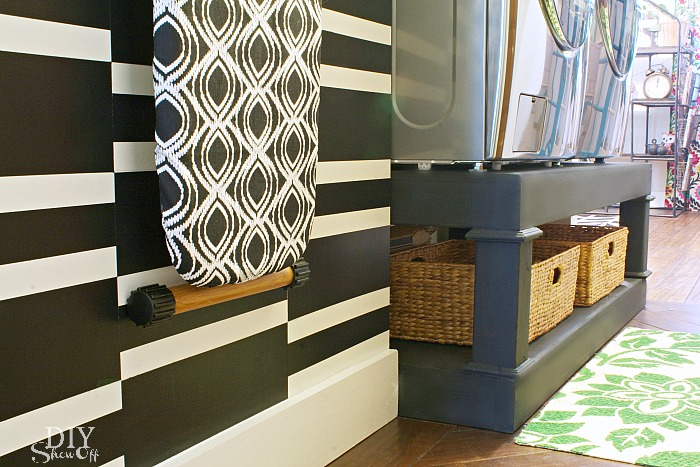
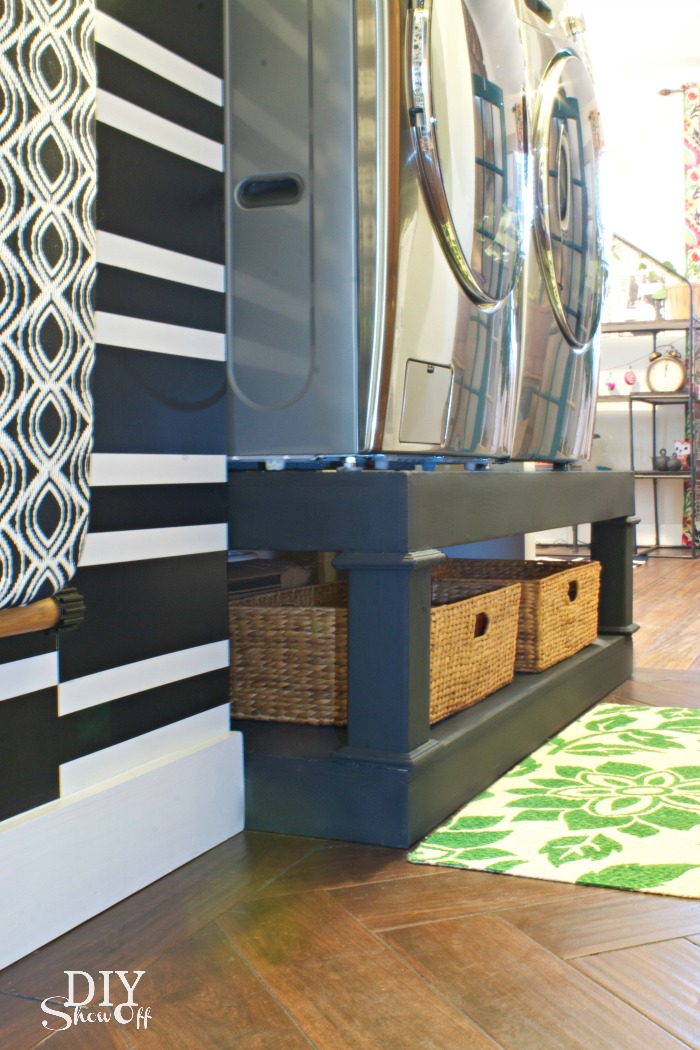
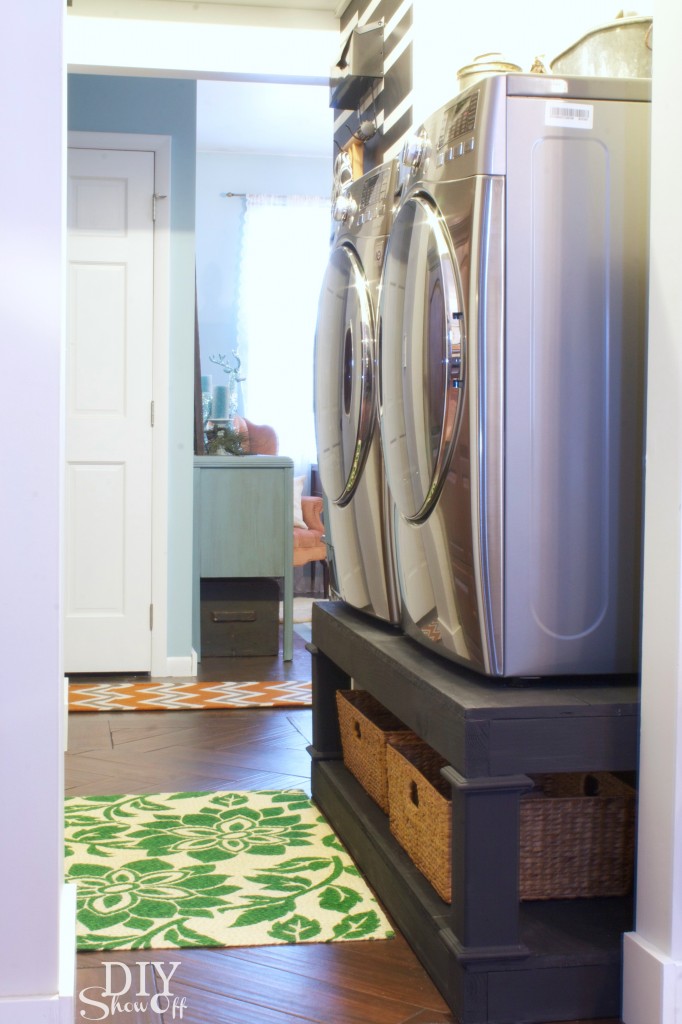
do-it-yourself laundry pedestals

When we got it home from Lowe’s, my sweet husband suggested doing a herringbone pattern (because the herringbone patterned brick walkway and patio wasn’t enough torture, I guess) and I think he realized after his offer, that he may have stuck his foot in his mouth. But he did a beautiful job despite the tricky cuts, despite the fact that most of it is covered by a washer and dryer, a throw rug and someday soon, cabinetry and shelving. 

DIY laundry pedestal

This isn’t a full detailed tutorial per se because I’m not the one who did the work but I did take some pictures of the process for your DIY tiling enjoyment. Be sure to do plenty of research on tiling tips before beginning. Ready?

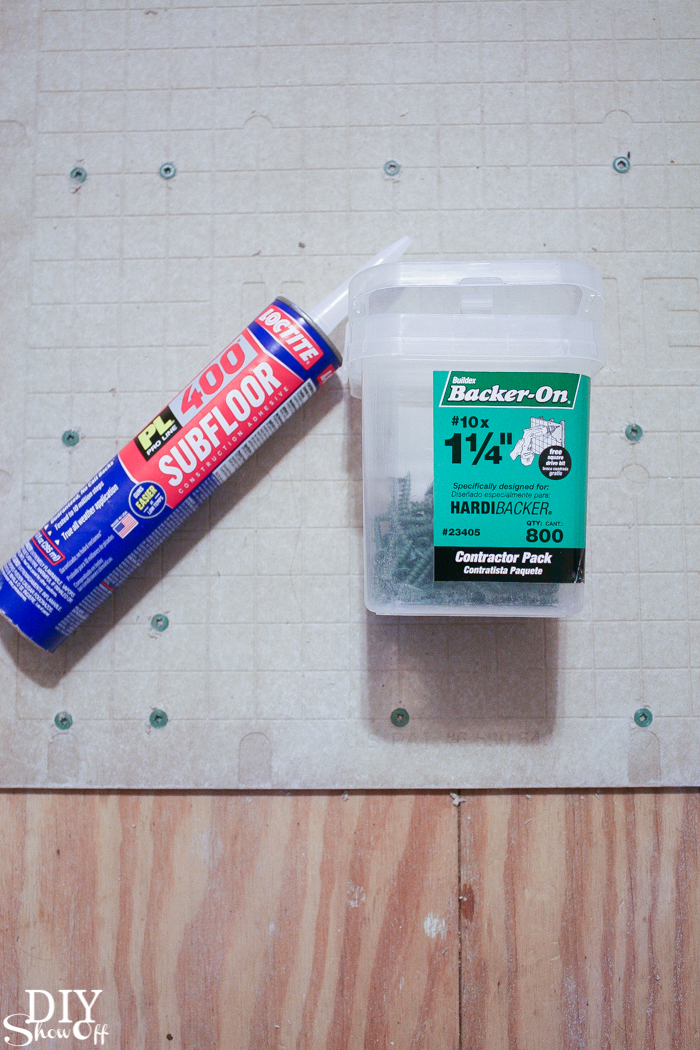
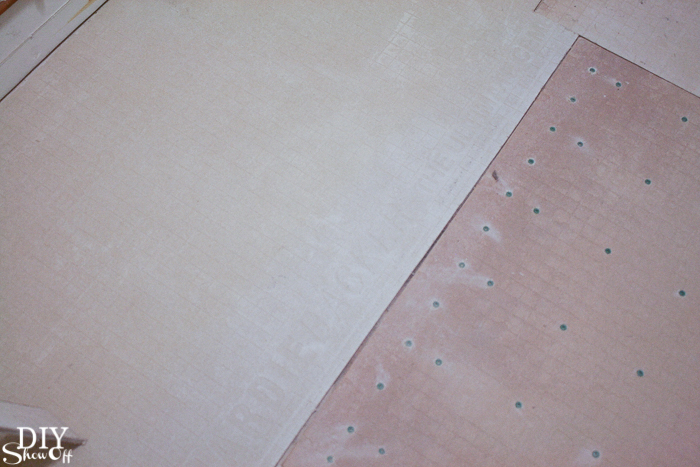
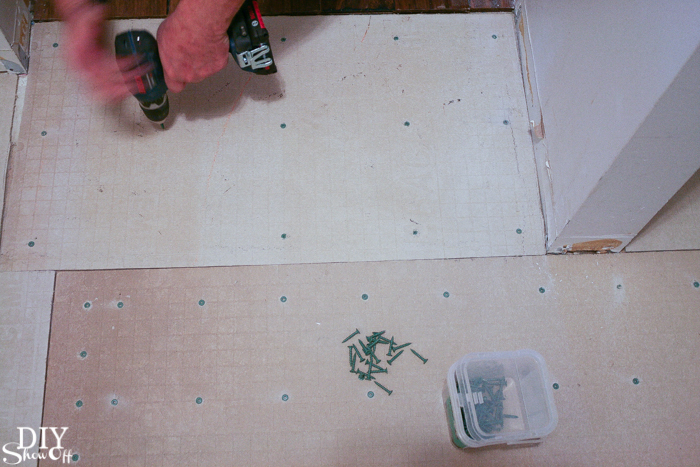
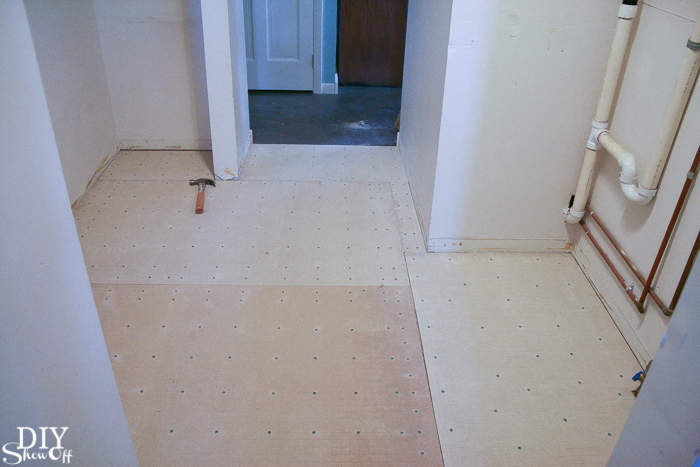
Level subfloor. Check. Hubby glued and screwed down Hardibacker. 

Herringbone Tile Floor - DIYShowOffHerringbone Tile Floor - DIYShowOffHerringbone Tile Floor - DIYShowOffHerringbone Tile Floor - DIYShowOff

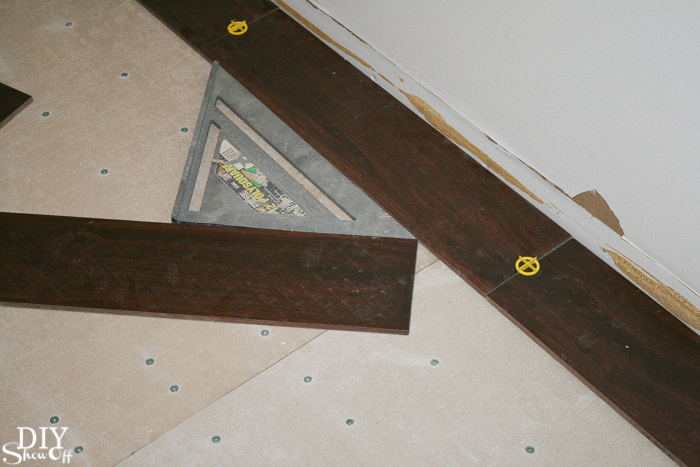
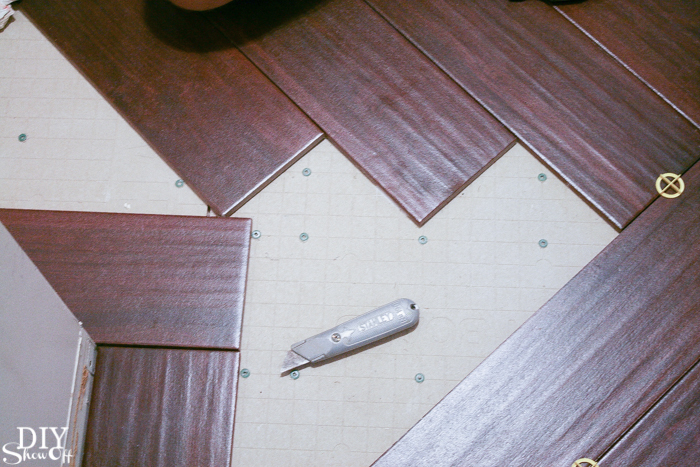
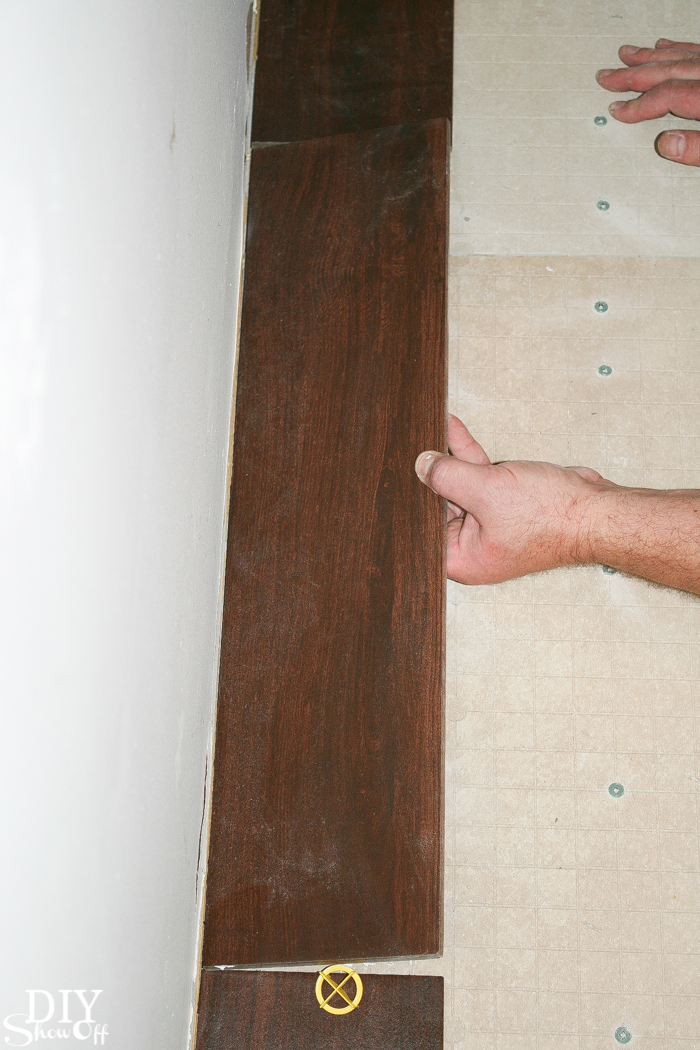
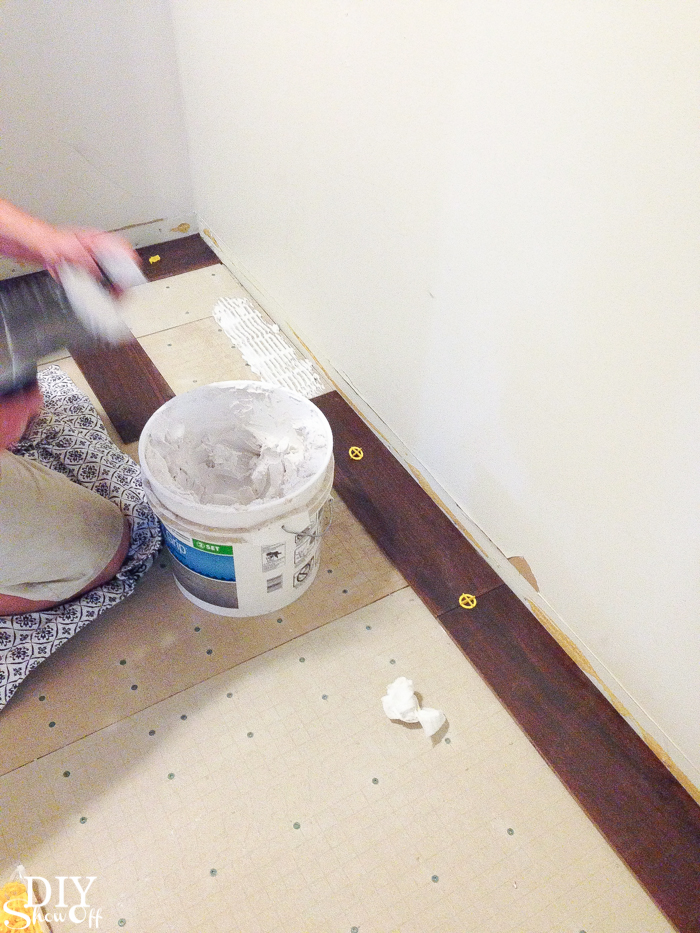
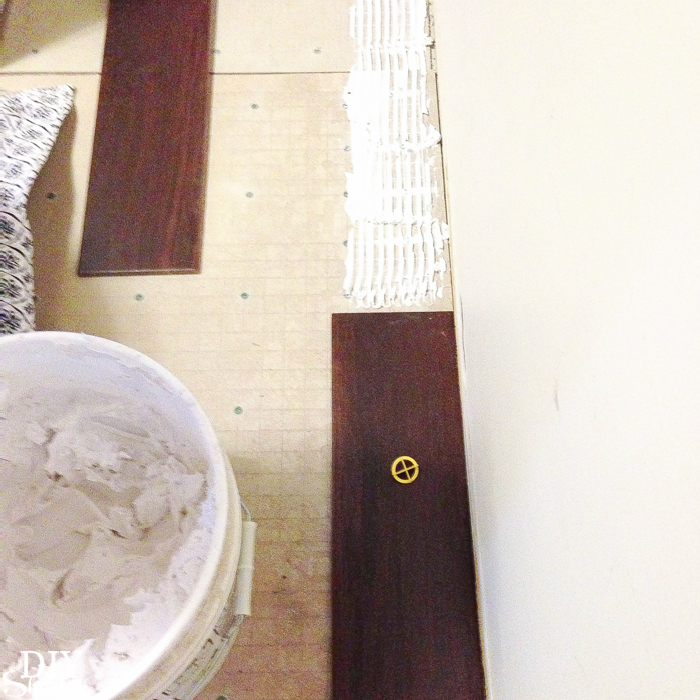
He started the tile pattern by creating a border around the space and cutting/laying out/fitting those tiles first.

Herringbone Tile Floor - DIYShowOff

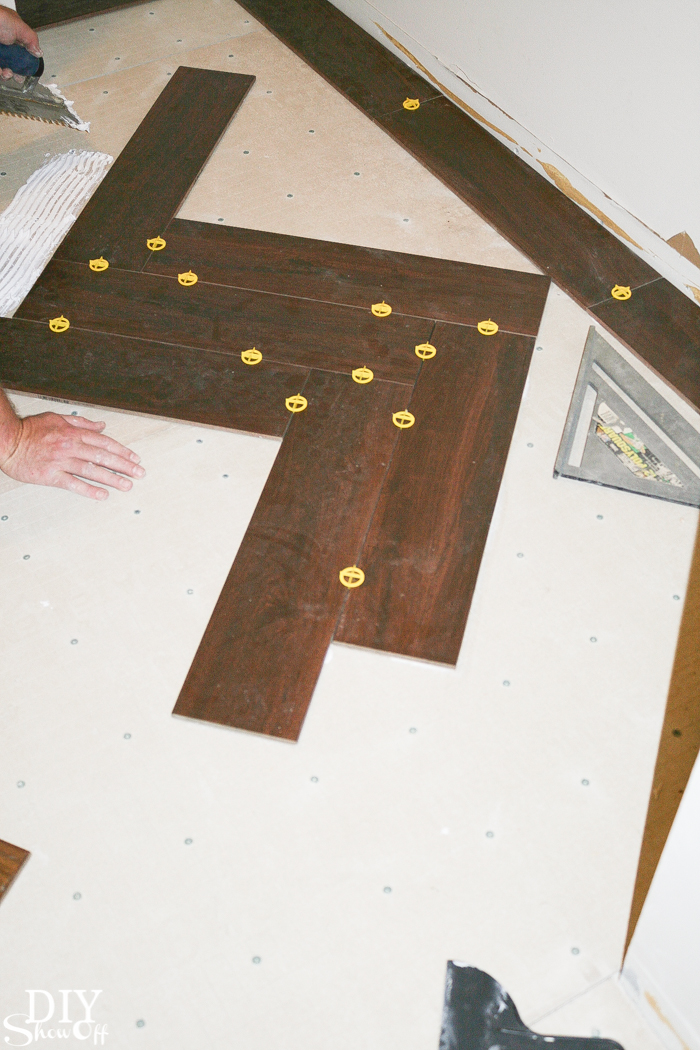
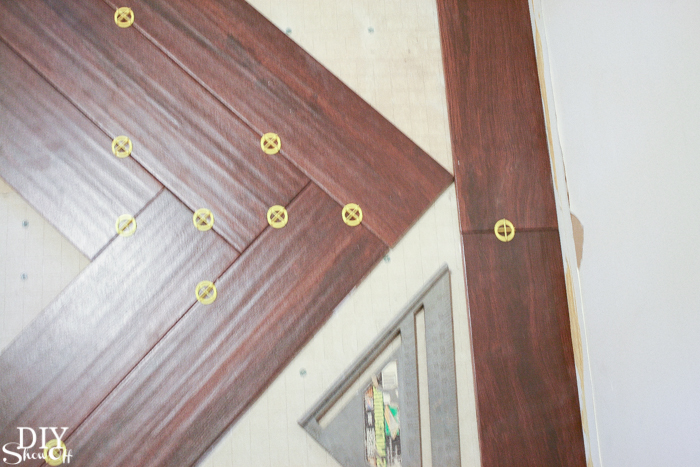
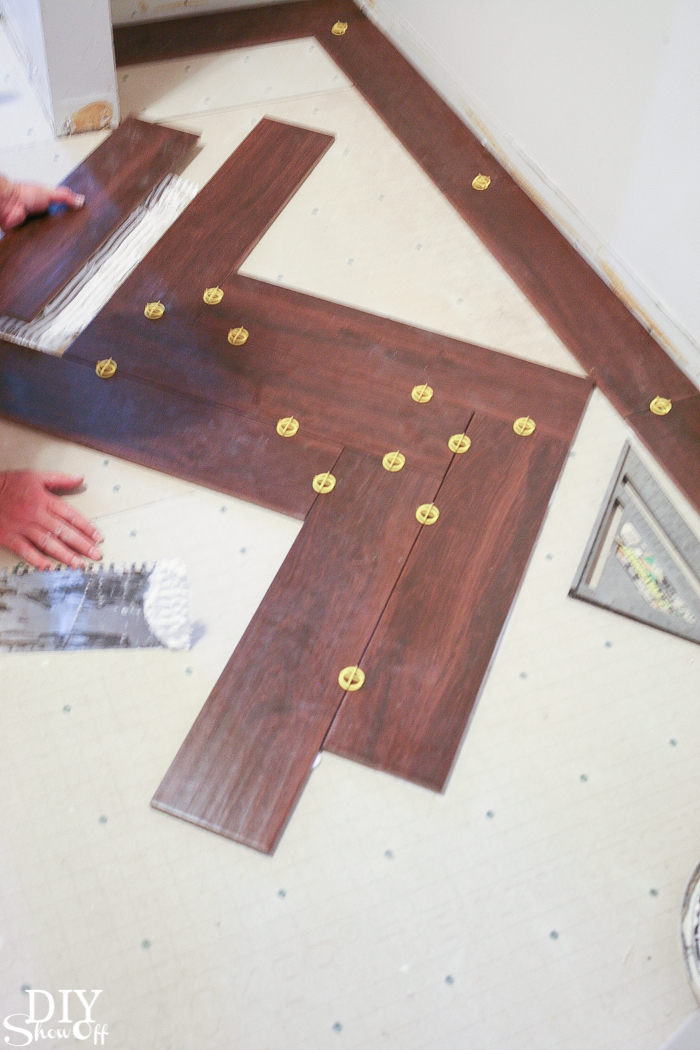
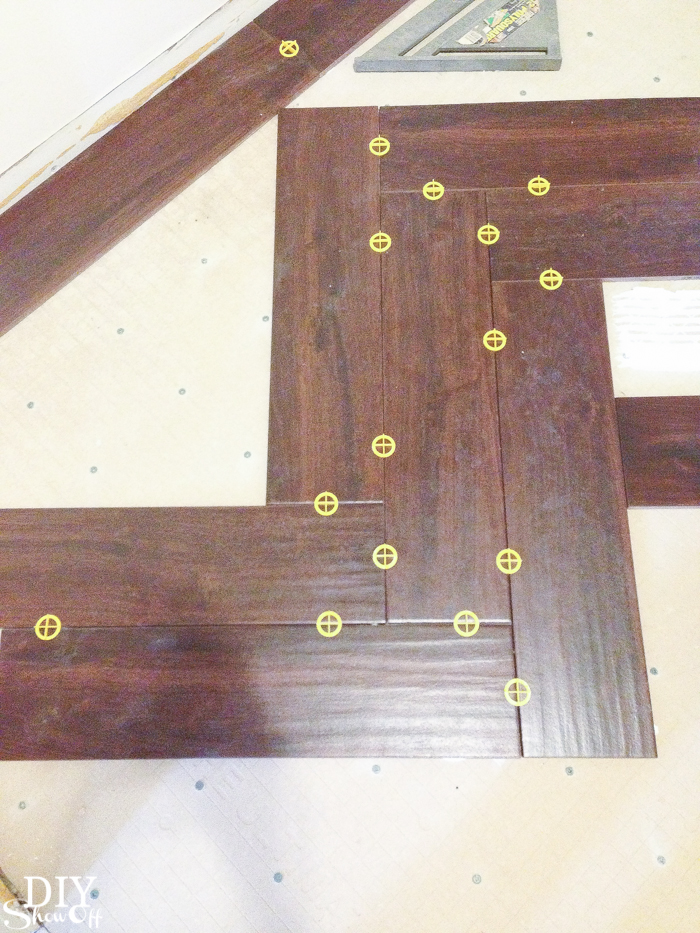
Then laid out the placement of the herringbone with solid un-cut tiles in the design. 

Herringbone Tile Floor - DIYShowOff

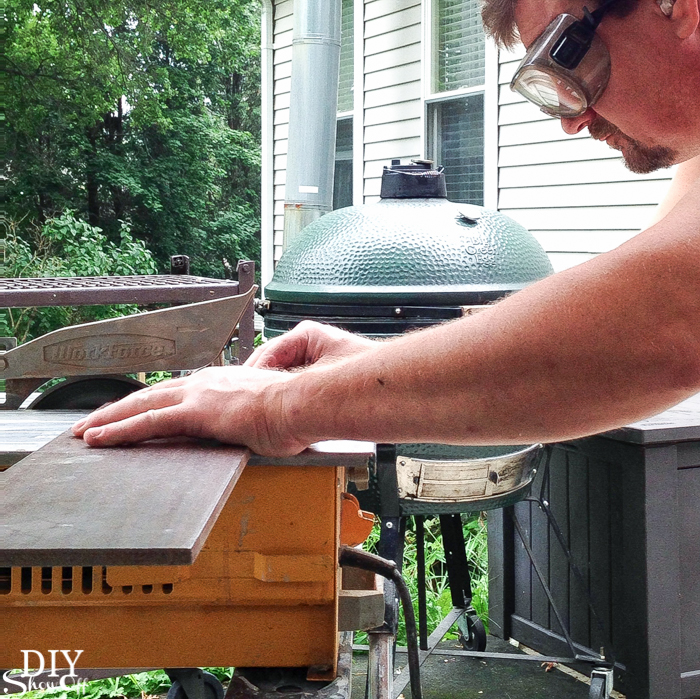
Next up is cutting the tiles needed to create a herringbone pattern in the space between the tile border. 

Herringbone Tile Floor - DIYShowOffHerringbone Tile Floor - DIYShowOff

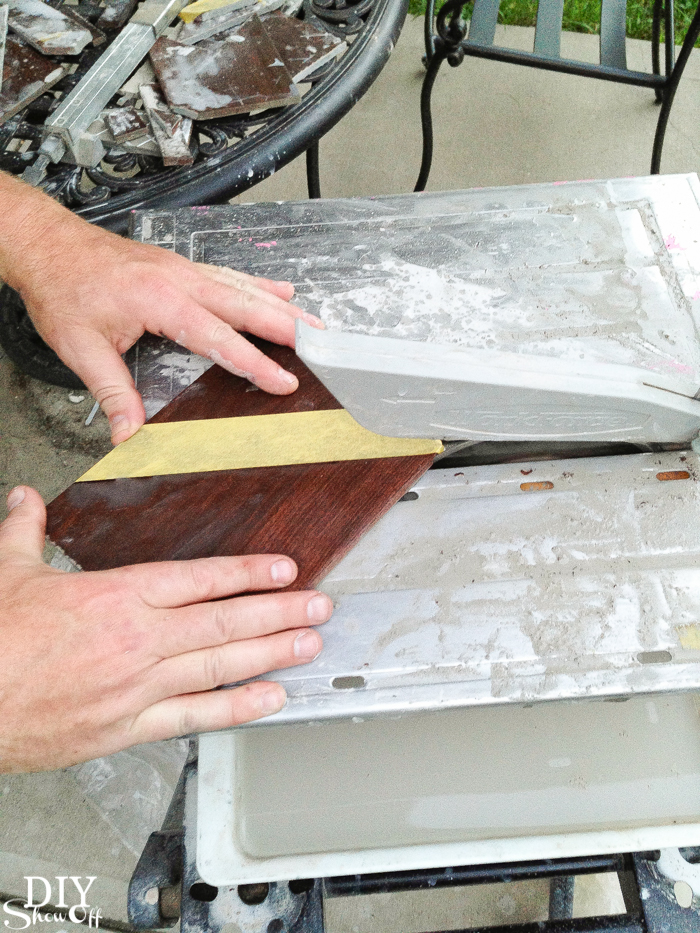
We find (he finds) that using FrogTape on the tile cut lines for tricky cuts with angles or small pieces helps prevent breakage. 

Herringbone Tile Floor - DIYShowOff

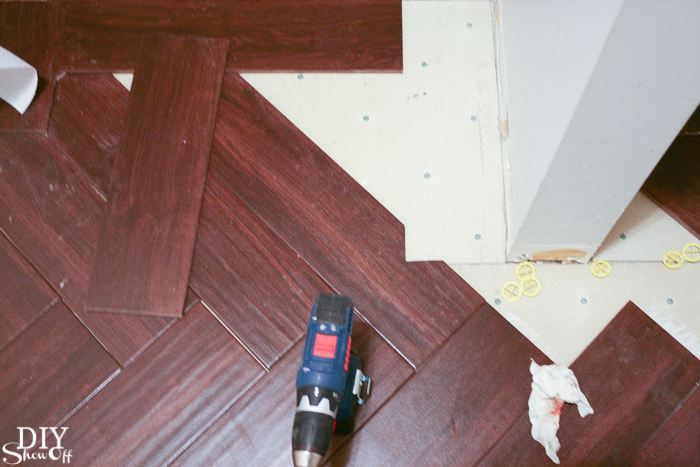
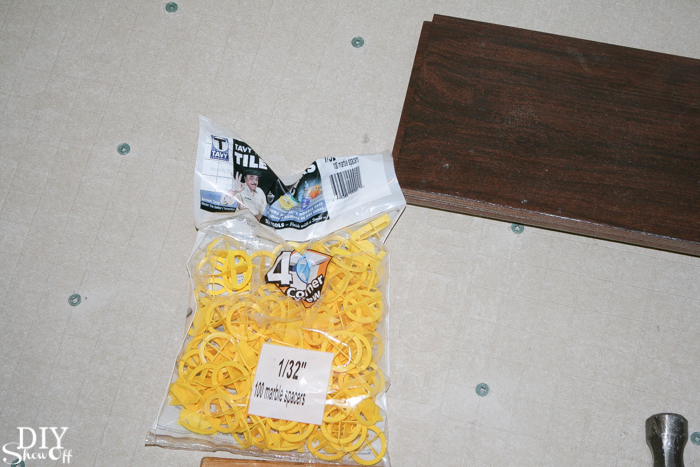
We used 1/32″ spacers. We didn’t want huge gaps between the tiles since they resemble wood. 

Herringbone Tile Floor - DIYShowOff

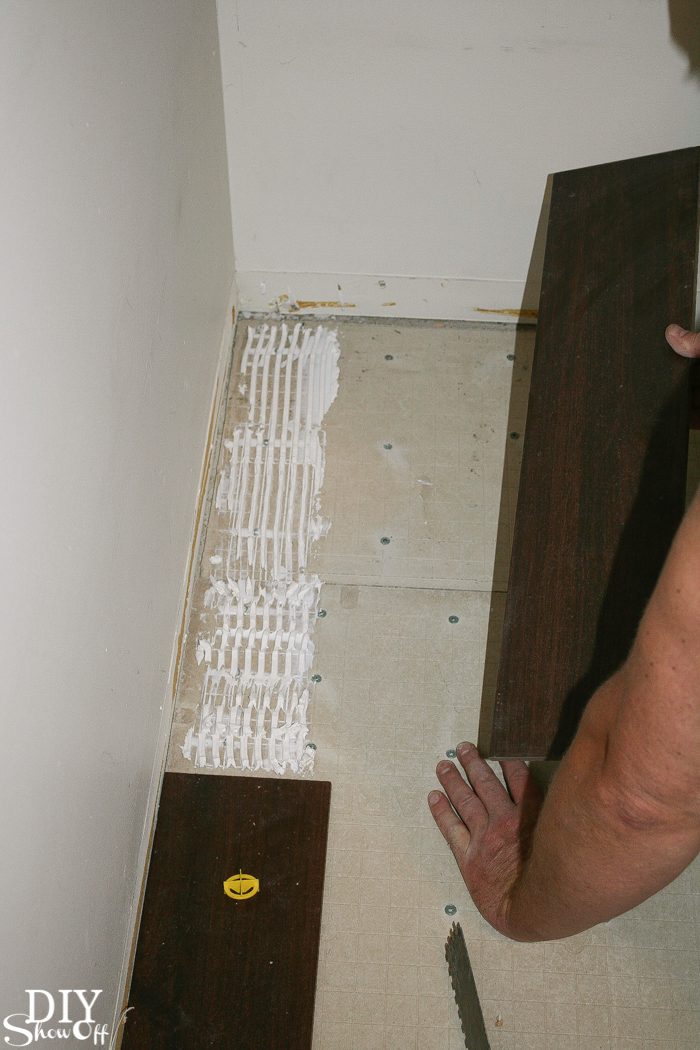
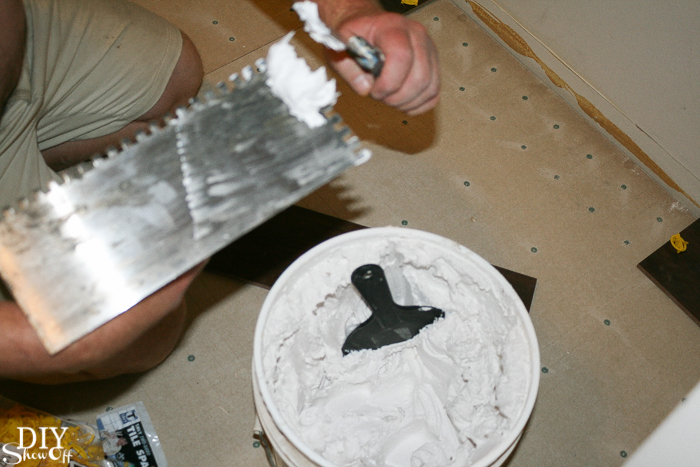
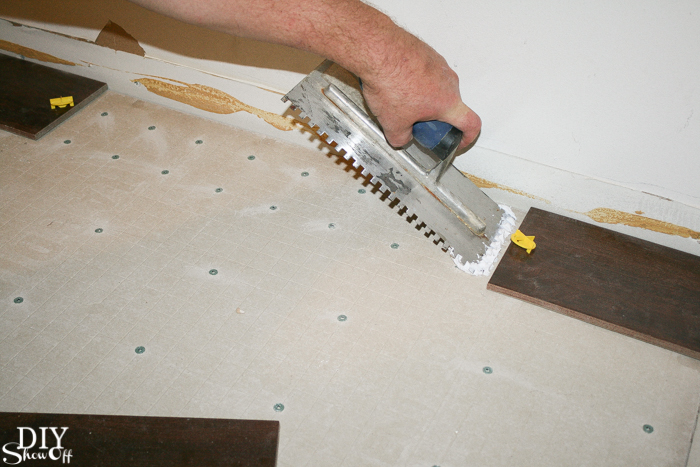
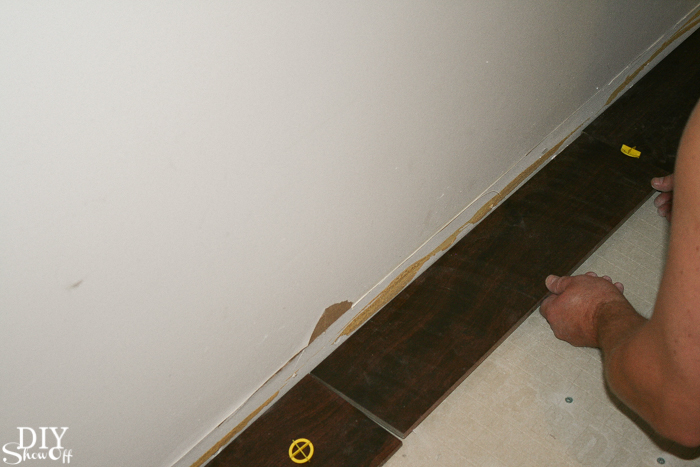
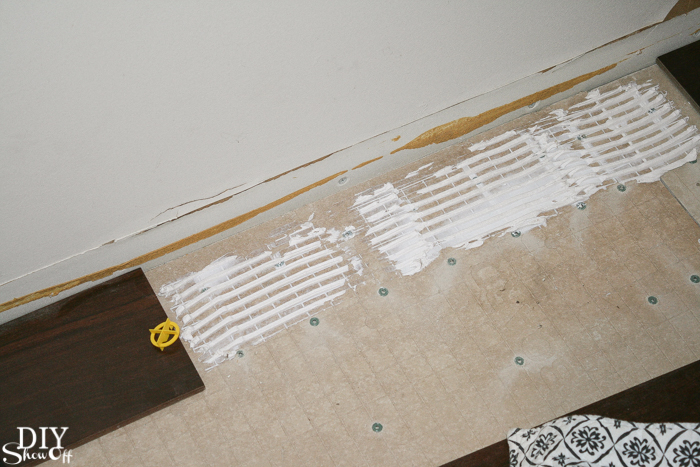
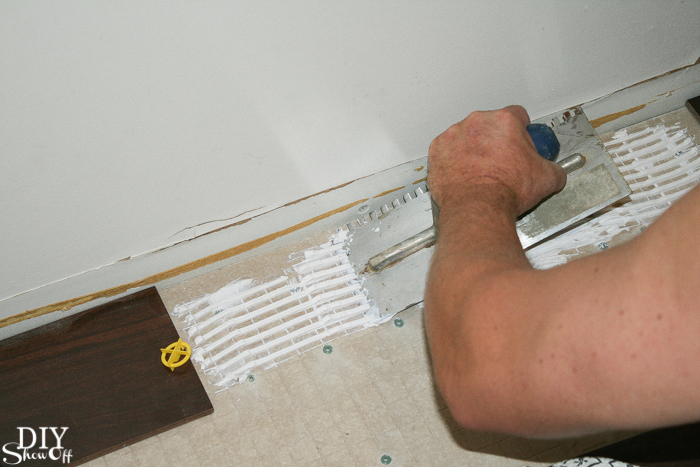
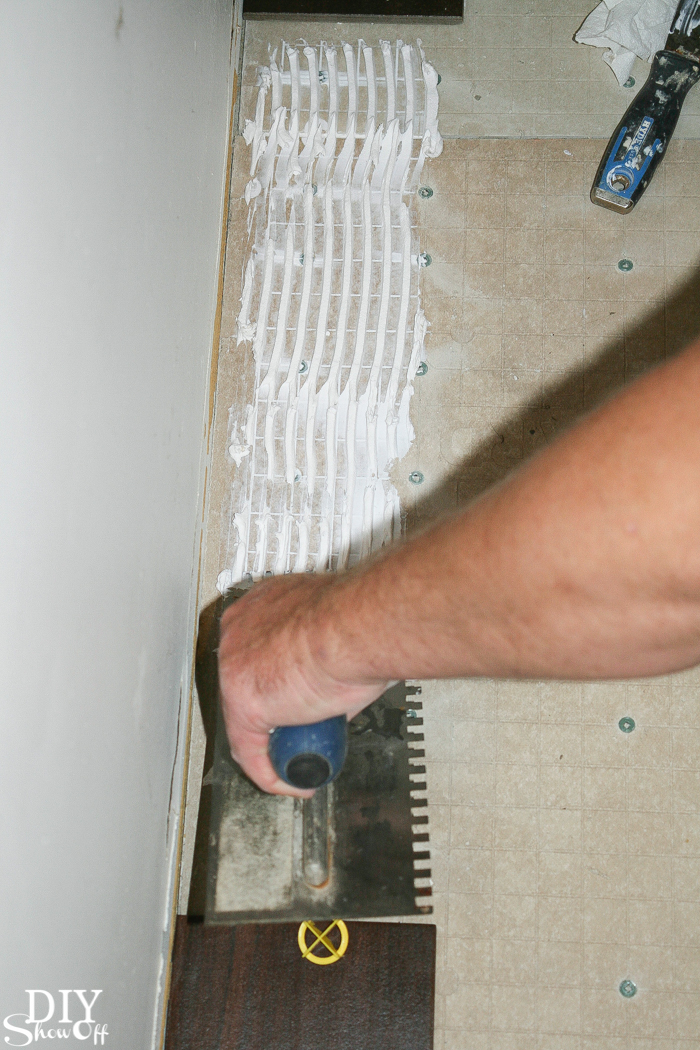
Next up, he set the tiles with mortar (OmniGrip) applied with a trowel. 

Herringbone Tile Floor - DIYShowOff Herringbone Tile Floor - DIYShowOff Herringbone Tile Floor - DIYShowOff Herringbone Tile Floor - DIYShowOff Herringbone Tile Floor - DIYShowOff Herringbone Tile Floor - DIYShowOffHerringbone Tile Floor - DIYShowOff Herringbone Tile Floor - DIYShowOff Herringbone Tile Floor - DIYShowOff Herringbone Tile Floor - DIYShowOff Herringbone Tile Floor - DIYShowOff Herringbone Tile Floor - DIYShowOff Herringbone Tile Floor - DIYShowOff Herringbone Tile Floor - DIYShowOff 

Then removed the spacers and started the grouting process. We let it ‘cure’ for a week before  applying the grout. 

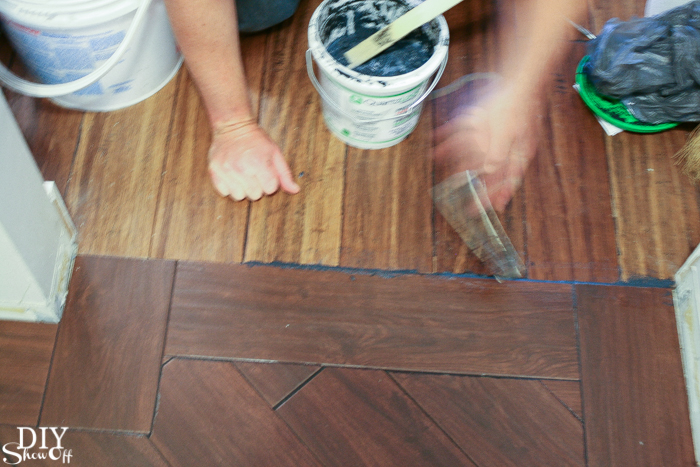
Grouting: We chose a black grout because it gave a similar look to the edges of our distressed antique java bamboo floors in the adjoining room. He used a sanded black epoxy grout (Quartz Lock Urethane Grout – jet black), smushing it into the spaces between the tile with a float then wiping away the excess with a sponge.

Herringbone Tile Floor - DIYShowOff

Let dry a good 24 hours before walking on it and because we were awaiting appliances, it was a couple weeks before every-day traffic. 

Herringbone Tile Floor - DIYShowOff Herringbone Tile Floor - DIYShowOff Herringbone Tile Floor - DIYShowOff Herringbone Tile Floor - DIYShowOff Herringbone Tile Floor - DIYShowOff

Isn’t it beautiful? I was half tempted to put the washer and dryer somewhere else so I don’t have to cover it up! More laundry room makeover details coming up. Stay tuned!
DIYShowOff Laundry Room Pedestals 

Chalk Finish Paint Recipe

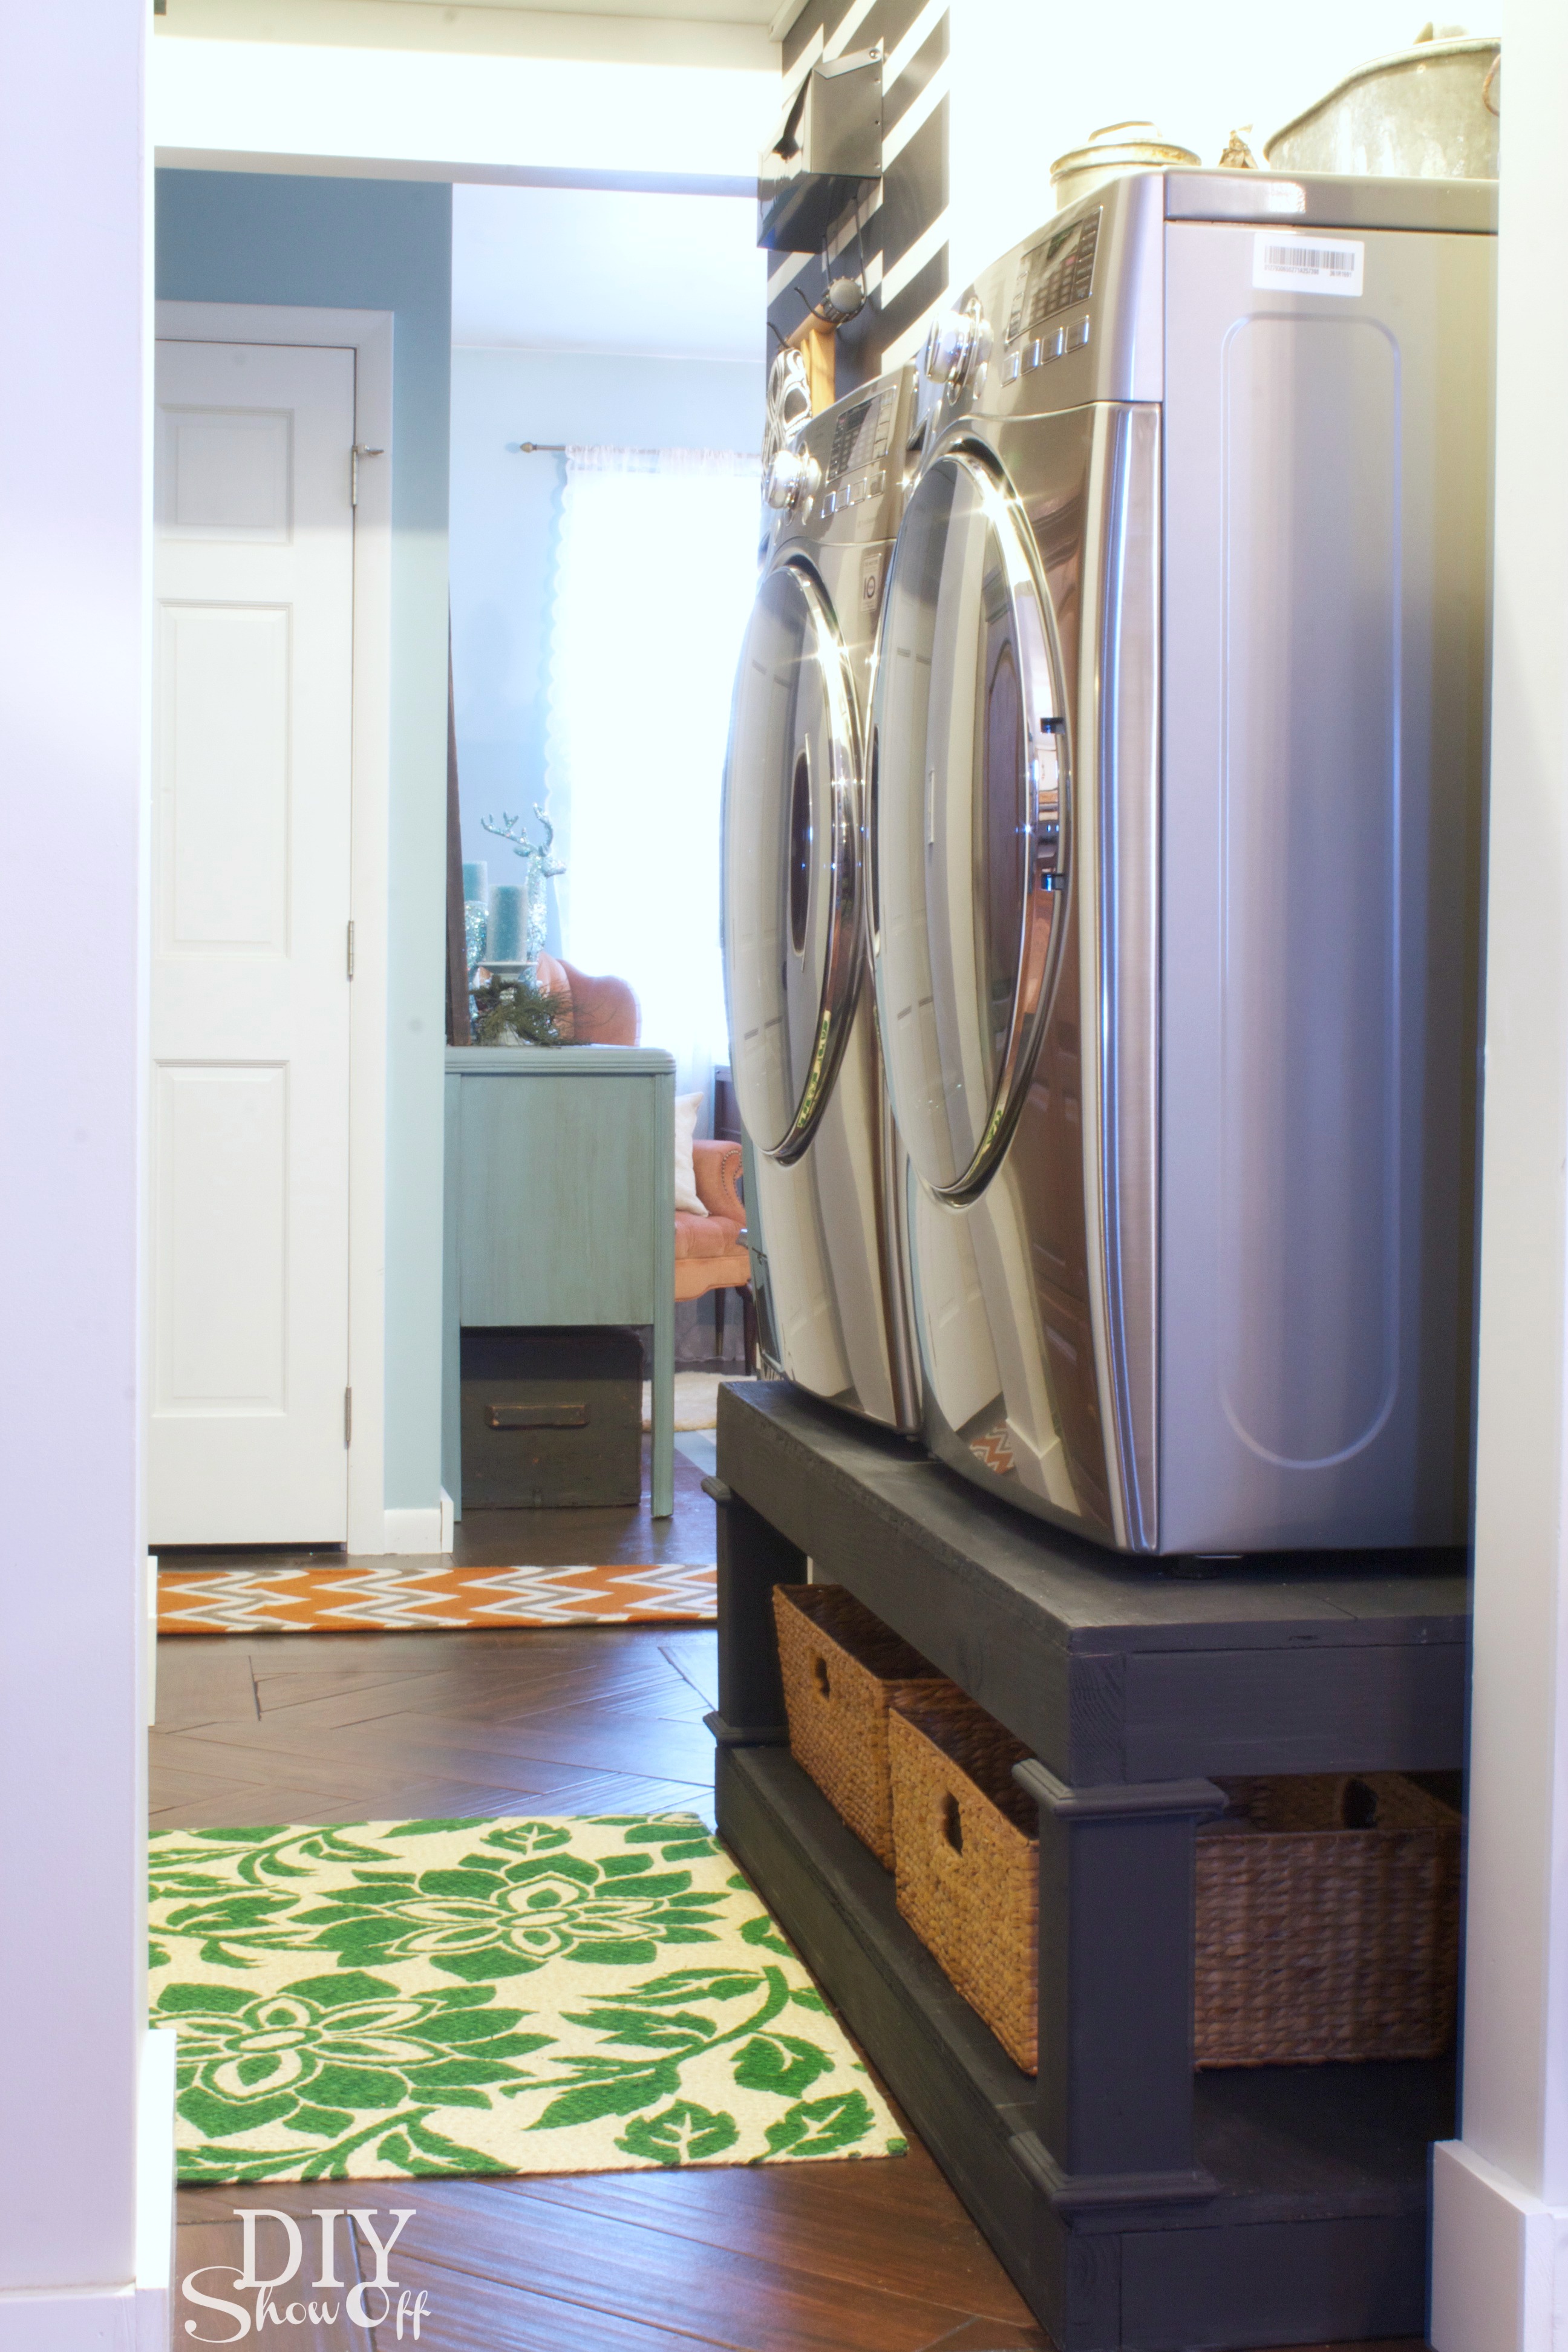
I’ve been working on a much needed laundry room makeover (I know! What the heck! We just recently revealed an open pantry makeover and a sweet bathroom transformation). We’ve been busy! But you’re about to get a laundry room sneak peek! As a member of the Lowe’s Creative Ideas team, I had the opportunity to whip up a batch of homemade chalk finish paint and the laundry pedestals I built just happened to be ready for a coat of paint. 
DIYShowOff Laundry Room Pedestals

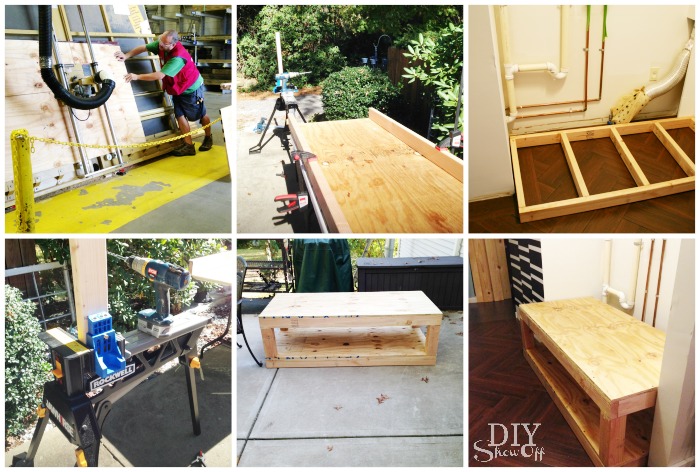
Note: My laundry pedestals are an Ana-White plan and my first ever real DIY build. What a challenge to say the least! But I’m happy to say: I’m so glad it’s just done! It doesn’t look half bad! It’s functional! My new washer and dryer are at just the right height and I love the addition of a little storage space just underneath. Perfect fit for baskets, laundry baskets too!

DIY laundry pedestal

Chalk-Finish Paint Recipe

DIY Chalk Finish Paint Recipe at DIYShowOff

You’ll need:

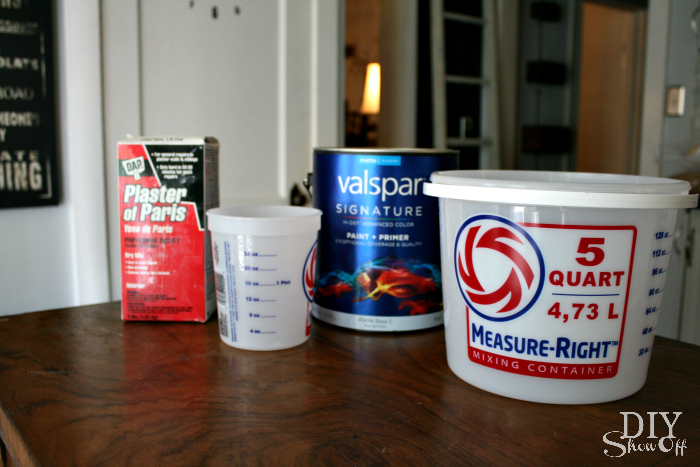
Chalky Finish Paint Materials

  • Valspar Signature latex flat paint or latex paint with built-in primer
  • Plastic paint bucket
  • Stir sticks
  • Plaster of Paris
  • Plastic measuring cups (do not reuse for food)
  • Water (use cool, not warm)

How to mix it up:

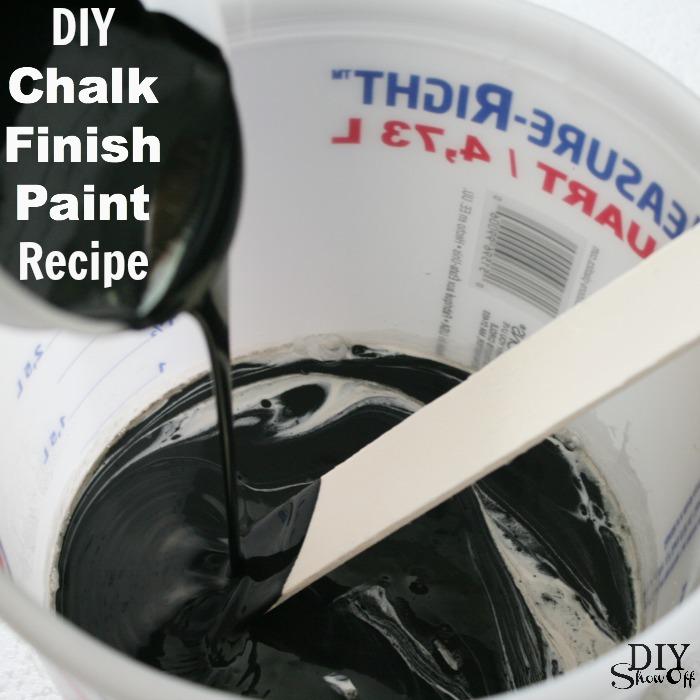
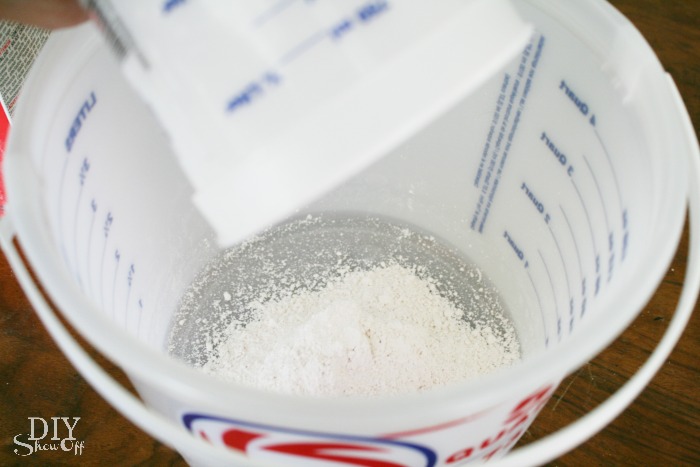
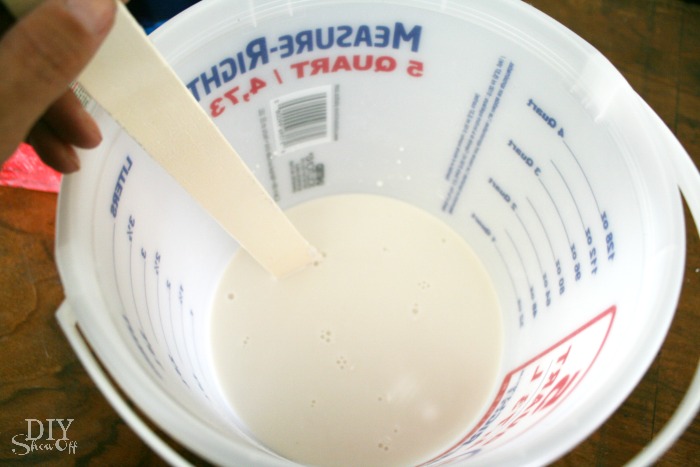
1. Mix 1/3 cup of plaster of Paris with 1/3 cup cold water in a plastic bucket.

DIY chalk finish paint tutorial

+

DIY chalky finish paint tutorial

2. Stir until completely smooth. 

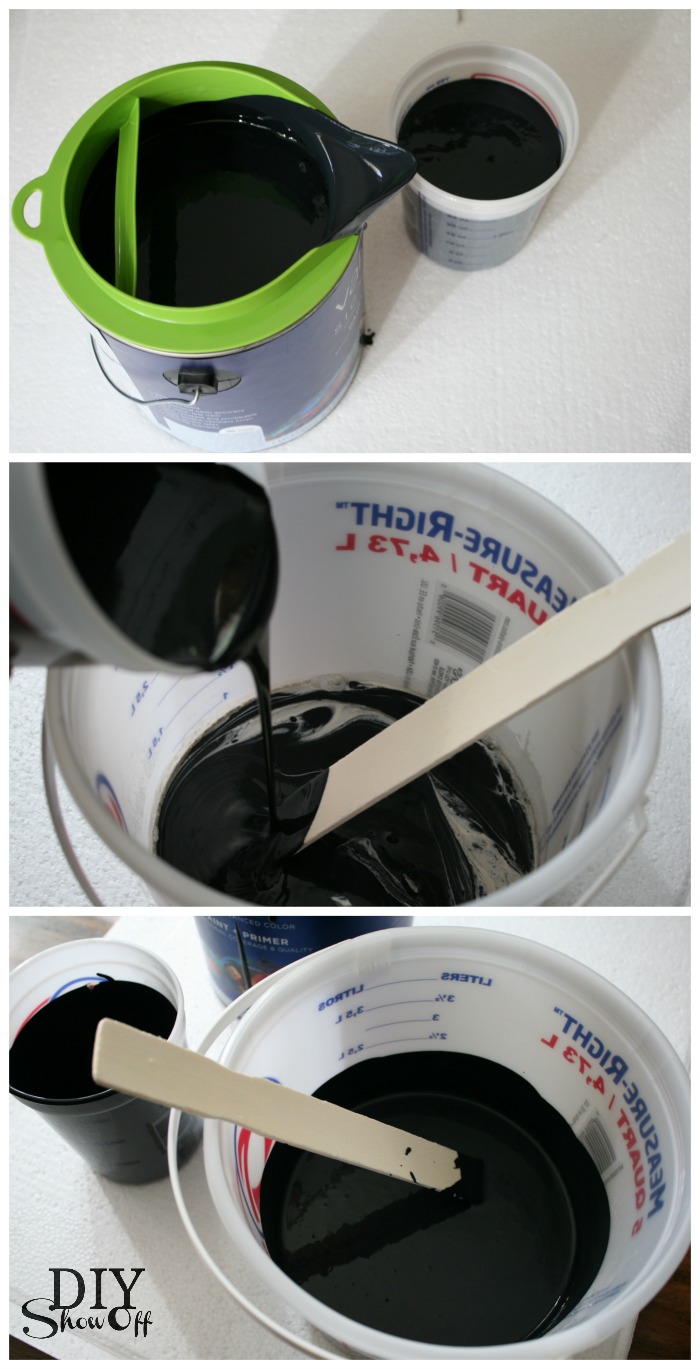
3. Mix with one cup latex paint and stir completely.

+

how to make DIY chalk finish paint

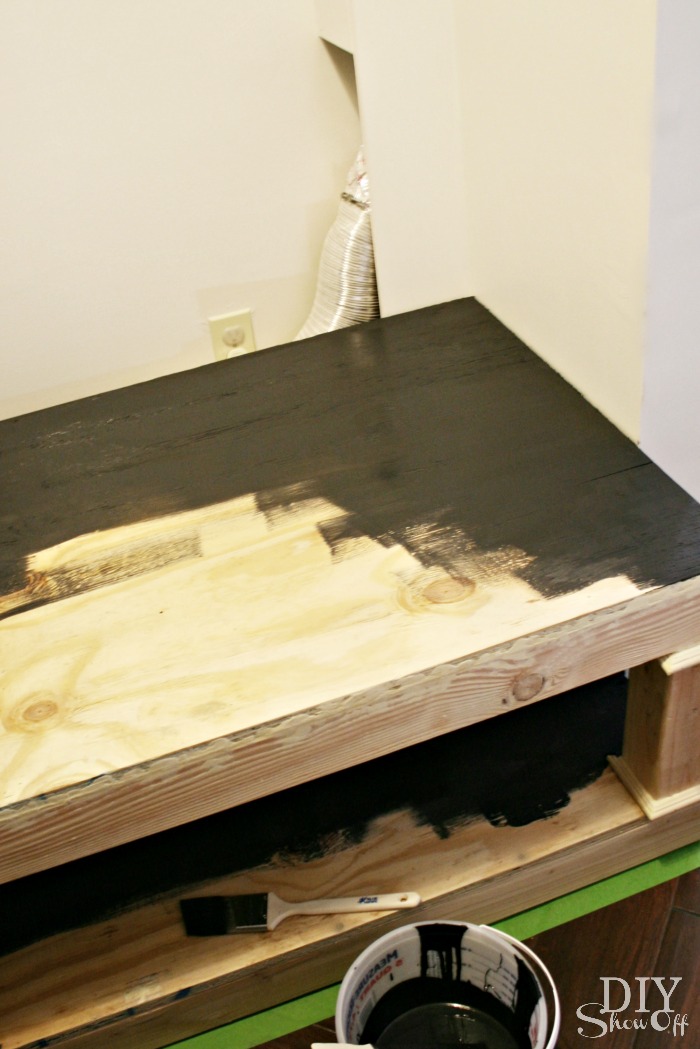
4. Paint!

chalk finish paint

* Makes enough chalk finish paint for one coat for a 6-drawer dresser. Should not be stored and reused. (Although I did cover and re-use without problem for touch ups after installing the washer and dryer.) For smaller projects, mix less using these proportions, mix more for larger projects. Nontoxic.  To dispose, let dry completely in the container before disposing in trash.

DIY laundry pedestal

What I think:

I have to say, I’m really impressed. I love how smooth it brushes on. I love the chalky-finish. Most of all, I LOVE that primer isn’t needed. I decided on black for the laundry pedestals…

do-it-yourself laundry pedestal


{you’ll have to wait on the rest of the laundry room details but coming soon!}

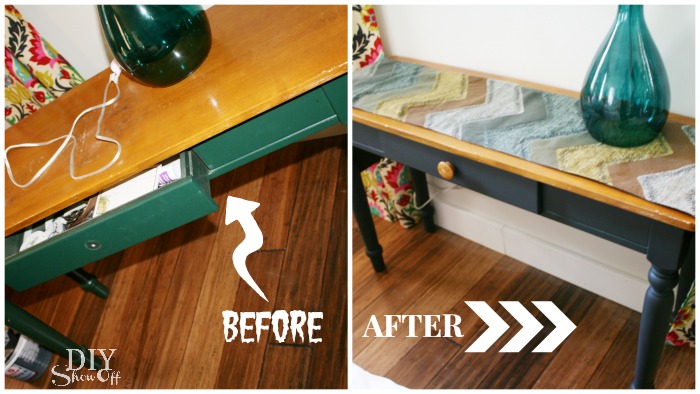
and I then I moved on to painting over a hunter green console table…

DIY-chalk-finish-paint before and after

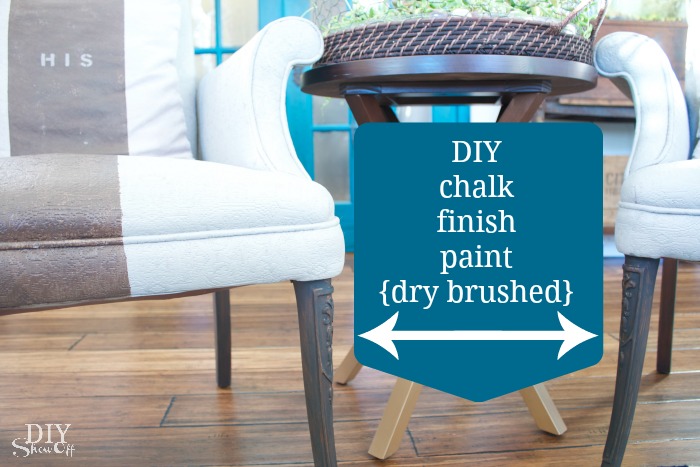
and dry-brushed it onto the legs of my painted upholstered chairs. 

DIY chalk finish paint, dry brushed

  • Easy to make!
  • No primer!
  • Great coverage!
  • Pretty finish!

What do you think? I’d say it’s a success and will definitely be using this recipe again on other projects in the future! 

More DIY ideas at Lowe’s Creative Ideas, follow Lowe’s on InstagramPinterest and sign up for the Creative Ideas magazine and app!   LCI

*Disclaimer: As a member of the Lowe’s Creative Ideas Creators and Influencers network, I received a Lowe’s gift card to complete this challenge. As always, all ideas and opinions are in my own words. The blog post above is what worked for me. Results may vary. Remember to work in a well-ventilated area and to take the proper safety precautions.