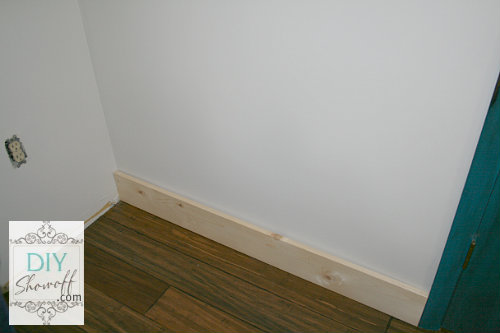
The old baseboards in the family room were 2 inches tall and lacked the character displayed in the rest of our home. The family room was a later addition to the house. After the bamboo floor was installed, we decided to go with a taller baseboard. I chose 6 x 1 inch pine.
Before…
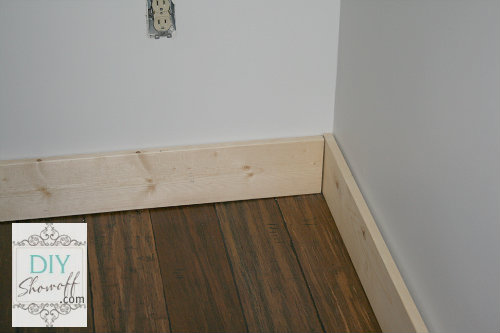
I started to the left of the French doors, measured and cut my board to fit the space. I do not miter baseboards. When you see the finished job, I promise you no one is going to notice that the joints/corners are not mitered.
I moved along, placing my next un-cut 8 foot piece into place from the corner.
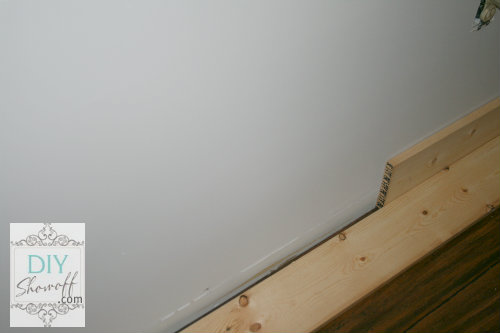
Moving along to my third piece, I butted it up against the far wall to where it meets the second un-cut piece placed and draw a line where the two boards meet. This is where I’ll cut.
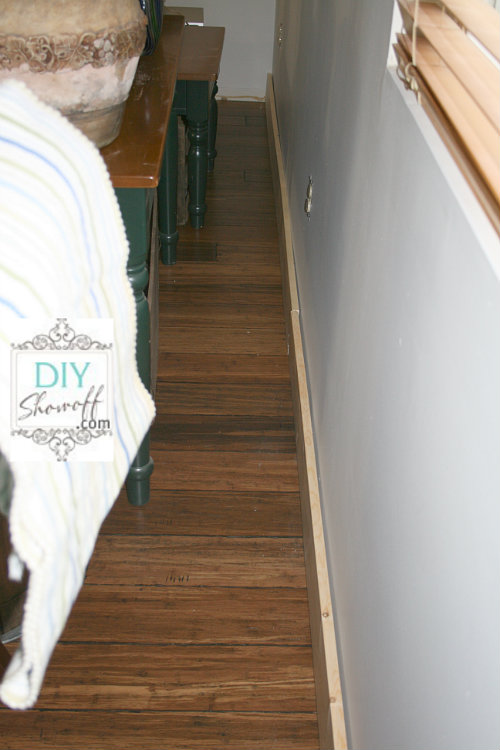
So simple. I cut all of my pieces and ‘framed’ the room. {pardon the old hunter green furniture}
Starting with “A”, I label each board so I know the order they are to be placed around the room. I got up to “K” I think. You can mark the wall too, but just having the boards in order and knowing where you start works.
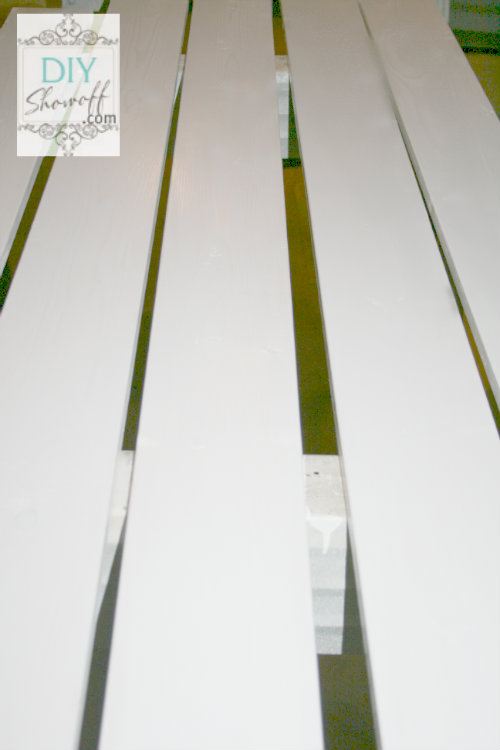
Next I hauled the boards to the basement and gave each piece of baseboard two coats of paint {Benjamin Moore Chantilly Lace in a semi-gloss finish) on three sides.
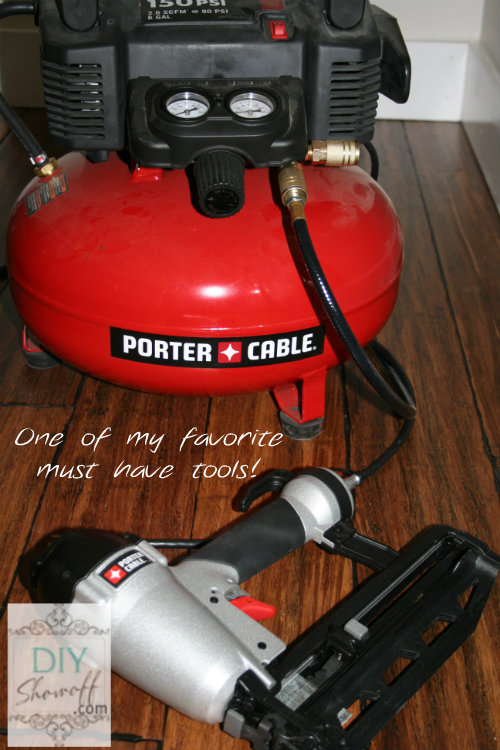
My Porter Cable nail gun/compressor makes installing baseboards super easy.
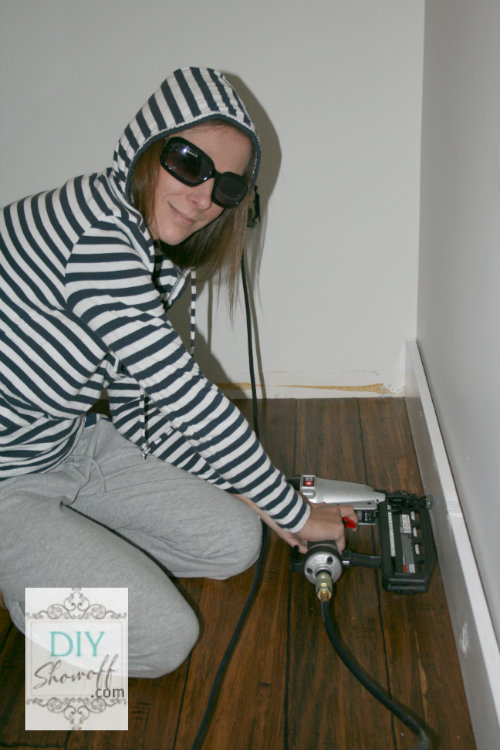
I just a nail every 14 inches near the bottom of the boards and a staggering nail near the top in between the bottom nails.
{bad hair day = hood for pics and if you misplace safety goggles, sunglasses are the next best thing}
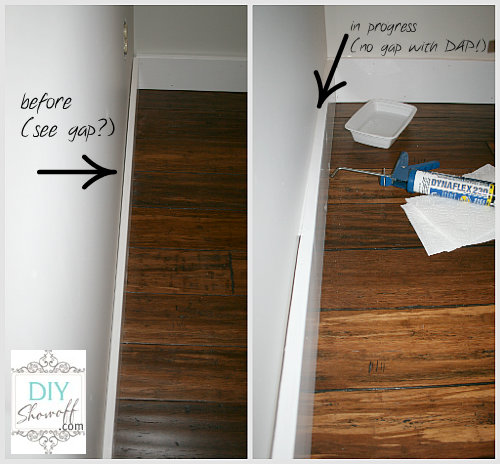
Our walls are not plumb. There are gaps where the baseboards gap and don’t sit flush against the wall. But that’s okay.
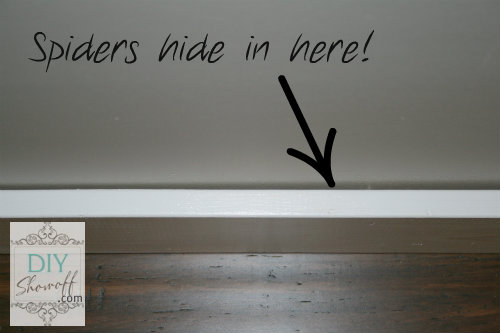
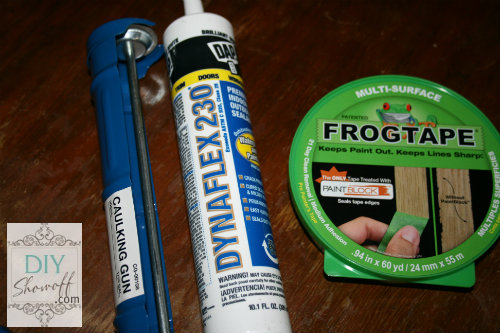
Enter: DAP DynaFlex. DynaFlex is DAP’s most advanced indoor/outdoor premium latex sealant with technology that is both waterproof and paintable. It combines outstanding durability, adhesion and flexibility with easy tooling, paintability, and low odor, while also keeping insects (SPIDERS!) from entering through small gaps and cracks. It is mold and mildew resistant, making DynaFlex ideal for a wide variety of projects such as sealing around windows, doors, siding, trim, molding and baseboards.
I usually leave caulking to Mr. DIY but this time I did it myself. We’ve been really busy with real life things, so this is a task I kept putting off thinking it would be more difficult and take more time than it did. I was wrong! Caulking is the easiest DIY job I’ve ever done. And it took only about an hour.
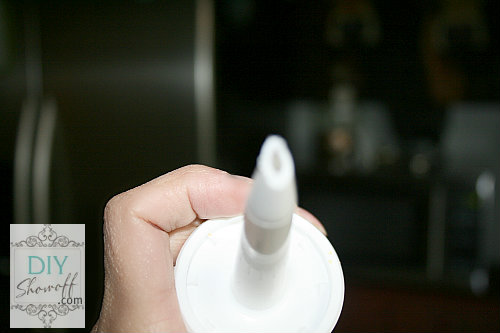
Seriously the hardest part was learning how to load the caulk gun. Cut the caulk tube on an angle creating a small hole. And insert the tube into the gun.
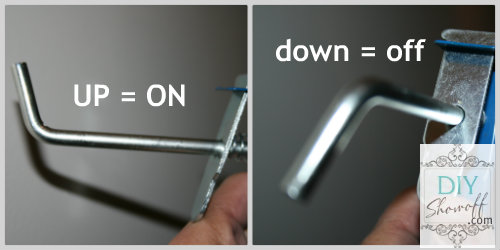
Handle up means “on”. Handle down means off.
Turn the tip of the tube so the flat side of the angled cut will rest in the ‘crack’ where baseboard meets wall.
Turn handle up to “on” (work quickly with a full tube – it pushes itself out!) and push the metal tab to start placing a bead of caulk in where the baseboard meets the wall, move along. Push. Release. Push. to maintain a steady bead. I worked in 4 foot sections. (Tip: With a new tube, be QUICK with turning the gun off an on – it will continue to squeeze out when you aren’t looking!) Remember to turn handle to ‘off’ position when you set down the caulk. As the tube empties, it will require more gripping muscle.
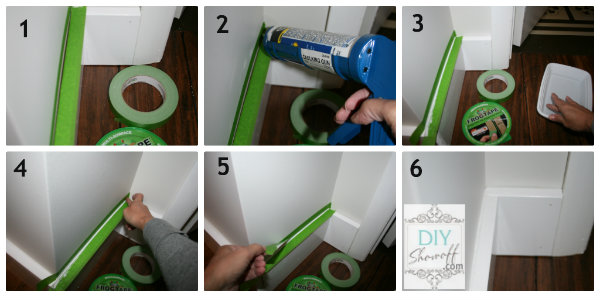
I had a small dish of water, a small waste basket and lots of paper towels on hand.
Dip finger into water and smooth out the bead of caulk (paper towels or rags are necessary). If it gets onto something it shouldn’t, it’s okay. It wipes/washes right off.
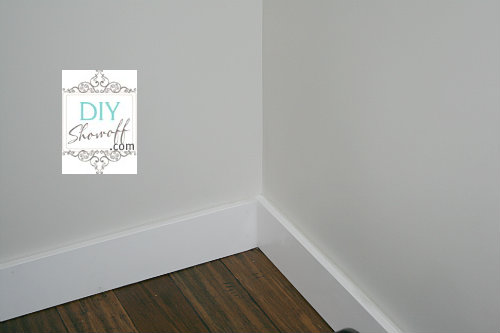
It created a beautiful straight flat bead filling in the gap between the wall and baseboard.
At first I even lined the top of the baseboard and the wall where it meets the baseboard with Frog tape to create a straighter line.
But found that the extra step wasn’t really necessary. It might be helpful if you had a big contrast between baseboards and walls. But if I made a mess or an ‘oops’, DynaFlex was easy to wipe away/clean when wet.
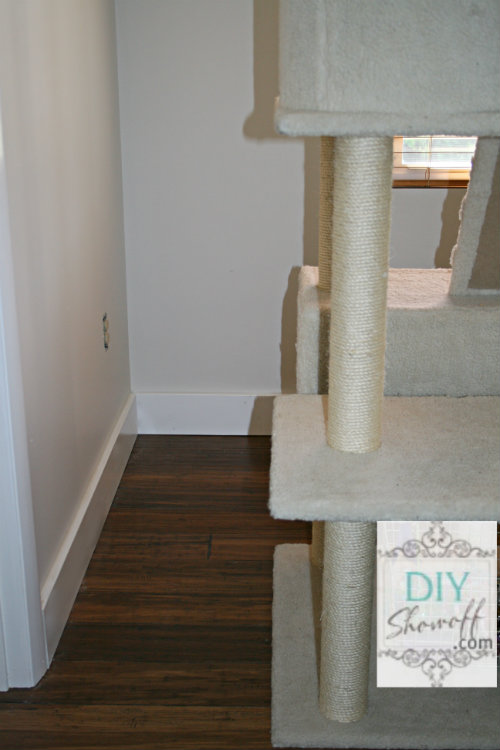
before

then…{better but yikes!}
now…
Family room still in progress but these small details are important. DAP Dyna Flex is sandable and paintable! It’s tempting to end at this step because it looks good enough, but painting will help seal everything and give it a uniform look. Next up filling the nail holes, light sanding and paint touch up. What do you think? An easy enough project to do on my own.
Cost: approx. $100 for wood and caulk (less than two tubes) for an approx. 200 sq. foot room.
This post is sponsored by DAP but opinion, photos and tutorial are my own.


Looks great! I like the heftier look to your new baseboards! Thanks for sharing.
Great job on making beefier baseboards. I did the same thing in my kitchen, then added some 1/4 round on top. I added the 1/4 round because experience has taught me that when the top of the baseboard is flat, it’s a major dust collector. Cleaning is not my favourite thing 🙂
I do notice that too, Mel. Almost all of our old baseboards are like that too. I also bought quarter round (fancy stuff) too to add a little more detail but those will require miter cuts and even though we have a miter saw, I can only do framing not corners. lol Another project for my to-do list one of these days! 😉 In the meantime, I’m usually vacuuming along the walls with a hose and just do the tops of baseboards while I’m at it. 😉
Nice job!! It looks great!
~Stephanie
Okay, I’m getting it now how it is you get so much more done than me. You think this baseboard job was easy, and when I did it at my house I thought it was really hard work! I think you’re an amazing bundle of energy with an enormously good attitude, and I admire you! Your baseboards look terrific, I’m glad someone else still has hunter green lurking in their homes, and I was sorely tempted to pin the photo of you in the sunglasses and hoodie with the title “proper nail gun attire.” : ) Thanks for another really great tutorial, and I’ll never miter another corner.
Maybe the difference is I did just one room, Laurel. LOL! A whole house would be overwhelming! And would you believe that someone has pinned that picture of me?! LOL! Thank goodness I thought to put up my hood with my bad hair day! I’d die! hahahaha!
Looks great! What a huge improvement. I’d love to replace my baseboards at some point for larger chunkier ones, but that’s kinda further down the “to-do” list.
I never would have thought to use regular boards for baseboards! Thanks for giving me the idea! Now if I could just get someone here to do it for me…
woohoo! look at you go! Love that picture! 😉
The baseboards look great… I LOVE painter’s caulk… a girl’s best friend!
gail
Very nice. Great job! Thanks for the tips and tricks!
This is look great and it is exactly what I have been telling the hubby what I want to do to our home.
Good luck, Suzanne! It really was so much easier than I anticipated. 🙂 Thanks for stopping by today!
It looks great!! I think you might be starting a trend with the sunglasses as protective googles, works for me!!
p.s. that’s my biggest problem with the caulk tube is not making the hole too big lol
xoxo
Jeri
You know, they make this fabulous little tool for ensuring the caulk is smoothed properly with just the right curve and feather to it and you don’t get your fingers all dirty! It works A.MAZE.ING and I am so glad I found it. Costs just a couple of bucks at the local hardware store and now I will never do another caulk job without it – works great, in case I haven’t professed my love for it enough! Your new baseboards look great! We will start building our new home in about 3 weeks so I will get plenty of practice cutting baseboards and installing them. I hope it is as easy as you make it look!
I have those little tools too, Chantelle! They are awesome! Of course I’ve misplaced them. So my finger worked just fine. I bought them because my husband always seems to do a sloppy job! lol! But I’m a little more patient and a tad more of a perfectionist than he is. I can’t wait to watch the building of your home! Good luck!
very elegant. little project, big difference.
Thanks so much, Rose! I’m so glad you stopped by today! 🙂 I’ve had a window open for Fine Craft Guild – so much to see and so little time but it’s open as a reminder! 😉
Have a great week!
It looks great! I love the no miter option!
Debbie
It looks great. Thanks for sharing, I always thought installing baseboards would be a lot more difficult!
Hee hee I LOVE that picture of you!
I always find those piddley jobs (like caulking) always make such a difference to a room.
You did good, girl!!
Awesome job, Roeshel! I never thought of not mitering the baseboards. I am totally showing this to my husband (and I’m showing him the DAP, too)!
blessings,
karianne
You GO w your nail gun! Great job lady!!!! Hope all is well in the DIY household.
I love a lady who knows her way around a nail gun. Great job you DIY lady!!! Hope all is well in the DIY household.
Pingback: Operation Family Room | | DIY Show Off ™DIY Show Off ™
What about where the baseboard meets the wood floor? Do you caulk that? If not, why and what could you do to keep out the spiders?
Hi Karen – it’s all a matter of taste. I prefer not to get caulking on the floor. We’ll install shoe moulding up against the baseboards as well
looks great! What about outside corners? Will they look as nice? A friend and I are doing her living room/dining room and a hall.
Sanded smooth, we don’t even notice.
We are changing out our doors and trim throughout our house to Craftsman style, which lends itself well to baseboards without mitering. I love your tutorial. I’m wondering about outside corners. It doesn’t appear you had that issue when you were only doing one room. If we don’t mitre our outside corners, one edge of the wood will be showing. I suppose that would look okay if we use wood, but not mdf. Any suggestions?
Hi Nancy! I have a few outside corners. I simply used caulk to fill in the seam. 🙂
Hi — I know this is an old post, but I love this style and you’ve made it so easy. 🙂 Question: did you have to sand/prime the boards when you bought them? Or were they already smooth enough to just use as-is? Is there an option to buy already smooth/sanded boards? Thank you!
My boards were already smooth (a very clean pine with little to no knots). Hope that helps! Good luck!
Hi there, baseboards look great, wondered how an outside corner looks….did you have a picture of one?
Thank you
Oh! I guess I didn’t include a picture of that! I’ll get one uploaded this week. I simply extended one of the sides longer (enough to sit flush with the trim from the connecting wall).
This is what I was looking for! Thank you!
Awesome! Hope it’s helpful! Thanks for stopping by! Good luck!
We are looking at what material to use to replace the baseboards we ripped out when we had some new flooring installed. Did you have the pine pre-sanded down for you? How dis you deal with the knots in the wood?
Your look is exactly what’s we’re going for – and the price point is perfect 🙂
Thanks in advance!
Hi Lisa!
That project was a few years ago. I chose pine that must have been pre-sanded and if there was a knot, I put that on the back side.
I’m actually doing the same thing again – installing the same type of baseboards at the #helloredreno project and I’m using 1×3 poplar from Lowe’s. It has a much smoother finish and still has a decent price.
They also have an MDF with primer option (same look) and I did just choose that for a door frame. Hope that helps! Good luck!
You need to mark and nail into the 2×4 studs at the top of your baseboards. That will reduce the gap you need to caulk and hold the board if there is expansion or contraction in the wood.