DIY: Removable Decorative Window Frame

DIY MAGIC WINDOW ART TUTORIAL

As a member of the Lowe’s Creative Ideas network, I’m participating in the September “window treatment” challenge. I was provided with a Lowe’s gift card to complete my project…addressing this bathroom window:

DIY Removable Decorative Window Frame Tutorial

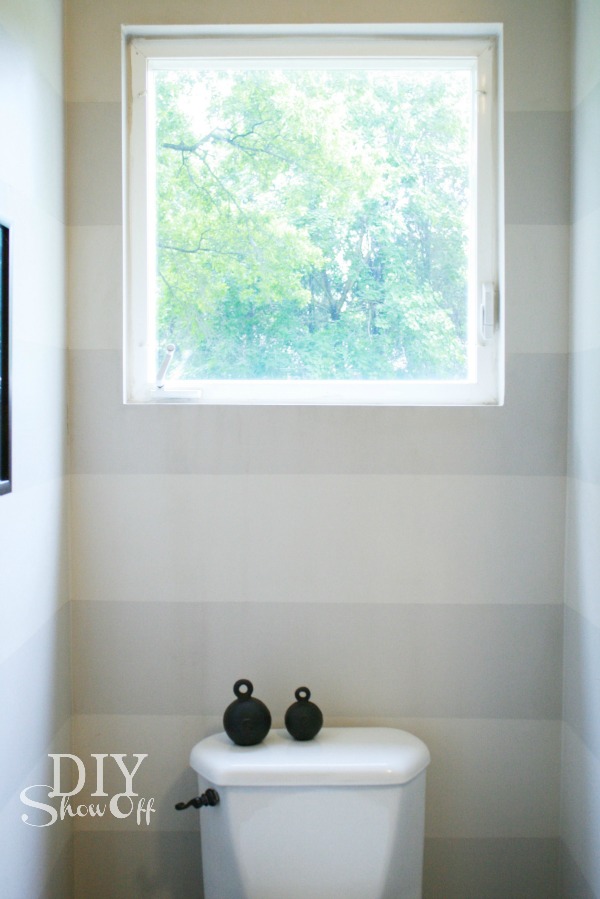
Our main floor bathroom has a window that sits high up (no one can see in and the view out is of the treetops). The window is not framed. I’ve tried a curtain on this window, but with it sitting so high above the toilet tank, it just doesn’t look right.

bathroom window

This project would be great for window privacy too!

Materials I used:

  • 1×3 pine boards to create a frame
  • Flat corner brackets
  • Gorilla Wood Glue
  • Wood filler
  • White paint (leftover Valspar Signature in satin finish)
  • Picture frame hanging hardware
  • Screen (36″ wide)
  • FrogTape
  • Staples
  • Stencil
  • Craft paint
  • White vinyl table cloth
  • Vinyl decals

Removable decorative window frame: 

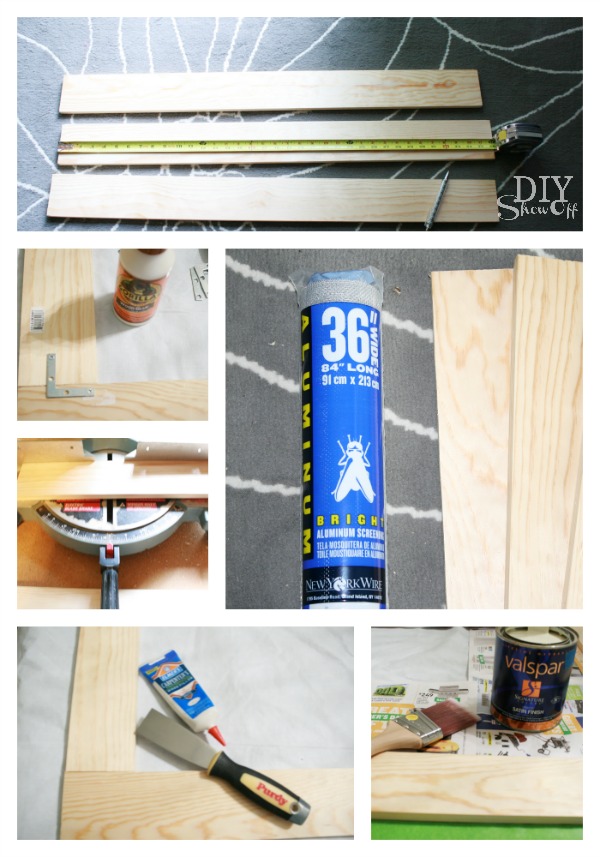
I started with creating a frame for my window using the 1×3 boards, corner brackets, Gorilla Glue, wood filler and paint. It’s best to miter the joints, add glue to the joints and brackets (be sure that screws are not longer than depth of frame). Fill joint lines with wood filler and lightly sand once dry. Prime/paint frame.

DIY removable wood window frame

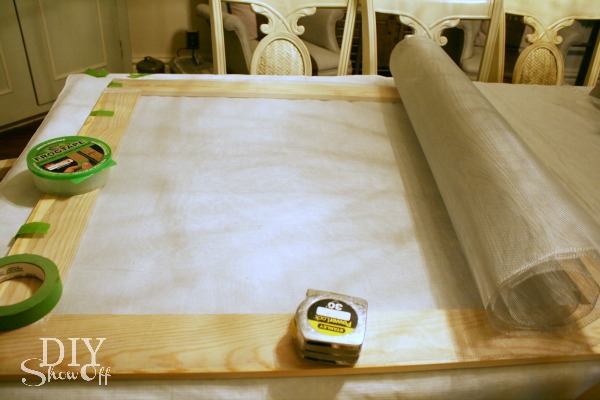
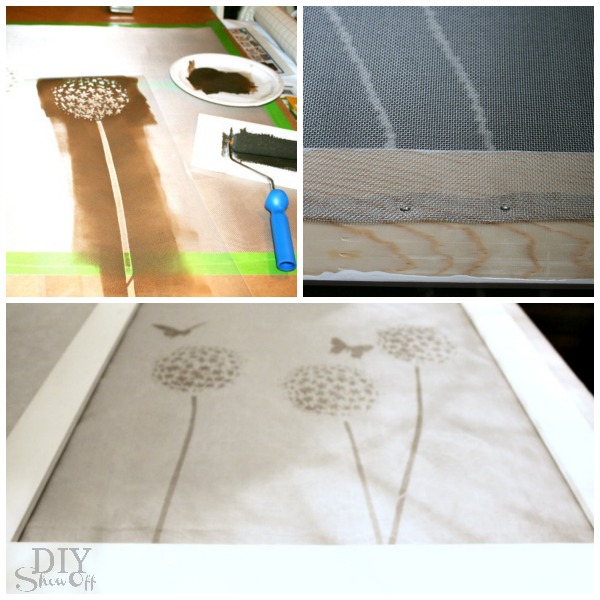
Cut screen to fit inside the wooden frame with enough room to fold under borders and to staple to the back side of the frame.

 Removable window frame DIY

Stencil a design on the screen and let dry. I used Cutting Edge Stencil’s Allium Gladiator Flower Stencil (it sort of looks like dandelions and butterflies). FrogTape was essential in working with the screen by holding it flat and in place. Once paint is dry, staple screen to back of frame. 

removable decorative DIY window frame tutorial

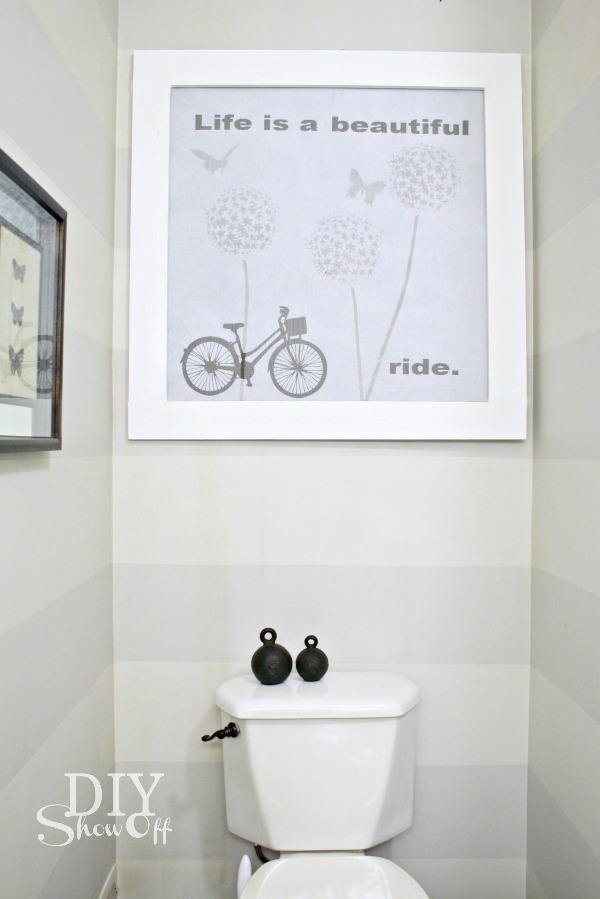
You may think to stop here but when I hung the frame (in the daylight), the stenciled design wasn’t visible. It simply looked as if I only framed the window.

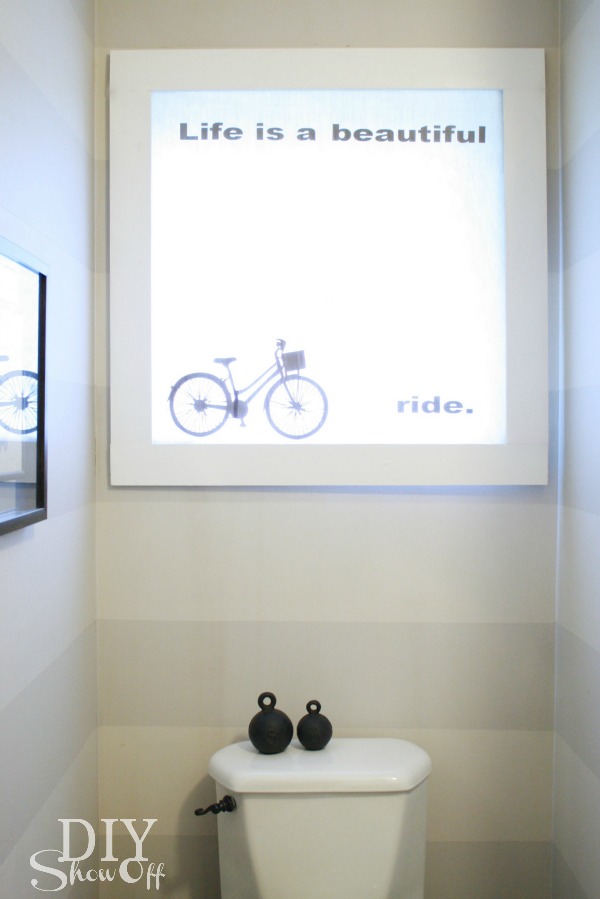
So I cut a piece of white vinyl table cloth to size (a bit bigger than the inner space of my frame with an extra inch around the borders to staple it into place) then I added vinyl decals to the white tablecloth. (I used my Silhouette Cameo to cut out a bike and quote.) You could also try a light colored/patterned fabric or paint your own design on canvas…just remember that your stenciled screen will show when it’s dark outside.

removable decorative DIY window frame tutorial

I stapled the white tablecloth into place. 

Simply hang on nails using the sawtooth picture hangers. Easily removable – as simple as taking a picture off the wall.

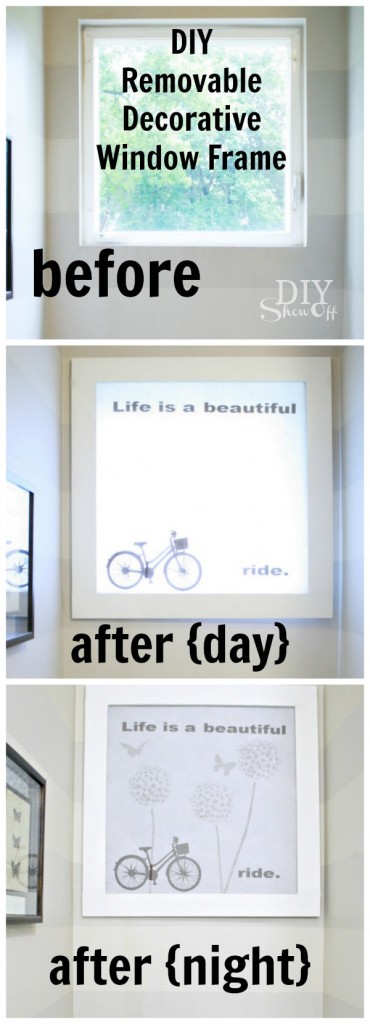
Before…

bathroom window

During the day, the bike and quote show up…

bathroom window covering

and at night, the stenciled screen shows up as well…

DIY window frame

It’s easily removable for when I want to open/access the window and lets in a lot of light during the day. Yay! Love the result…window dressing, window frame and art. What do you think?

See more fun DIY ideas at Lowe’s Creative Ideas, follow Lowe’s on InstagramPinterest and sign up for the Creative Ideas magazine and app!

Spring 13 Blogger Badge Subscribe Banner Version

*Disclaimer: As a member of the Lowe’s Creative Ideas Creators and Influencers network, I received a Lowe’s gift card to complete this project for a mini outdoor makeover challenge, however the tutorial images, instructions and opinions are my own. 

Decorative Baseboard Trim Tutorial

Family room DIY started with installing new baseboards (super easy tutorial) with bulky 1×5 boards…

DAP Dyna Flex baseboard caulking tutorial

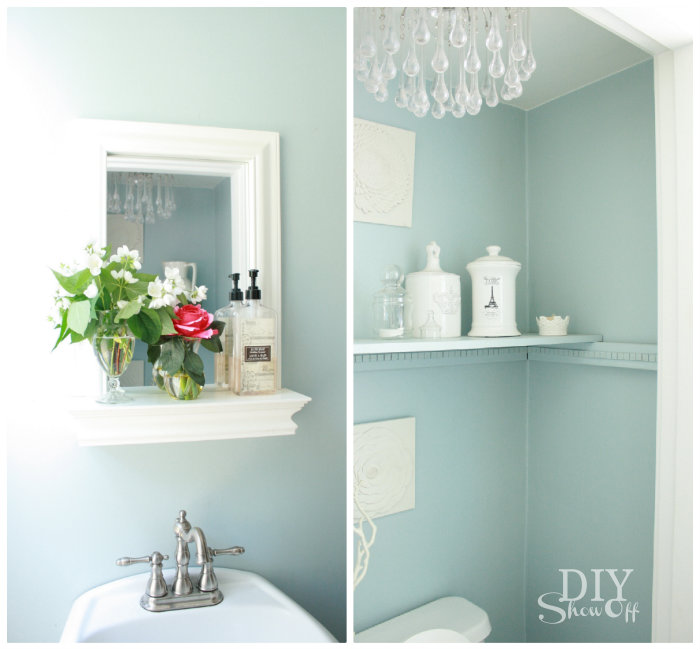
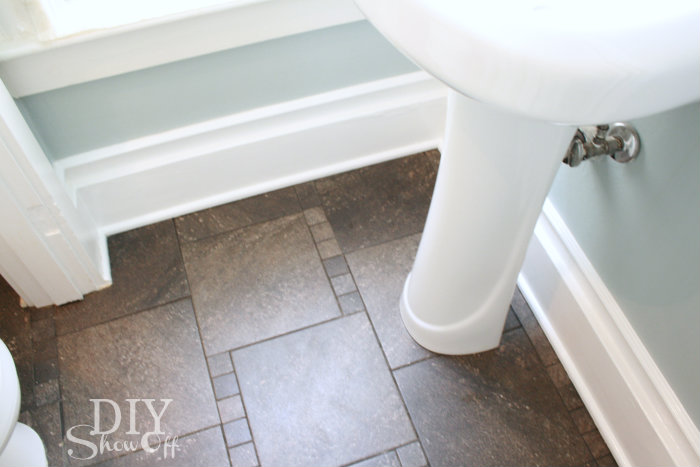
and includes plans of beefing up the baseboards too. This project is sponsored by FrogTape. In an effort to “practice”, I choose to give it a trial run in our half bathroom.

powder room

The result: success!

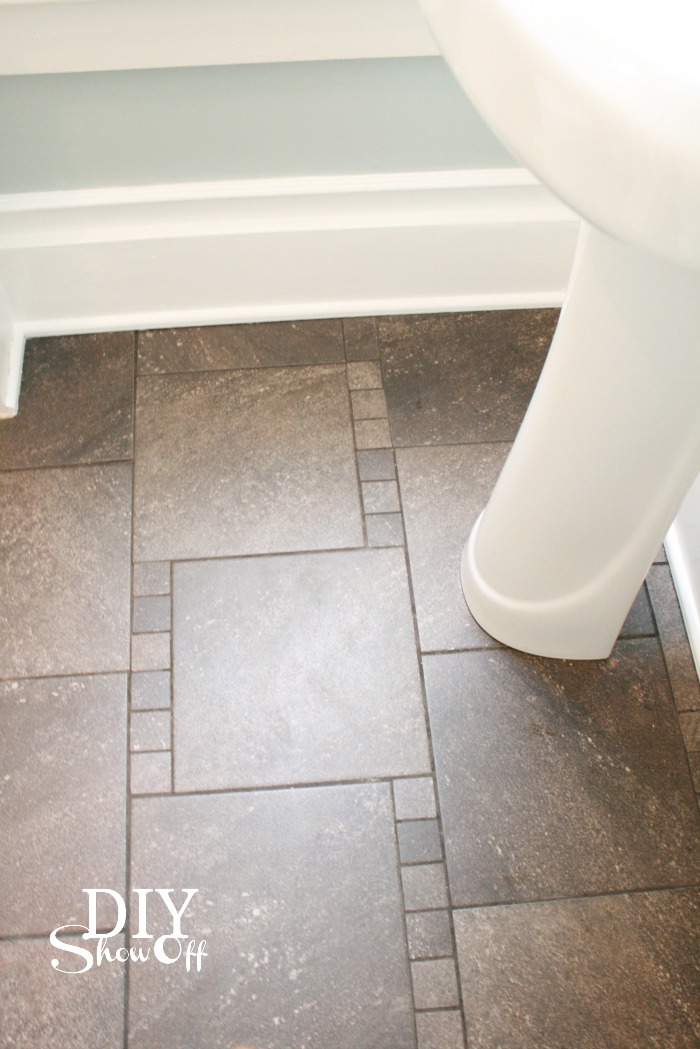
trim and tile

Here’s what I did:

easy DIY decorative baseboard tutorial

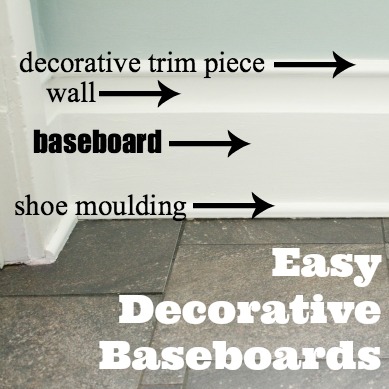
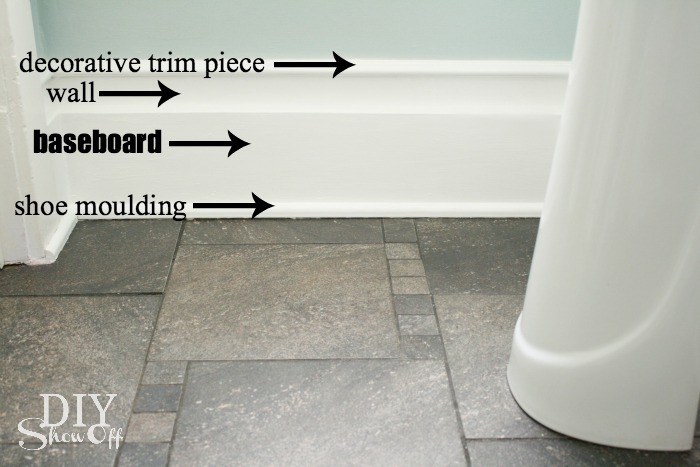
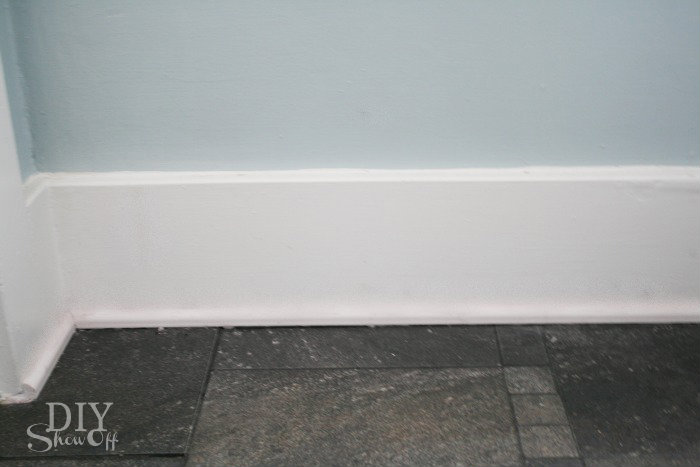
Before, baseboards are a nice chunky size with shoe moulding.

baseboard before

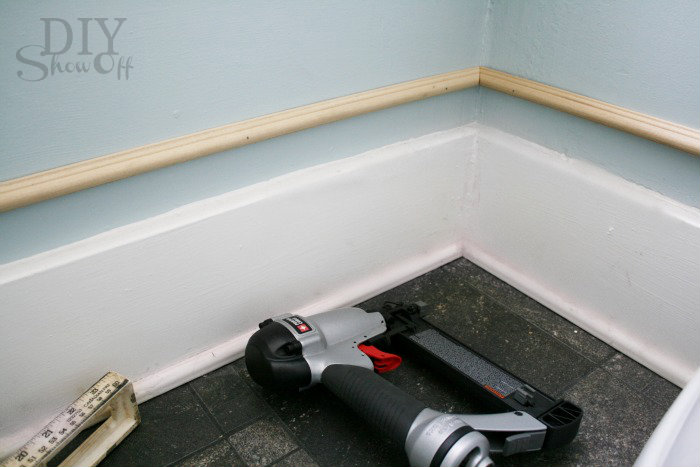
I measured each width and cut my skinny decorative trim to size (yes, tricky mitered cuts…you may want to purchase extra trim. Thankfully this skinny decorative stuff is inexpensive).

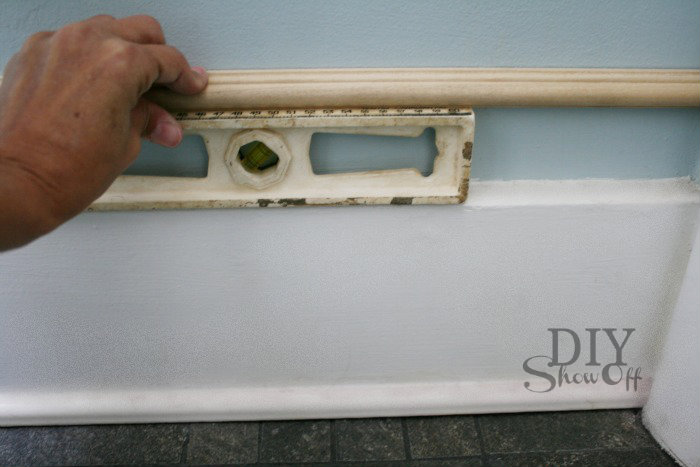
I used the spacing of my level to hold the trim in place. For a bigger room, I’d pencil a level line for leveling up trim while nailing into place.

beefing up baseboard trim

Using my nail gun and level, I nailed the trim into place.

attaching baseboard decorative detail

Then caulked the cracks using DAP paintable caulking. Tips for caulking trim:

  • Use FrogTape on the wall right next to the trim for a clean line.
  • Dip finger in water and smooth caulk. Have paper towels on hand.
  • Remove FrogTape before caulk dries. Then let caulk completely dry before painting.

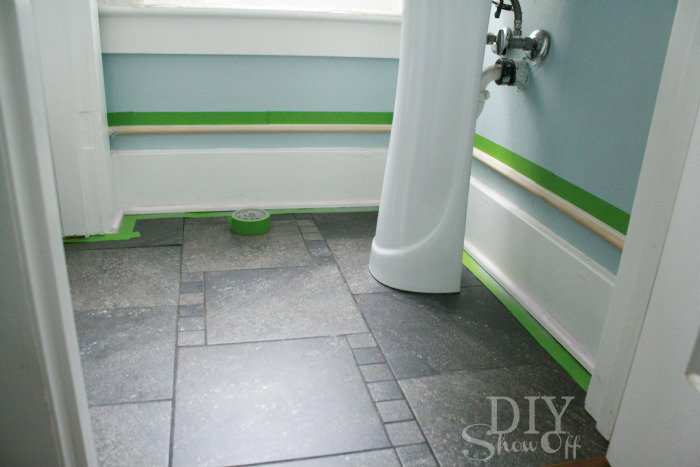
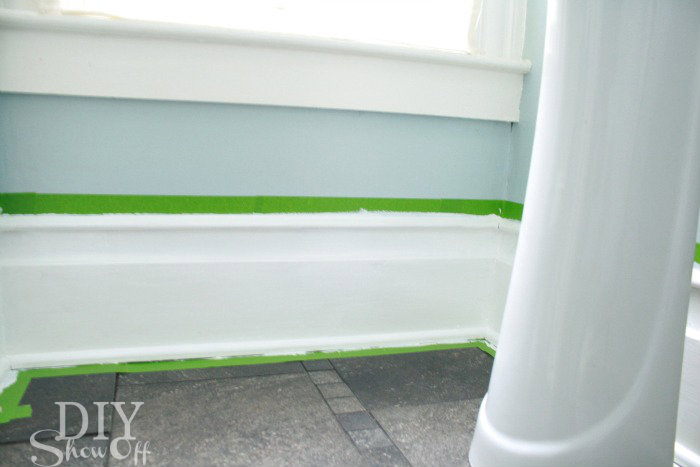
After the caulk was dry, I reapplied FrogTape to the wall and to the floor, pressing down where the FrogTape would meet the paint line to activate the Paint Block Technology (keeps paint from seeping under the tape).

decorative baseboard tutorial

Paint baseboard, wall and new trim. I used a primer + paint. And did two coats.

painted decorative baseboard

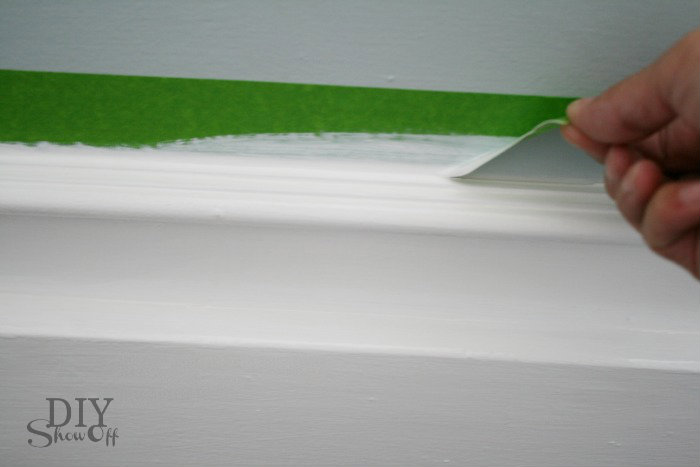
Remove FrogTape by pulling away from the trim while the second coat of paint is still wet.

FrogTape

All done…beautiful thick easy baseboards with architectural detail.

easy decorative baseboard tutorial

Before:

baseboard before

After: easy, cheap and gorgeous!

trim and tile

DIY decorative baseboard trim

Definitely happening in the family room next…well, unless I decide to do a board and batten. DIY decisions, decisions. 🙂
Sharing at Domestically Speaking

*This post is brought to you by FrogTape. FrogTape provided by Shurtech. The opinions are completely my own based on my own experience. For more FrogTape projects ideas, check out the FrogTape Blog Squad.

 FrogTape Blog Squad

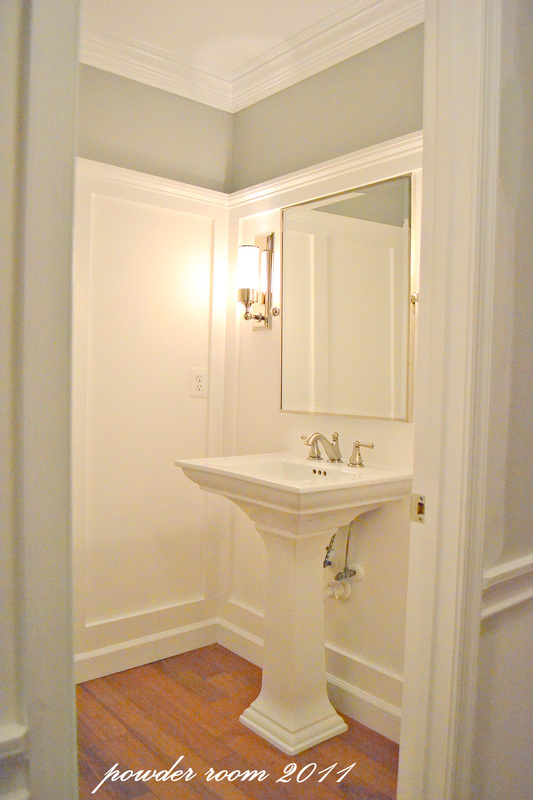
WOW! Powder Room Before and After Makeover

Meet: Aimee {and Brian} from

Sixteen Fourteen blog

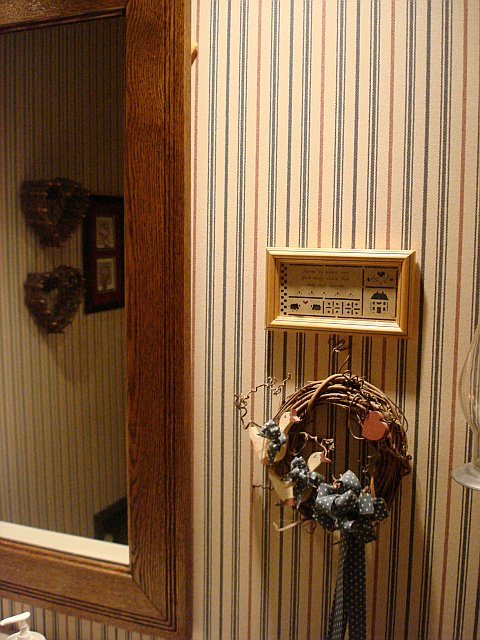
The powder room before was outdated…

striped wallpaper half bathroom

Walls: Cream wallpaper with red and navy stripes
Floors: Faux-wood laminate
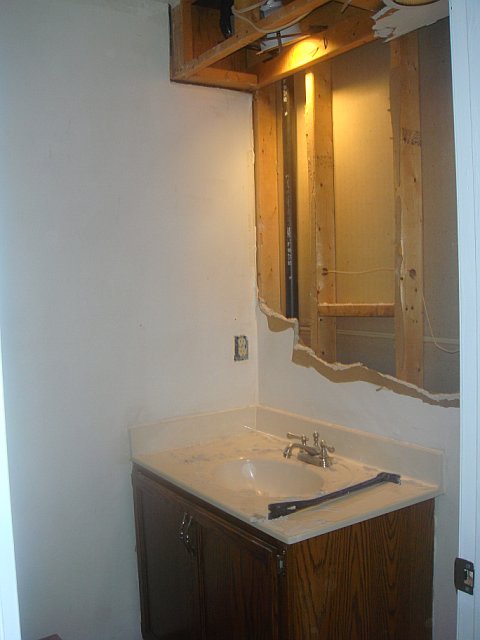
Vanity: Large, dark wood vanity with cream sink.
There was also a a soffit with a can downlight which hung over the sink.

DIY demo…

powder room demo

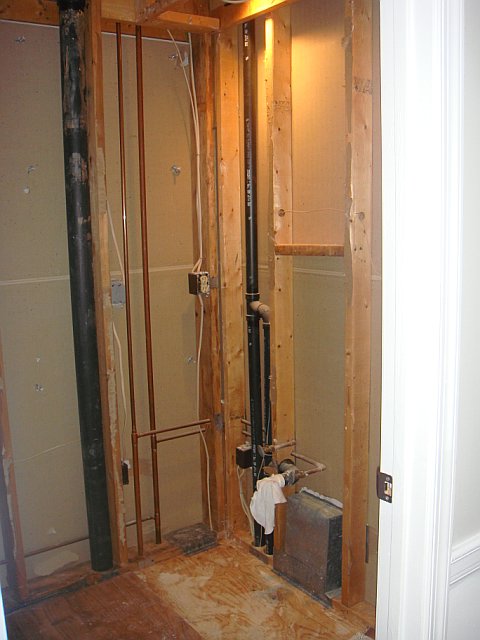
Down to the studs…

powder room makeover

The reveal…

powder room after

Love all of that luscious trim work, don’t you?

Floors: Brazillian Cherry hardwood from K&K Floors
Paint: Ralph Lauren Pale Gray
Sink and Toilet:  Lowe’s {Kohler}
Mirror and Lighting:  Restoration Hardware

Say “hi” to Aimee and see more awesome details at Sixteen Fourteen – Powder Room Reveal.

DIY Show Off - FacebookDIY Show Off - TwitterDIY Show Off - PinterestDIY Show Off - Feed