Baseboard Trim

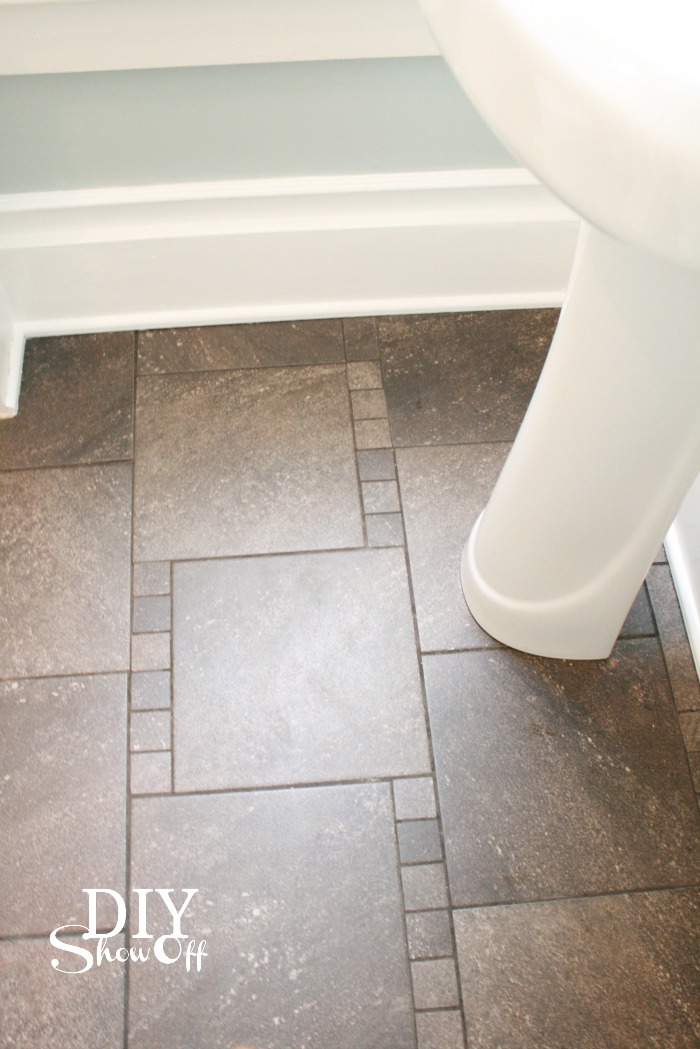
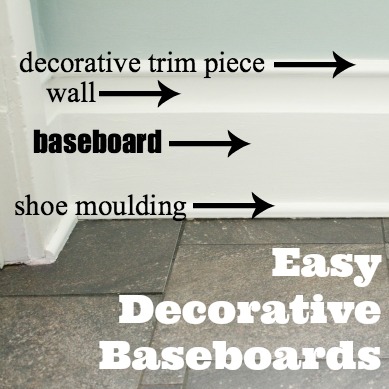
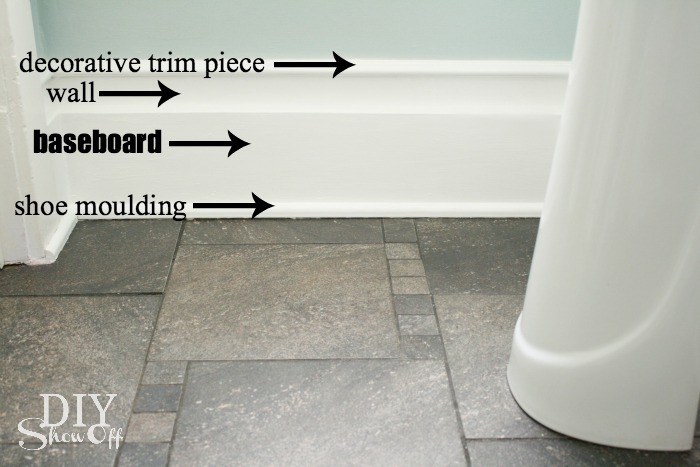
Yesterday I shared how I installed grouted vinyl floor tiles in the bathroom and today I just wanted to share a little baseboard trim tip. I re-used existing baseboard trim because it’s the old wide original trim in good shape. See how to easily swap out your baseboards here and a little tip for easy decorative trim detail here.  

grouted vinyl floor tile tutorial @diyshowoff

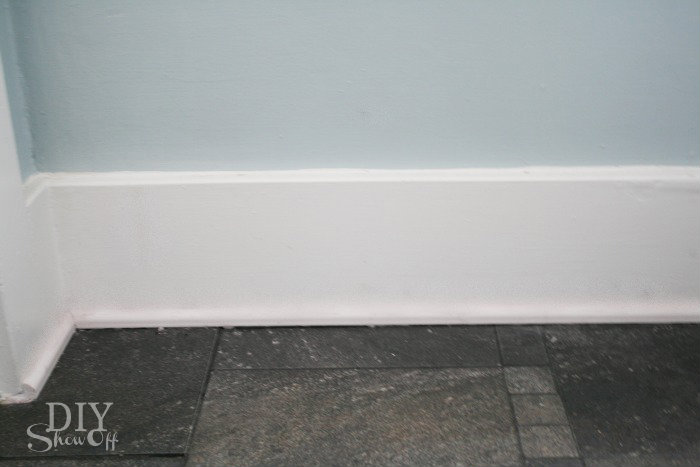
I gave it a good scrubbing and a little scuffing with sandpaper.

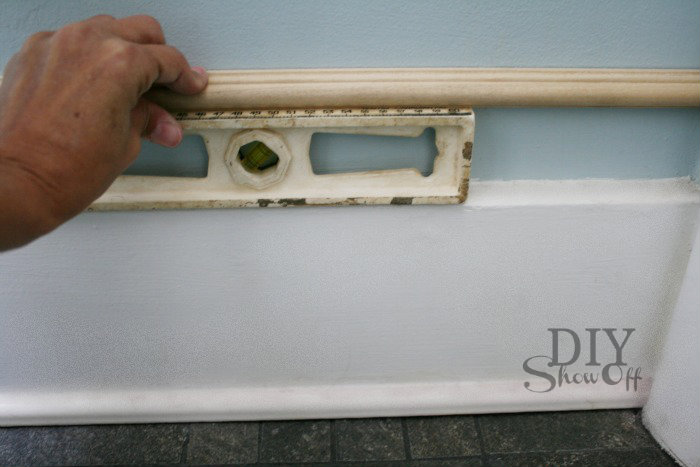
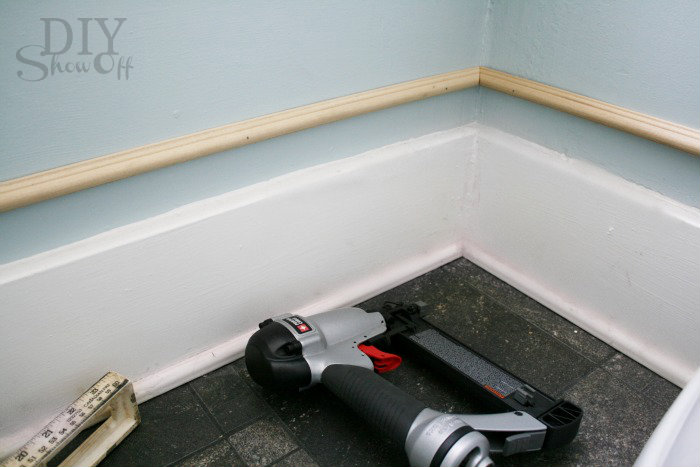
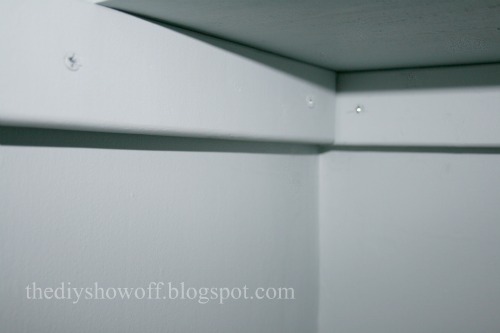
Then reattached the baseboard trim using my nail gun and brads. Countersink the nails, fill with wood filler and sand. 

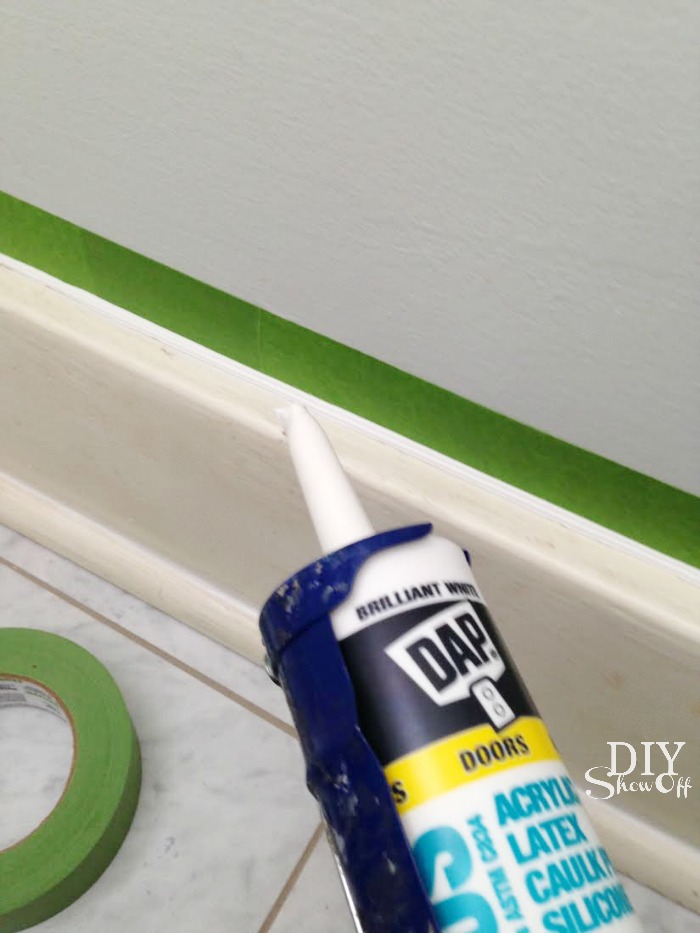
Next I sealed all of the seams with caulk – where the trim meets the wall and where the shoe moulding rests against the baseboard. I use DAP paintable caulk for windows/doors/trim.

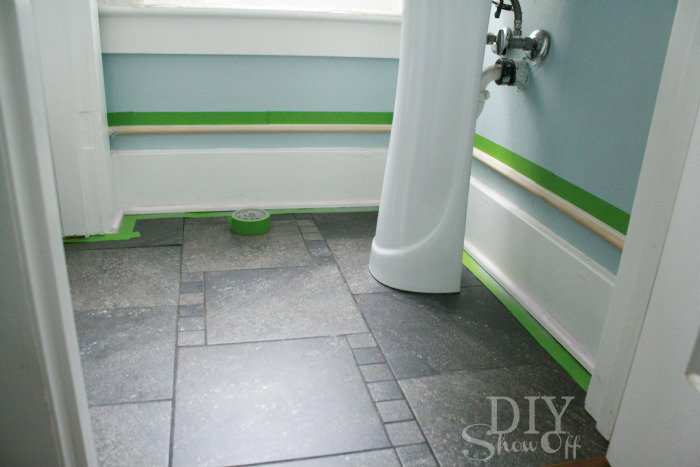
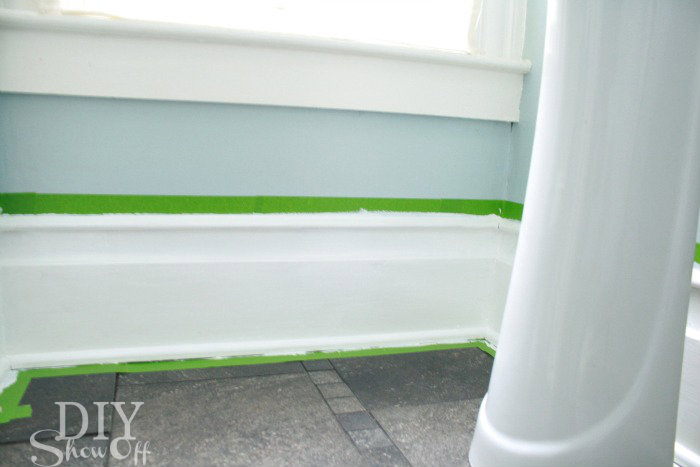
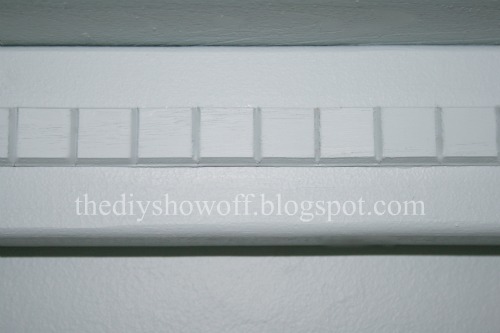
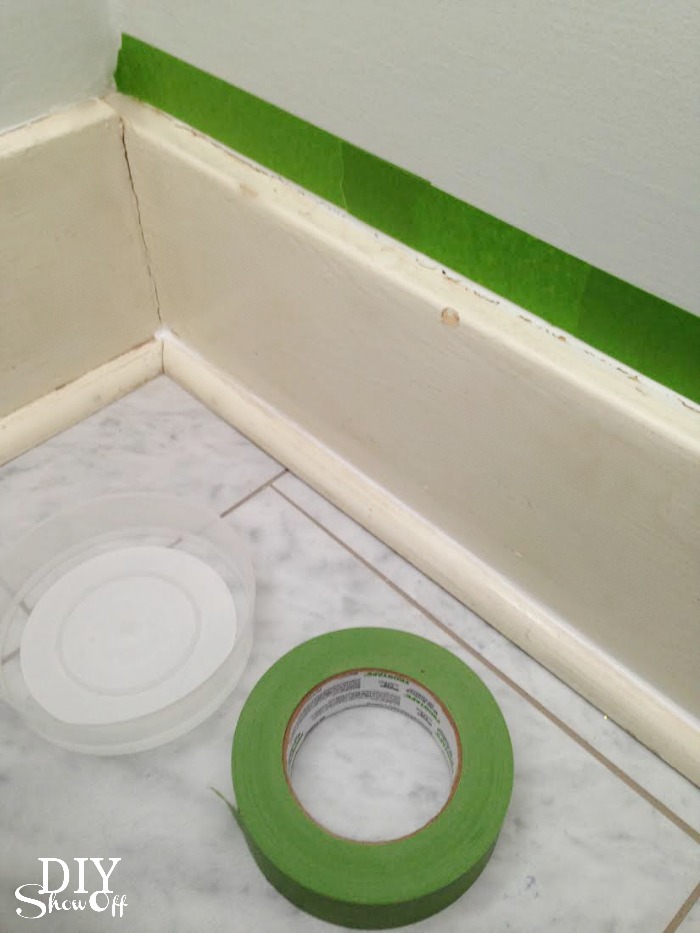
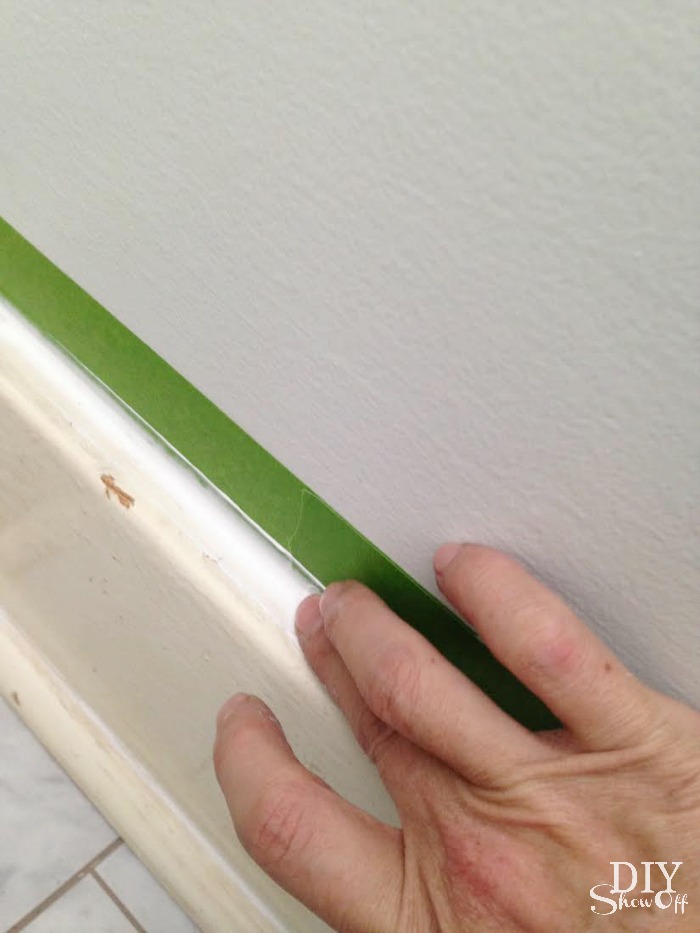
FrogTape® Mult-Surface tape applied to the wall ensures a nice straight line without caulk smears. Apply the tape horizontally above the baseboard onto the wall. Use your thumbnail or a credit card to activate the PaintBlock® Technology.

DIY caulking baseboard trim

Cut the tip of the caulk tube at an angle (the larger the hole, the bigger amount of caulk-age, so I prefer to keep the cut on the small side. Holding the caulk gun at an angle so that the flat end of the cut hole faces the seam where the baseboard meets the wall, run a bead of caulk. 

caulking baseboard trim tutorial

I fill my FrogTape container with a little bit of water. With a wet finger, smooth the caulk. I work from left to right and since this is a small space, I worked in an entire section (about 4-5 ft. at most). You’ll have a lot of excess (remember to have those paper towels handy). 

caulking baseboard trim tutorial

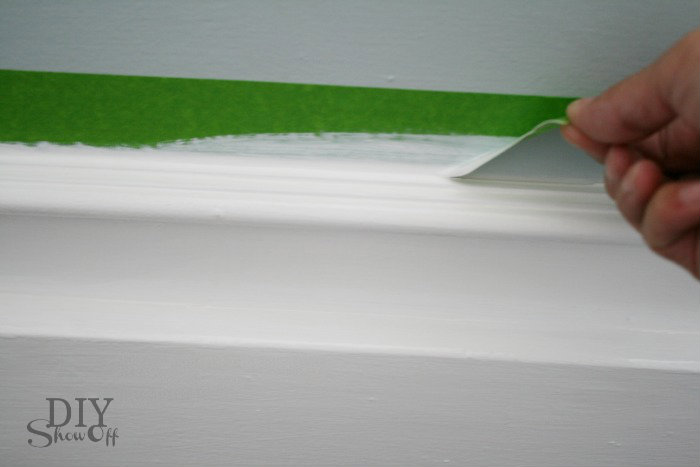
Then peel away the FrogTape starting at a bottom edge and pulling up and away from the caulk. 

caulking baseboard trim tutorial

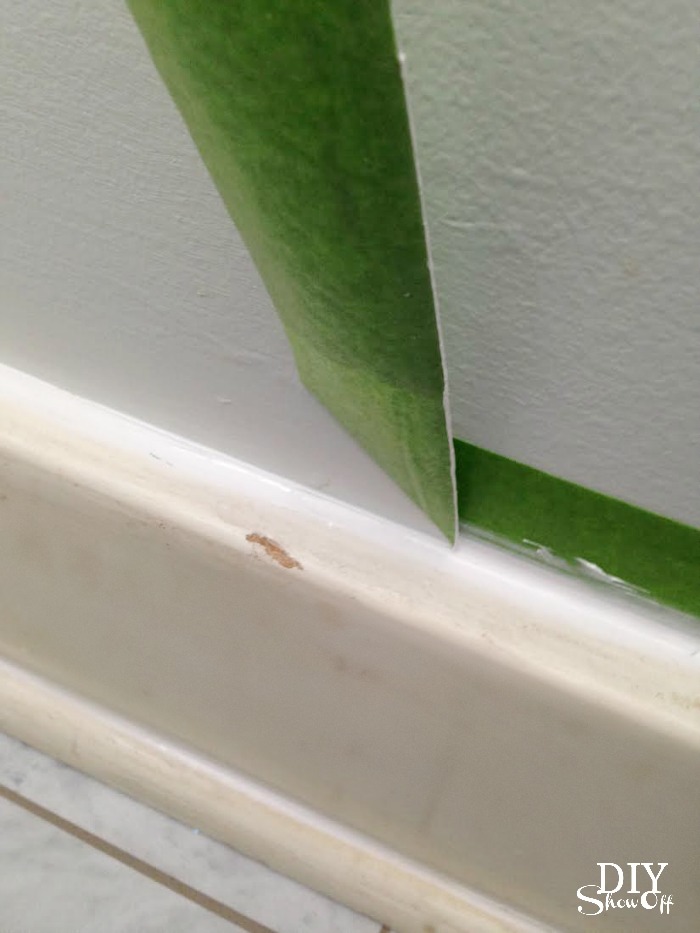
Nice clean line! Repeat until all top baseboard seams are sealed. 

Now repeat the caulking steps (without the painter’s tape) where the shoe moulding rests agains the baseboards. Once dry (about 30 minutes), it’s time to paint!

Paint is Dutch Boy’s Cabinet and Trim paint. I used FrogTape where the shoe moulding meets the floor to prevent getting paint on my nice new grouted vinyl tiles. Using my thumbnail, I again activated the Paintblock Technology, then painted my trim. After the second coat of paint, I removed the FrogTape while the paint was still wet. 

painting baseboard trim

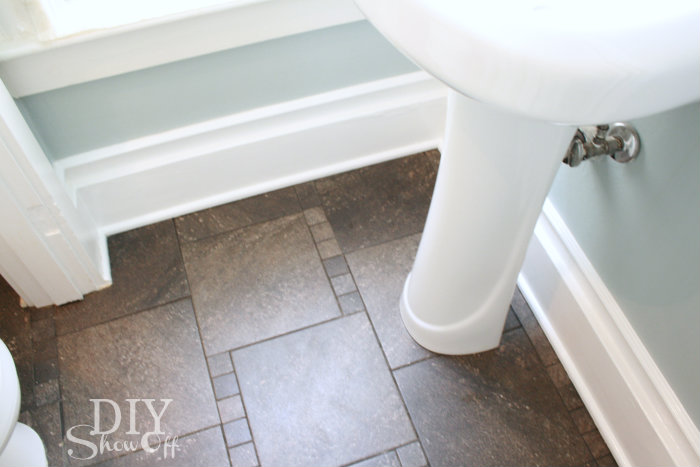
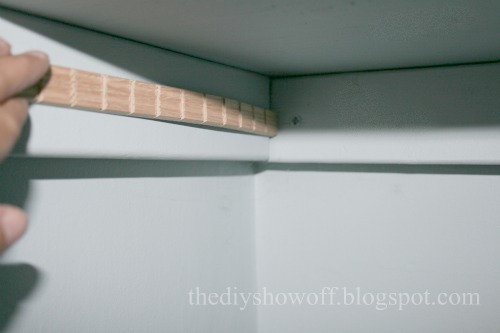
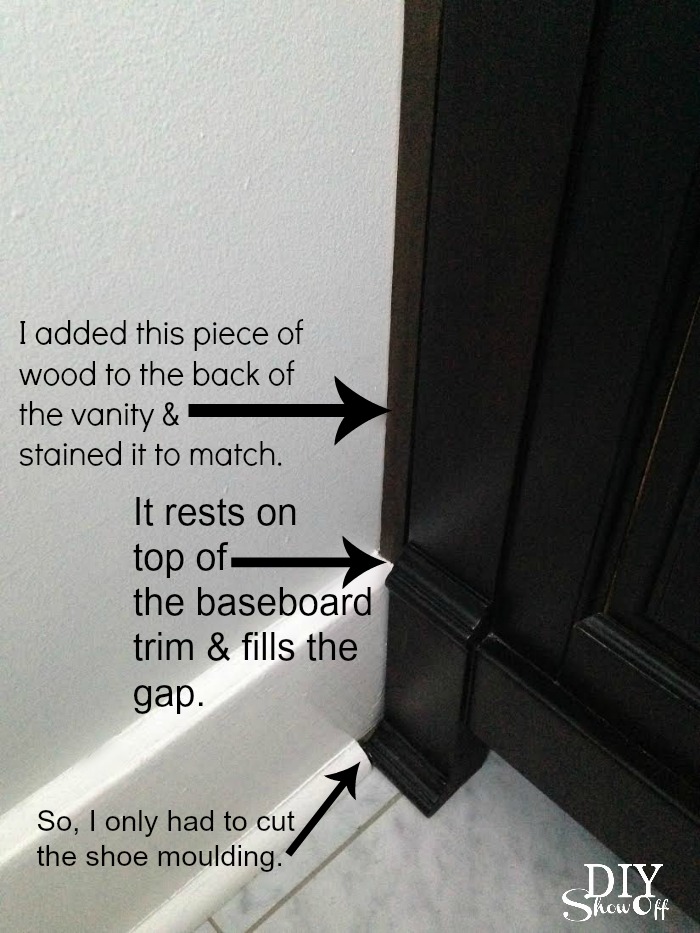
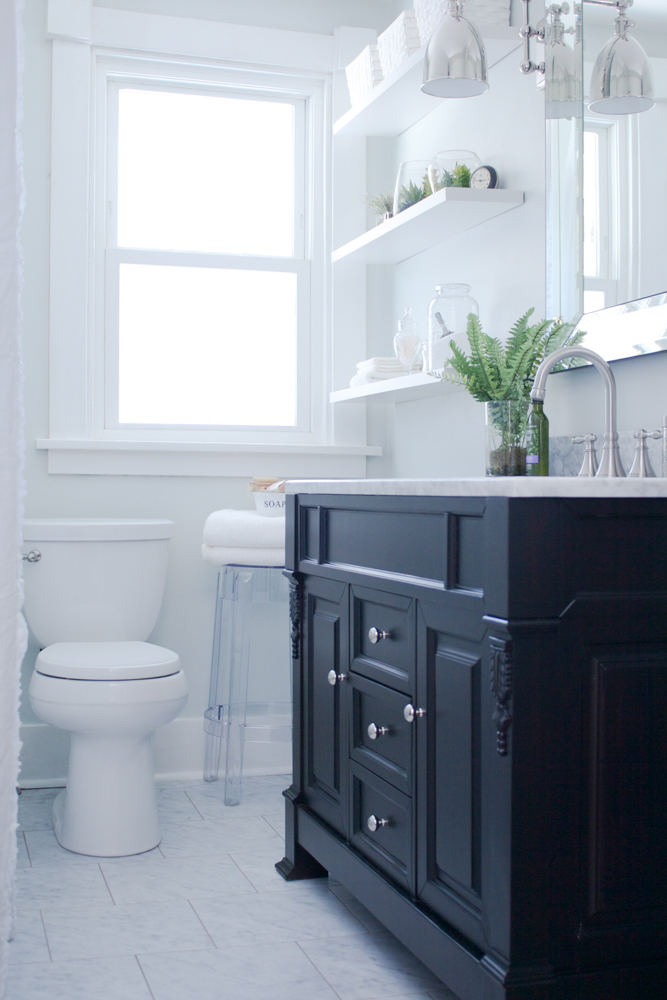
The vanity: I could have cut the baseboard trim so that the vanity sat flush against the wall but since the countertop had a little play (it sat out from the vanity about an inch), I attached scrap (stained) 1x4s cut to size to the back of the vanity, so that it would hide the gap and rest above my baseboard. (Also…one of my baseboards was good and glued as well as nailed to the plaster wall…I feared created a bigger more involved mess with pulling it off.) Now my countertop rests against the wall and is flush with the front of the vanity with no overhang but I don’t believe there’s a law or rule that says the countertop must protrude from the vanity. Is there? It also gave me a little more wiggle room for the tight fit plumbing. 

bathroom vanity and trim fix

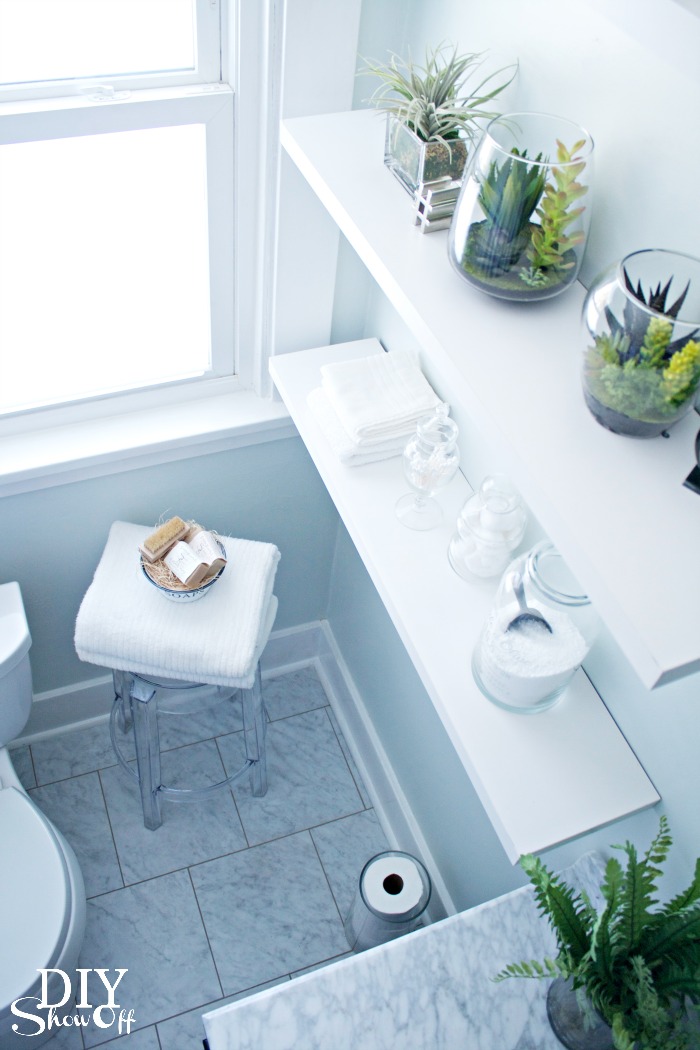
Good as new! I love fresh, clean, white baseboards.

DIYShowOff bathroom accessories


I used my FrogTape along the door frame and window trim too. 

bathroom makeover after


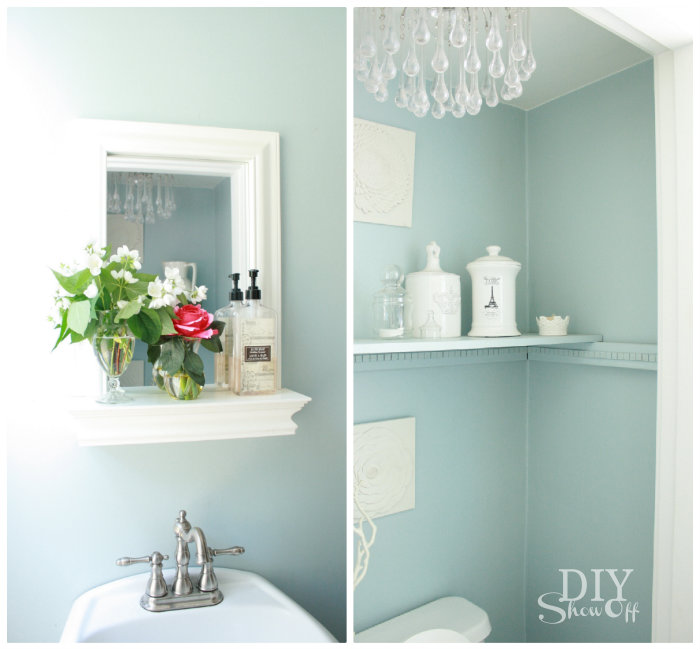
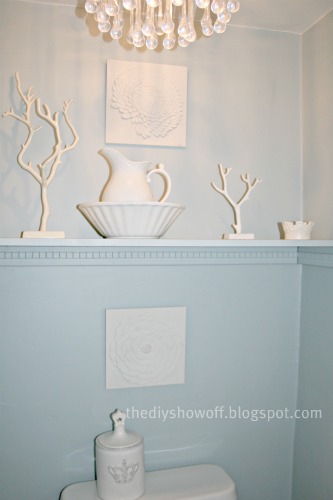
If you missed it, you can see the complete before and after bathroom makeover here

FrogTape Blog Squad

Disclaimer: I received compensation to complete this project for using FrogTape® products. All opinions, projects and ideas are based on my own experience.

Decorative Baseboard Trim Tutorial

Family room DIY started with installing new baseboards (super easy tutorial) with bulky 1×5 boards…

DAP Dyna Flex baseboard caulking tutorial

and includes plans of beefing up the baseboards too. This project is sponsored by FrogTape. In an effort to “practice”, I choose to give it a trial run in our half bathroom.

powder room

The result: success!

trim and tile

Here’s what I did:

easy DIY decorative baseboard tutorial

Before, baseboards are a nice chunky size with shoe moulding.

baseboard before

I measured each width and cut my skinny decorative trim to size (yes, tricky mitered cuts…you may want to purchase extra trim. Thankfully this skinny decorative stuff is inexpensive).

I used the spacing of my level to hold the trim in place. For a bigger room, I’d pencil a level line for leveling up trim while nailing into place.

beefing up baseboard trim

Using my nail gun and level, I nailed the trim into place.

attaching baseboard decorative detail

Then caulked the cracks using DAP paintable caulking. Tips for caulking trim:

  • Use FrogTape on the wall right next to the trim for a clean line.
  • Dip finger in water and smooth caulk. Have paper towels on hand.
  • Remove FrogTape before caulk dries. Then let caulk completely dry before painting.

After the caulk was dry, I reapplied FrogTape to the wall and to the floor, pressing down where the FrogTape would meet the paint line to activate the Paint Block Technology (keeps paint from seeping under the tape).

decorative baseboard tutorial

Paint baseboard, wall and new trim. I used a primer + paint. And did two coats.

painted decorative baseboard

Remove FrogTape by pulling away from the trim while the second coat of paint is still wet.

FrogTape

All done…beautiful thick easy baseboards with architectural detail.

easy decorative baseboard tutorial

Before:

baseboard before

After: easy, cheap and gorgeous!

trim and tile

DIY decorative baseboard trim

Definitely happening in the family room next…well, unless I decide to do a board and batten. DIY decisions, decisions. 🙂

Sharing at Domestically Speaking

*This post is brought to you by FrogTape. FrogTape provided by Shurtech. The opinions are completely my own based on my own experience. For more FrogTape projects ideas, check out the FrogTape Blog Squad.

 FrogTape Blog Squad

Powder Room Decorative Details

We remodeled our powder room a few years ago but there were some unfinished details that finally got some attention. 
Our powder room was originally the end of an entry area to our home with a window and a small coat closet.  Somewhere down the line, a previous owner put up a wall and door, installed some plumbing and created a small powder room.

Before
As you can see, this half of the small powder room used to be the closet originally.  We installed a shelf above the toilet and for years, I’ve been looking at those exposed screws and I finally reached a point where I can’t take it any more.

I saw this cool Flexible Dentil Molding at Rocker:
Flexible Dentil Molding
Inspiration for an easy DIY project! 
I measured and cut it with scissors to fit.
Next:  Glue in place. I used Gorilla Super Glue.  I did have to hold it in place and apply pressure for a couple of minutes. I’m sure there’s a better method, but this is what I had on hand and it was easy to use.  Use a level to be sure it’s ‘level’. 
Then all I had to do was paint it.  I used a craft brush to easily get into all of the grooves. I used the same color as our walls.  Painting it white like the rest of the trim would have been pretty too (paint it before gluing it in that case.)
Doesn’t it look better? Love this product! (It’d be awesome for curved/rounded areas!) No more ugly screw heads showing and a little extra pretty detail. 
I‘ve had these plaques for years as well but because hanging them is an ordeal, they’ve sat on a shelf. 
ugh…
Dischangers make hanging so much easier.

Wet the back of the disk using a fingertip and
water.

Wait about a minute and apply to the center of the back. Smooth into place.

Let dry over night (important step!) and hang! 

What do you think?  Sometimes the smallest details make a big difference. I love how it turned out. 
Want to see how nasty this bathroom was when we bought the house?  Visit Powder Room Makeover to see the before and progress. It was one of my first blog posts here at the DIY Show Off.  🙂

*I received linked products mentioned as part of my participation in the 


Link up your DIY project in the Monthly DIY Contest for a chance to win a great prize package!