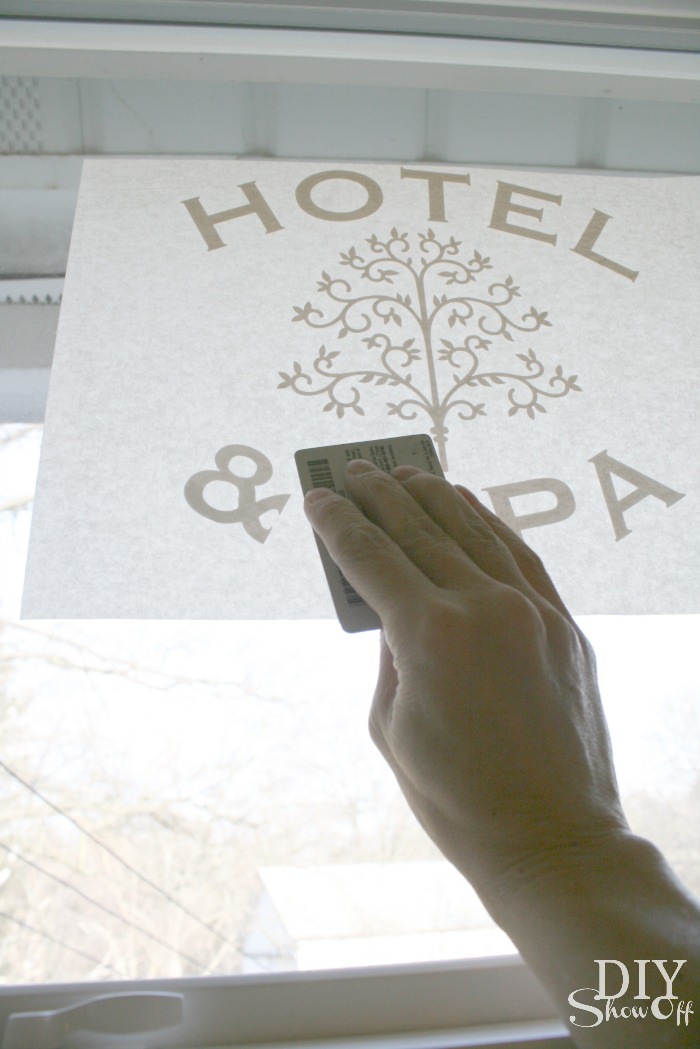
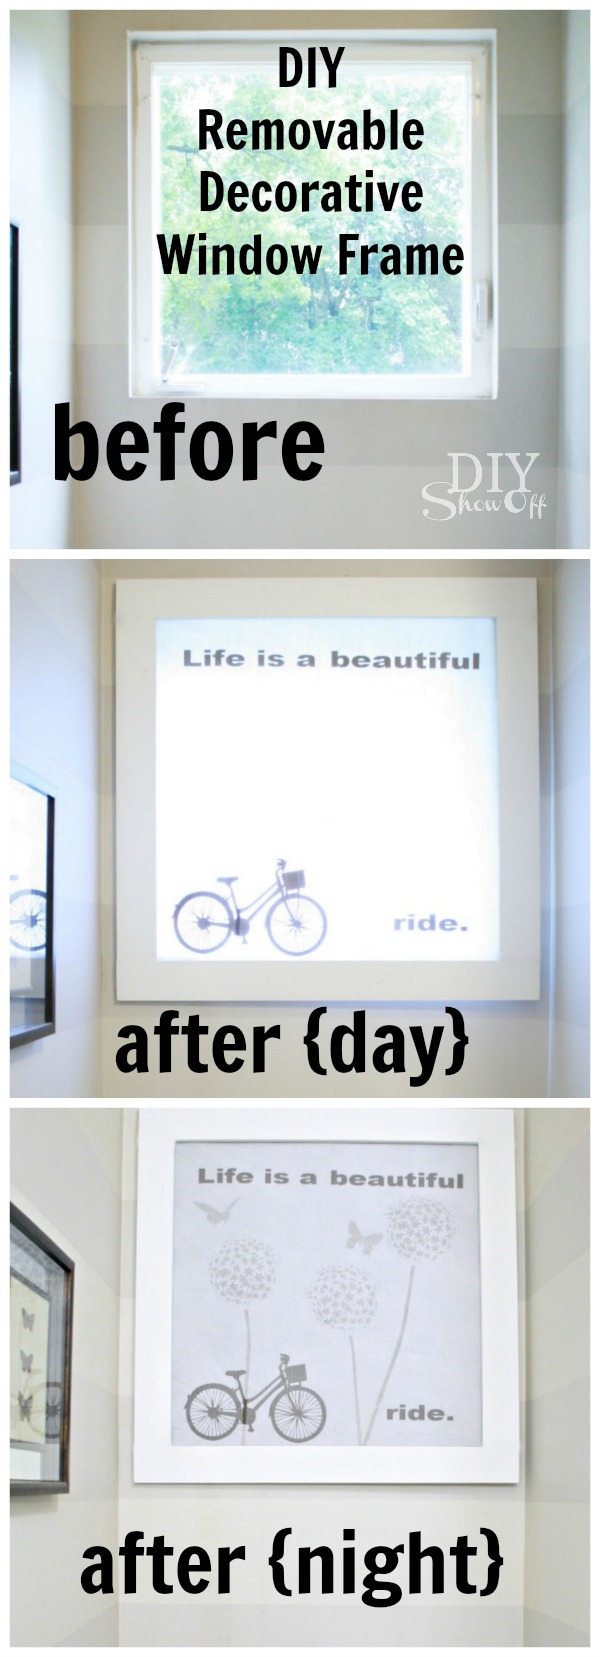
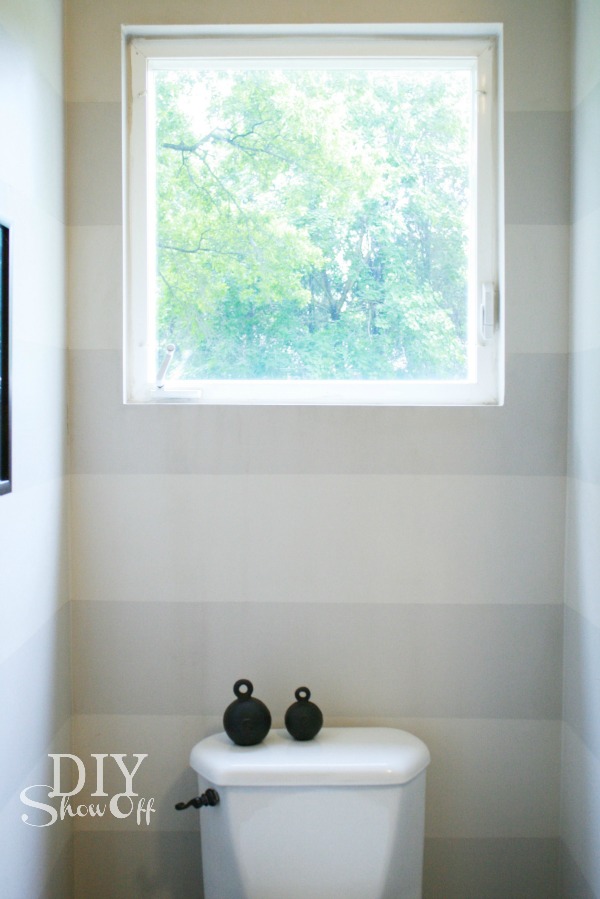
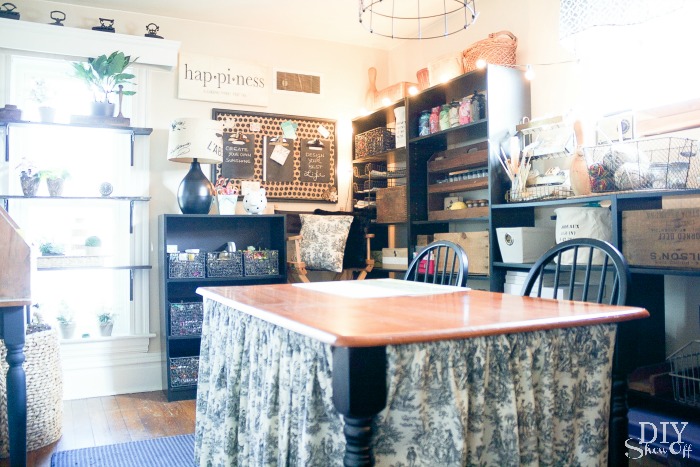
I recently shared my craft room tour. And as a little reward for cleaning up that chaos and getting organized, I treated myself to a little DIY project. I love one of the windows in this room. Here’s how it looked in the past:
The window shown above nearly reaches from floor to ceiling and with the two different sized windows in the room (one tall window with trim original to the house/one high small window with no trim), window treatments always felt tricky or lopsided.
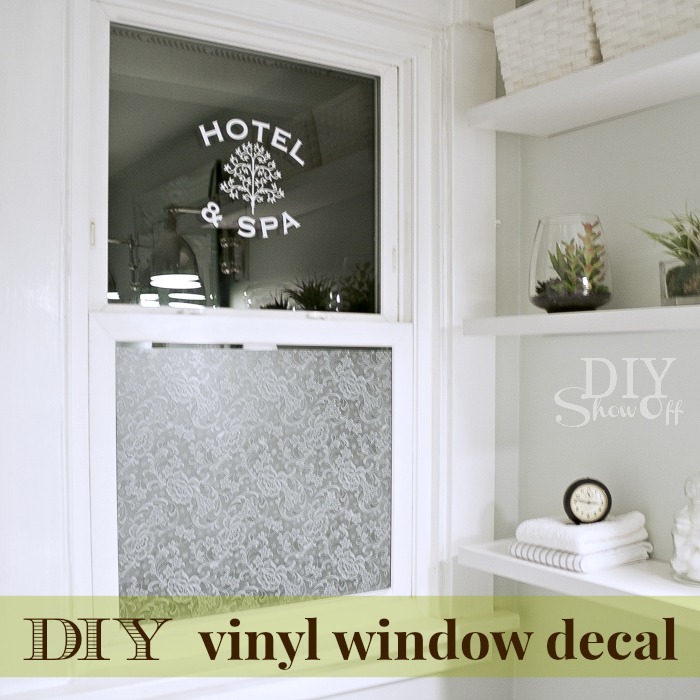
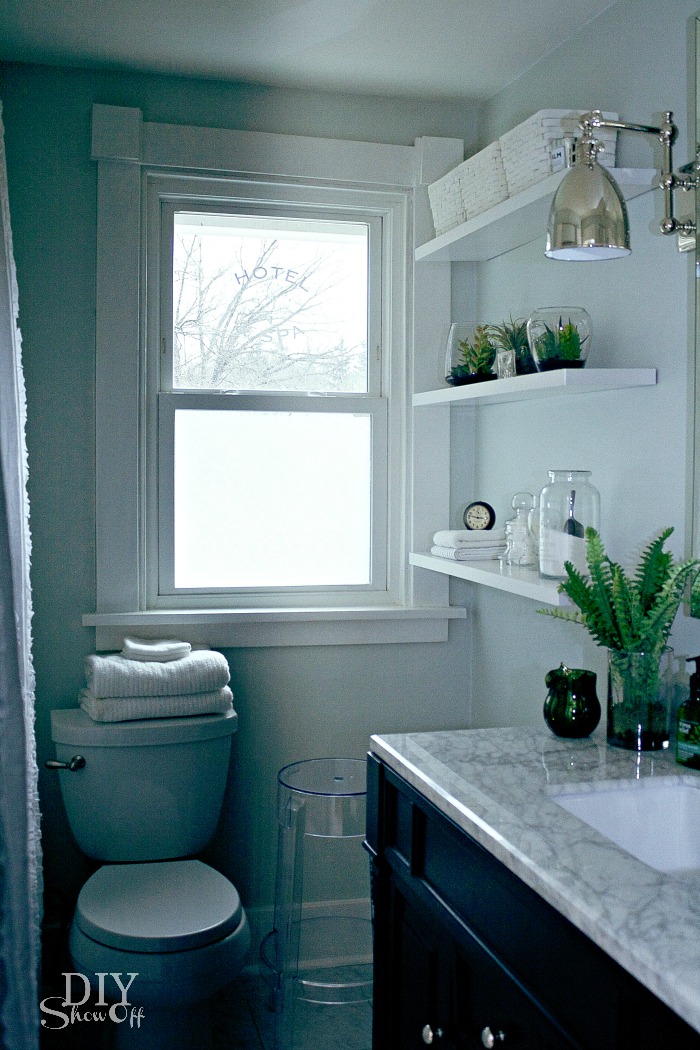
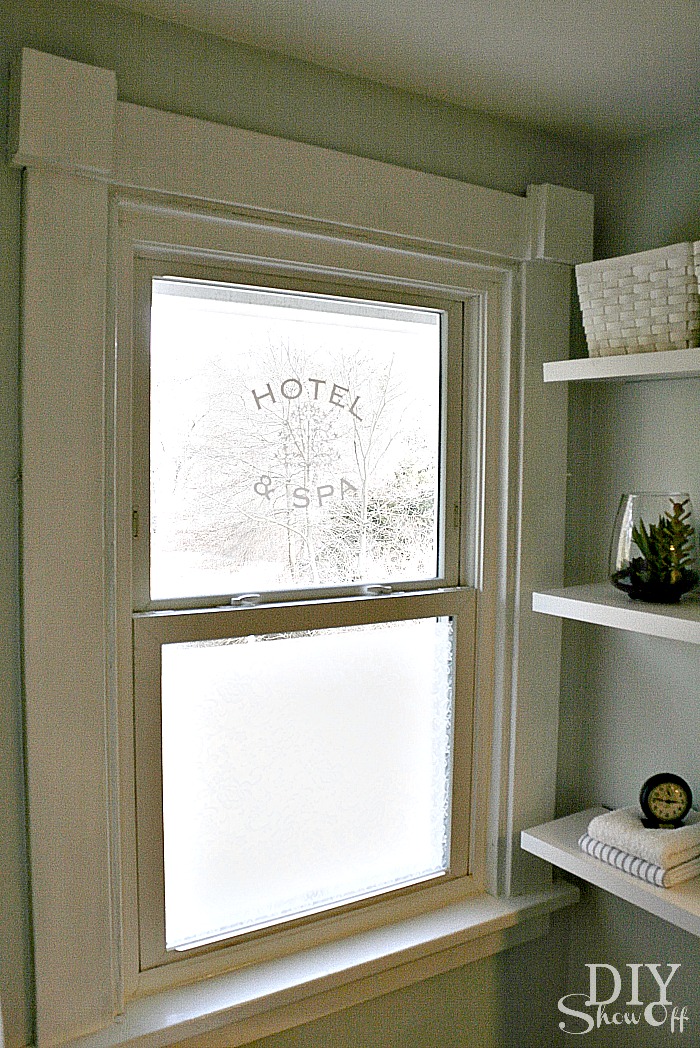
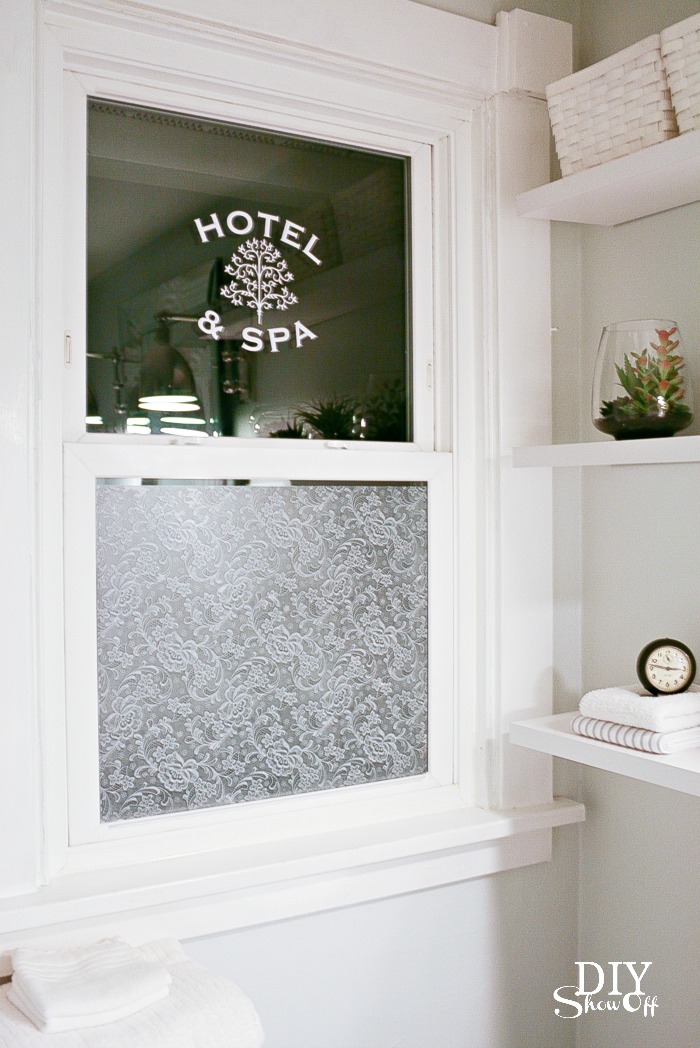
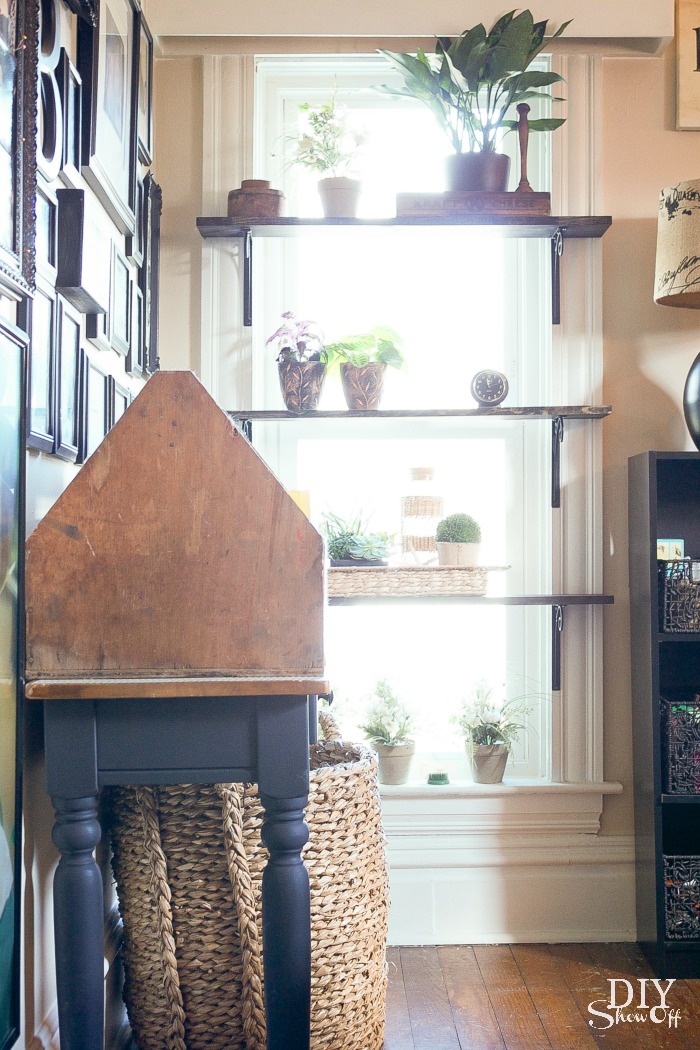
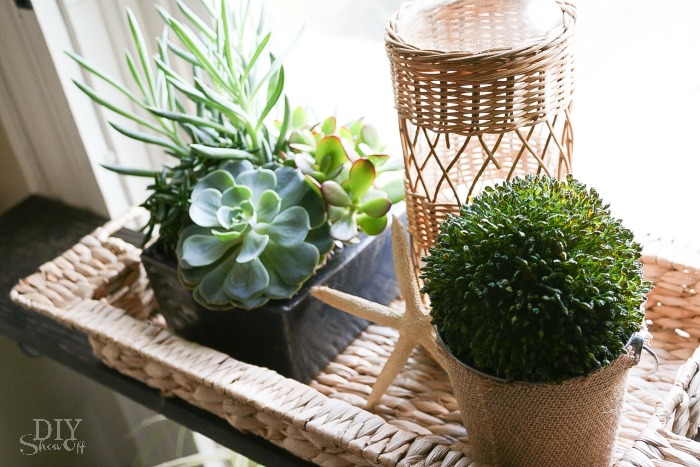
So why cover that beautiful trimmed tall window at all? It faces the back of the house, it’s a second story window and it’s not a room for dressing or a need for privacy. I’ve always wanted to put shelves on a window for plants. Plenty of sunshine should assist in changing my luck with plants, right?
Here’s what I did…
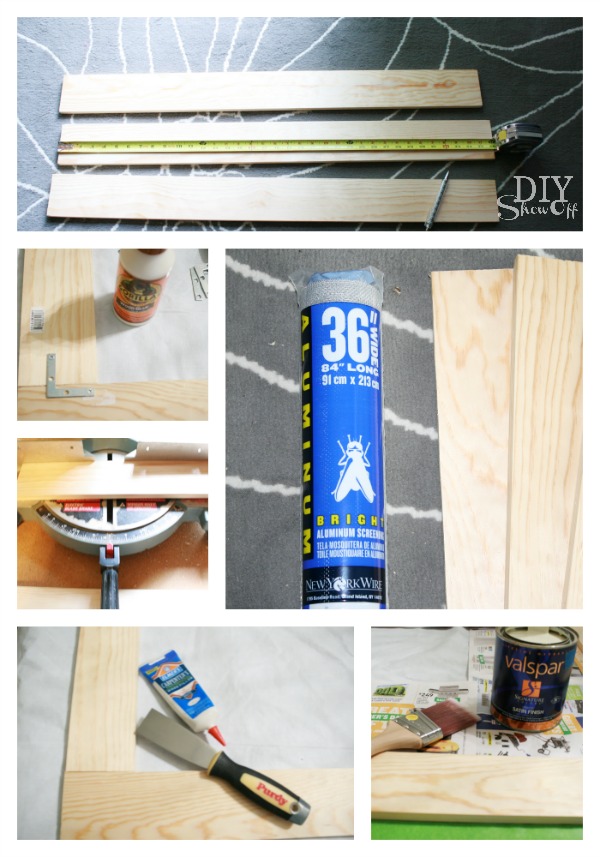
Materials:
- (3) 1 x 4″ pine boards for shelves
- (6) shelf brackets
- Minwax Polyshades (Ebony)
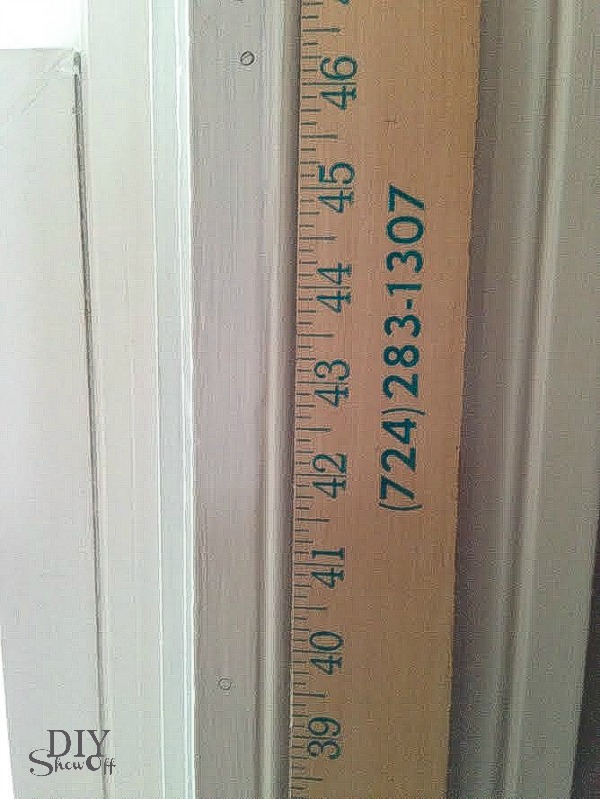
I decided where I would attach the brackets to the window trim to calculate the measurement of my shelves.
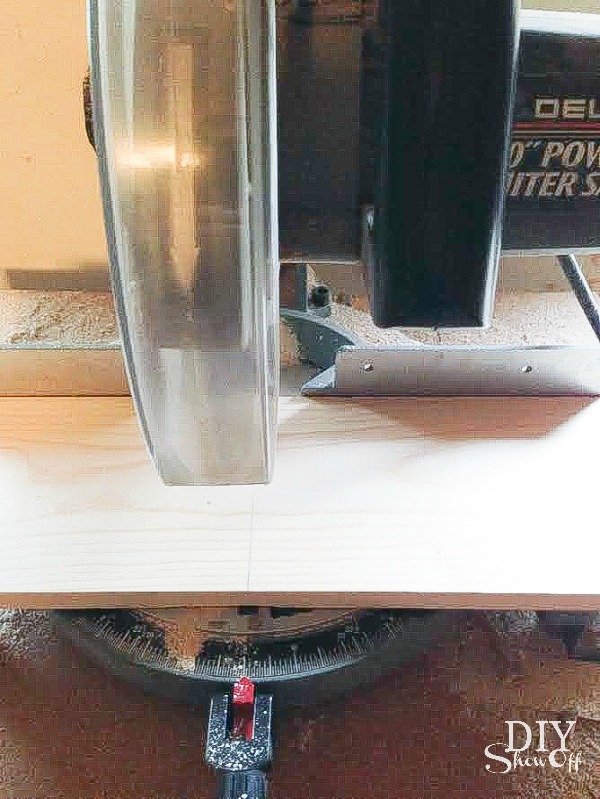
Then cut my shelves.
Sanded the rough edges and wiped them clean.
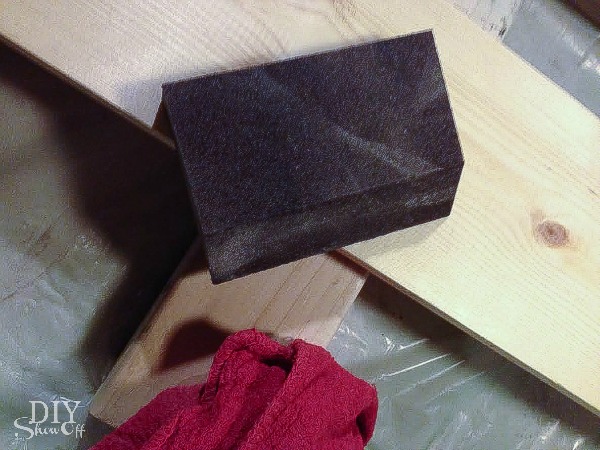
Then brushed on the Polyshades using a foam brush. I let it sit for a few minutes then wiped the stain away and let dry. I did all sides. (I may apply a wax finish to the wood shelves for further water-proofing but I was on a bit of a deadline.)

Next I marked the holes for the brackets and drilled a pilot hole.
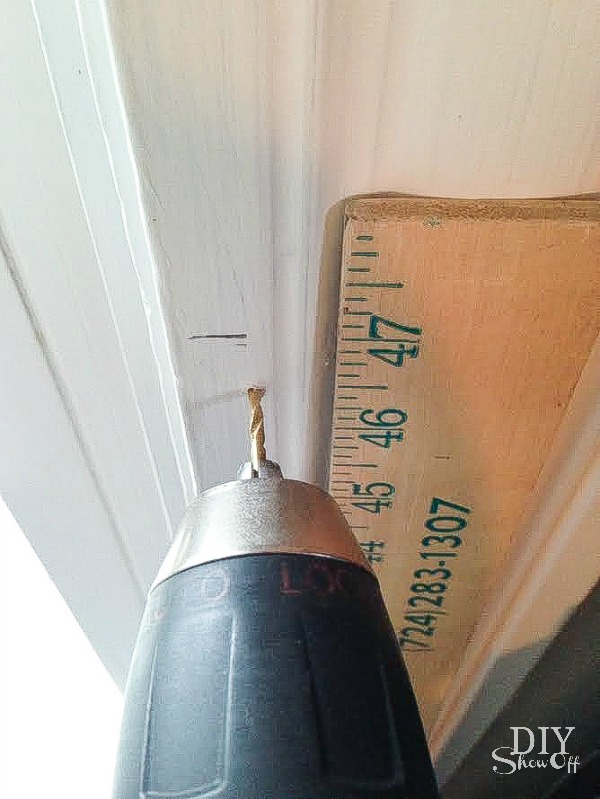
Then I just screwed the brackets into the window trim/pilot hole (can always be patched with wood filler in the future). *Use a level to be sure they’re ‘level’.

Attach the wood shelves to the brackets with screws (be sure these screws are smaller than the shelf thickness so the screw doesn’t poke up from the bottom).
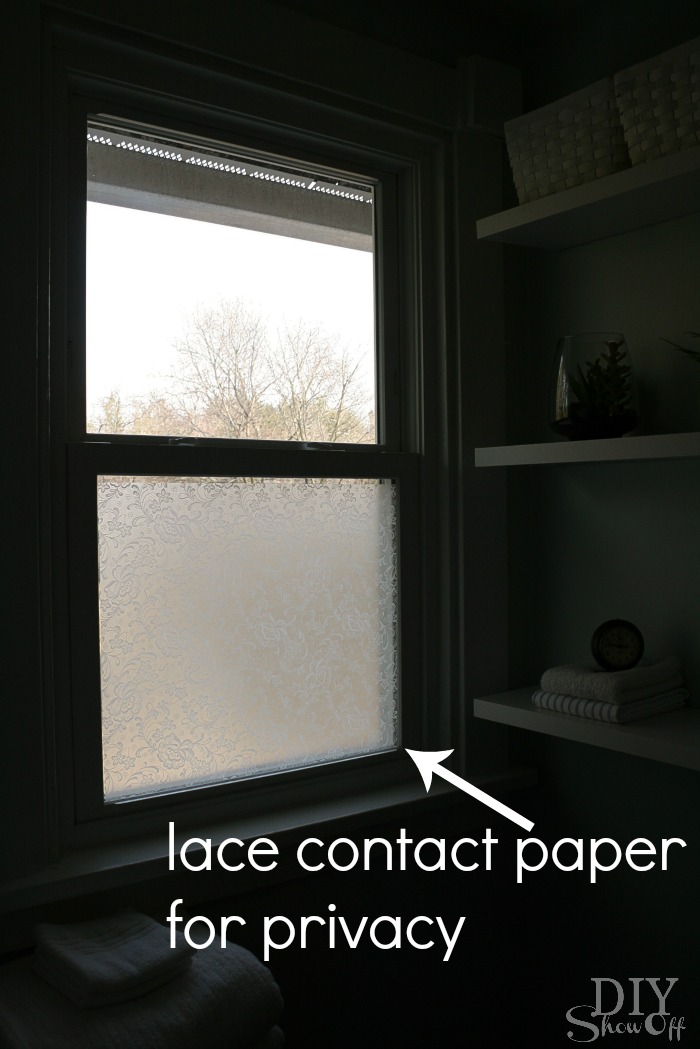
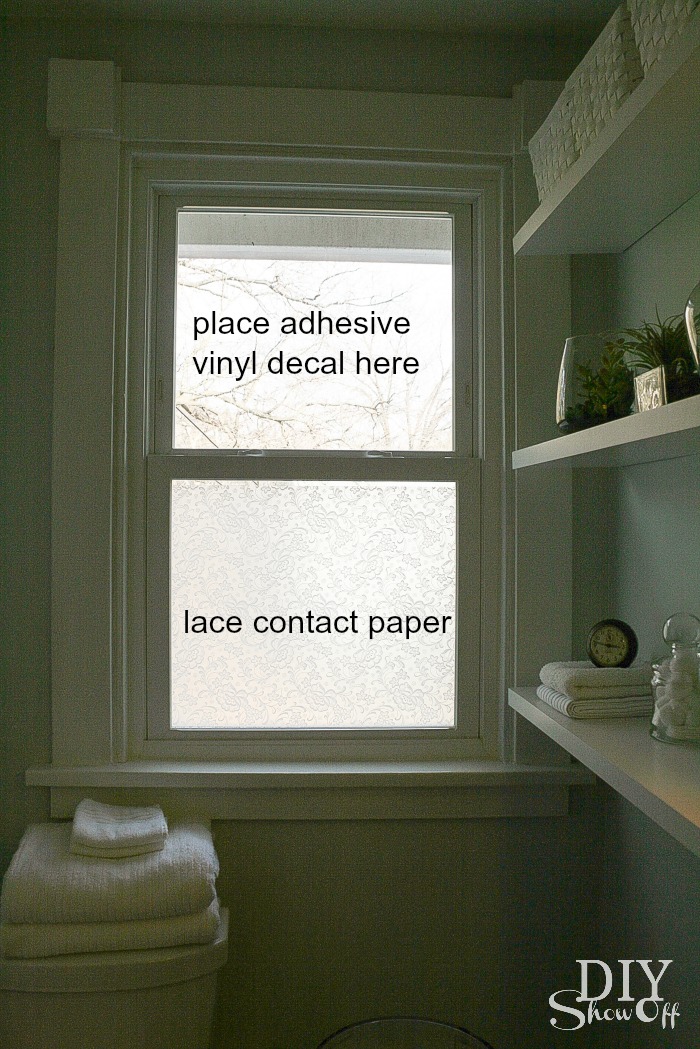
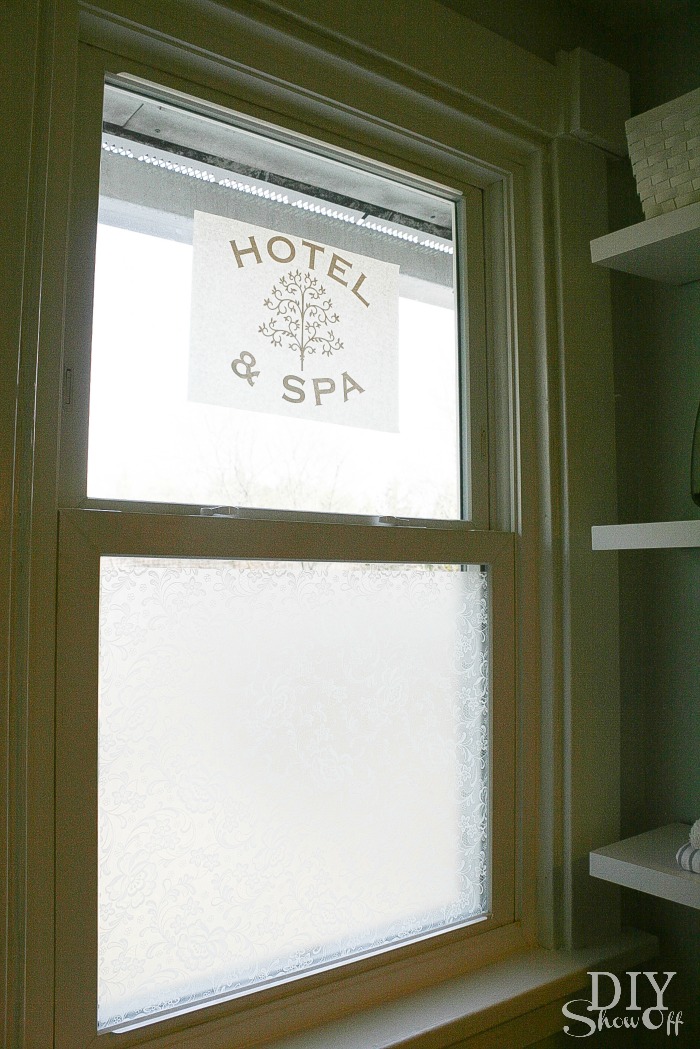
It adds a bit of privacy without a long drapy curtain panel but still lets natural light into the room.
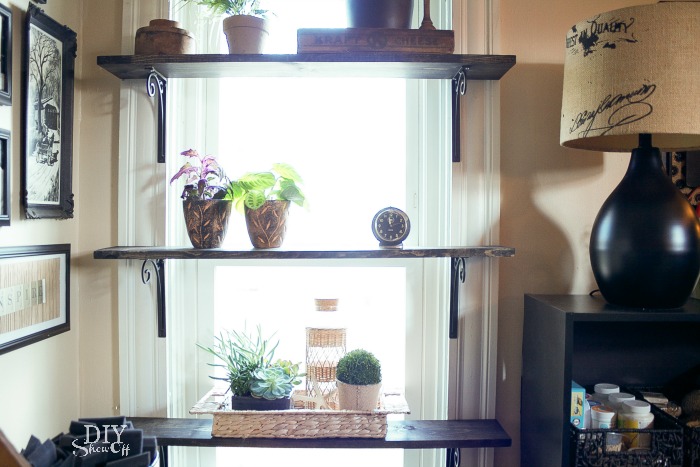
It’ll take some maneuvering/removing plants to open the window but the shelves don’t interfere with the function.
before
after


![]()