Looking for a fun and easy DIY project to add some excitement to your next backyard party? This giant outdoor dice game is perfect for all ages! Whether you’re playing LCR, Yahtzee, or inventing your own game, these oversized dice will be the hit of your next summer gathering. Here’s how to make your own giant yard dice with just a few simple supplies!
As a member of the Lowe’s Creative Ideas team, I have the option to participate in monthly challenges. One of the themes to choose from for June is DIY Outdoor Games. Our family spends a lot of time together in the summer months at mom’s pool and at our home for cook-outs and bon-fires. Having a few games on hand makes get-togethers fun.
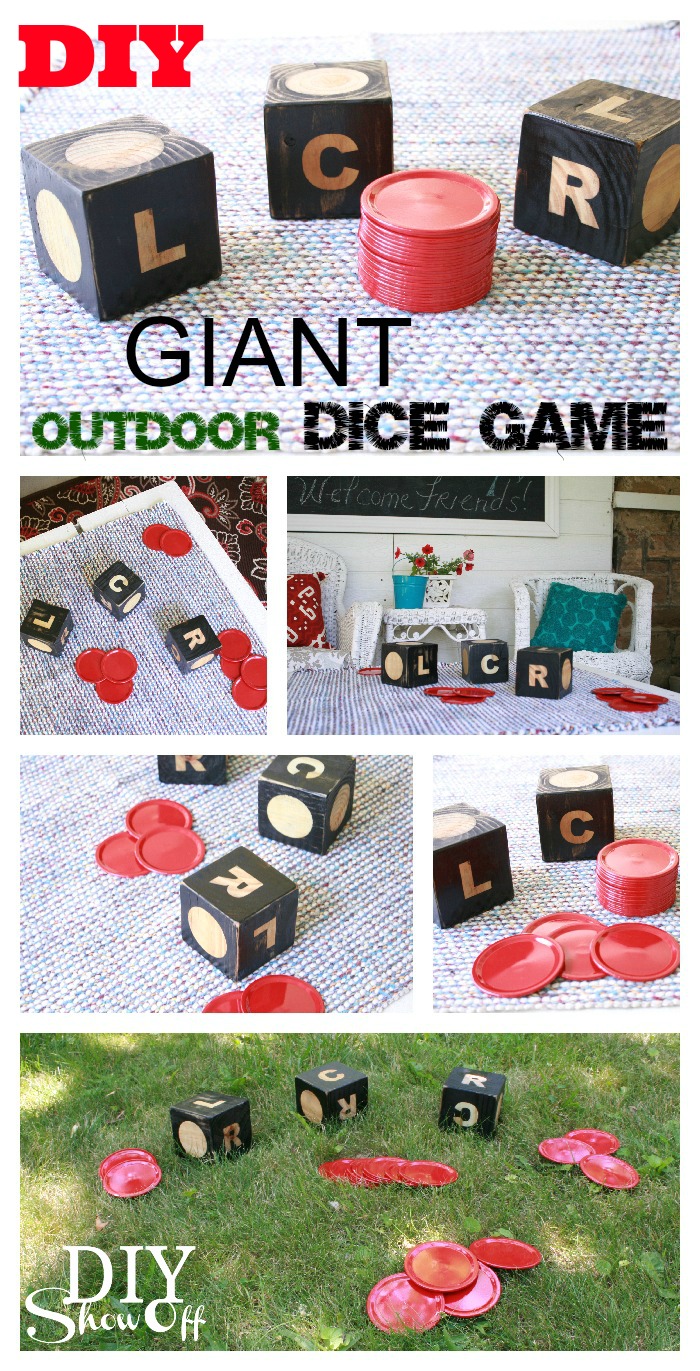
I decided to make a giant version of a new-to-me dice game called LCR. Lowe’s supplied a gift card to complete this project. I think this would be a great summer DIY hostess gift too!
Materials:
You can find most of the materials for this giant dice game at your local hardware store or online. I’ve linked a few favorites below to make gathering supplies even easier — just click to shop!
- Scrap 4″ x 4″ or you can purchase 4″ wood cubes
- Sandpaper/sanding block
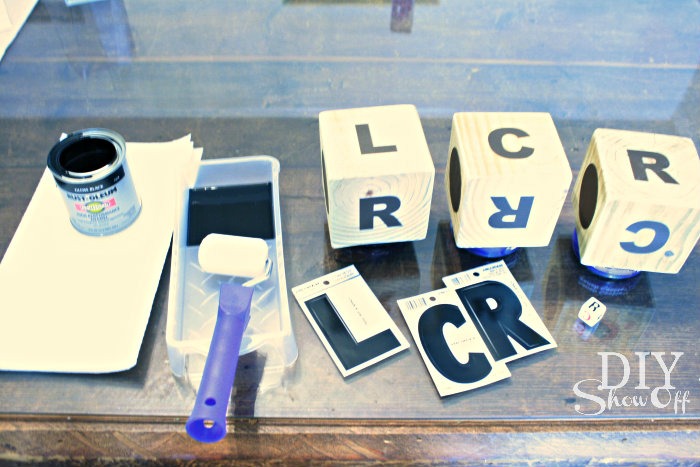
- Number and Letter Stencils (3 “L”s, 3 “C”s, 3 “R”s and 9 circles). I created my own but your can purchase vinyl letters or you could draw/paint them free-hand. Vinyl Letters & Numbers
- Rust-Oleum’s High Performance Enamel (gloss black)
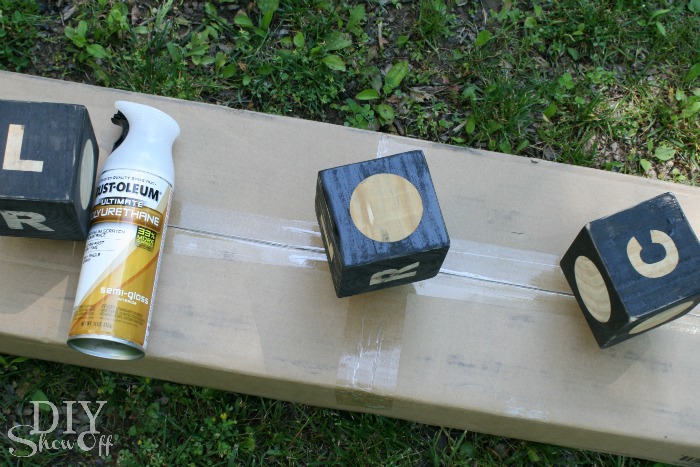
- Rust-Oleum’s Ultimate Polyurethane spray
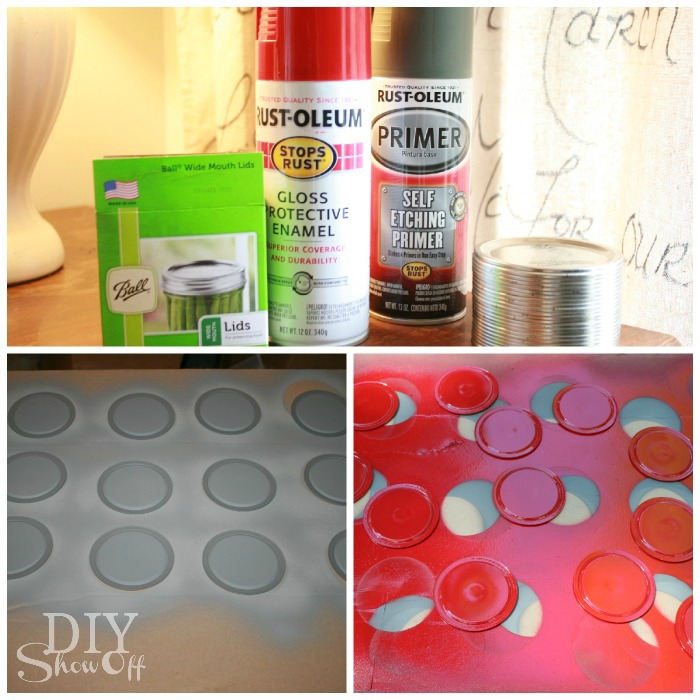
- Large canning jar lids (total 24 lids)
- Rustoleum’s Self Etching Primer
- Rustoleum’s Spray Gloss Protective Enamel (red)
- Optional for indoor table top/indoor playing: Original Left Center Right Dice Game
Tutorial:
Dice:
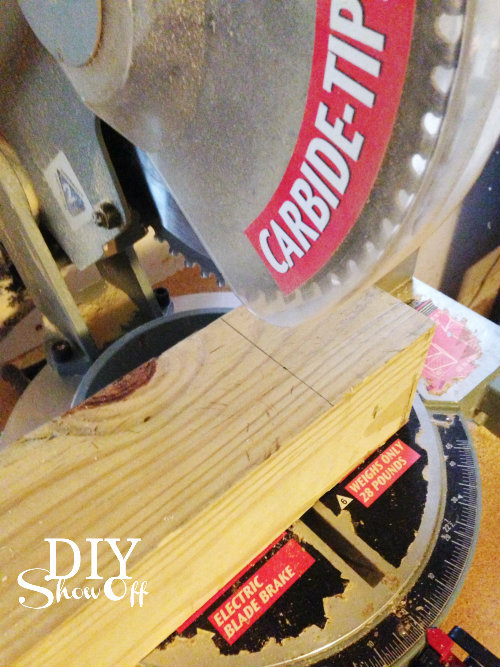
1. Measure and cut cubes from the 4″ x 4″. Note: A 4 x 4 will more likely measure 3.5 inches, not 4 inches. My cubes are 3.5″ x 3.5″. I used scrap wood since 4″ x 4″ beams come in 10 foot pieces…although that’s great option for making these as hostess gifts this summer!
2. Sand edges and surfaces of each cube.

Note: You can paint dice any way you choose: All one color with a different color lettering, color the lettering and leave the dice wood-toned, staining the wood and painting the lettering, etc. I will probably try something different with my next set so they’re each unique.
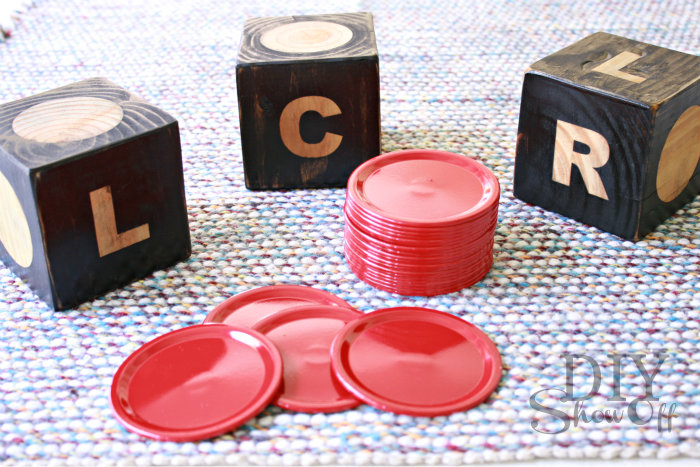
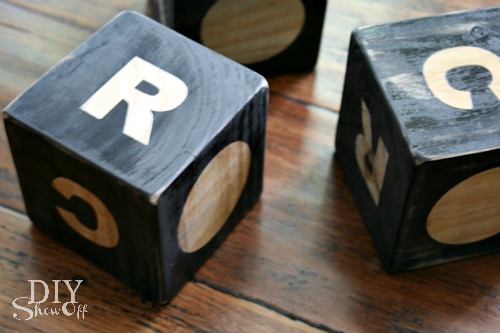
3. Apply vinyl lettering/circles: one L, one R, one C to each die (the real game set shows them all beside each other on 3 face sides), then apply 3 circles to each die. Make sure to press them down securely.
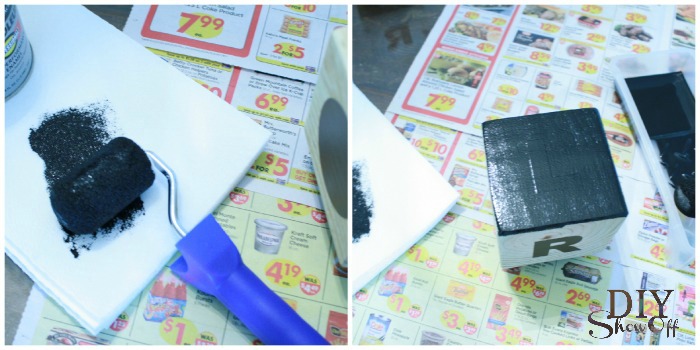
4. I elevated my dice and used a roller to apply my paint. Once dry, I flipped each die and painted the bottom side.
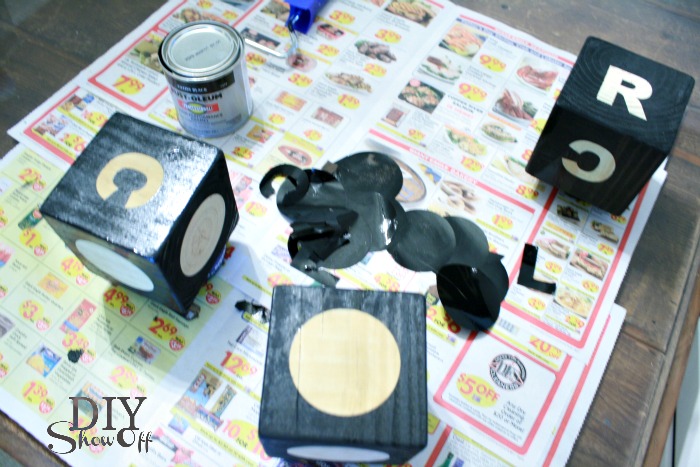
5. Peel away vinyl stencils.
6. Once dry, I sanded each die for a distressed look then wiped them clean with a damp cloth.
7. Spray each die with a lacquer/clear coat sealant and let dry.
Chips:
Spray each side of each canning jar lid with self etching primer (allowing to fully dry on one side before flipping and spraying other side). Repeat with spray gloss protective enamel. Each coat takes a long time to dry, especially around the rubber seal of the canning jar lid. I found working outside helped speed up the drying process.
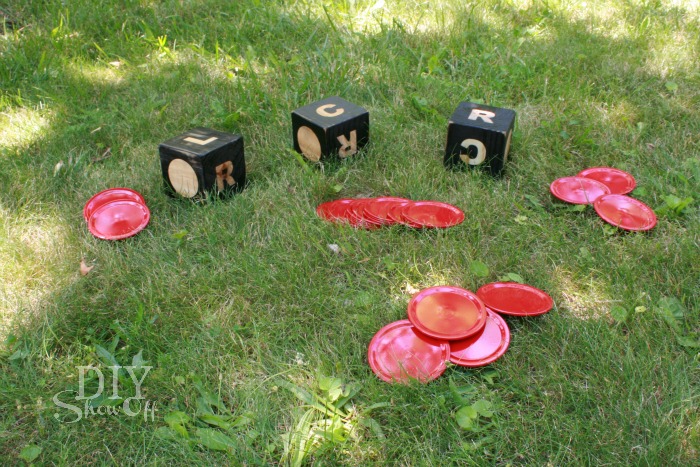
Time to Play!
Game Rules:
- Each player starts with 3 chips.
- First player rolls the dice.
- L = give a chip to the player to on your left. C = give a chip to the center pot. Roll an R = give a chip to the player to on your right. Roll a dot = keep chip.
- Pass the dice to the player on the left for their turn.
- You roll as many dice as chips you have (if 4 or more, roll all 3 dice).
- Losing all of your chips doesn’t mean you are out of the game…the game changes quickly! There is a chance another player will roll an L or an R and pass more chips to you.
- Last person possessing one chip wins the center pot.
Save for later!
Pin this idea to save for your next BBQ or outdoor party!
FAQ: DIY Giant Outdoor Dice Game
What games can you play with giant yard dice?
You can use your DIY giant dice for games like LCR, Yahtzee, Farkle, or make up your own outdoor dice games!
What size should giant dice be?
4×4 wood blocks work great for oversized dice — they’re big enough to see but still easy to toss.
Can I seal the dice for weatherproofing?
Yes! Be sure to use an outdoor wood sealer or spray to help protect your dice from moisture.
More DIYShowOff Outdoor Projects:
Check out our inground swimming pool installation story!

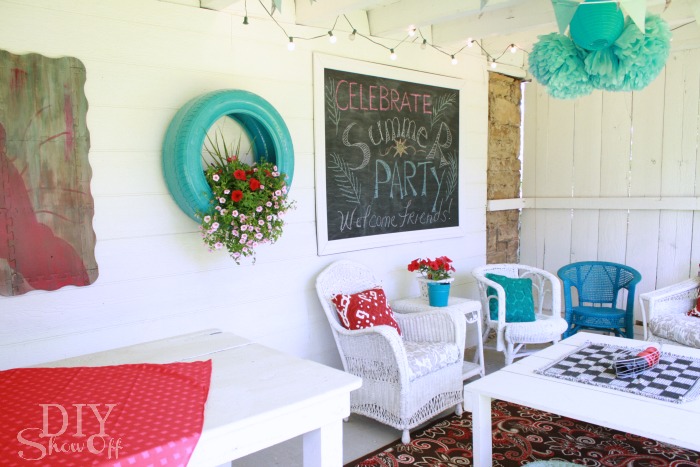
Our barn party patio is where we entertain for summer backyard cookouts and BBQs.