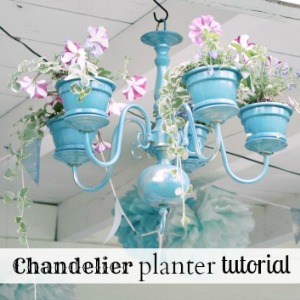
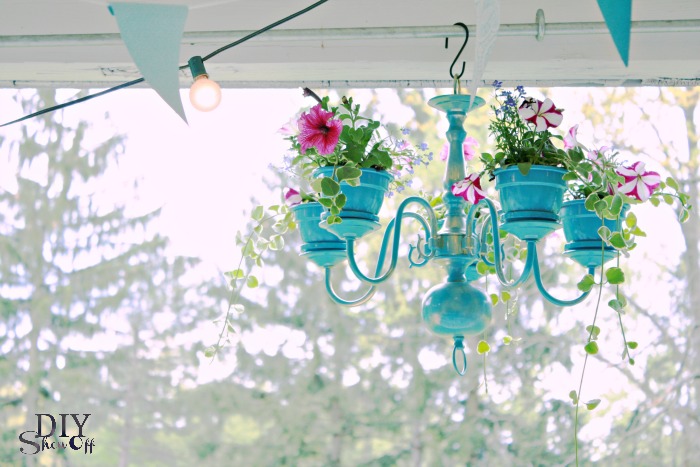
Looking for a unique garden project? This DIY outdoor chandelier planter is one of my favorite upcycled creations. It’s the perfect way to repurpose a vintage light fixture into a stunning hanging garden display. We hosted a family gathering – filled with good food, a fun DIY gardening project and great times…stuff special family memories are made of.
 I started the prep work in advance, so that the fun part of planting flowers was the only concern on the part of my guests.
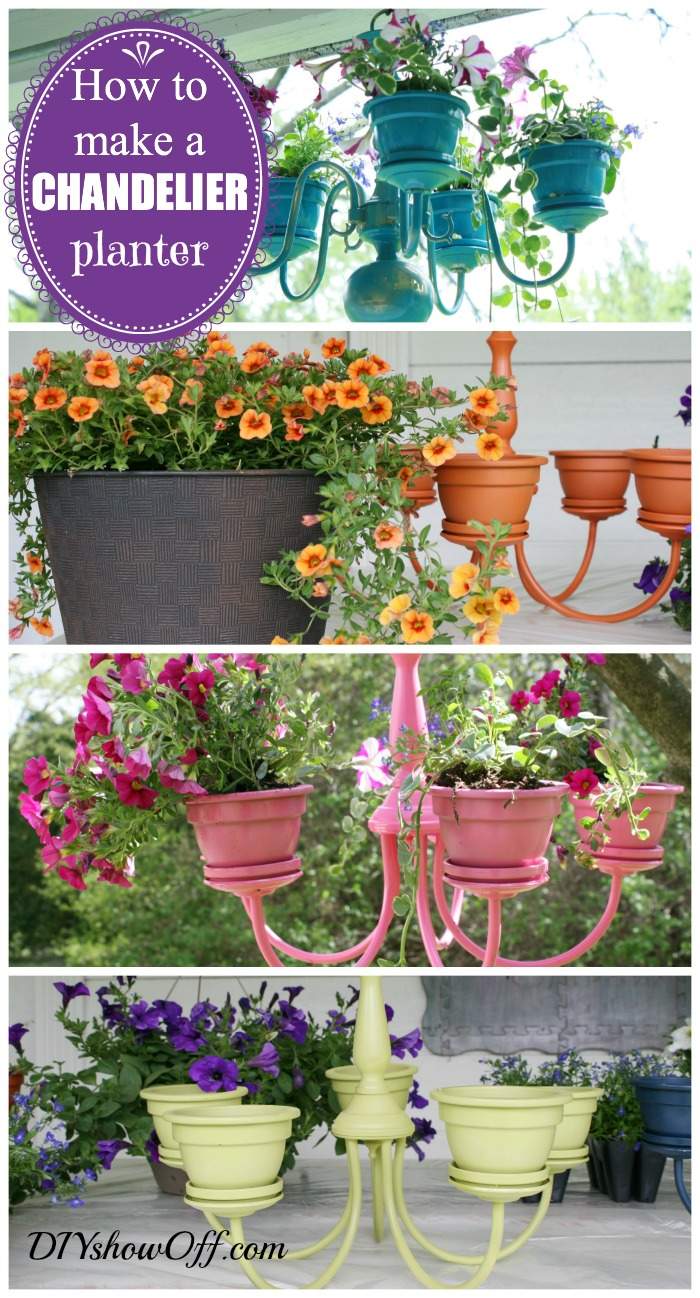
How to Make a Chandelier Planter
Repurposing a chandelier into a planter is a budget-friendly way to add charm to your outdoor space.

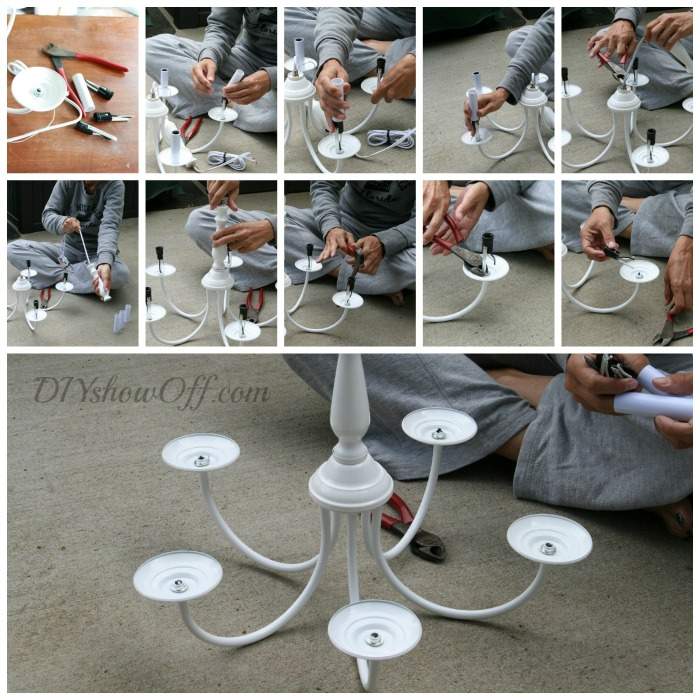
Materials:
Some of the links below are affiliate links, which means I may earn a small commission at no cost to you.
Tools:
- Wire cutters
- Garden trowel
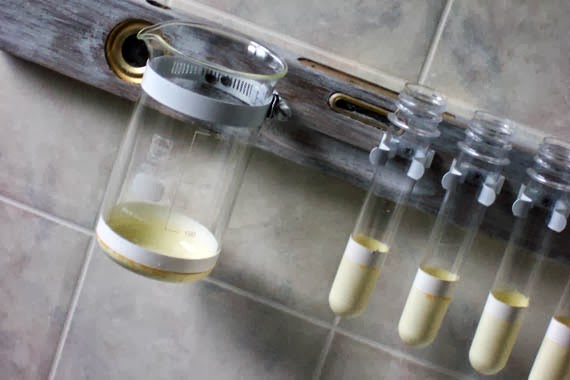
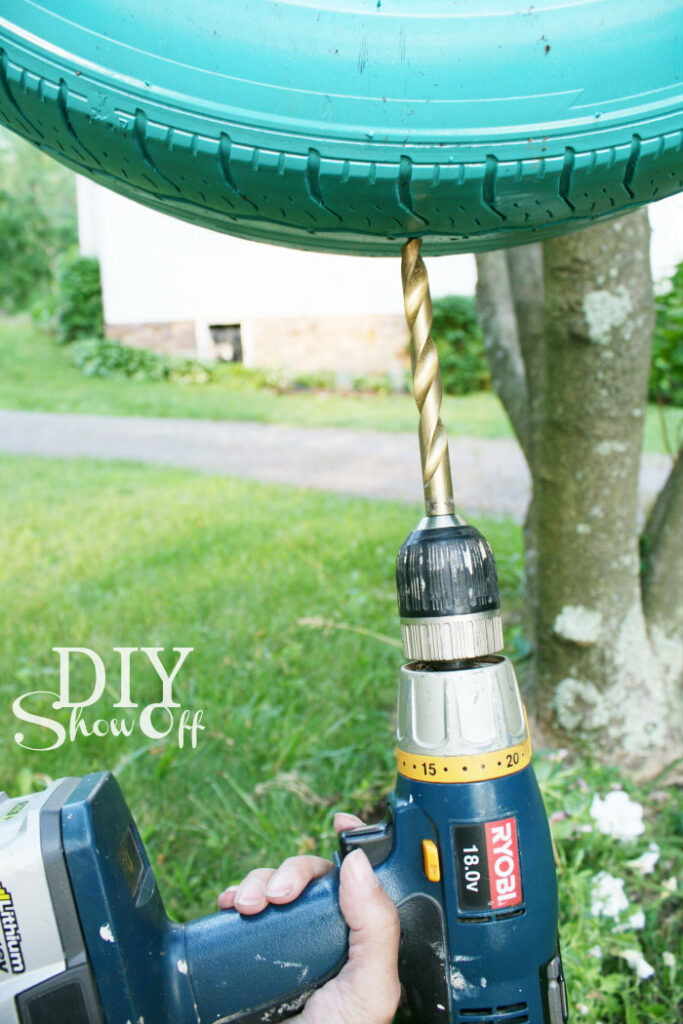
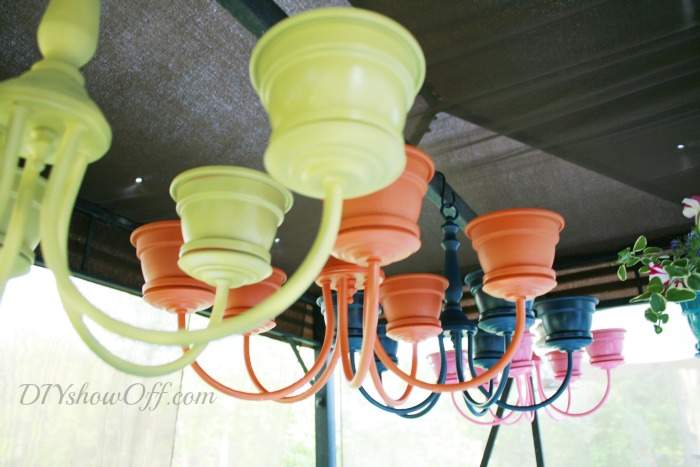
1. Slide off the plastic ‘candle’ holders and remove all electrical/wiring from the chandelier using the wire cutters.
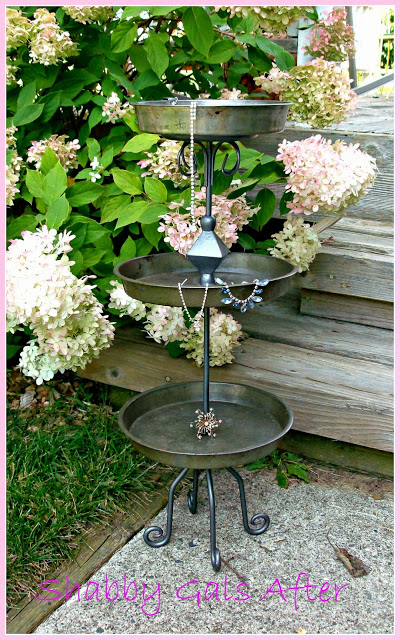
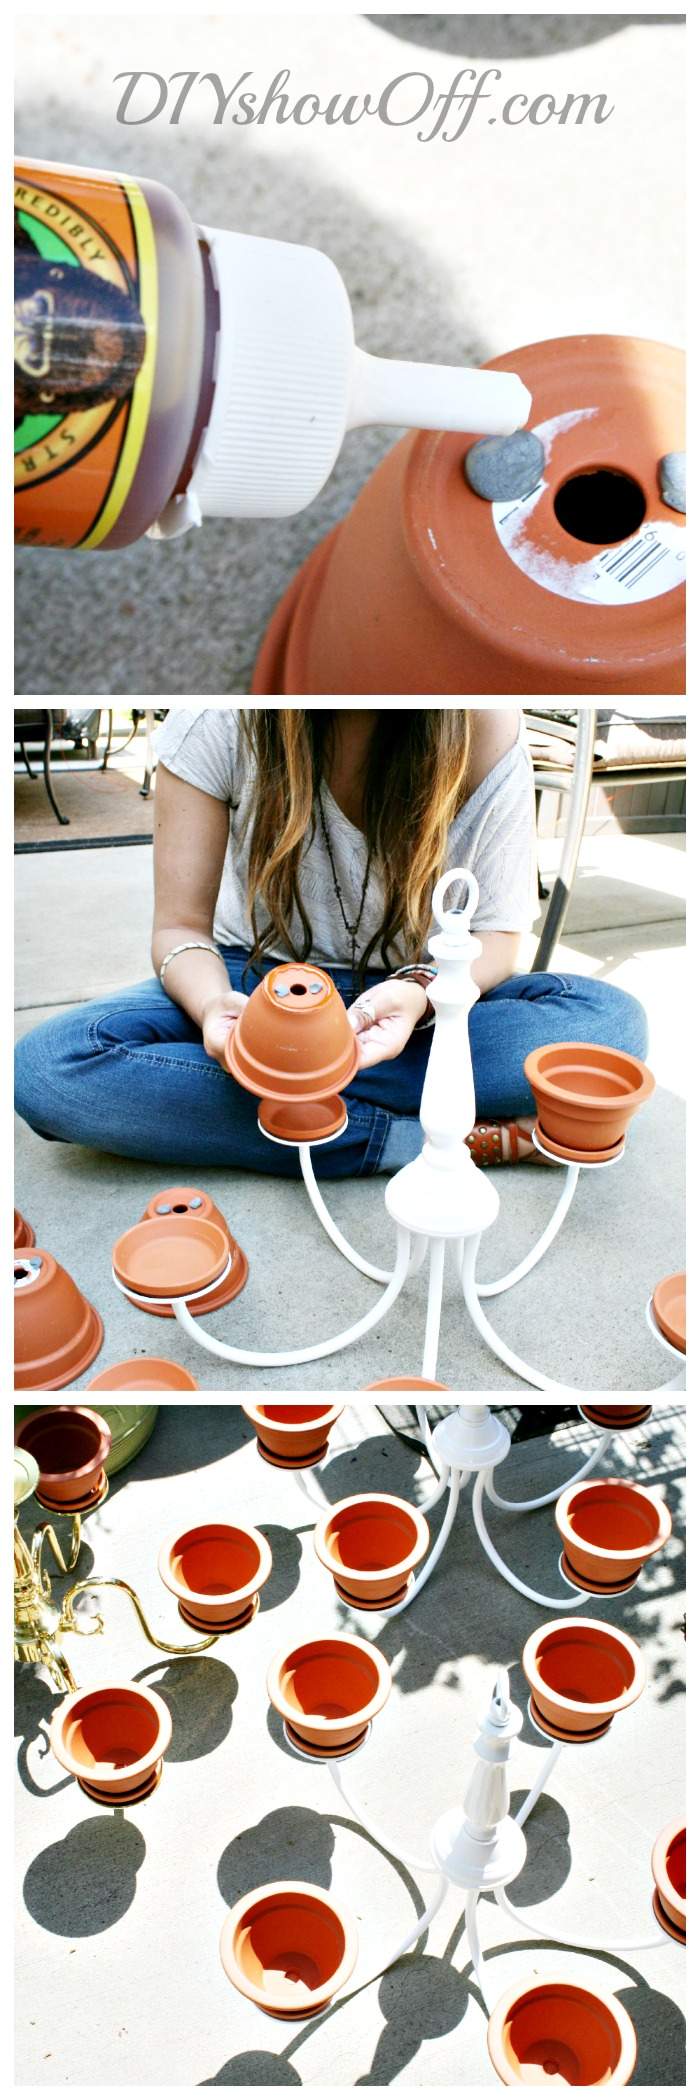
2. Attach terra cotta saucers using epoxy putty and glue. The epoxy putty helped to keep the things in place since clamping isn’t possible as well as raise the pot a bit for draining.
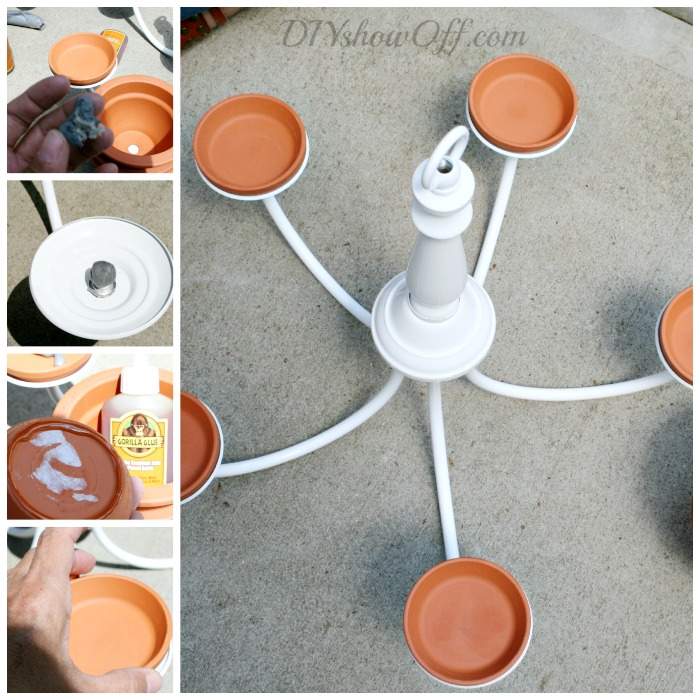
Repeat for attaching the pots. I let the glue dry 1-2 hours before spray painting and allowed it to cure several days before planting.
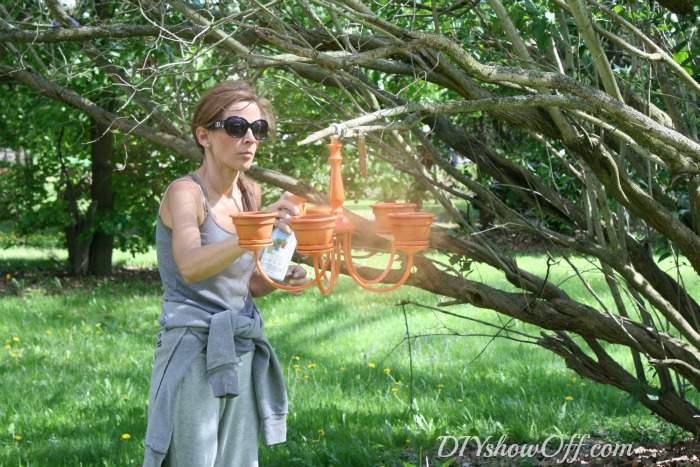
3. Spray paint the entire thing (even your chain if you’ll be using it). I found that hanging the chandelier from a low tree branch to be the easiest spray painting process (especially if the chandelier’s shape doesn’t sit level) but you could also do a 2-step process (position upside down on drop cloth/cardboard, spray paint, dry, flip and the spray from top and let dry). Some parts of the chandelier’s design may also be removable (simply unscrew) and can be taken apart for spray painting if needed. Wear a mask if you’re working under poorly ventilated conditions or breezy weather and eye protection.
4. Dry. Since I worked in advance, the chandeliers had several days to dry/cure. The glue did expand and become visible. And a little scratching of the paint happened in places as well. But as we say around here, “imperfection adds character” and those things are not something you pick out and focus on when the project is complete (any imperfections stand out in the completed project below?… nope!) You could lightly sand and spray a base primer on your chandelier as well.
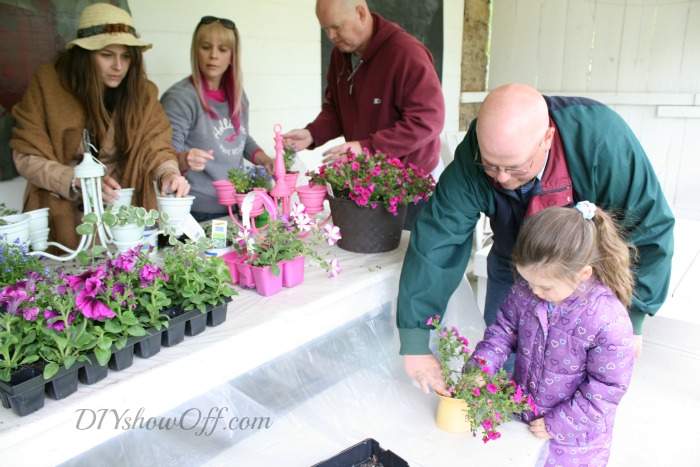
5. Plant! We had several color coordinated flower options on hand as well as some ivy and used Miracle-Gro Moisture Control Potting Soil – perfect for container gardens. I set up the ‘planting station’ on our barn patio to escape the windy conditions.
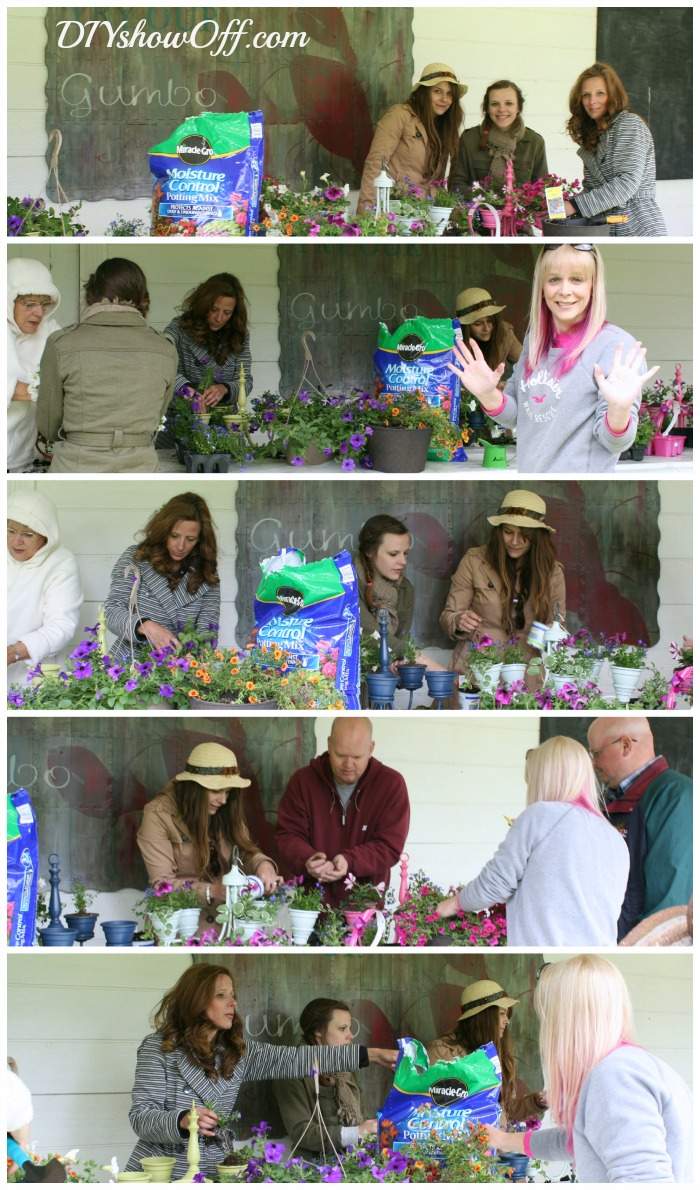
Even the little ones had fun planting flowers for mom in little watering cans from the dollar store.

6. Water according to plant instructions. NOTE: The Miracle-Gro Moisture Control Potting Mix protects against over & under watering. Virtually fool-proof if you do not possess a green thumb. Be sure to water your plants daily!
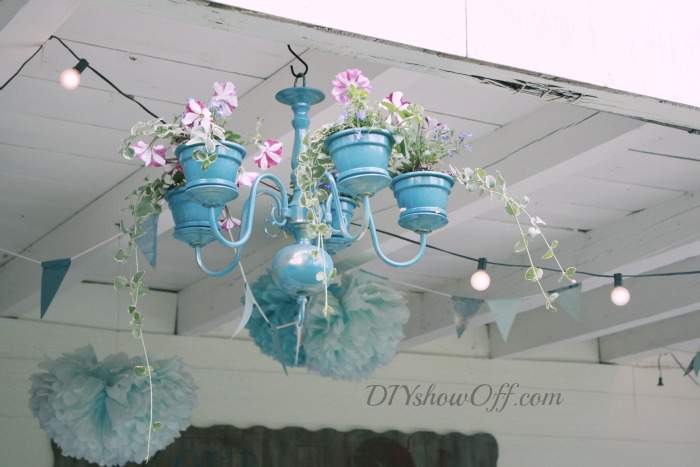
7. Hang!
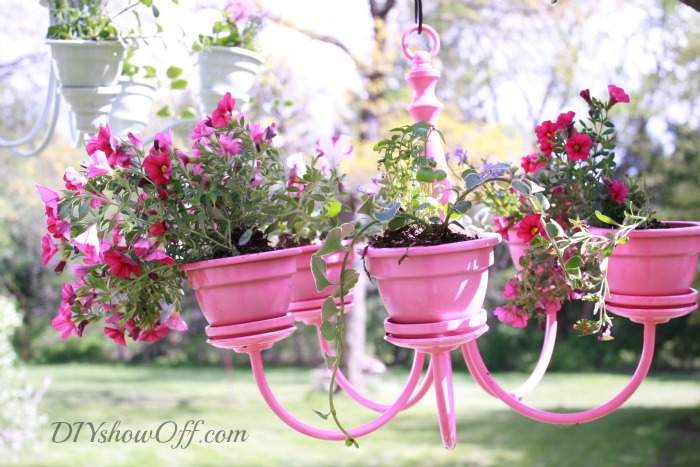
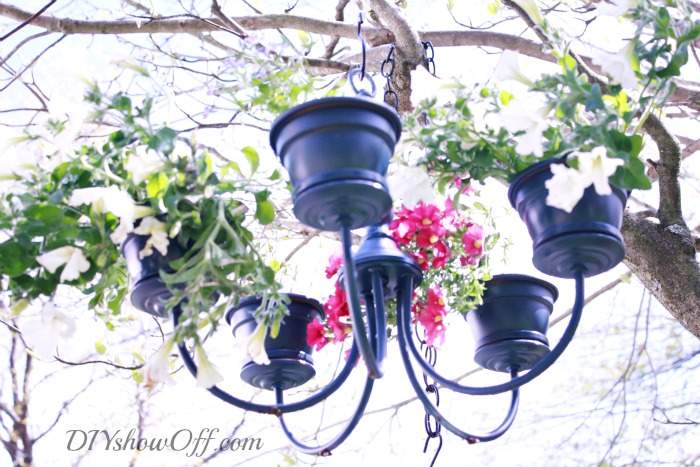
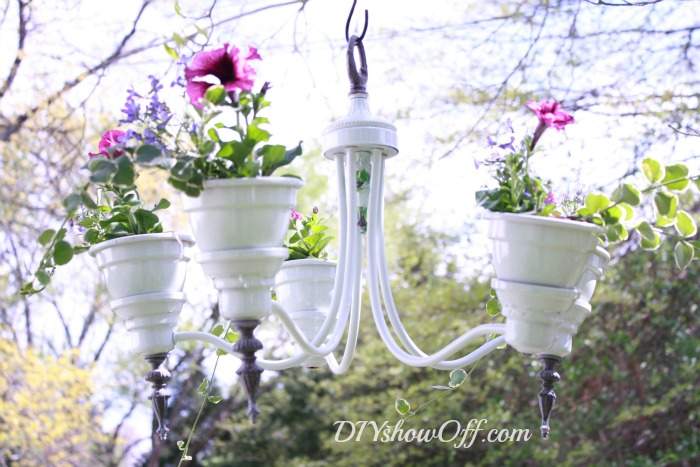
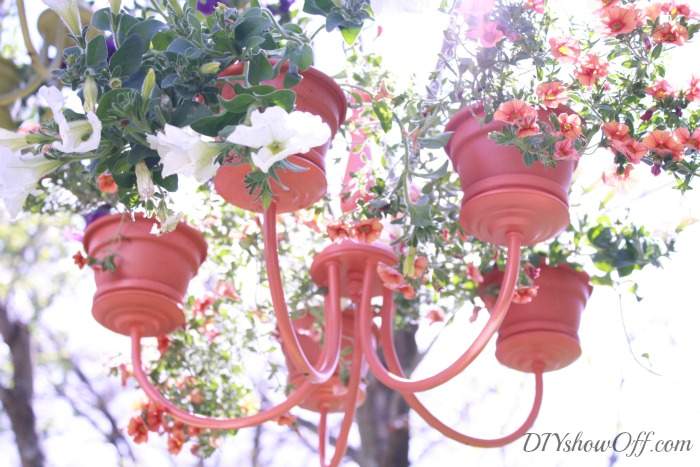
DIY Hanging Chandelier Flower Planters Complete
A hanging chandelier makes a beautiful patio focal point or porch feature and is ideal for succulent or trailing flowers. Do you love thrifted garden DIY decor?
FAQ
Q: What kind of chandelier is best for a DIY planter?
A: Metal chandeliers with open arms or cup holders are ideal. They’re sturdy and easy to paint.
Q: Can I hang my chandelier planter indoors?
A: Absolutely! It makes a unique indoor hanging herb garden or boho planter too!
💡 Love this idea? Pin it for later!
Whether you’re upcycling a thrift store find or adding charm to your garden, repurposed garden decor like this DIY chandelier planter is worth saving.
👉 Don’t forget to share it with a fellow DIY-lover or tag @DIYShowOff if you make one!
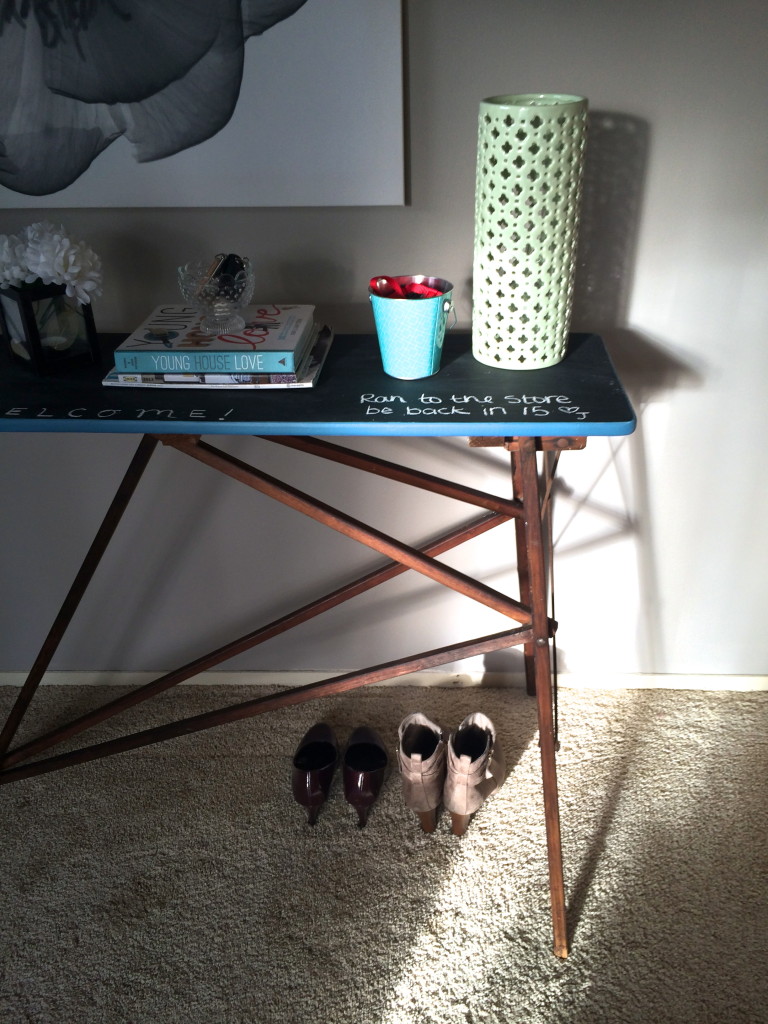
Note: My upcycled chandelier planter is hanging from a plant hook on our patio. Sunlight and watering are not an issue. The design of some of the chandeliers posted above also allow for table top display. I only ‘display’ my chandelier planter like a ‘chandelier’ on our covered patio as party decorating (a few hours then back to the hook). Also, drainage is limited due to the glue however, I water daily and the Miracle Gro Moisture Control Potting Soil contributes to a healthy balance.
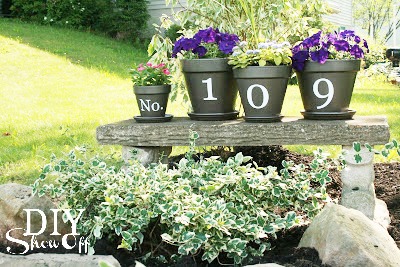
Related posts
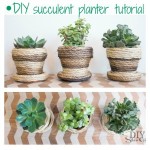
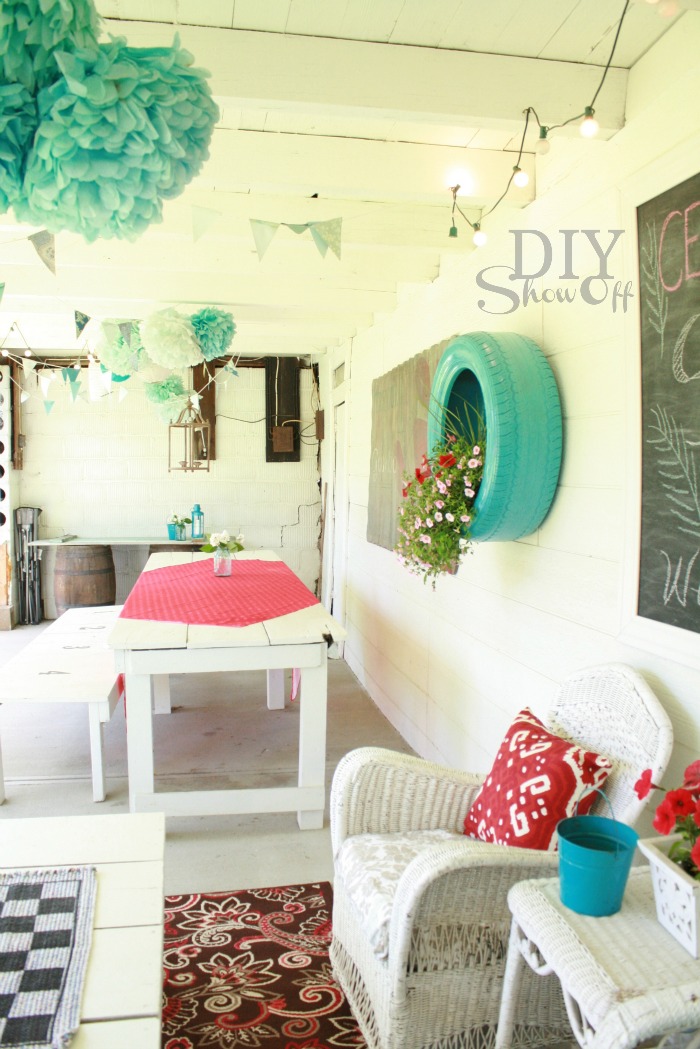
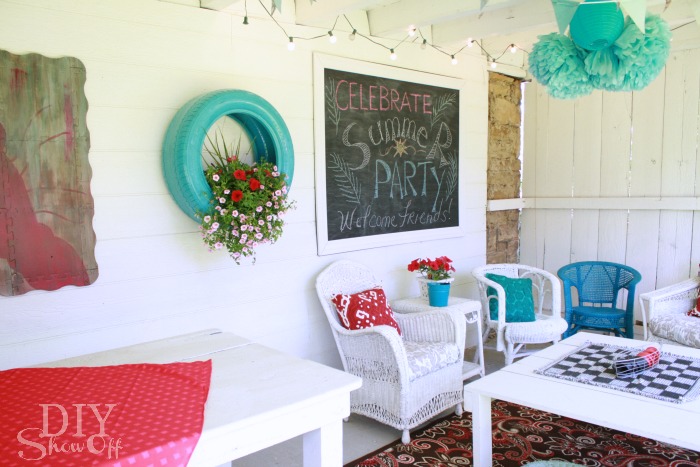
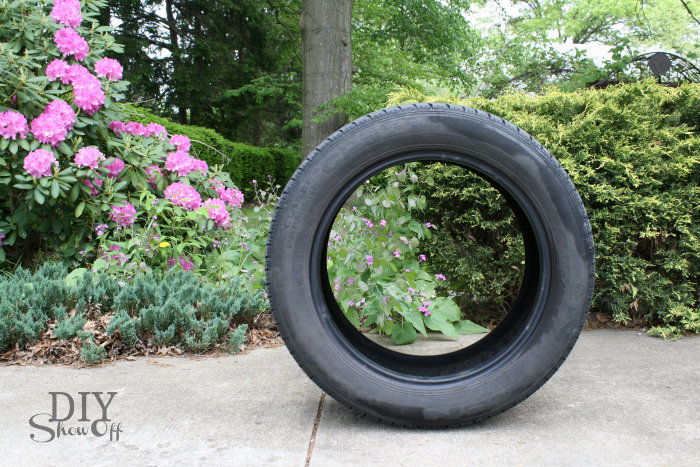
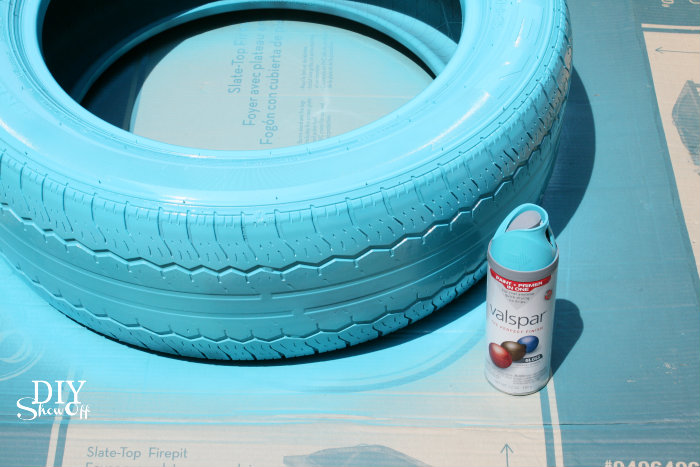
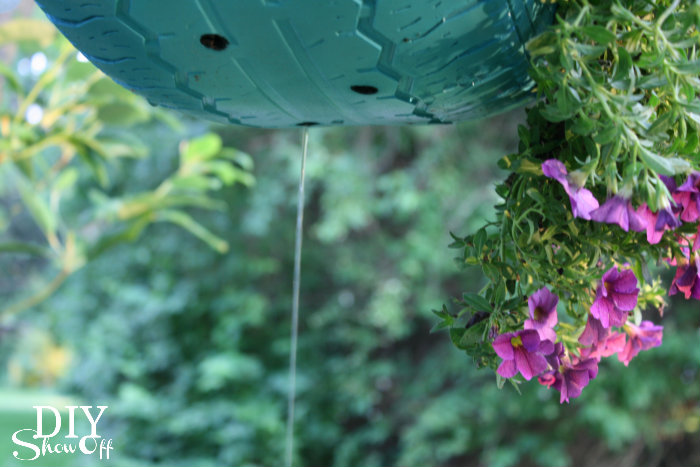
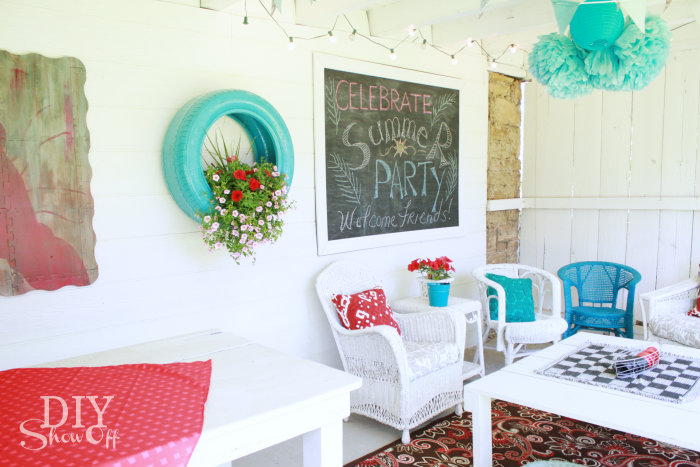
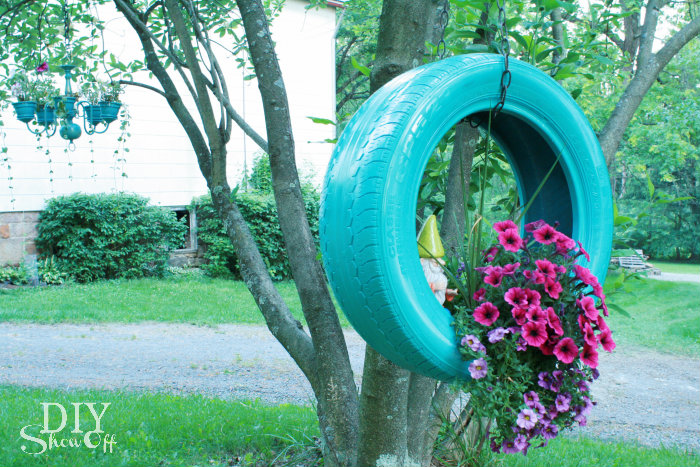
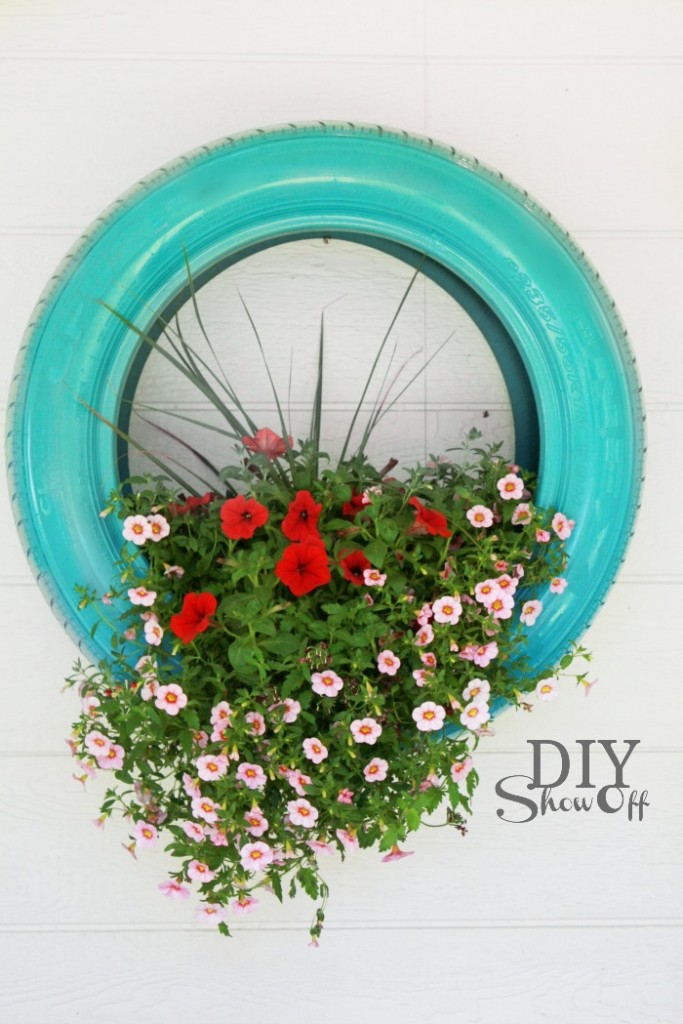
DIY Tire Planter

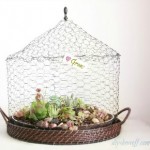
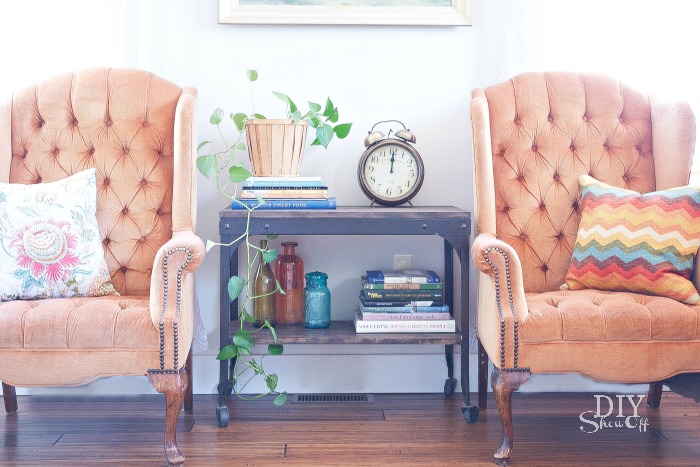
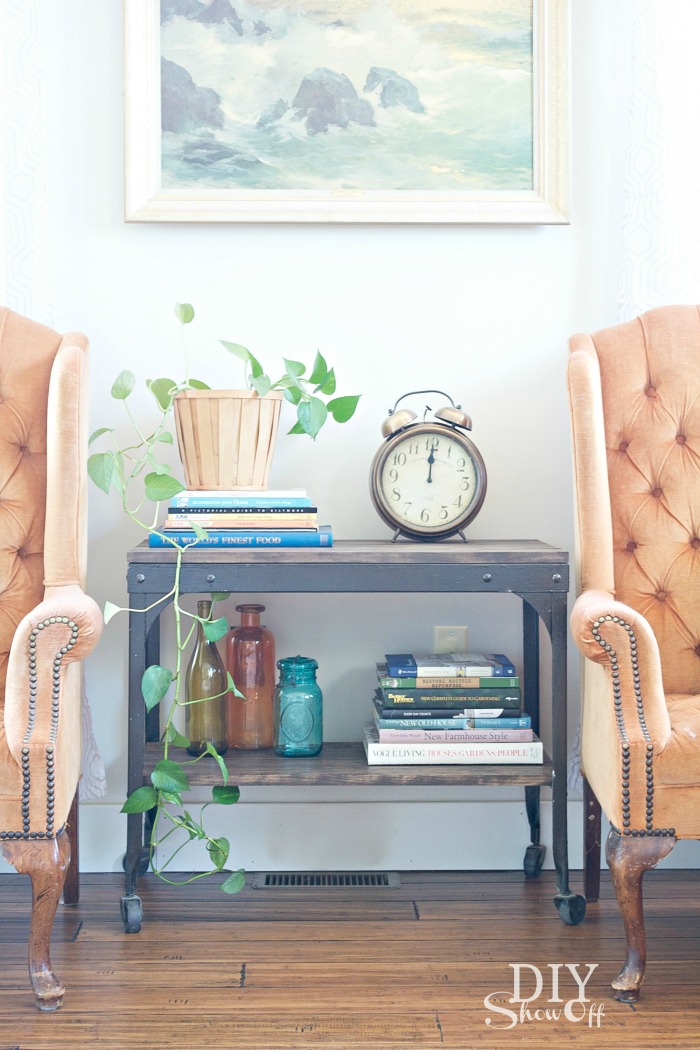
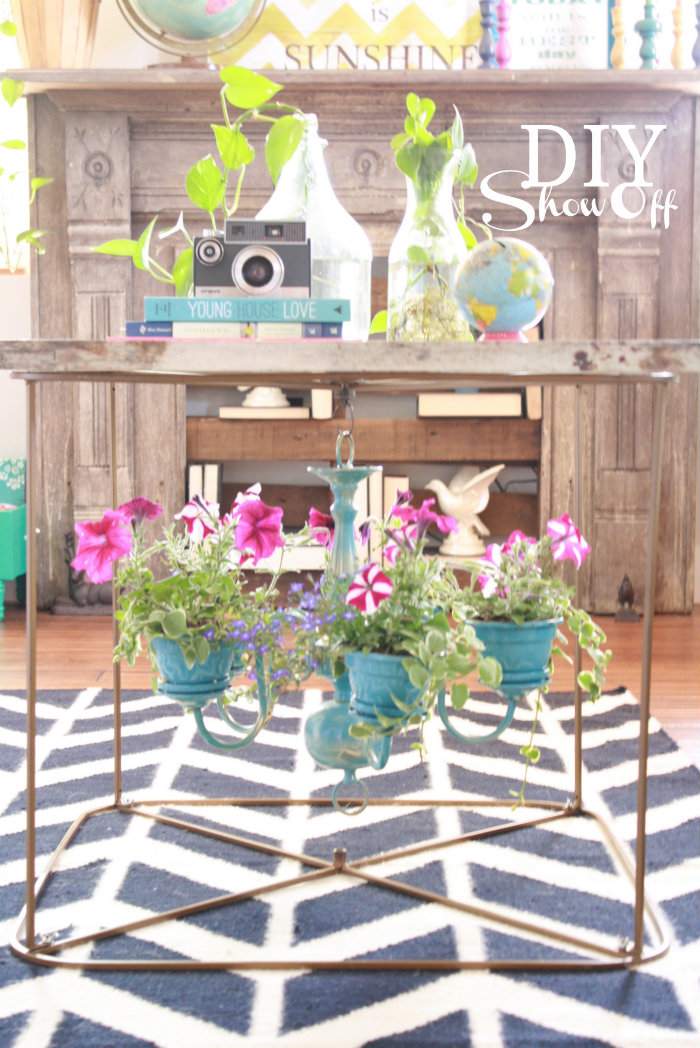
You may have spied my chandelier planter used indoors at our Summer Home Tour too…
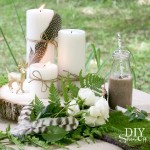
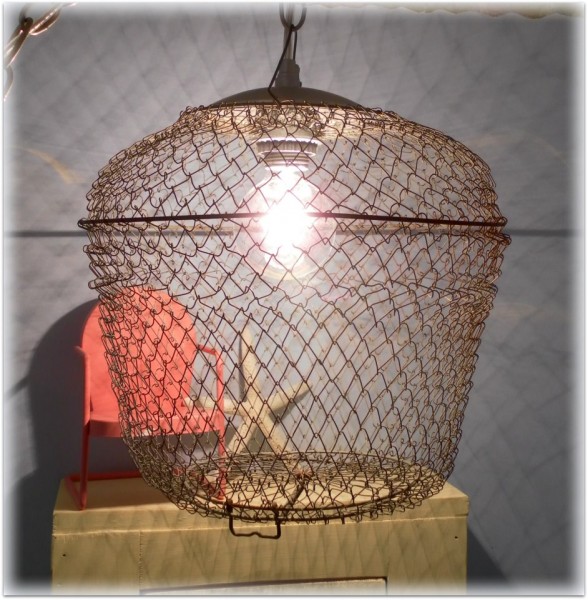
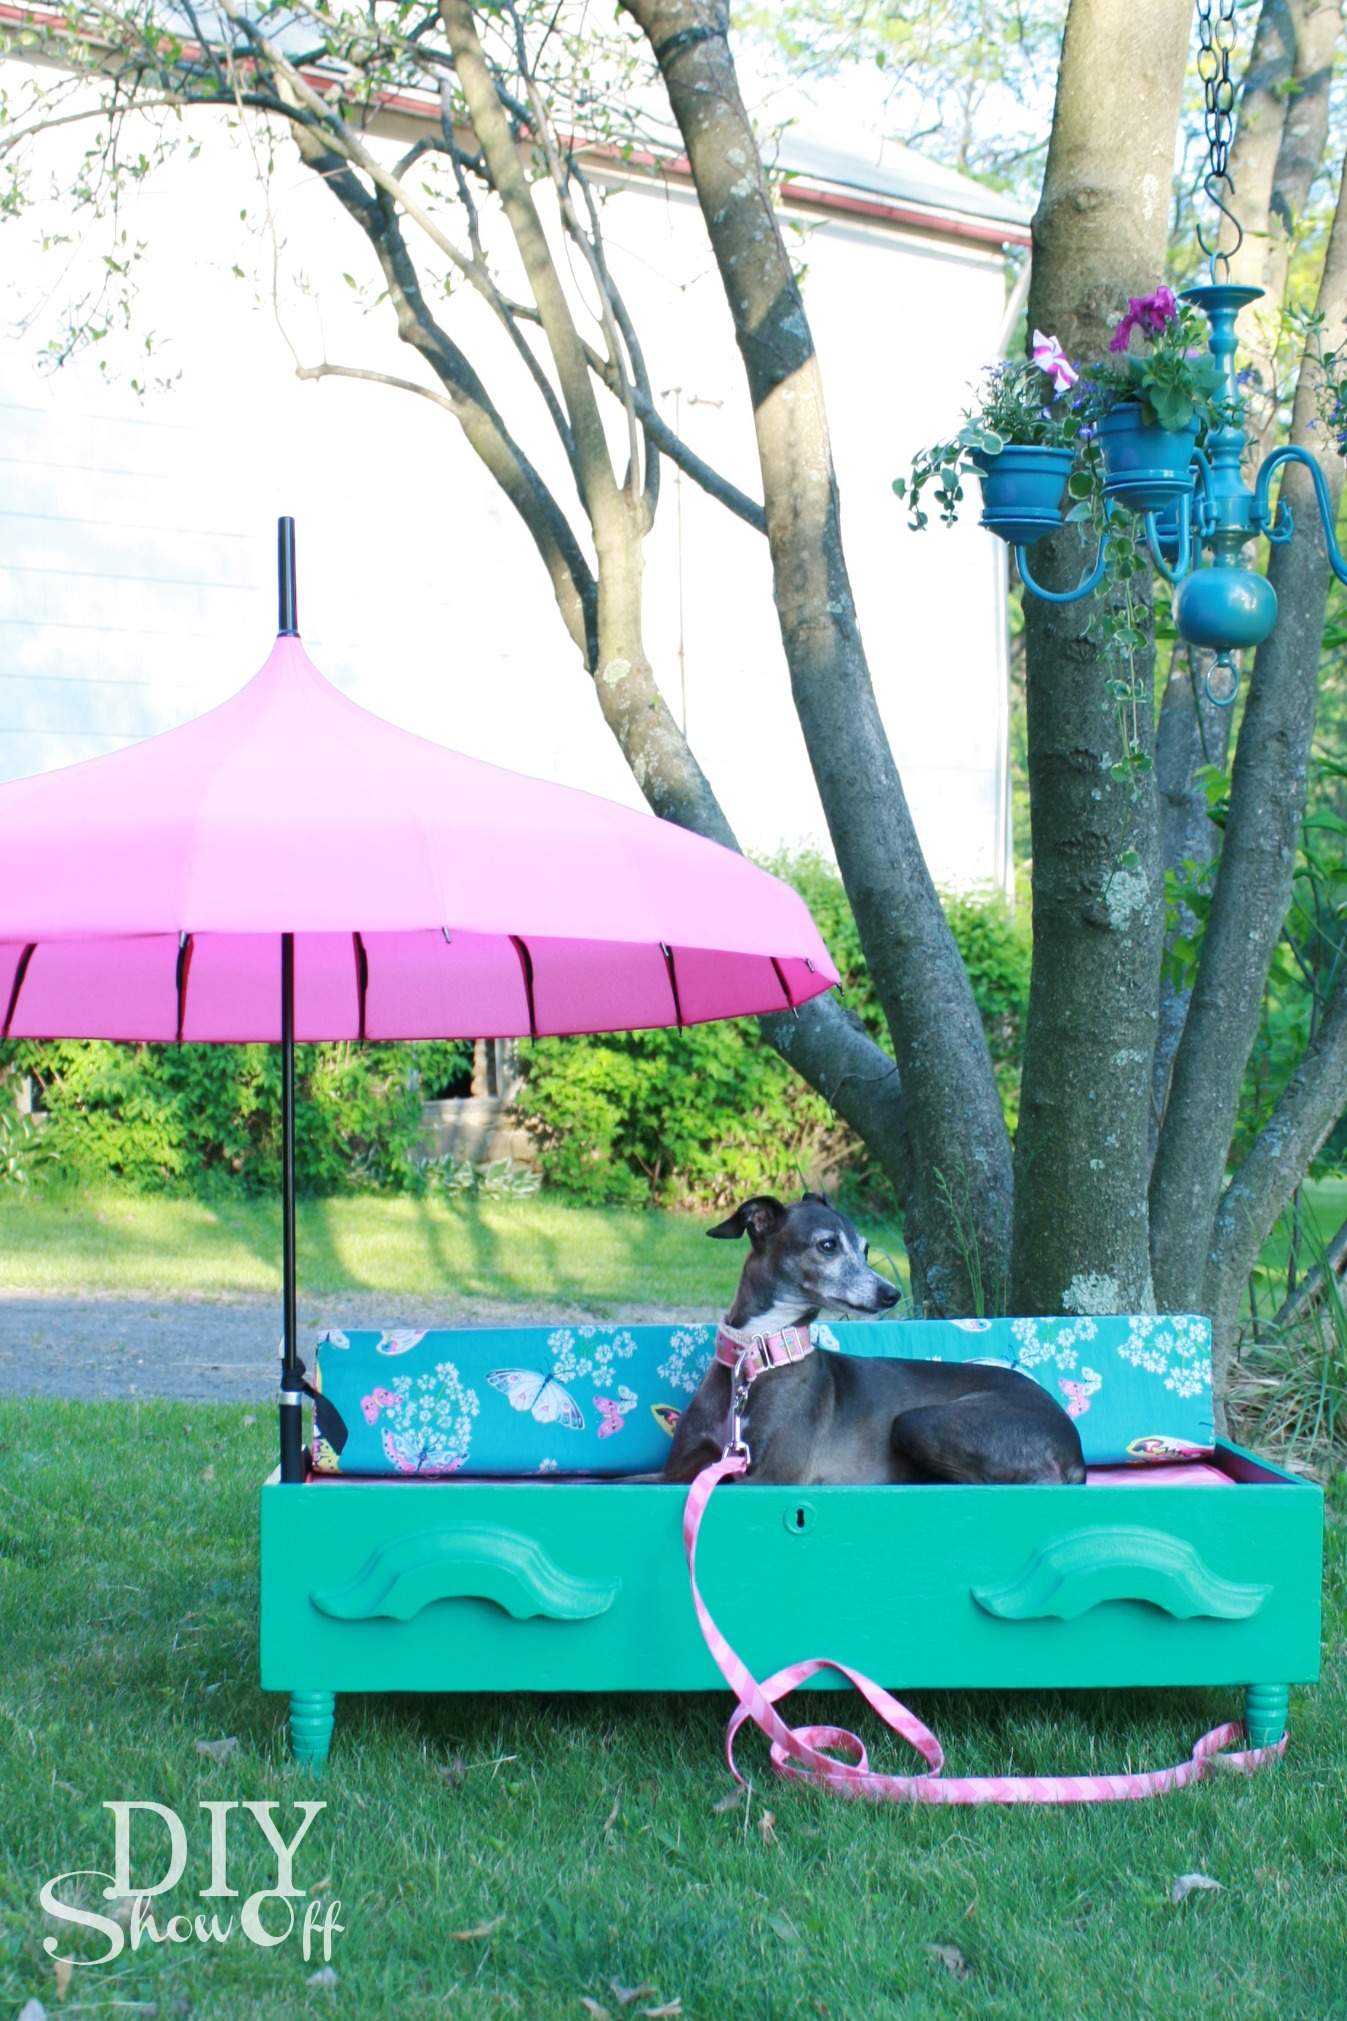
and hanging in the tree as a photo prop for the easy shaded DIY DOG BED…
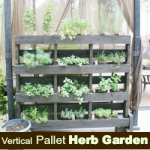
You might find these tutorials interesting too: