






Painted Wooden Candlesticks

I recently shared an easy mirror update inspired by a wood + turquoise bowl…

inspiration:
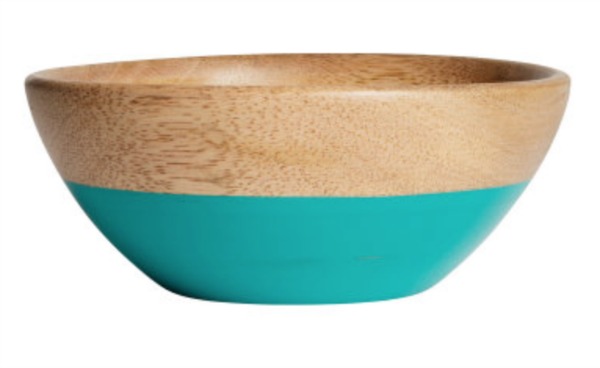
H&M turquoise and wood bowl

mirror update:

One mirror, four ways at diyshowoff.com

Then I spied a set of three {Ty Pennington Style…love his style, don’t you?} candlesticks for $4.99 at the thrift store and couldn’t resist creating a wood + turquoise collection. 
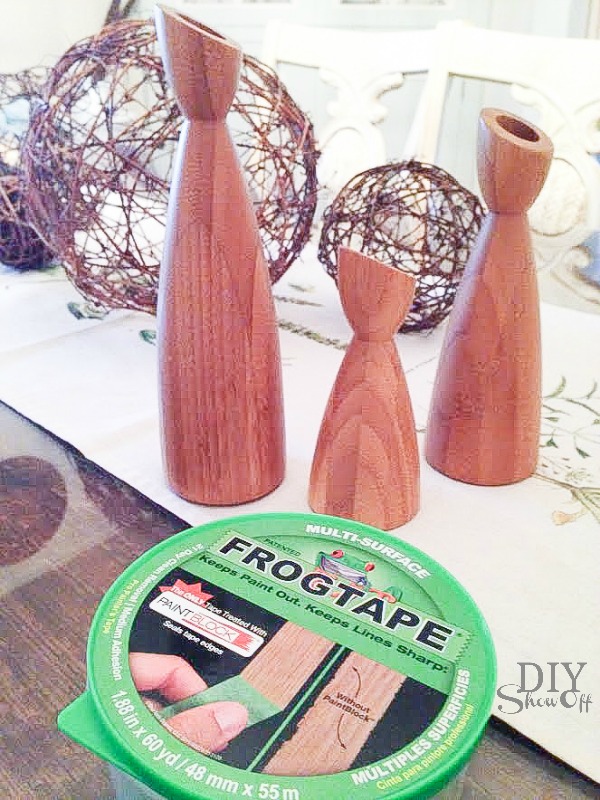
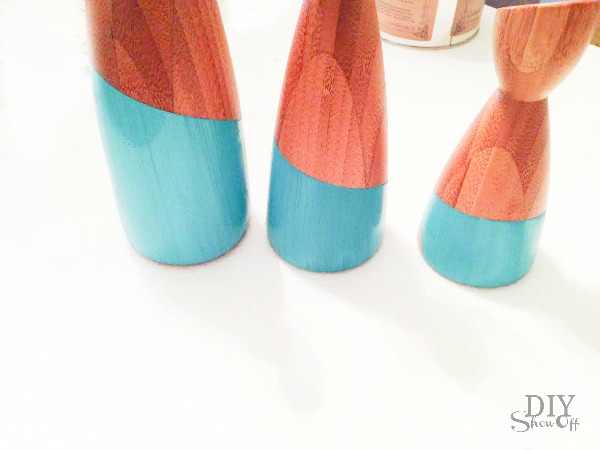
turquoise + wood painted candle tutorial at diyshowoff.com

Materials:

  • Wooden candlesticks
  • FrogTape®
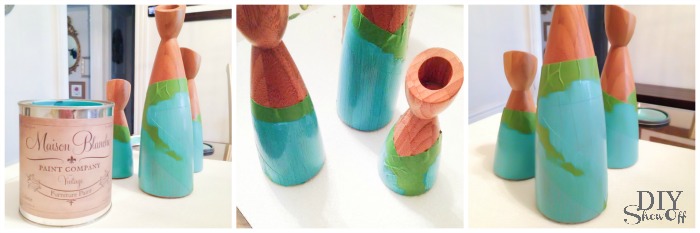
  • Paint (Maison Blanche Furniture Paint, color is “colette”.)
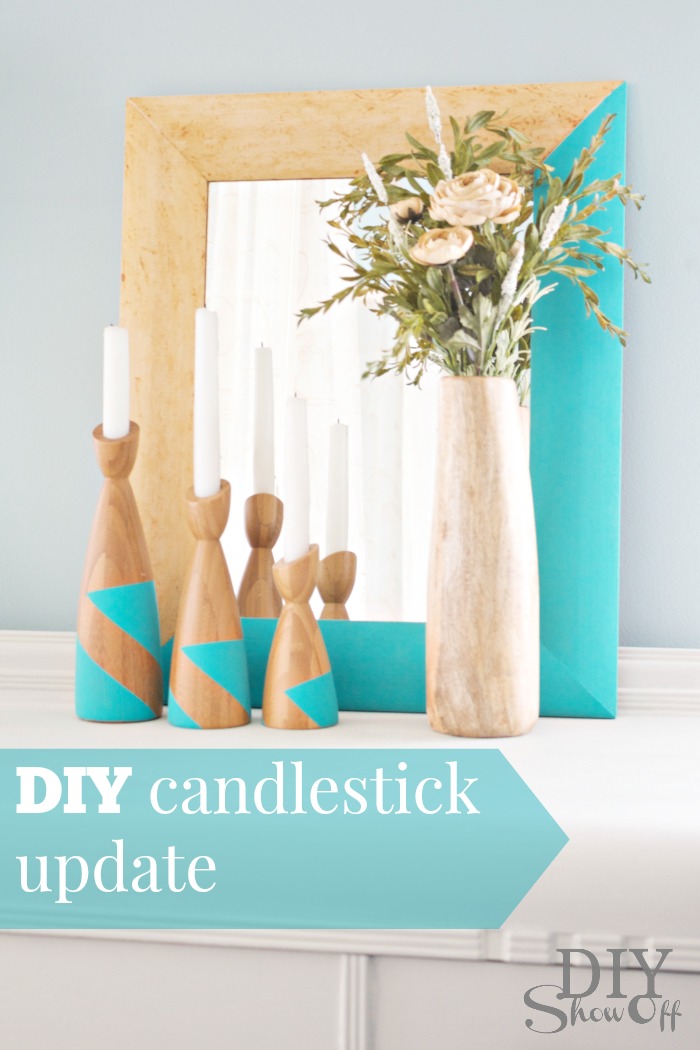
DIY candlestick update at diyshowoff.com

What I did:

I simply wrapped the FrogTape® around my candlesticks to create an angled design.
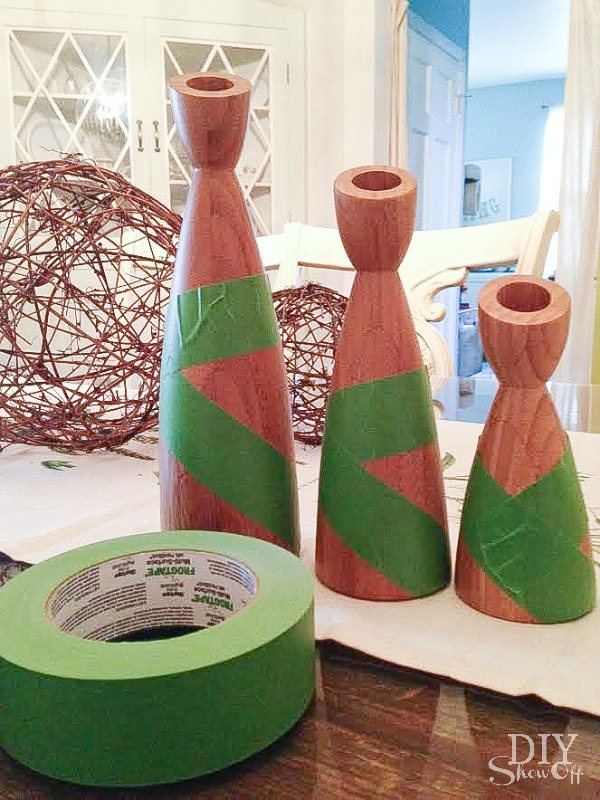
turquoise + wood painted candle tutorial at diyshowoff.com

Using my thumbnail, I burnished the edges of the FrogTape. 
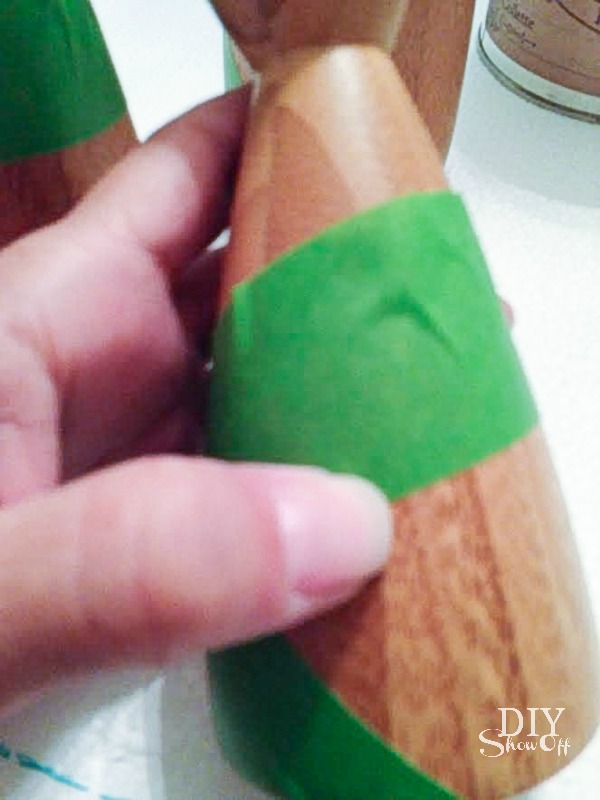
turquoise + wood painted candle tutorial at diyshowoff.com

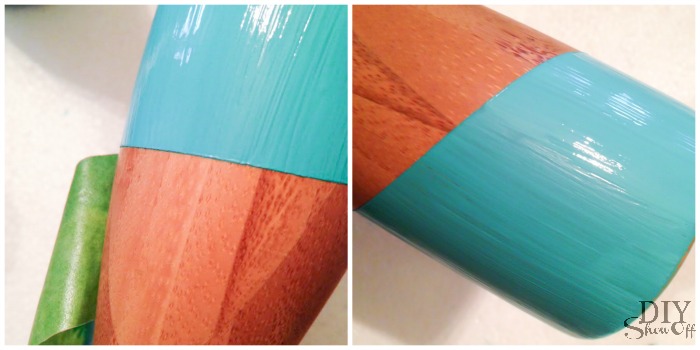
Then simply applied two coats of paint with a foam brush. 
turquoise + wood painted candle tutorial at diyshowoff.com

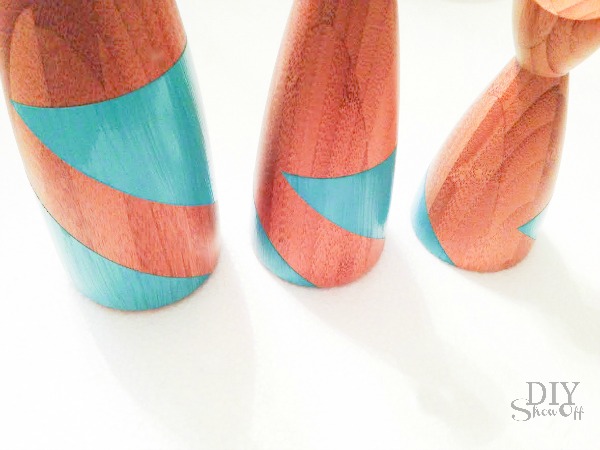
While the paint was still wet, I carefully pulled away the FrogTape to reveal a crisp, straight, clean paint line. 
turquoise + wood painted candle tutorial at diyshowoff.com

 The design varies depending on which side faces out.
turquoise + wood painted candle tutorial at diyshowoff.comturquoise + wood painted candle tutorial at diyshowoff.com

Now they’re a one of a kind Ty Pennington/DIYShowOff style! Working with him and he isn’t even aware.  Maybe it’s for the best as he may not be flattered that I altered his design. 😉
Painted Wooden Candlesticks

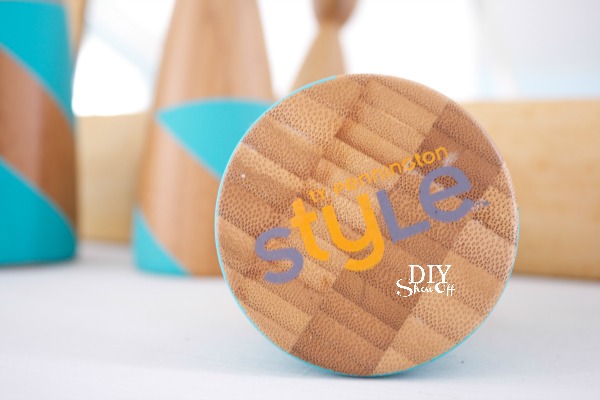
Then let them dry. Add candles and display! So cute! West Elm log vase is from my secret Santa…love it! 
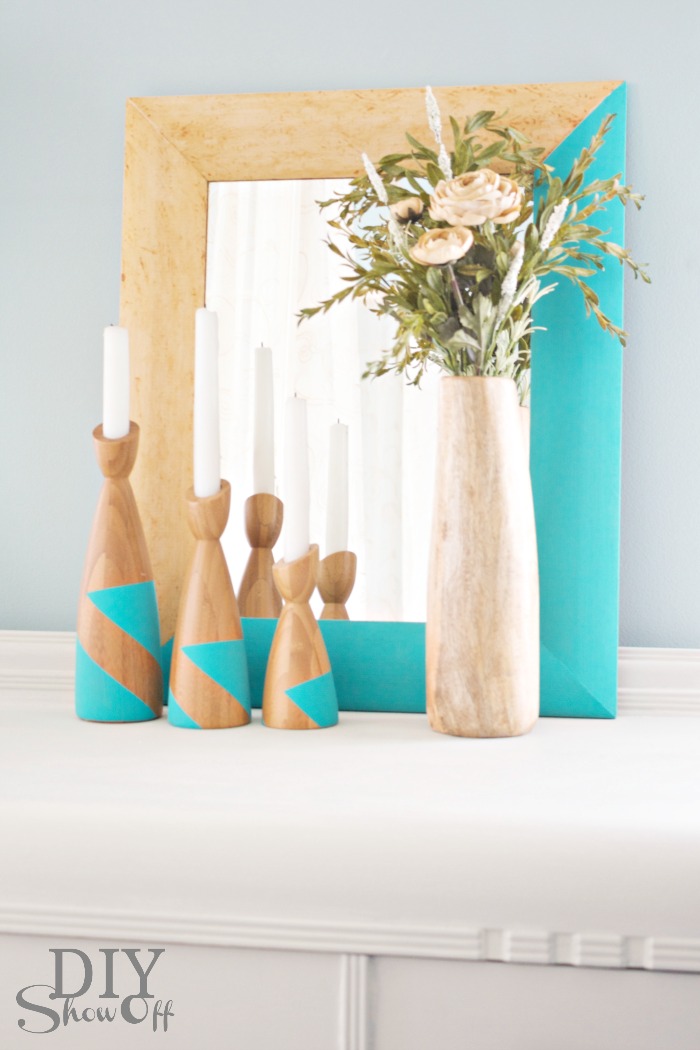
DIY candlestick update at diyshowoff.com

The annual Earn Your Stripes™ painting contest is taking place right now!!! Grand prize is $5,000.00!! I’d LOVE for a DIYShowOff reader to win! Imagine what you can do with $5000! Since I can’t enter, I hope you will! I’ll be participating in the judging! Enter here —> https://promotions.frogtape.com/earn-your-stripes/

FrogTape Earn Your Stripes

Deadline to enter is now through July 1st – so, plenty of time to get creative hats on and execute a project.  You’ll need before, during and after photos.  Here are the official rules: https://promotions.frogtape.com/earn-your-stripes/rules. Here are the FAQ’s for the contest:  https://promotions.frogtape.com/earn-your-stripes/faqs

Best part, all entries (see official rules) will receive a free roll of Shape Tape! Good luck! 
FrogTape Blog Squad

Disclaimer: I received compensation to complete this project for using FrogTape® products. All opinions, projects and ideas are based on my own experience.
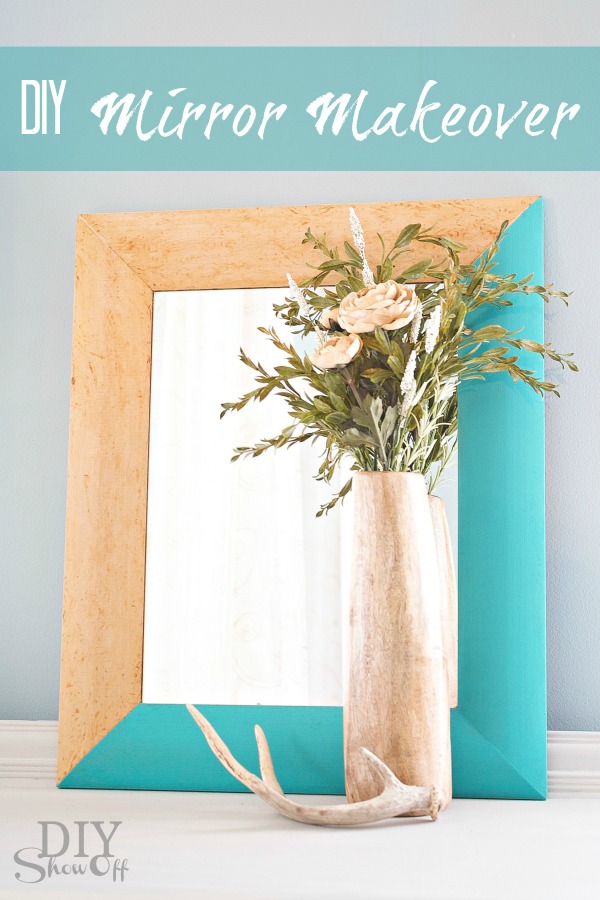
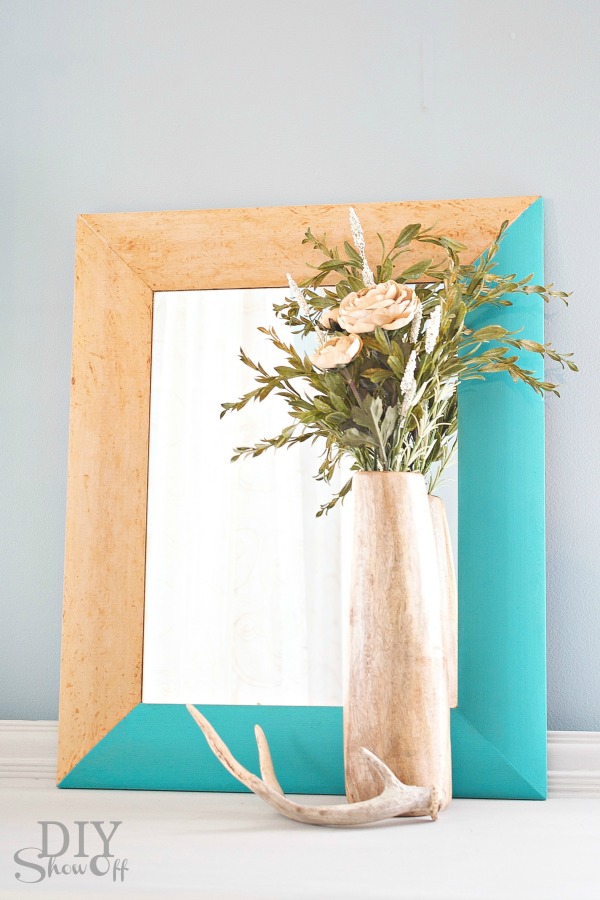
Wood & Turquoise Thrift Store Mirror Makeover

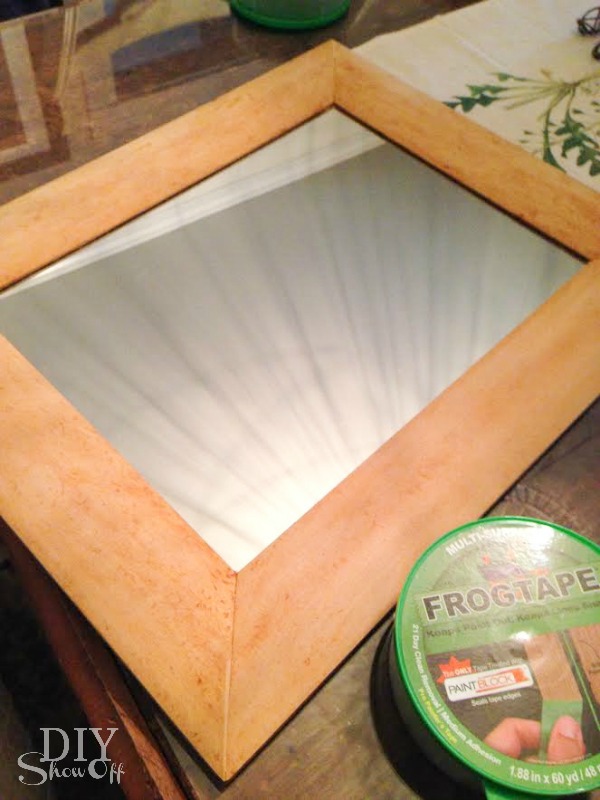
Thrift store jackpot! Well, a great deal, at least! I snagged this mirror at the thrift store for $2.99. Original TJMaxx sticker is marked 19.99. Great price, sort of zzzzz. 

wood and turquoise mirror makeover at diyshowoff.com

Inspiration comes in many forms. For this mirror and the light wood finish, my inspiration came from this wood and turquoise bowl at H&M: 

H&M turquoise and wood bowl

Materials:

  • Mirror
  • FrogTape® 
  • Paint (I used Maison Blanche Furniture Paint. Color is colette.) 

DIY mirror makeover at diyshowoff.com

Tutorial:

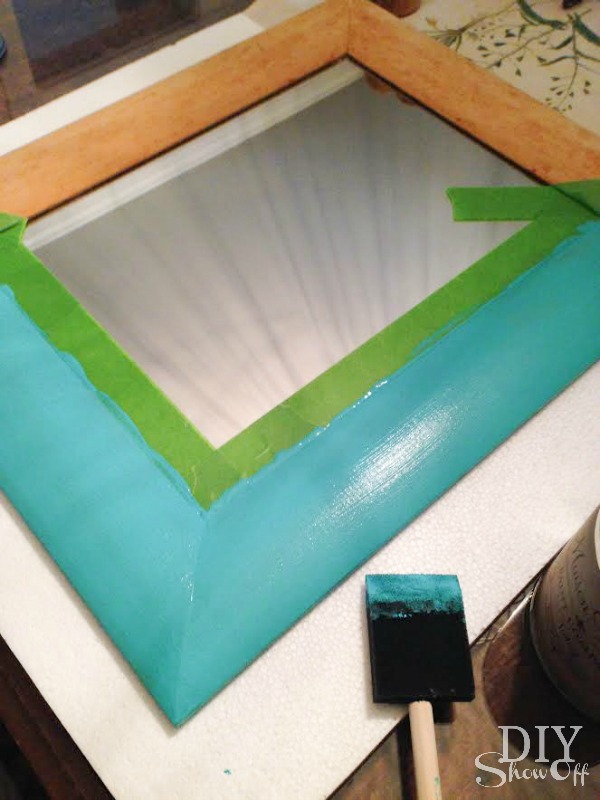
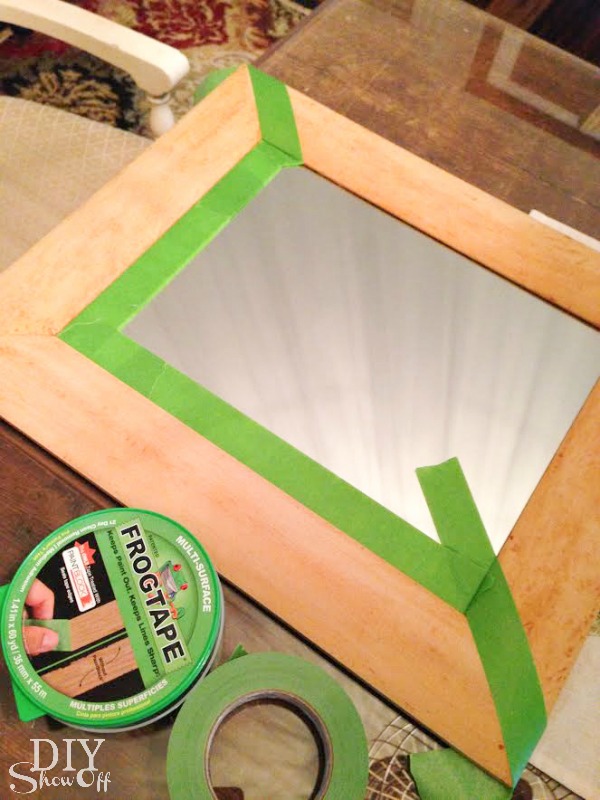
Tape off the mirror. I also taped diagonal at the top right and bottom left mitered joints.

wood and turquoise mirror makeover at diyshowoff.com

Burnish the edges of the tape using thumbnail.

Paint. I used a foam brush to apply two coats.

wood and turquoise mirror makeover at diyshowoff.com

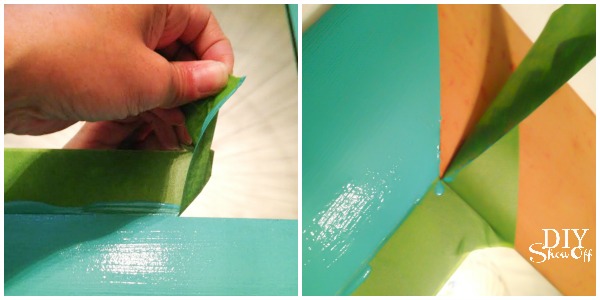
While paint is still wet, remove tape by pulling away from the paint.

wood and turquoise mirror makeover at diyshowoff.com

 Let dry. Ready to hang and display.

Inspiration:

H&M turquoise and wood bowl

Wood & Turquoise Mirror Makeover:

mirror makeover at diyshowoff.com

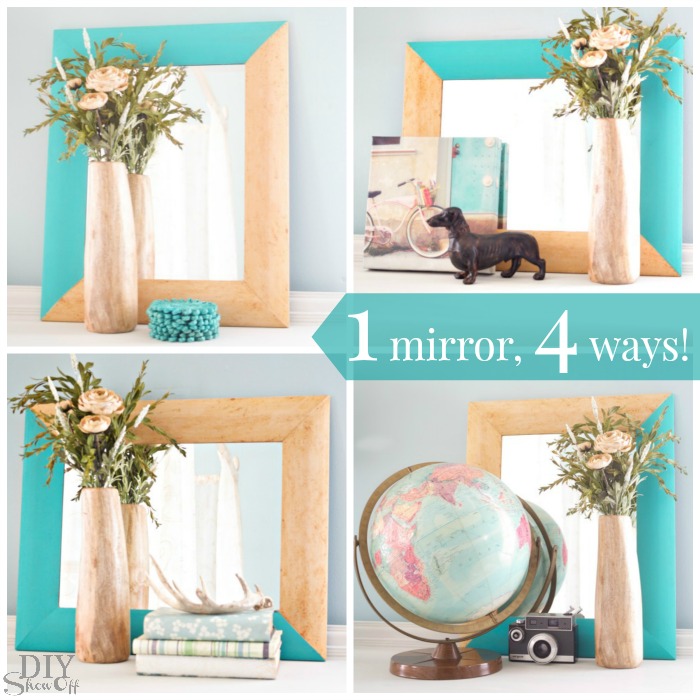
Depending on the hanger on the back, it may only hang one direction (unless you add a DIY hanging mechanism for an alternate hanging direction). For display, there are 4 rotation possibilities. One mirror, four ways:

One mirror, four ways at diyshowoff.com


Sharing at Southern Hospitality Thrifty Treasures.

Easy! A little color, a modern touch and a new decorative mirror = thrift store score, don’t you think? Looking for more fun ideas using FrogTape? Click here—-> FrogTape DIY ideas

FrogTape Blog Squad

Disclaimer: As a member of the FrogTape® Blog Squad, I received compensation to complete this project for using FrogTape® products. All opinions, projects and ideas are based on my own experience.
 

DIY Cart Rescue/Furniture Makeover

This is a Sponsored post written by me on behalf of Elmer’s ProBond Advanced for SocialSpark. All opinions are 100% mine.

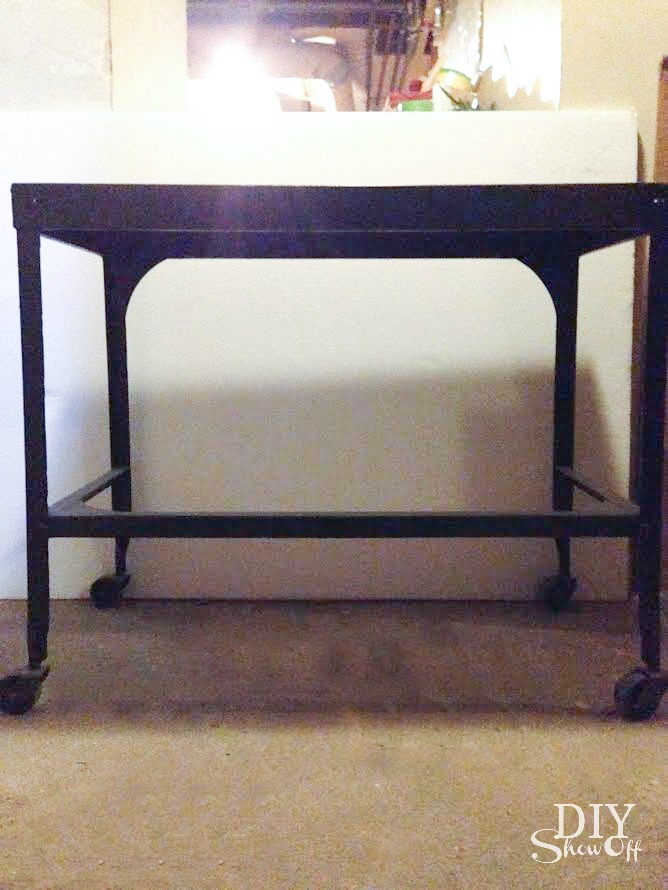
Do you have old furniture just taking up space in the basement, garage or attic? Or maybe with the start of yard sale season right around the corner, you’ll spy a fun furniture piece to flip…keep your eyes open! The other day I spied an old metal cart collecting dust so I decided to give it a purpose. It once belonged to my husband’s grandfather. Time to dust the cart off, give it life and make it useful.

cart makeover at diyshowoff.com

Materials:

  • Old metal cart
  • Pine planks (I purchased three 1x3s and one 1×4)
  • Wood stain and sealer
  • ProBond Advanced

What I did:

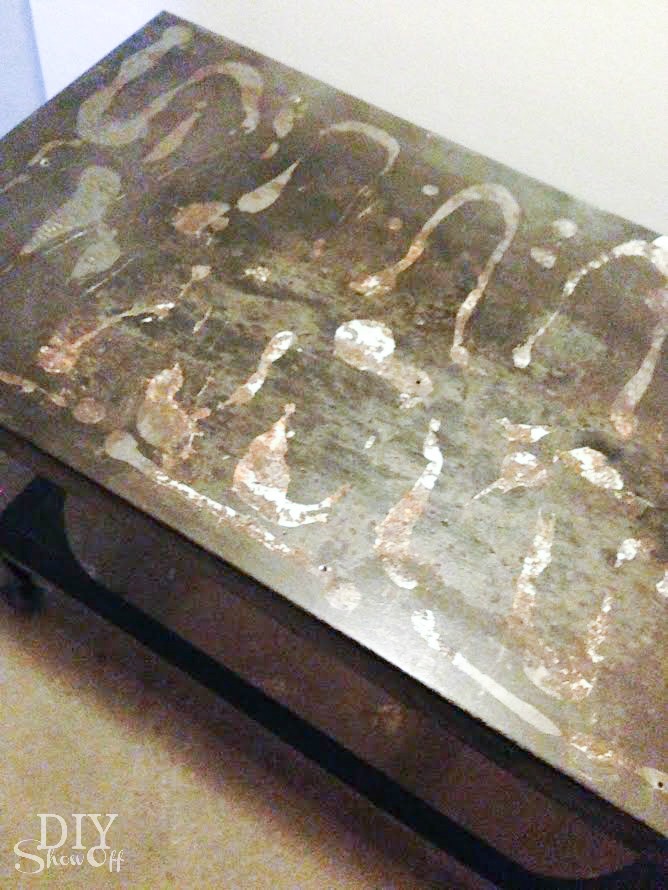
First I cleaned up the cart a bit. I was going to spray paint it but it really wasn’t in bad shape (finish wasn’t original – it had been spray painted in the past) and I sort of like the few scratches and scuffs, making it look old and not brand new. Sometimes imperfections are perfect, right?

before…

cart before

cart before

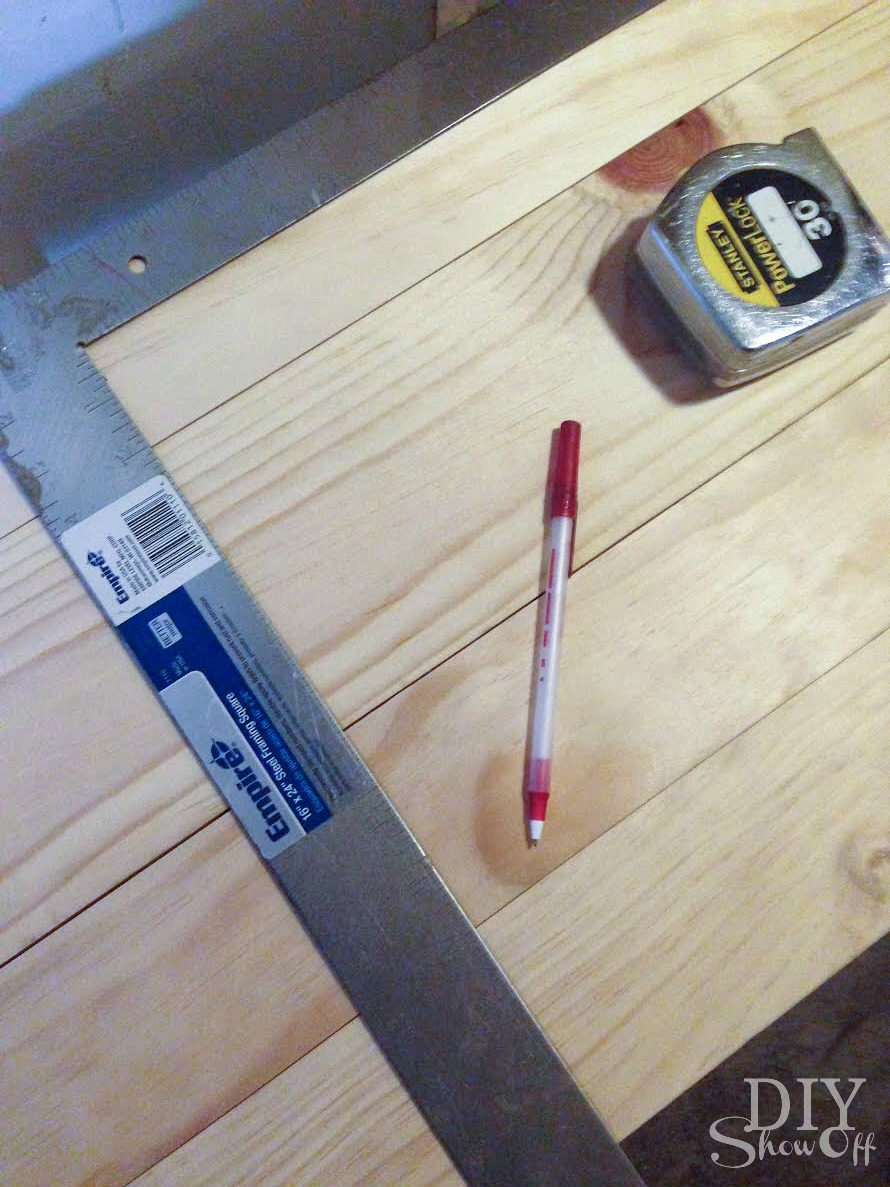
Then I set about measuring and cutting the wood planks to fit the top and what looks like support for a bottom shelf. 

measuring

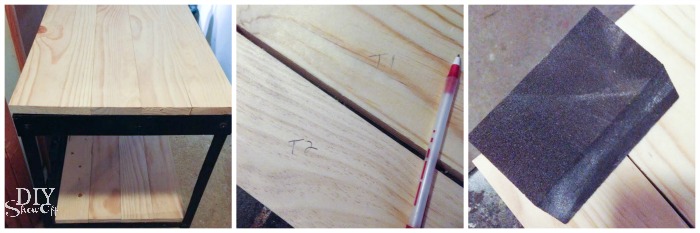
After deciding placement of the planks, I marked, sanded and cleaned each one. 

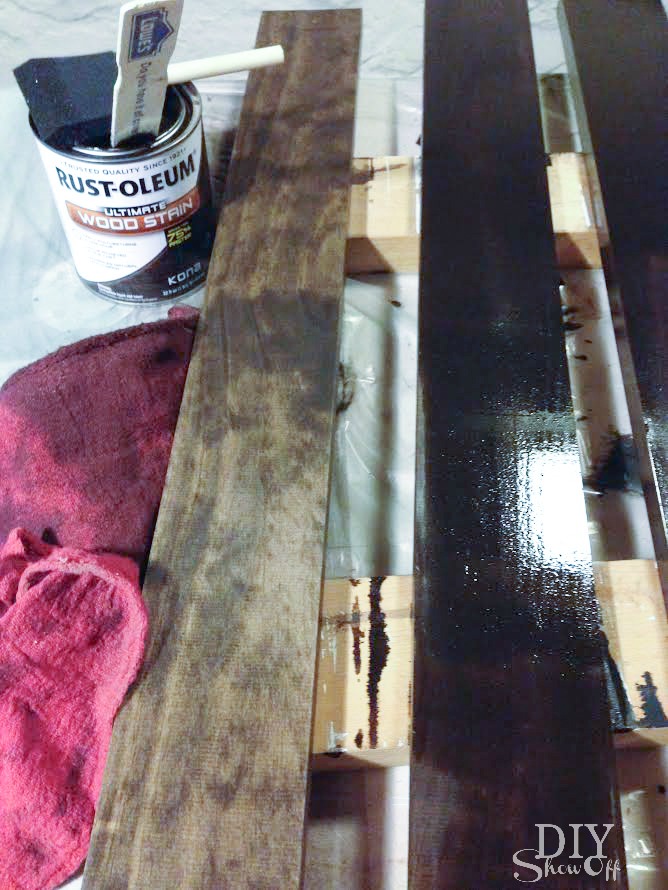
I stained each wood plank a rich beautful color. I brushed the stain onto all sides with a foam brush (in the same direction as the wood grain) and wiped away with a clean rag then let them dry for an hour or two.

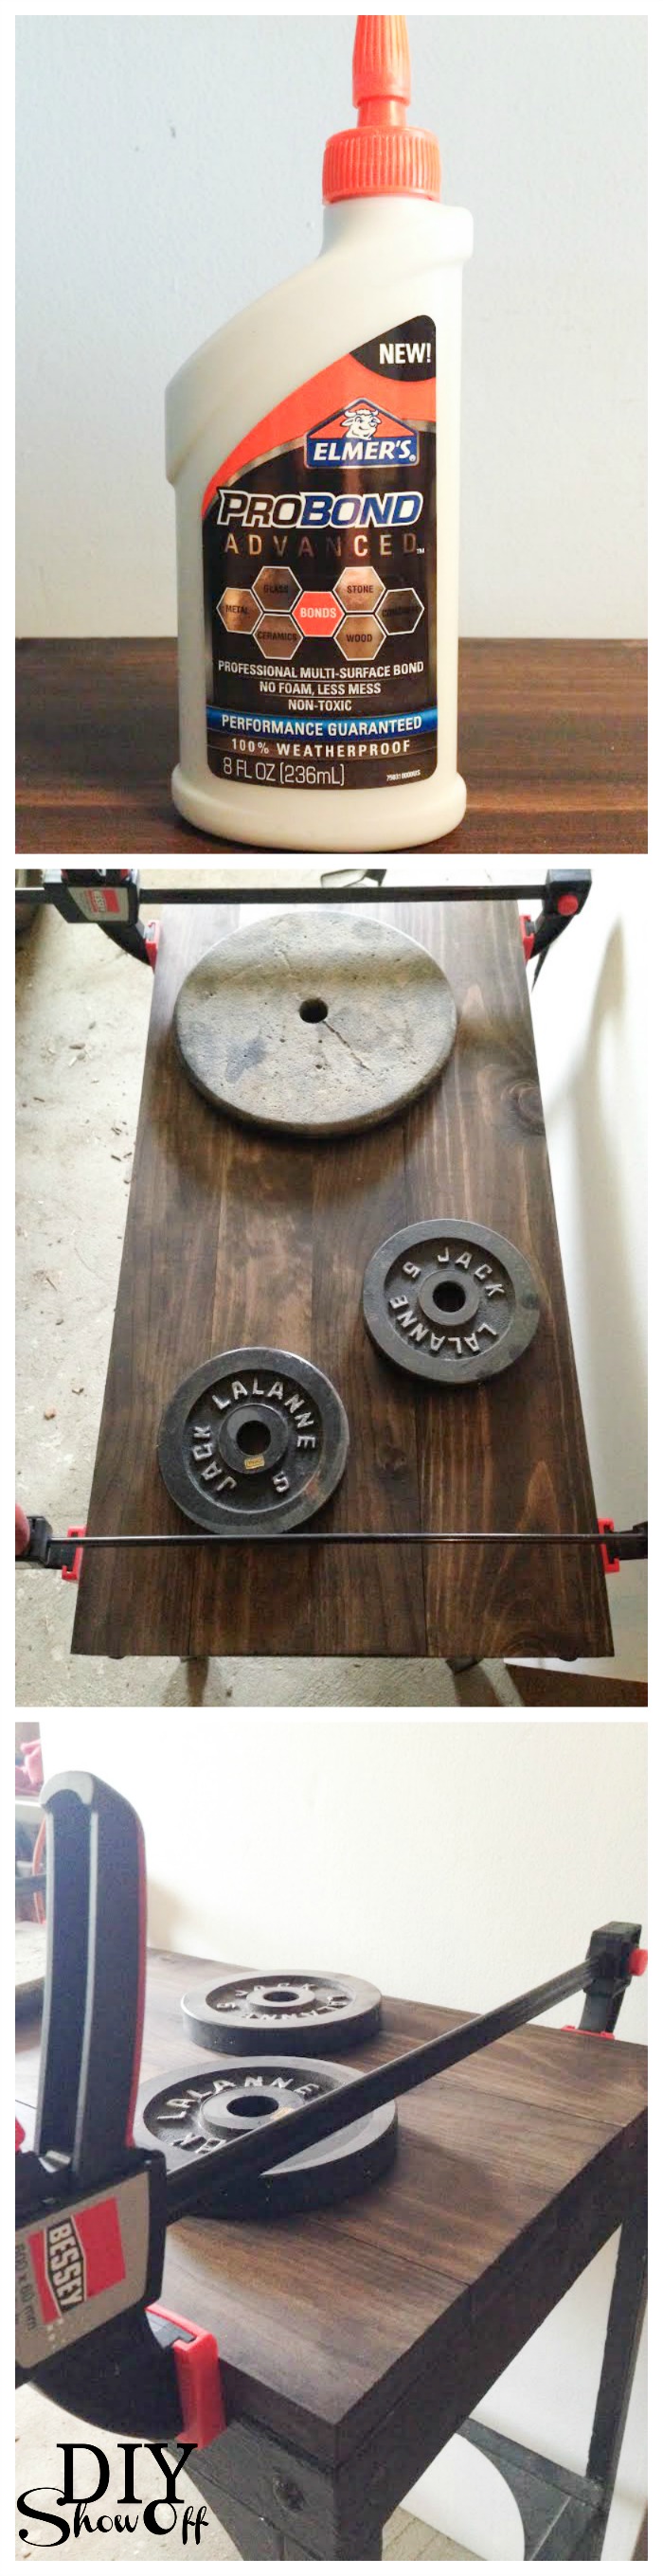
Last step! Just glue and clamp the wood planks into place. Elmer’s ProBond Advanced is designed for gluing mixed materials like wood planks to the metal cart (porous to non-porous materials) without expanding, creating a foamy residue and making a mess. Awesome! Let the glue dry 24 hours. 

I applied a sealer to the wood to protect the finish and add a little shine.

Loved once again…

flea market flip at diyshowoff.com

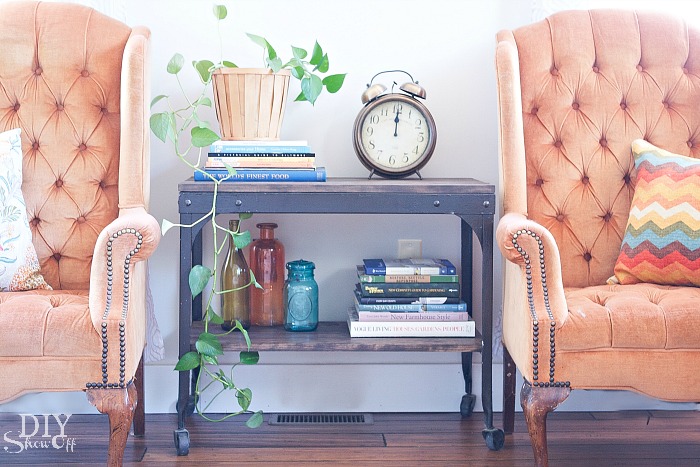
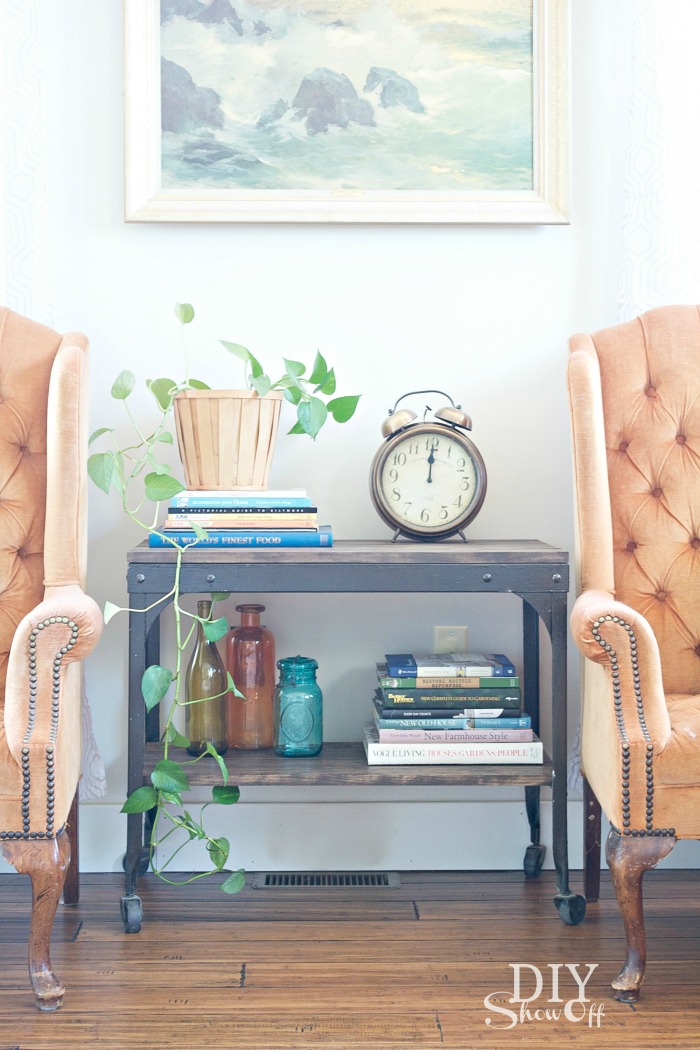
Beautiful new wood top and shelf:

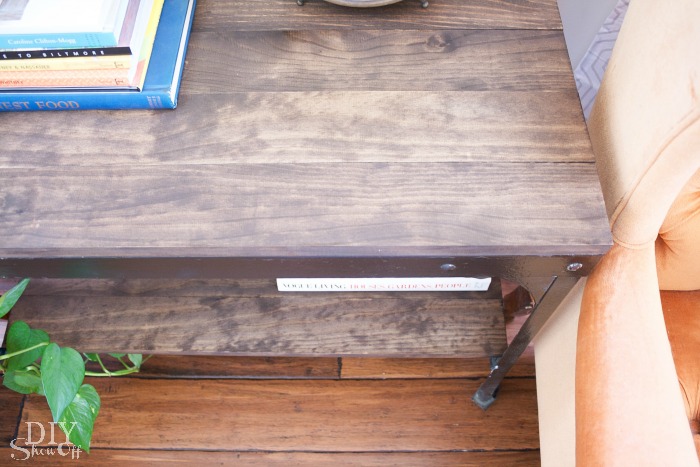
wood plank cart makeover at diyshowoff.com

Now what was once just junk now serves as a side table (or would that be center table?) in our family room.

diy furniture makeover at diyshowoff.com

Sharing at Inspire Me Tuesday.

Are you a DIY’er? Find any recent ‘hidden treasure’? Find more DIY inspiration on Elmer’s Mixed Materials Pinterest board. 


Visit Sponsor's Site

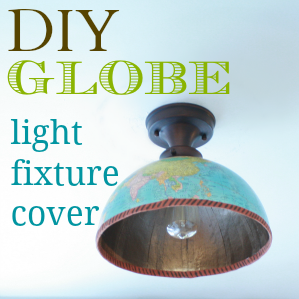
DIY {half} globe light fixture cover

DIY Globe Light Fixture Cover

After I completed the wall mounted-pallet shelf, I updated some of the light fixtures including the one in the sitting room…

allen-roth-edison-orb

Allen + Roth Edison Oil Rubbed Bronze

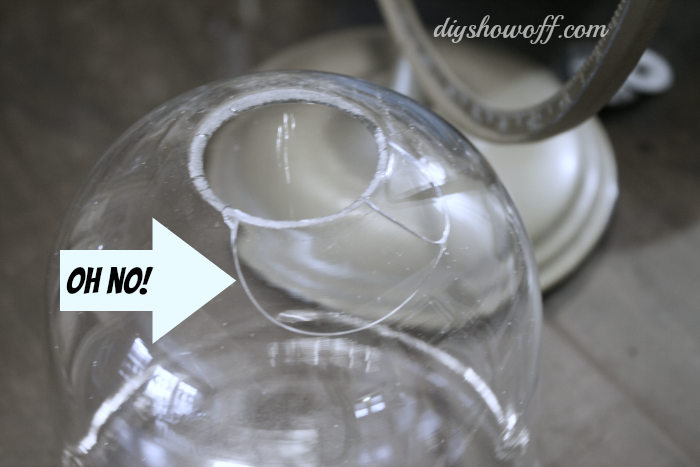
However, the glass on this specific light is very thin and it cracked during the final stages of assembly, just by screwing in the light bulb. The crack was located in such a way that it wasn’t safe. I feared the entire glass piece was going to come crashing down.

cracked-glass

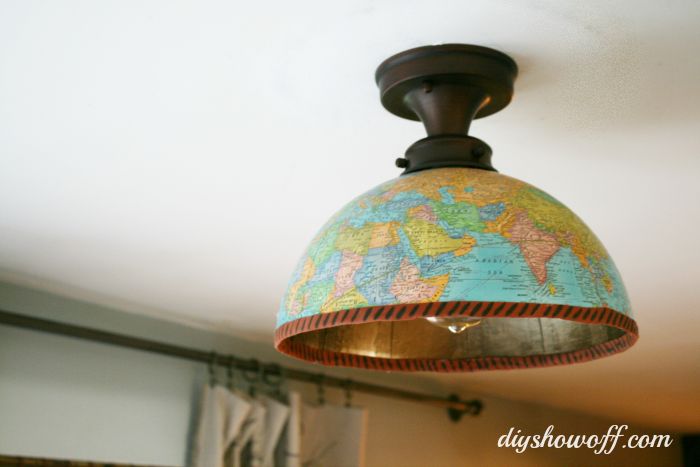
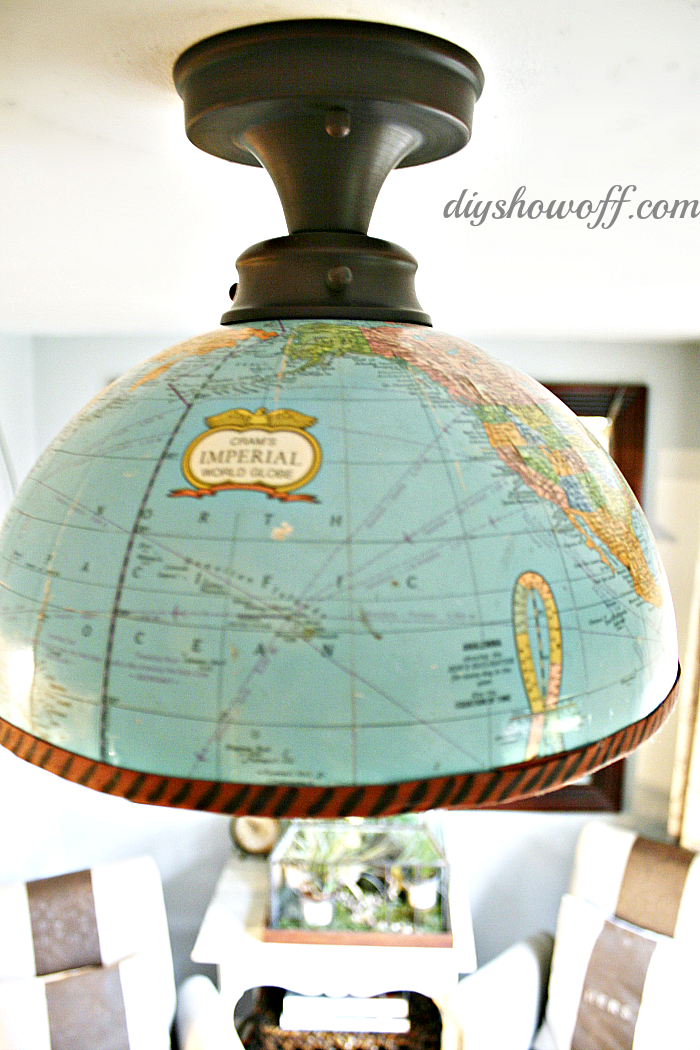
So, one rainy day, I gathered some supplies from around the house and created a new cover? fixture? globe? well, northern hemisphere at least.

DIY-globe-light-fixture-cover-tutorial

Here is what I did:

Materials: 

  • LOW WATTAGE light bulb
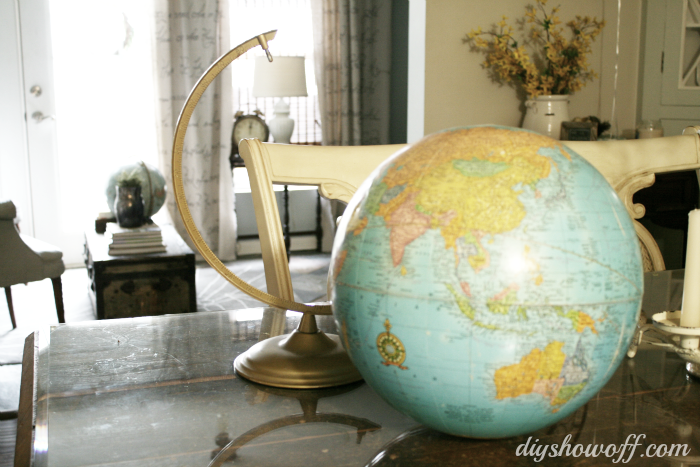
  • old globe (I have an addiction. I can’t pass up a globe at the thrift store, thus a collection on hand.)
  • craft paint (I had DecoArt’s Patio Paint/rich espresso on hand.) A high heat/temperature paint is a better, safer option.
  • double fold bias tape (Again…I had brown left over from a patio cushion project.)
  • hot glue
  • Sharpie
  • Edited to add: Flameproof coating

Tools:

  • Utility knife
  • Needle-nose pliers
  • Scissors
  • Glue gun
  • Craft paint brush

I started by disassembling the globe by gently pulling the frame from the north/south pole. My globe popped right out.

globe

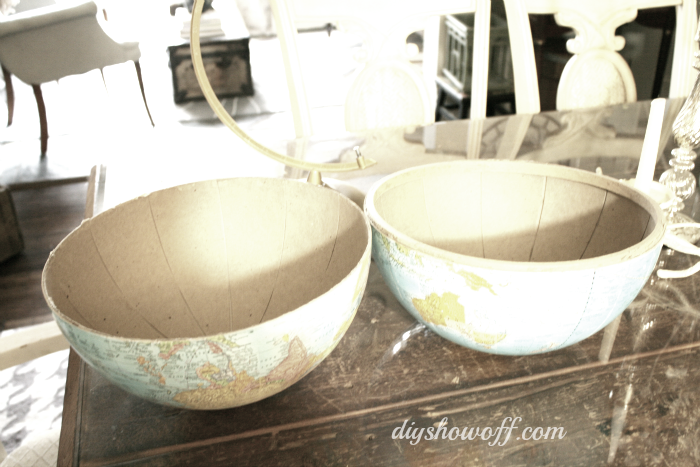
I also chose a globe that wasn’t in the best shape, so the north and south hemispheres just pulled apart. (Cut seam along the equator with a utility knife if needed.)

split-globe

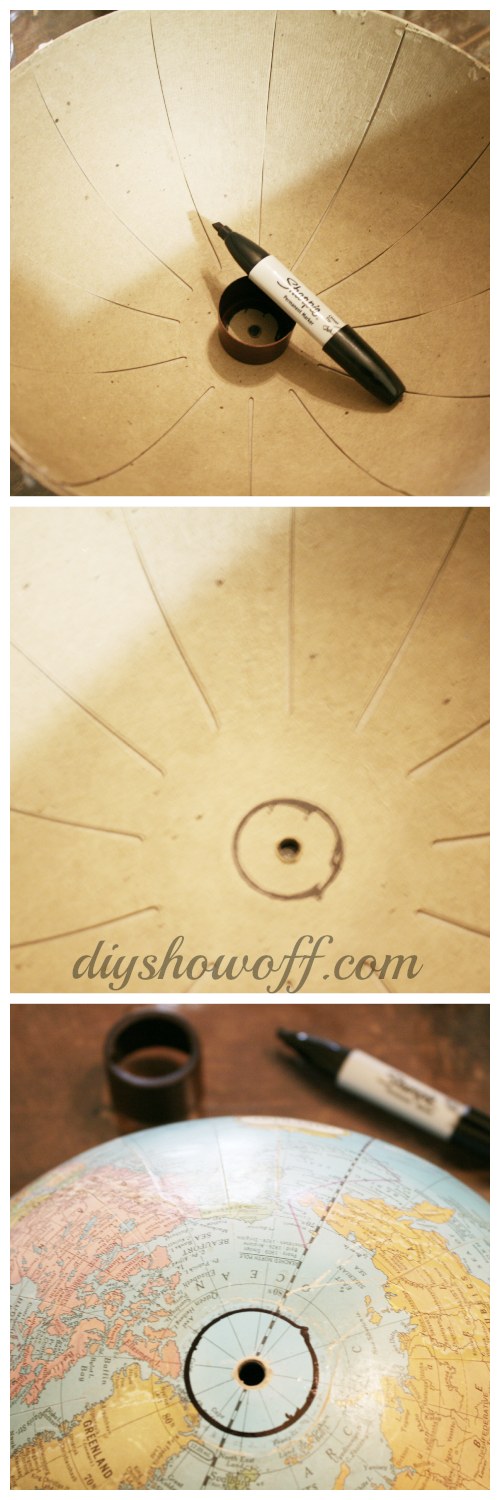
Next, using a Sharpie, I traced the fitting (or draw a circle the size of where the globe will be held into place on the light fixture).

globe-light-tutorial

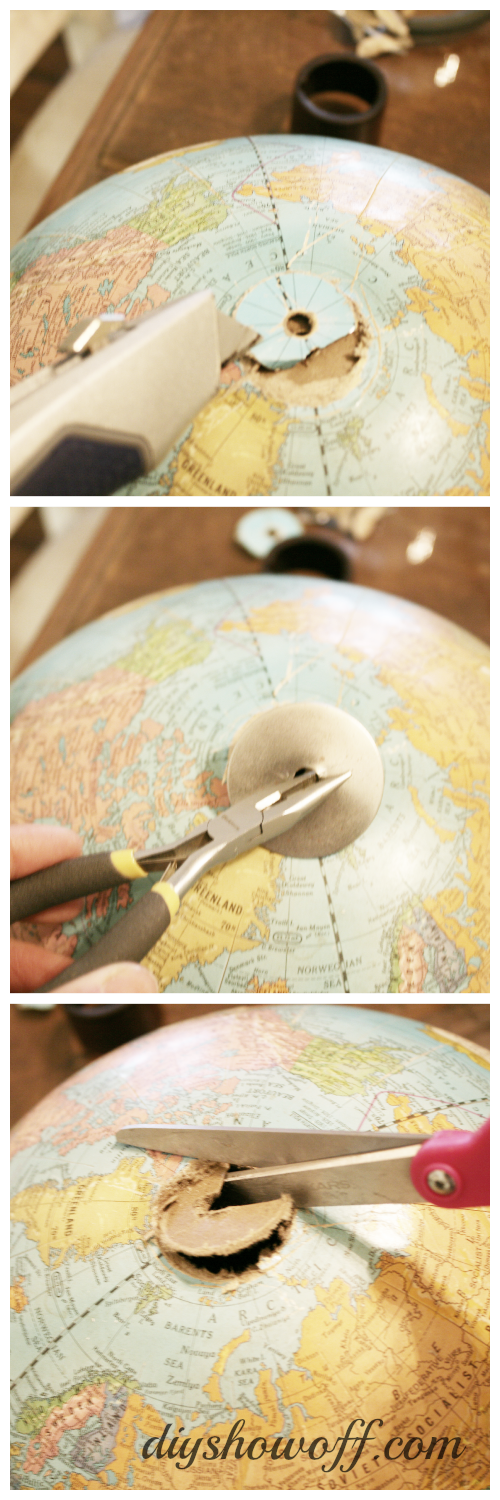
I used a utility knife to remove some of the map/cardboard and discovered a metal circle underneath. I was able to remove it with pliers. Then cut away the rest of the cardboard/paper with a pair of scissors.

globe-light-cover

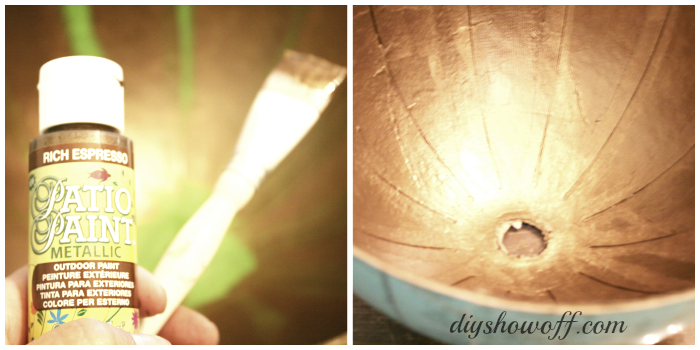
I painted the inside of my globe and let it dry (well, sort of. I may have been too eager to move on to the next step)…

paint-inside-globe

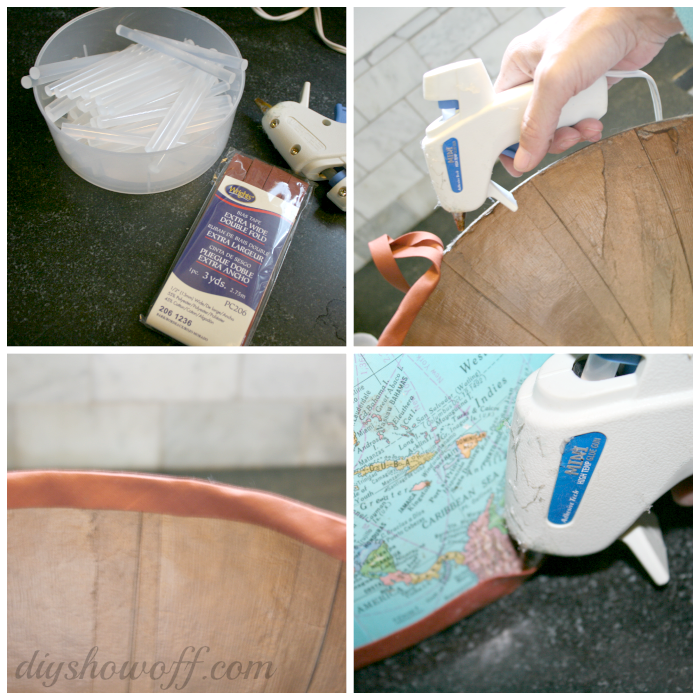
Then attached the bias tape around the perimeter with hot glue.

gluing-bias-tape

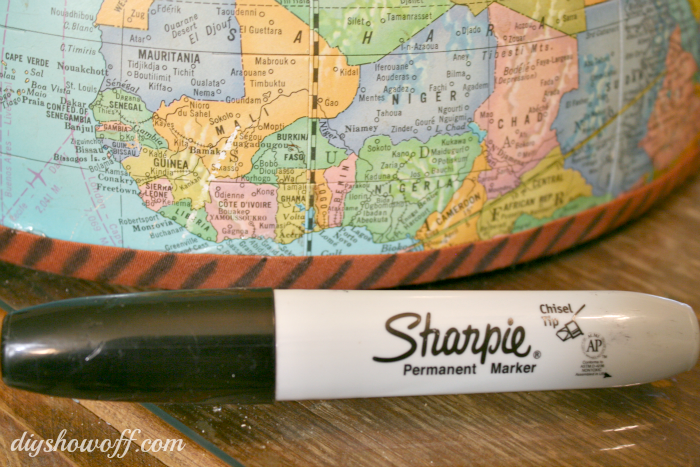
Since I was impatient with waiting for paint to dry and had a little “oopsy”…paint on the bias tape, I used a Sharpie to create a design to distract from the accidental smudge. Imperfection adds character.

globe-light-border

Ready to install.

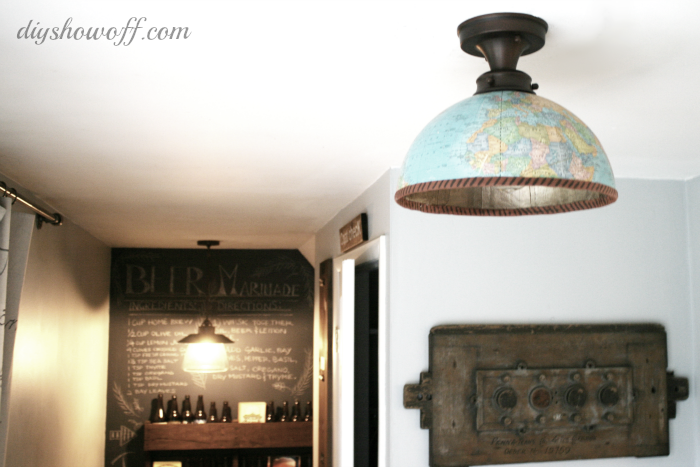
globe-ceiling-light-cover

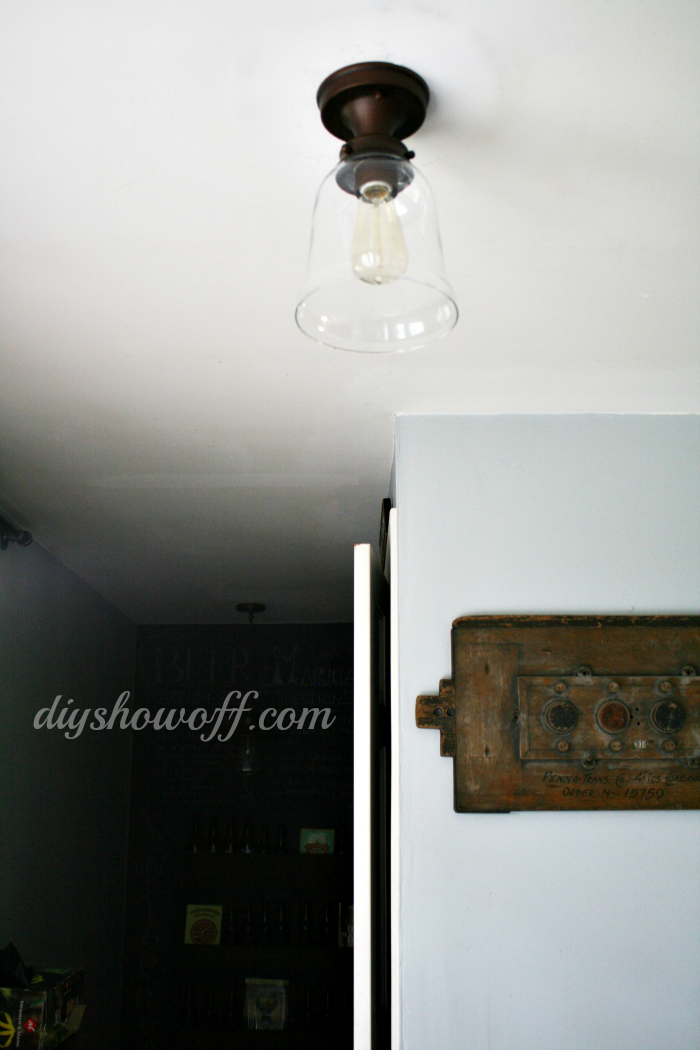
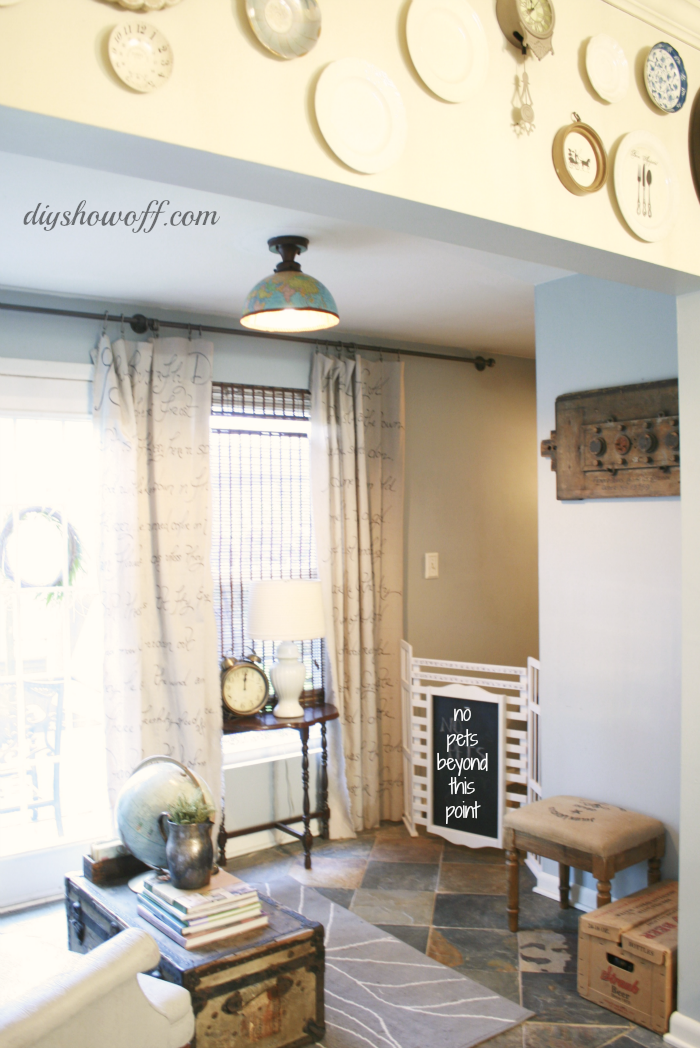
Heading to the basement: This is also the path to the basement and I can breathe a sigh of relief that the cracked glass isn’t going to hurt someone when it comes crashing down or that it’s no big deal if my 6’2″ husband carrying a ladder accidentally hits the globe. I kept worrying he’d ‘ding’ that thin glass on his way through…now, it’s okay.

sitting-room-ceiling

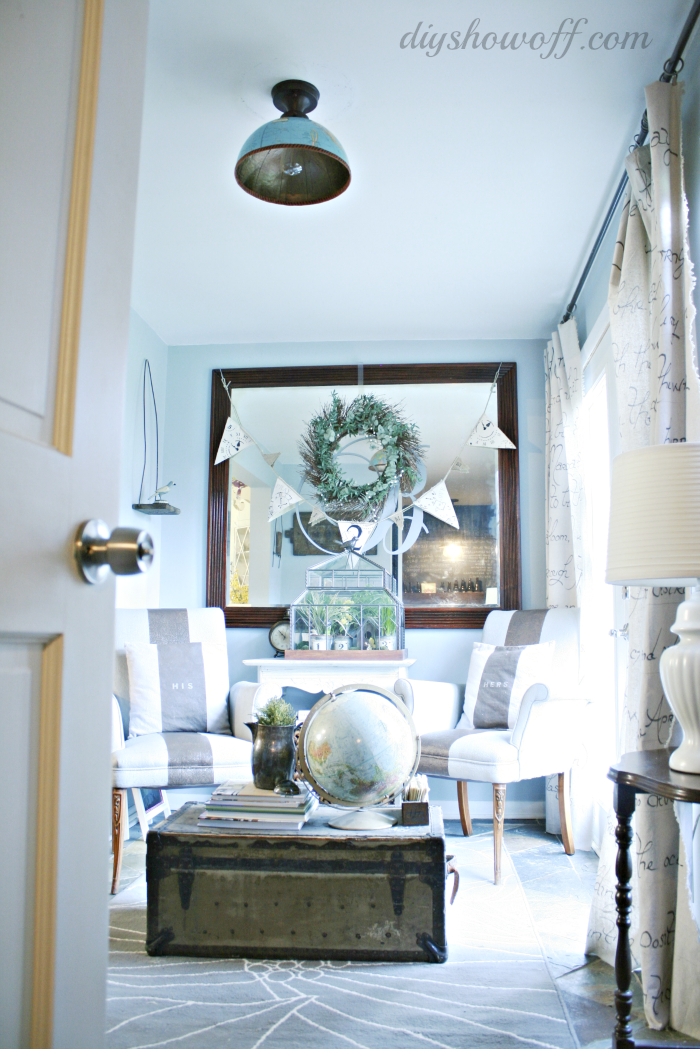
It fits with the style of our sitting room too…

sitting-room

Easy enough.  (Would also work as a lamp shade…decorative only.}

half-globe-light-cover

 Mystikit: Purchase the materials and tools needed to make this half globe light fixture cover.

sitting-room-diy

*more DIY projects in this space:

 *This light shade is mainly decorative. In our home, it is rarely turned on for more than a few minutes at a time. Please do your homework and consider safety in your own home before using a globe as a light fixture. 

Sharing here:

Home Stories A to Z Tips & Tutorials party

So You think You’re Crafty

Weekend Bloggy Reading

Thrift Store Find: Just add paint.


Out of nowhere in January, we were blessed with a day of spring temperatures (60s after single digit temps) here in Pittsburgh but unfortunately, April showers came along with it. It’s the kind of day perfect for sifting through the thrift-store junk stash and finally working on a project.

Thrifty Treasure Makeover

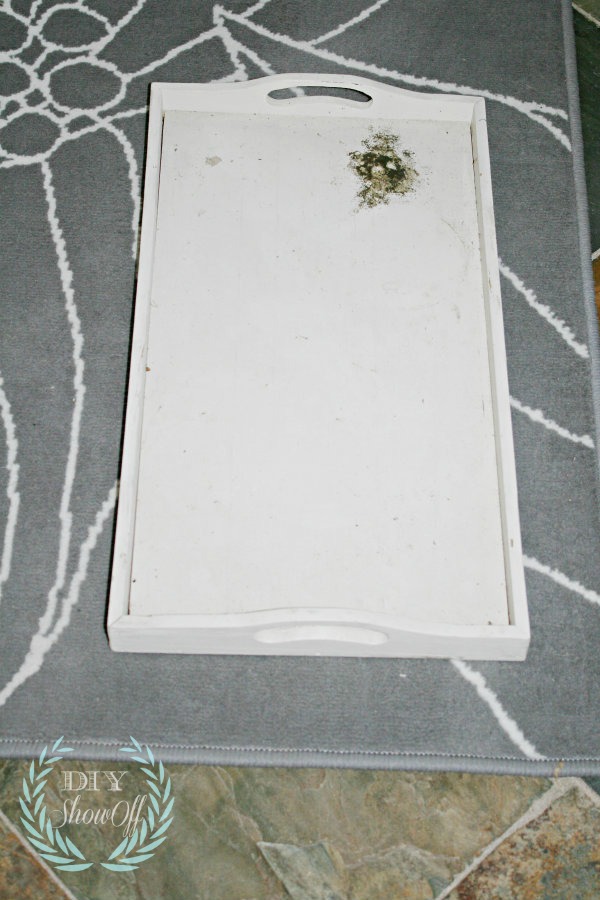
I grabbed the dirty serving tray from the bottom of the pile…{luckily that dark area was only dirt…not mold or a stain}

thrift store serving tray

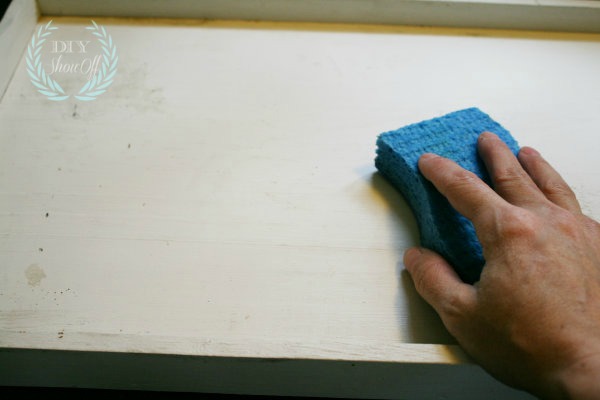
and gave it a good scrubbing with soap and water…

cleaning tray

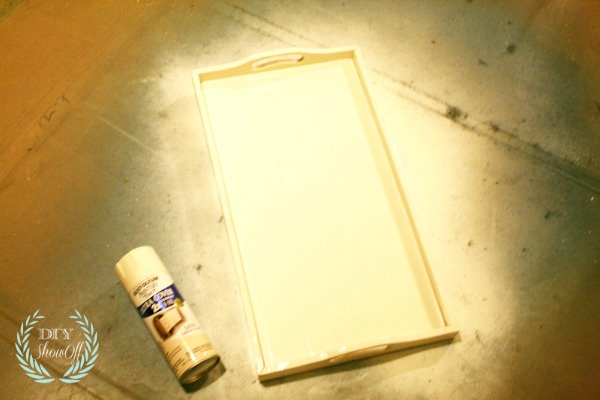
then headed to the basement to give it a coat of spray paint (Rustoleum Heirloom White)…

spray painting tray

Then I browsed some favorite blogs and caught up on emails while the paint dried.

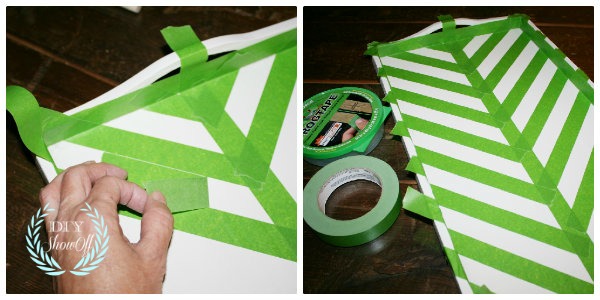
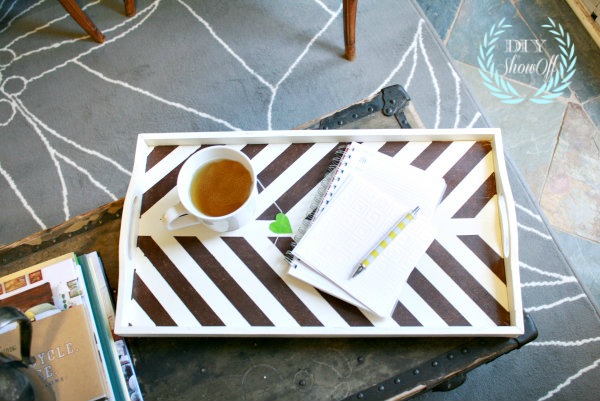
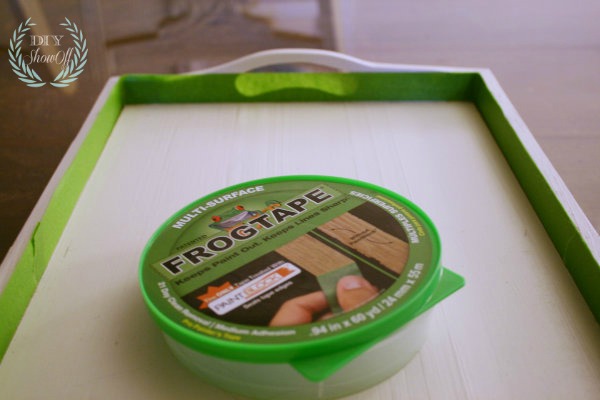
Next I used my FrogTape in the .94  in. width to tape off the inside border…

FrogTape on border

and to create a fun bold imperfect {herrinbone} pattern…

FrogTape design

making sure to use my thumbnail along the edges of the tape to ensure the Paintblock barrier had a good seal…

burnishing tape edges

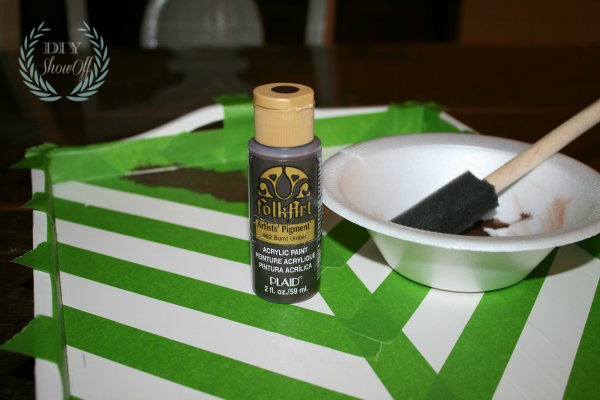
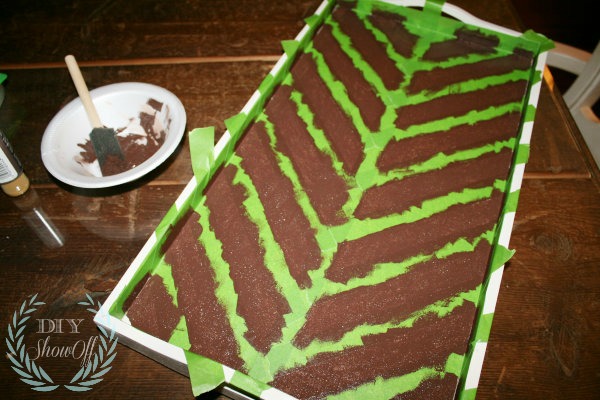
I filled in the design using an acrylic craft (Folk Art Burnt Umber) paint and a sponge brush…

acrylic paint

painted herribone pattern

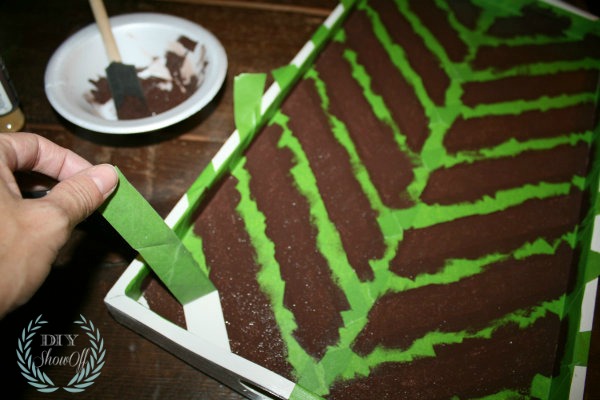
and immediately removed the FrogTape…

removing Frogtape

Once the acrylic craft paint was dry, I gave the entire tray a light even spray of clear coat and let it dry.

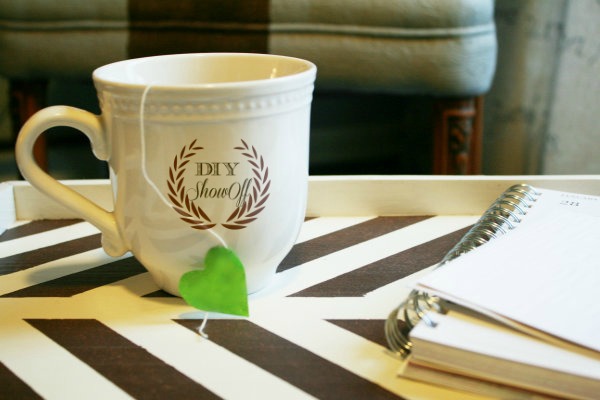
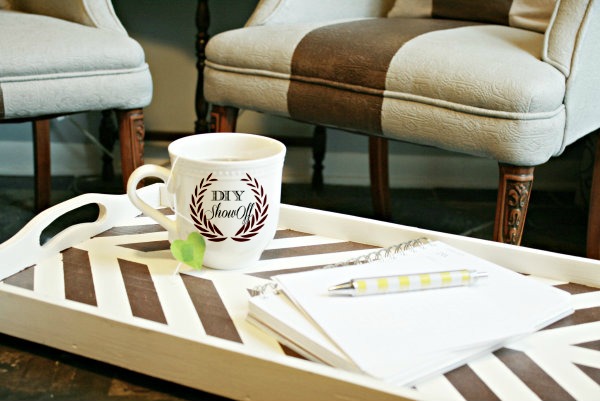
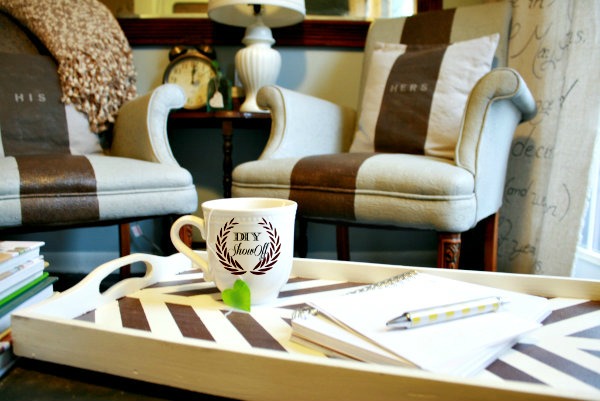
Now time to enjoy watching the rainstorm from inside. The sitting room is all ready for a spot of tea,

Frogtape serving tray

planning,

Painted serving tray

Frogtape serving tray

and daydreaming…

Frogtape serving tray

Do you have a thrift store/yardsale stash full of treasures just waiting for a little DIY attention?

See this herringbone pattern using  FrogTape on an accent wall.

Sharing: Thrifty Decor Chick – Before & After party

Home Stories A to Z: Tutorials & Tips

*This is a sponsored post brought to you by FrogTape. The opinions are completely my own based on my experience. Results may vary. 
FrogTape Blog Squad