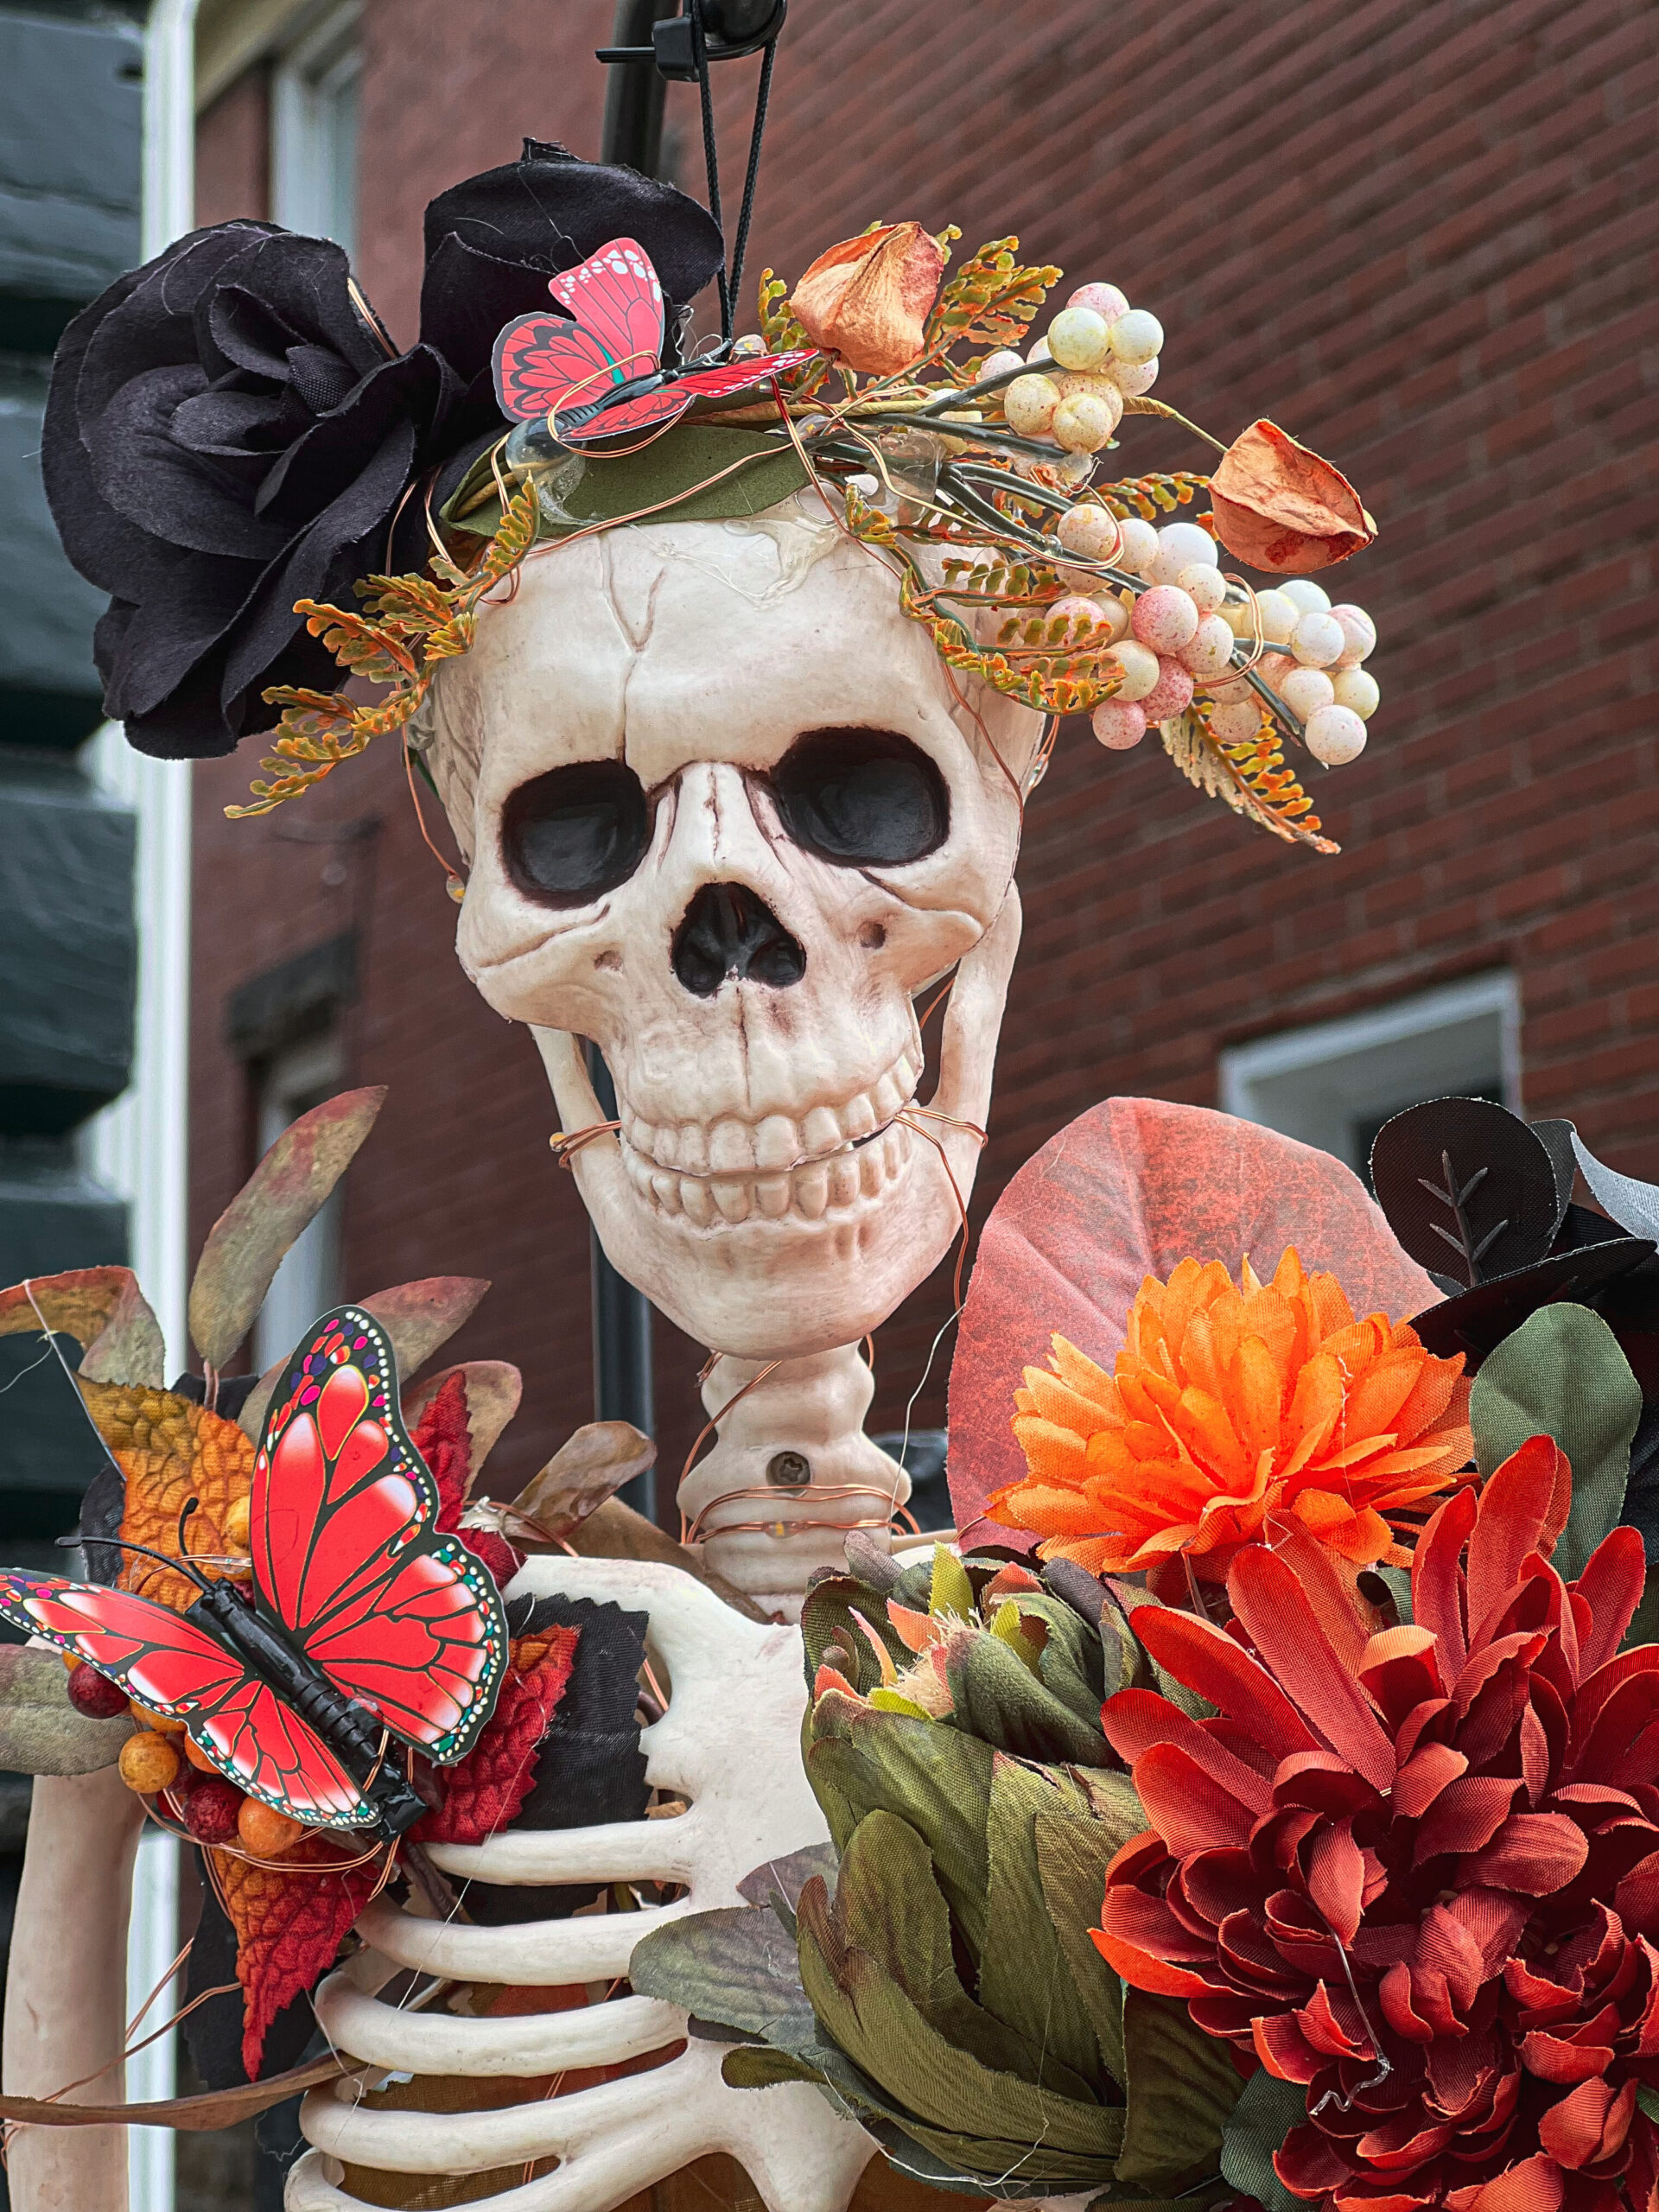
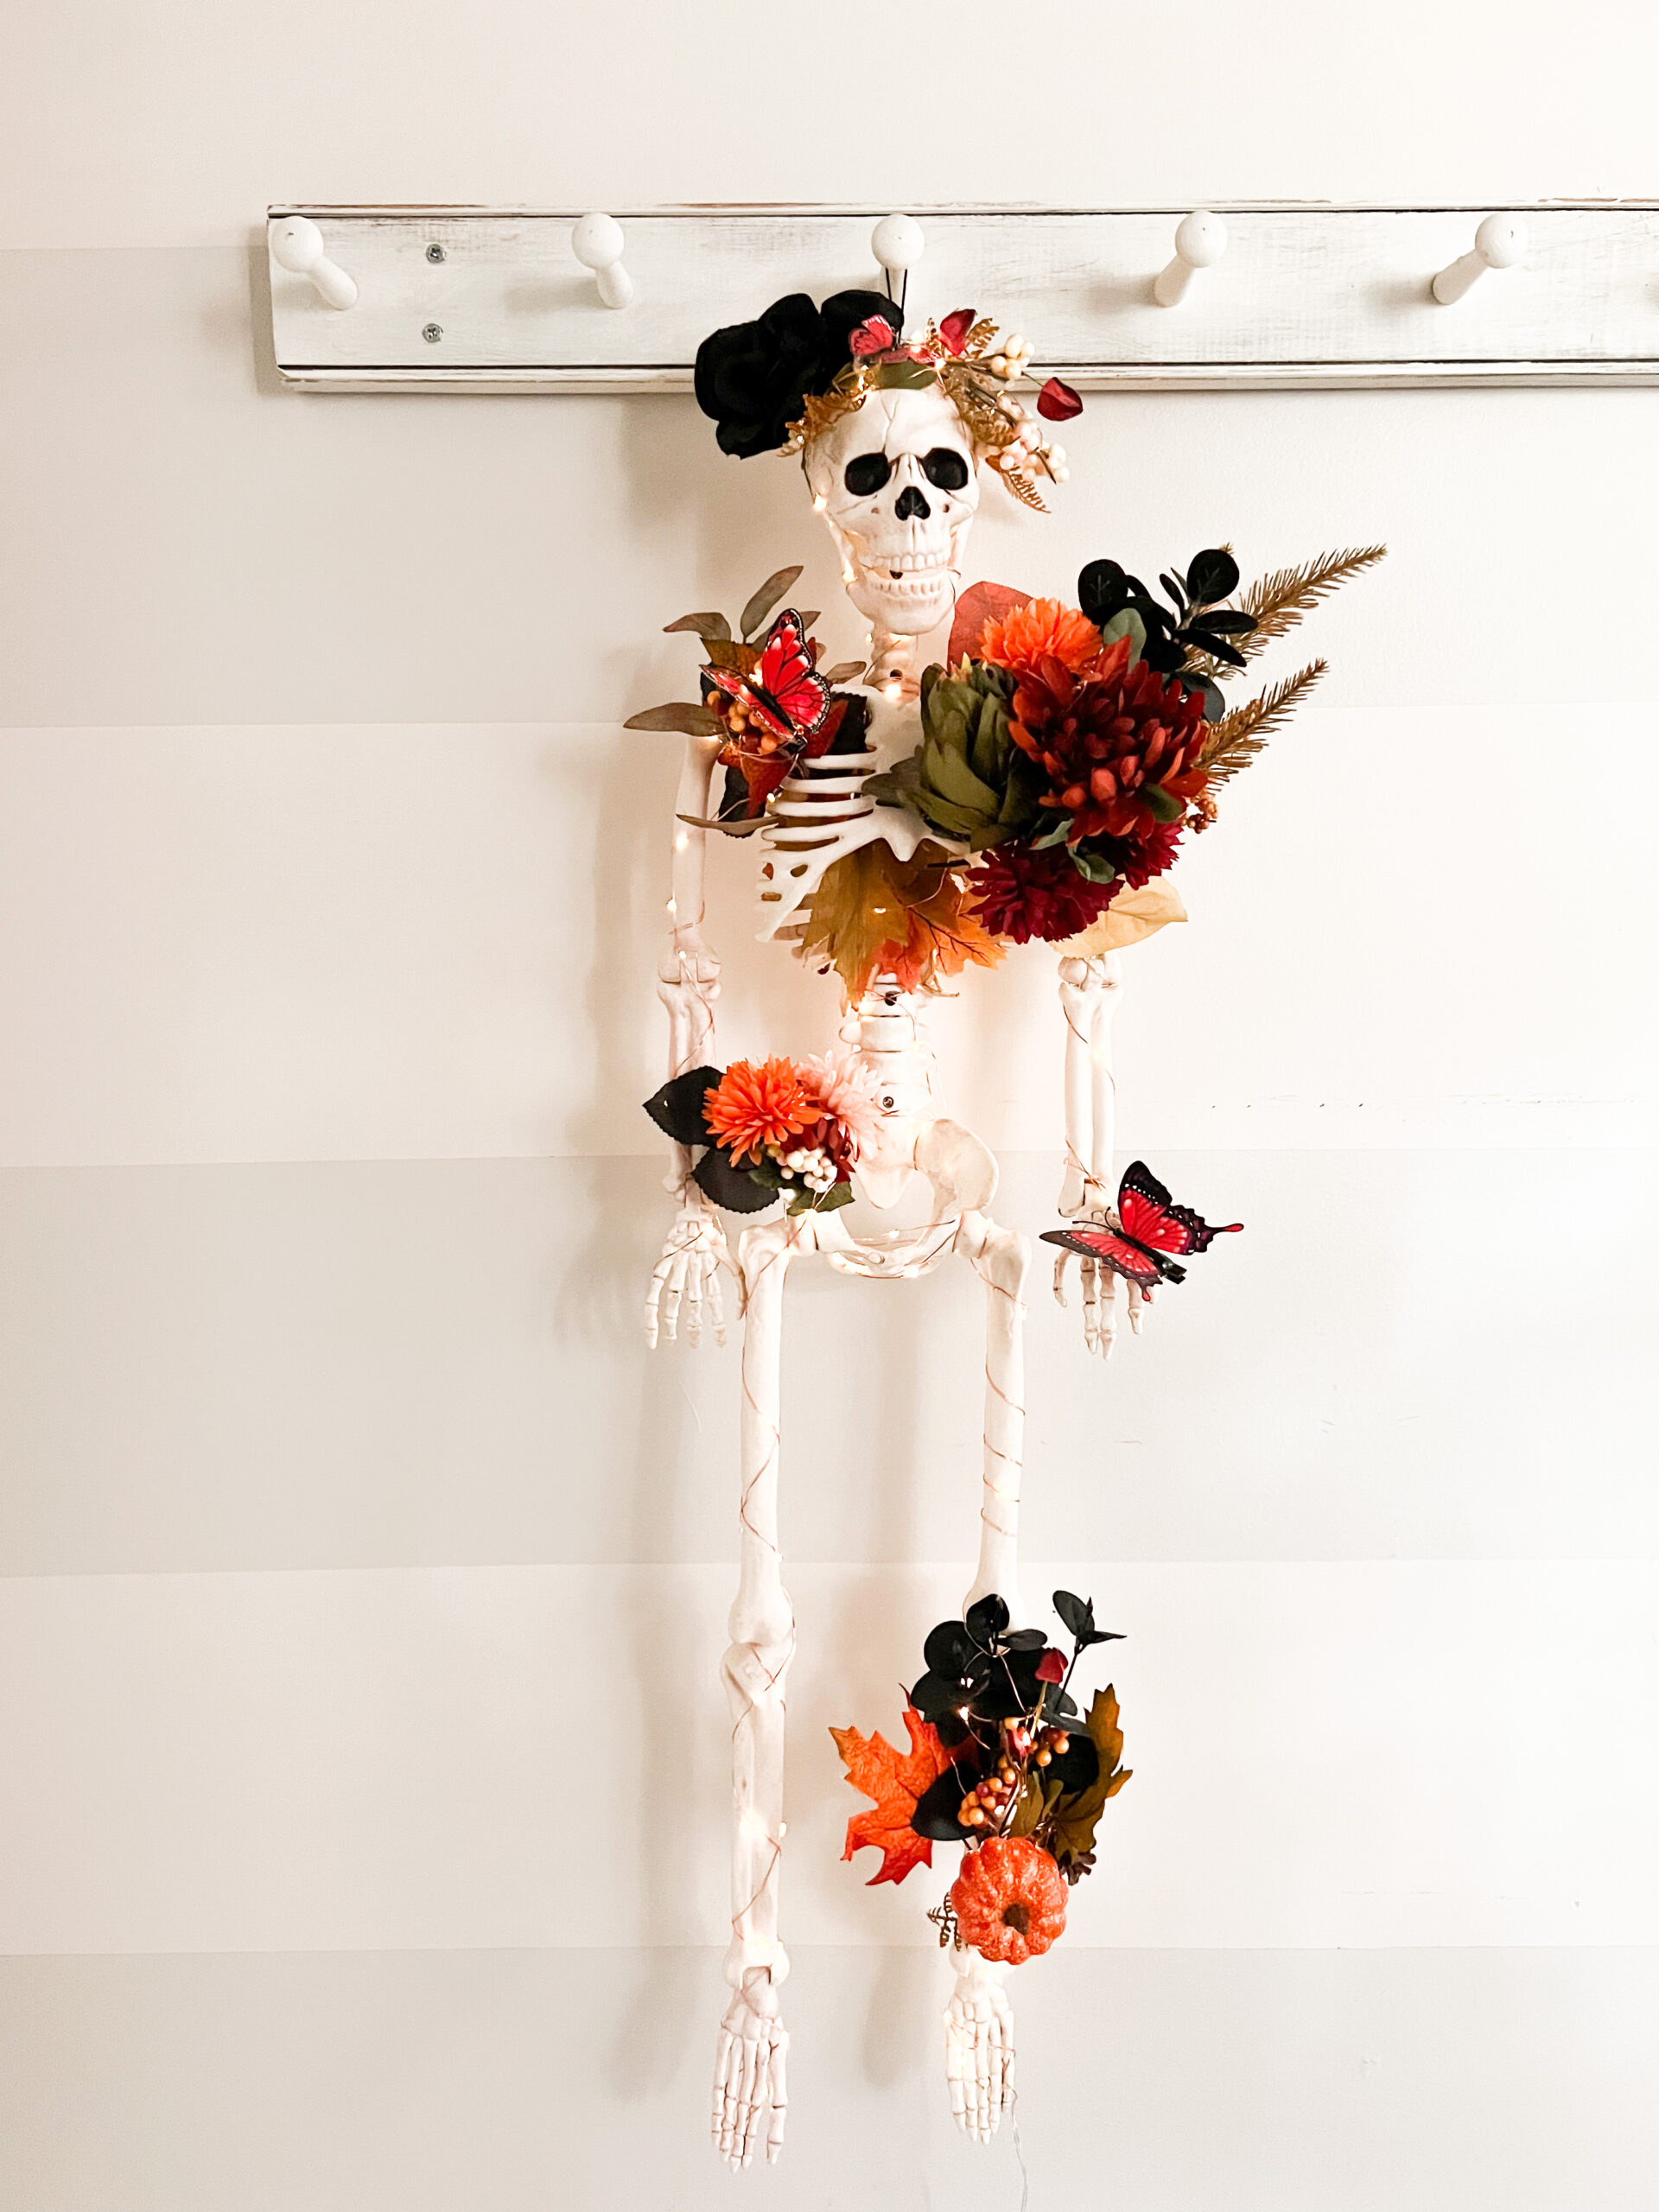
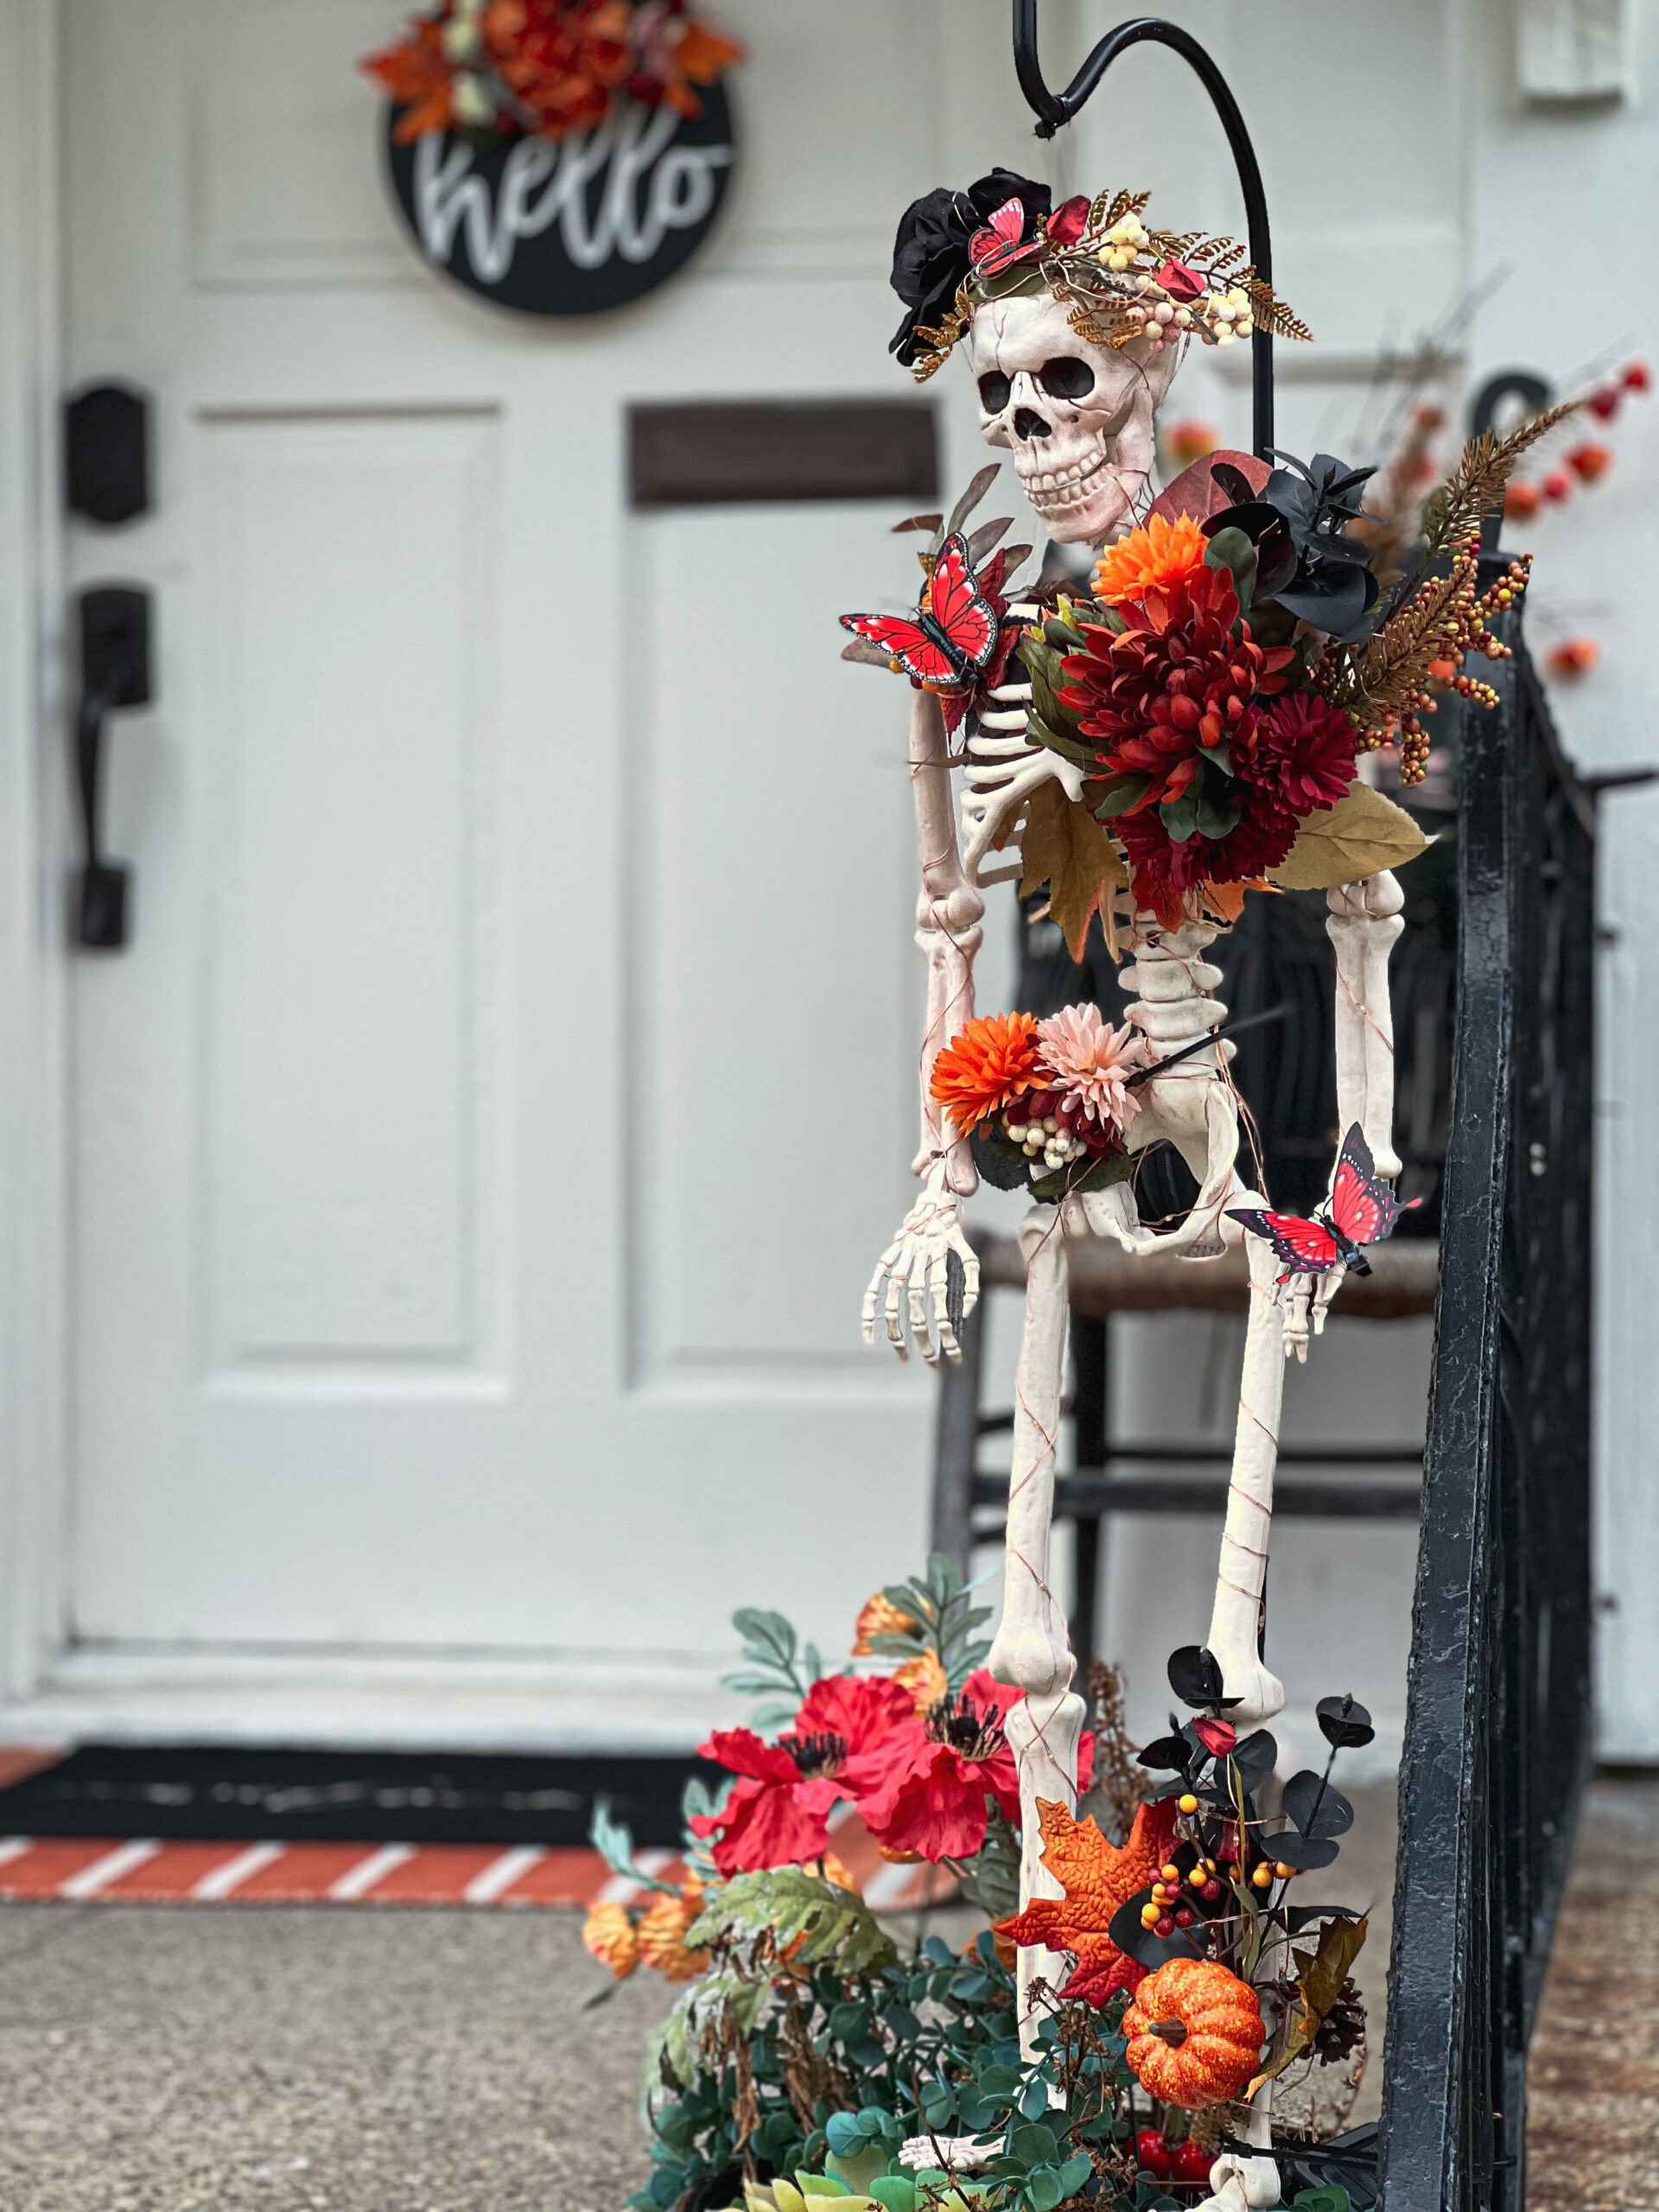
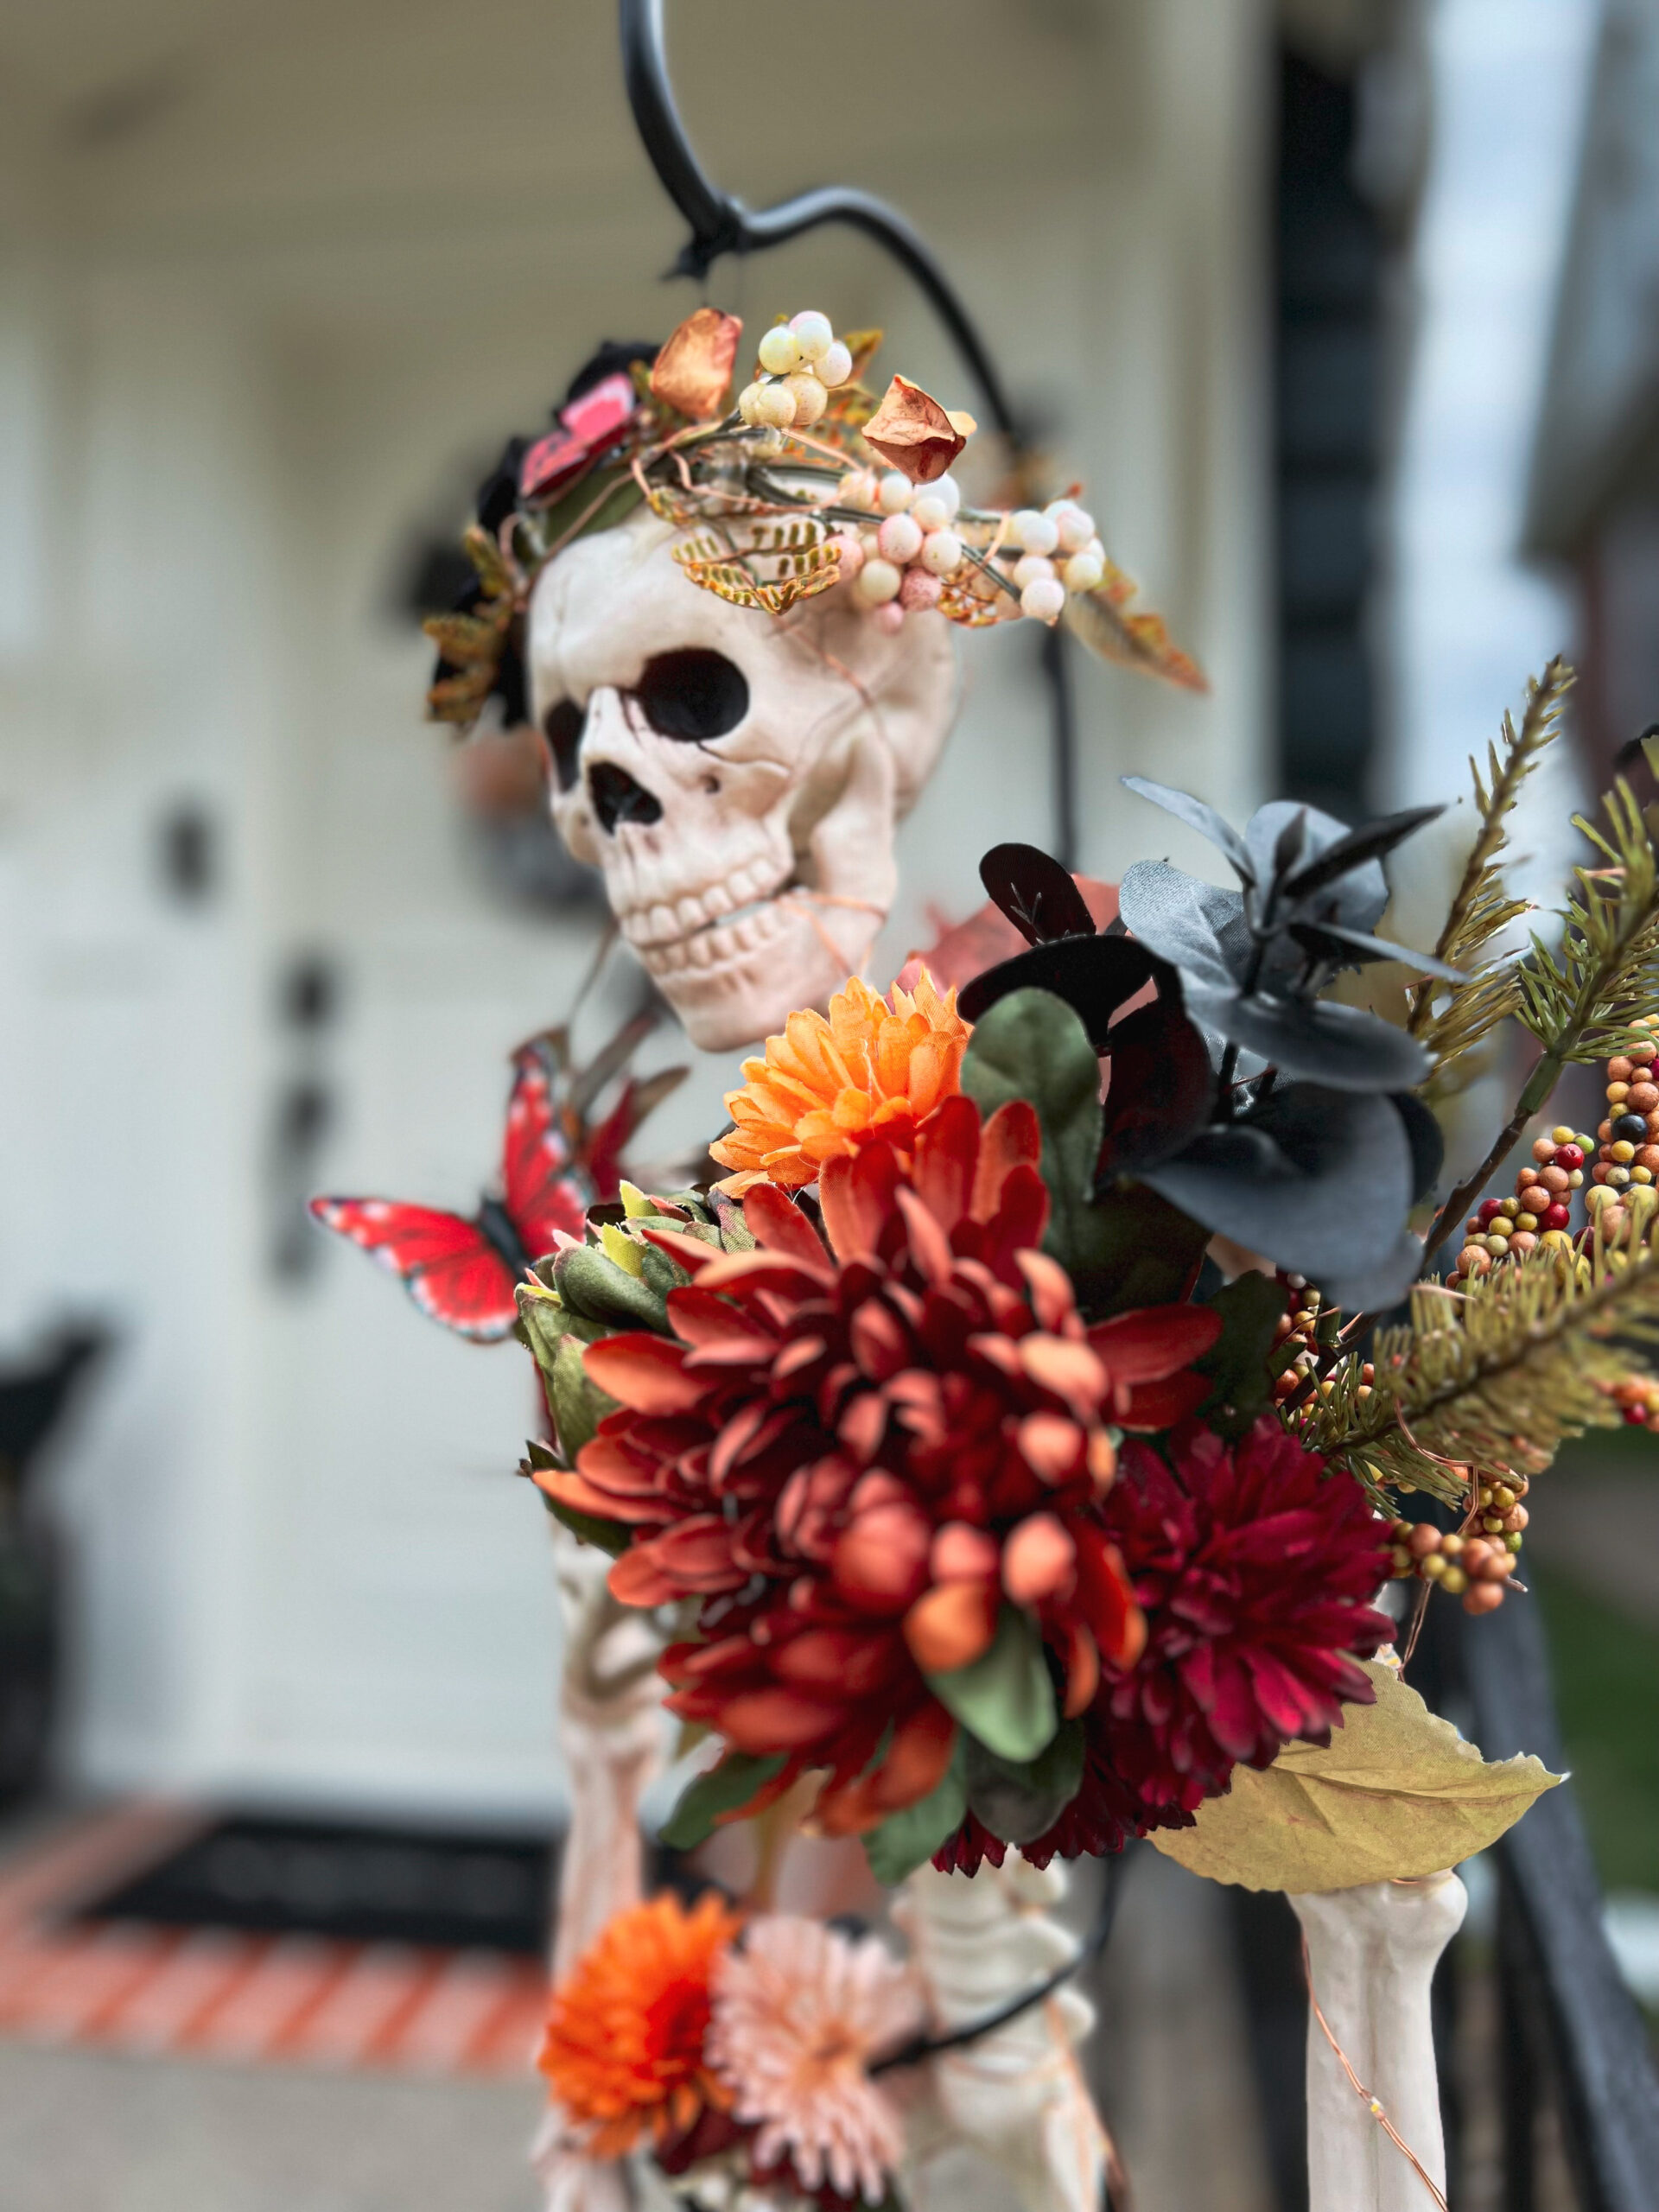
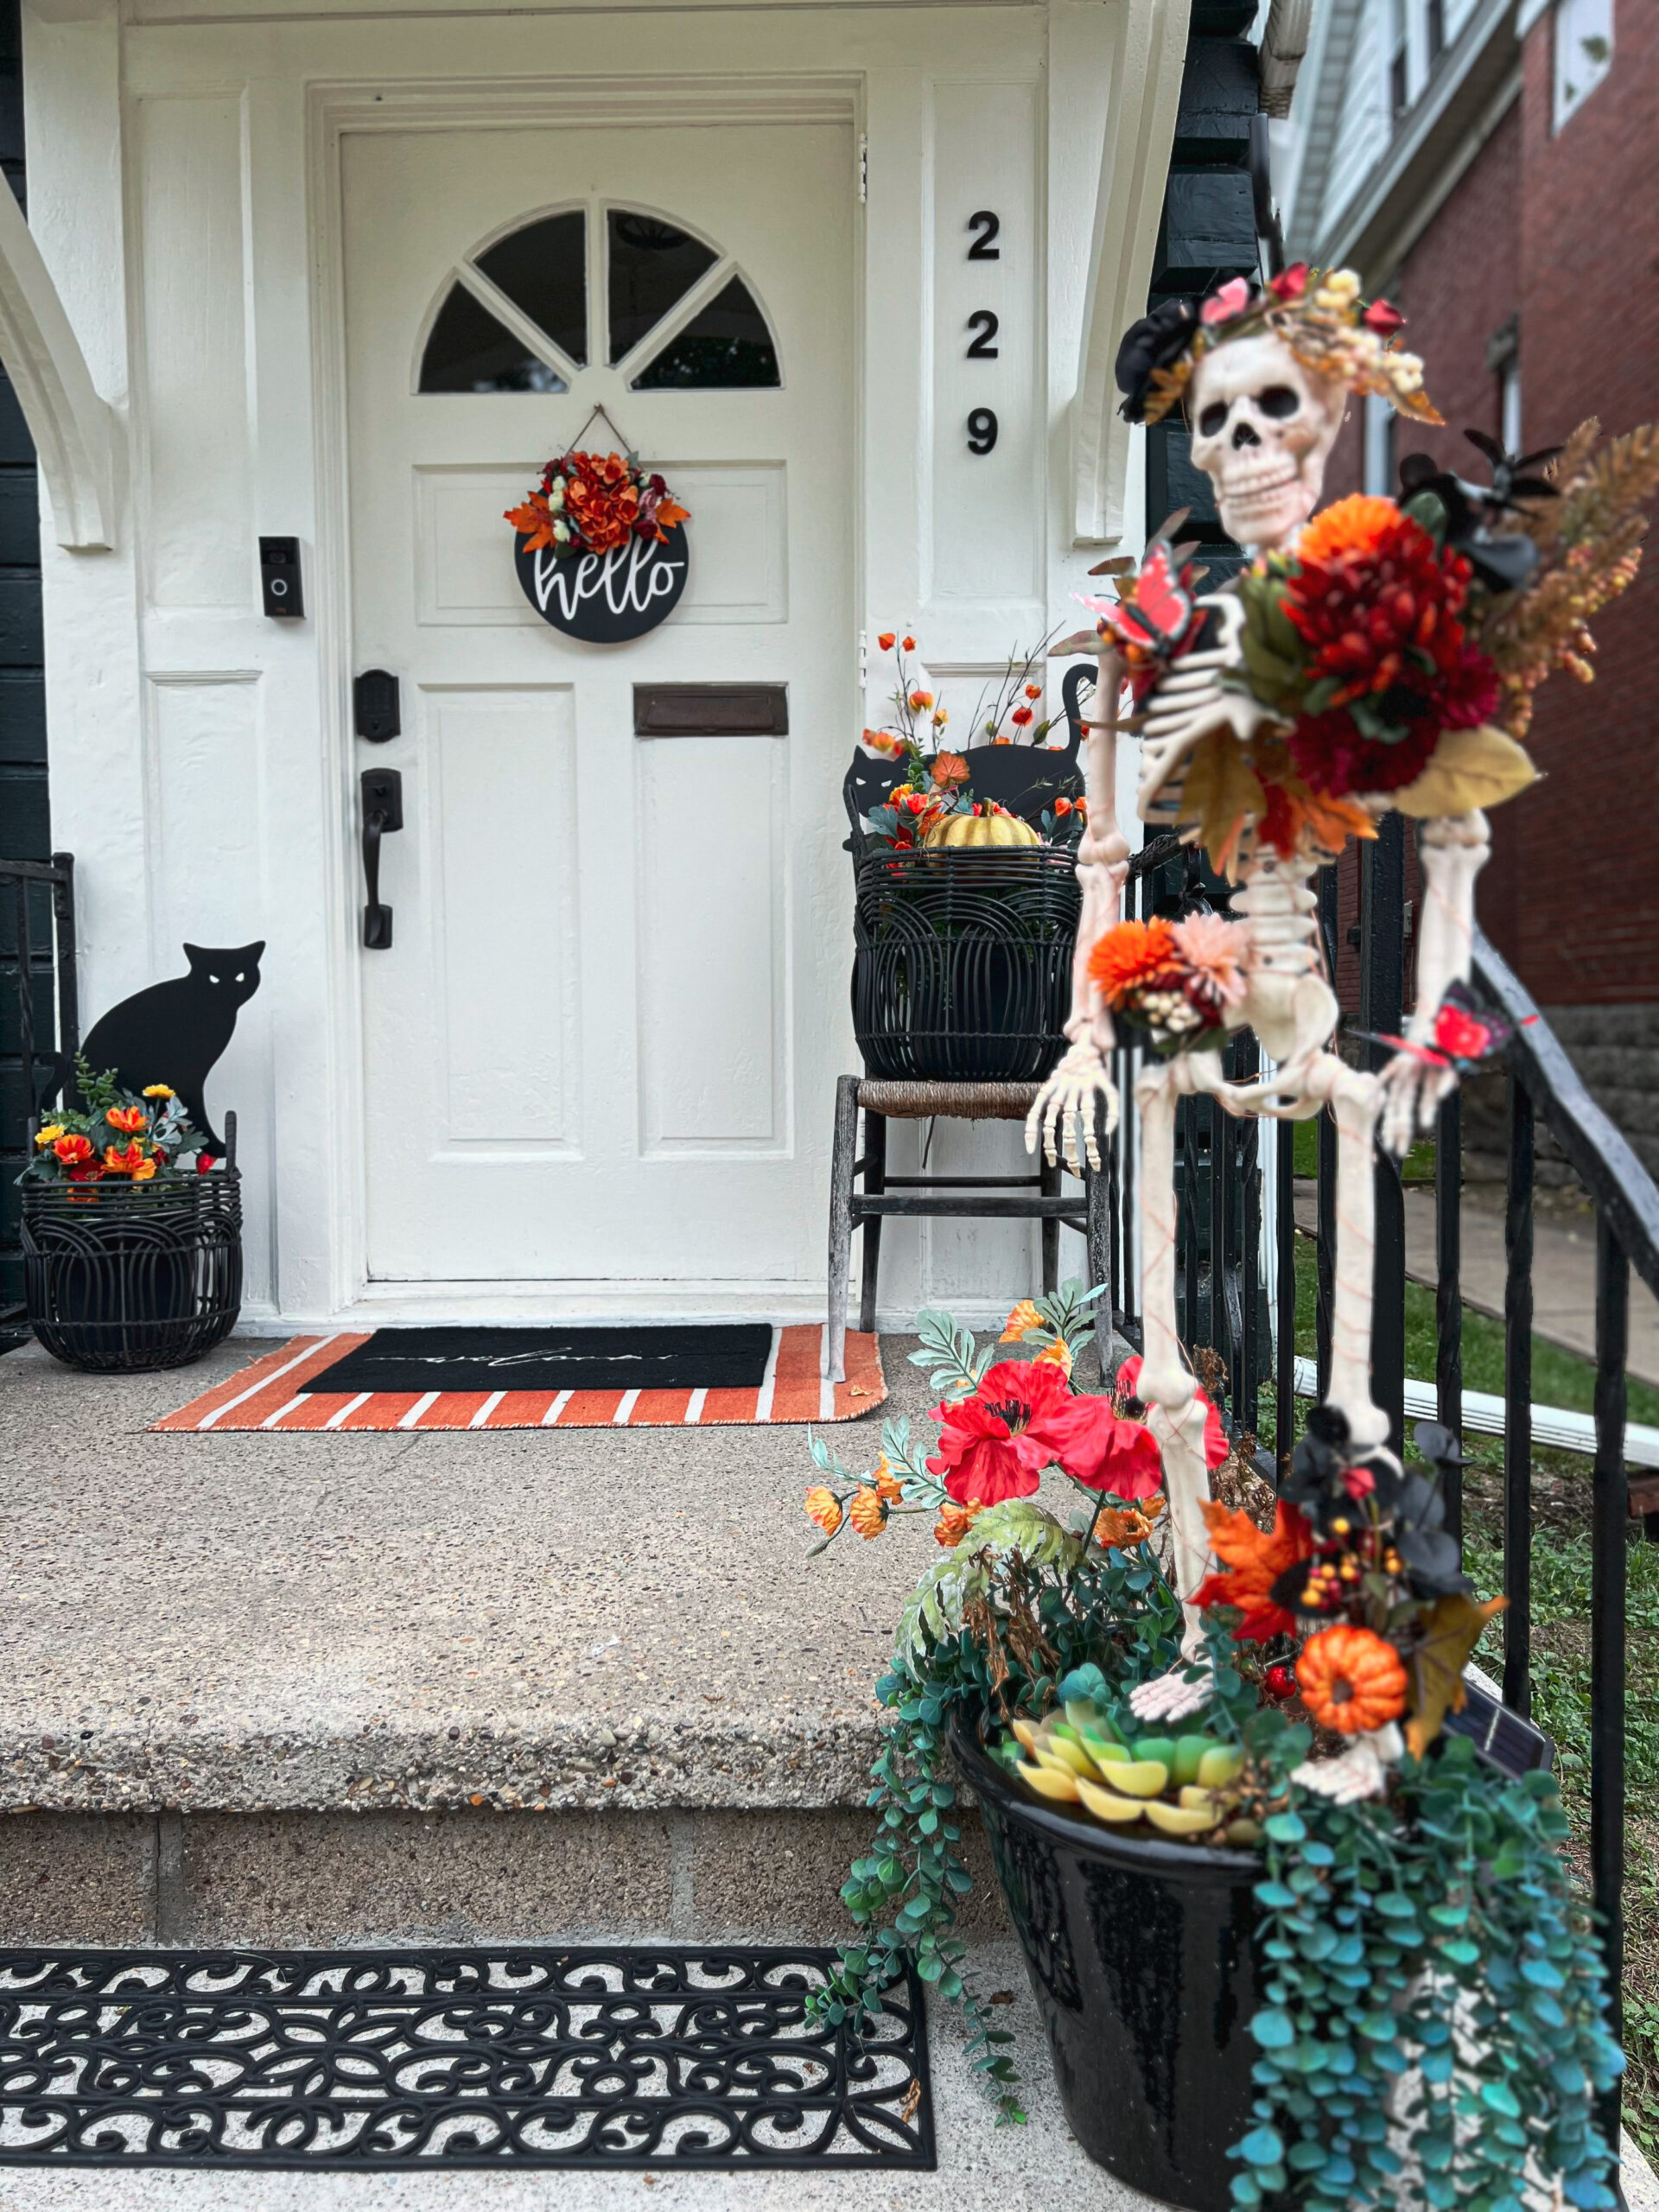
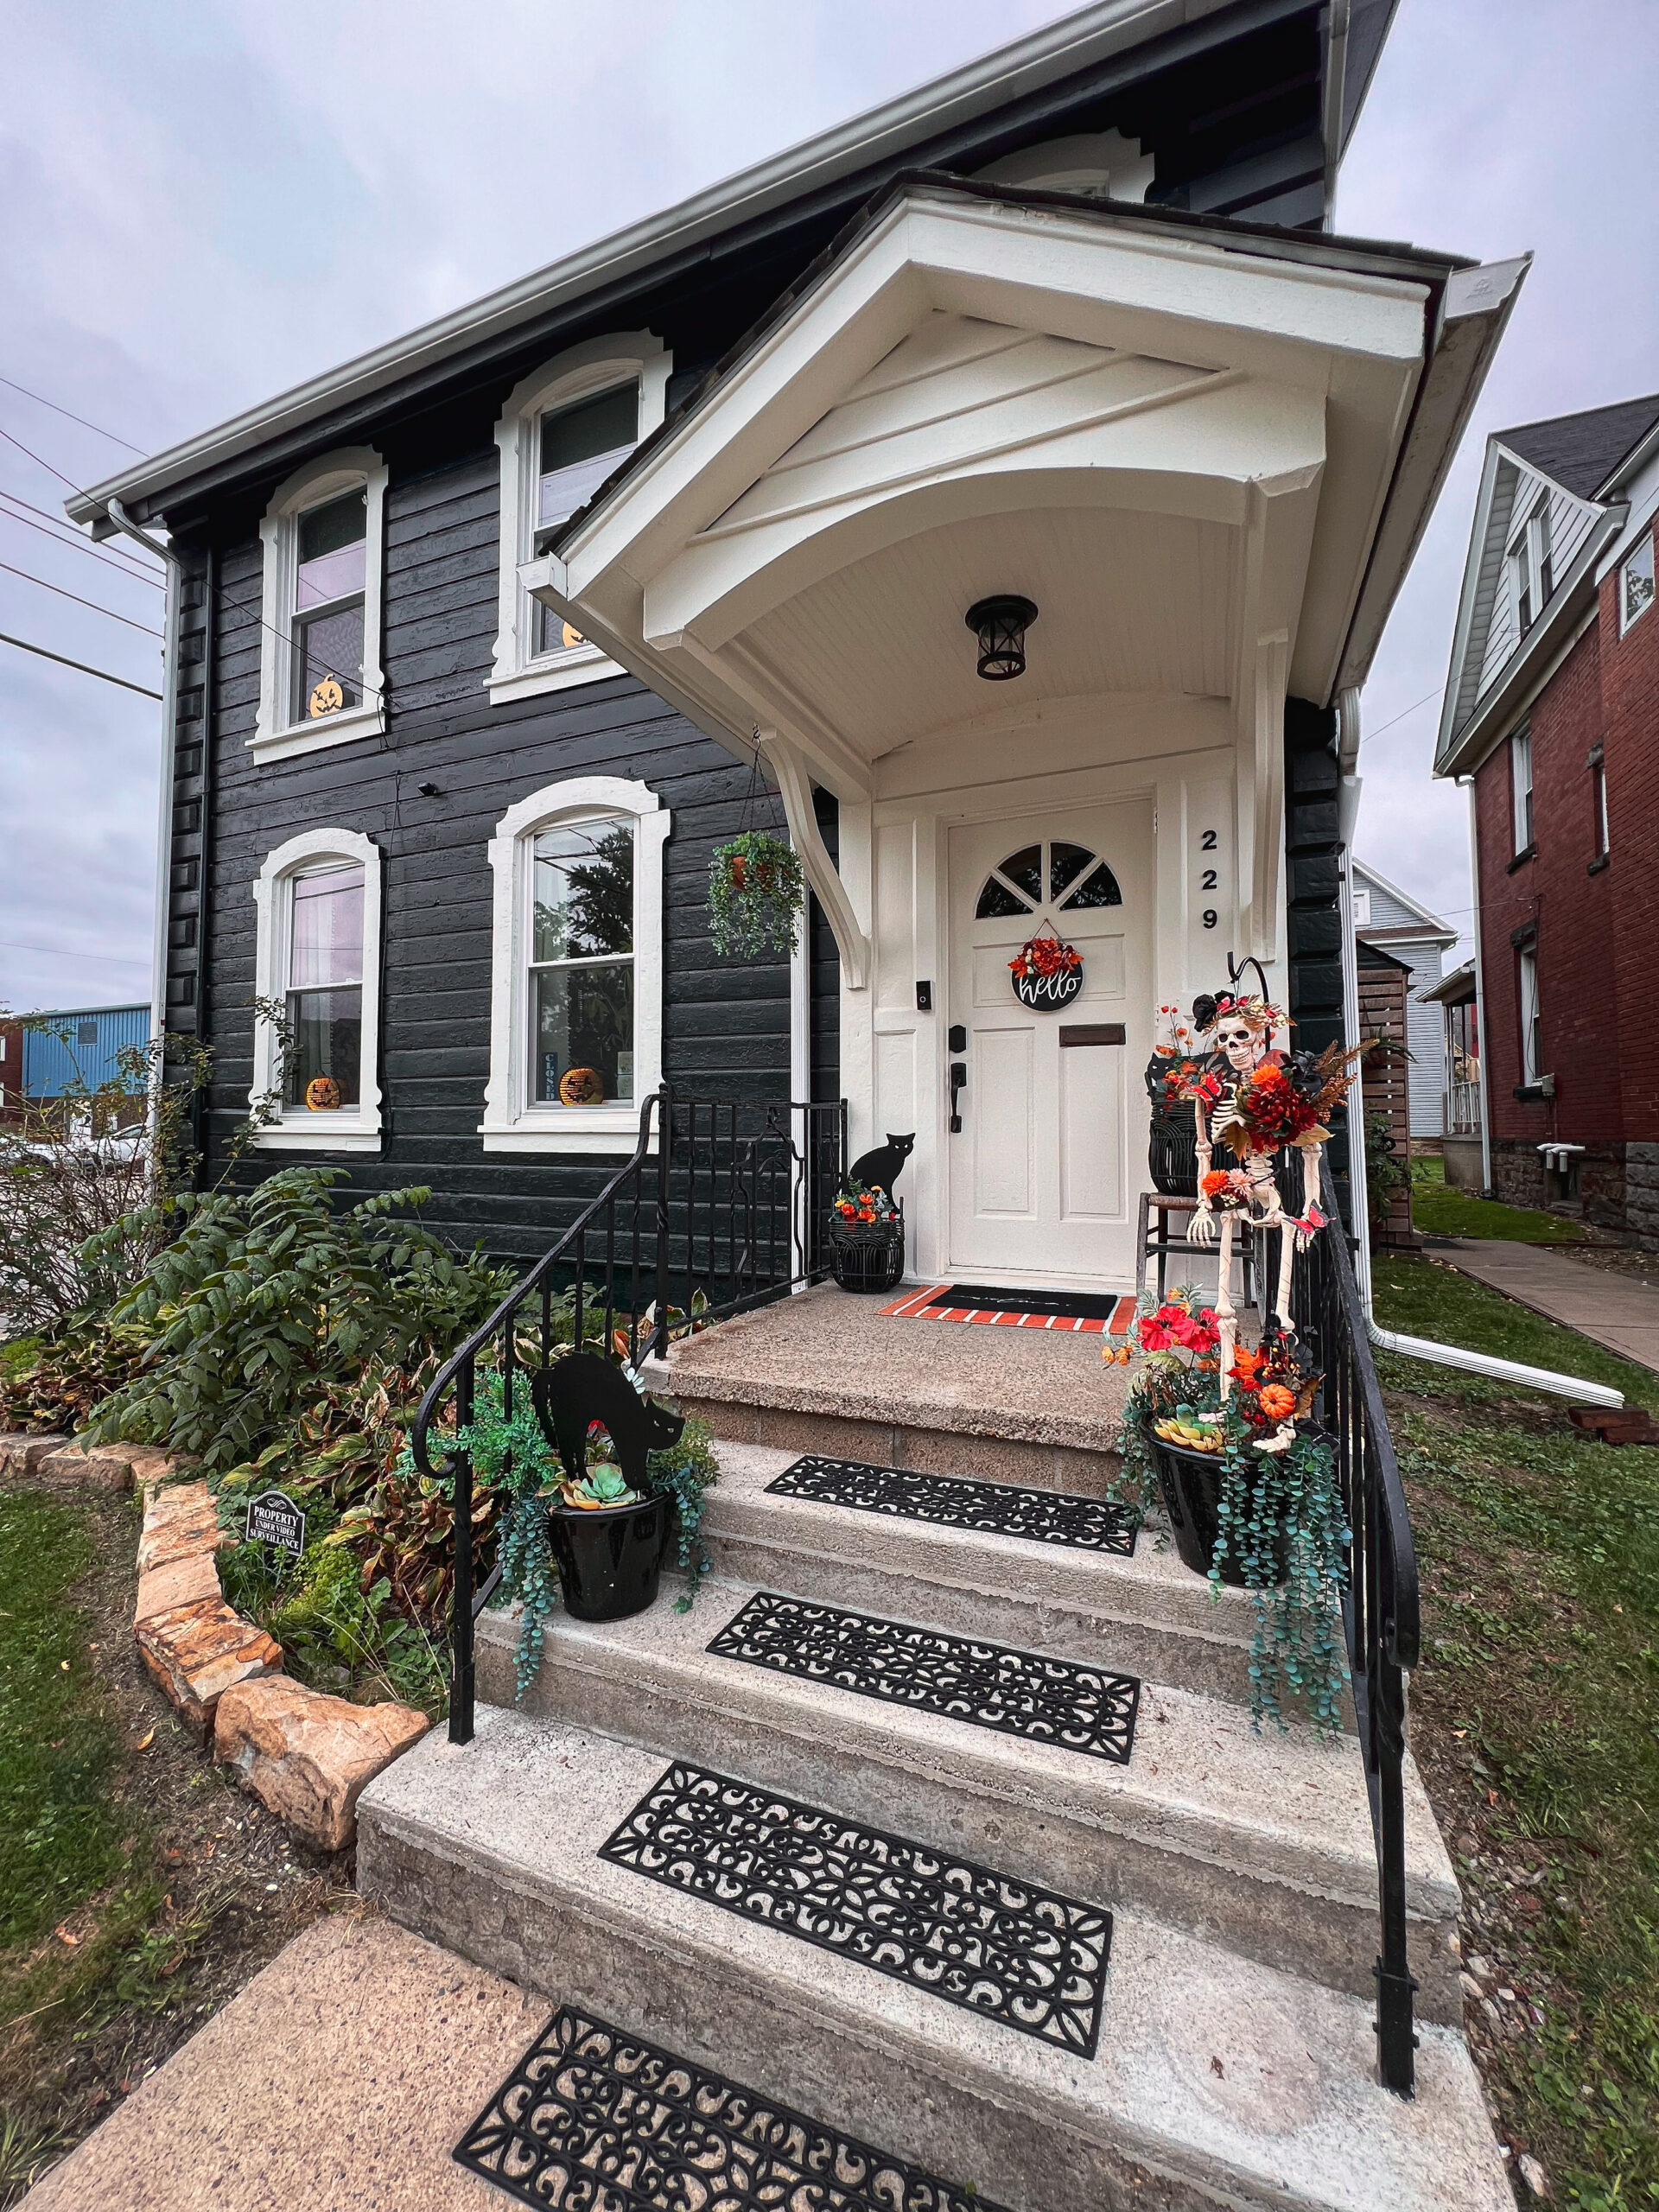
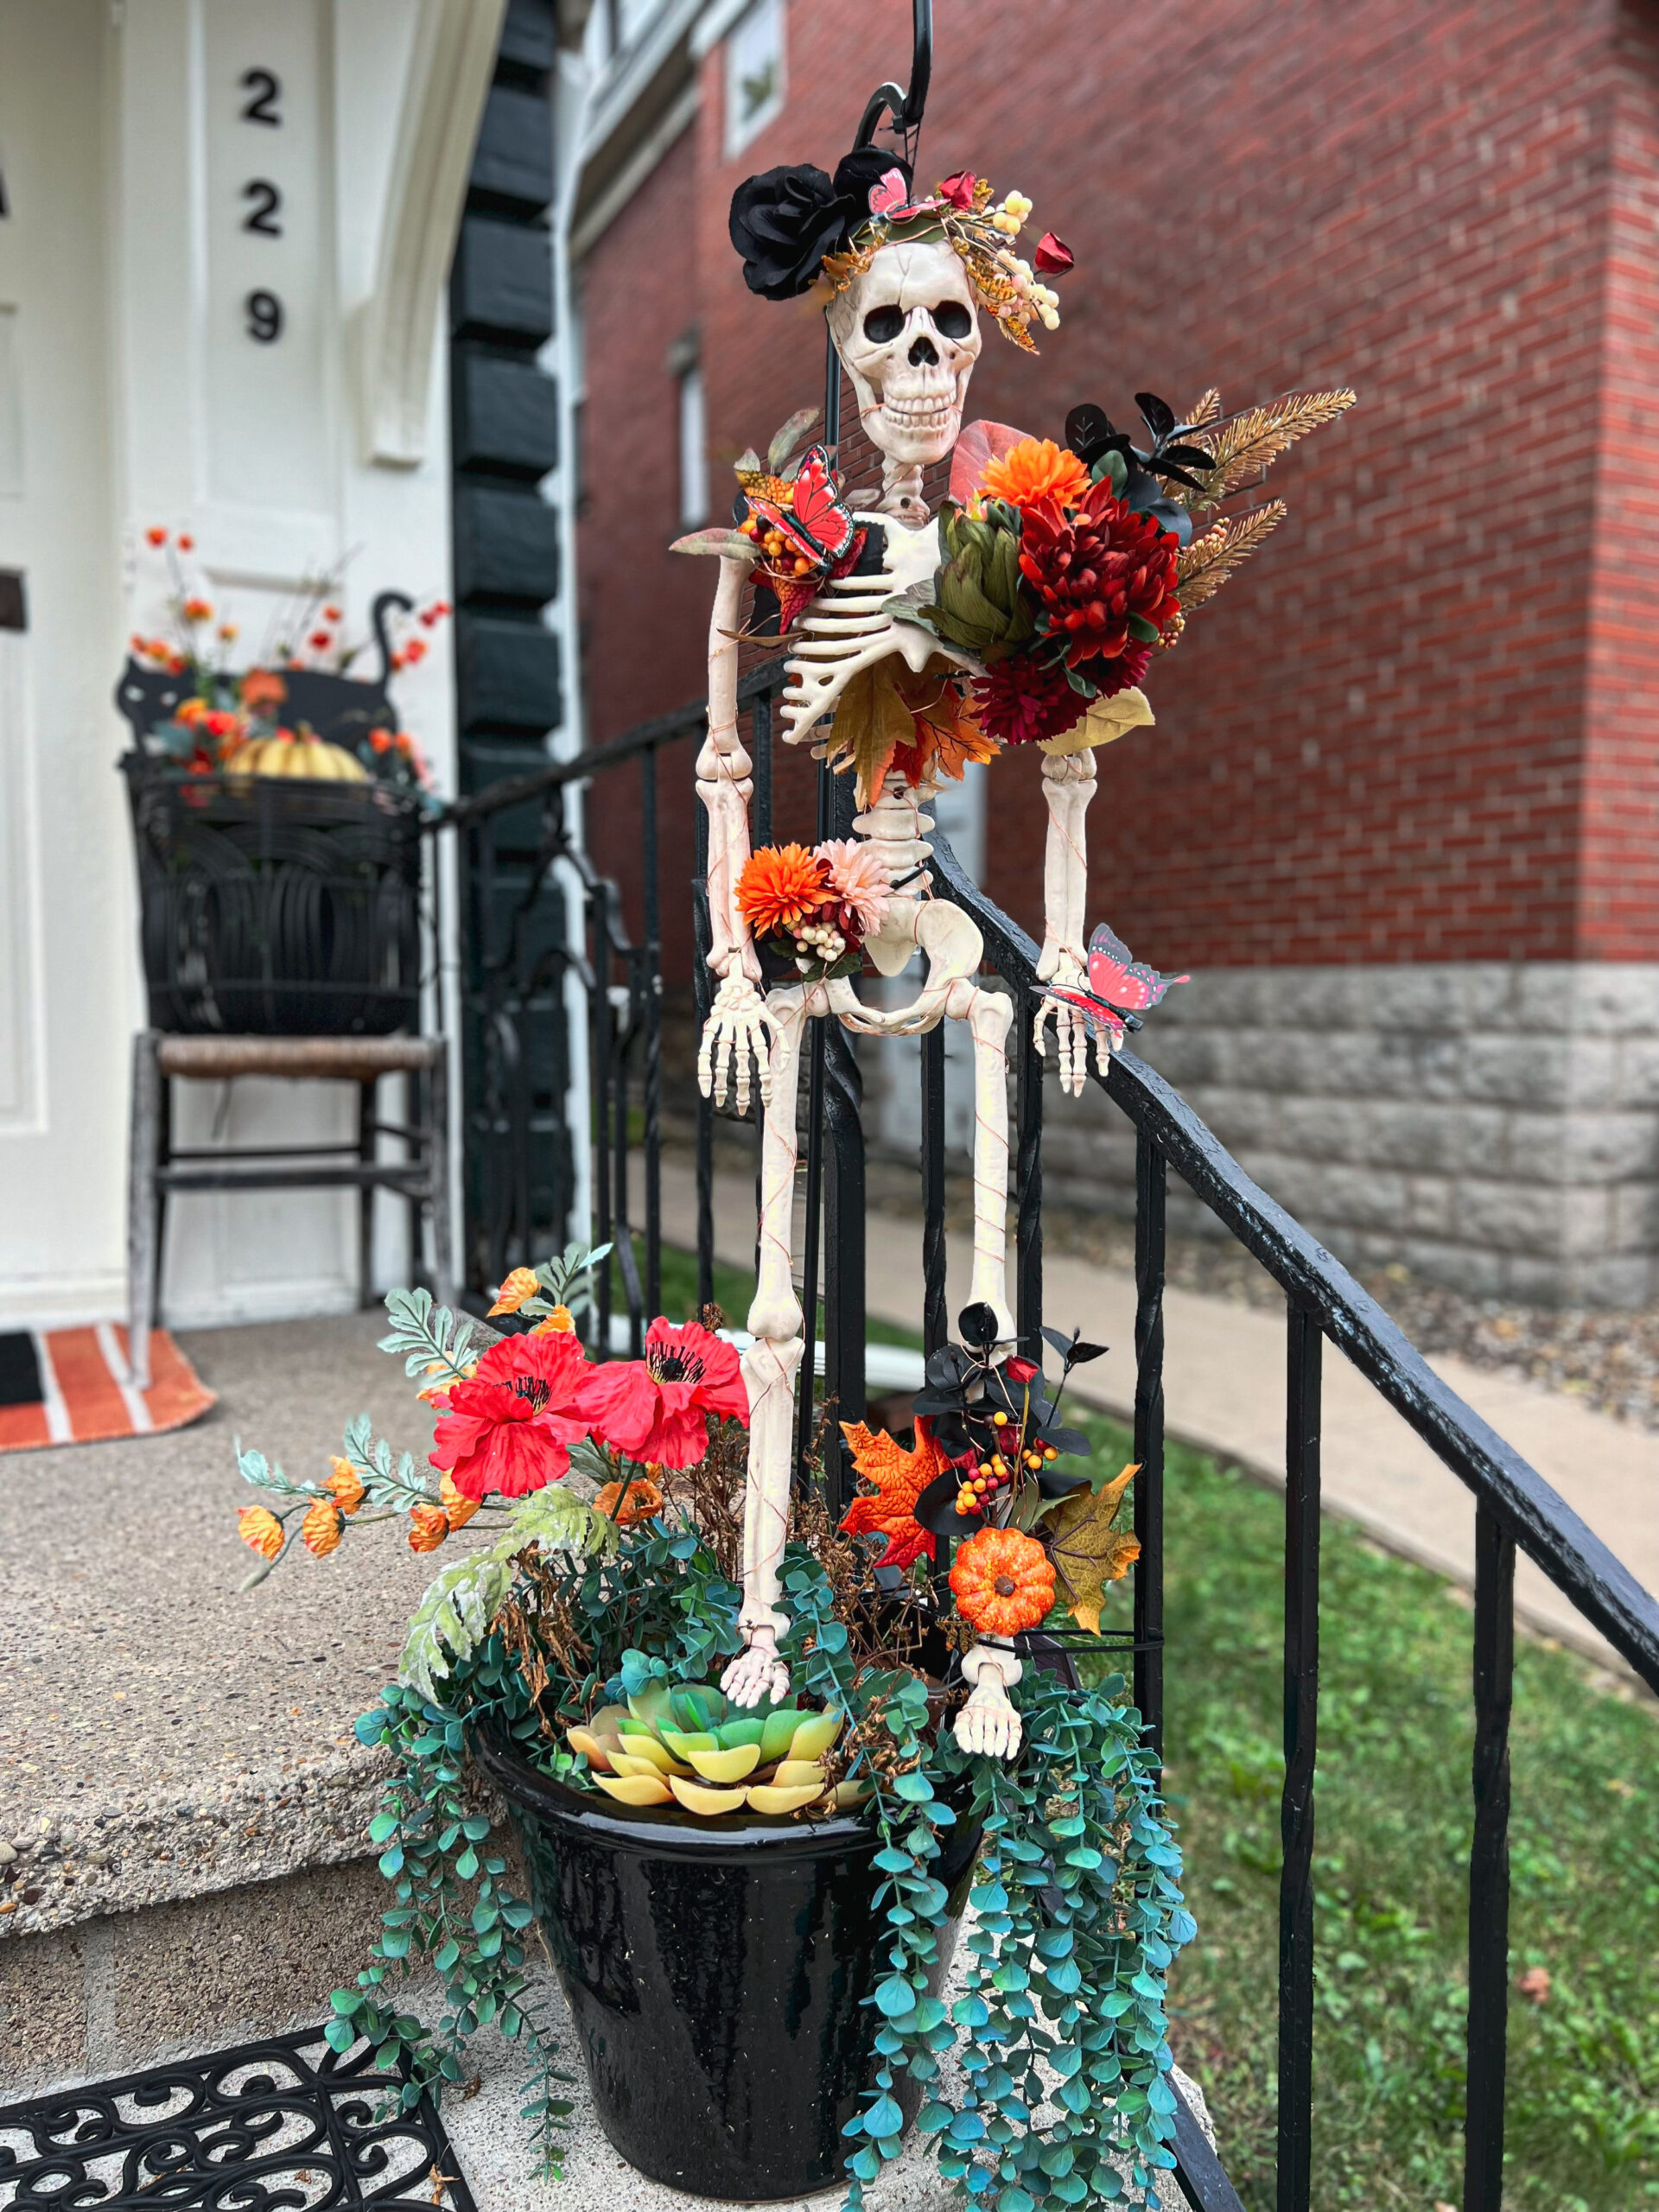
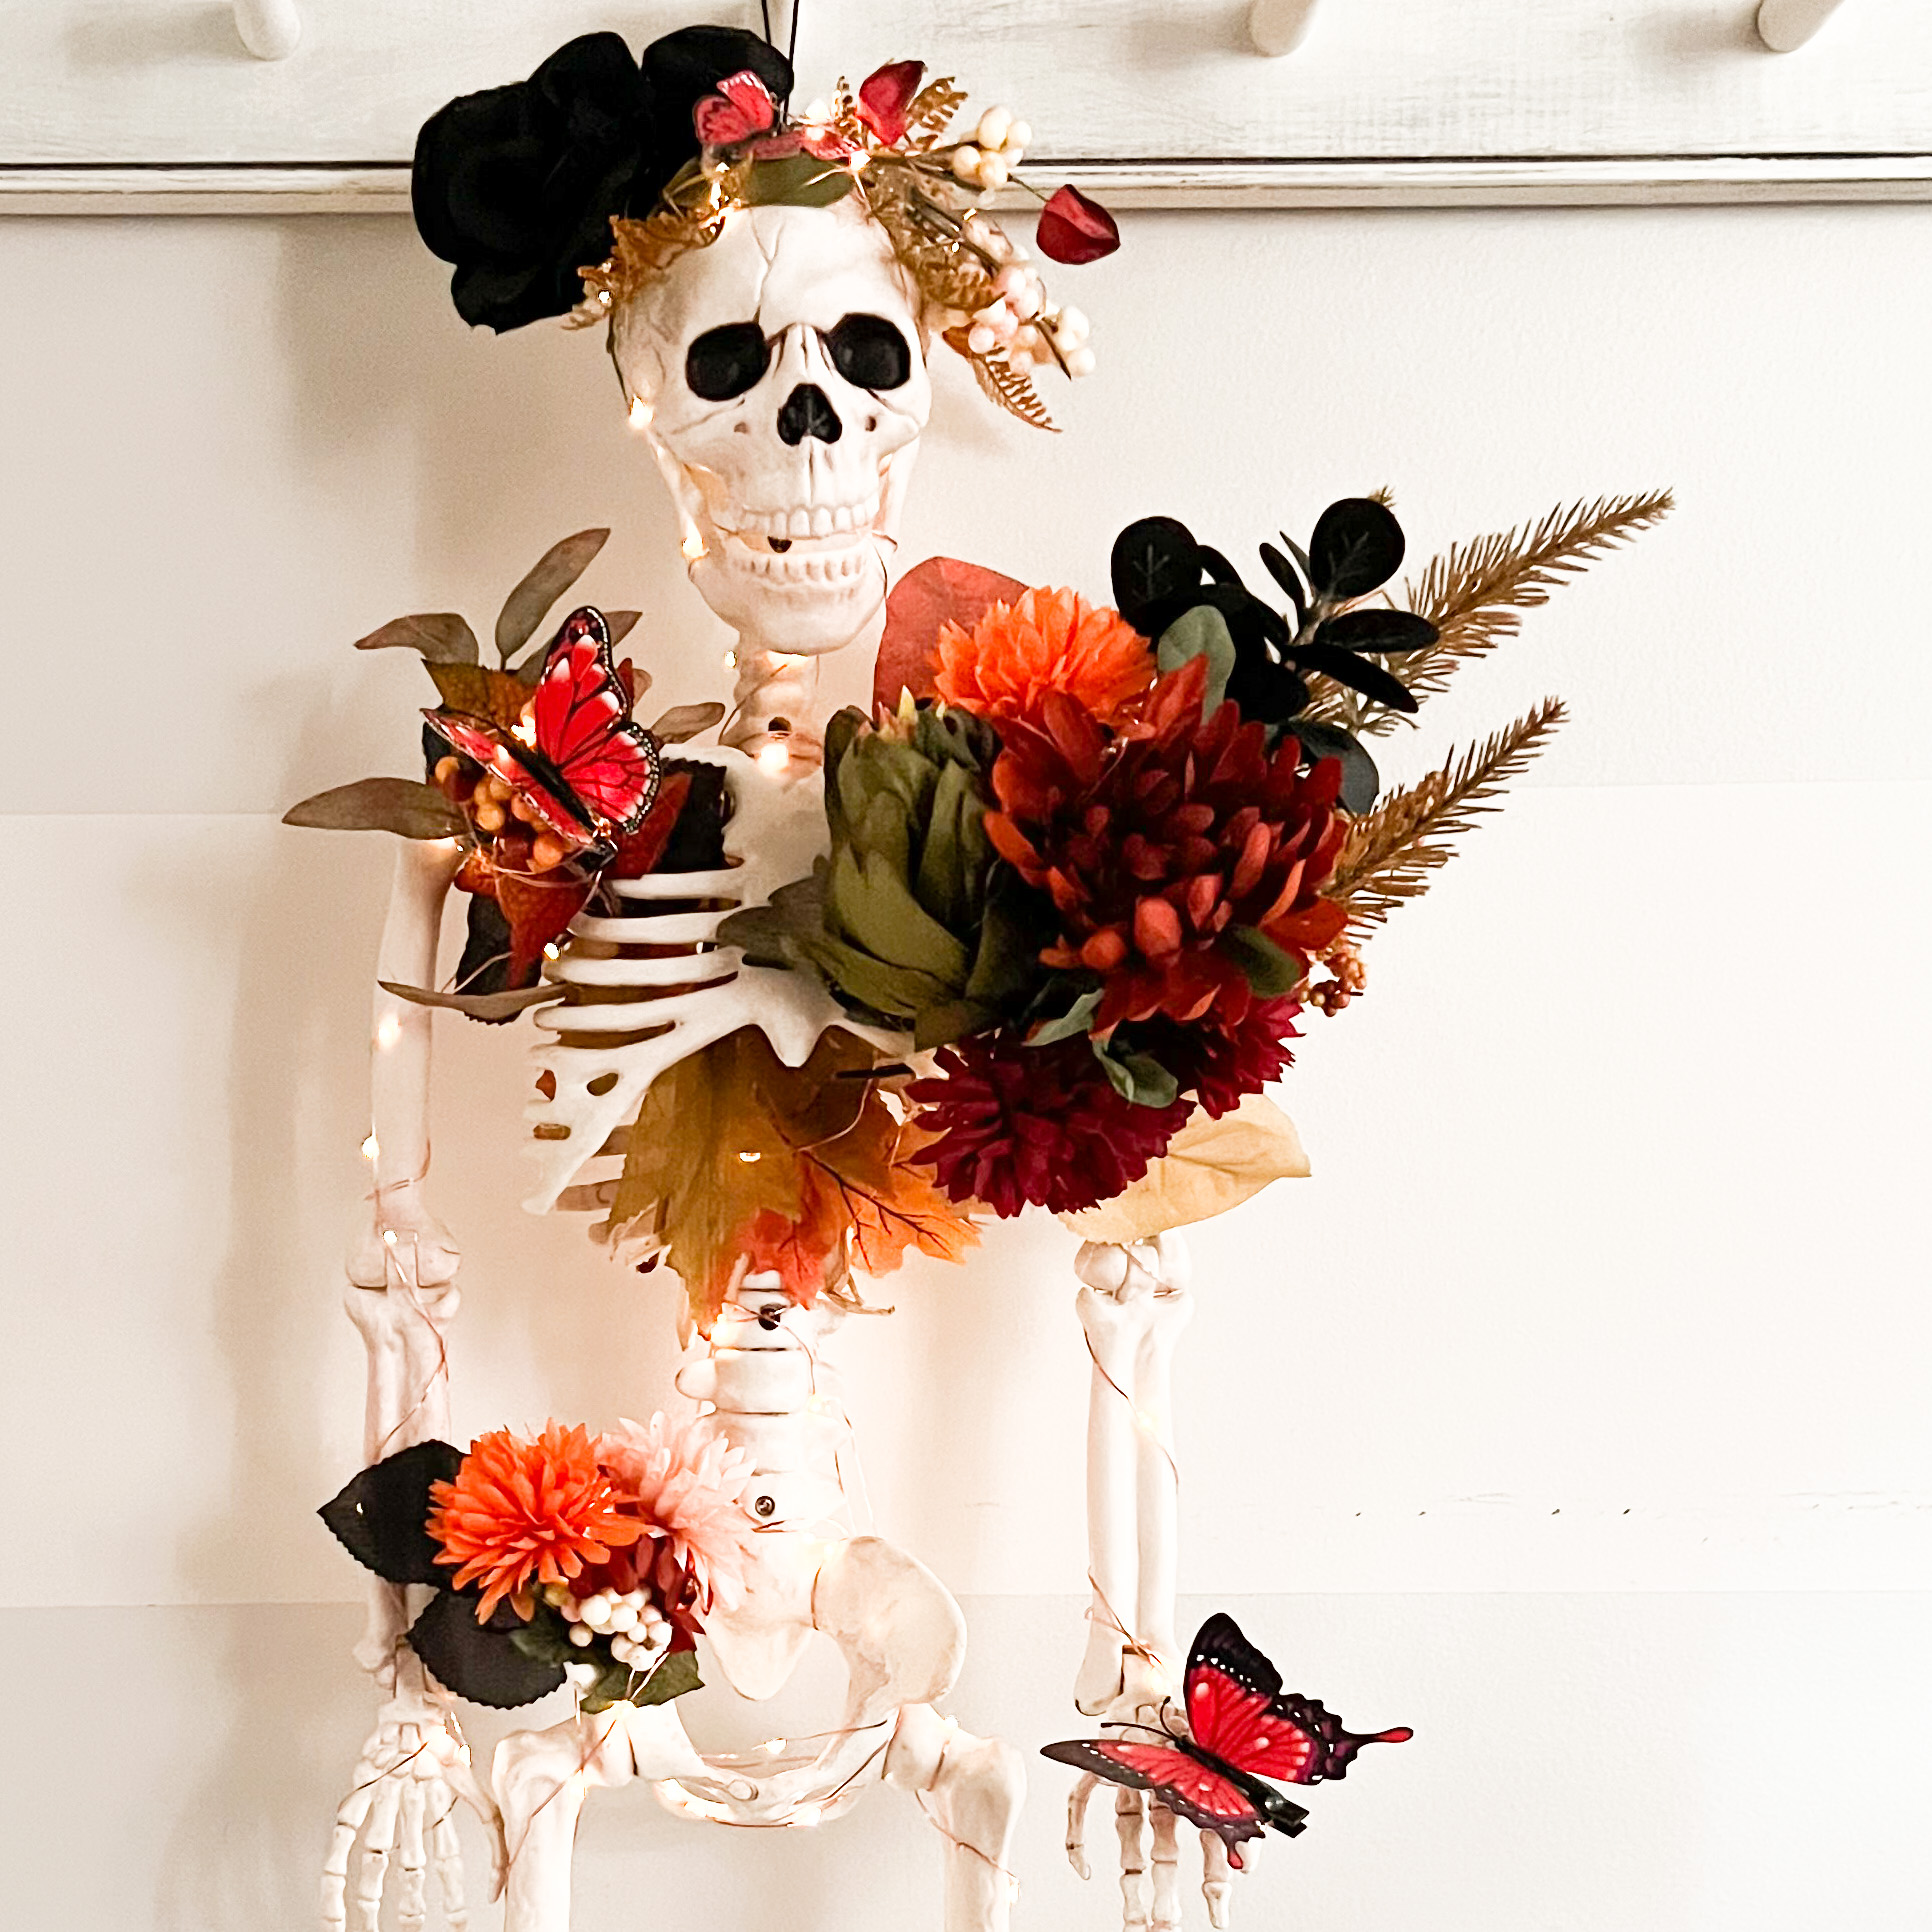
I am so in love this decadent and decay theme for adding a touch of Halloween class to the front porch! It’s a skeleton with beauty and style and solar fairy lights!
What I gathered:
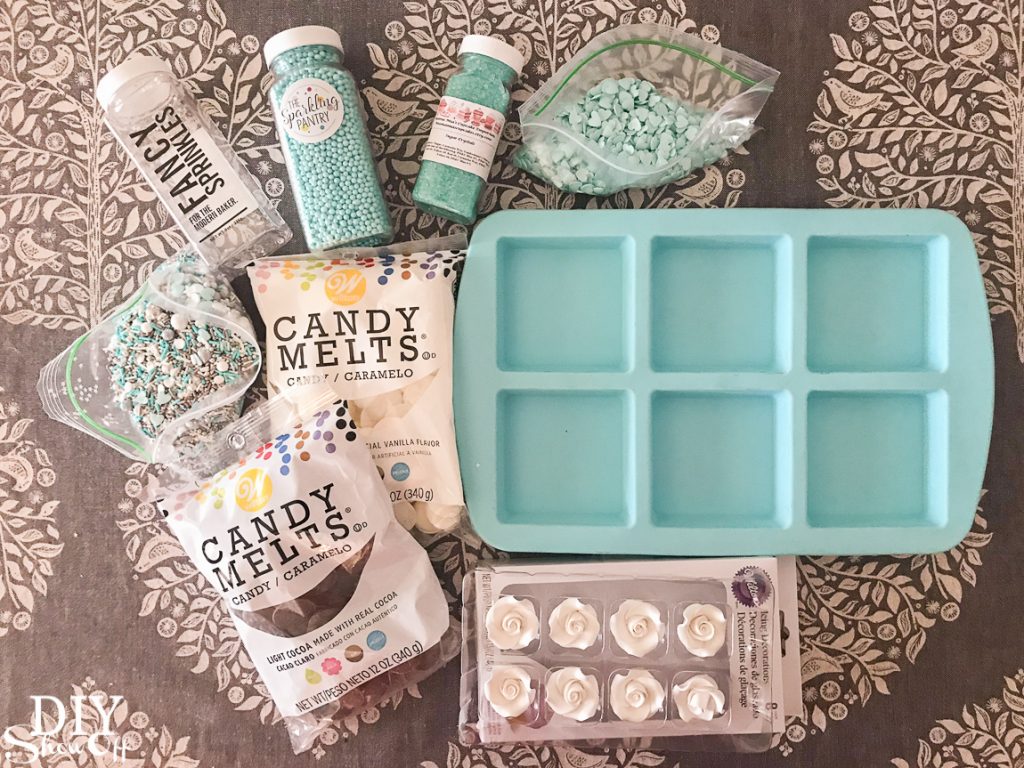
Supplies:
artificial fall florals
36″ skeleton
clip on butterflies
hot glue
solar fairy lights
Tools: hot glue gun, wire cutters
What I did:
Using wire cutters, I separated some of the florals and removed stems if needed. Then simply secured fall floral pieces and arrangements and accents onto my skeleton using hot glue. A flower crown, some florals over the rib cage and a few tucked within, a wrist and ankle corsage. I added a few butterflies too.
Once that was complete and all of my florals were securely in place, I started at the bottom of one leg and worked my way up the skeleton (there is a LOT of wire so be generous with wrapping and even going back over an area) then back down to the other leg with the string of solar fairy lights.
I used a shepherd’s hook to display in a planter where I could also easily tuck in the solar panel.
Decadence and decay!
Do you decorate for Halloween? Spooky? Creepy? Fun and cute?
Isn’t it funny where inspiration comes from? At times, it’s somewhere completely random or even unknown. I’m thinking the inspiration for these DIY chocolate candy wedding party favor gifts may have been handmade soaps or even those beautiful yogurt bowls I’ve seen on Instagram. To be honest, I’m not sure – I’ve done some searching and haven’t stumbled across anything similar.
I made these up as a hostess party gift/favor and got drafted to make up some bridal shower favors. So here’s my DIY tutorial for beautiful chocolate/candy melts. They are so easy! Some affiliate links included.
Serves: This silicone mold is a large size (3×3 inch). Two bags of melts makes 6.
What I did:
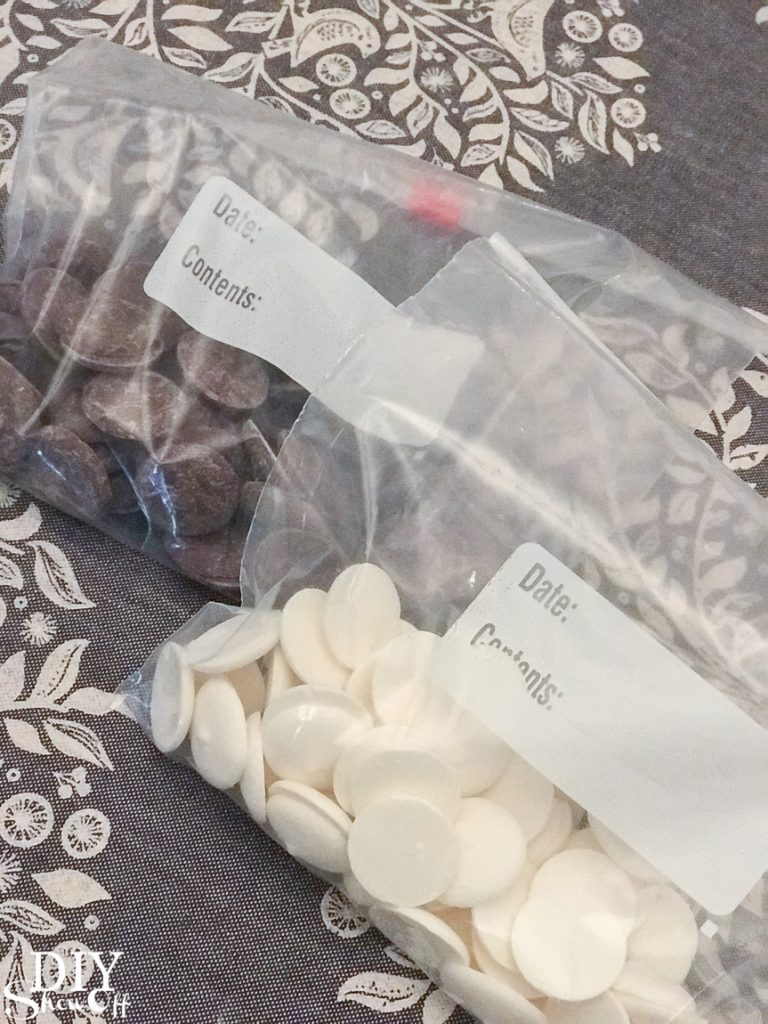
I transferred candy melts to quart sized baggy (I used two: light cocoa and white) and melted according to package instructions – either in the microwave or in a double boiler. My experience: I carefully set both bags (unzipped) into the microwave on ‘defrost’ for 50 seconds then checked and repeated and re-checked until melted. Instructions warn against overheating and I didn’t have any issue.
*Melted candy will be hot. Please use caution!
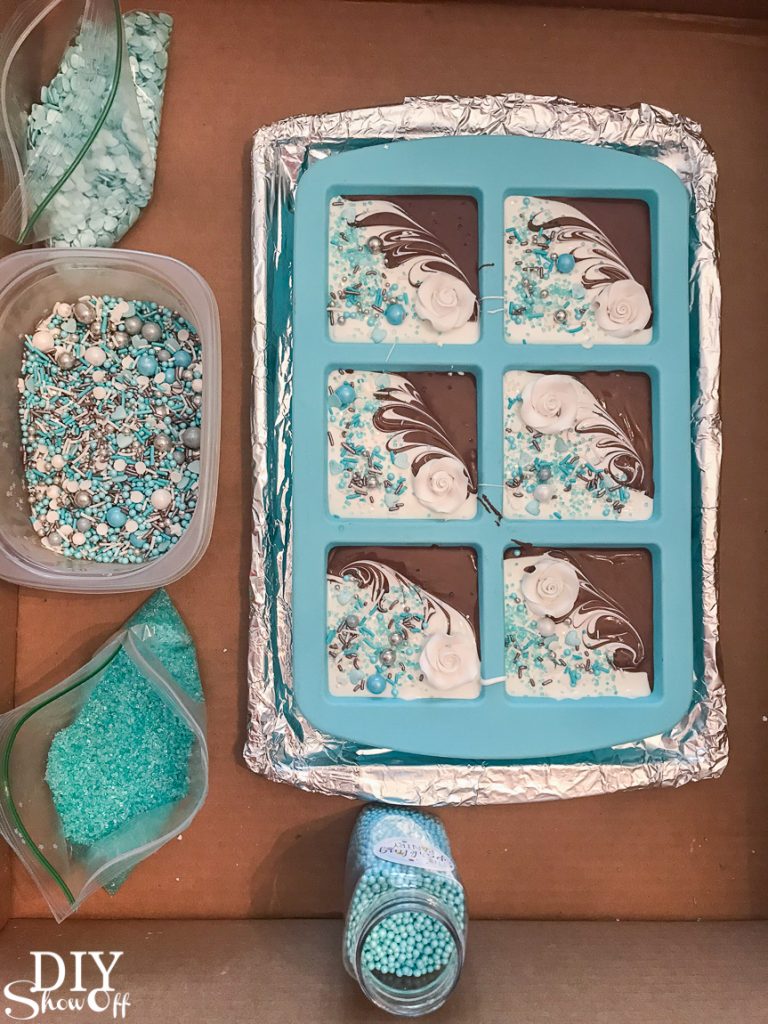
I set my silicone mold on a small cookie sheet (a tray or something that gives the mold support to be moved and that will fit into your freezer works).
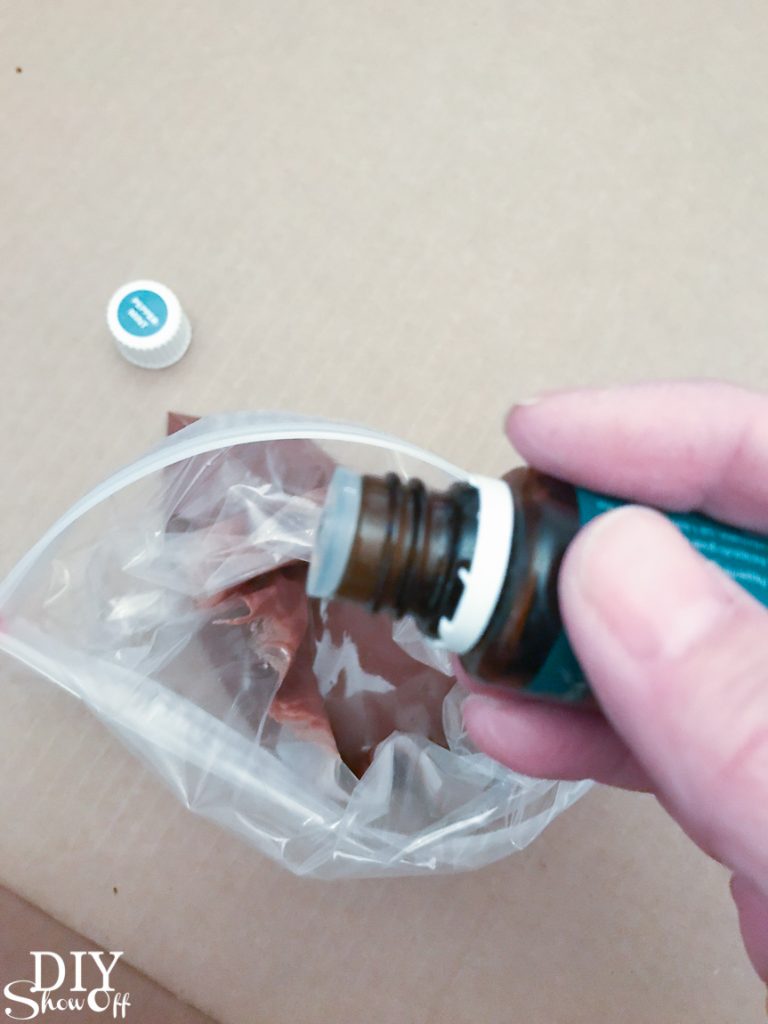
Once my candy was melted, I added 2-4 drops of Peppermint Vitality essential oil to the melted white candy, zipped the bag and kneaded the baggy to mix. I didn’t do it with both colors, just one.
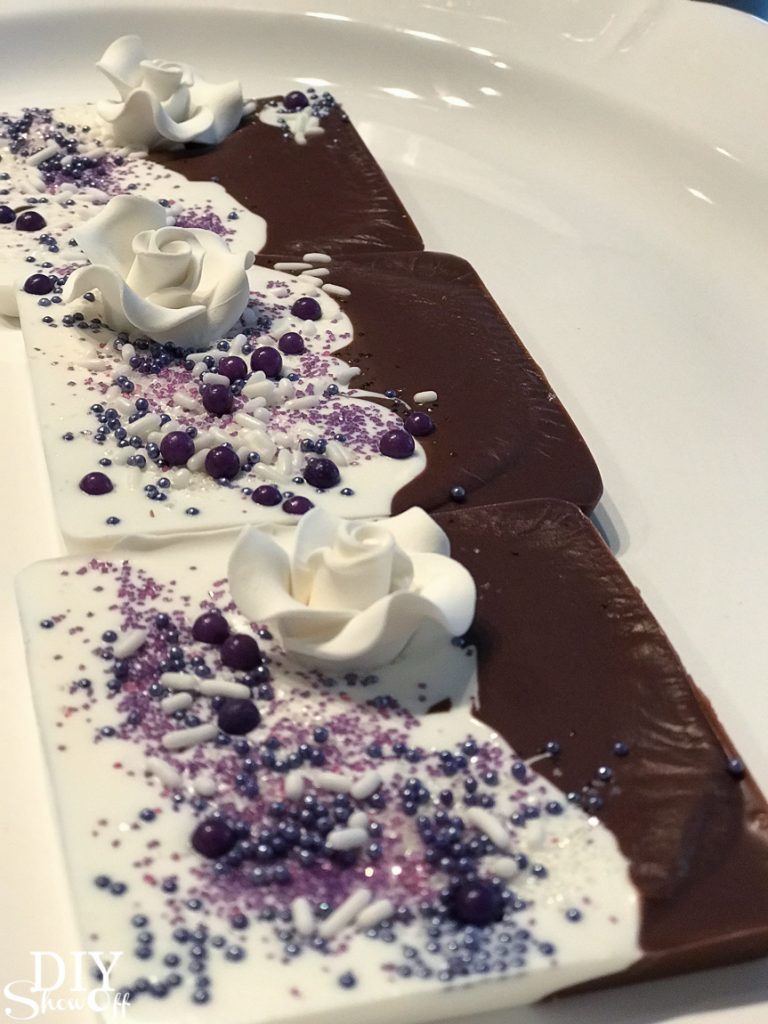
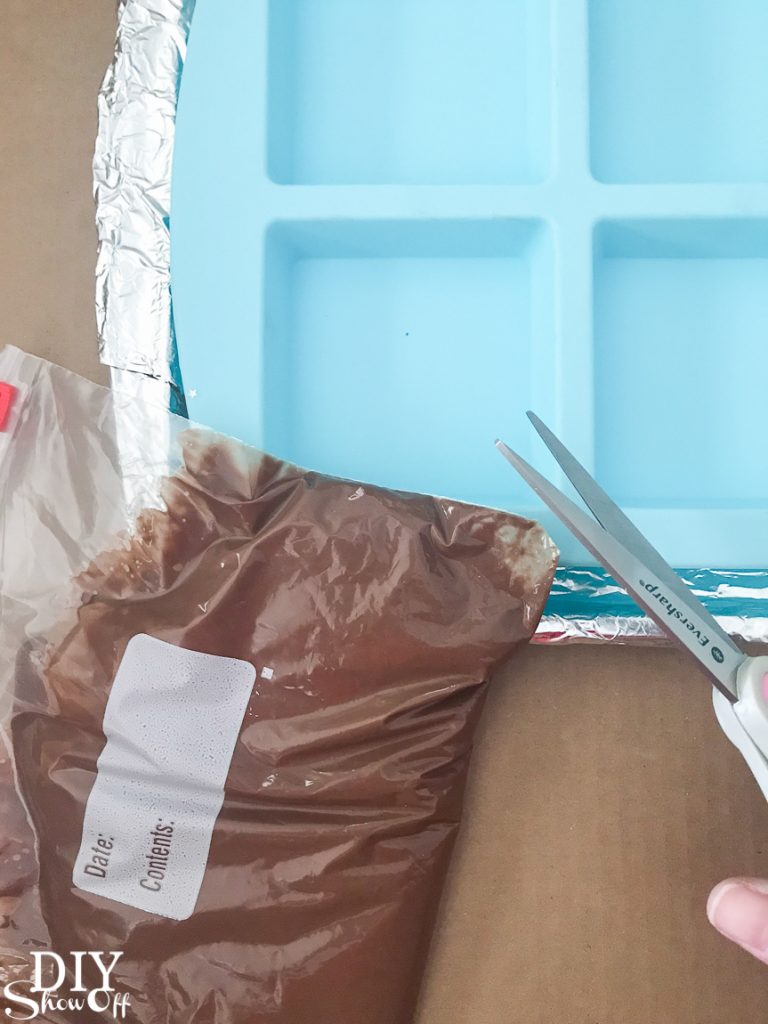
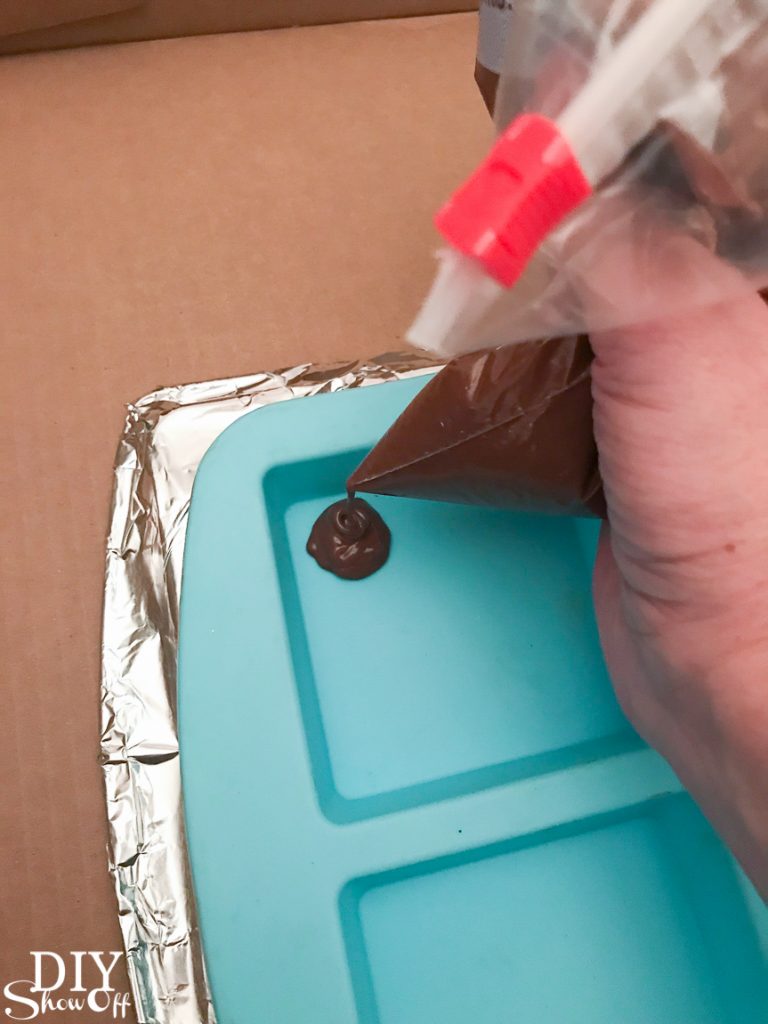
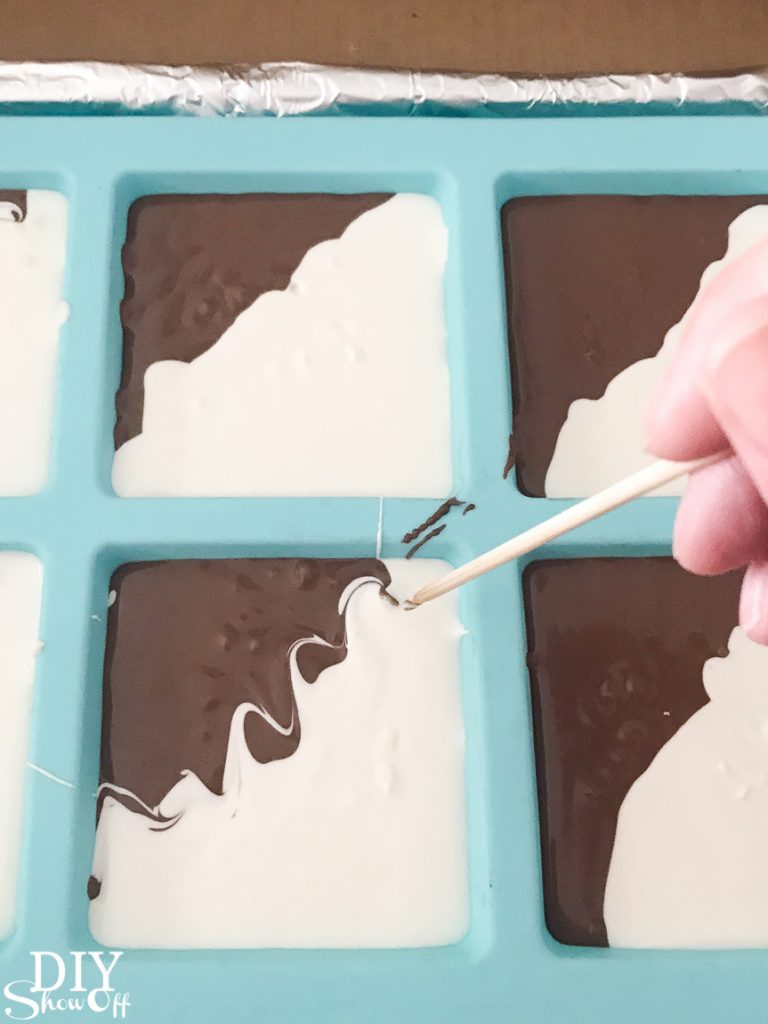
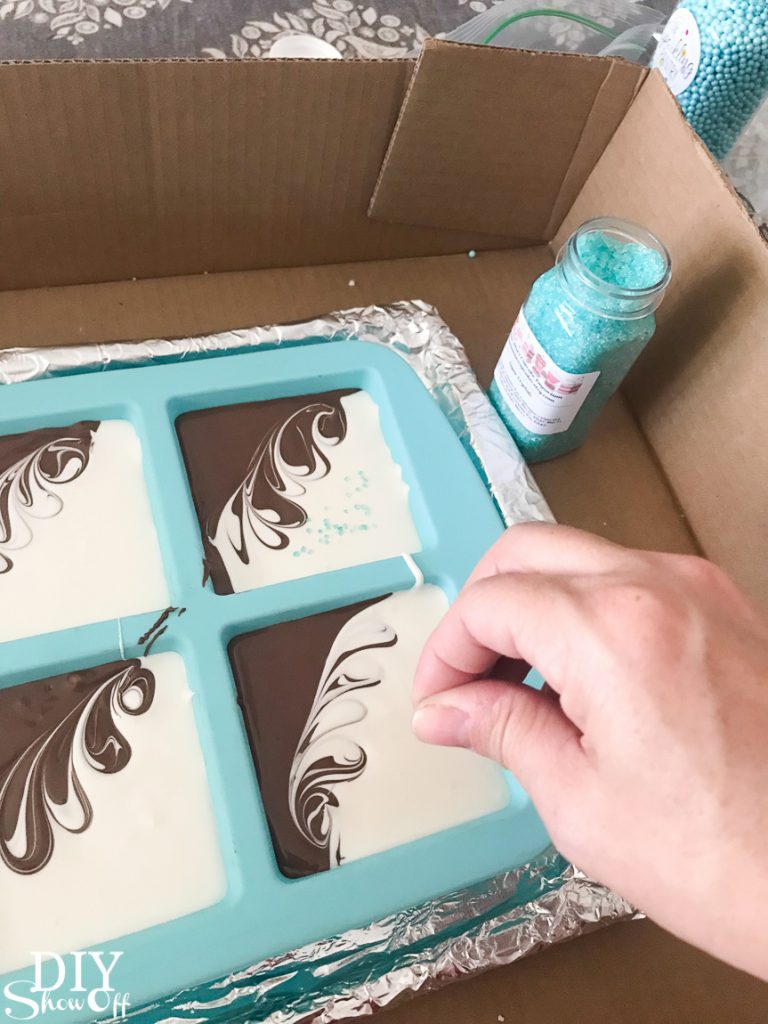
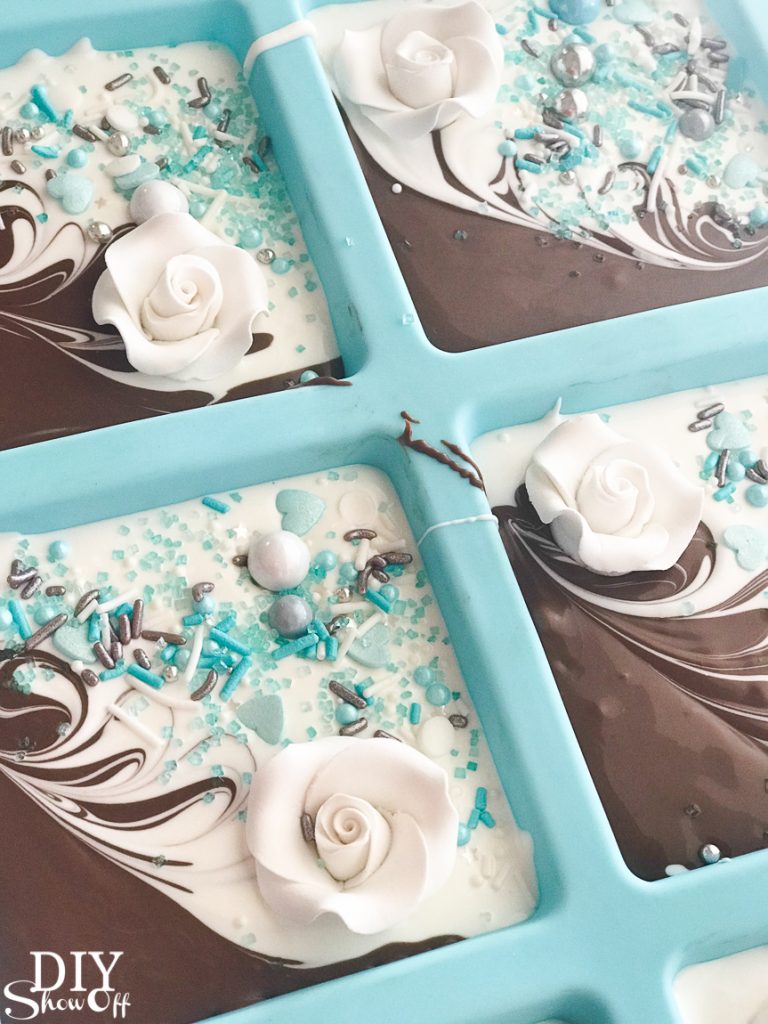
Then I snipped off a bottom corner of the baggy (very small snip!) with scissors and piped the candy into the silicone mold and repeated with the other color. I filled each silicone space with half and half of each candy into each square.
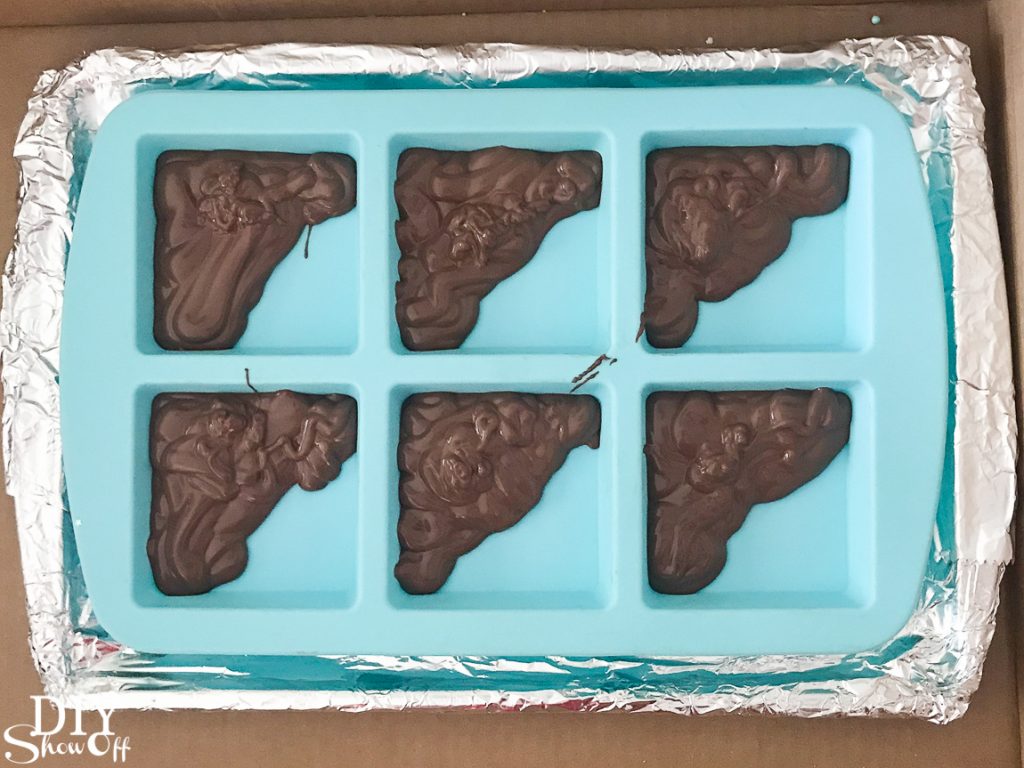
Next I gently shook/shimmied the mold to level the melted candy.
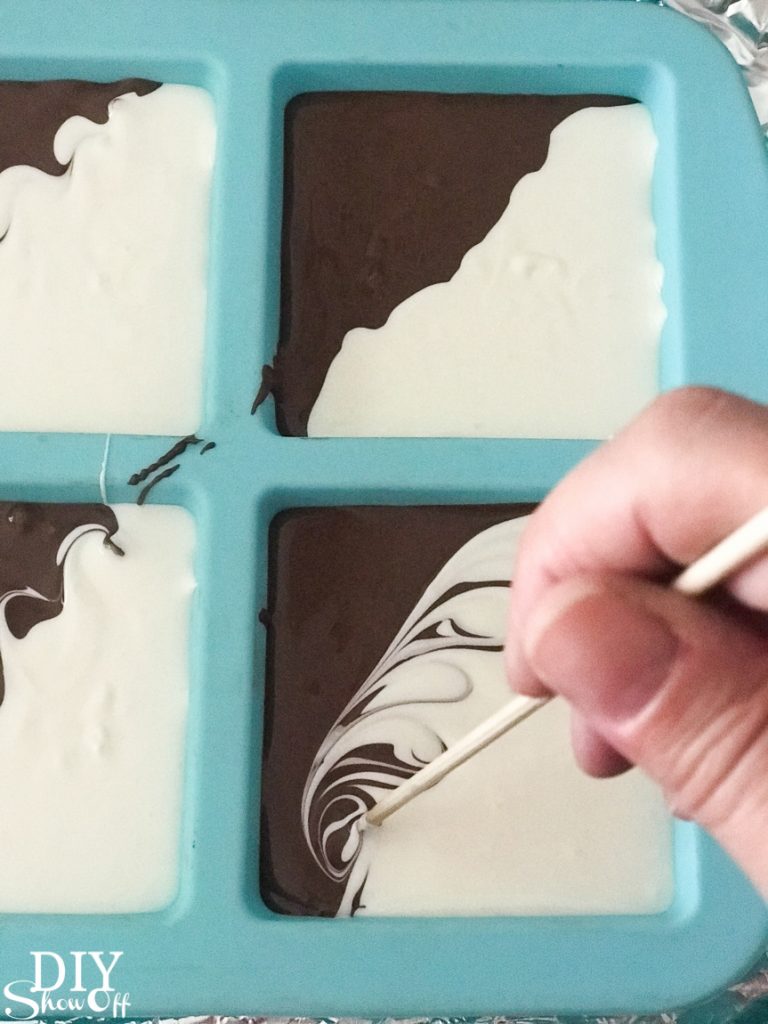
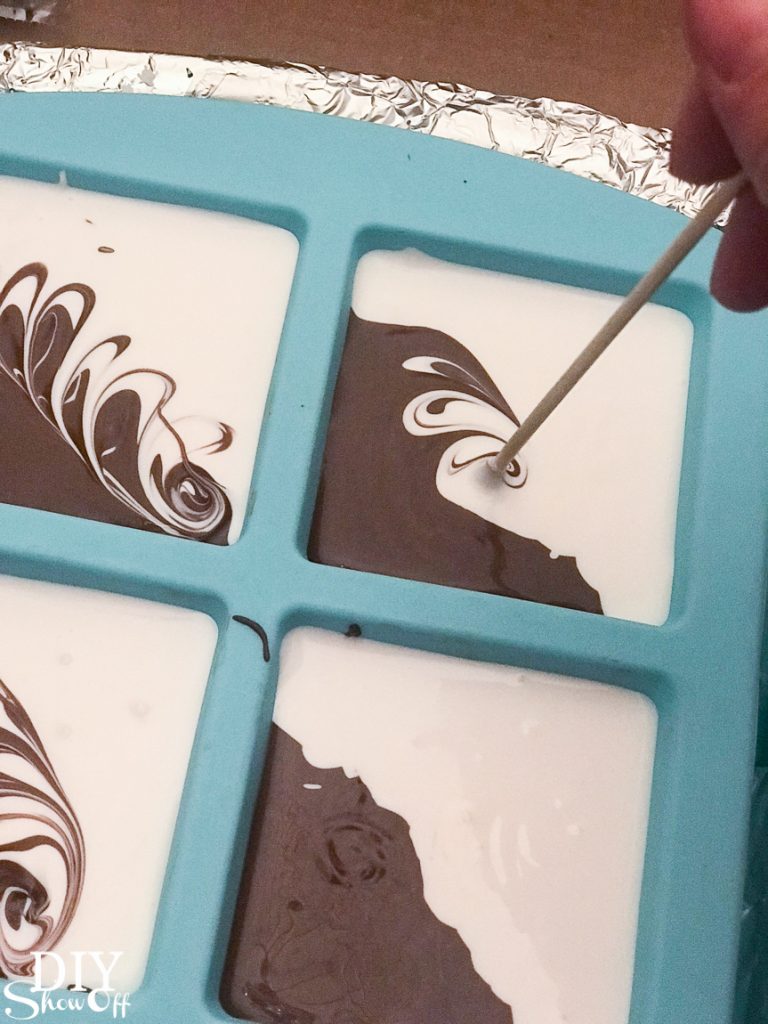
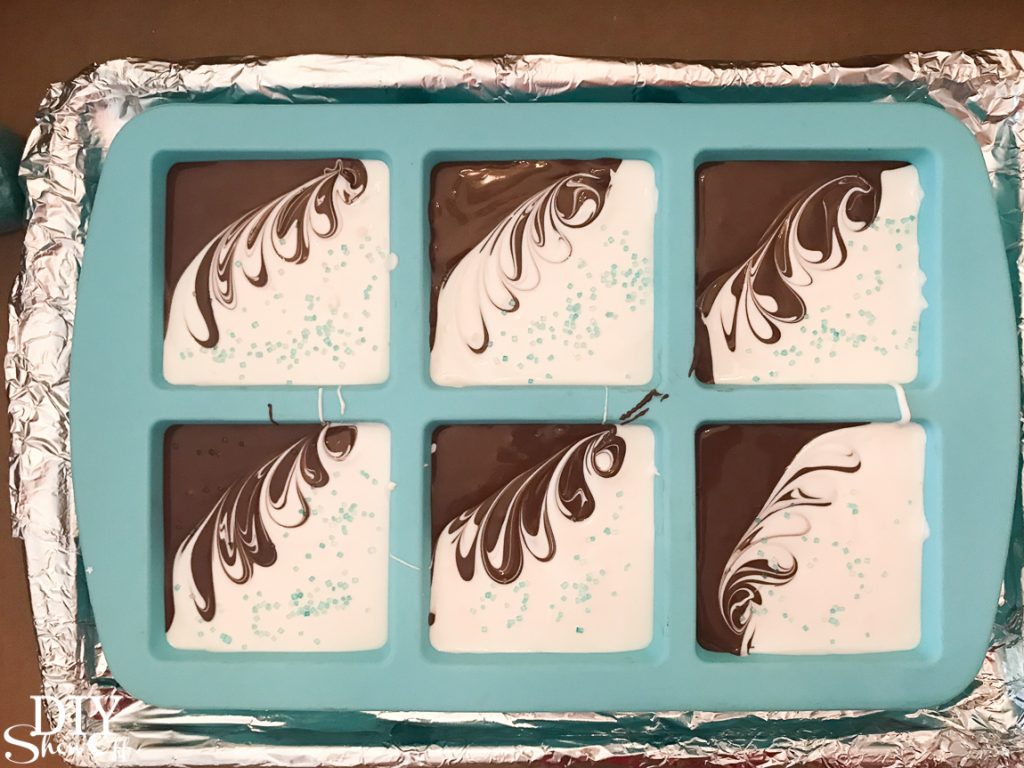
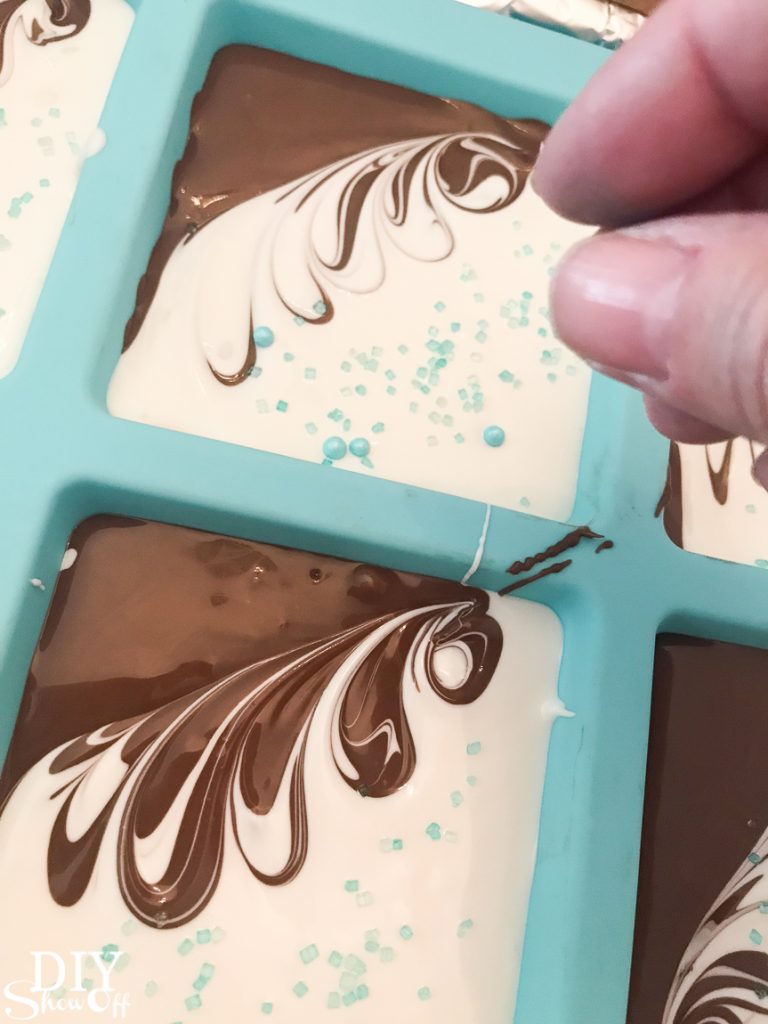
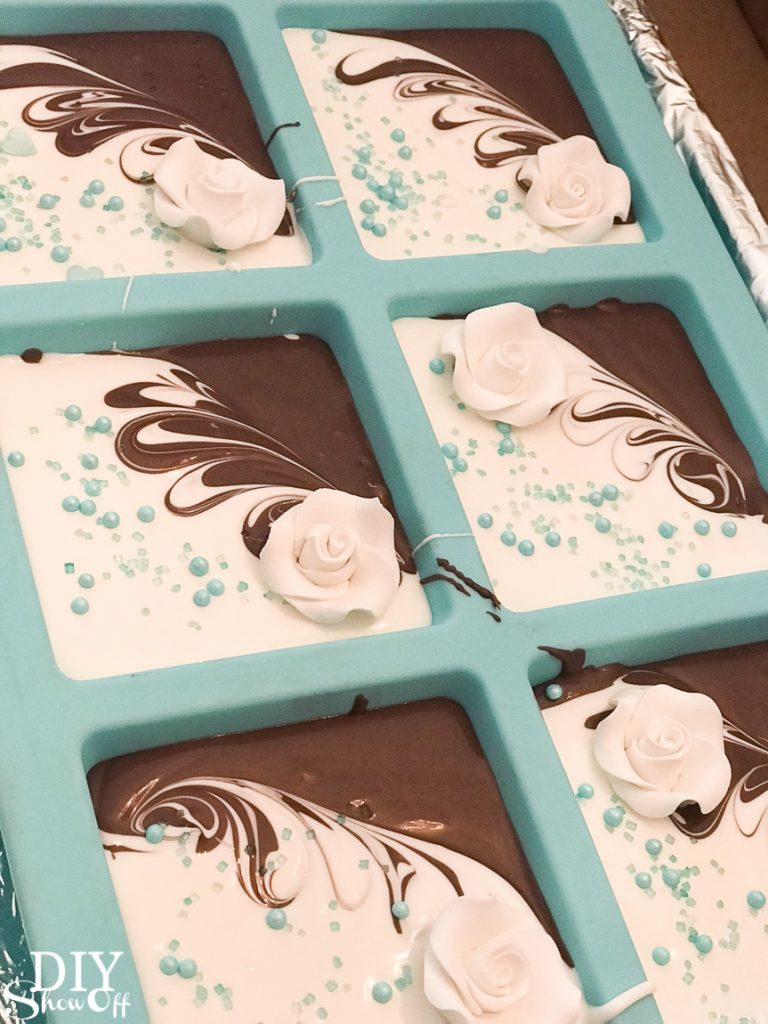
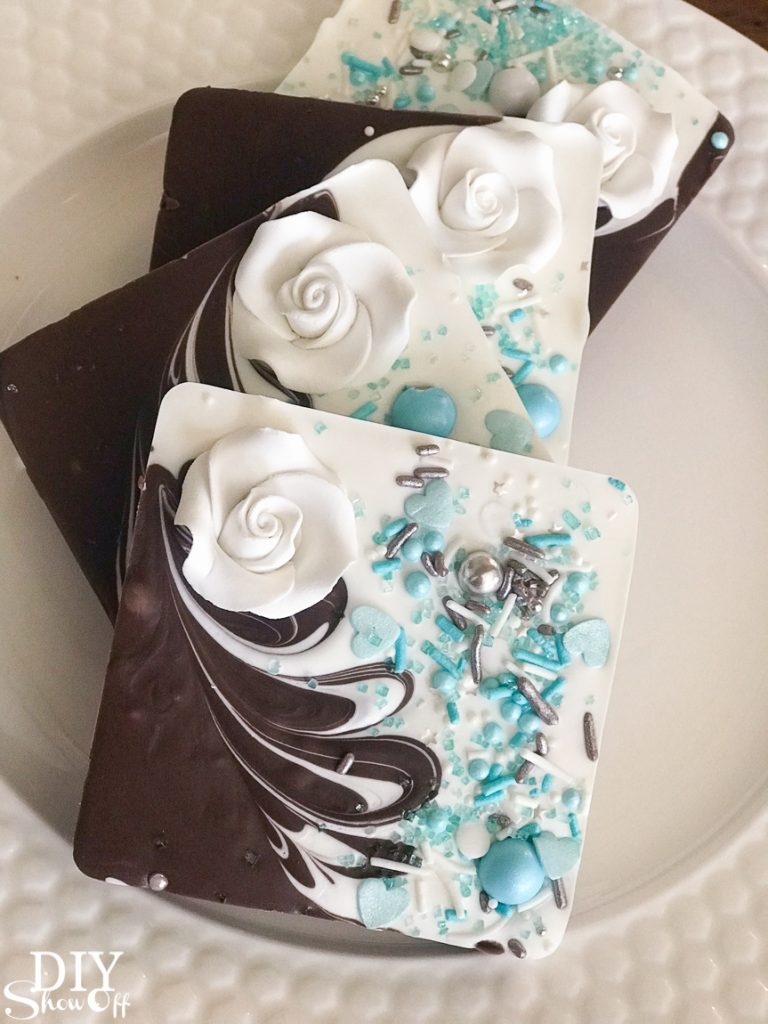
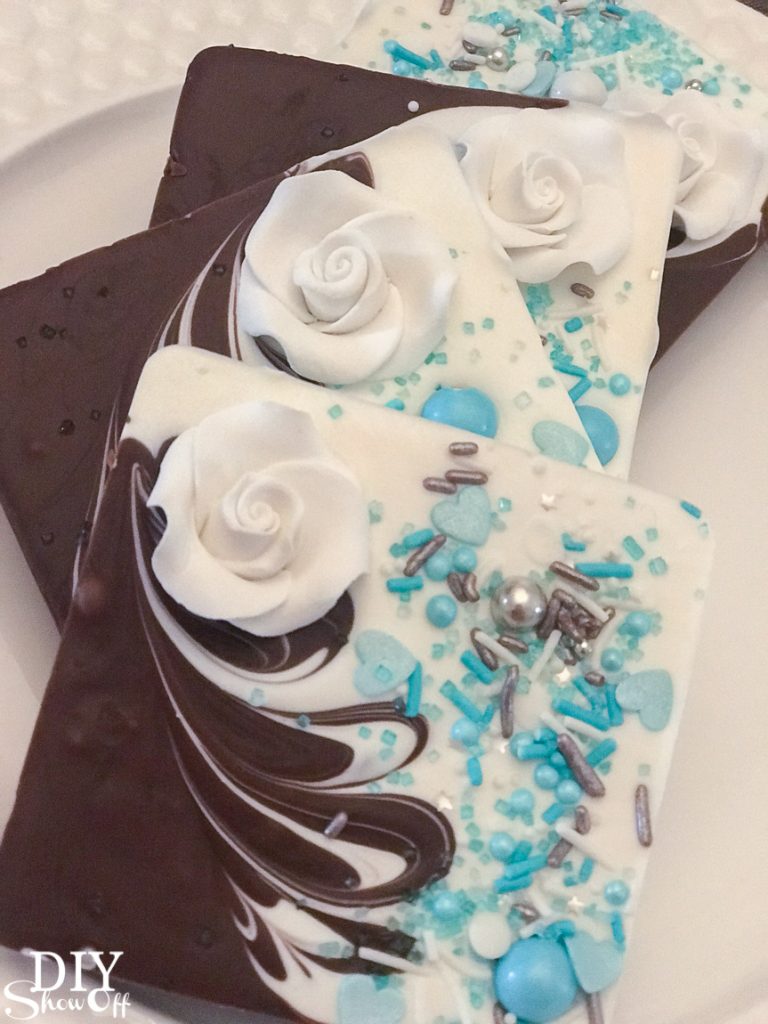
Using the skewer, while candy was still melted, I swirled the colors to create a beautiful unique design where the colors meet.
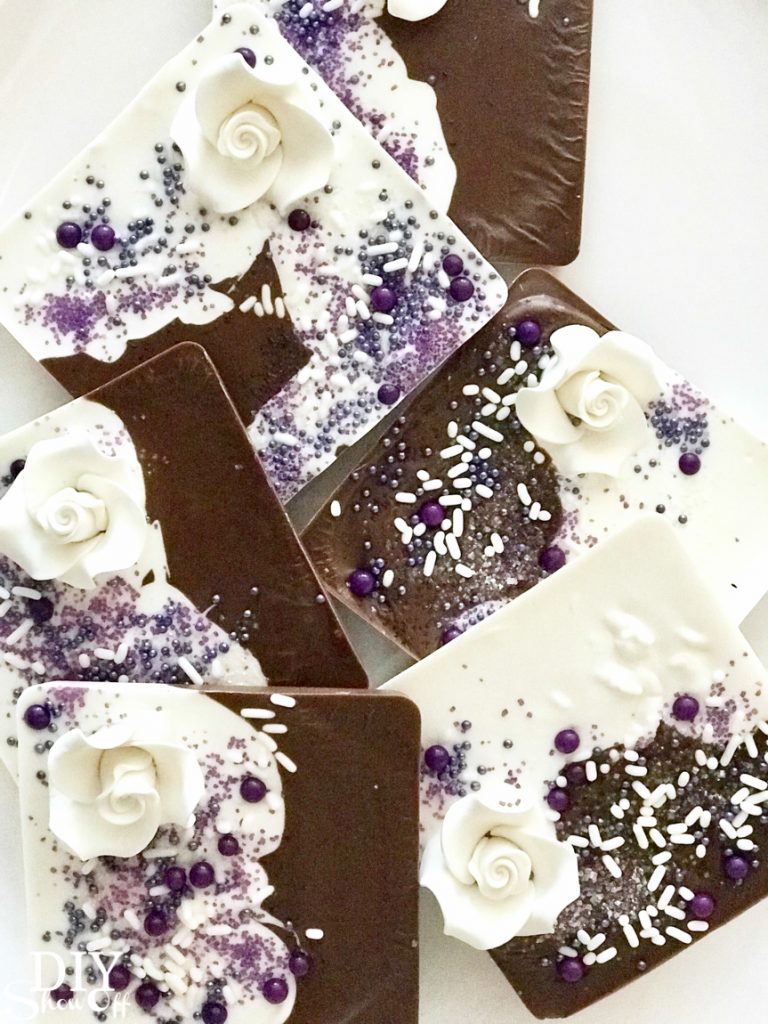
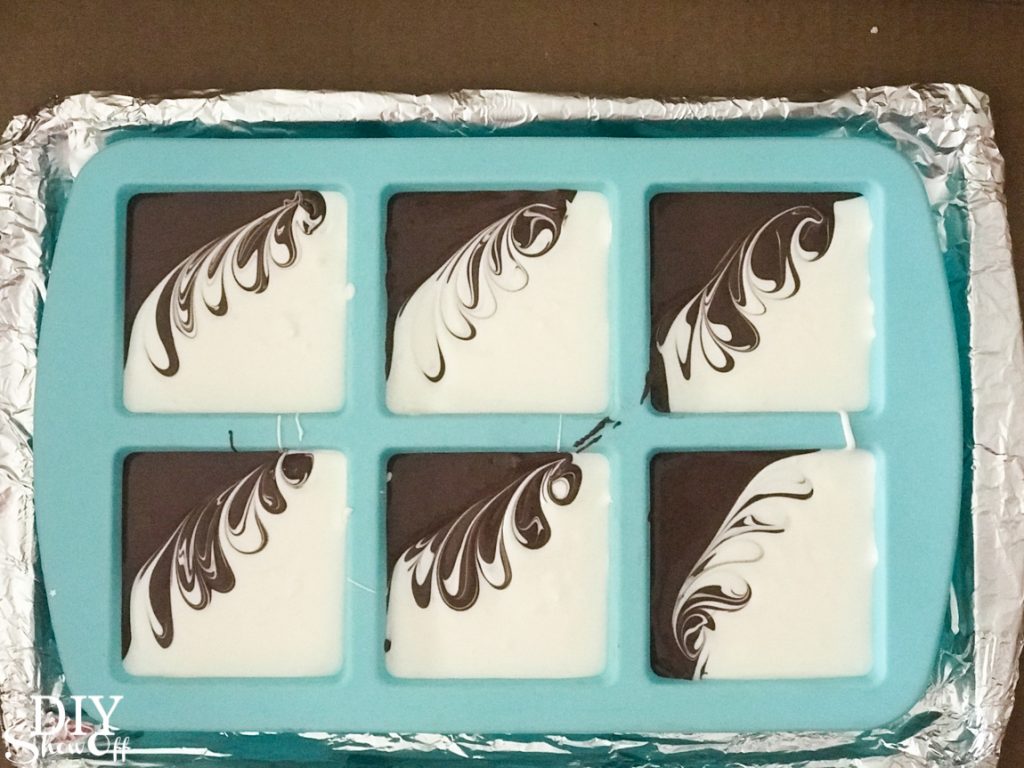
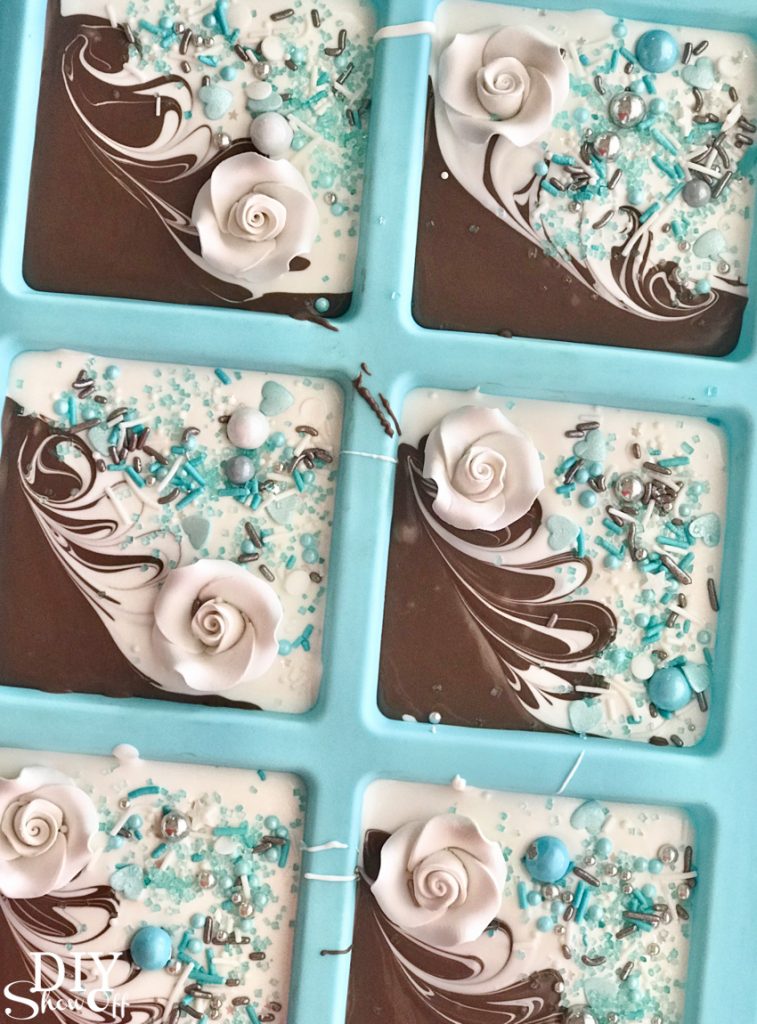
I am in LOVE with how each square is a unique and one of a kind design! I think this was my favorite step! I started out with just more of a zig zag but then discovered that the more swirly, the better.
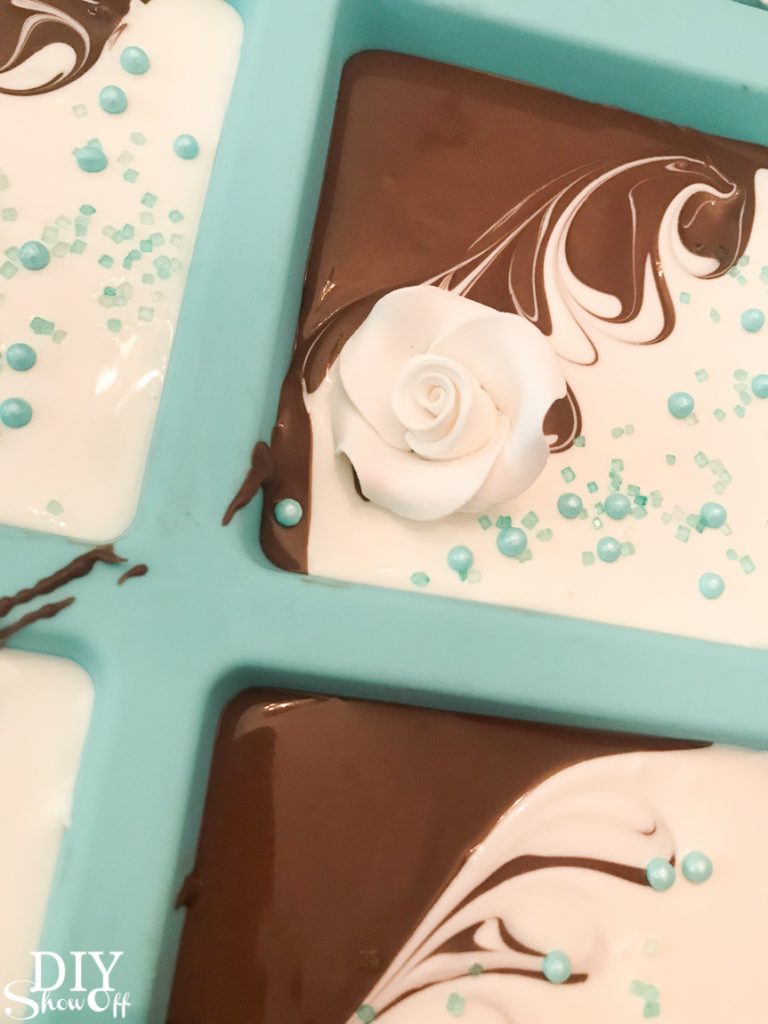
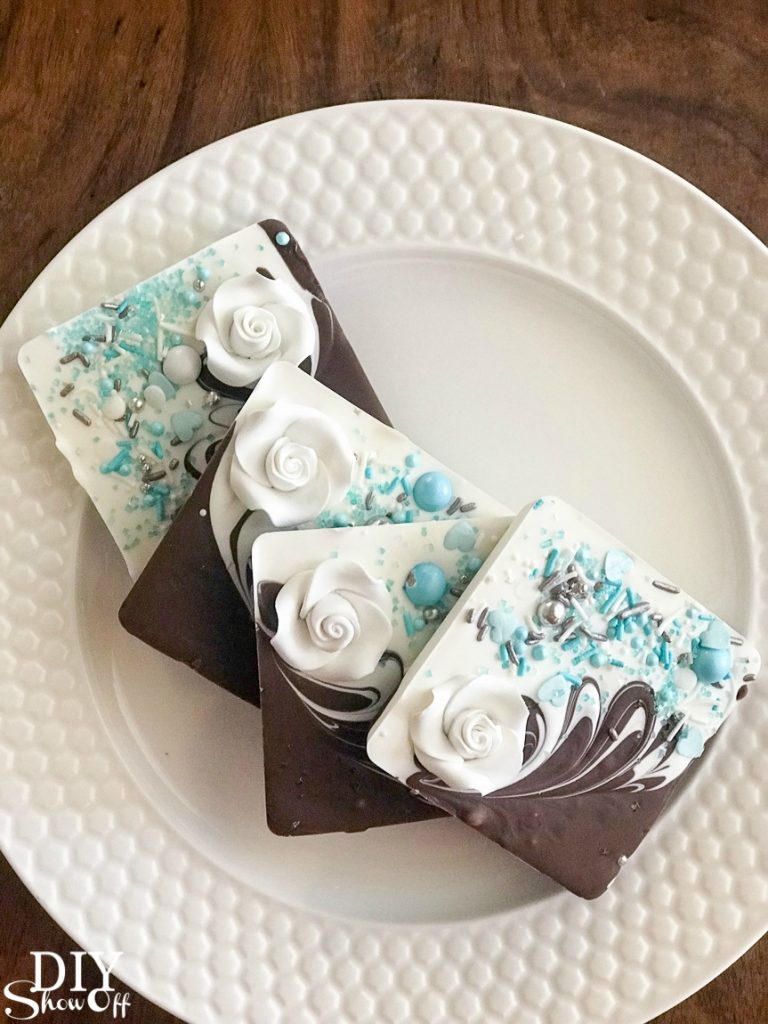
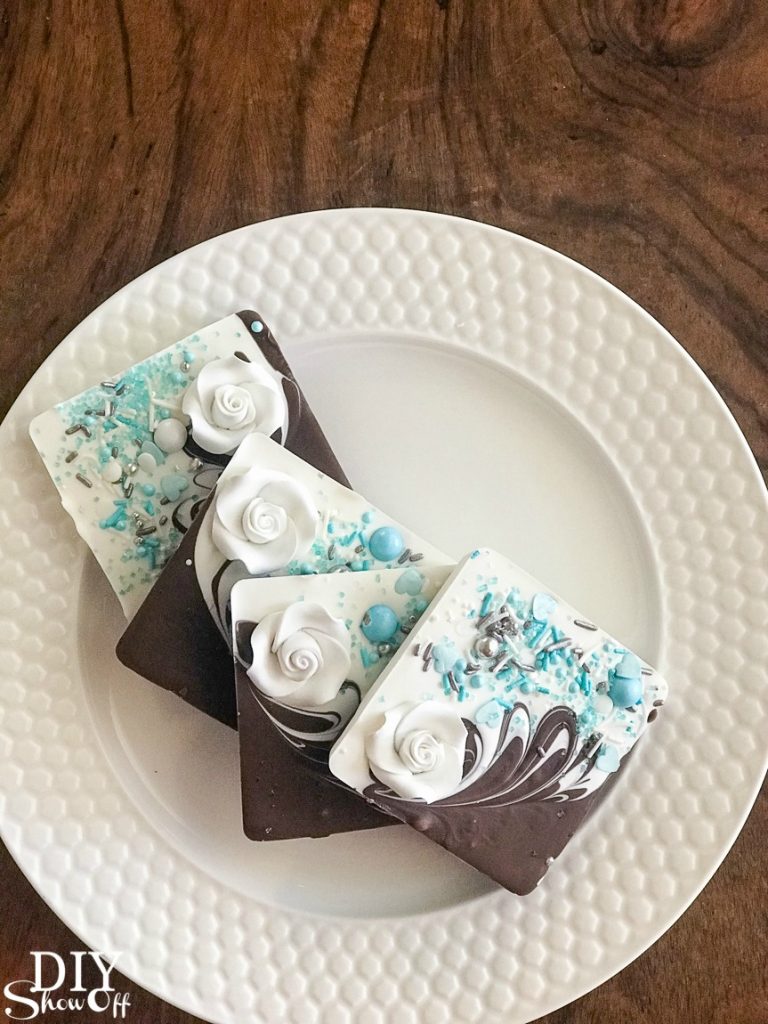
Then quickly decorated with icing roses, sprinkles, colored sugar, edible decorations, etc.
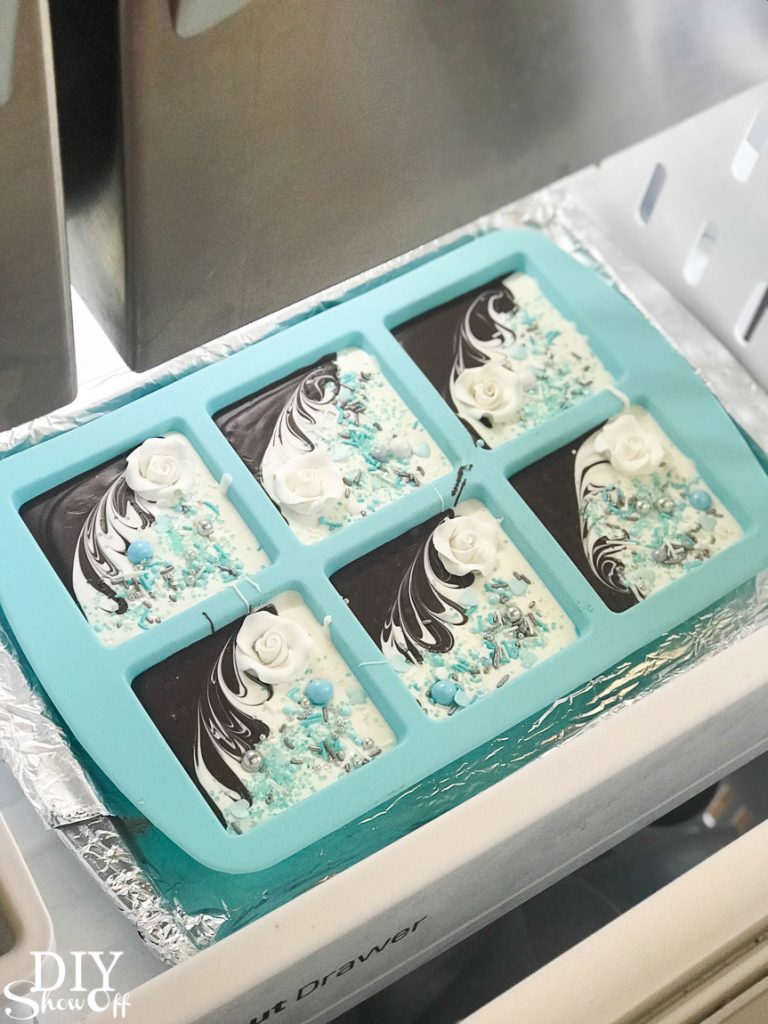
I placed the tray/silicone mold in freezer to set the candy. It didn’t seem to take long at all…probably about 15-20 minutes if that. Sometime I let it sit overnight if I got busy.
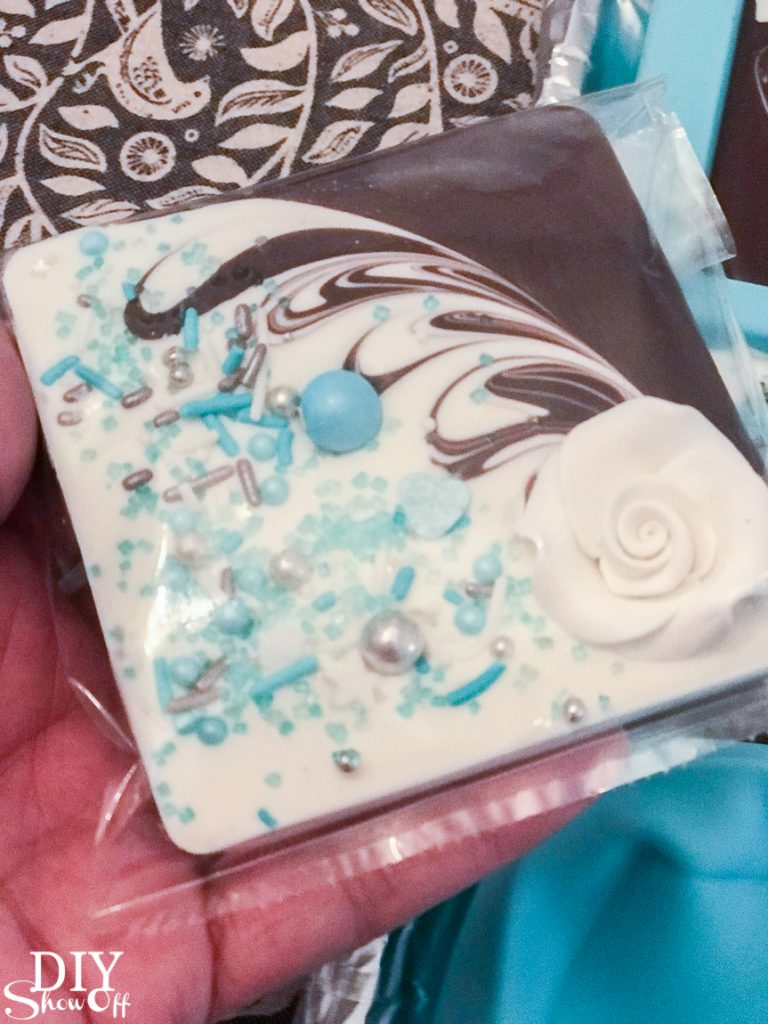
Then I removed them from freezer and carefully popped the bars out of silicone mold.
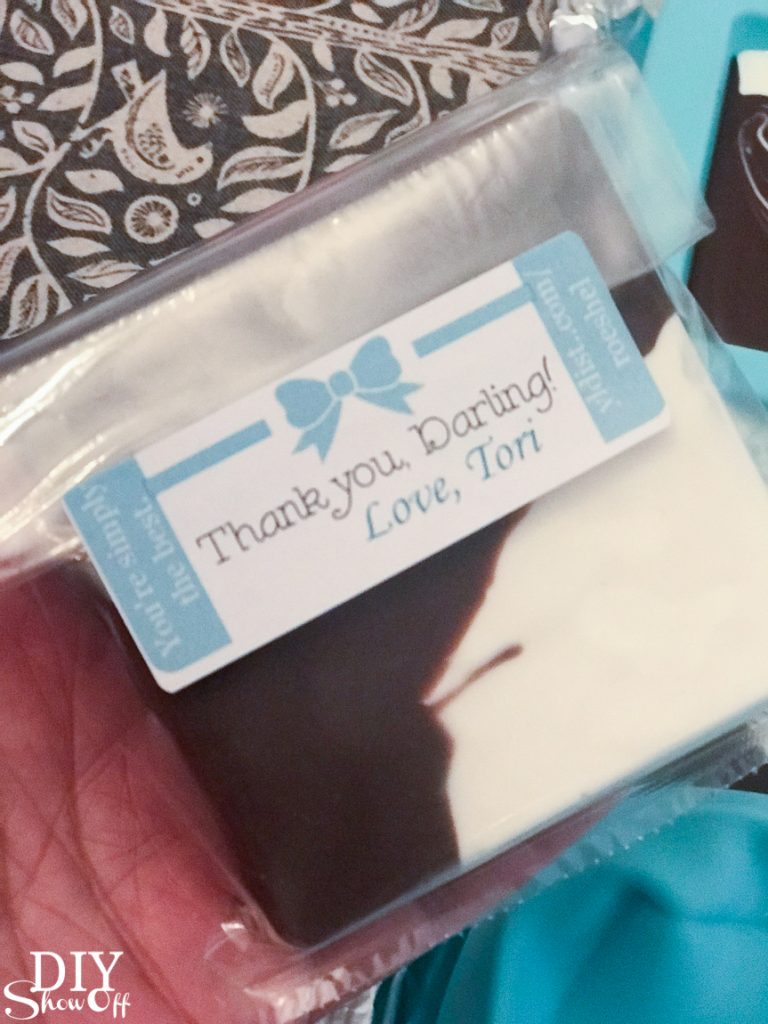
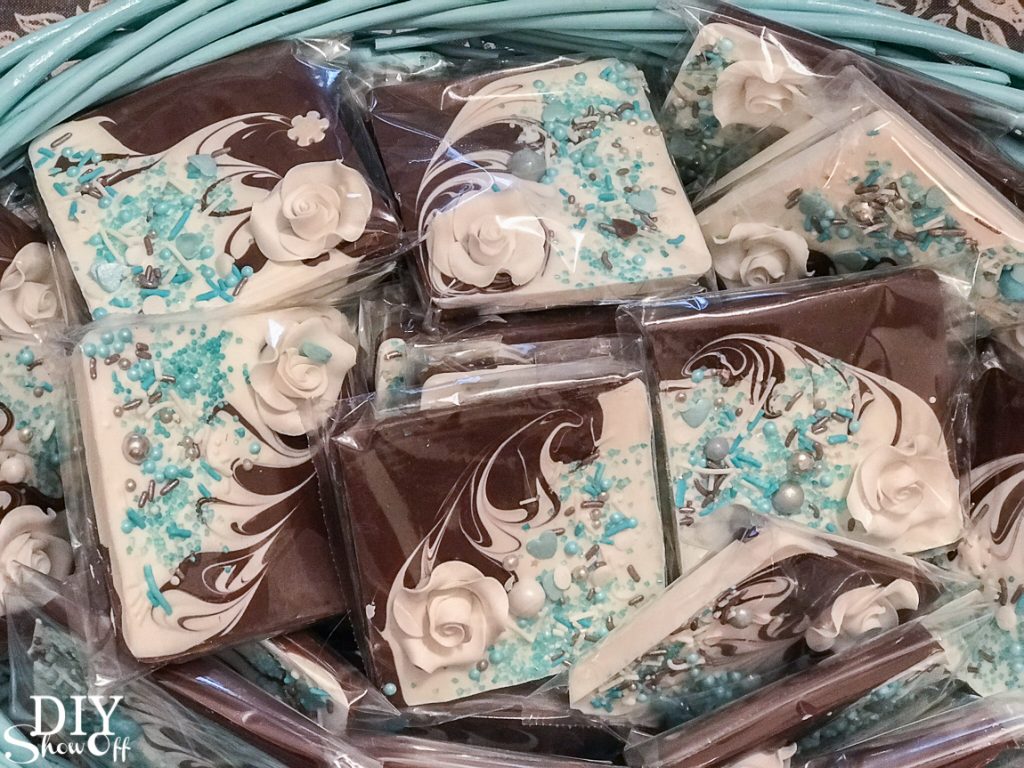
I placed them into a bag and secured with a personalized label.
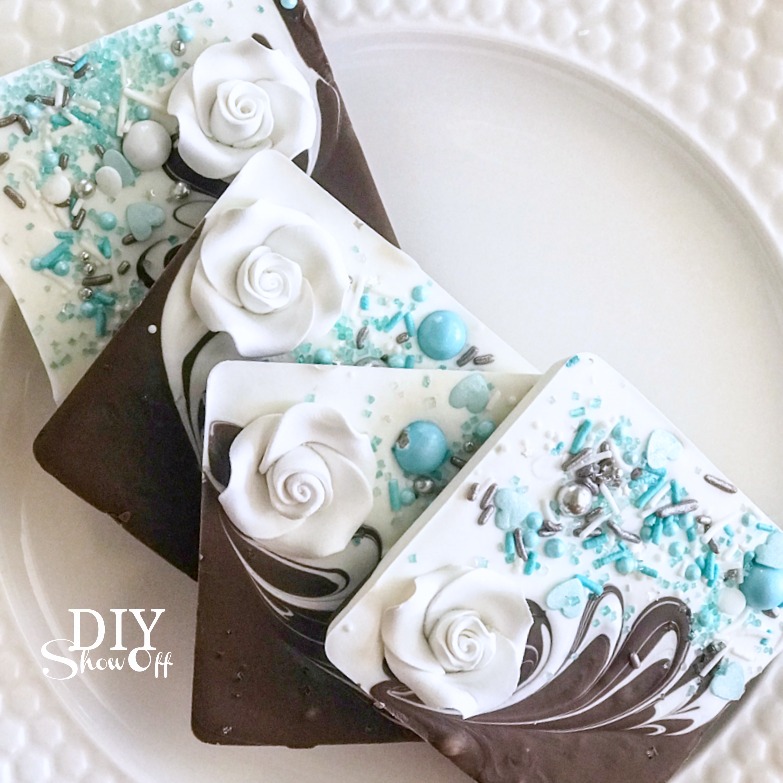
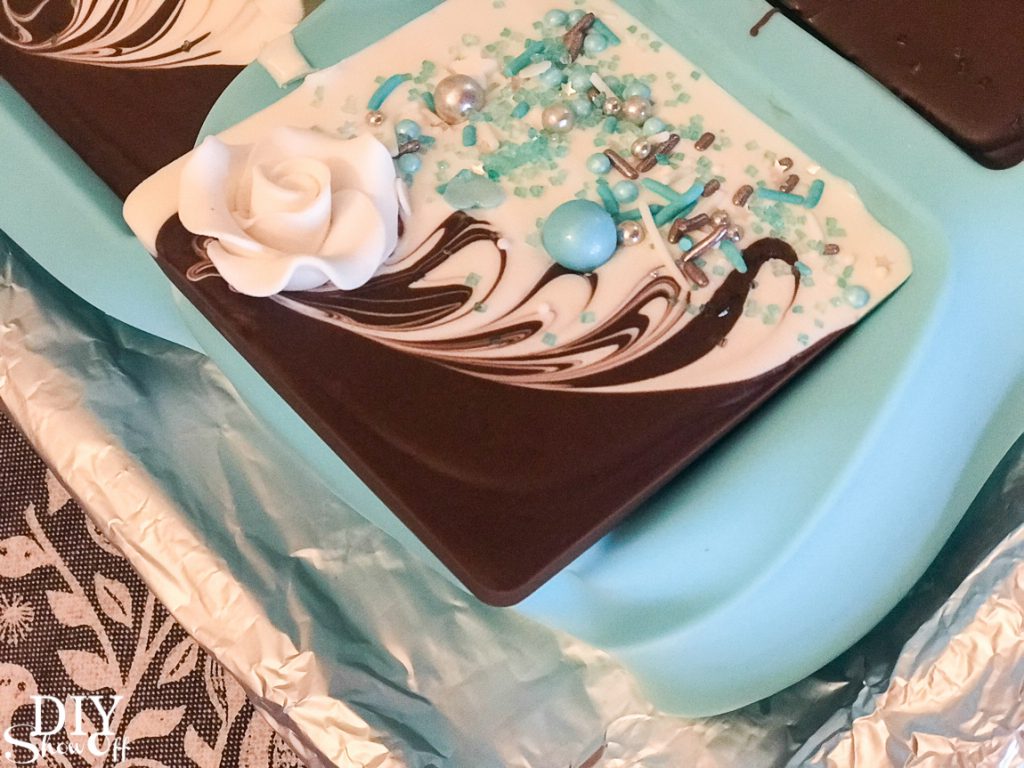
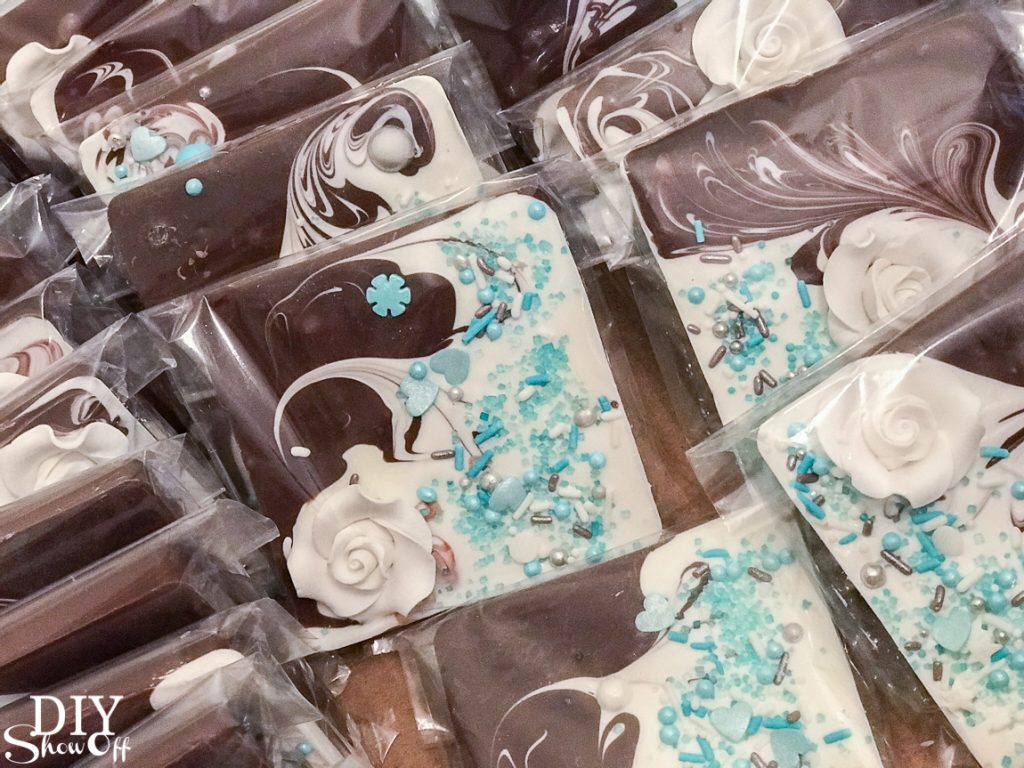
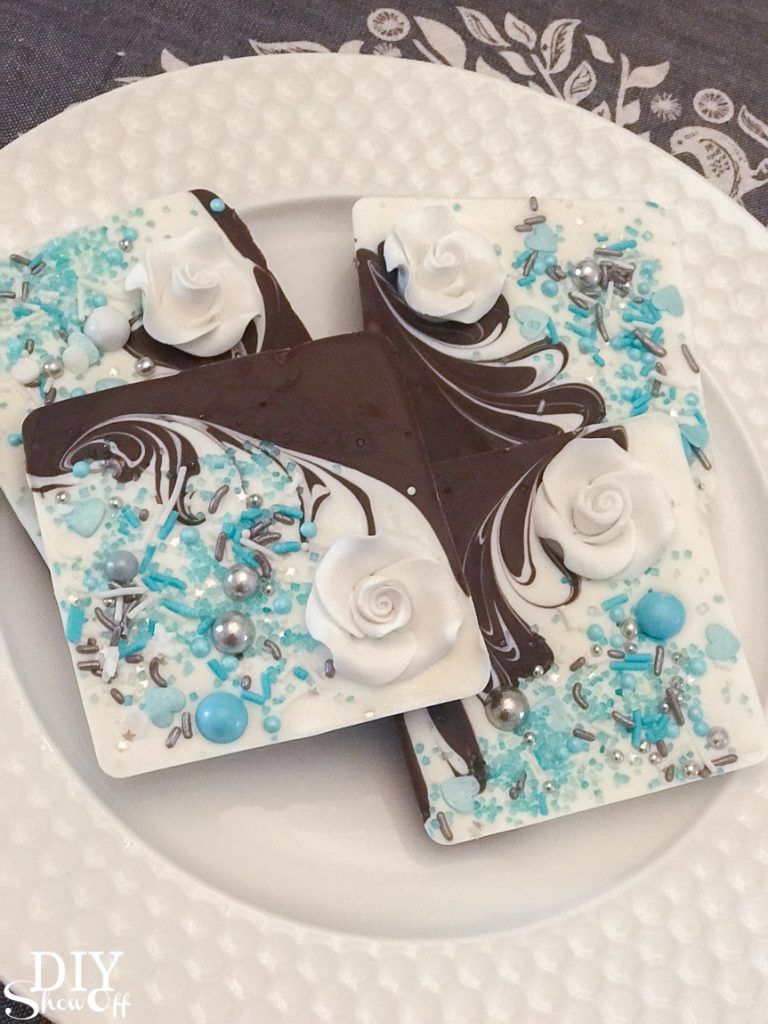
Beautiful! I love that each design is unique, don’t you? They’re so pretty, so professional and designer-looking but so easy to create! I can’t wait to make more!
So.many.photos! lol But I’m just so happy with how pretty they are!
This batch was a “Breakfast at Tiffany’s” theme.
I whipped up 60-70 of these for a bridal shower but since you can personalize them with any candy melts (so many colors!) and any deco ratings (so many colors and shapes and ideas!), they’d work for not only bridal showers but for Mother’s Day, baby showers, wedding favors, party favors, hostess and teacher gifts, prizes, etc. I made a few every evening over a couple of weeks’ time. I gave a few out as essential oil infused door prizes and at Easter to my family too. I even had my grandson helping me decorate a few!
Warning – not only are they a beautiful sweet treat, they’re so addicting to create! Here is the very first batch that started my madness (without the swirl technique)…
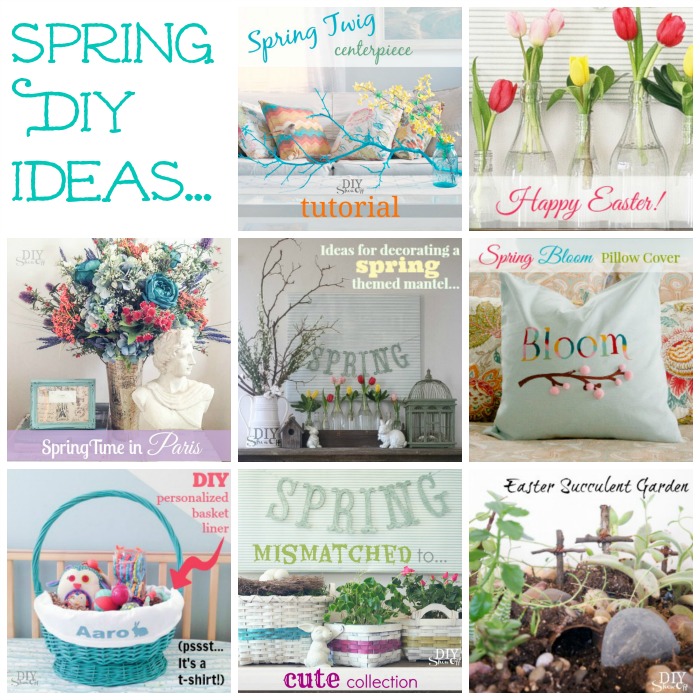
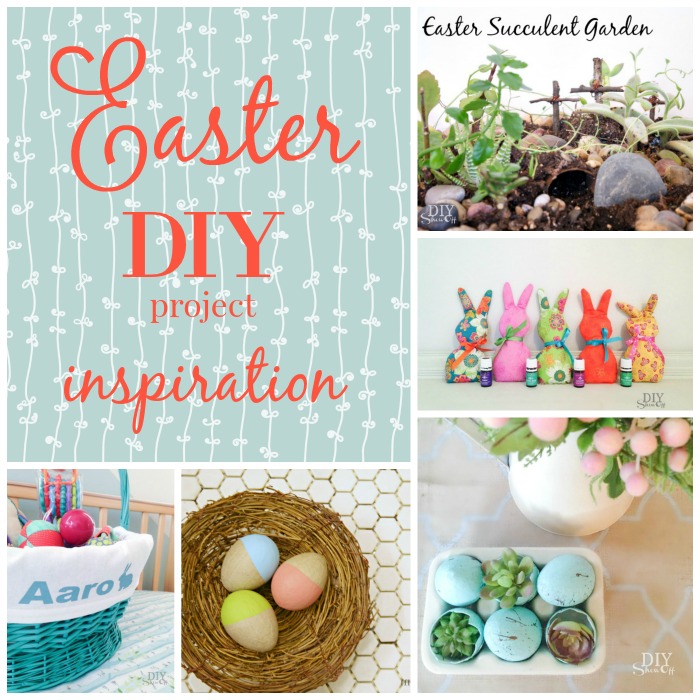
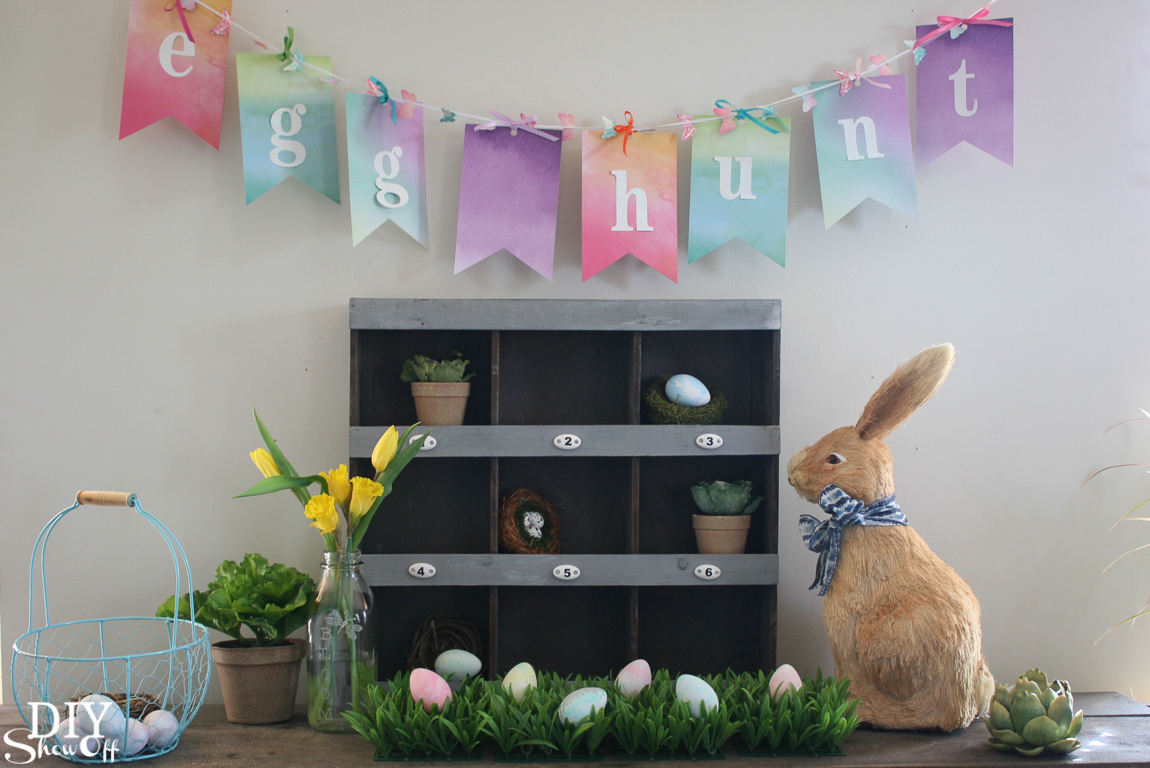
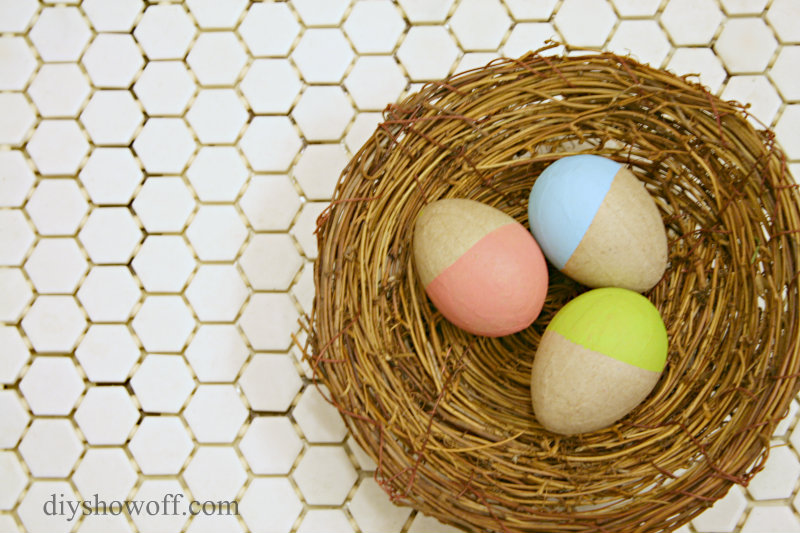
Happy Spring, DIY friends! Rounding up a collection of Easter DIY & decorating inspiration for my DIYShowOff friends.
I don’t know about you, but I feel renewed! These longer days and the bright sunshine just fill my soul with so much happiness and motivation! I’m so ready to put winter behind me! It’s the perfect day to take a walk down memory lane at some DIYShowOff Easter inspiration:
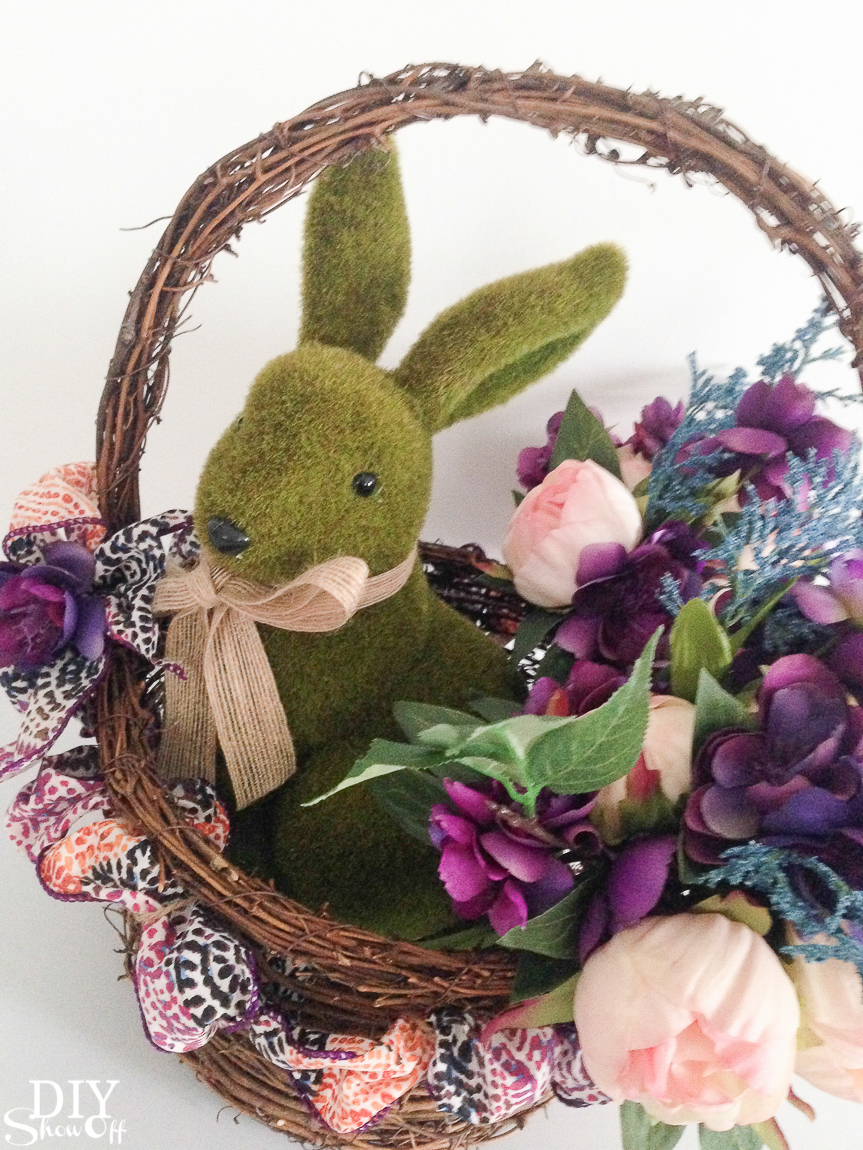
Time for some seasonal//holiday decorating! Do you set out some decorative bunnies, crosses or spring flowers this time of year? I love freshening up our home with seasonal decorative accessories.
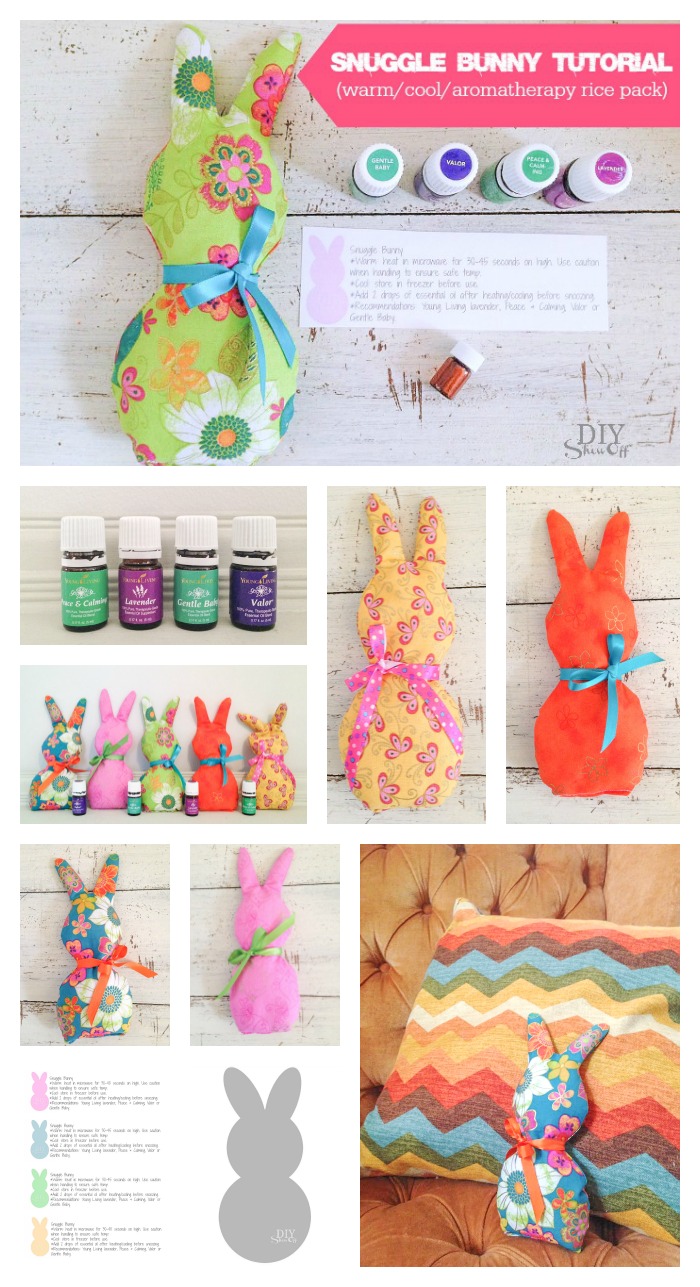
Do you love handmade gifts as much as I do? I love the thought and love behind gift giving. These snuggle bunnies are so cute. Tip: edit the tutorial to put a little pocket in the front with a felt carrot or flower for changing out the essential oils.
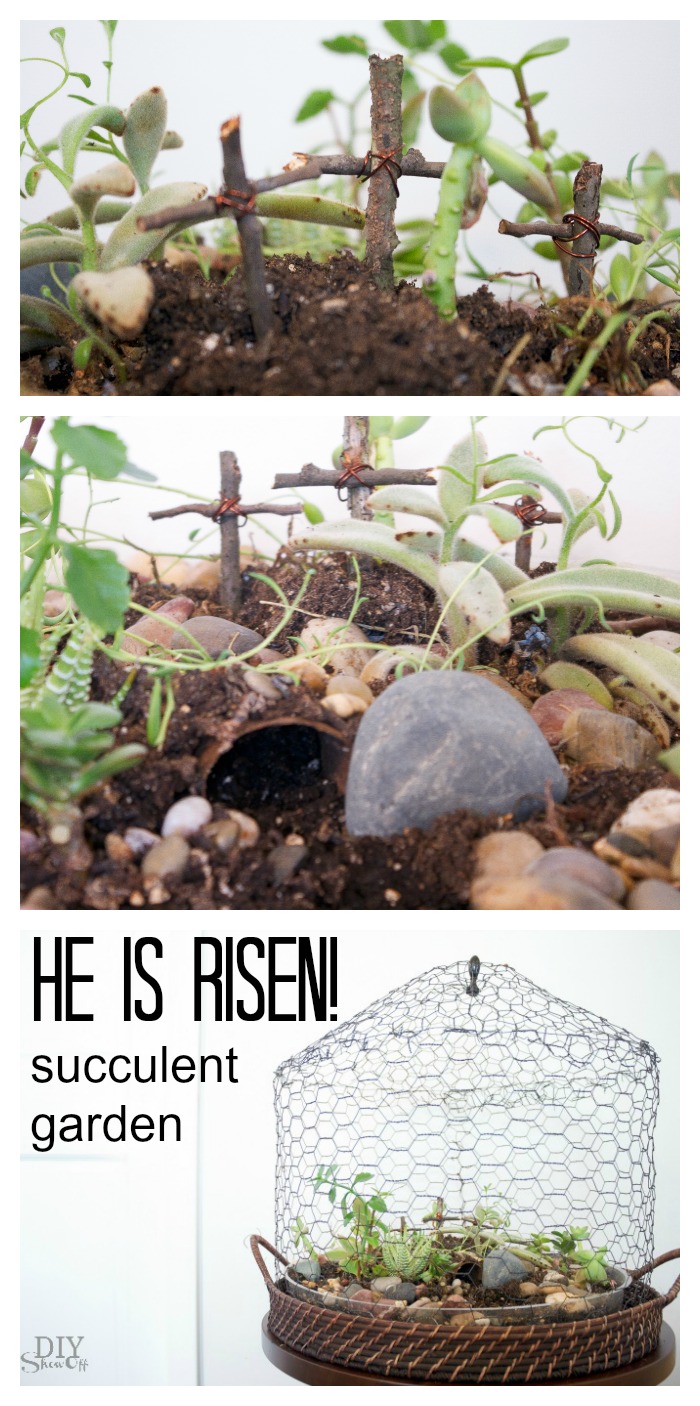
A couple of twigs, twine and a few rocks can give your container or succulent garden a faith based vignette and reminder of the reason for the season. xo
Entertaining? Hosting? A diffuser + some Stress Away or Lavender or Peace & Calming or Valor or Citrus Fresh … so many options to fill your home with inviting scents for a comfortable environment. When you purchase the Premium Starter Kit using Enroller/Sponsor #1836762 at YoungLiving.com, you’ll get a Spring Welcome bundle including a sweet mini USB bunny diffuser! Score!
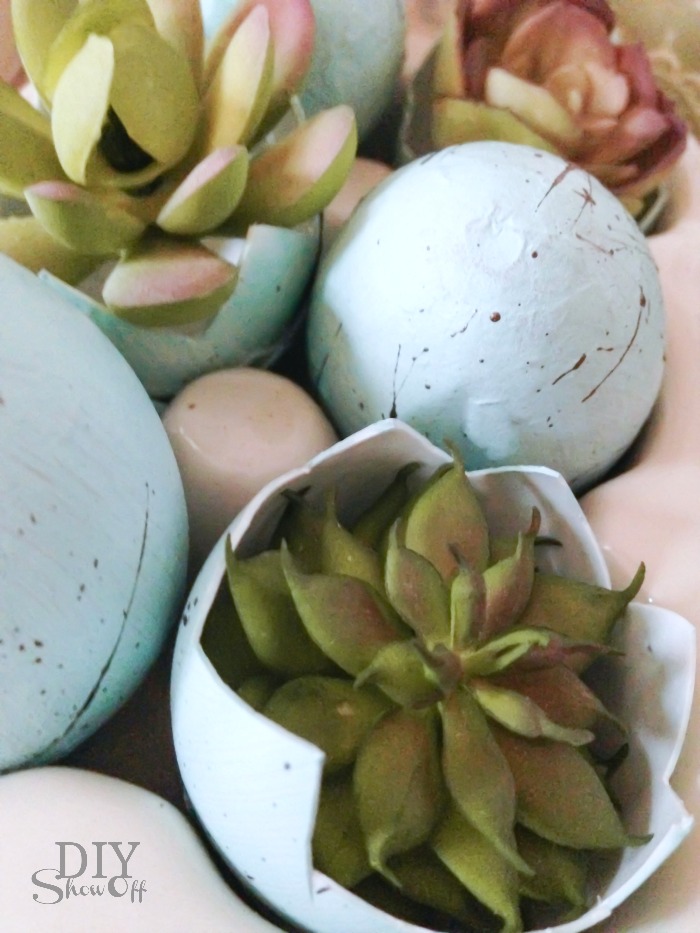
No green thumb? Tuck some faux-succulents into some pretty plastic eggs to decorate vignettes or use at place settings when hosting a family gathering.
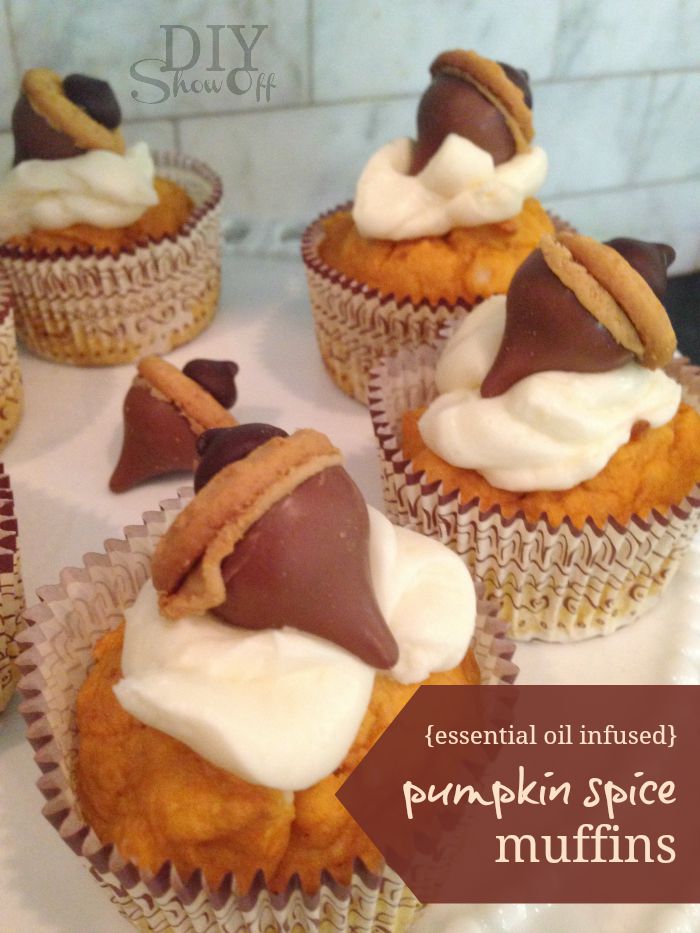
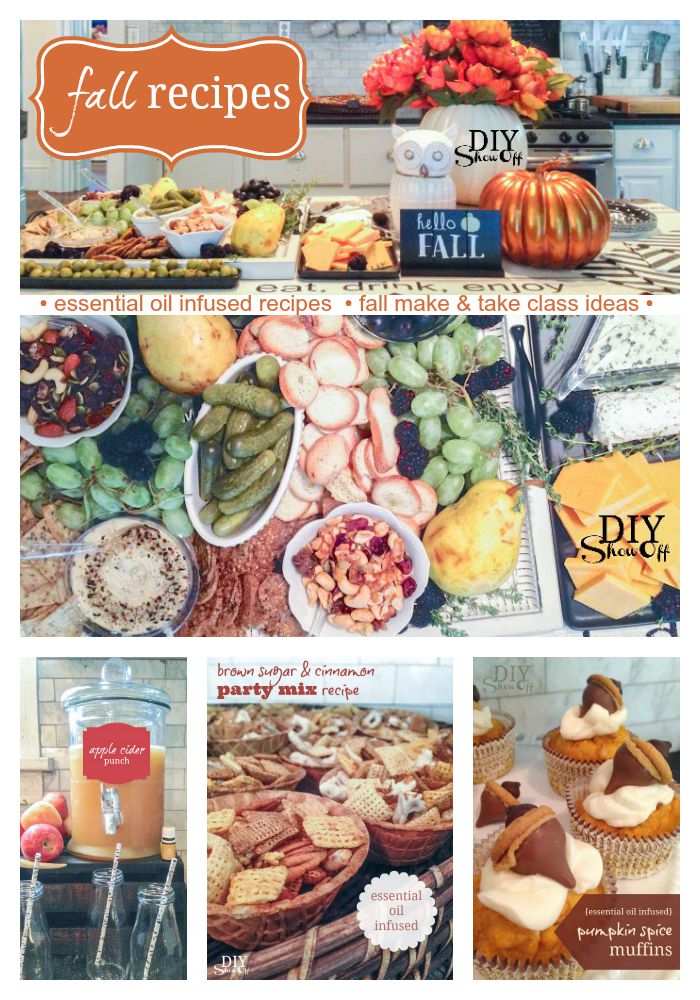
Directions: Simply add a 15 oz. can of pumpkin to a cake mix (I chose French vanilla this time) and mix. Adding water is optional. I did add about 3/4 c. Mix in 2-4 drops of essential oils. Spoon into muffin cups and bake 20-25 minutes. I topped mine with cream cheese frosting and dust with powdered cinnamon or embellish with edible acorn (Hershey’s Kiss, Nutter Butter mini for top and chocolate chip…but obviously no longer low cal with toppers). Makes 24 muffins!
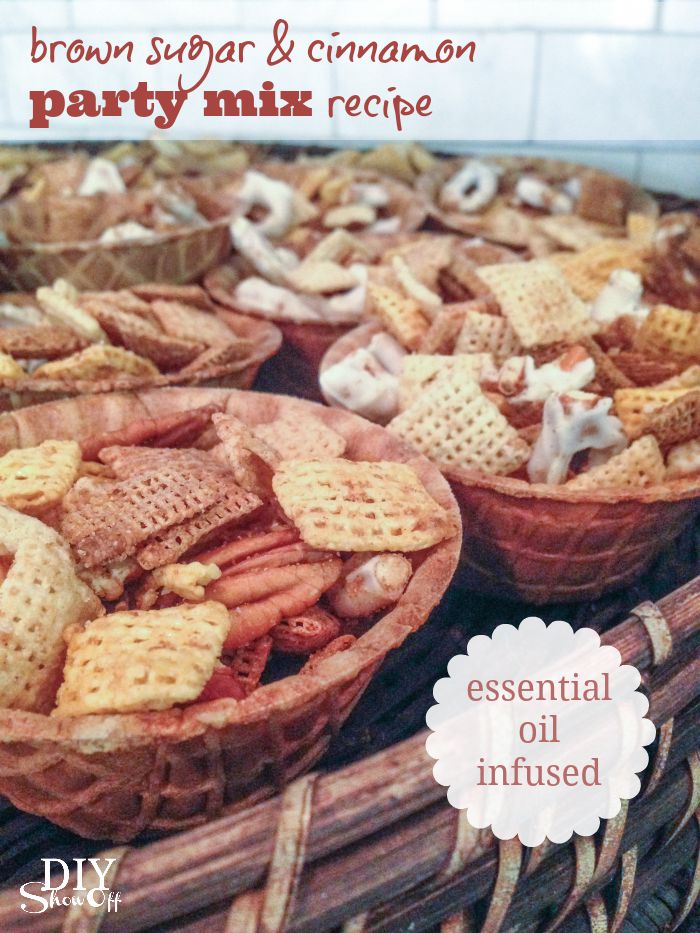
Cinnamon & Brown Sugar Party Mix
Ingredients:
2 cups of each Chex cereal: wheat, cinnamon, honey nut
crushed white chocolate covered pretzels (I used 2 small snack sized bags)
Directions: Add everything to a large bowl (with lid) or bag. Shake. Serve in mini-waffle cone bowls.
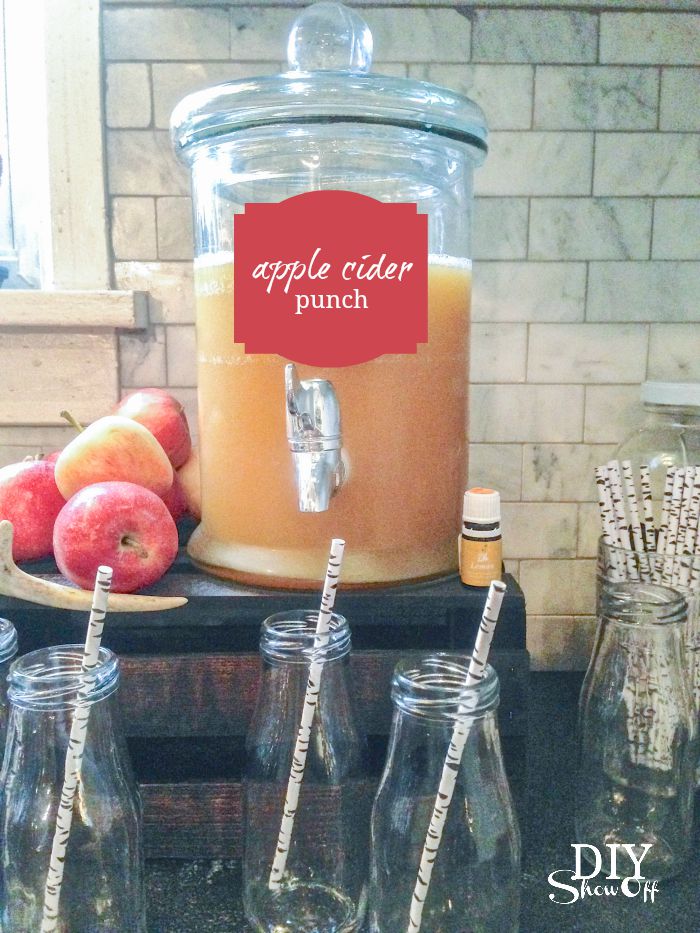
Apple Cider Punch (adapted from BHG)
Ingredients:
1/2 gal. apple cider
2 cups orange juice
1/4 cup lemon juice
1 750 ml bottle of sparkling grape juice
serve over ice with a drop of cinnamon bark or lemon essential oil
Add everything to punch bowl or beverage decanter and stir.
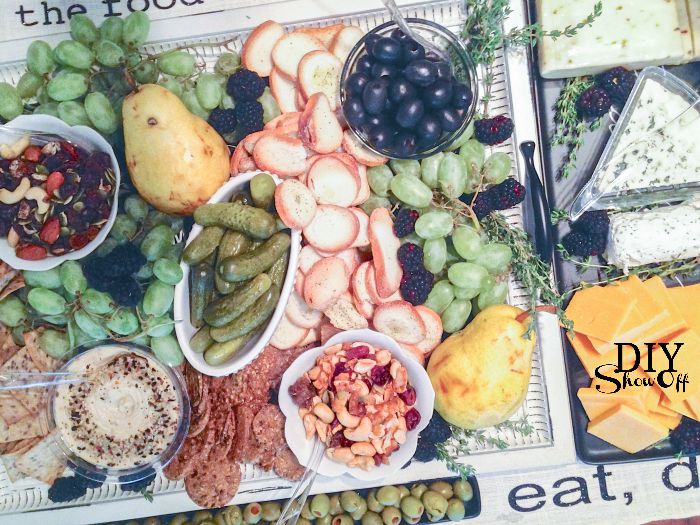
Cheese & Cracker Tray – add your choice of essential oils to create a cream cheese spread, a delicious dip or a drop or two to hummus. Add some fresh organic fruit and nuts, etc.
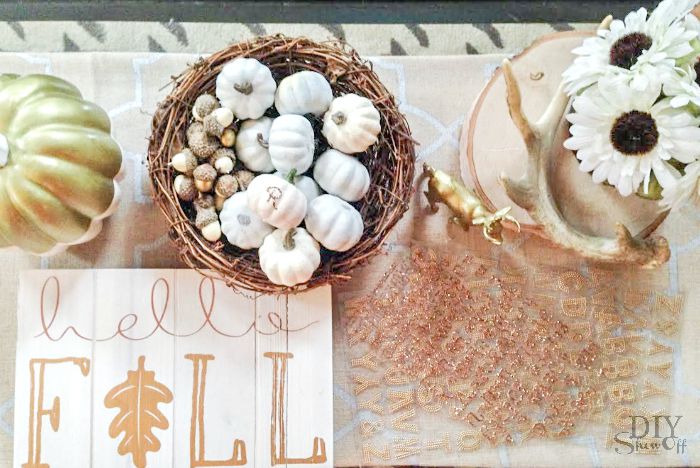
Pin for future reference!
See more autumn related ideas at Fall make & take Part 1 (invitation and DIY fall room spray make & take recipe).
~*~*~*~
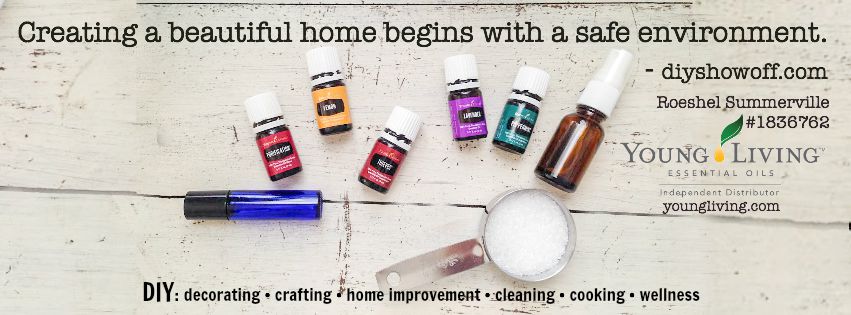
Learn more about Young Living essential oils, my story and join me in creating a healthy chemical free home HERE. AND! Get the DIYShowOff welcome bundle for free from me personally! Extra gifts, loads of support. If there is one thing I regret, it’s waiting as long as I did to jump on board. It’s worth the investment as it’s motivated us to truly make healthier choices, sparking a new healthy lifestyle. What are you waiting for?
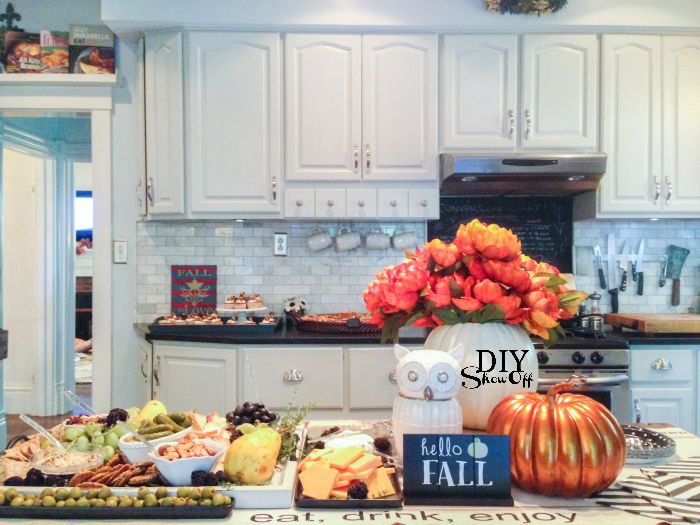
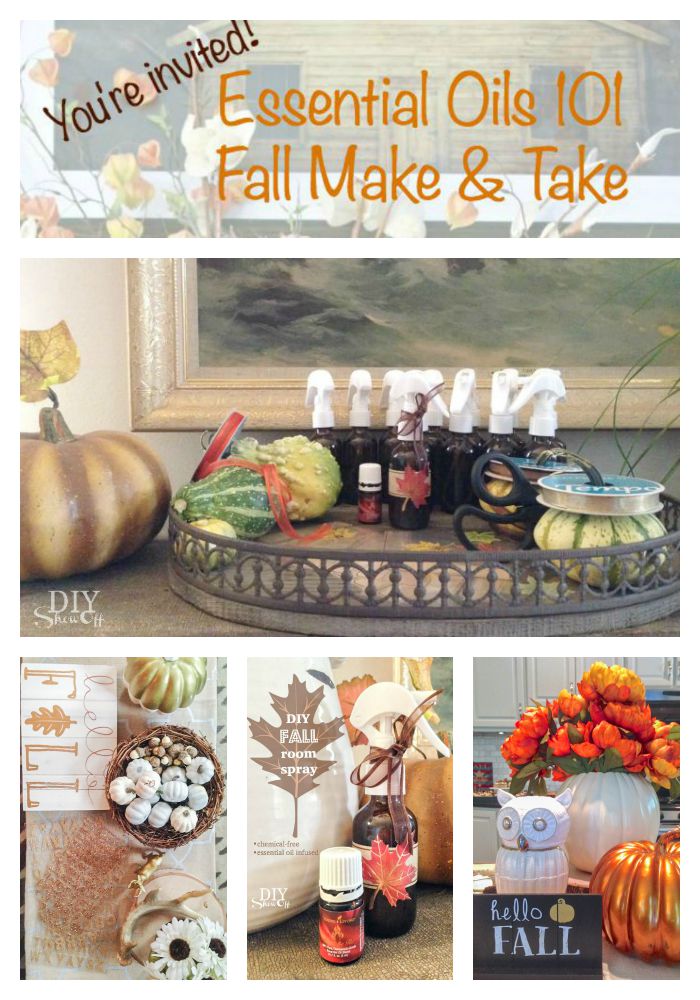
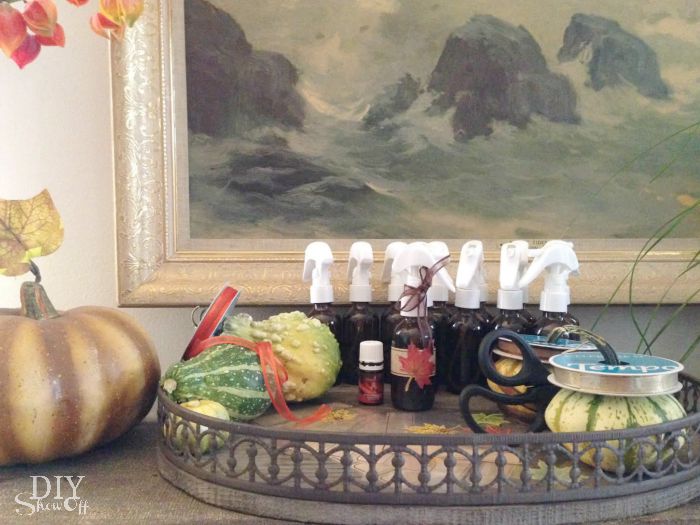
Last week I hosted a fun fall celebration for family and friends in my home and wanted to share a few ideas and recipes (great ideas for a fall essential oils 101 Make & take class). I used one of my own fall decor images to create an invitation for make up a Facebook invitation/event.
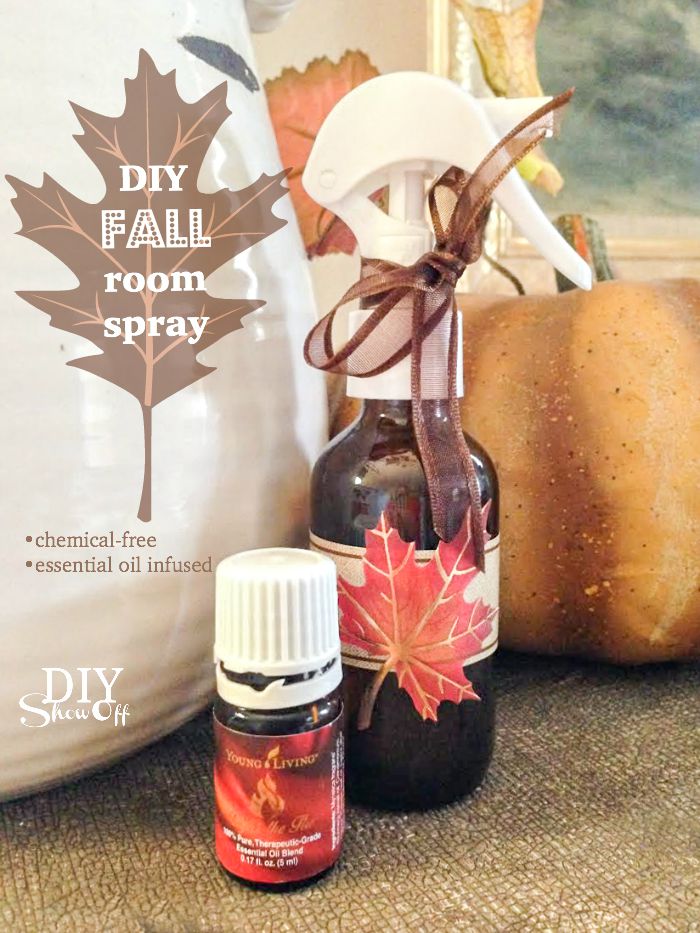
Make & Take: a Make & Take is a term used for hosting an essential oils class where guests have the opportunity to make up an essential oil infused gift to take home with them, to sample the benefits of essential oils. My guests made up a fall room spray.
Essential Oil Infused Room Spray
You’ll need:
2 oz. spray bottles (I love THESE (affiliate link) – glass, fine mist and a lock, great price too)
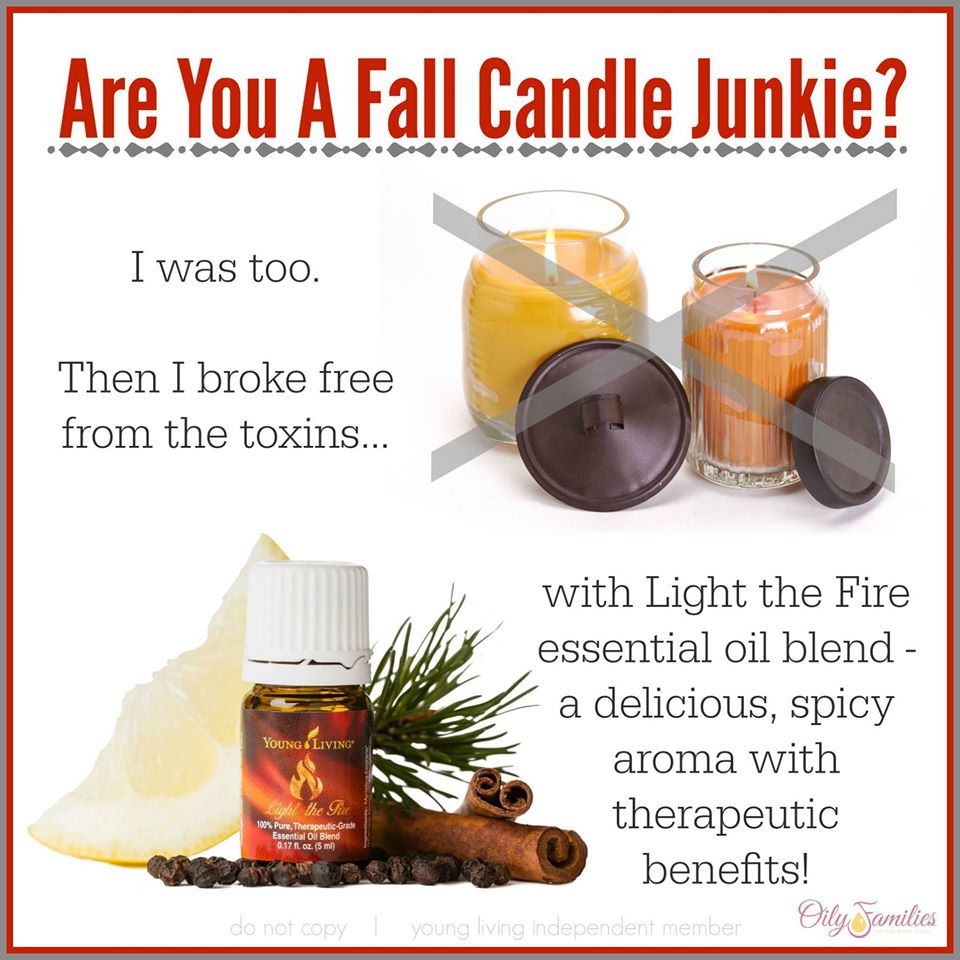
Essential Oils (choose oils like Light the Fire essential oil or mix and match essential oils like cinnamon, clove, ginger, nutmeg)
epsom salt (helps keep the blend of oil and water mixed)
distilled water
labels/stickers/ribbon
Directions:
Fill spray bottle with distilled water (fill to about 1/2 to 1 inch below the top). Add 5-7 drops of essential oil and a pinch of epsom salt. Embellish spray bottle with a label, fall sticker and ribbon, if desired. Easy!
Learn more about Young Living essential oils, my story and join me in creating a healthy chemical free home HERE. AND! Get the DIYShowOff welcome bundle for free from me personally! Extra gifts, loads of support. If there is one thing I regret, it’s waiting as long as I did to jump on board. It’s worth the investment as it’s motivated us to truly make healthier choices, sparking a new healthy lifestyle. What are you waiting for?
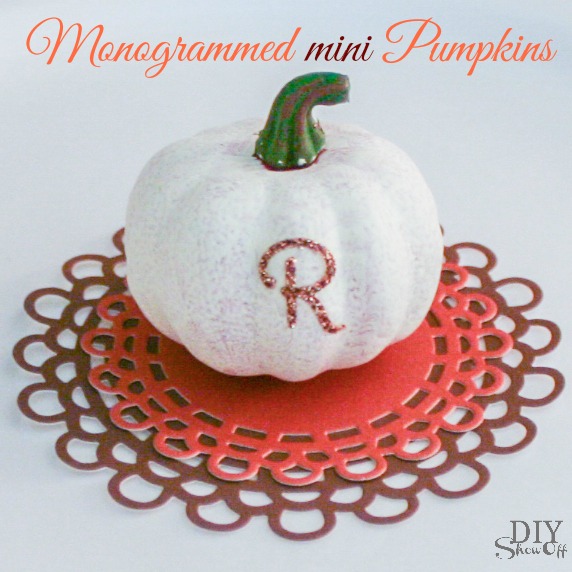
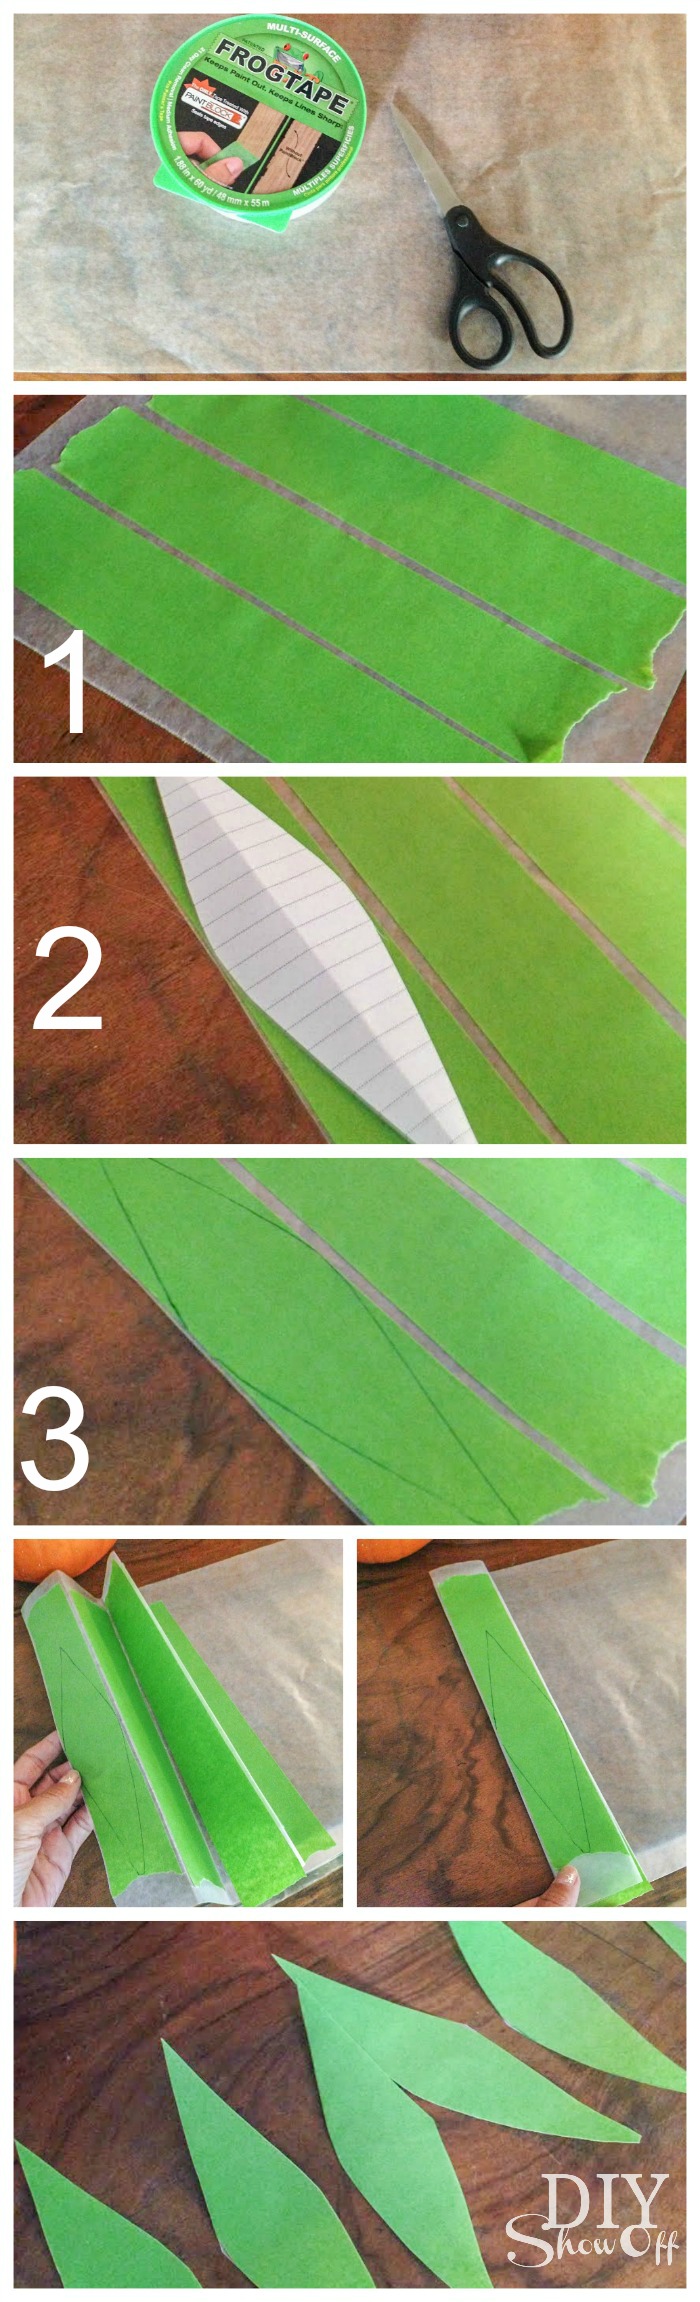
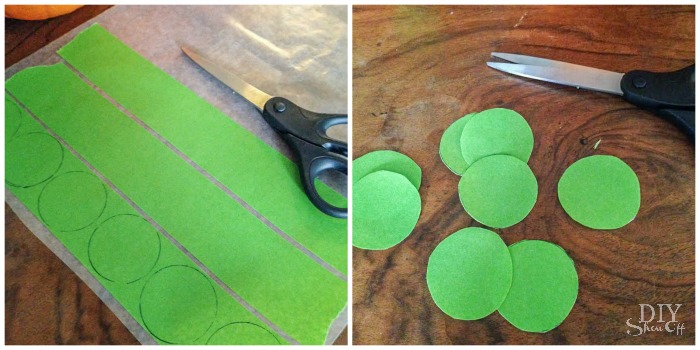
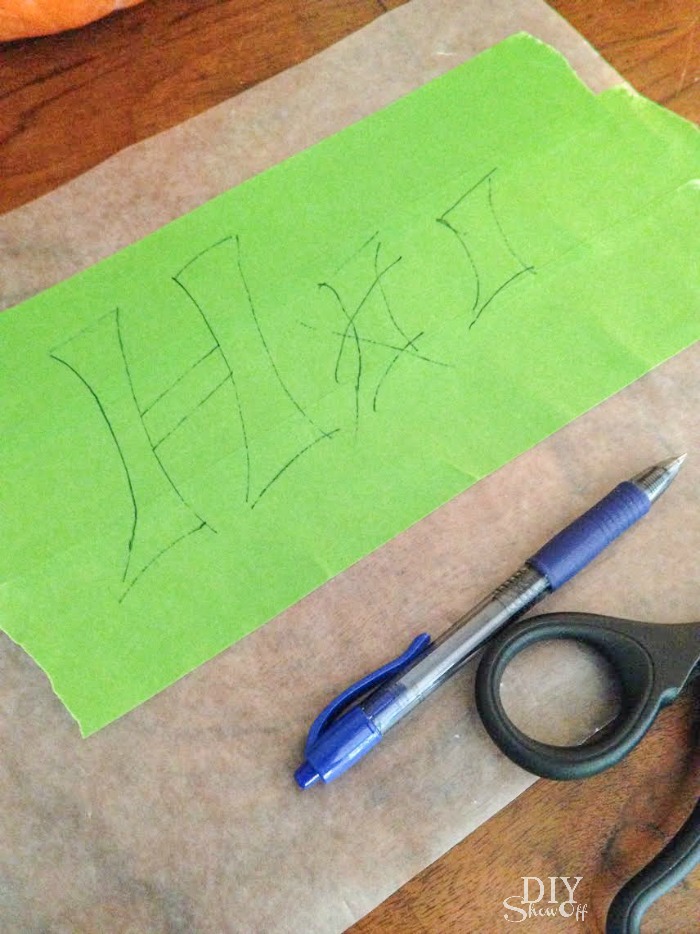
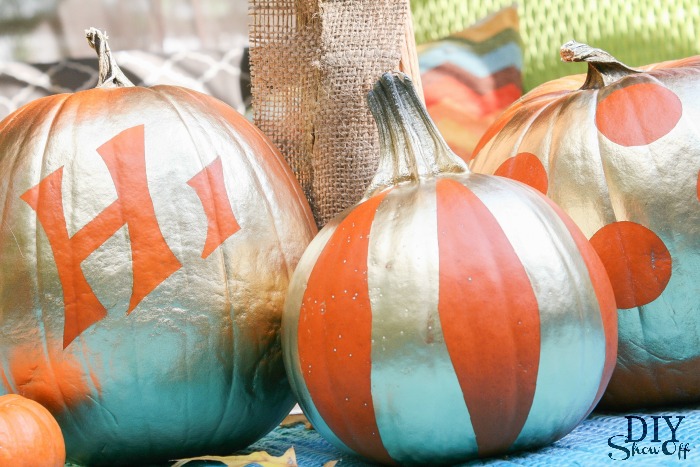
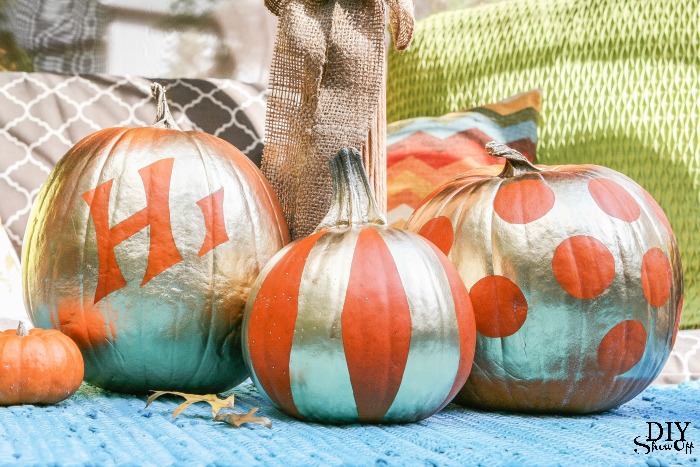
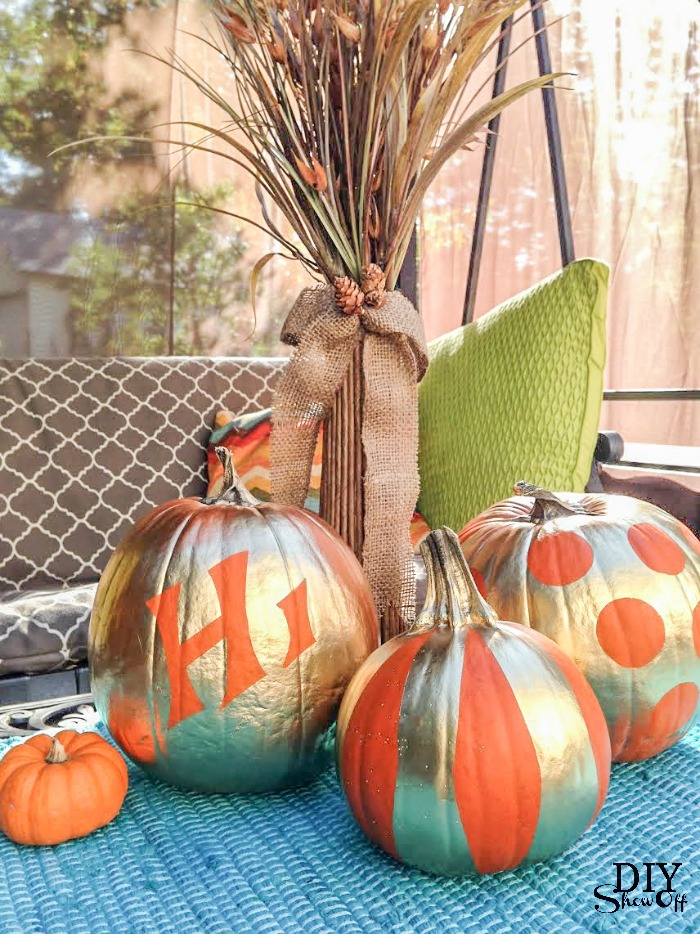
2. Using a pattern (I made mine from a piece of paper), freehand or by tracing shapes; create stickers.
3. Cut out stencils. I folded a few of mine to create more.
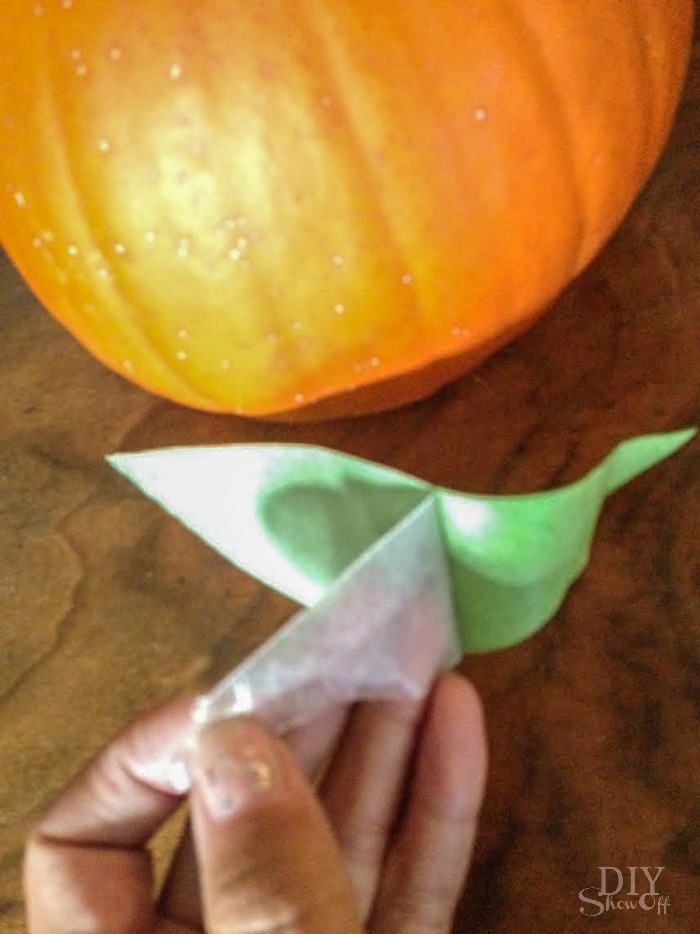
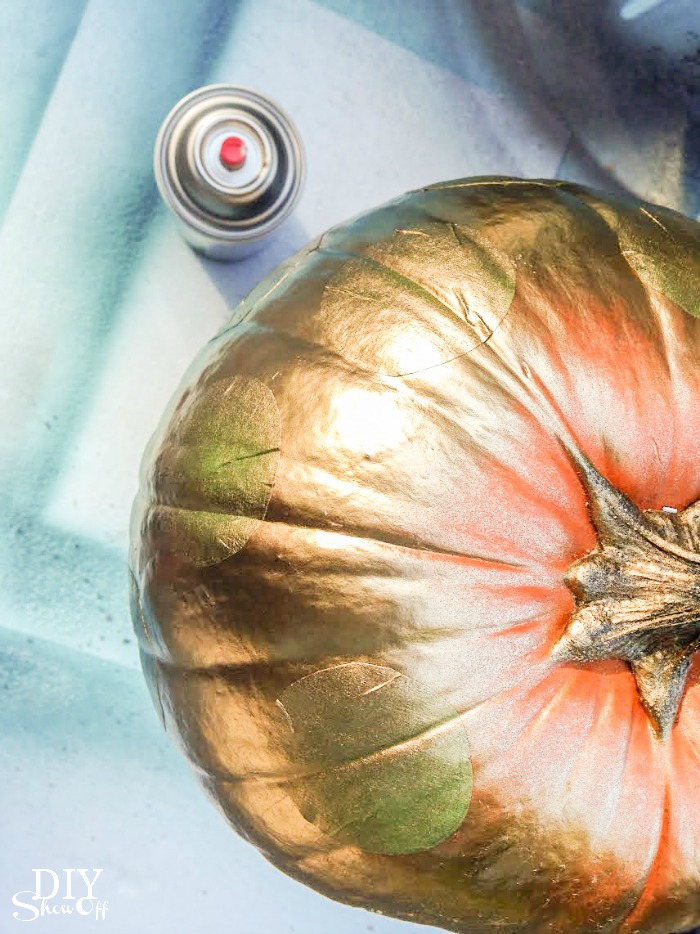
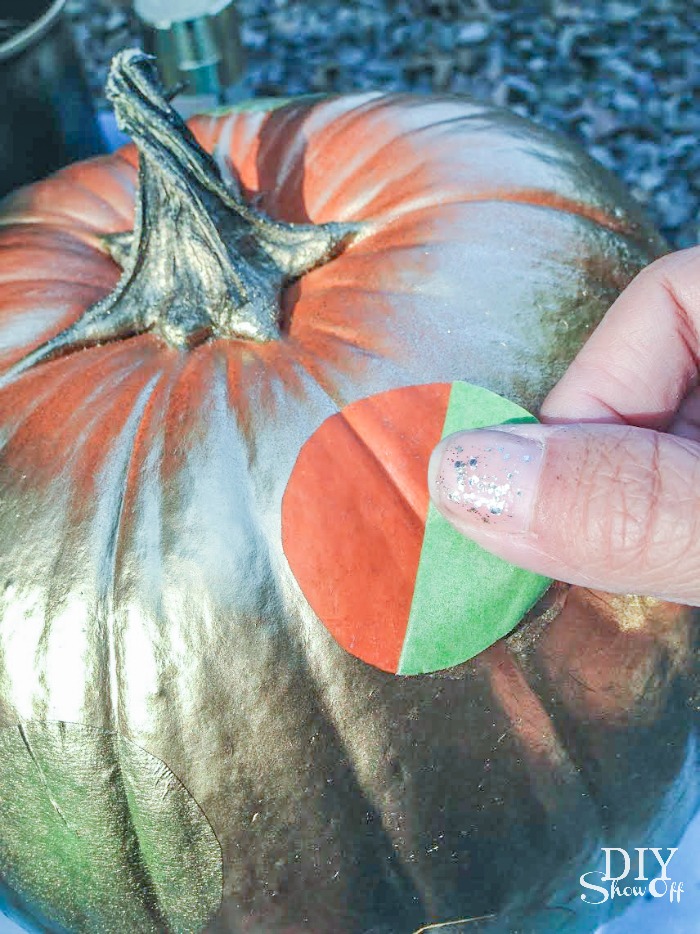
4. Remove wax paper backing and apply your DIY FrogTape stencils to the clean, dry surface of a pumpkin.
5. Use your thumbnail to burnish the edges of the tape and to smooth out creases.
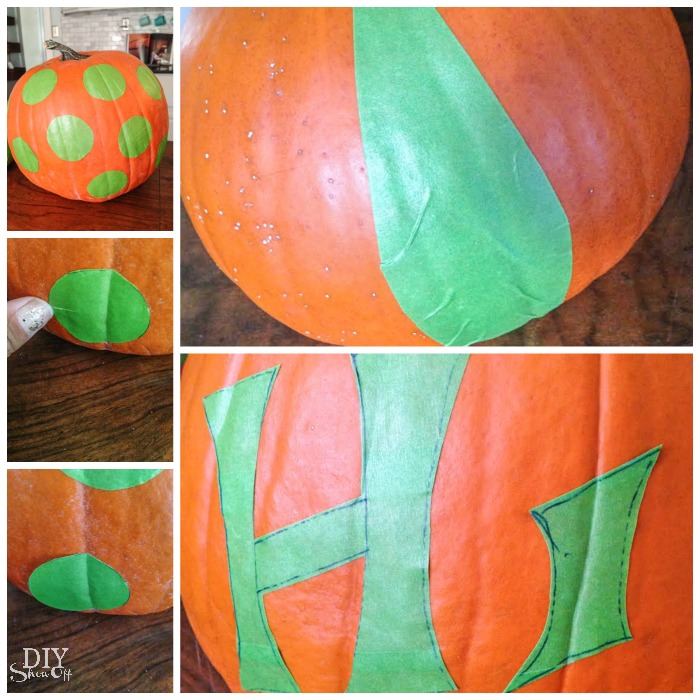
6. Tape off stem if desired. Spray paint pumpkin.
7. Paint dried really fast for me since I just did a light coat with some of the pumpkin showing through in most places. After just a few minutes, remove stickers/stencils.
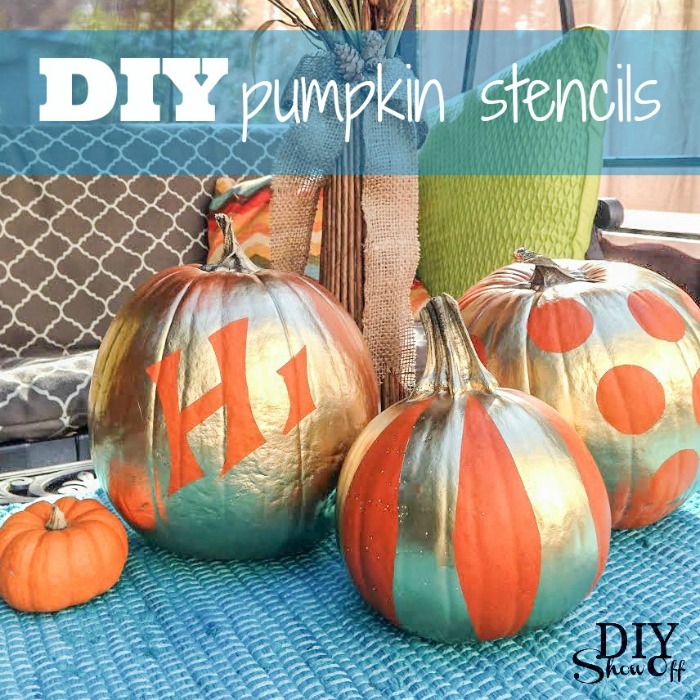
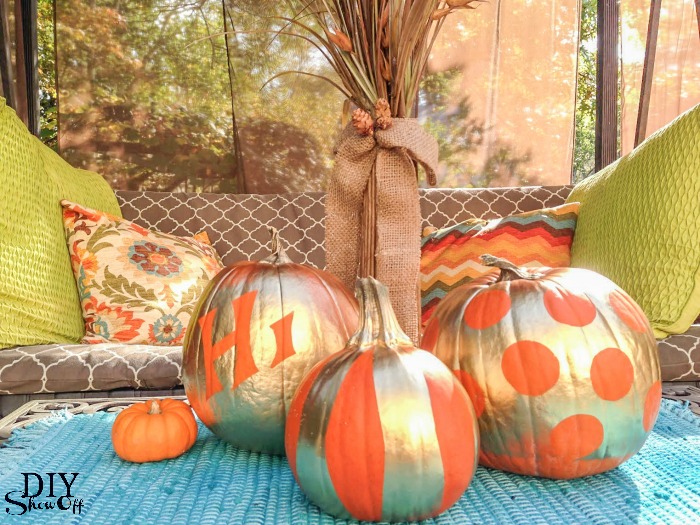
Display!
Disclaimer: I received compensation to complete this project for using FrogTape® products. All opinions, projects and ideas are based on my own experience.


 I whipped up 60-70 of these for a bridal shower but since you can personalize them with any candy melts (so many colors!) and any deco ratings (so many colors and shapes and ideas!), they’d work for not only bridal showers but for Mother’s Day, baby showers, wedding favors, party favors, hostess and teacher gifts, prizes, etc. I made a few every evening over a couple of weeks’ time. I gave a few out as essential oil infused door prizes and at Easter to my family too. I even had my grandson helping me decorate a few!
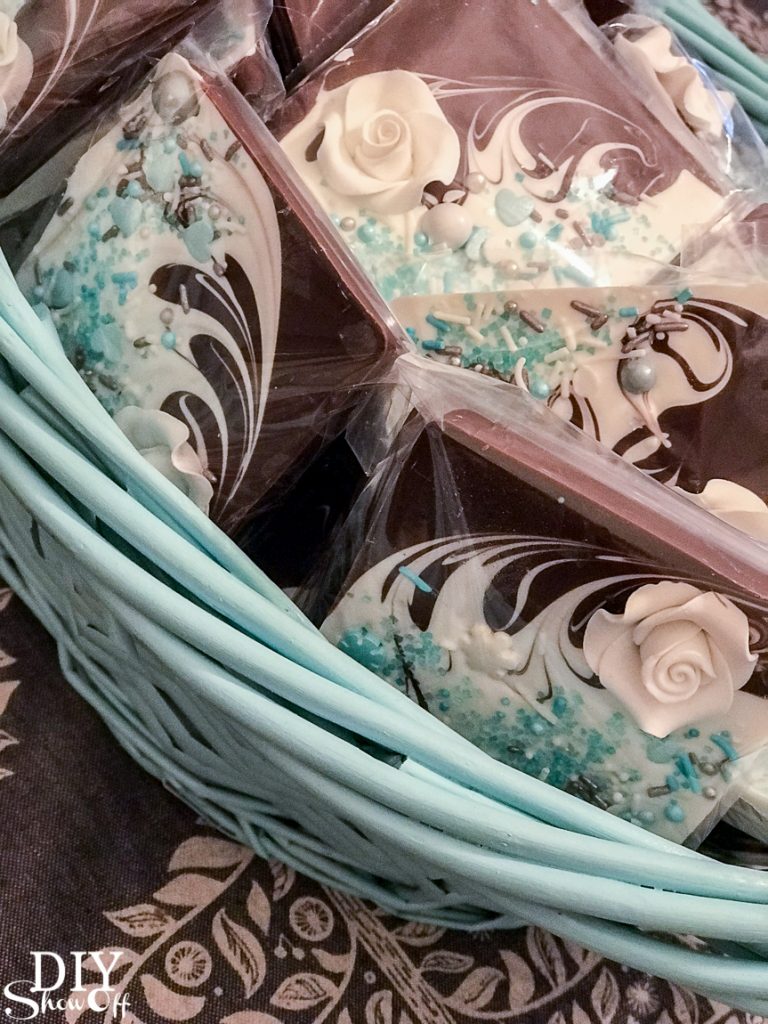 Warning – not only are they a beautiful sweet treat, they’re so addicting to create! Here is the very first batch that started my madness (without the swirl technique)…