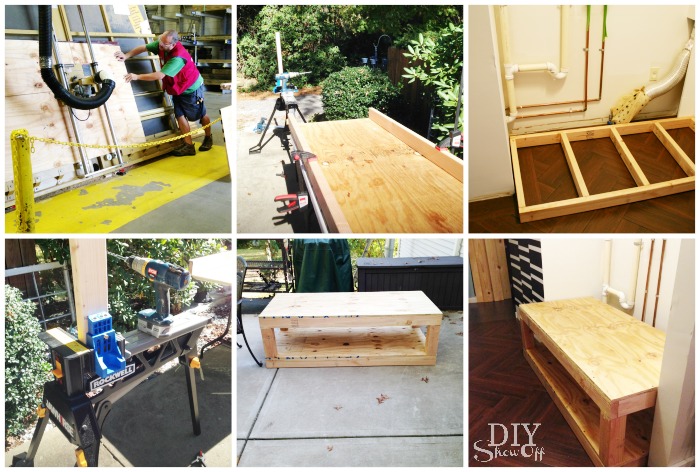
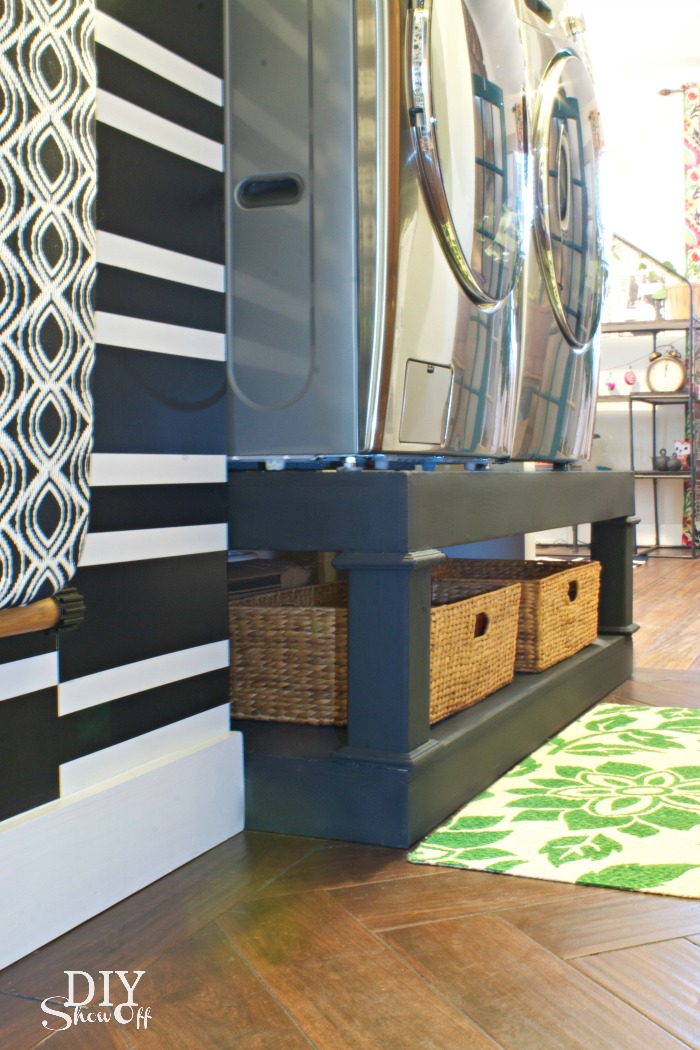
I’ve been working on a much needed laundry room makeover (I know! What the heck! We just recently revealed an open pantry makeover and a sweet bathroom transformation). We’ve been busy! But you’re about to get a laundry room sneak peek! As a member of the Lowe’s Creative Ideas team, I had the opportunity to whip up a batch of homemade chalk finish paint and the laundry pedestals I built just happened to be ready for a coat of paint.
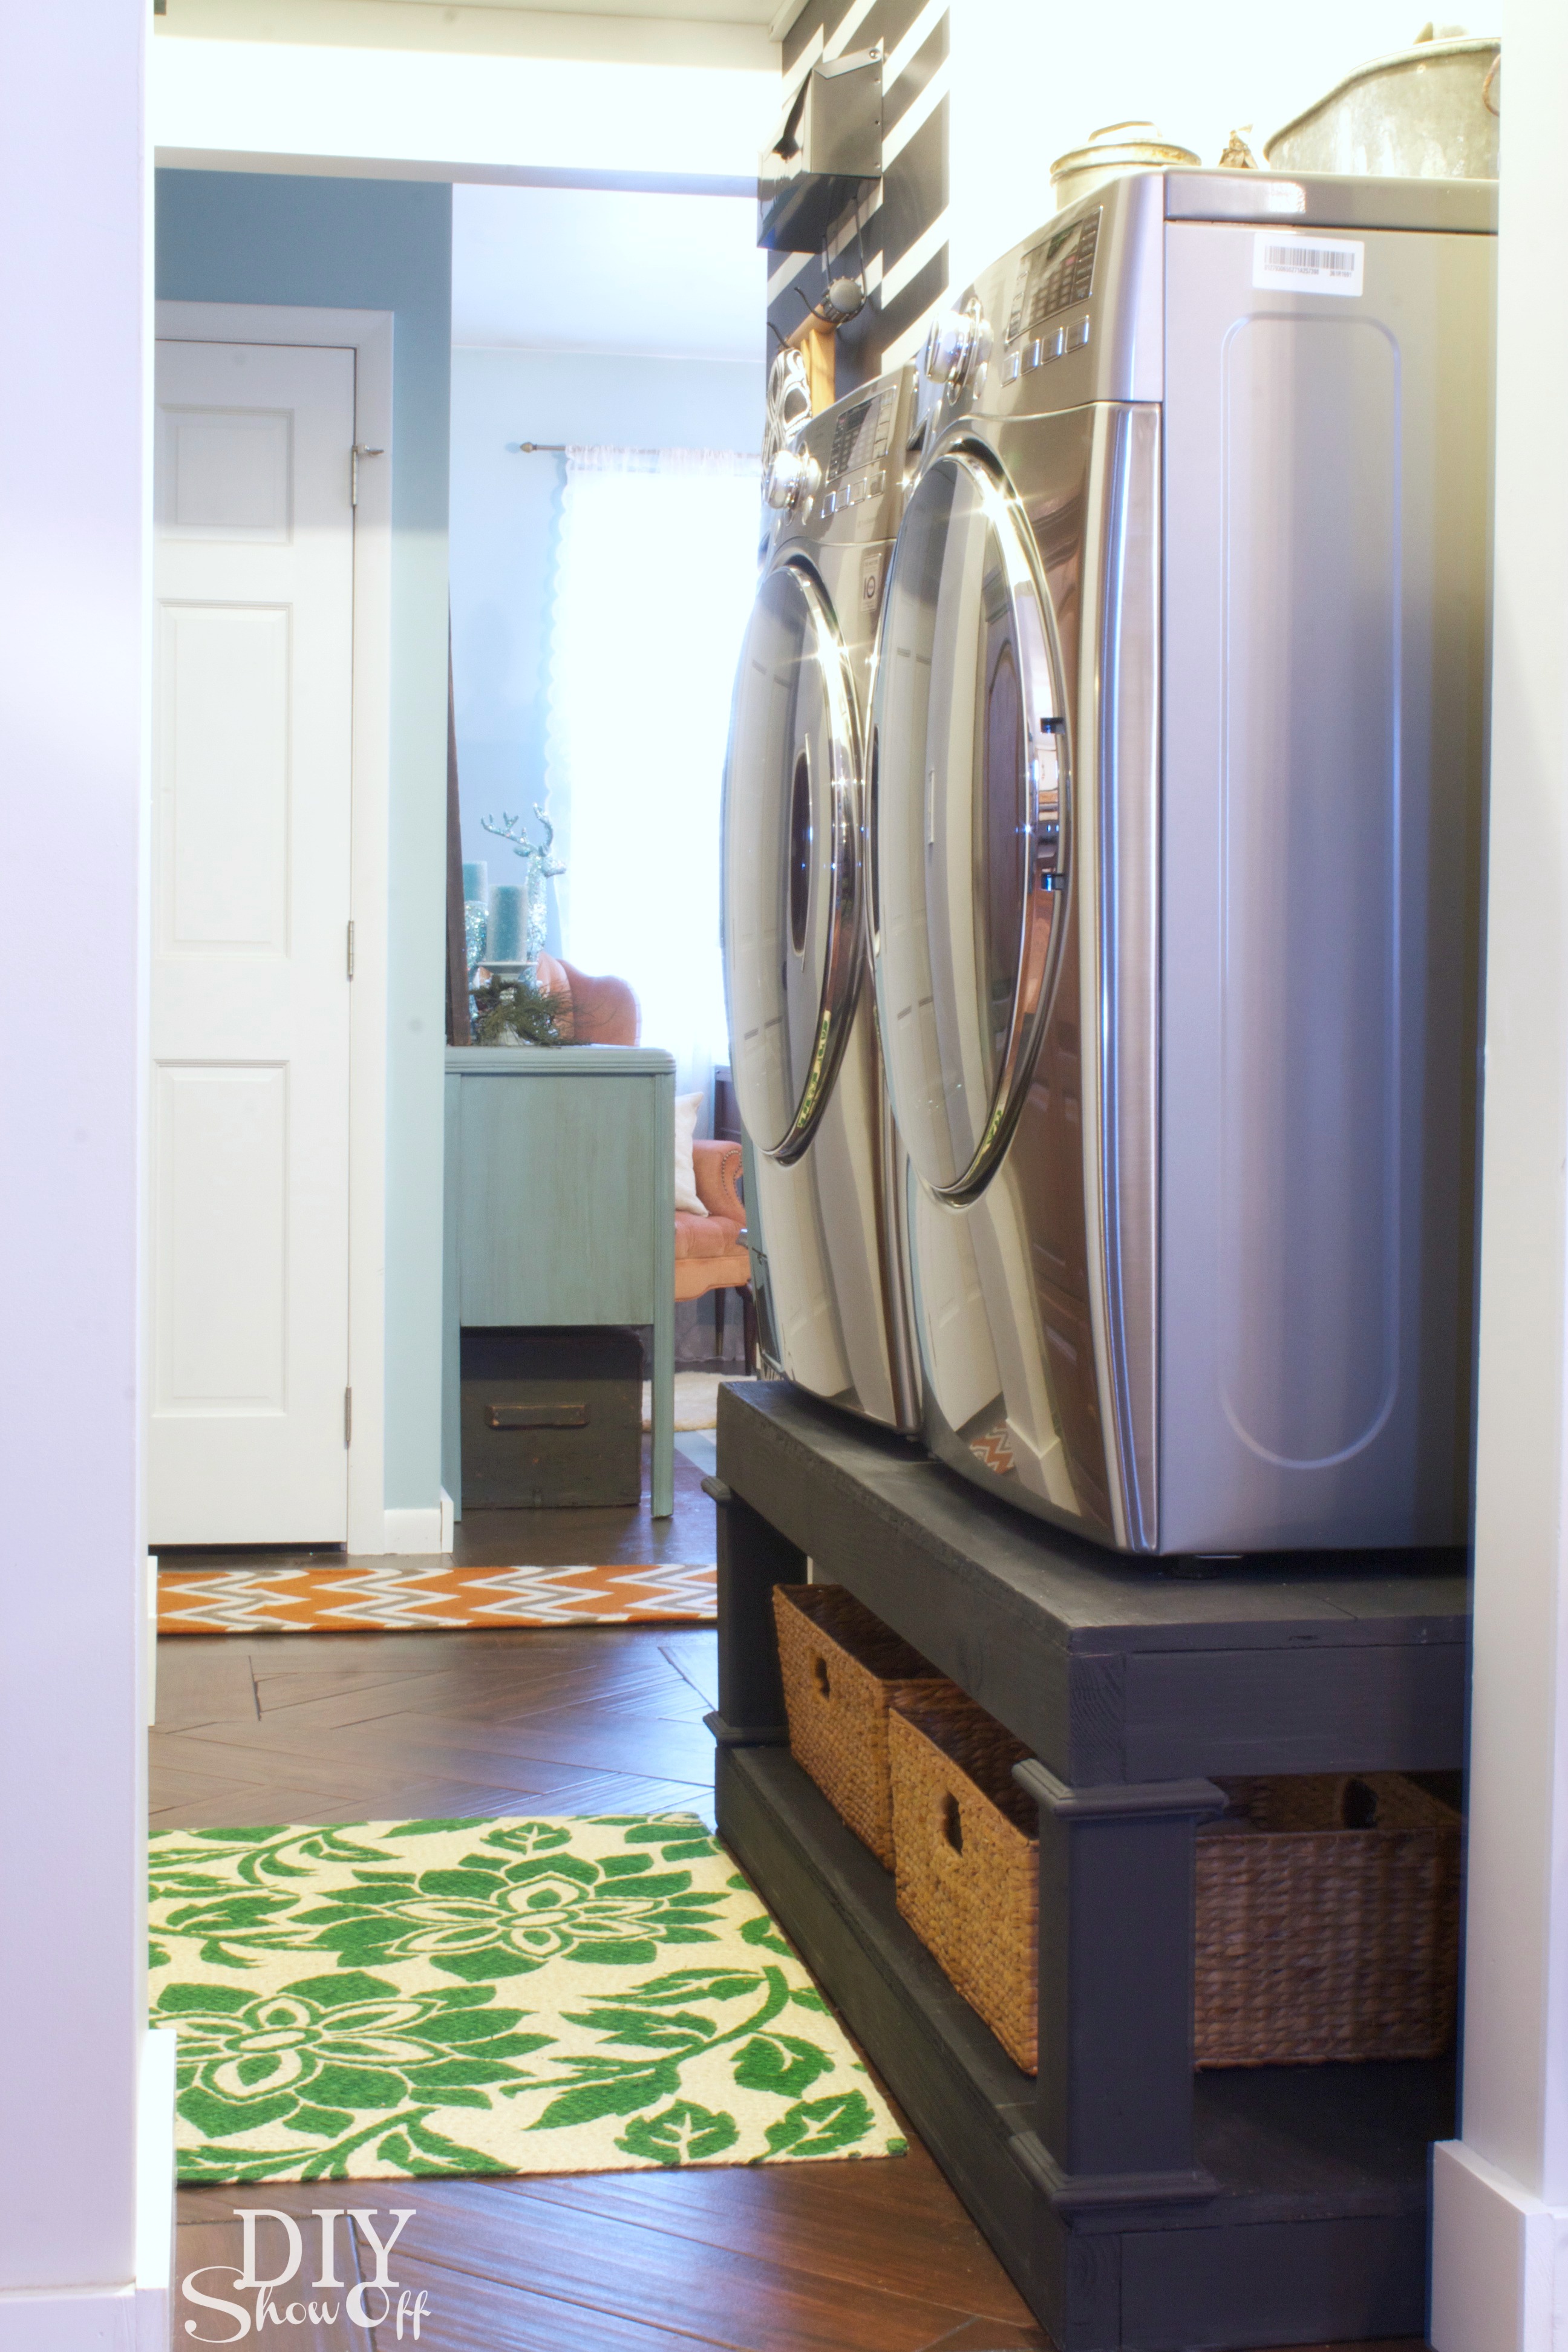
Note: My laundry pedestals are an Ana-White plan and my first ever real DIY build. What a challenge to say the least! But I’m happy to say: I’m so glad it’s just done! It doesn’t look half bad! It’s functional! My new washer and dryer are at just the right height and I love the addition of a little storage space just underneath. Perfect fit for baskets, laundry baskets too!
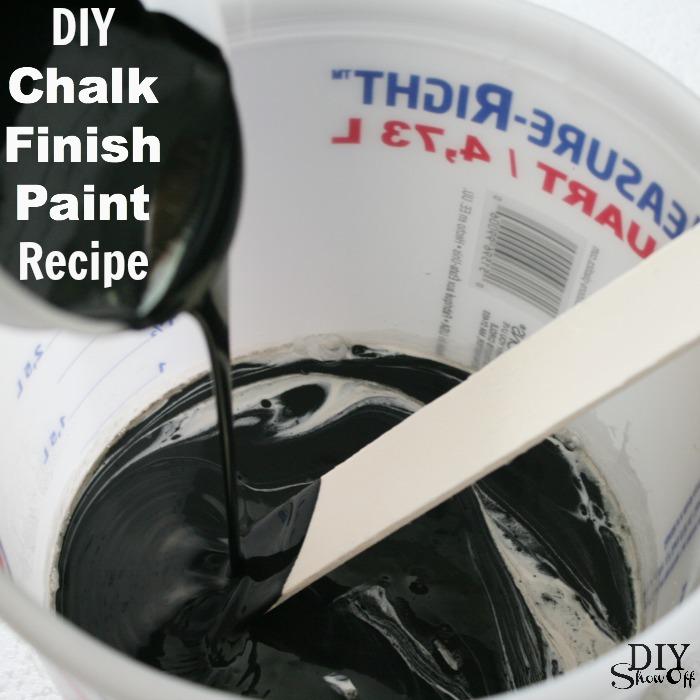
Chalk-Finish Paint Recipe
You’ll need:
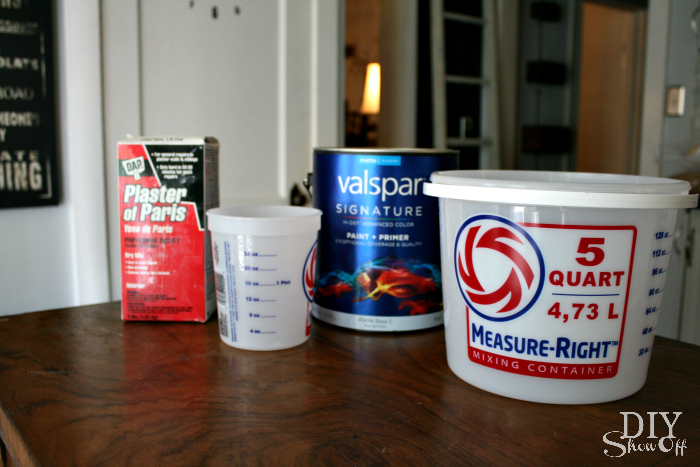
- Valspar Signature latex flat paint or latex paint with built-in primer
- Plastic paint bucket
- Stir sticks
- Plaster of Paris
- Plastic measuring cups (do not reuse for food)
- Water (use cool, not warm)
How to mix it up:
1. Mix 1/3 cup of plaster of Paris with 1/3 cup cold water in a plastic bucket.
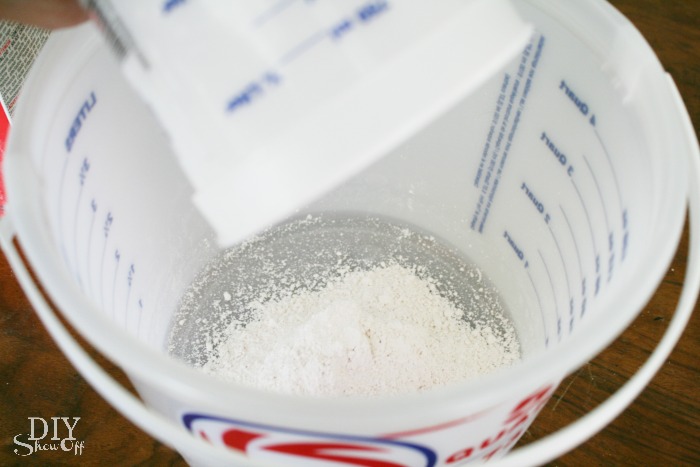
+
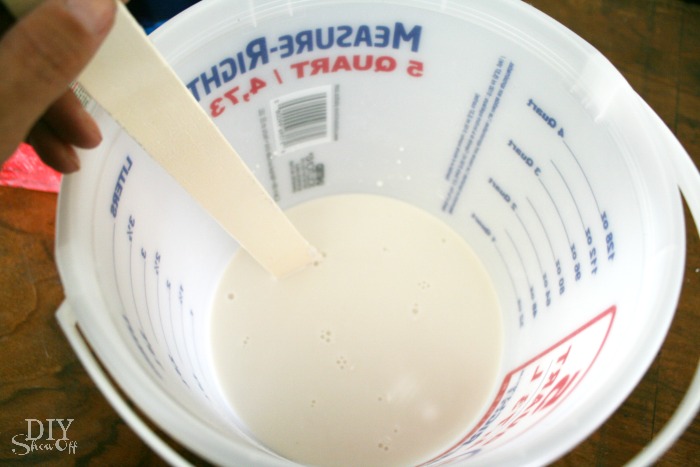
2. Stir until completely smooth.
3. Mix with one cup latex paint and stir completely.
+
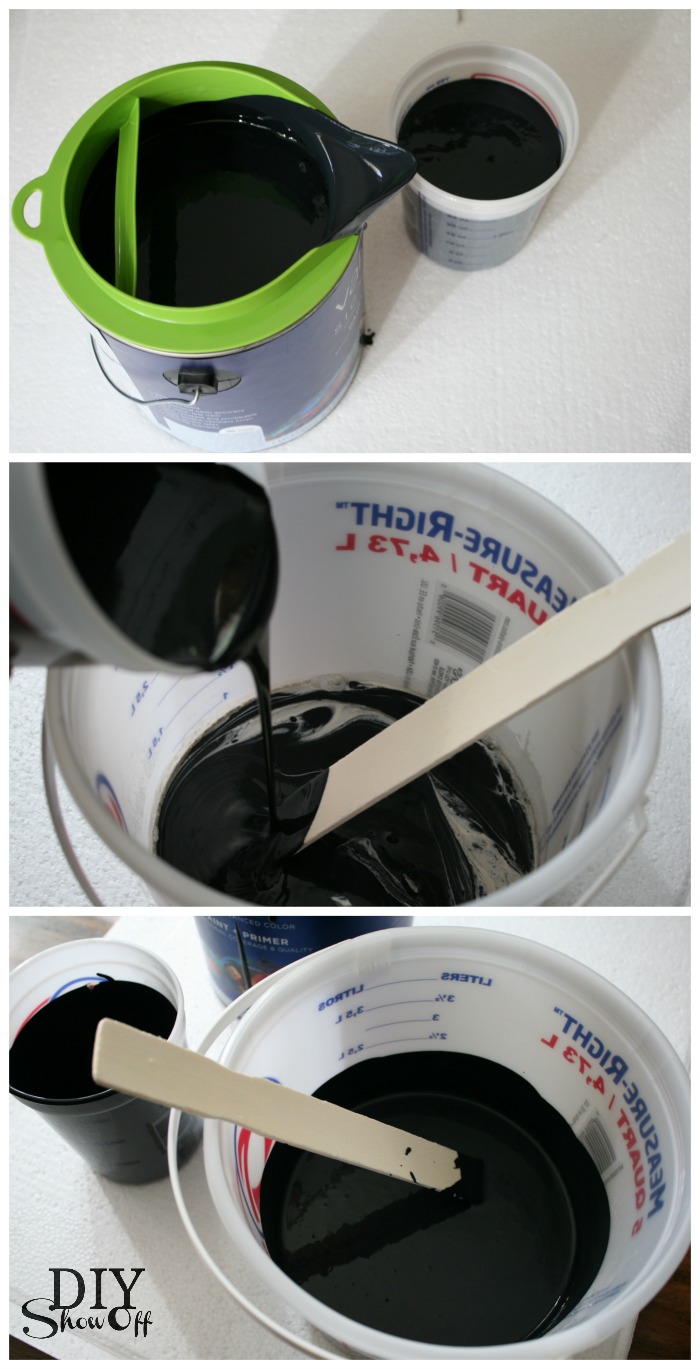
4. Paint!
* Makes enough chalk finish paint for one coat for a 6-drawer dresser. Should not be stored and reused. (Although I did cover and re-use without problem for touch ups after installing the washer and dryer.) For smaller projects, mix less using these proportions, mix more for larger projects. Nontoxic. To dispose, let dry completely in the container before disposing in trash.
What I think:
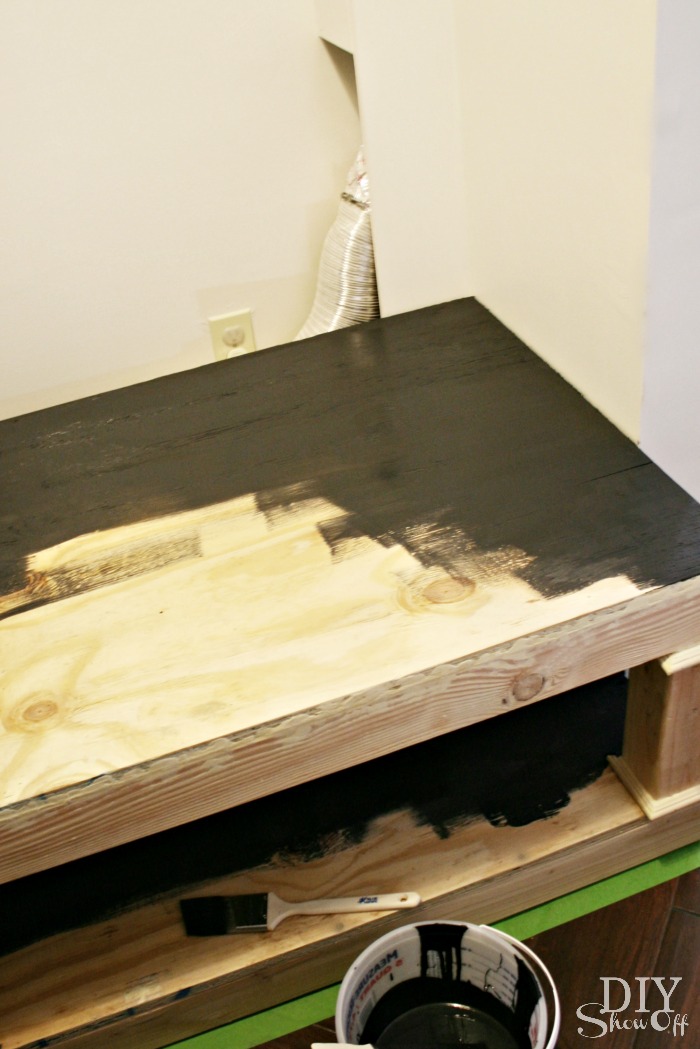
I have to say, I’m really impressed. I love how smooth it brushes on. I love the chalky-finish. Most of all, I LOVE that primer isn’t needed. I decided on black for the laundry pedestals…
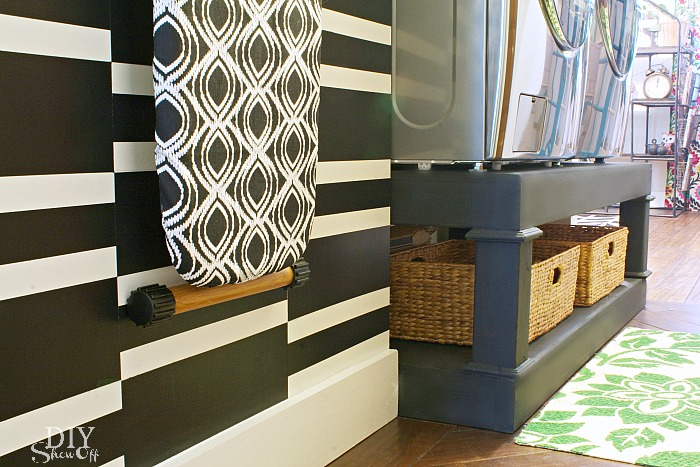
{you’ll have to wait on the rest of the laundry room details but coming soon!}
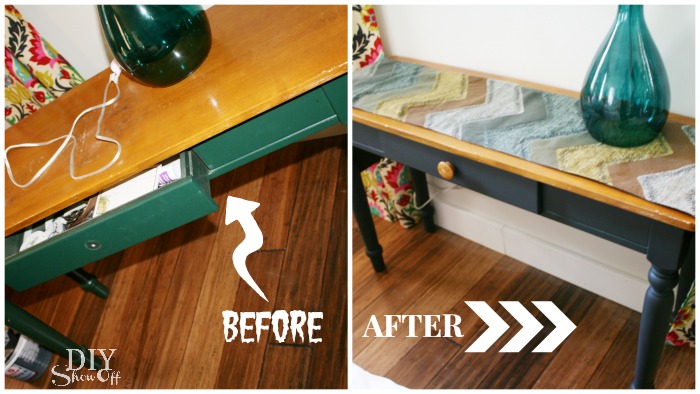
and I then I moved on to painting over a hunter green console table…
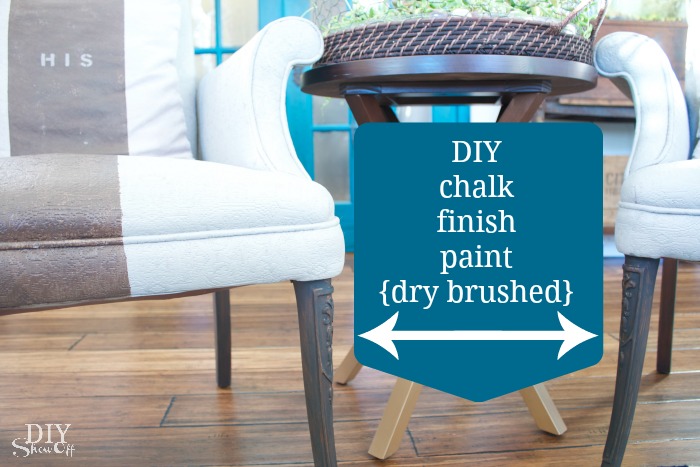
and dry-brushed it onto the legs of my painted upholstered chairs.
- Easy to make!
- No primer!
- Great coverage!
- Pretty finish!
What do you think? I’d say it’s a success and will definitely be using this recipe again on other projects in the future!
More DIY ideas at Lowe’s Creative Ideas, follow Lowe’s on Instagram, Pinterest and sign up for the Creative Ideas magazine and app! 
*Disclaimer: As a member of the Lowe’s Creative Ideas Creators and Influencers network, I received a Lowe’s gift card to complete this challenge. As always, all ideas and opinions are in my own words. The blog post above is what worked for me. Results may vary. Remember to work in a well-ventilated area and to take the proper safety precautions.