How the heck do you get ready for the holidays when your home is under DIY construction and chaos? Well, I’m not sure but I can tell you how it’s going for me. When I have a lot going on, I’m a list maker. Seeing what needs done and checking things off helps keep me on track. Otherwise, you know something’s going to get forgotten. This year, with being a part of the Lowe’s Creative Ideas team, Lowe’s has played a large part in halting my holiday home procrastination.

Here is how my list goes:
- First priority is to finish up existing projects like bigger tasks so that I can breathe, relax and enjoy the rest of the year. So, I’m pushing to get some projects like our window installation, open pantry makeover and laundry room makeover complete. You may not see those makeovers until January, but my deadline for finishing them is a real life holiday home tour on 12/7.
- Cleaning and de-cluttering. In order to prep for digging out all of those bins filled with holiday decorating goodness, I need to start with a clean slate. That means piling up existing decorative accents (to be stored in the empty Christmas bins) and dusting, vacuuming, sweeping, scrubbing.
- Re-arranging the furniture. I decorate three trees for Christmas so moving furniture around to make room is one of my favorite parts of decorating. I love a fresh new perspective from the usual arranged room, don’t you?
- This one I usually start the weekend after Thanksgiving: Hauling out the Christmas decor bins and decorating! Pump up the volume on those Christmas tunes and deck the halls!
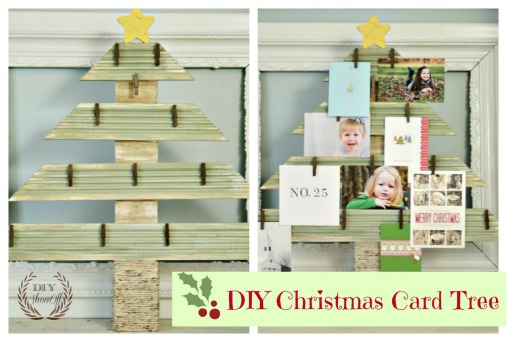
- Sending out Christmas cards to family and friends.
- Holiday shopping. I’ve started a little shopping the past month or two but this is the time I take to get it done. I love giving gifts! Do you wrap as you go or pile it all up or wrap all gifts at once? I love to be organized about it and wrap it all at once. Blasting the Christmas music in the background, singing along, ribbons and bows and paper and scissors and tape all within reach. It’s a huge wrap-fest! A party for one.
- Holiday baking. I don’t do much baking but hoping to change that a little this year. I’d love to have a variety of cookies to go with my hot cocoa.
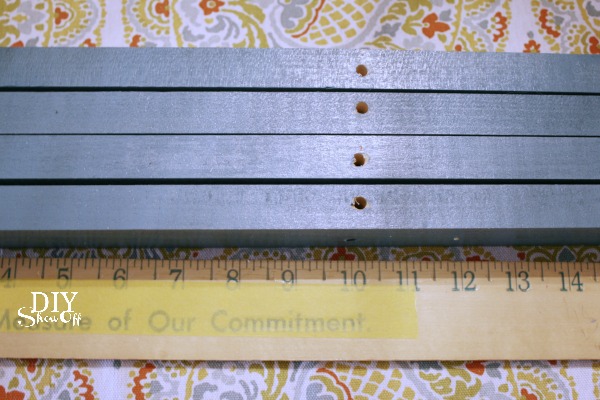
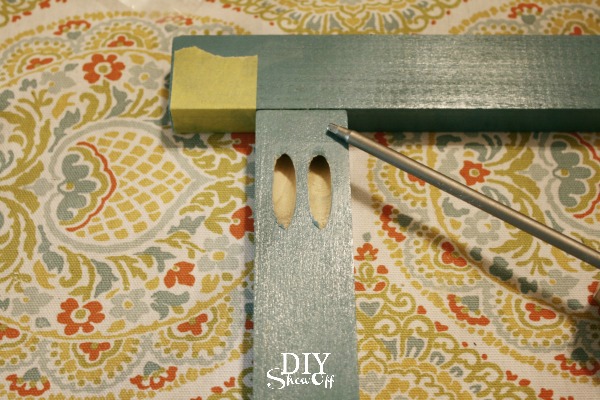
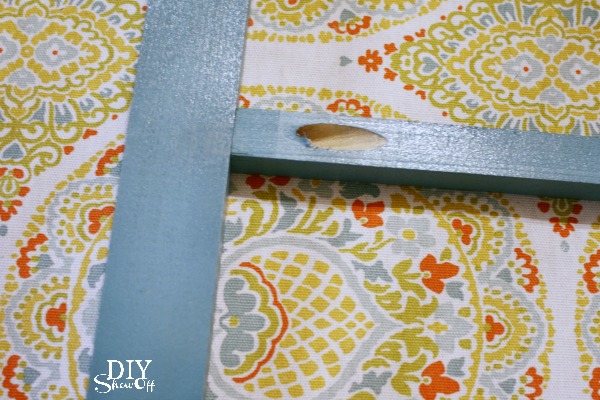
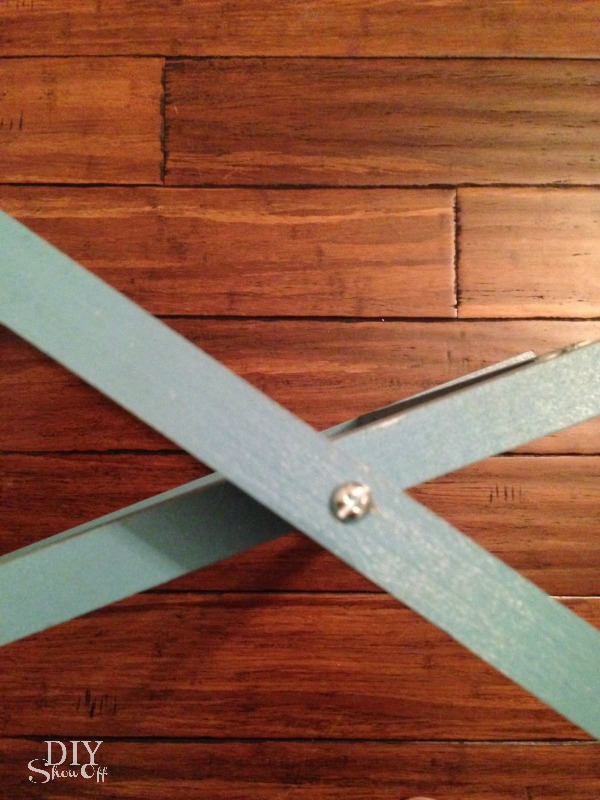
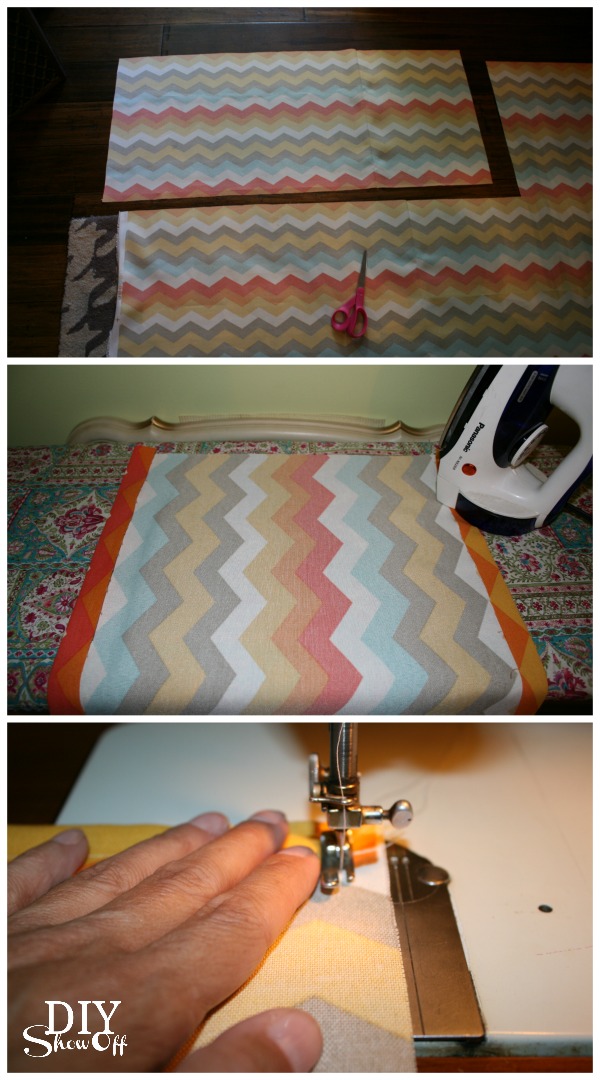
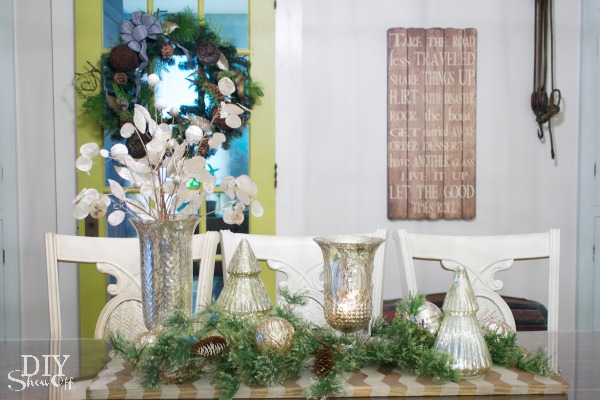 {chevron wooden table runner tutorial}
Call me crazy but I’m {unrealistically?} optimistic! Check back with me next weekend and I may be in a panic. Because #1 on my list is a doozy. But if I don’t have everything crossed off my list this week, I do have next week before Thanksgiving and the weekend after to fall back on. Having a deadline puts the pressure on to get things wrapped up…and I’m not even talking about the presents yet!
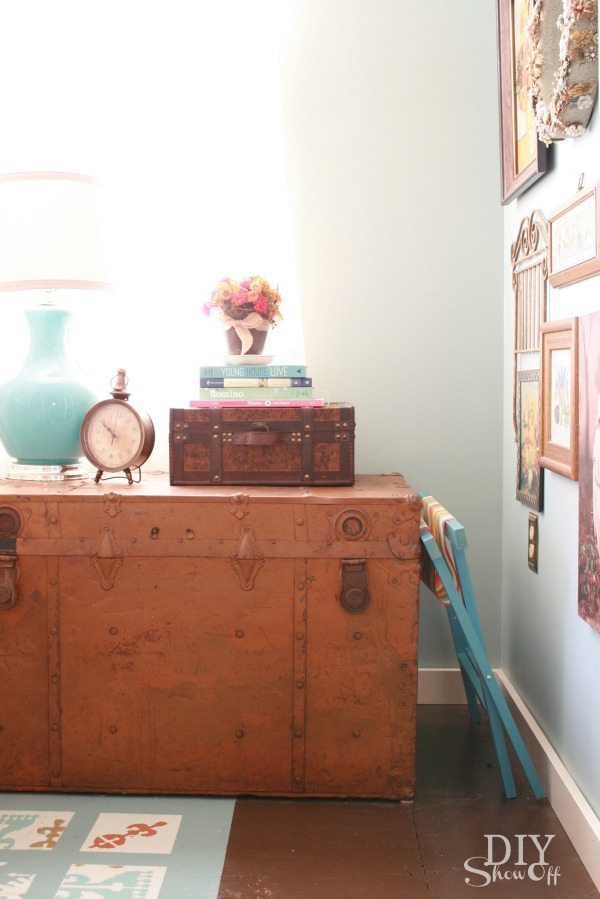
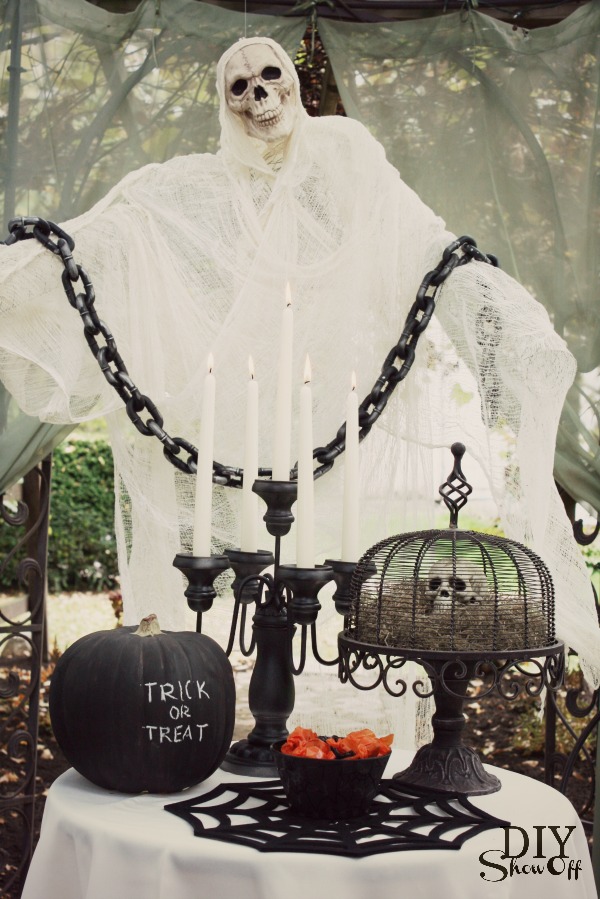
A few weeks’ back when I first started thinking about getting my home ready for the holidays by following the Lowe’s Holiday Showcase, I had the opportunity to play around with some decorating. Just enough to get me excited to get the projects done in order to get to the reward:
…really decorating for Christmas.

That was a couple of weeks ago. Remember when I said I’m working on completing some bigger projects and a house under DIY construction? This is my dining room table now…{keeping it real!}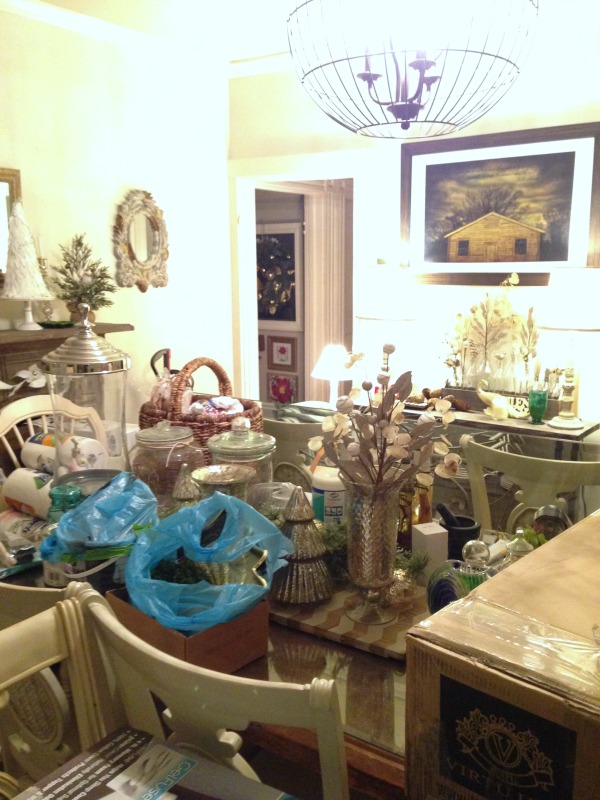
Yikes! Not for long. According to my list, I’ll be clearing that table off today! Hurray!
I hosted a small get together with family and friends and we discussed holiday decorating and plans.

Putting together a list this time of year really helps keep me on track as well as ensures I don’t forget something with so much going on.
THIS GIVEAWAY IS NOW CLOSED. Winner is JD who commented: Paint! I’ve had paint chips up in the bedroom and bathroom for months now, and we have a nursery to do now too! Congratulations, JD! You’ll be notified by email!
$50 Lowe’s GIVEAWAY
How do you get your home holiday ready? How about a $50 Lowe’s giveaway to finish up some home improvement or to start shopping for the holidays?
To be entered to win, simply leave a comment below telling me how you’d spend $50 at Lowe’s right now. I appreciate your shares! Leave a comment telling me how you shared as well for another chance to win.
*Giveaway runs now through Wed., 11/27/13 at midnight EST. Winner will be chosen randomly from the comments and announced shortly after. Giveaway is open to US residents 18+ only.
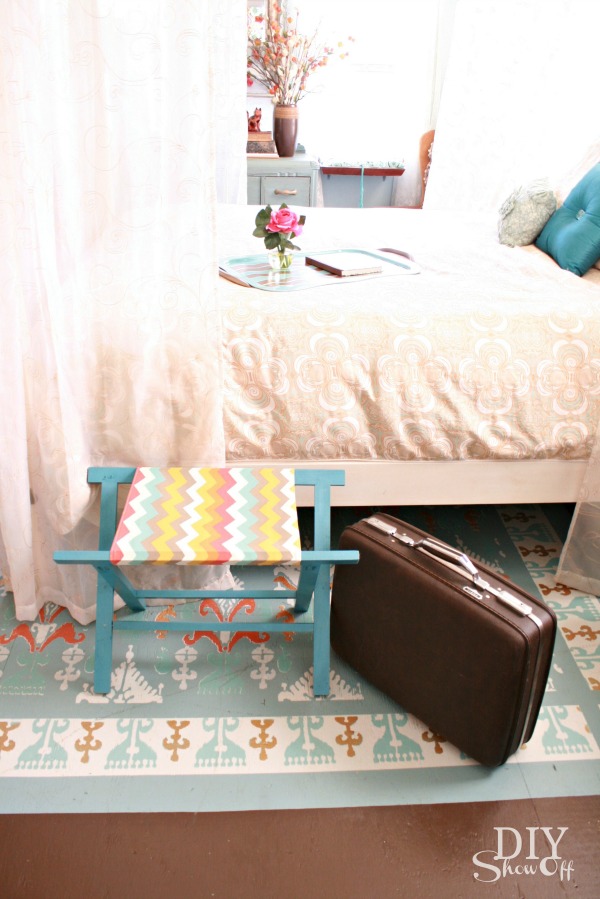
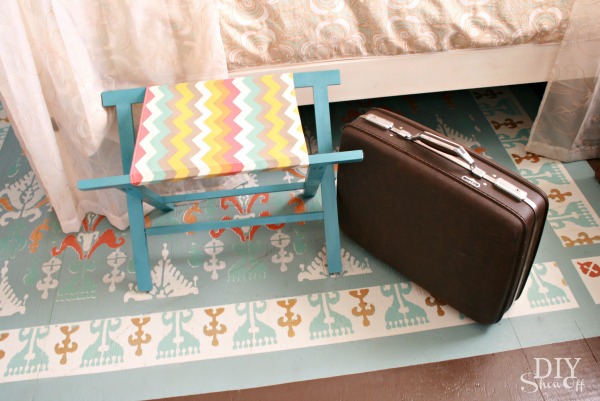
See more fun DIY ideas at Lowe’s Creative Ideas, follow Lowe’s on Instagram, Pinterest and sign up for the Creative Ideas magazine and app! You’ll see my DIY foldable luggage rack for getting guest room ready in the November digital issue! So exciting!

*Disclaimer: I’m a member of the Lowe’s Creative Ideas Creators and Influencers network. I was compensated for hosting a Holiday Ready Home party and supplied with a gift card for some Lowe’s holiday decor (shown above). All opinions are my own.