


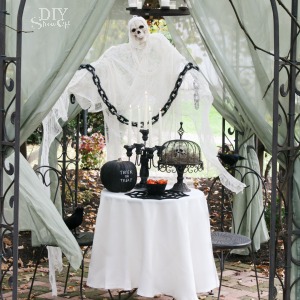
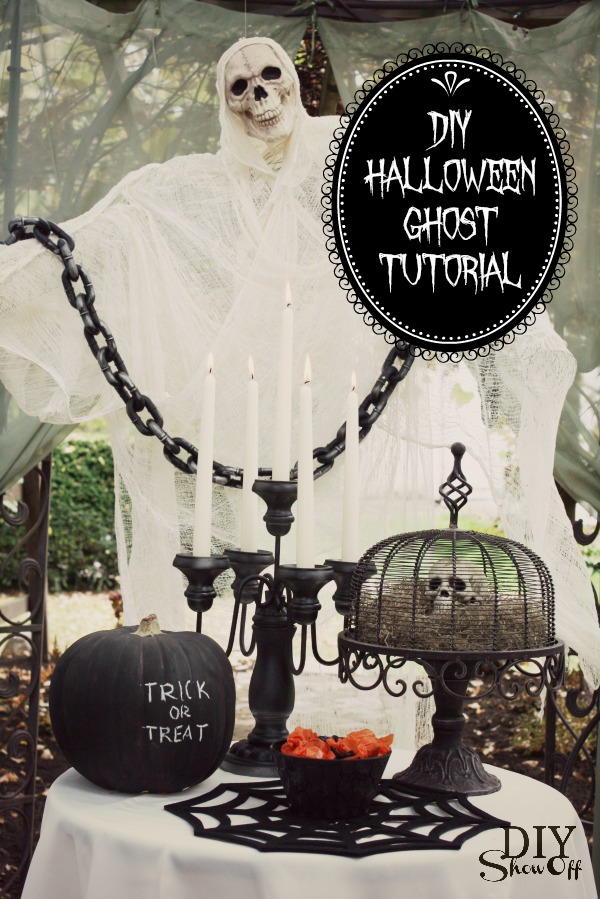
October? Already?! Let’s start off the month with a Halloween DIY. As a part of the Lowe’s Creative Ideas team, I received a gift card to purchase the materials for a Halloween decor challenge. I made a cheesecloth ghost and what a challenge it was! Because of the large life-size, I ran into some obstacles and almost threw in the towel, accepting defeat and attempted to think of another project. The joys of DIY: sometimes a big fat fail.
BUT I switched direction and saved the project! Below I share what I did, recommendations for what I’d do different and how I rescued the project making it a success. If this is something you’d like to tackle, read through my tutorial to decide the best way to go about making your ghost.
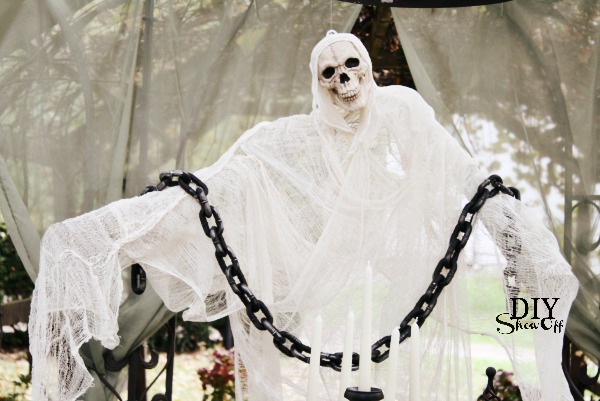
Materials for a chicken wire cheesecloth ghost:
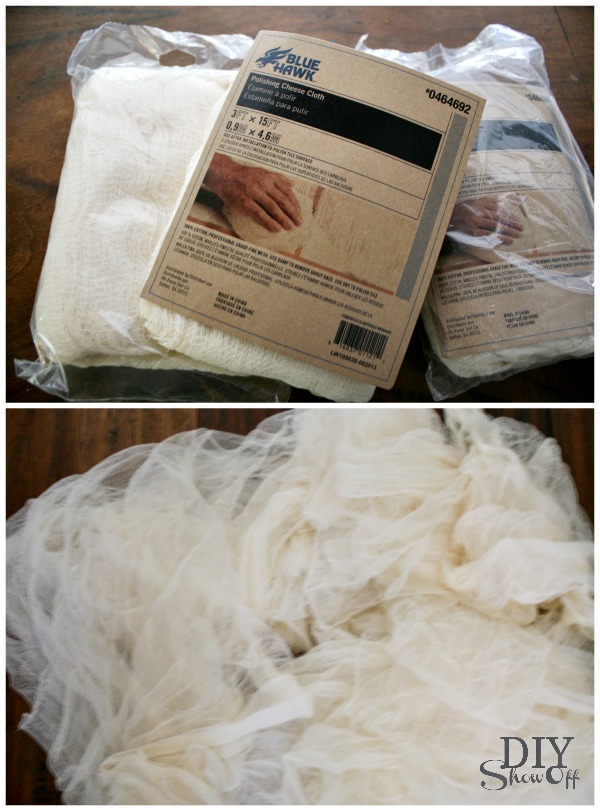
- 3 packages of BlueHawk cheesecloth 3ft x 15 ft. (4 packages may have be better). This was located in the paint department.
- chicken wire
- spray adhesive
- wire
- 1 faux skull
- 1 cup hook
- fishing line
- S-hook (for hanging)
Tools:
- wire cutters
- drill will very small drill bit
Tutorial:
Open the cheesecloth packages. Unravel and unfold cheesecloth.
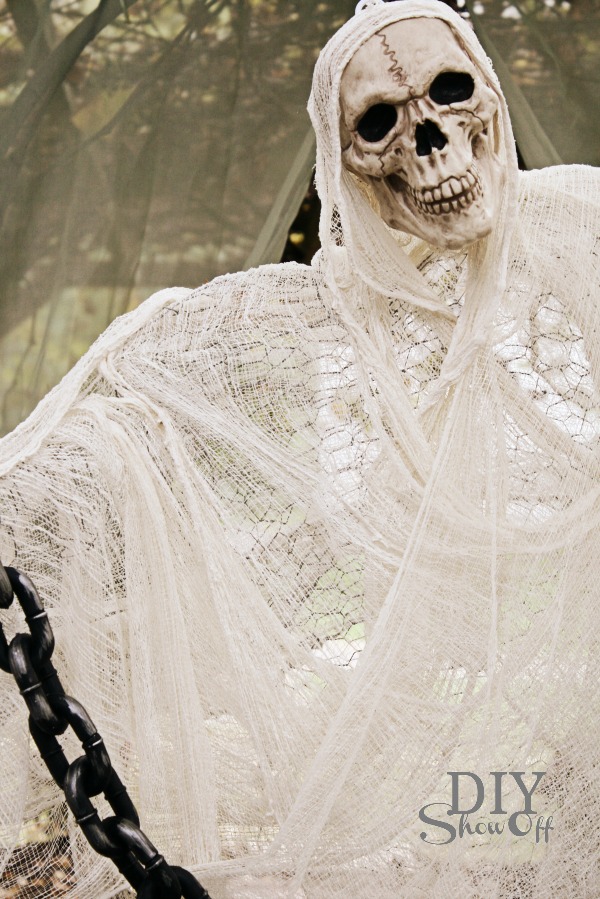
Spray the top of the skull with spray adhesive. Wait a few seconds/fan with your hand a few times. Attach one strip of the center of the cheesecloth to create a “hood” around the skull. Let dry.
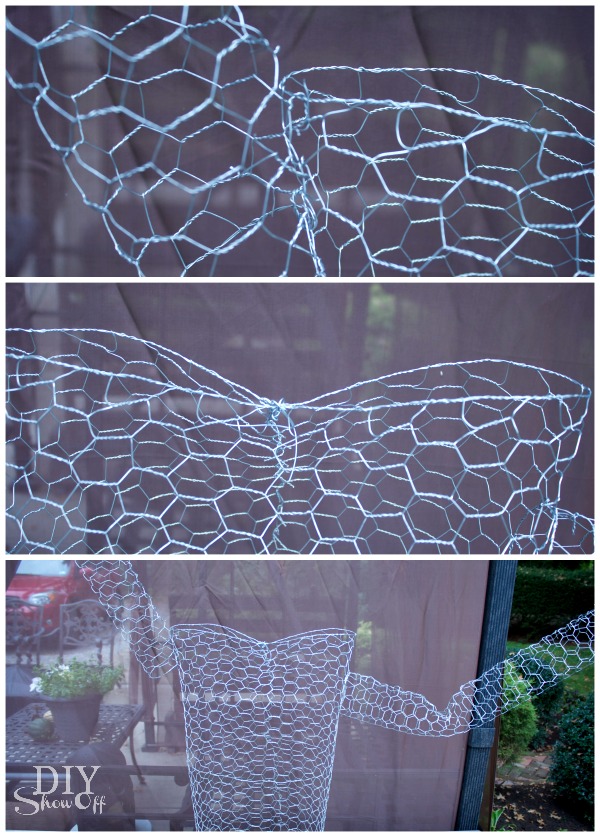
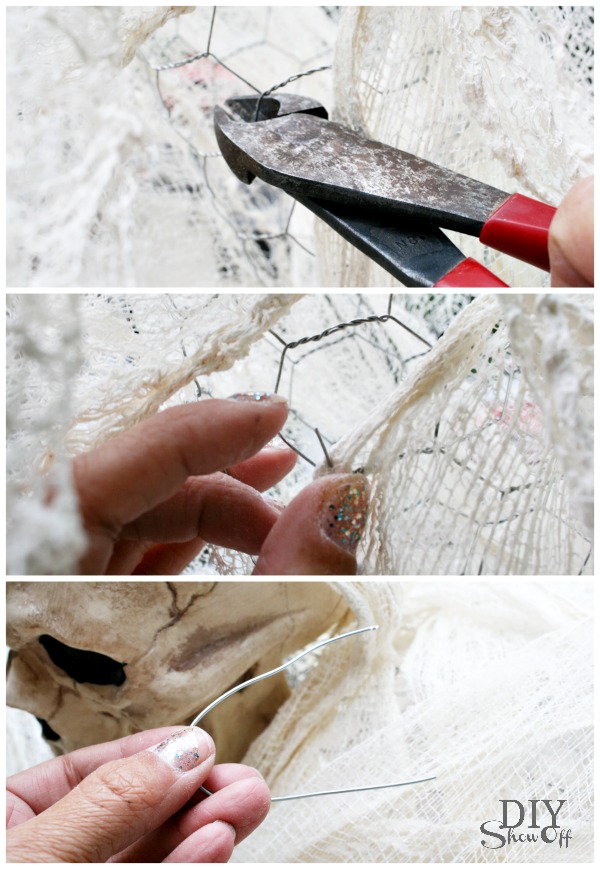
Using wire cutters, cut the chicken wire to create a torso and arms. I attached the arms using the cut side pieces of my strip of chicken wire along with extra wire.
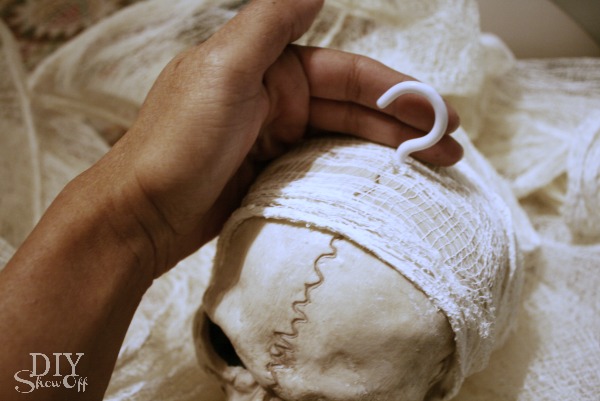
When skull/cheesecloth glue is dry, using a drill bit smaller than the cup hook screw, drill a small hole into the top of the skull, towards the back. Too far towards the front of the skull will have it looking up, more towards the back, the skull will look down when hanging. Screw in the cup hook. (Add a dab of Gorilla Glue if needed and then screw in the cup hook.)
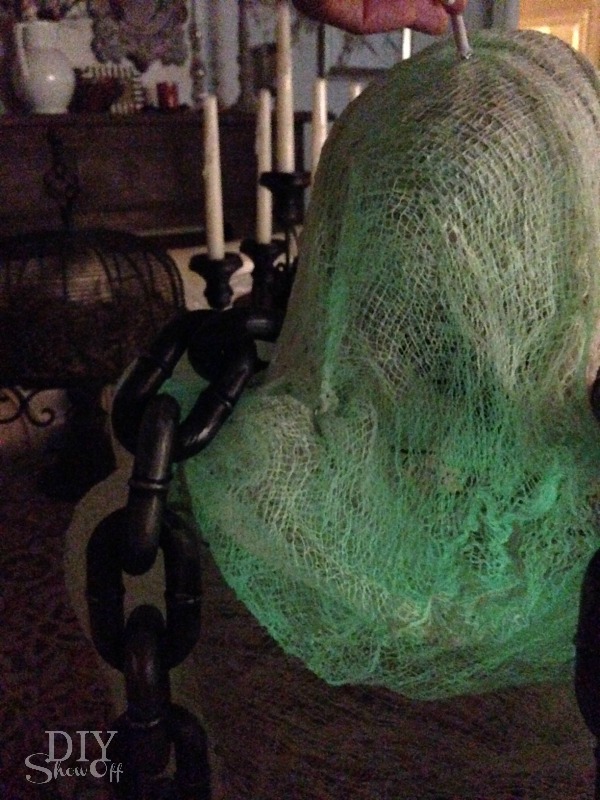
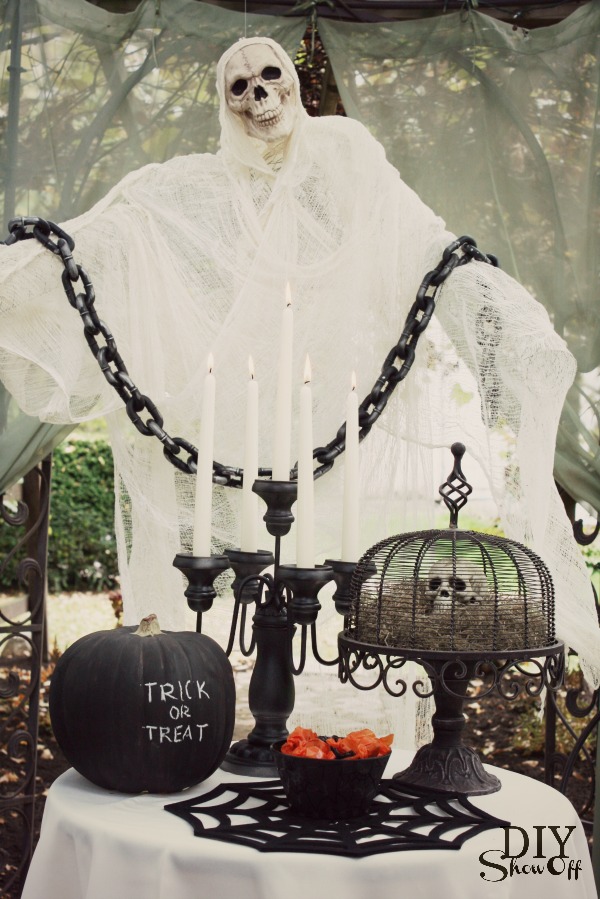
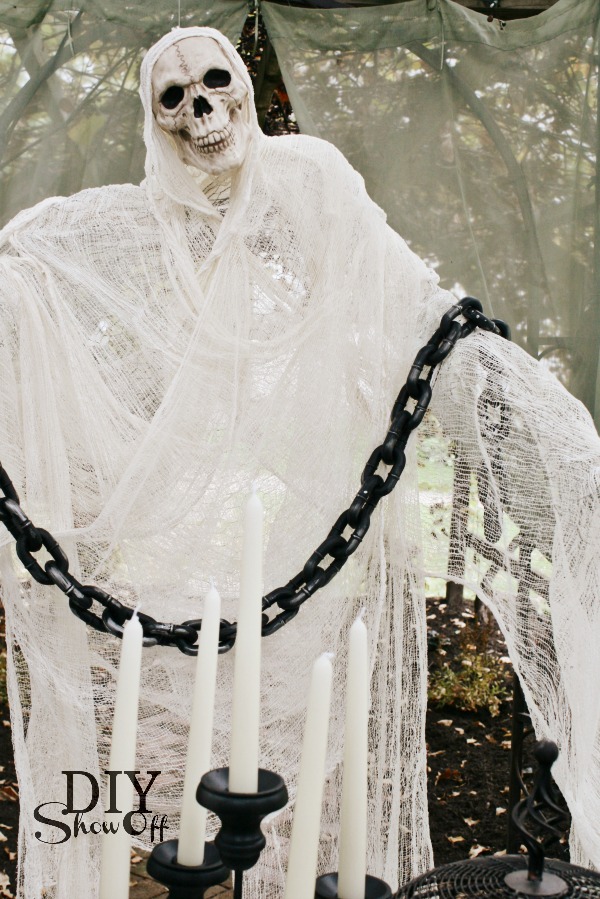
Place the skull onto the chicken wire torso. I used small cut pieces of wire through the cheesecloth hood at the base of the skull like a twist-tie , securing/twisting inside of the chicken wire torso frame to secure the skull into place. Drape more cheesecloth over the arms and torso, covering the chicken wire. Use more wire twist-ties where needed to keep cheesecloth in place.
Hang using fishing line and an s-hook. Bend arms and torso if needed after hanging.

Things I attempted, failed and learned. Optional:
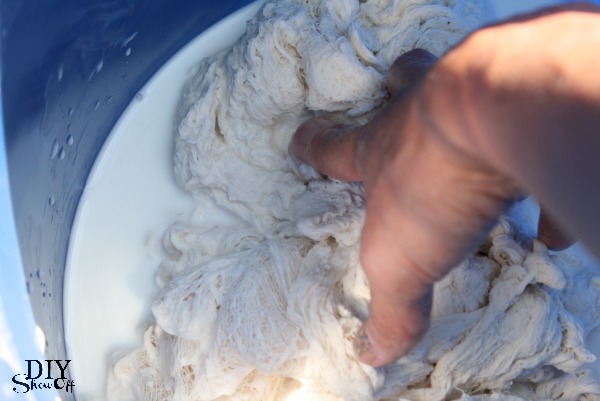
- You can search Google for starch ghost recipes for success in making smaller ghosts. I used 1 1/2 containers of cornstarch and 6 cups of water which did not hold my extra large ghost’s shape when dry. I think less water and making more of a wet paste would have maybe had better results. However, I still would NOT use the starch method if you plan to hang your ghost outdoors. Water (rain/dew/frost) will deactivate the starch and your ghost will lose it’s shape. That’s why the chicken wire frame is a better option. There’s less room for failure. Mistake: starch is too watery and not a good option for an outdoor ghost.


This looks awesome! Love the cheesecloth idea! Very scary and of course intimidating in size:) bet the neighbors were wondering what was brewing over there! Lol!
Laura
House Envy
I really love your scary ghost. But alas, sounds too expensive for me. I sure would love to have him my front yard……
Depending what you have on hand at home, I think compared to a large-sized store bought Halloween decoration, he’s decently priced. Chicken wire is under $10, cheesecloth about $4/each. Faux skulls under $5. 🙂
How spookily cool is that!?! I love it- and I love all the work you went to for all of us…and your neighbors!;>) Great tips, too. Have a wonderful day- xo Diana
This is the coolest tutorial I’ve ever seen! Seriously, this is amazing. Well done you doesn’t quite sum this up appropriately.
http://jax-and-jewels.blogspot.com
Holy wow! Just amazing…I’m a little scared too 😉 You are so creative!
Very eerie! I love a touch of spooky in Autumn decorating…nicely done!
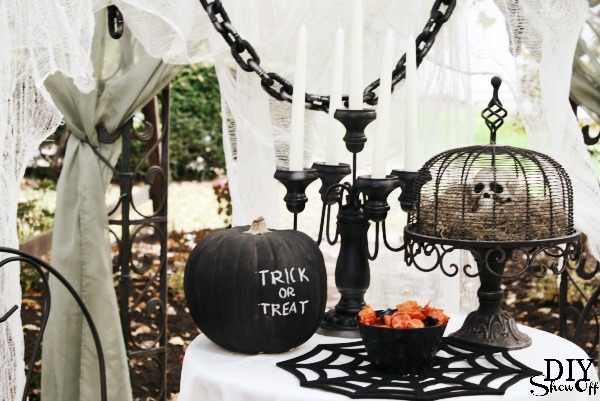
I absolutely love this post! Its great to see what also didn’t work for you 🙂 I was curious about the skull in the cage on the table though- did you make this or get really lucky in the shops? It is incredible!
Thanks, Cherie! It’s a cake plate (a few years old so I don’t remember where I bought it), Spanish moss and a little skull. lol I use it every year.
Cherie – just found a site that sells that cake plate: http://www.amazon.com/gp/offer-listing/B005VRNVTE/ref=as_li_qf_sp_asin_tl?ie=UTF8&camp=1789&creative=9325&creativeASIN=B005VRNVTE&linkCode=am2&tag=th061-20
Awesome!
That is truly creepy! Nice job!
This is great! I’m also loving the (what I think is a) cake platter on the table scape. Where did you get that? It’s perfect! Everything looks spookily wonderful!
Thanks, Rebecca! Yes, it’s a cake plate with a cover. I don’t remember where I got it. It’s been years! But I did find it here: http://www.amazon.com/gp/offer-listing/B005VRNVTE/ref=as_li_qf_sp_asin_tl?ie=UTF8&camp=1789&creative=9325&creativeASIN=B005VRNVTE&linkCode=am2&tag=th061-20
You rock! Thanks so much!
That came out so fantastic!!! So loving this 🙂 makes me miss when I used to creepify my house for halloween!!
Uaaaauuuuu que pasada!!! Me encanta!!
Confeti en los bolsillos
Despite not loving scary…and all the trial and error, the final result is spooktacular! So, if he won’t be gracing your hallowed halls this year , what will you do with him?
Thanks, Christine! Oh, he’s displayed…under the grape arbor. He’s sort of growing on me. 😉
So cool. I’m big on Halloween to so I have to say that I love this 🙂
Woah, that ghost is way too cool!! Pinning!!
This is awesome! My boys would love this!!!!
Pingback: Link Round-up: DIYs, a Dog Bed, Fall Recipes, and More | Smart Mom Style
Oh my, how scary and fun!! Our boys would LOVE this. Thanks for all the great tips too! Pinning! xo
This is so fun!! Thanks for letting us know what worked and what didn’t…I’m always a creature of trial and error, too!
Oh you make me laugh! You are scared of your own creation ha ha…it’s absolutely spooktabulous! I LOVE spooky Halloween. I don’t try many projects I pin, but I think I’m actually going to give this a go…hope it turns out as awesome as yours!
Pingback: DIY Ghost Tutorials (Handmade Halloween Crafts) - Craftionary
Pingback: Inspiration for Making Your Home Boooootiful for Halloween! | Stanley Martin Homes
Pingback: 8 Spooky Haunted House Ideas