Add a Pop of Color to Your Decor (step stool makeover)

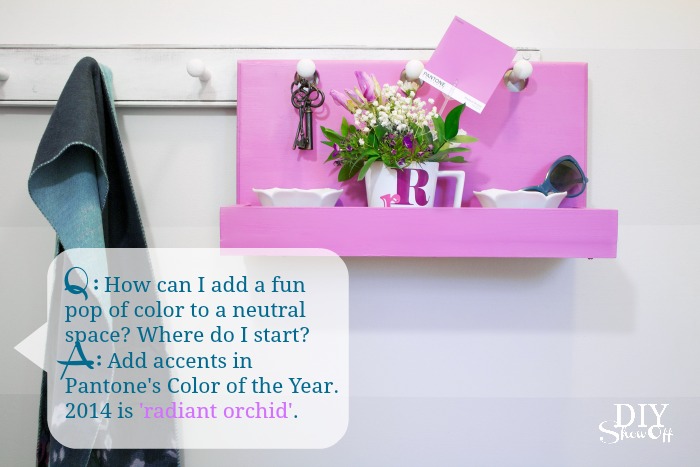
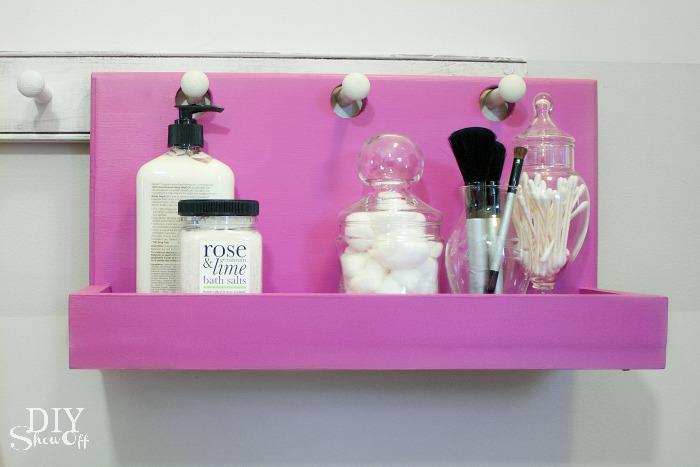
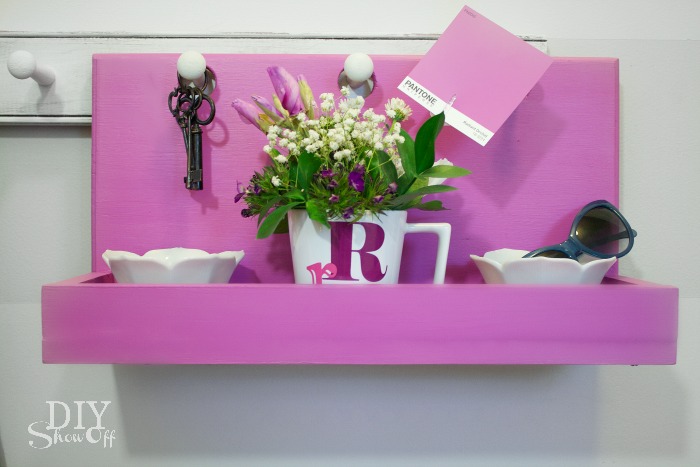
The Lowe’s Creative Ideas challenge for May is Pop of Color. We’ve been working on a laundry room makeover (still in progress) and while my goal is to keep the walls and fixtures neutral, I wanted to introduce fun pops of color in small amounts with accessories that I could easily swap out when the mood (often) strikes. Spray paint is a great way to update old pieces to add a pop of color to your existing decor. 

do-it-yourself laundry pedestals

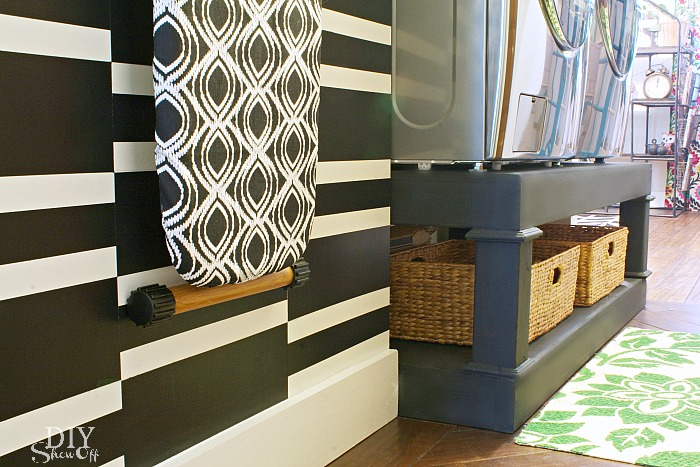
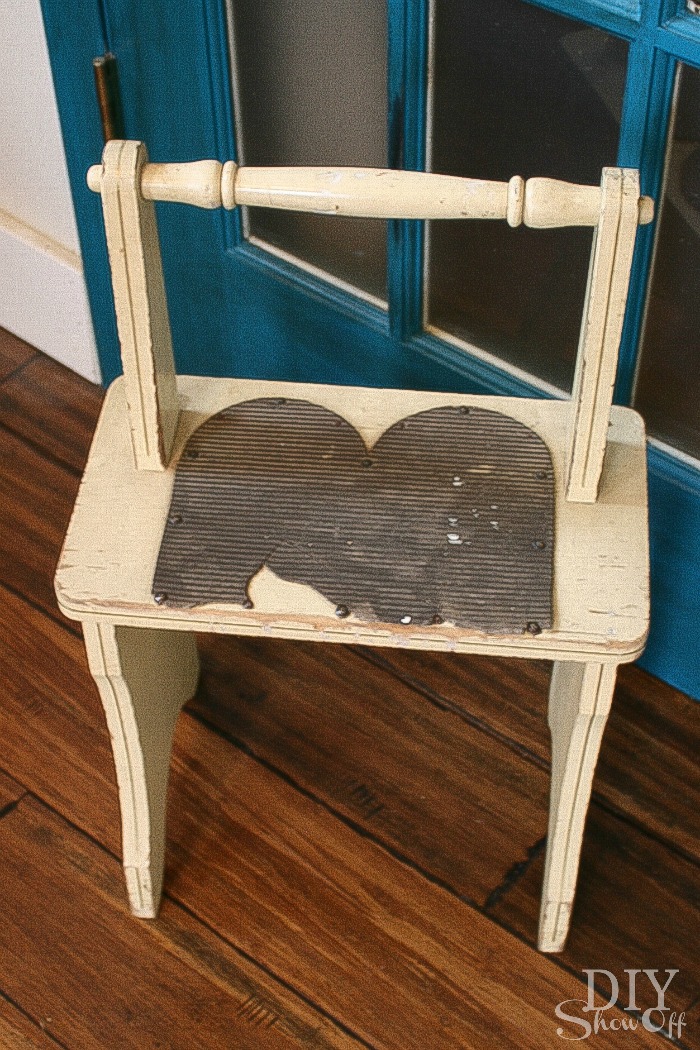
With the washer and dryer on a DIY pedestal, adding a step stool to the laundry room was necessary and this $10 vintage step stool was a great estate sale find…don’t you love the wooden carrying handle? Sweet!

step stool before

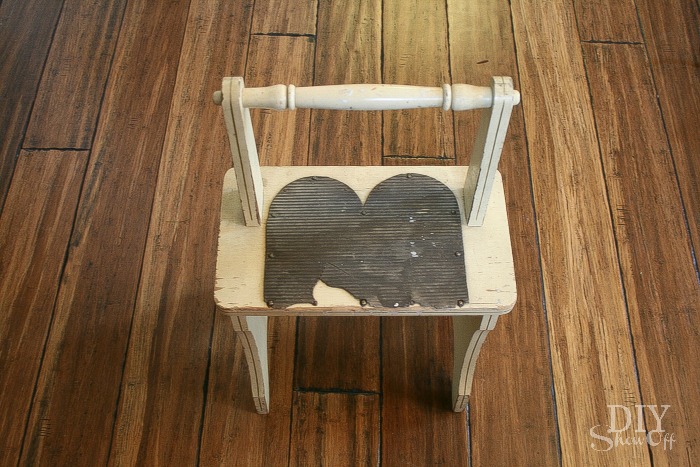
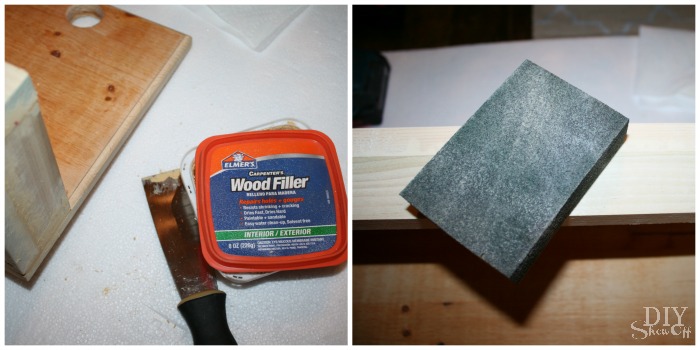
…it just needed a little DIY TLC. 

vintage step stool makeover at diyshowoff.com

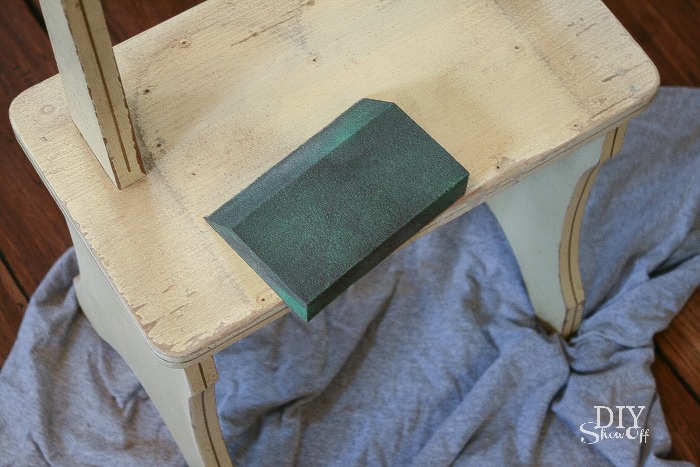
I carefully removed the old tread and used it as a pattern for a newer piece (rubber stair tread available at Lowe’s) since I wanted the stool to have the same original look (only not quite so worn, chipped and peeling). 

replacing step stool tread

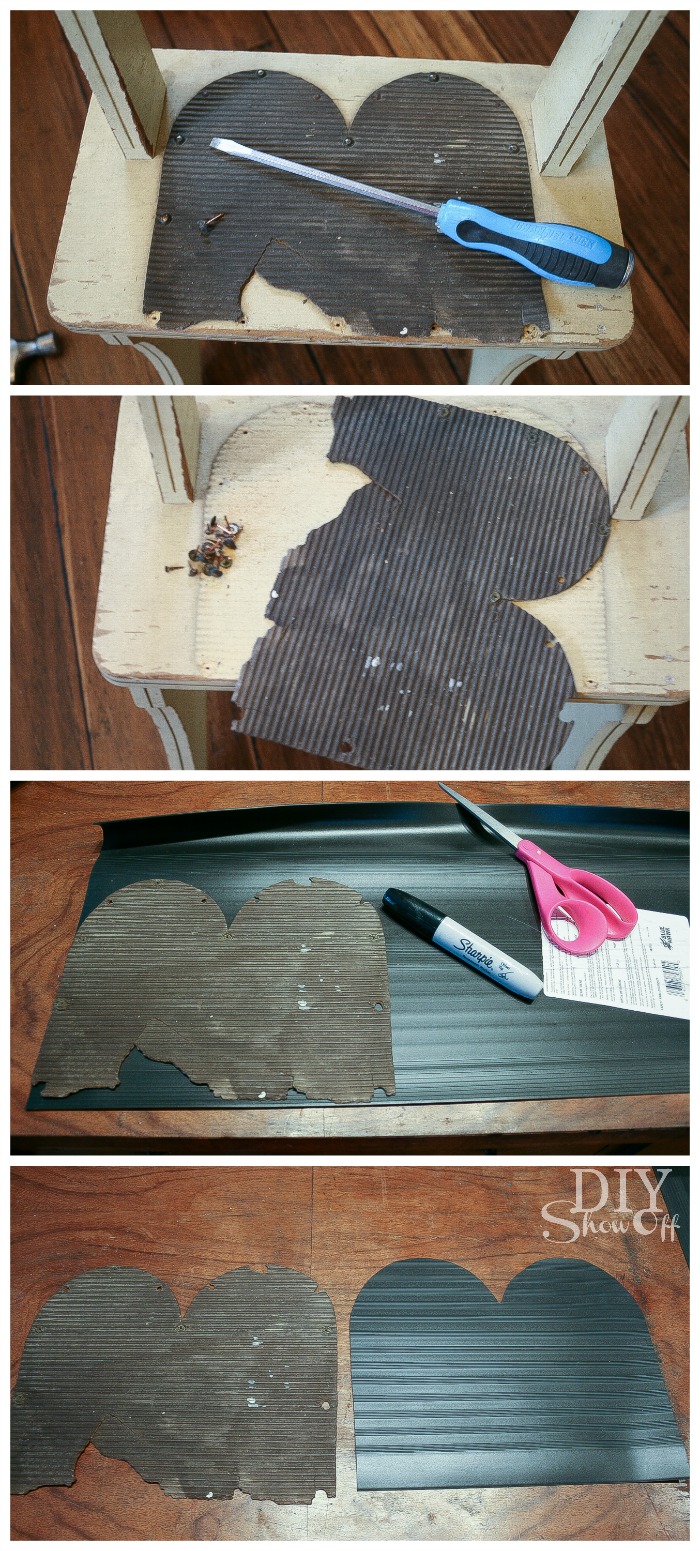
Next I gave the stool a light sanding and wiped it clean. 

vintage step stool makeover at diyshowoff.com

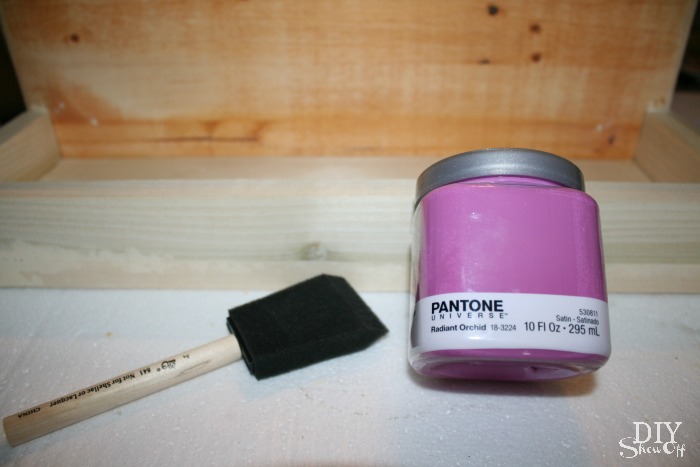
The color I chose is Valspar’s Paint + Primer spray paint (Luscious Green). I applied one coat, let it dry then sprayed another. 

DIYShowOff before and after step stool

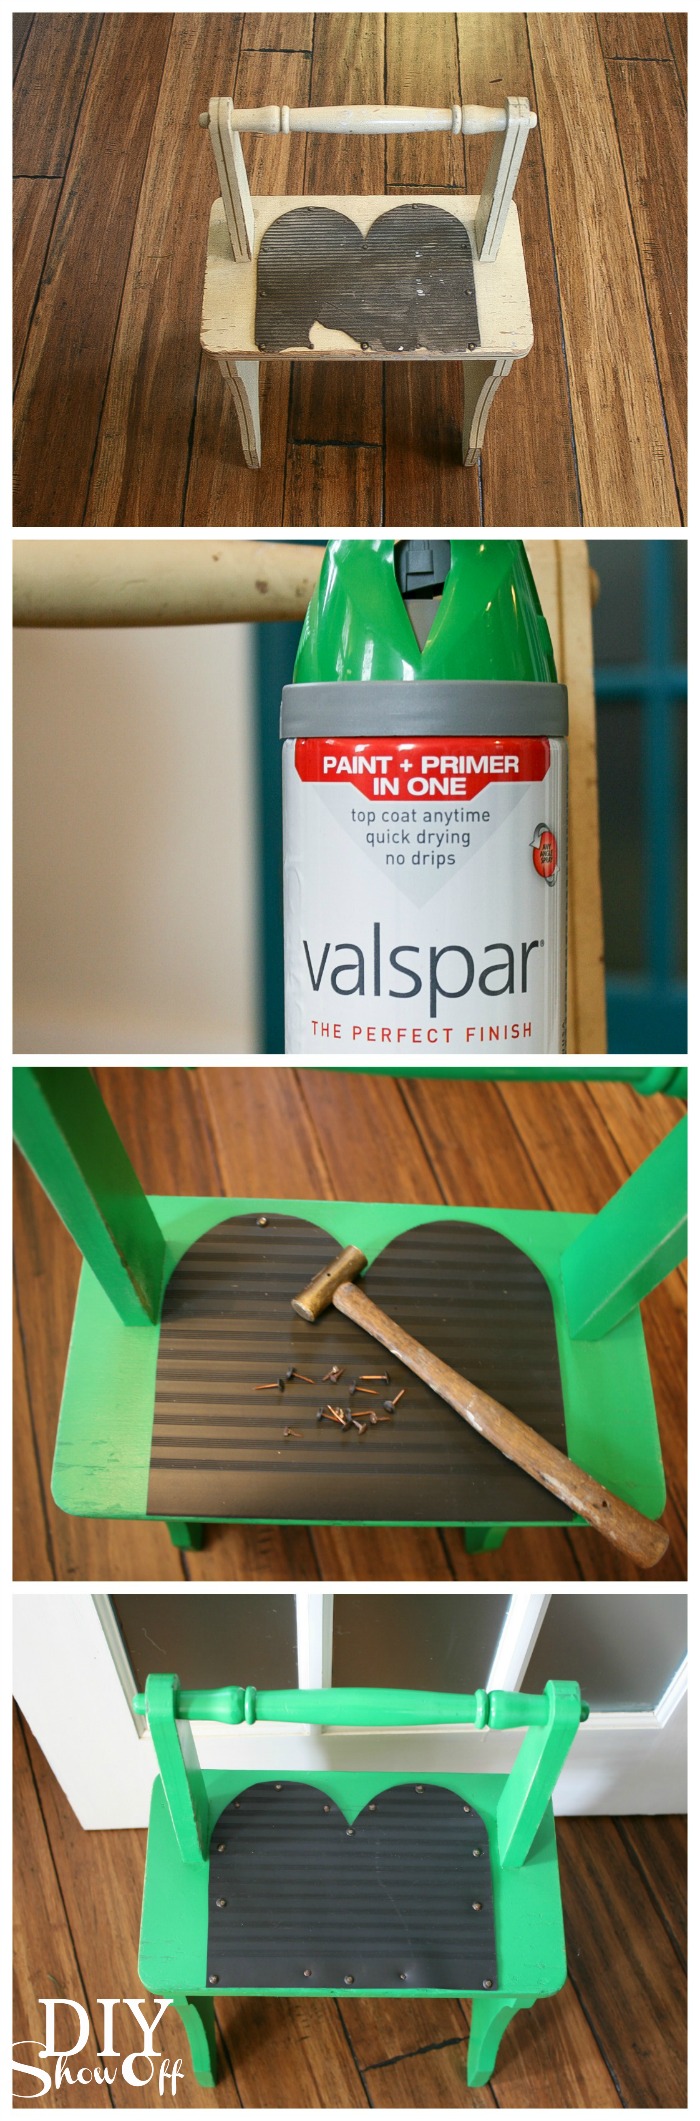
I re-used the old tacks to attach the new piece of tread.

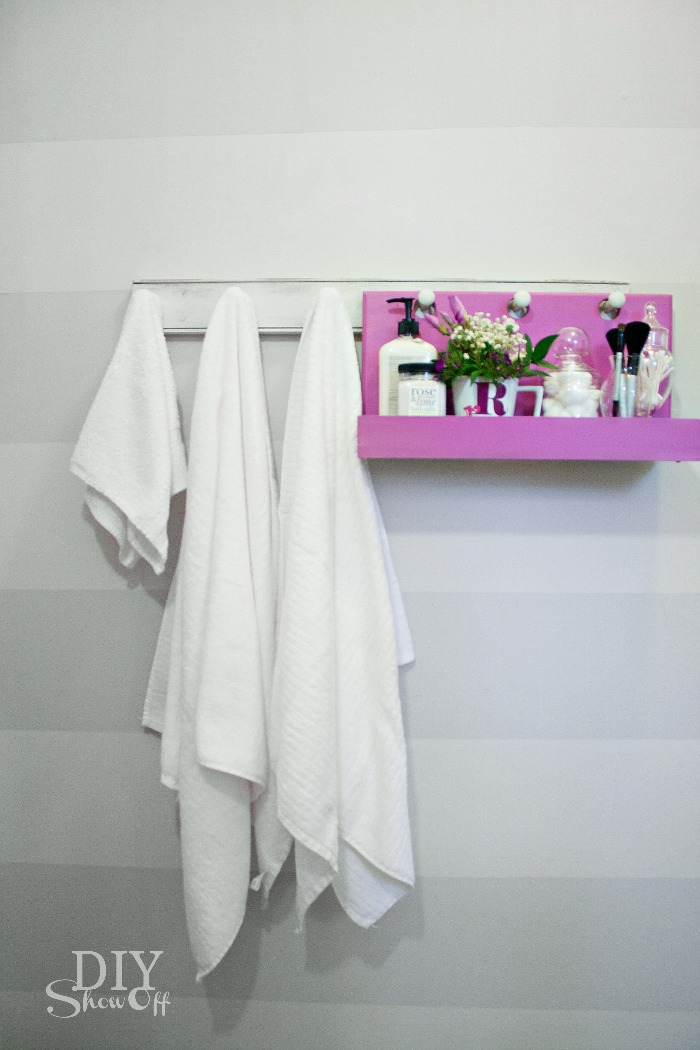
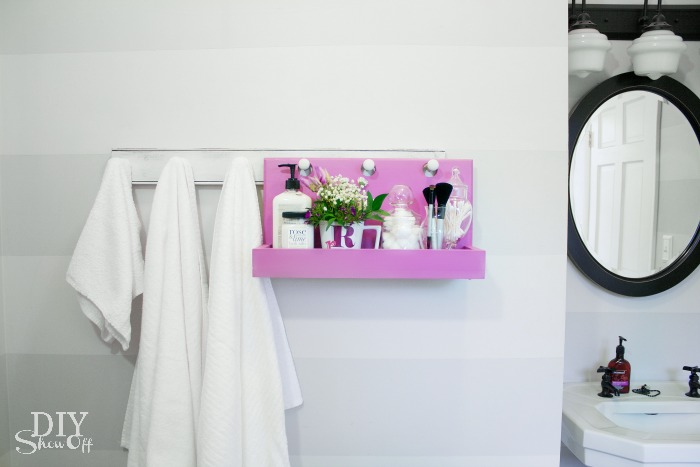
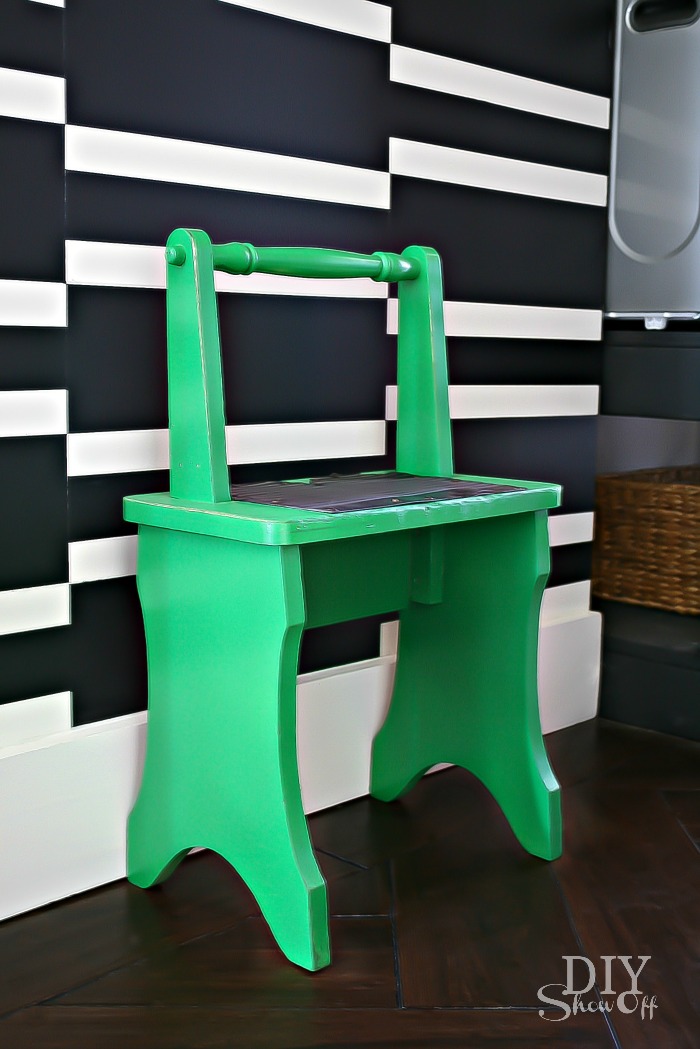
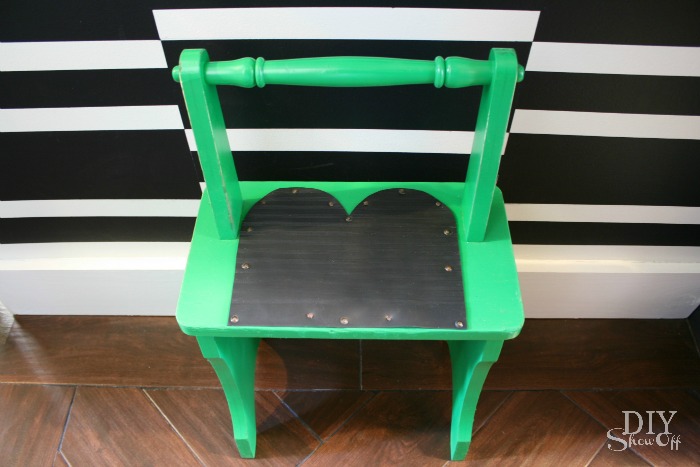
And it’s as good as new and adds an awesome pop of color to our laundry room. 

DIY Show Off step stool makeover

Before…

step stool before

After…

vintage step stool makeover at diyshowoff.com

More DIY ideas at Lowe’s Creative Ideas, follow Lowe’s on InstagramPinterest and sign up for the Creative Ideas magazine and app!   

LCI Spring

*Disclaimer: As a member of the Lowe’s Creative Ideas Creators and Influencers network, I received a Lowe’s gift card to complete this challenge. As always, all ideas and opinions are in my own words. The blog post above is what worked for me. Results may vary. Remember to work in a well-ventilated area and to take the proper safety precautions.

Easy DIY Indoor Outdoor Honeycomb Wall Art

As a member of the Lowe’s Creative Ideas team, I have the opportunity to participate in monthly DIY challenges. One of the themes for April is outdoor wall art. I just happen to have a bare outdoor wall. This easy DIY indoor/outdoor honeycomb wall art project is super easy and perfect for decorating an outdoor wall in our covered party patio area. 

easy DIY hexagon wall art at diyshowoff.com

 Materials I used:

hexagon wall art tutorial at diyshowoff.com

What I did:

I spray painted the pieces of the drawer organizers (not assembled) using Valspar Outdoor Spray Paint. I sprayed one side Peacock Blue and let dry about 6 hours then flipped and sprayed the other side Koi Pond and let dry overnight. 

Once the paint was dry, I assembled my pieces. The honeycomb-shaped organizers simply snap together. No tools required!

easy honeycomb wall art tutorial

Since I have 3 sets, I assembled two sets with closed ends and one with open ends (both options shown on pamphlet with instructions included in the box).

easy DIY hexagon honeycomb wall art

You could even leave them white = the only DIY is snapping them together! I hung mine using Command outdoor light clips. 

Face on: 

Easy DIY hexagonhoneycomb wall art tutorial at diyshowoff.comDIY honeycomb hexagon wall art at diyshowoff.comeasy hexagon wall art at diyshowoff.com

From the side:

honeycomb wall art tutorial at diyshowoff.comDIY honeycomb wall art at diyshowoff.comhex wall art at diyshowoff.com

From above: 

DIY hexagon wall art tutorial at diyshowoff.com

They’re very light weight so not ideal for displaying heavy items but a great way to add color, dimension and interest to an otherwise plain outdoor or even indoor wall. I tucked in a few succulents for now.

outdoor hexagon patio wall art at diyshowoff.com

My covered patio area still hasn’t been cleaned up for summer. I just grabbed some accessories for photo-staging. Pardon the leaves and dirt!

outdoor honeycomb patio wall art at diyshowoff.com

The outdoor hexagon/honeycomb wall art is going to look great on that back wall when the patio is cleaned up. See the patio when it IS ready for summer lounging and entertaining here.

barn patio makeover

LCI Spring

I received a Lowe’s gift card to complete this challenge. Opinion and above idea is 100% my own. More DIY ideas at Lowe’s Creative Ideas, follow Lowe’s on InstagramPinterest and sign up for the Creative Ideas magazine and app!  

More of my Lowe’s Creative Ideas challenges:

DIY hanging organizer - Pantone radiant orchidDIY Chalk Finish Paint Recipepipe shelving how toDIY foldable luggage rack tutorial DIYShowOfftire flower planter tutorial at DIYShowOffLCR dice game tutorial

DIY Hanging Organizer (for peg hooks)

How do you add a fun pop of color to an otherwise neutral room? Try Pantone’s Color of the Year for something you may not normally choose. The Lowe’s Creative Idea March challenge was to use Valspar’s Radiant Orchid. Just a small touch adds elegance to my white and gray space. 

Pantone Color of the Year Radiant Orchid

Inspired by PB’s Gabrielle system, I created a wooden peg hook organizing caddy from scrap wood. 

DIY Hanging Organizer Tutorial

Materials I used: Most of my wood was purchased at Lowe’s and is left over from previous projects with the exception of the .50 yard sale find piece shown below. Adjust measurements according to your own needs or scrap wood measurements. Inexpensive pine works well for this project.

  • 1″ x 10″ x 18 1/2″ (back)
  • 1″ x 6″ x 18 1/2″ (bottom)
  • 1″ x 2″ x 4″ (sides)
  • 1″ x 2″ x 18 1/2″ (front)
  • 1″ deep (or however thick your peg hook rack is)  x 1″ tall  x 6″ wide (back stop piece)
  • Gorilla Wood Glue
  • 1 1/2″ wood screws
  • Wood filler
  • Valspar Radiant Orchid 

What I did:

Mark the center top of the back piece of wood. Hold up to a peg on your coat rack, lining the center with the center of a peg. On the wood, mark the center of each peg placement.

DIY peg hook caddy tutorial

Decide which hole saw bit is just a little bigger than the pegs. 

DIY peg hook caddy tutorial

You’ll want your holes to be near the top end. I used a ruler to measure down about 2″ from the top and a level to make a cross mark to show the center of each hole. Drill tiny pilot holes where the pencil marks meet.

DIY peg hook caddy tutorial

Attach the hole saw bit to your drill and using the pilot hole as a guide for the center drill bit, drill/cut holes. I think our hole saw bit is a little dull so the back side of my wood is splintered. (Thankfully no one will see that side!)

DIY peg hook caddy tutorial

Sand and wipe clean all wood pieces. Hang on pegs to ensure holes line up.

DIY peg hook caddy tutorial

Using wood glue, wood screws and clamps, assemble your caddy and let dry. I attached my screws from the bottom and back so they weren’t seen but you could also countersink screws, fill and sand.

DIY peg hook caddy tutorial

I thought that was it for the construction until I tested it hanging on my peg hooks. Oops, front heavy. Using just wood glue and a clamp, I attached the back stop piece to the center bottom of the back. This ensures that the caddy will hang level.

DIY peg hook caddy tutorial

Using wood filler, fill all seams and cracks. Let dry, sand smooth and wipe clean. 

DIY peg hook caddy tutorial

Paint the entire wood caddy. Mine took two coats. Radiant Orchid wouldn’t have been my first choice but it’s growing on me and it’s nice to do something bold and fun for a change. I love the Valspar sample size paint…more than enough and perfect for adding colorful accents. Down the road all it takes is a new coat of a different color to re-freshen things up. 

DIY peg hook caddy tutorial


Now I have a shelf/tray for decorative items, toiletries in the bathroom

bathroom organization - DIY peg hook hanging shelf

DIY hanging peg hook organizer

hanging peg hook organizer

bathroom peg hook hanging organizer

Great for keys, wallet, sunglasses, change, cell phone near the door in the mudroom or entryway. 

Peg Hook Hanging DIY Organizer

DIY peg hook mudroom entryway organizing hanging caddy

PB inspired peg hook shelf caddy organizer

My peg hook is located in my bathroom but I’d really love to have something like this near the door as well. How about you? 

More DIY ideas at Lowe’s Creative Ideas, follow Lowe’s on InstagramPinterest and sign up for the Creative Ideas magazine and app!    

LCI

*Disclaimer: As a member of the Lowe’s Creative Ideas Creators and Influencers network, I received a Lowe’s gift card to complete this challenge. As always, all ideas and opinions are in my own words. The blog post above is what worked for me. Results may vary. Remember to work in a well-ventilated area and to take the proper safety precautions.