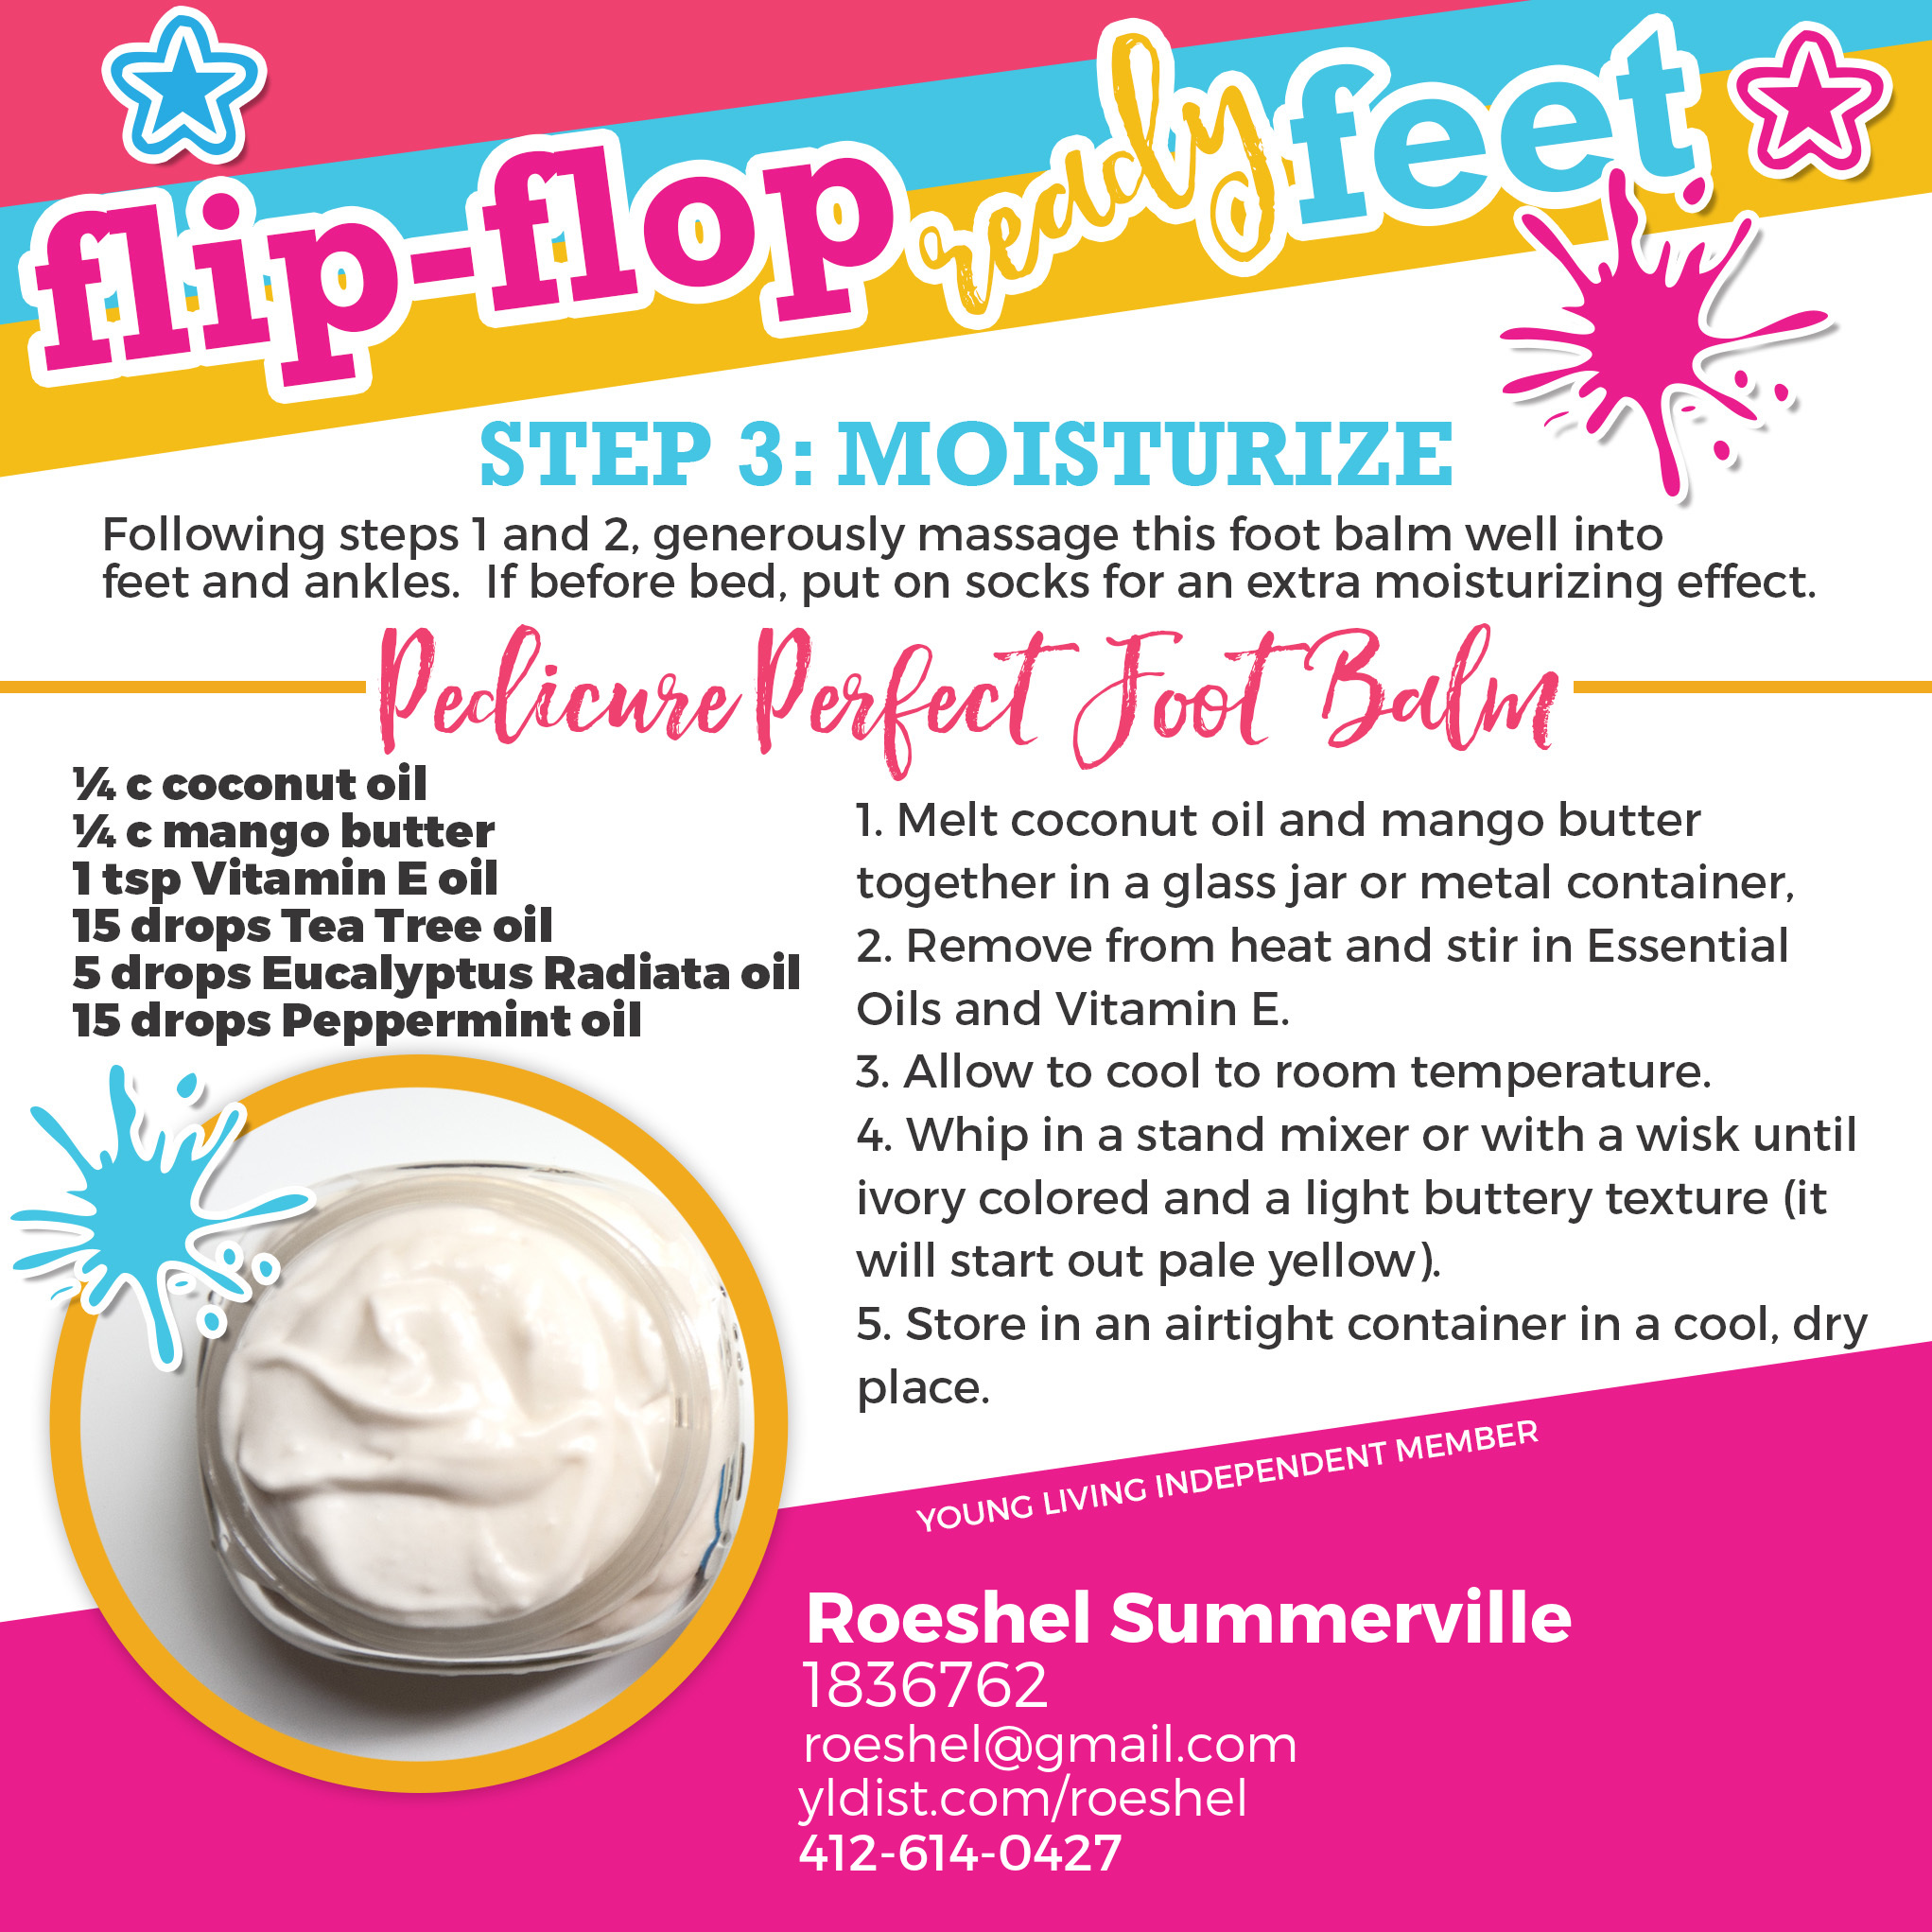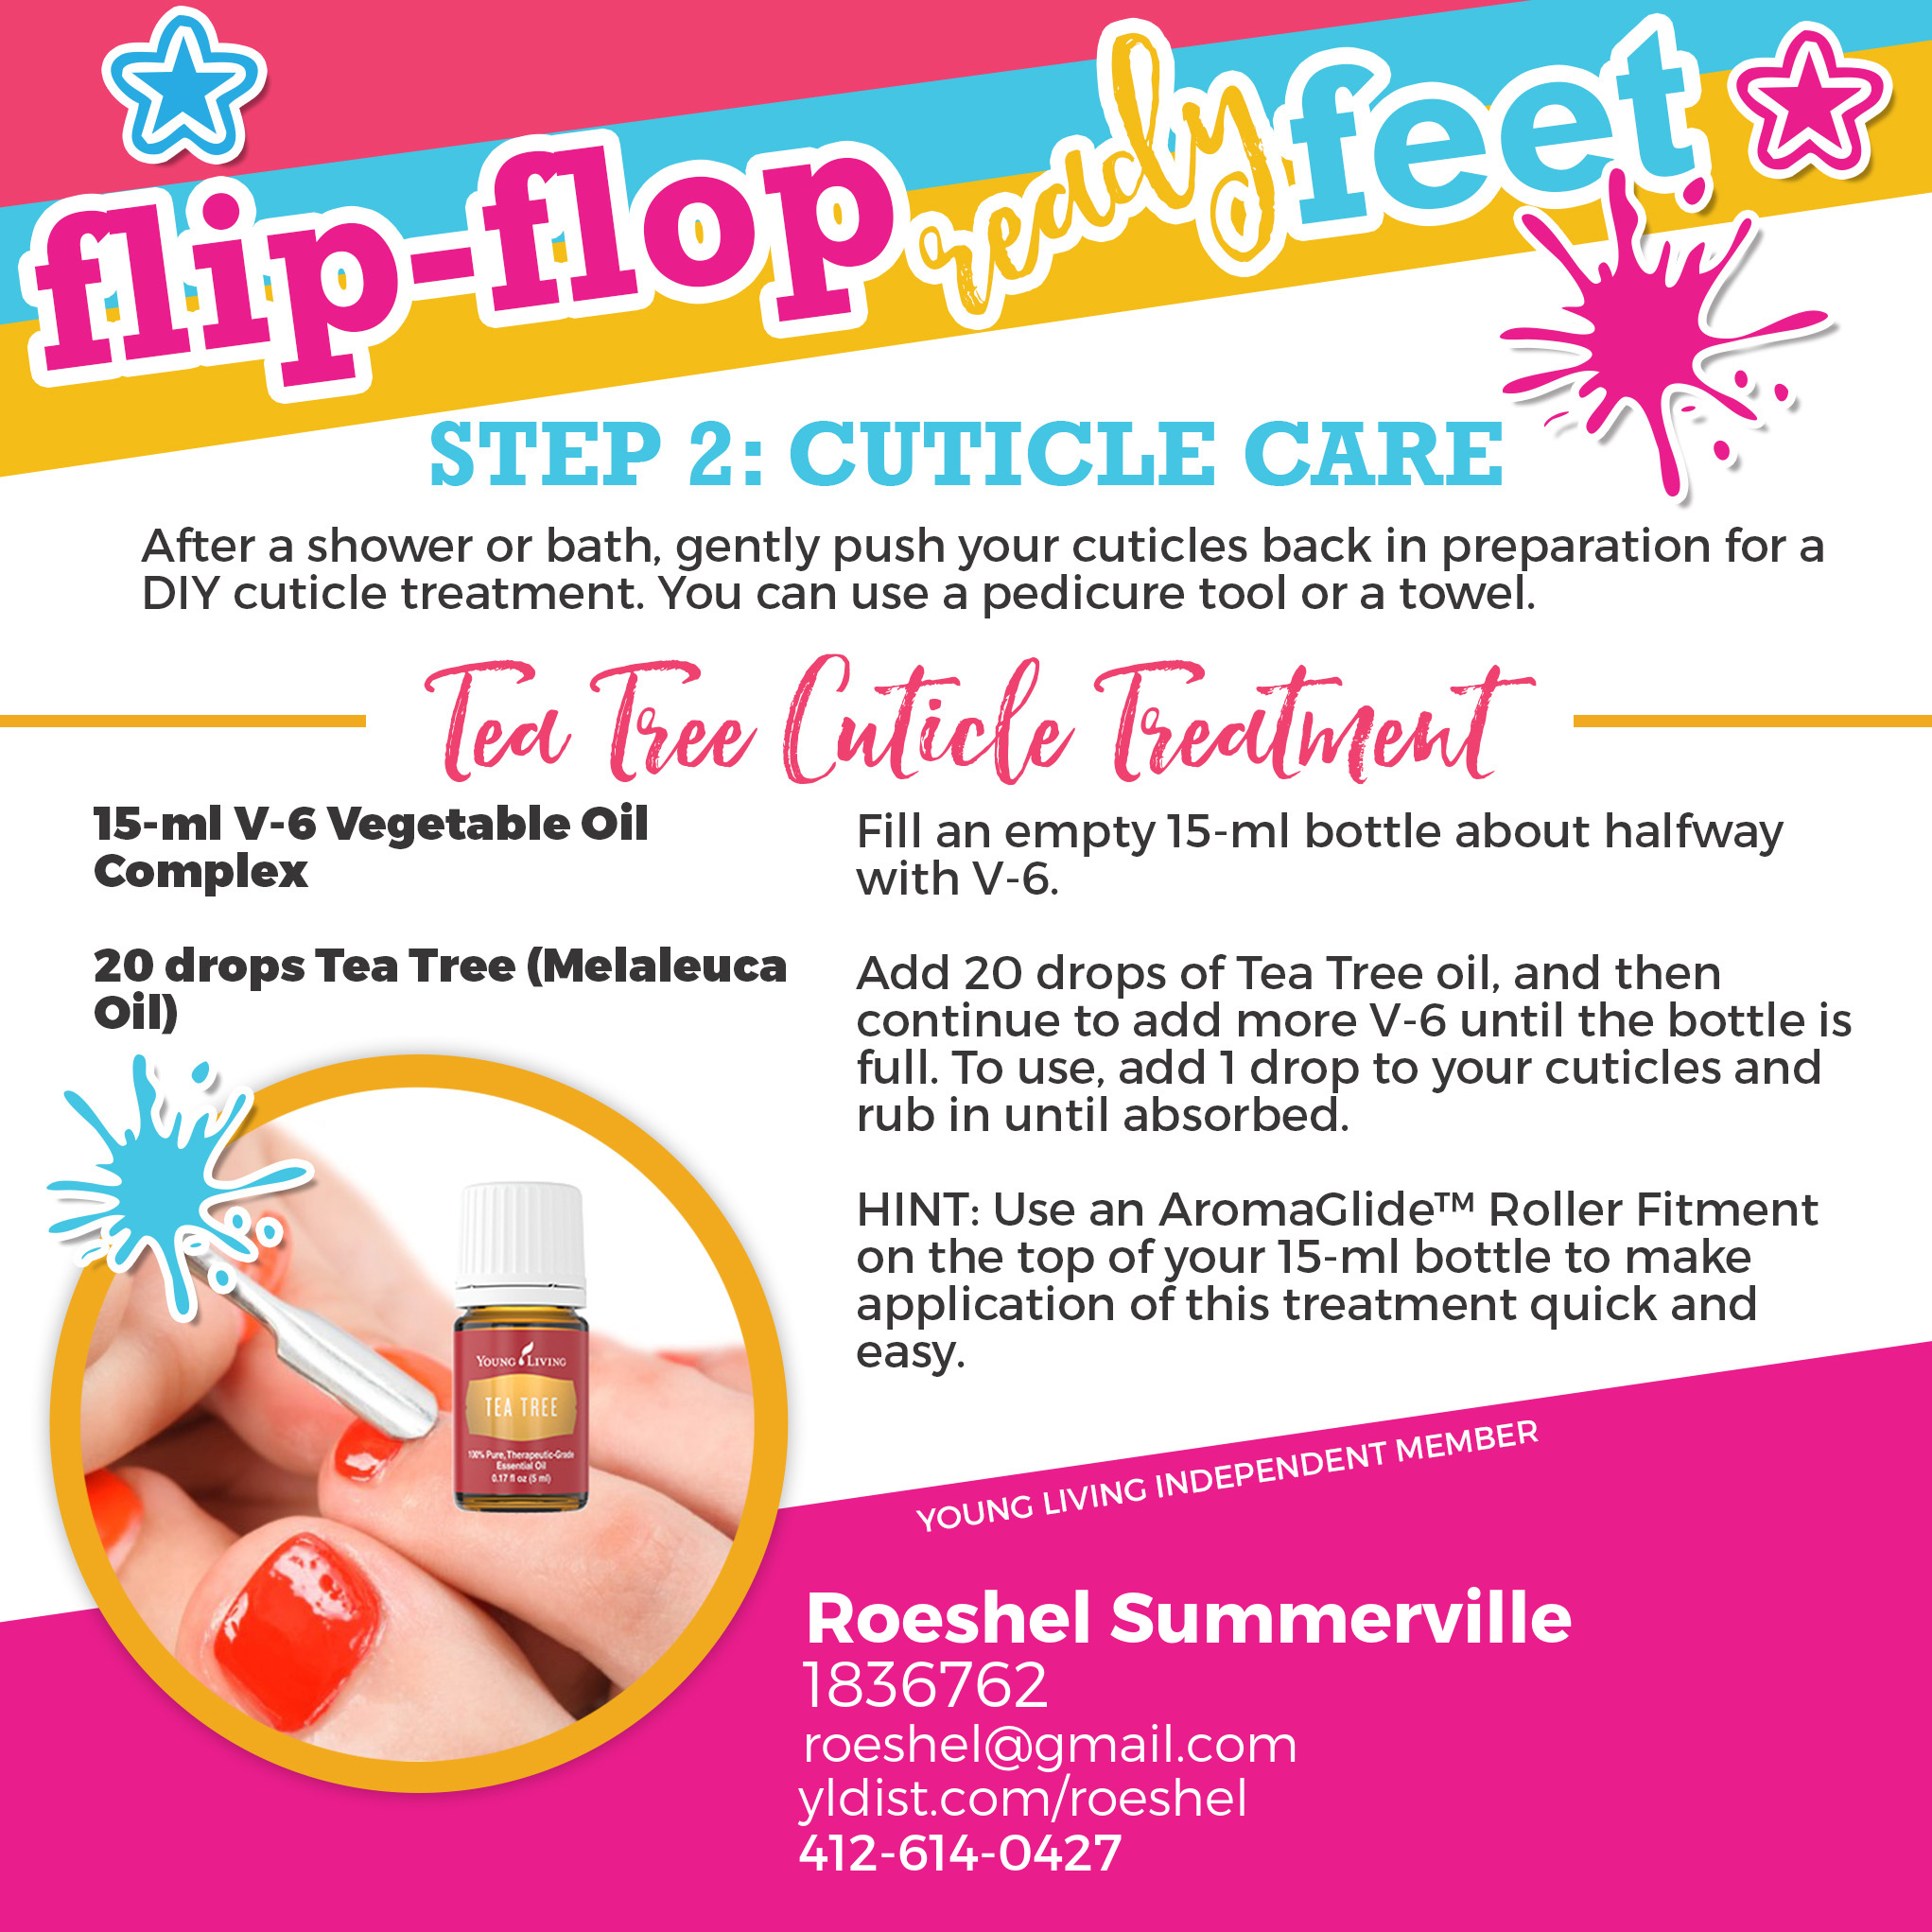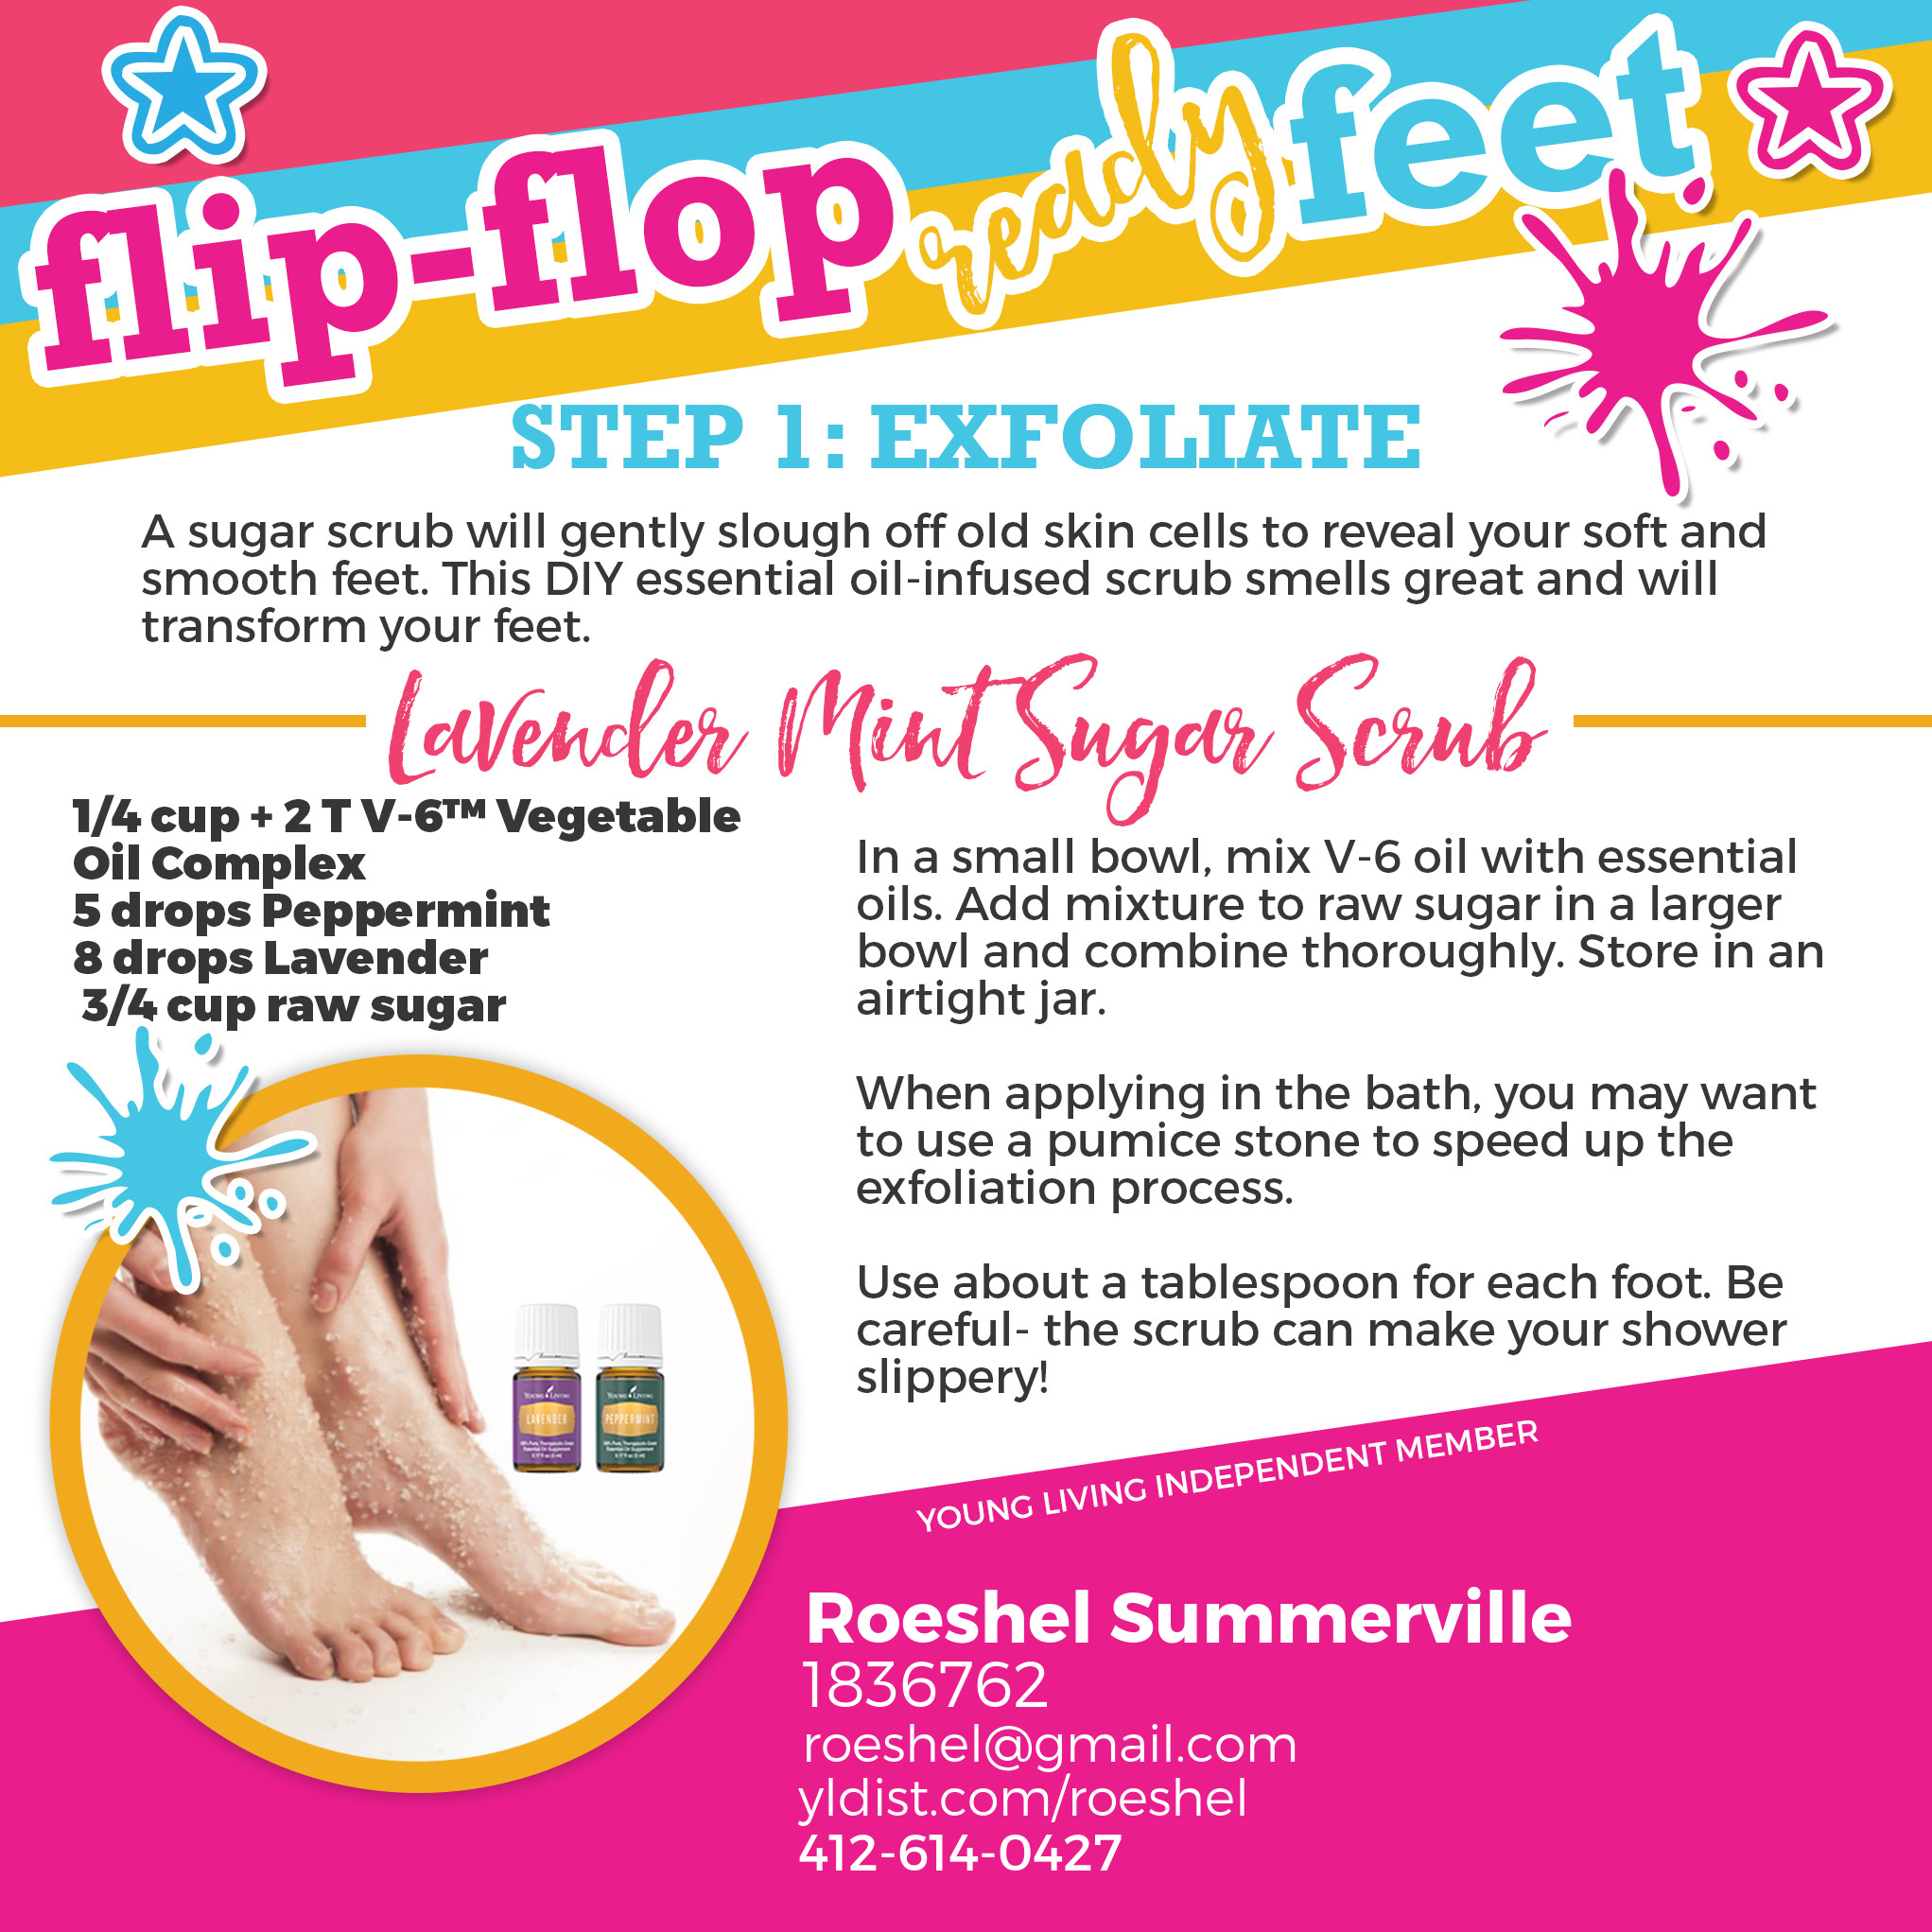
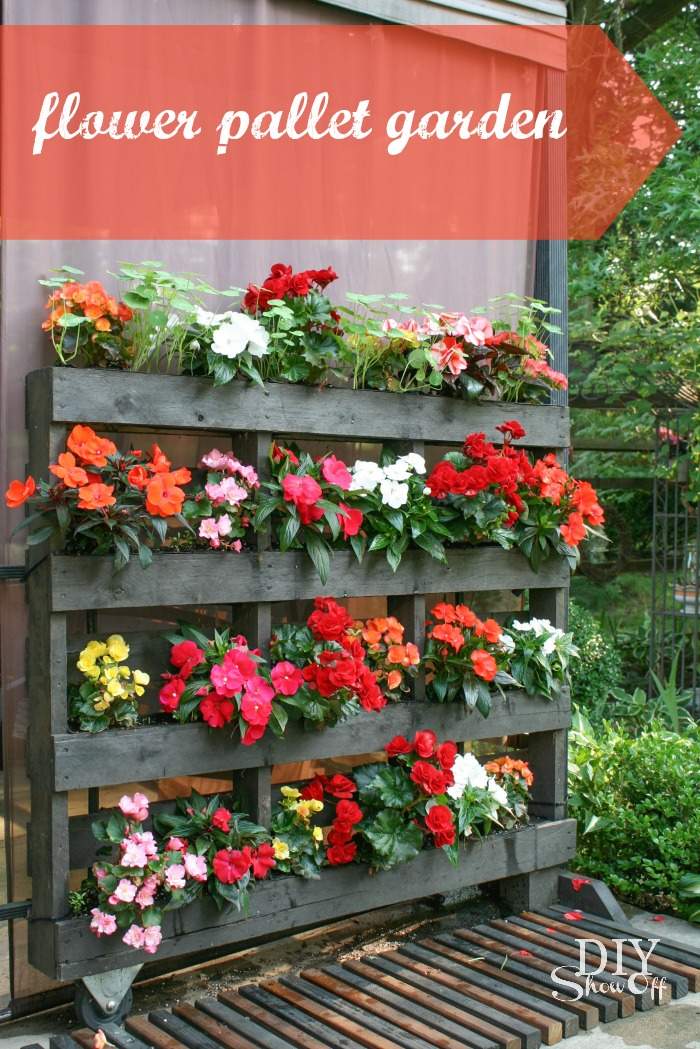
A Quiet Comeback + A Favorite DIY Revisited
There’s something comforting about returning to familiar places. Especially the creative kind and I’ve missed this space. After a little time away from blogging, I’m finding my rhythm again and thought I’d start by dusting off a simple, cheerful project from the archives: a DIY pallet flower planter. It’s a reminder that sometimes beauty blooms best when we revisit what we’ve already begun.
Materials I Used for a DIY Pallet Flower Planter
- 1 kiln-dried pallet (in good condition)
- Scrap wood. Here’s what I grabbed: (1) 1×4 board, (2) 2×4 boards, (1) 4×4 block
- Exterior nails or wood screws
- Wood stain (optional, for color and finish)
- Clear protective topcoat (weather-resistant)
- Heavy-duty staples or staple gun
- Fabric weed barrier or landscape fabric
- Potting soil (suitable for flowers)
- Seasonal flowers of your choice

How to Make a DIY Pallet Flower Planter
Step 1: Choose and Prep Your Pallet
We had plenty of pallets on hand and selected a kiln-dried pallet marked “HT” (heat-treated), which indicates it’s safer for garden use compared to chemically treated wood. We gave it a thorough scrub with bleach and water to clean off any dirt or residue (important if you’re planting anything edible or placing it near your home).
Step 2: Remove Boards to Create Planting Space
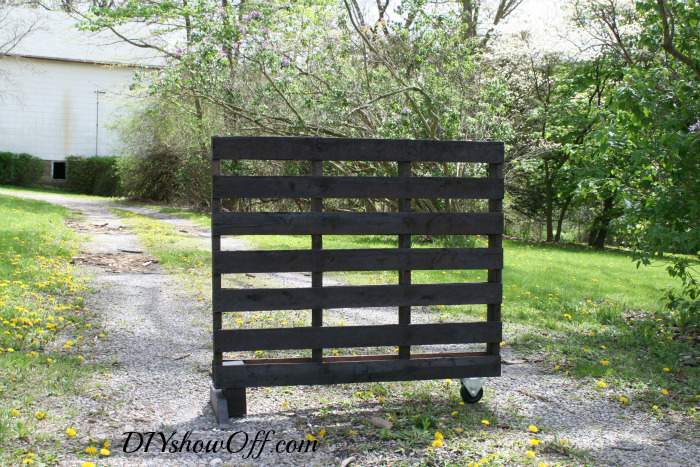
Using a pry bar, we carefully removed three of the horizontal boards from one side of the pallet. This helped open up the structure, creating more vertical room for taller flowers to grow freely.
Step 3: Sand and Prep the Wood
Next, we sanded down all rough edges and splinters using medium-grit sandpaper. I also hammered in any protruding nails to ensure the surface was smooth and safe to work with, especially important for a garden piece that’s often handled.
Step 4: Add Stability and Feet
To give the pallet a flat base, we attached scrap 1×4 boards to the bottom edges of each side, creating a shelf-like structure. This gave us a place to attach “feet” made from more scrap wood. We experimented with adding a caster to one side for mobility, but when that didn’t work as well as we hoped, we opted to secure the pallet to the side of our patio swing instead. You could also anchor yours to a deck railing or set it securely into the ground.
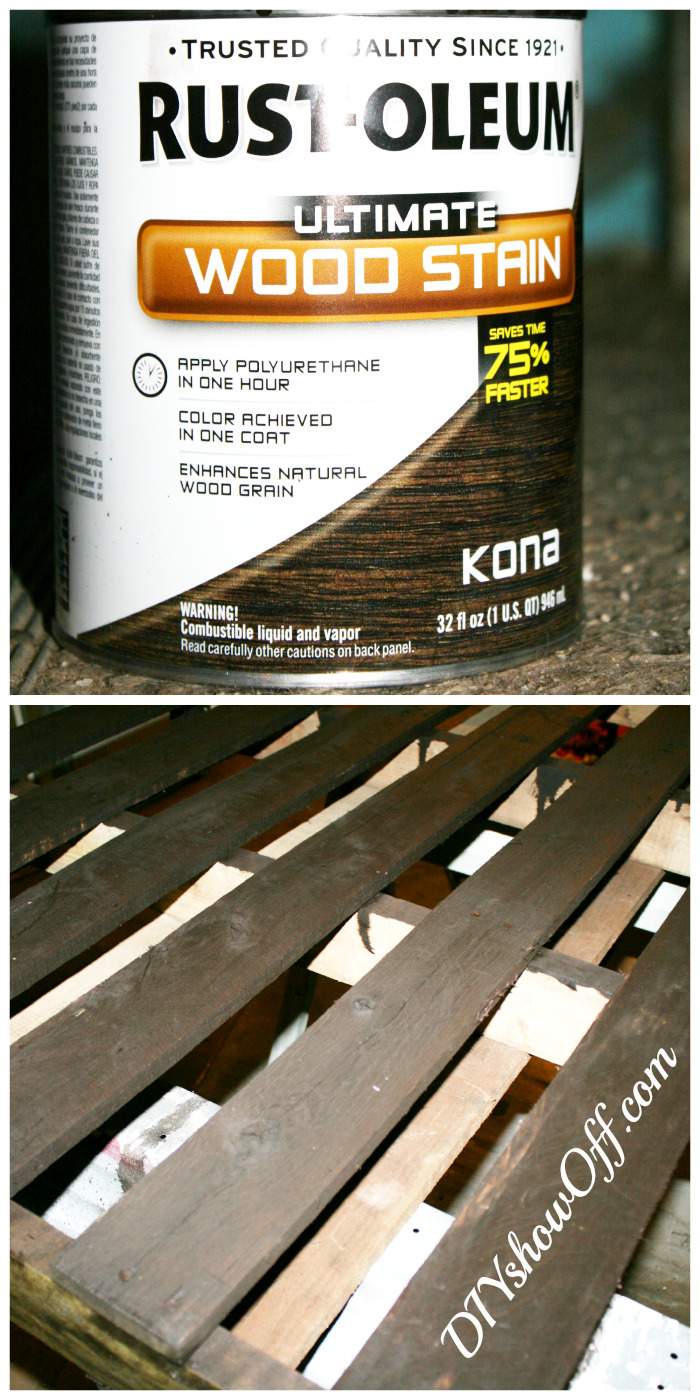
Step 5: Stain and Seal the Wood
I stained the pallet using Rust-Oleum Wood Stain in Kona, applying it with a brush and wiping away the excess. Although the stain dries in about an hour, I let mine cure for a few days before sealing it. Once dry, I gave the entire pallet a quick coat of clear protective spray to help it stand up to the elements.
Step 6: Cut Fabric for Planting Pockets
To create planting pockets, I used newspaper and junk mail to make a simple pattern. Be sure to account for folding the edges under and covering the sides of each pocket. Once the pattern was dialed in, I used it to cut my fabric weed barrier to size.
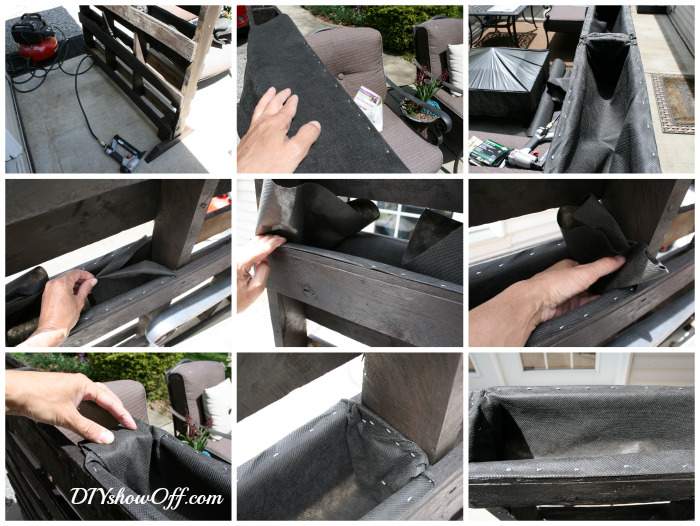
Step 7: Staple the Fabric Weed Barrier
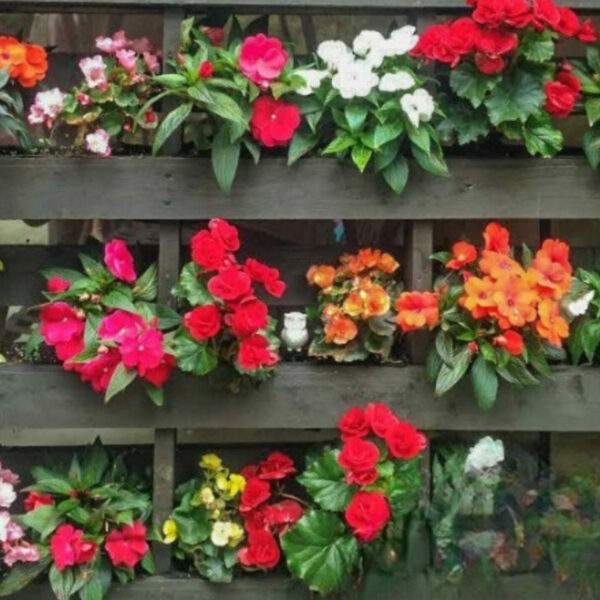
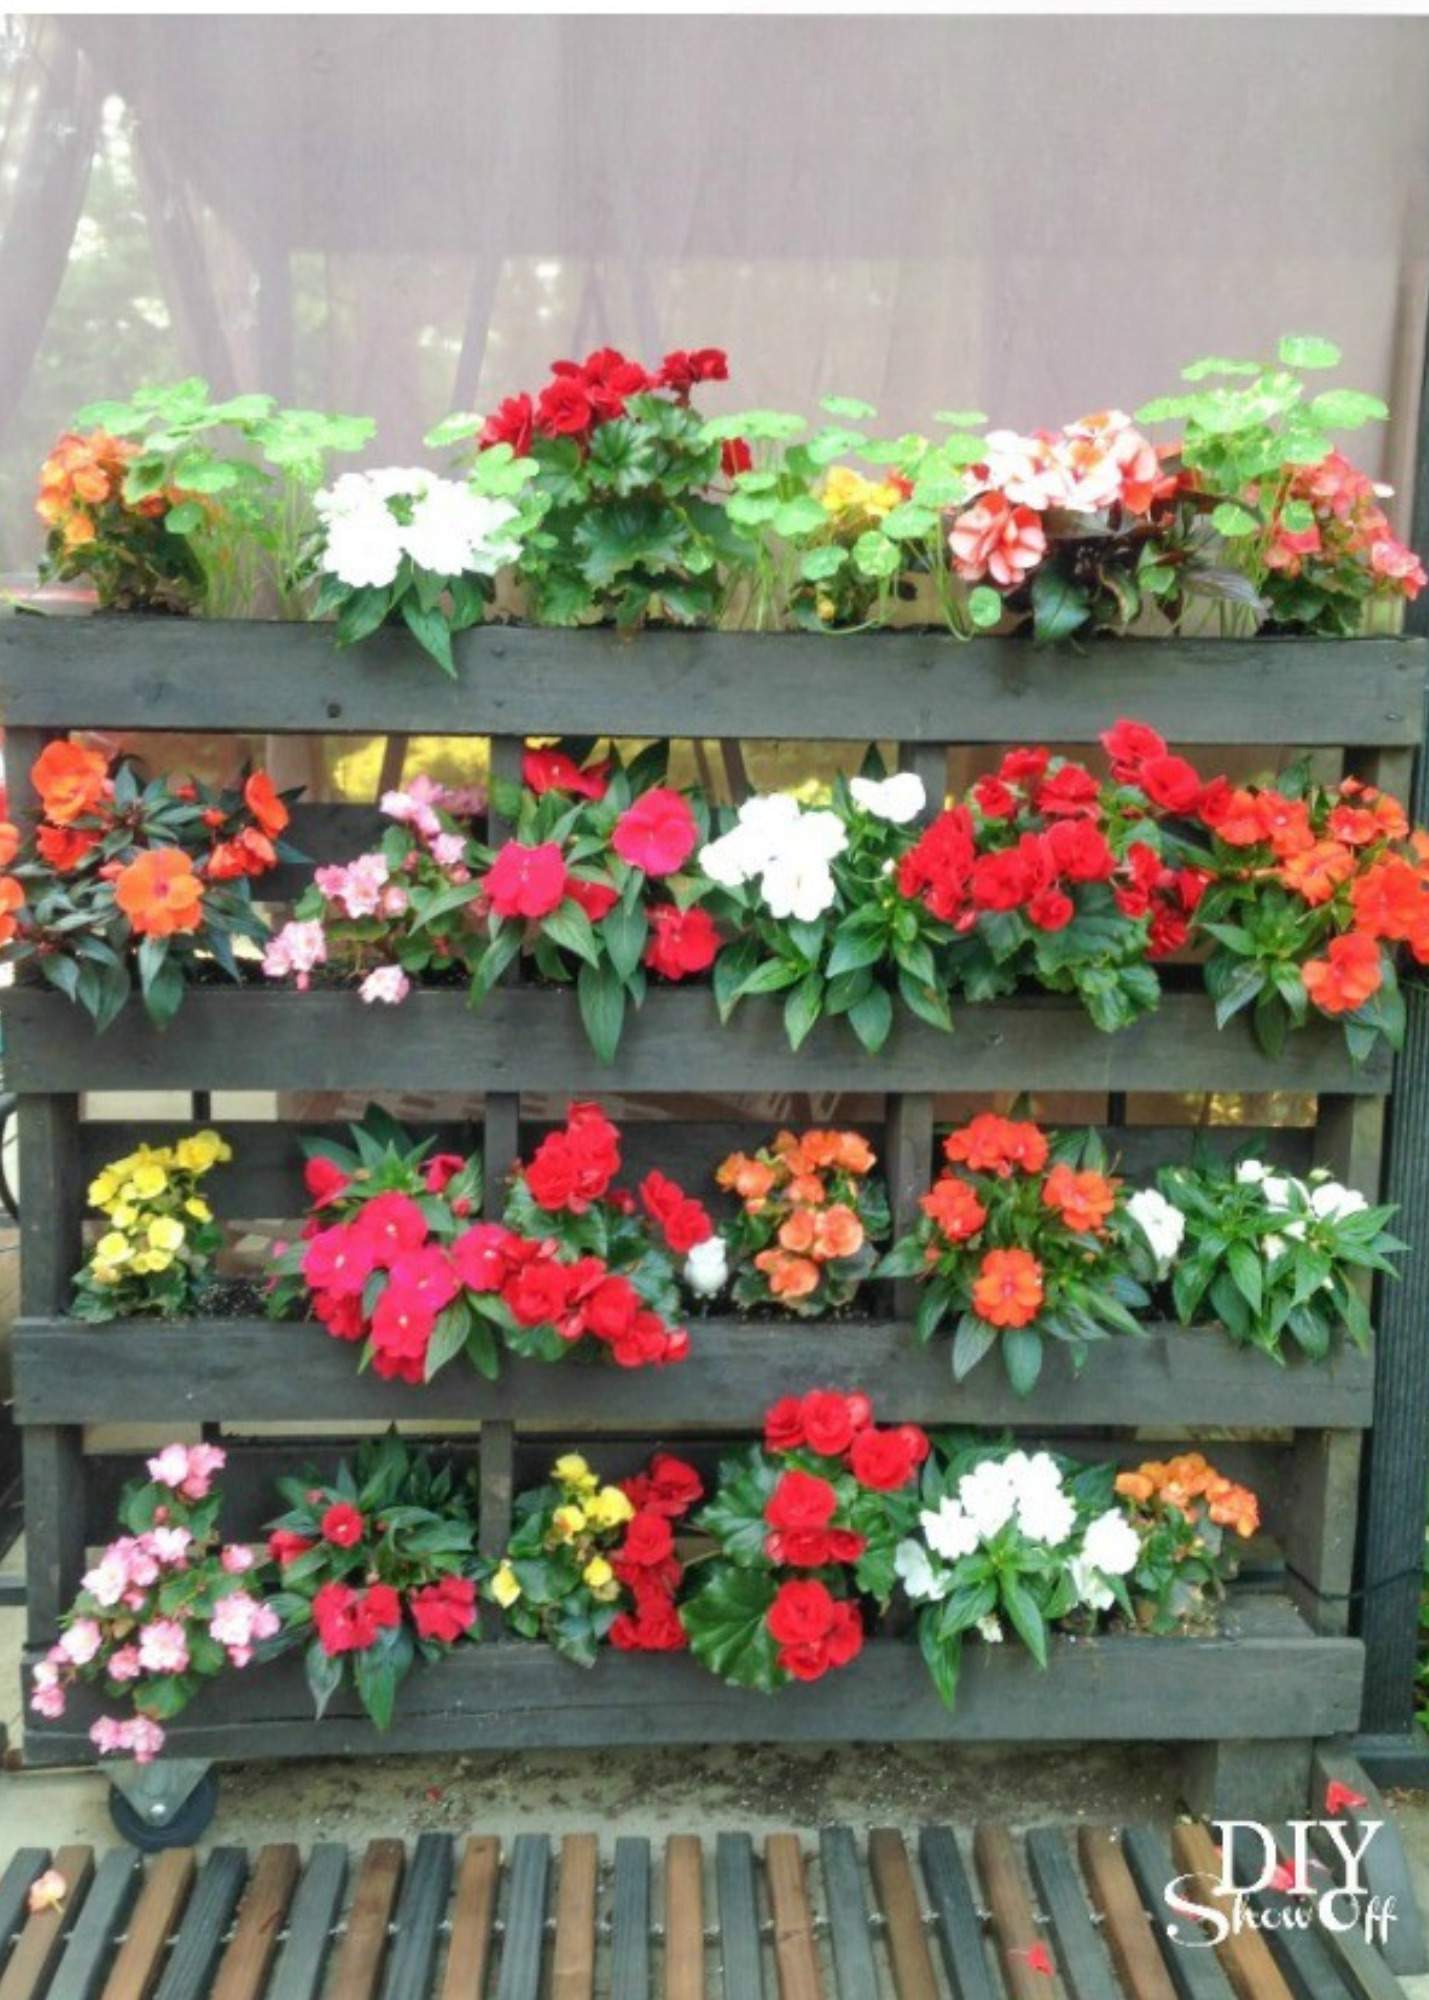
I folded under the raw fabric edges for a cleaner look and then stapled the fabric in place between the pallet boards, forming deep planting pockets. The corners were a little tricky—I used a trial-and-error folding technique and may have gotten a bit staple-happy. My final setup created 12 planting pockets in total.
Step 8: Set Up Your Planter
Once everything was secure, I moved the pallet into its final position. You can lean it, secure it to a railing, or anchor it in the ground depending on your space and preference.
Step 9: Fill and Plant
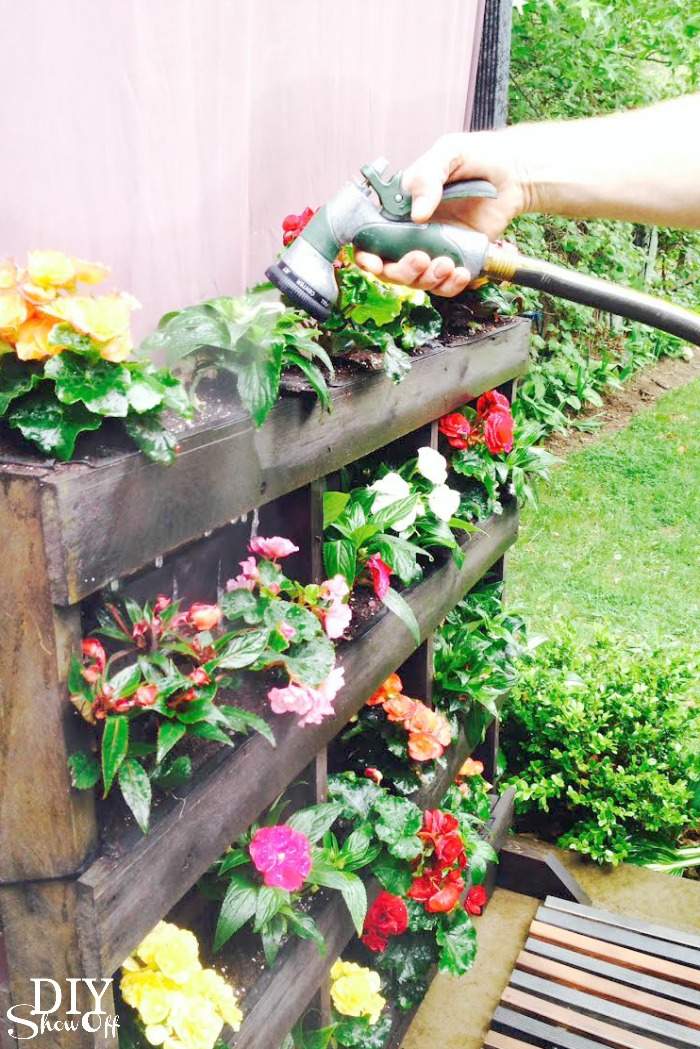
Time to get planting! Fill each pocket with quality potting soil and your favorite flowers or herbs. The fabric allows for natural drainage, helping prevent overwatering.
Finished and Flourishing
Ready to bloom! I love how this project gives new life to old materials and brings a pop of color to any outdoor space. If you give it a try, I’d love to see how yours turns out! Tag me on social media @DIYShowOff or leave a comment below!
Let’s Show Off Your Creativity!
Have a DIY project you’re proud of? Whether it’s a craft, home improvement idea, seasonal decor, or something uniquely creative, I’d love to feature it here on the blog or on social media! Sharing inspiring ideas is what this space is all about and your creativity could spark someone else’s next project. Fill out the form below to submit your tutorial, photos, or story. Let’s inspire each other!
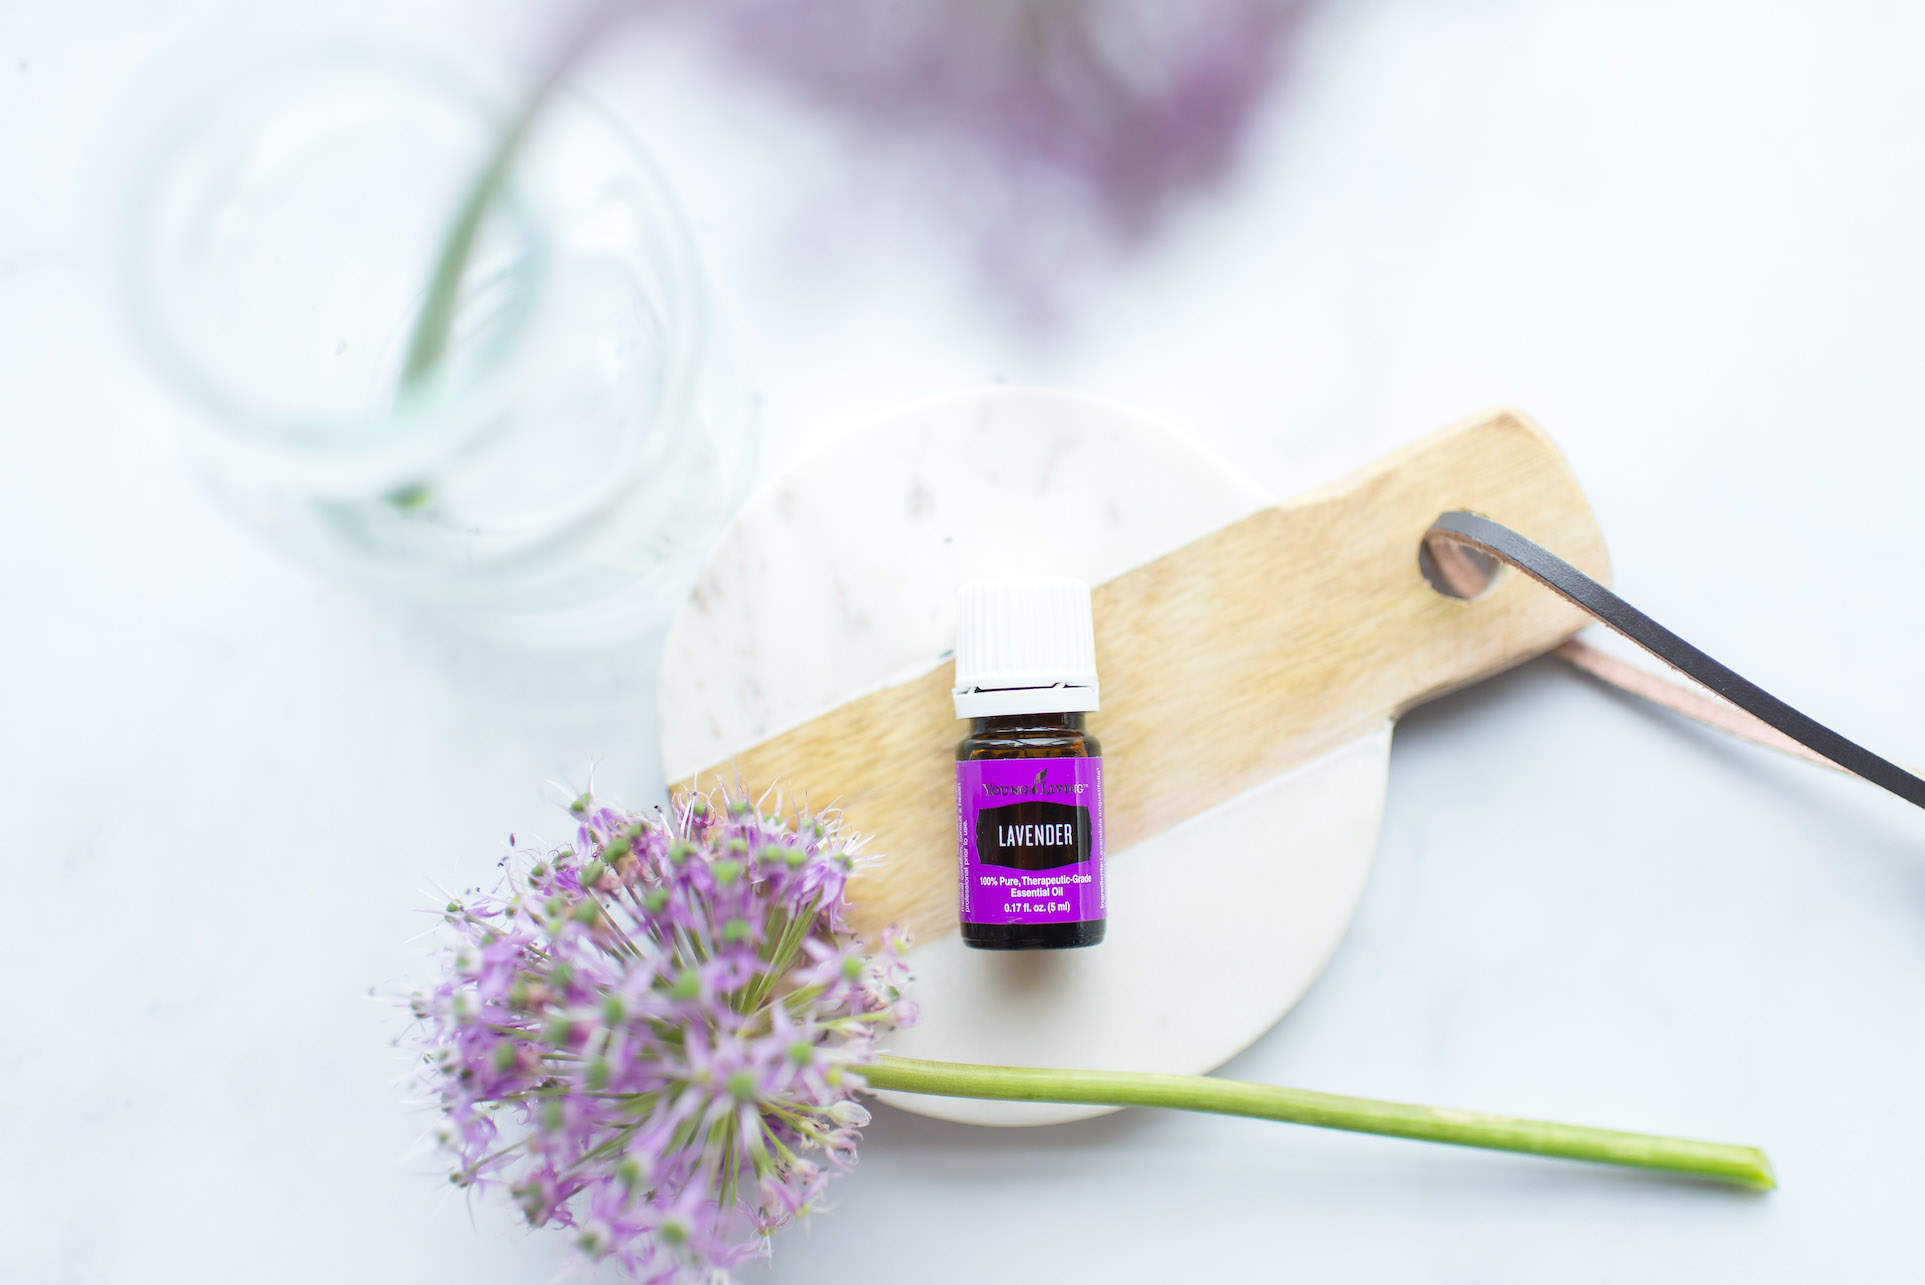

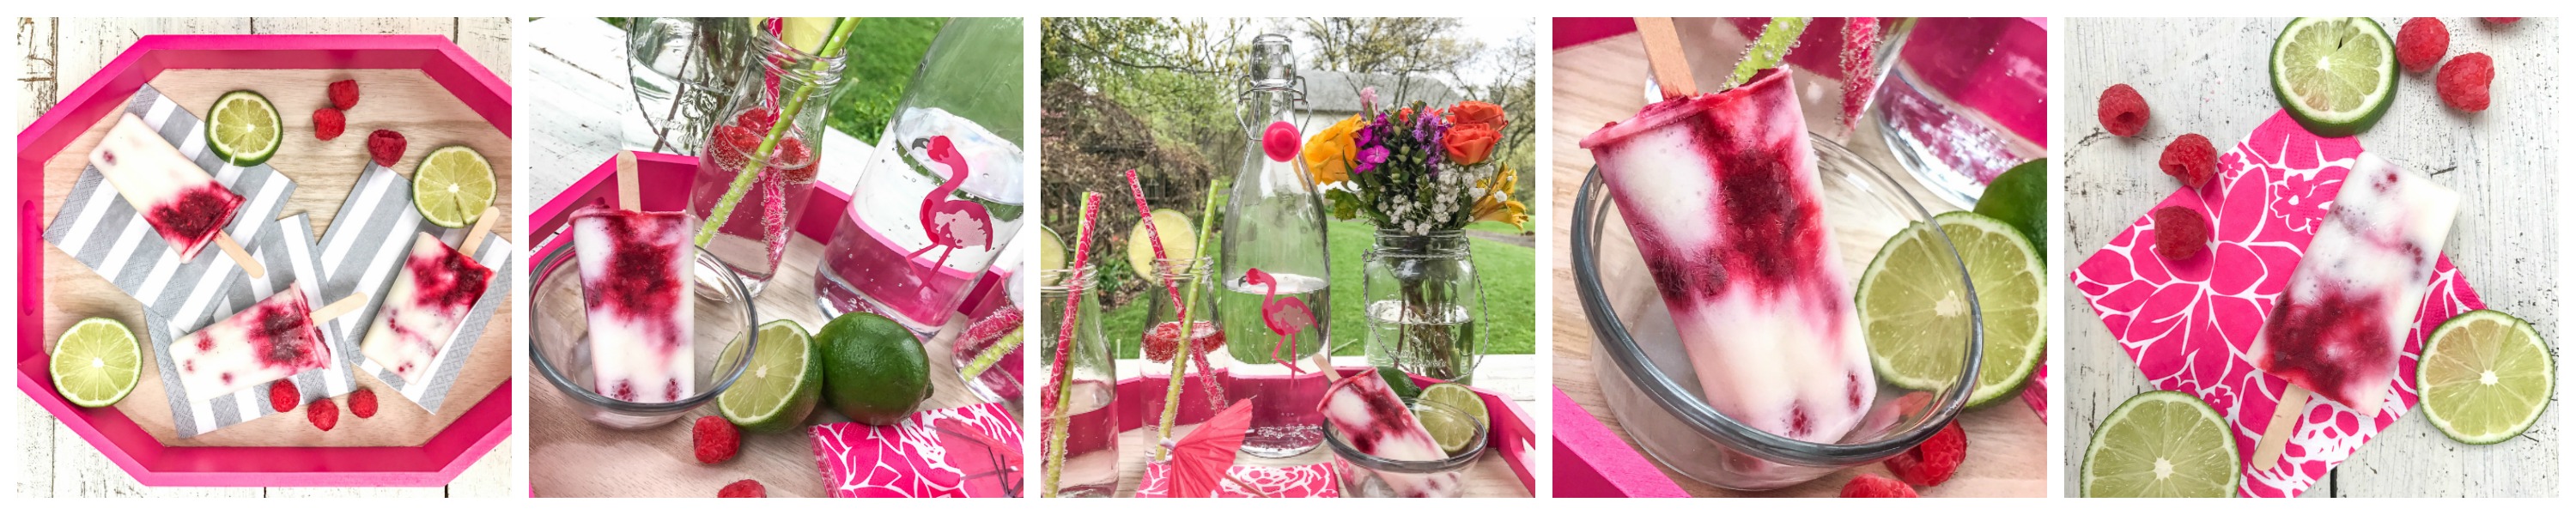
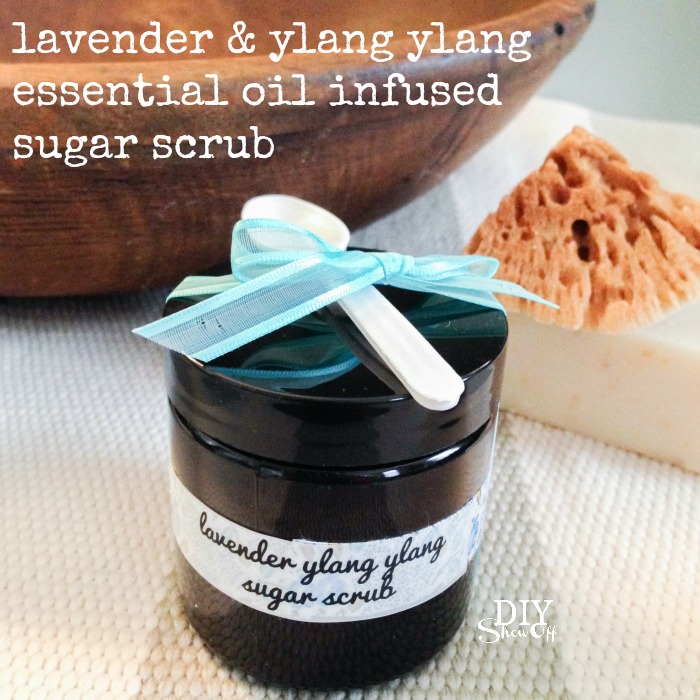
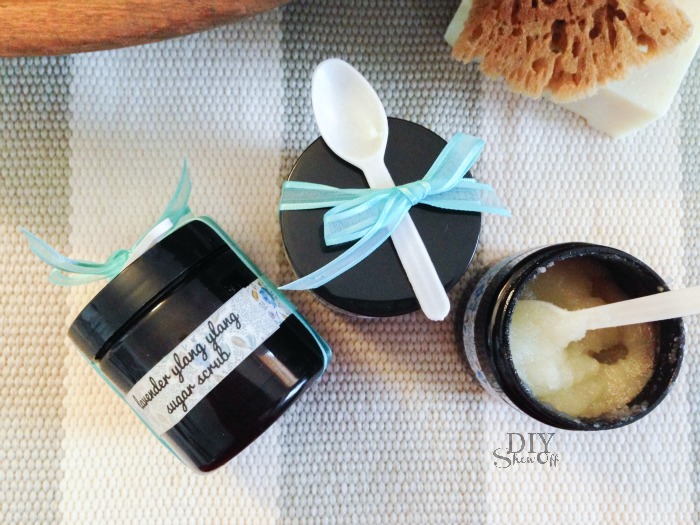
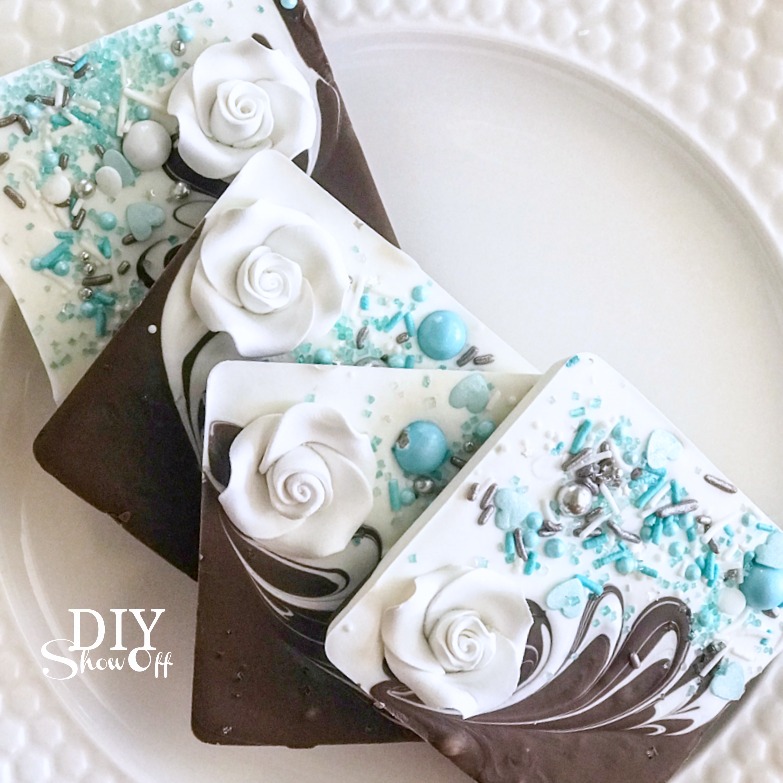
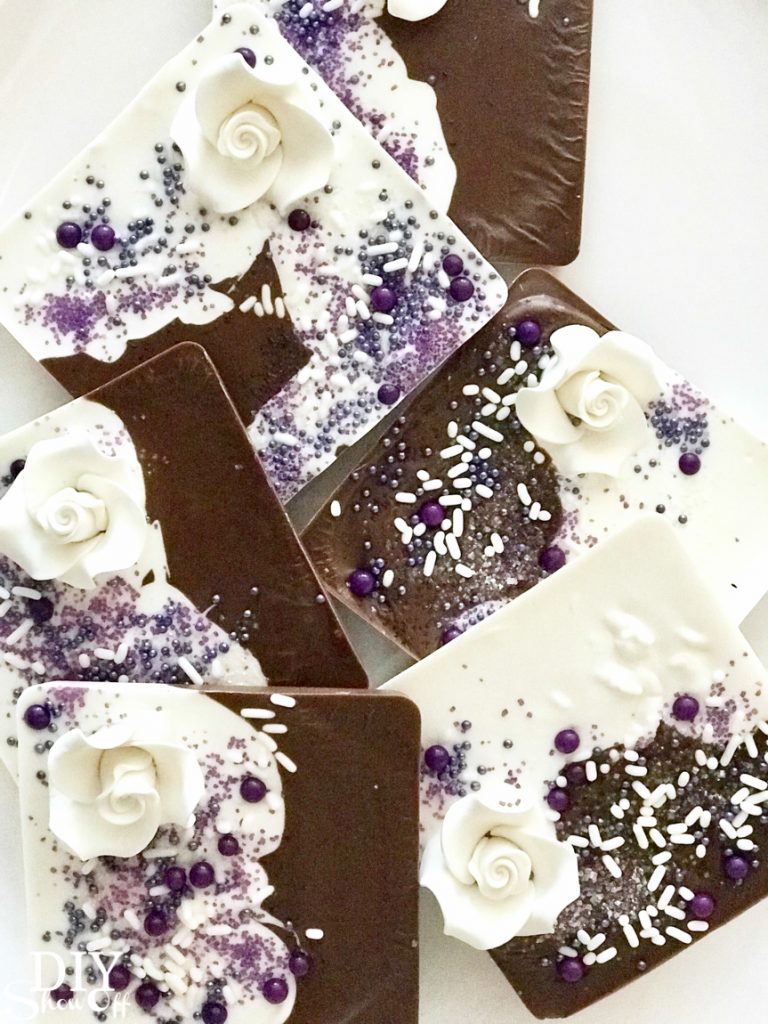
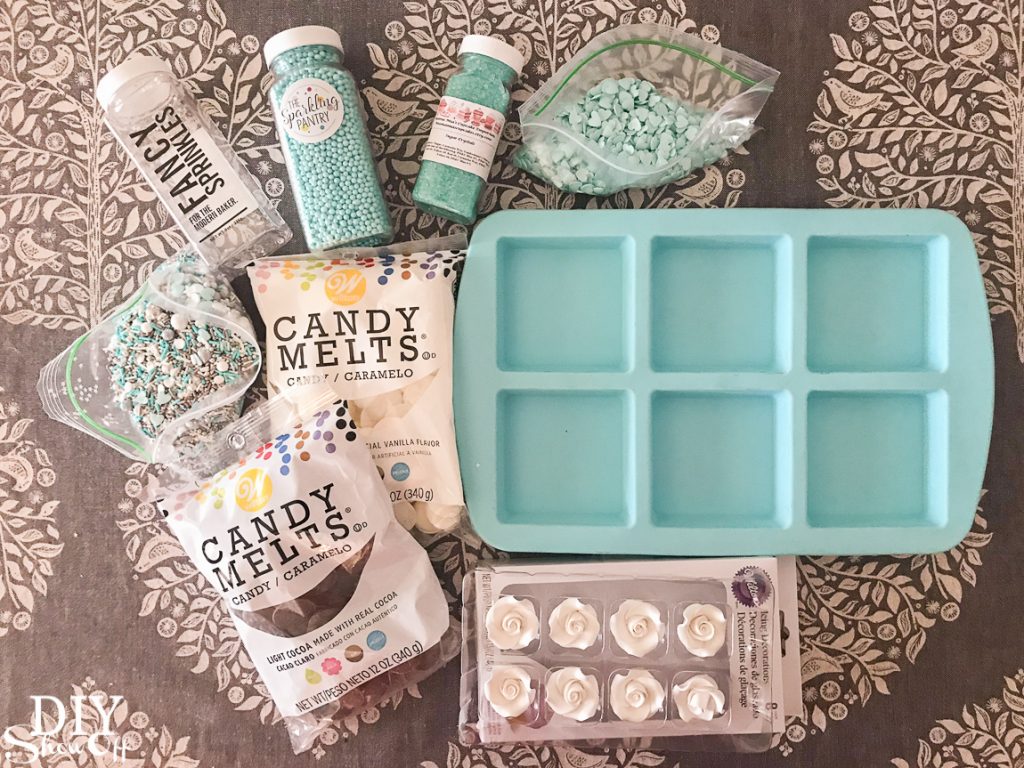
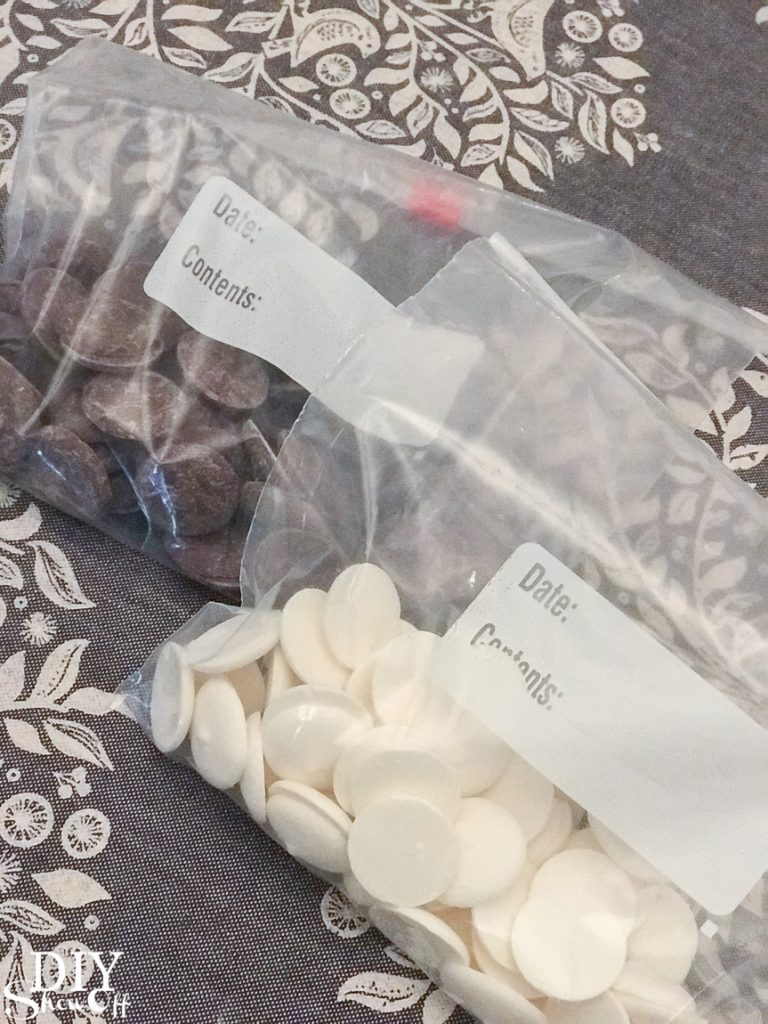
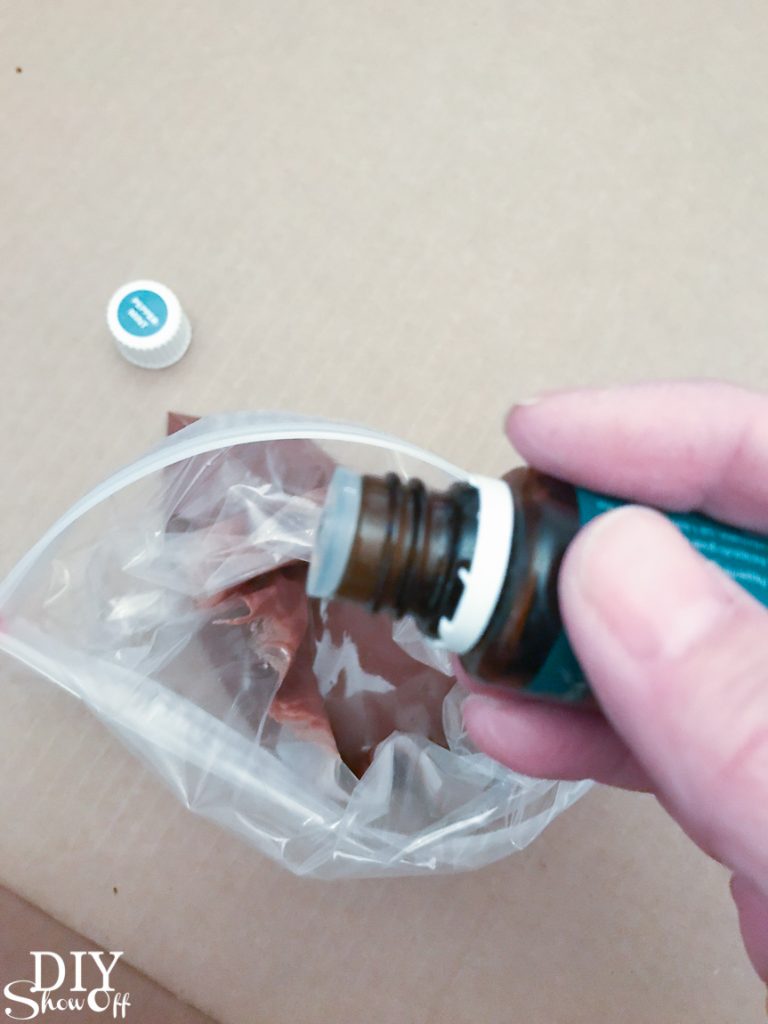

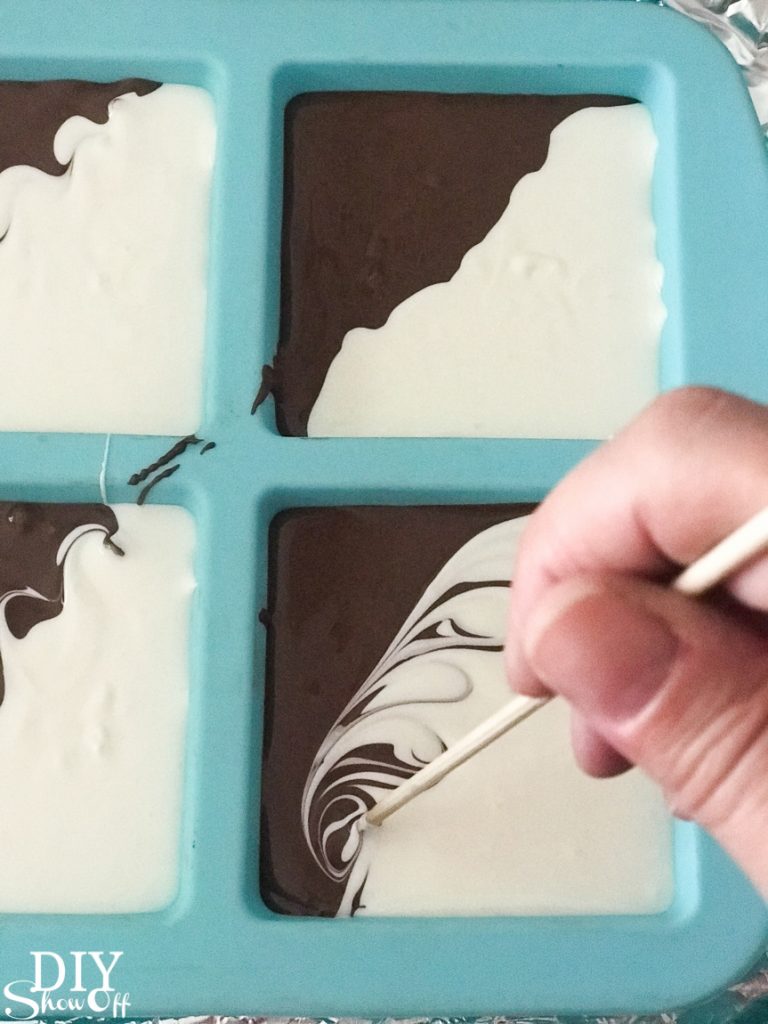
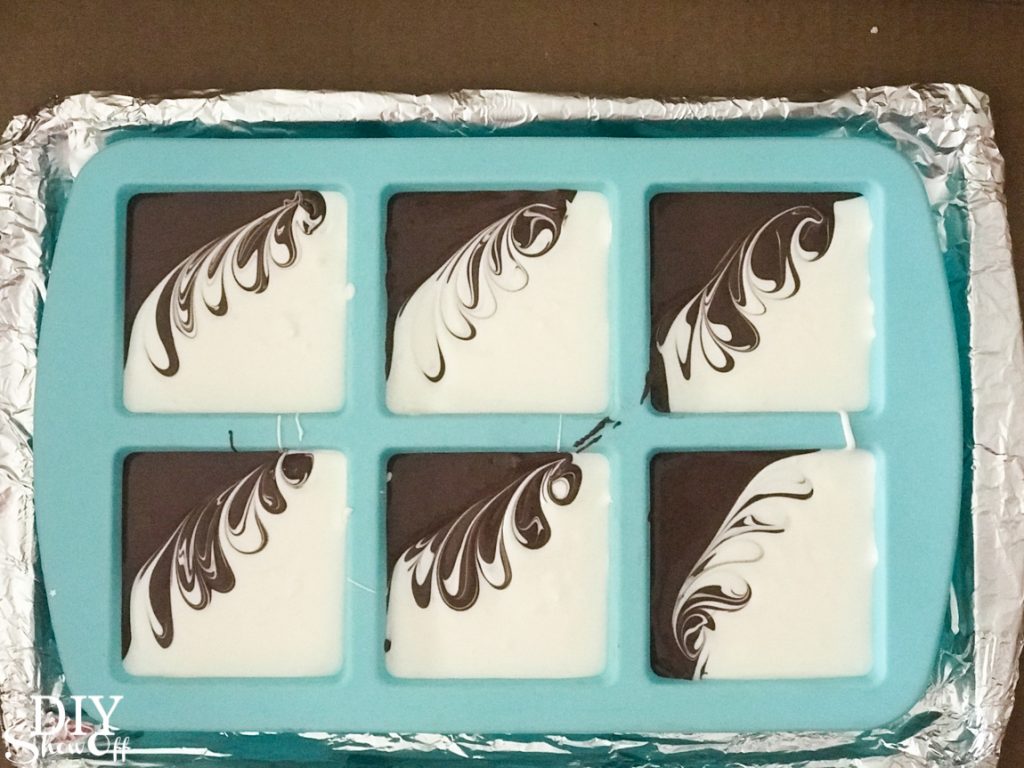
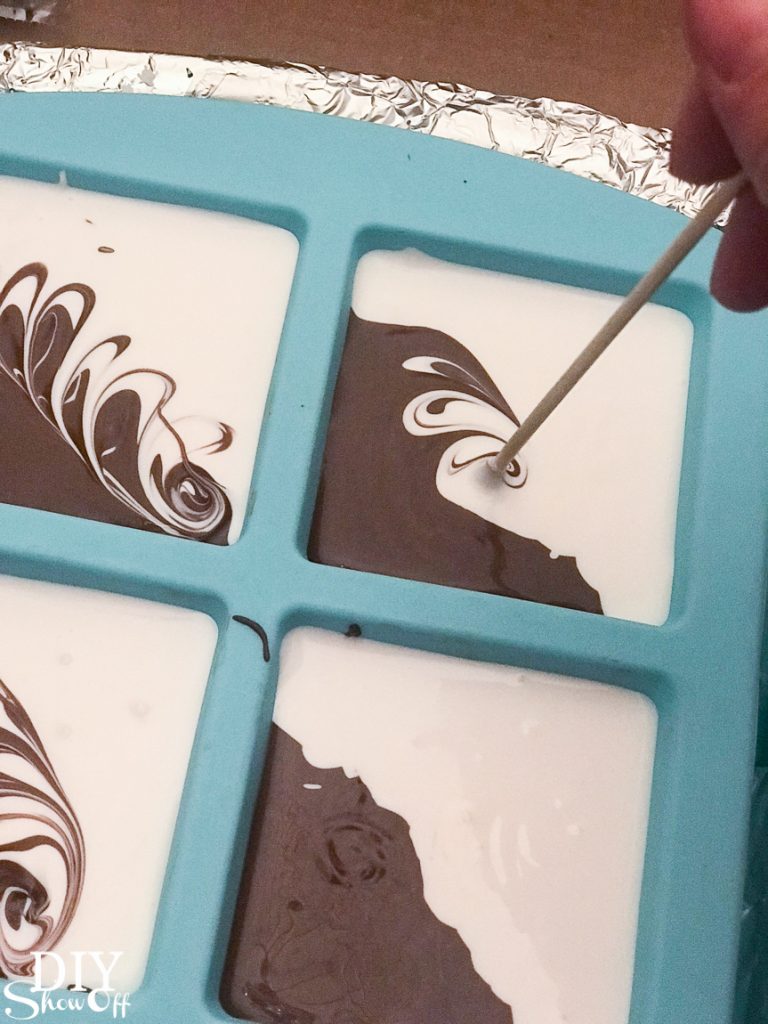

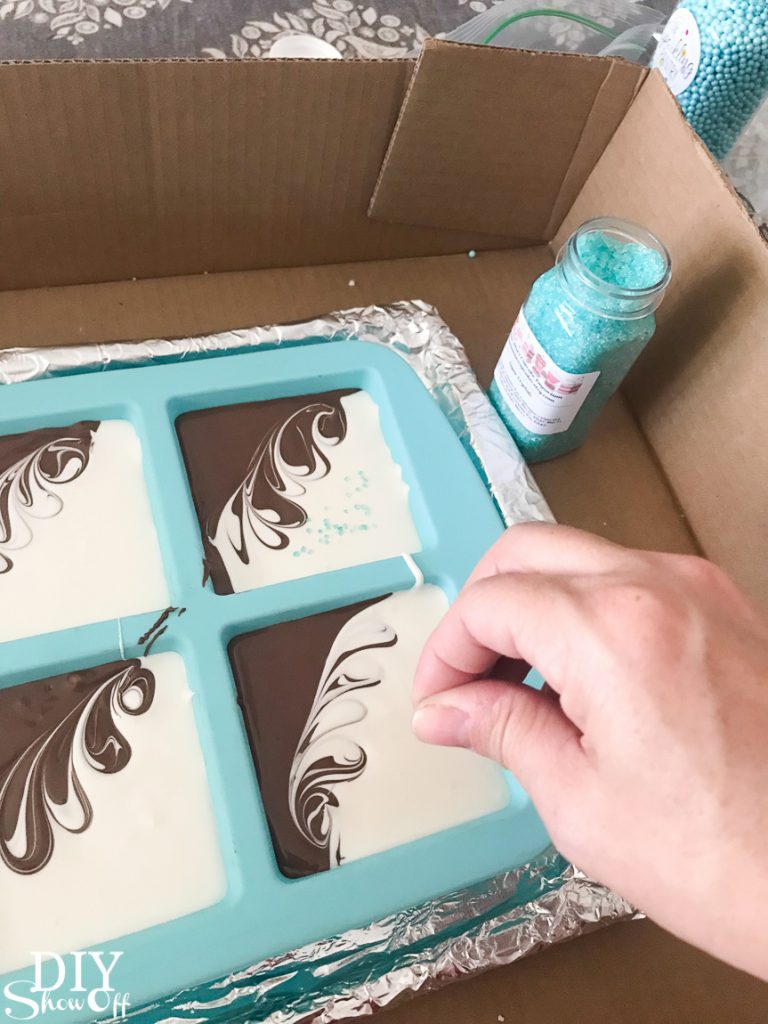
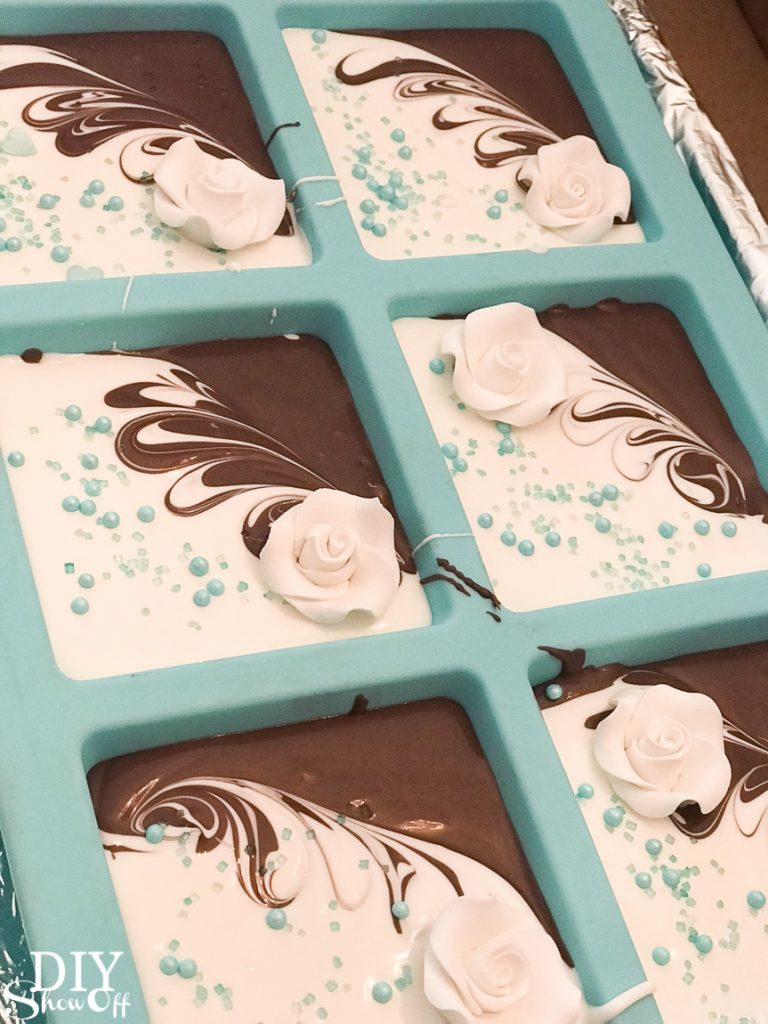
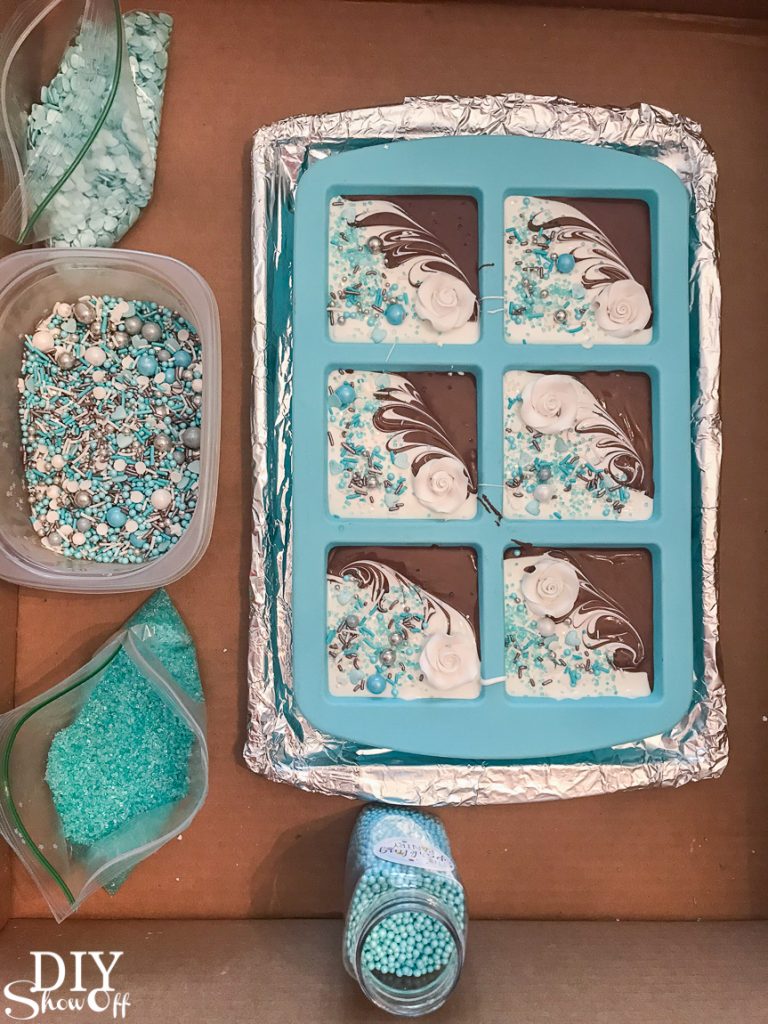
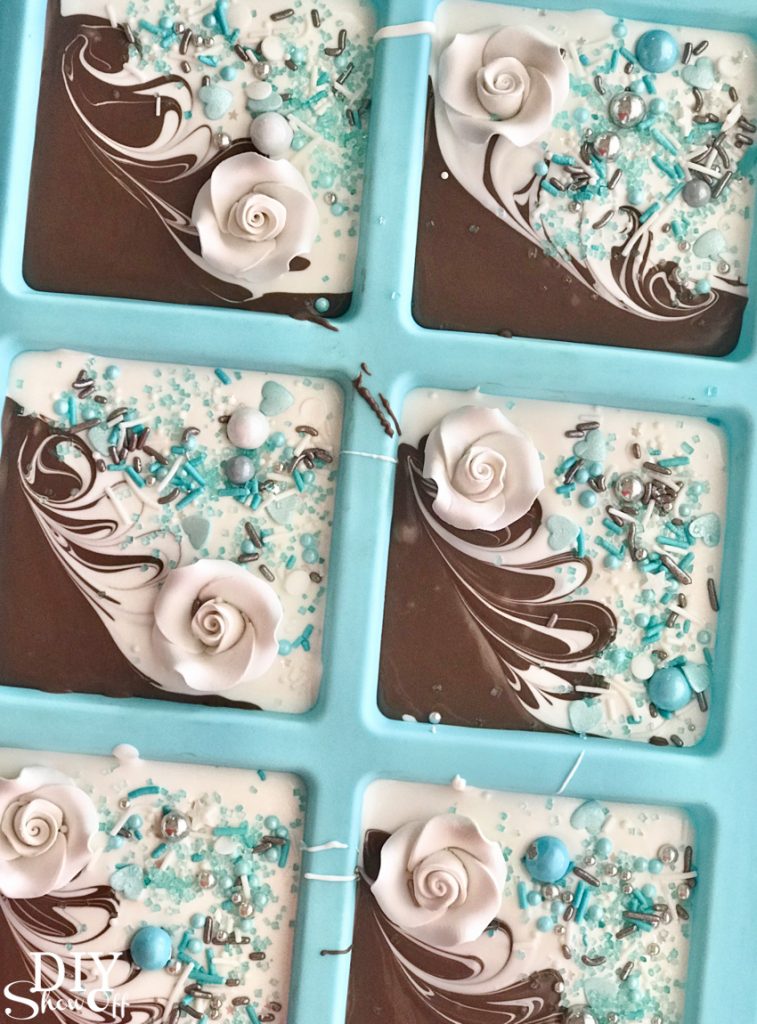
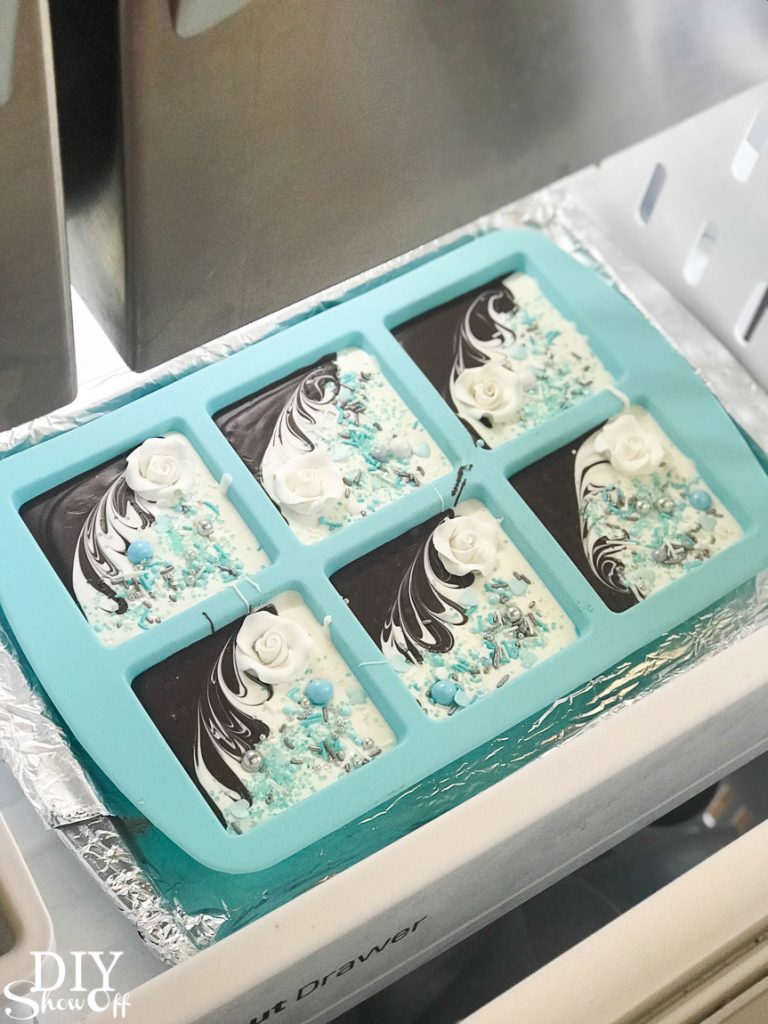
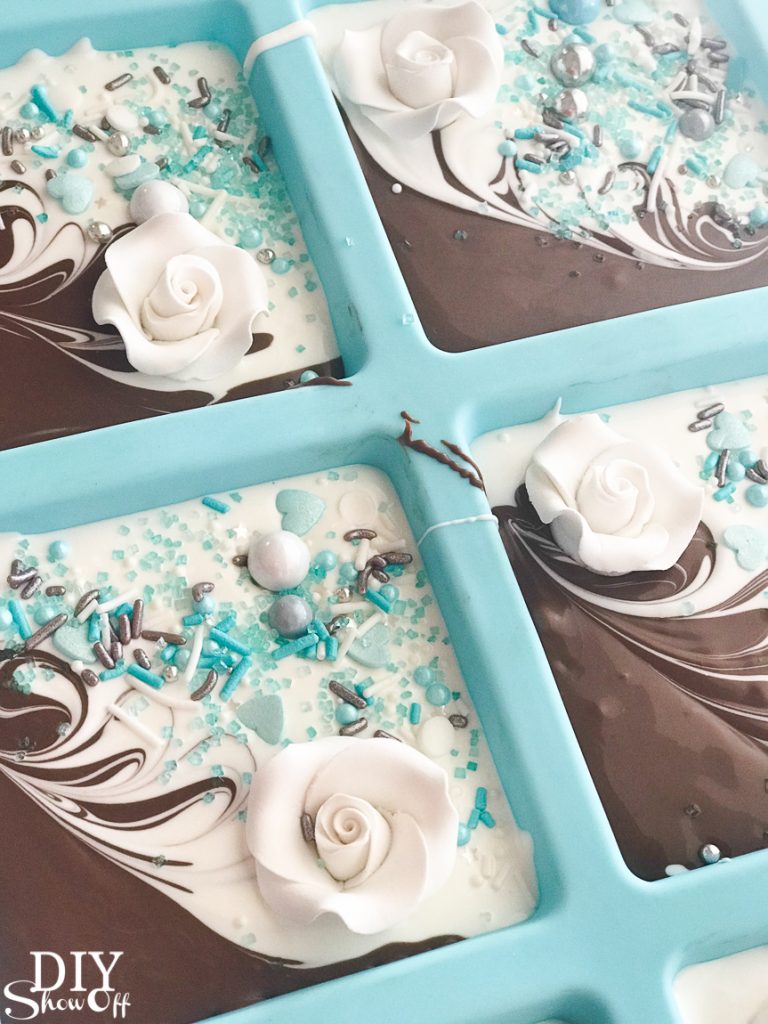
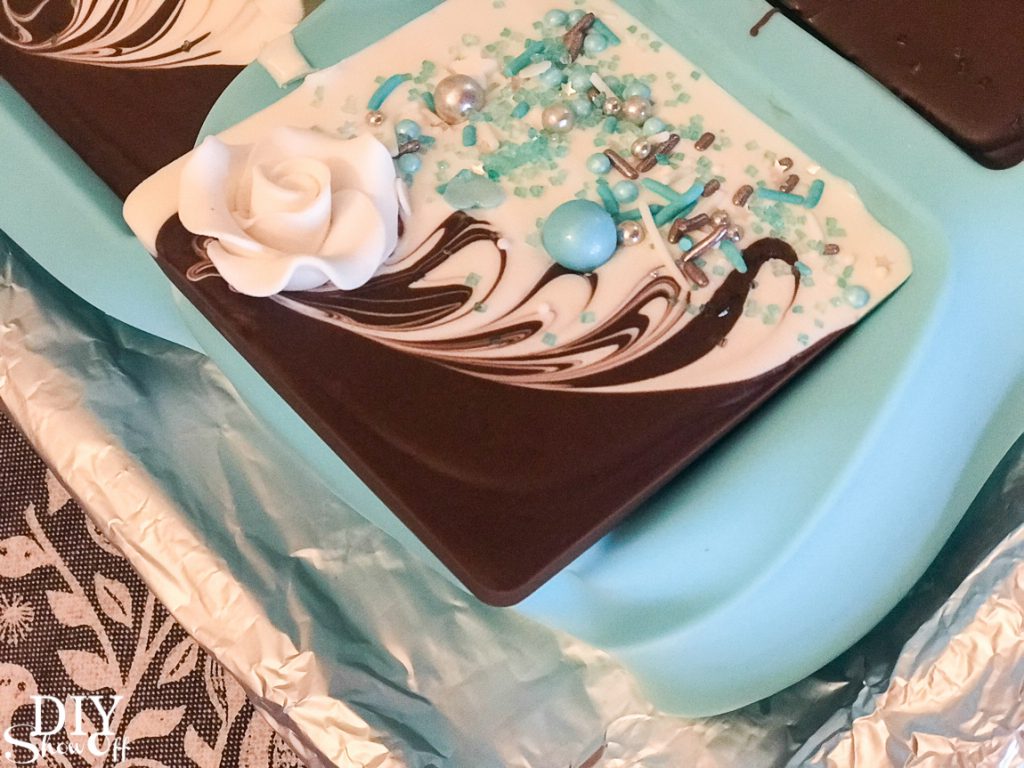
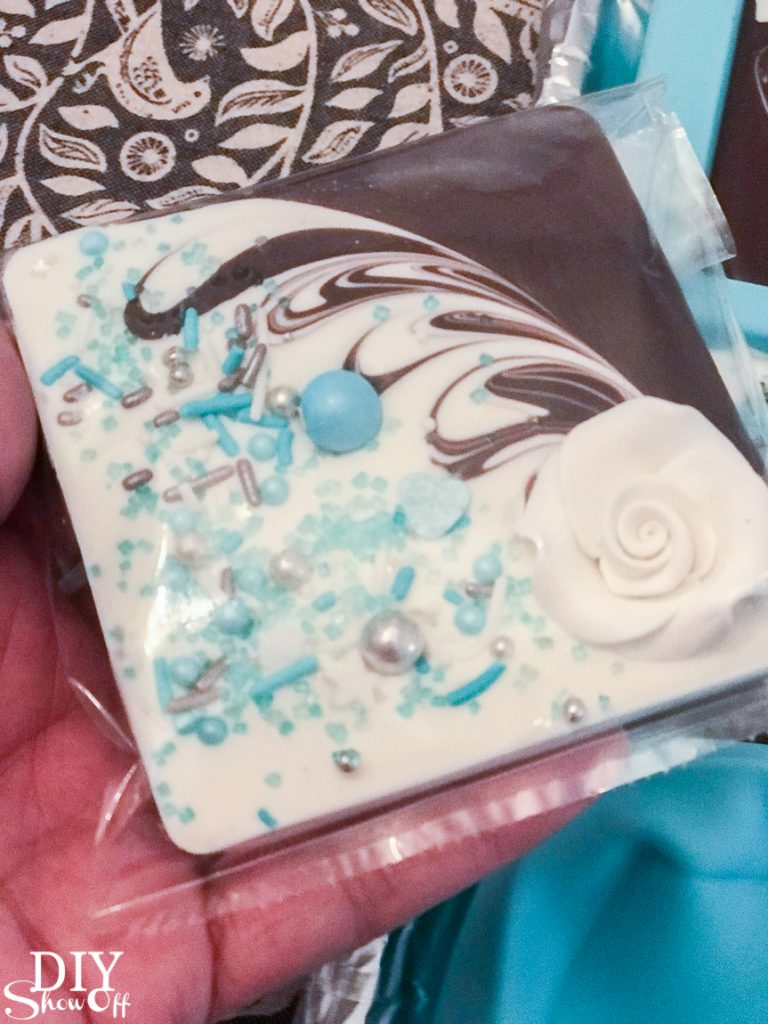
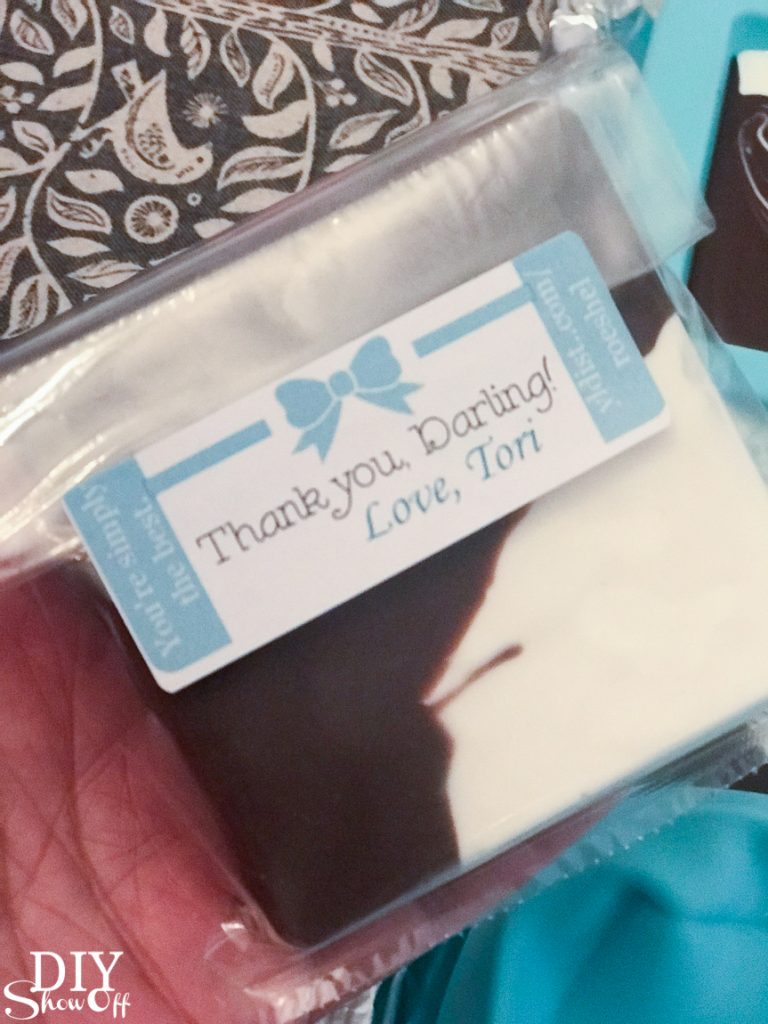
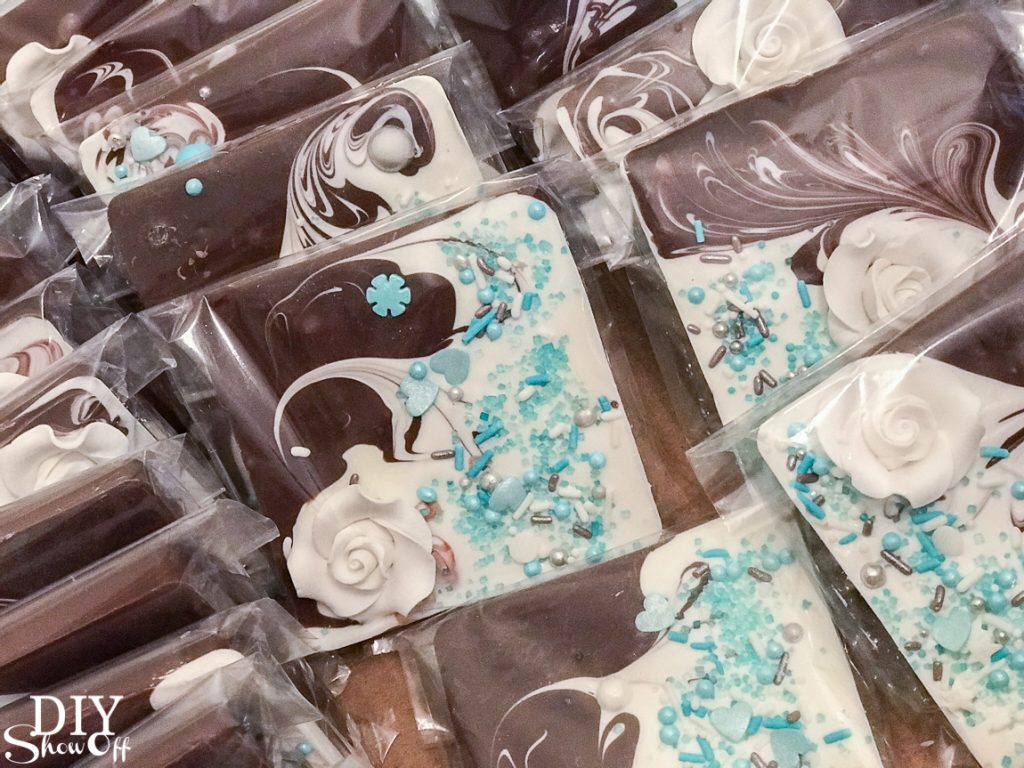

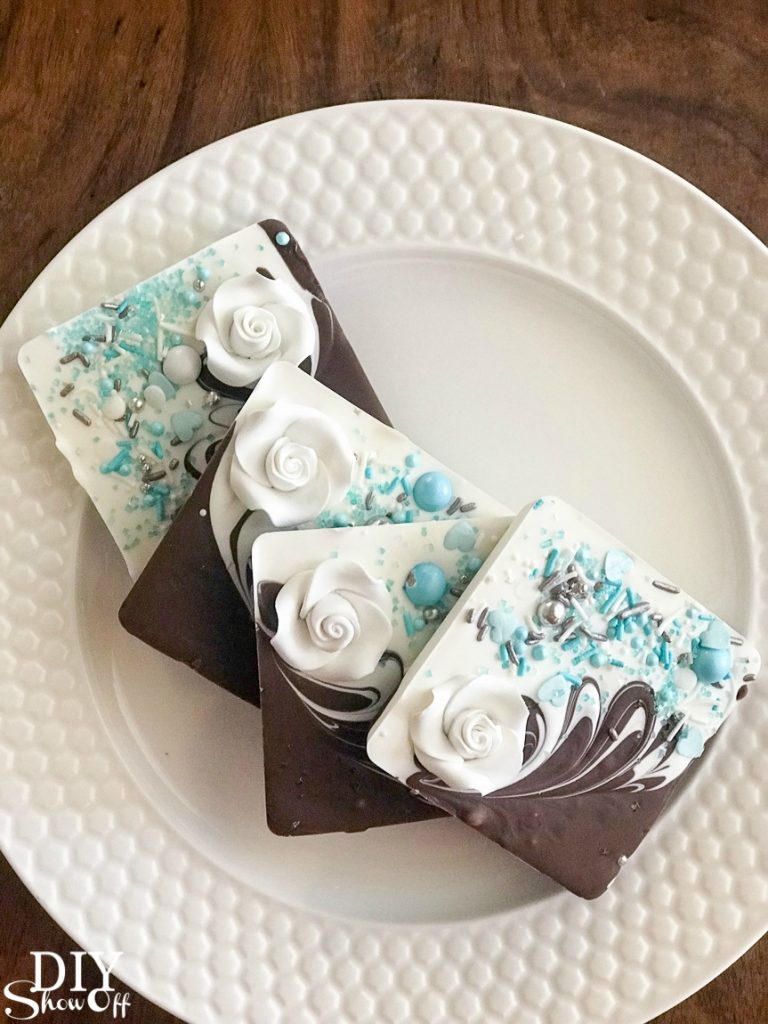
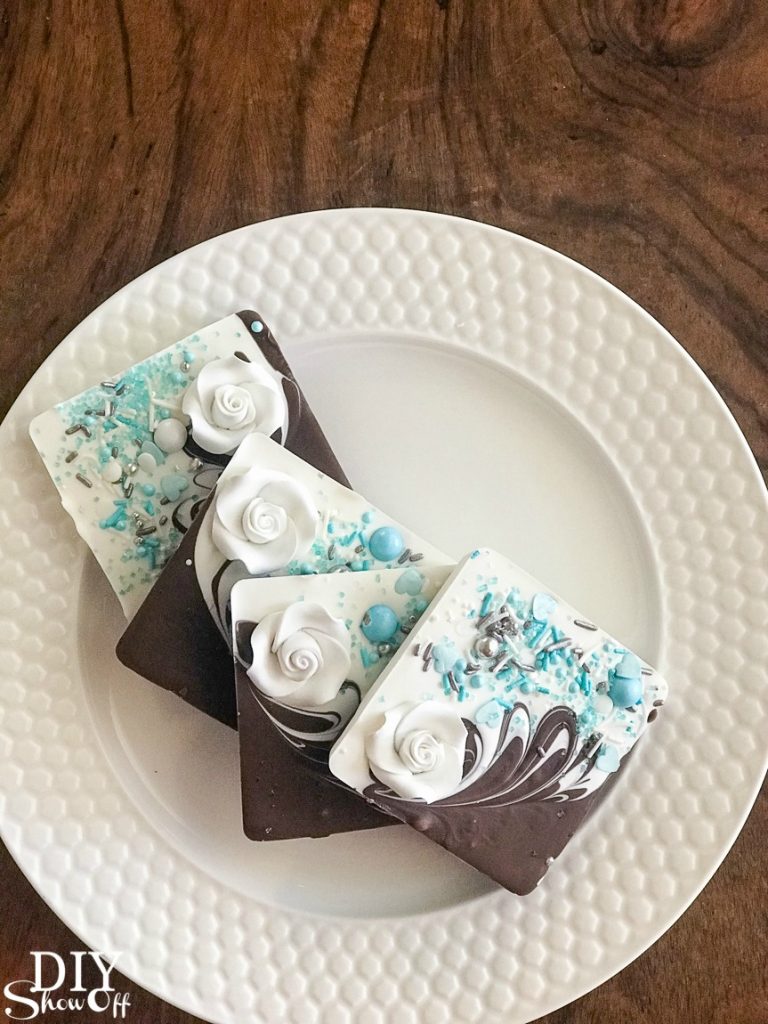
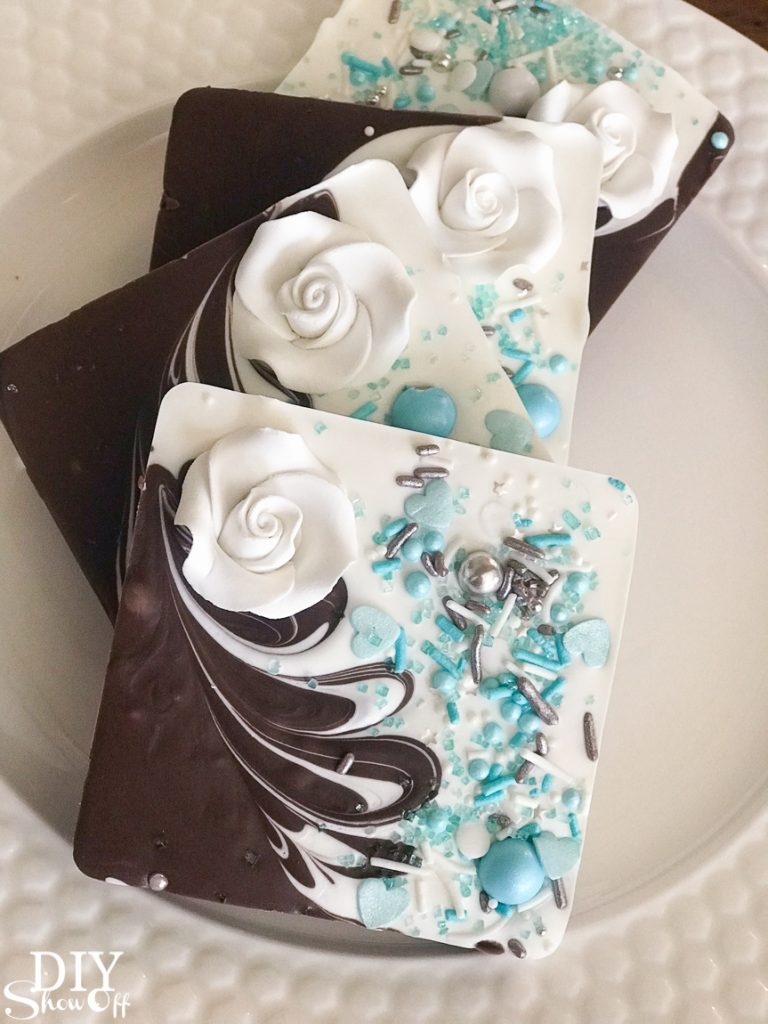
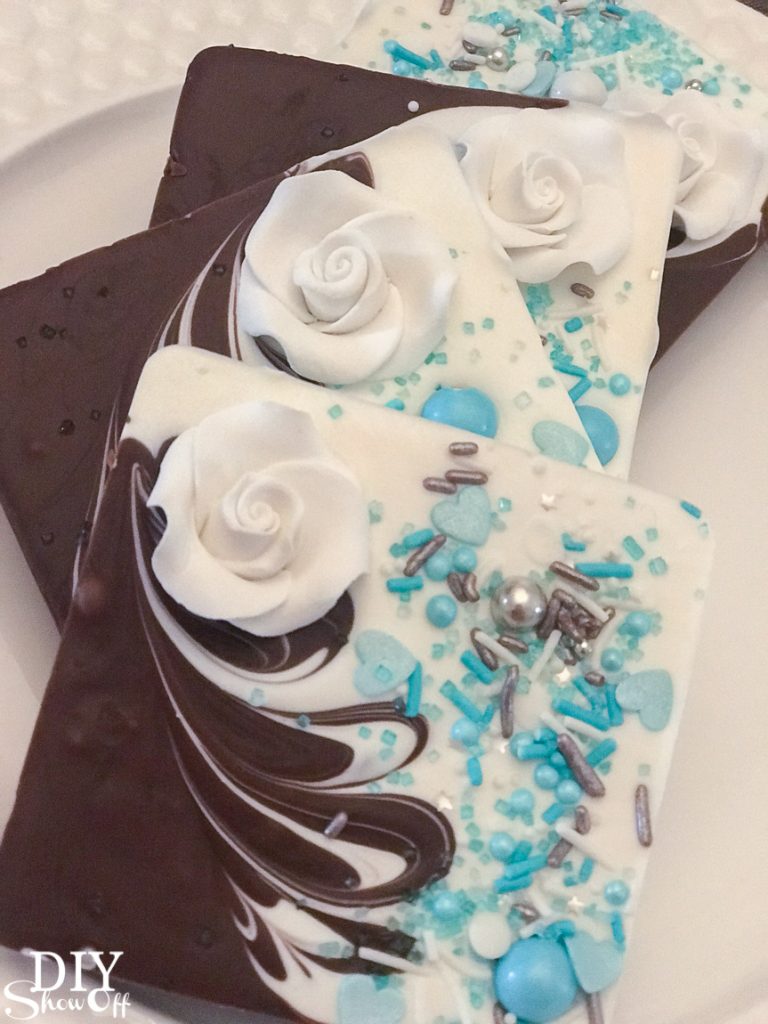
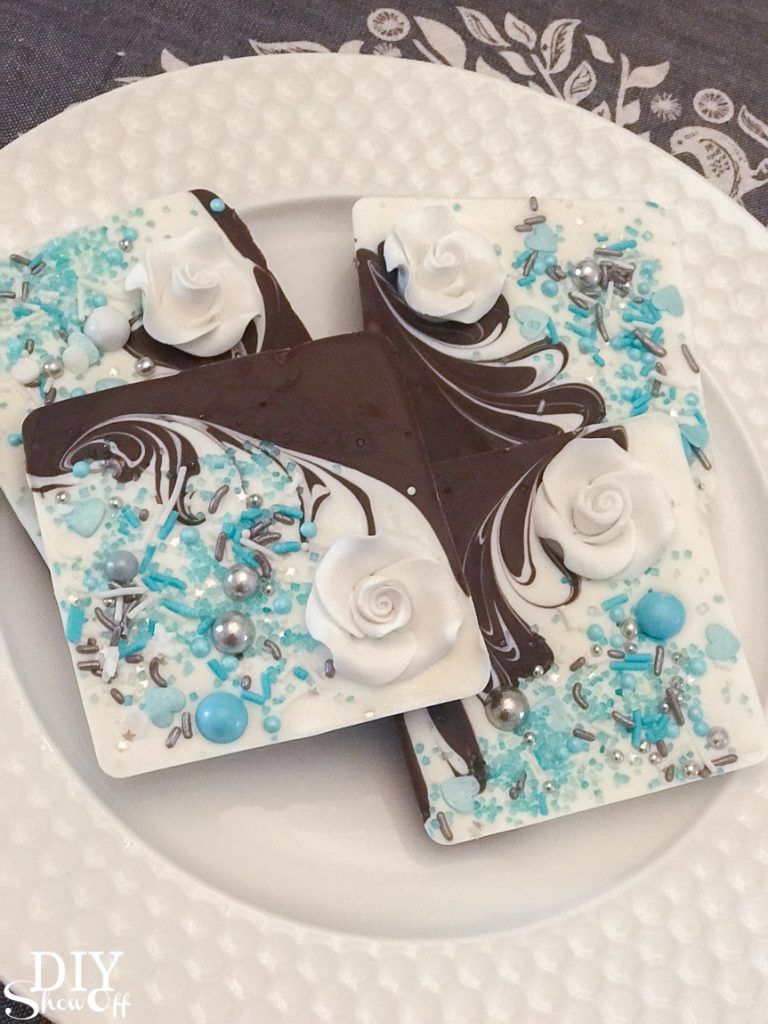
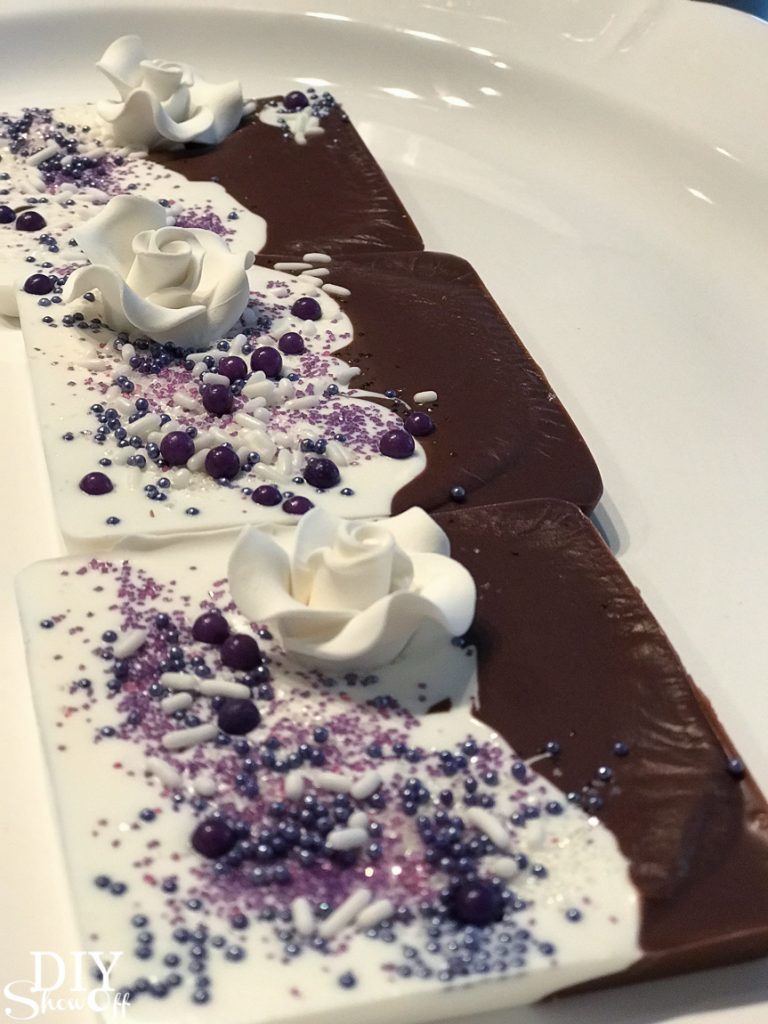
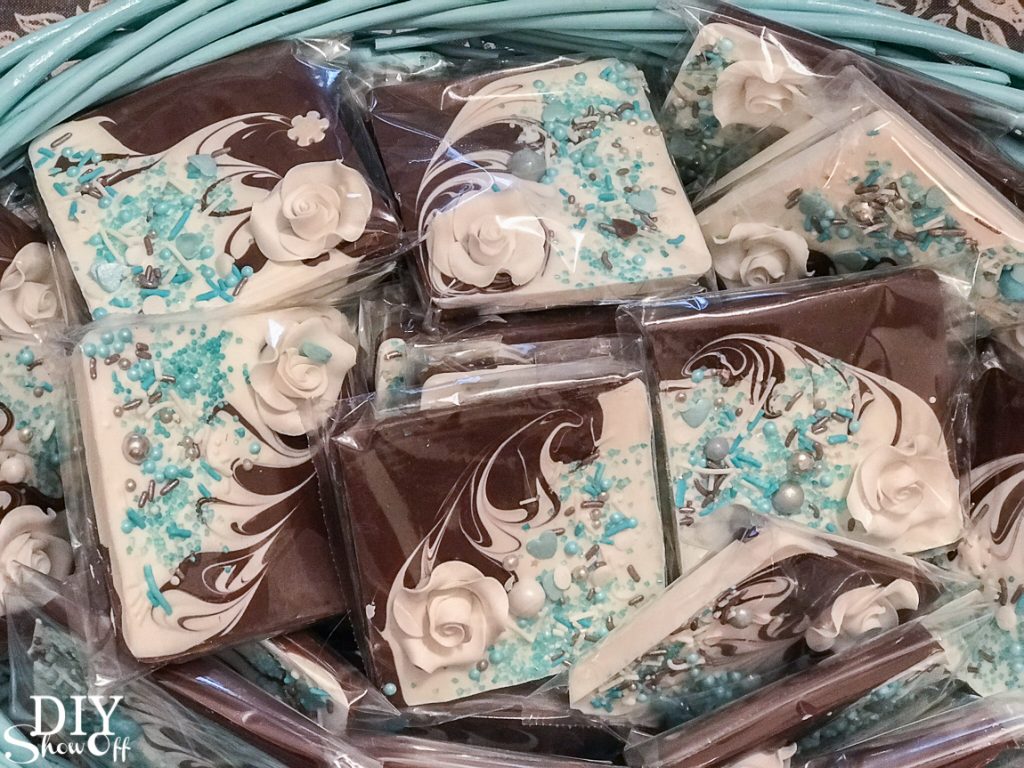 I whipped up 60-70 of these for a bridal shower but since you can personalize them with any candy melts (so many colors!) and any deco ratings (so many colors and shapes and ideas!), they’d work for not only bridal showers but for Mother’s Day, baby showers, wedding favors, party favors, hostess and teacher gifts, prizes, etc. I made a few every evening over a couple of weeks’ time. I gave a few out as essential oil infused door prizes and at Easter to my family too. I even had my grandson helping me decorate a few!
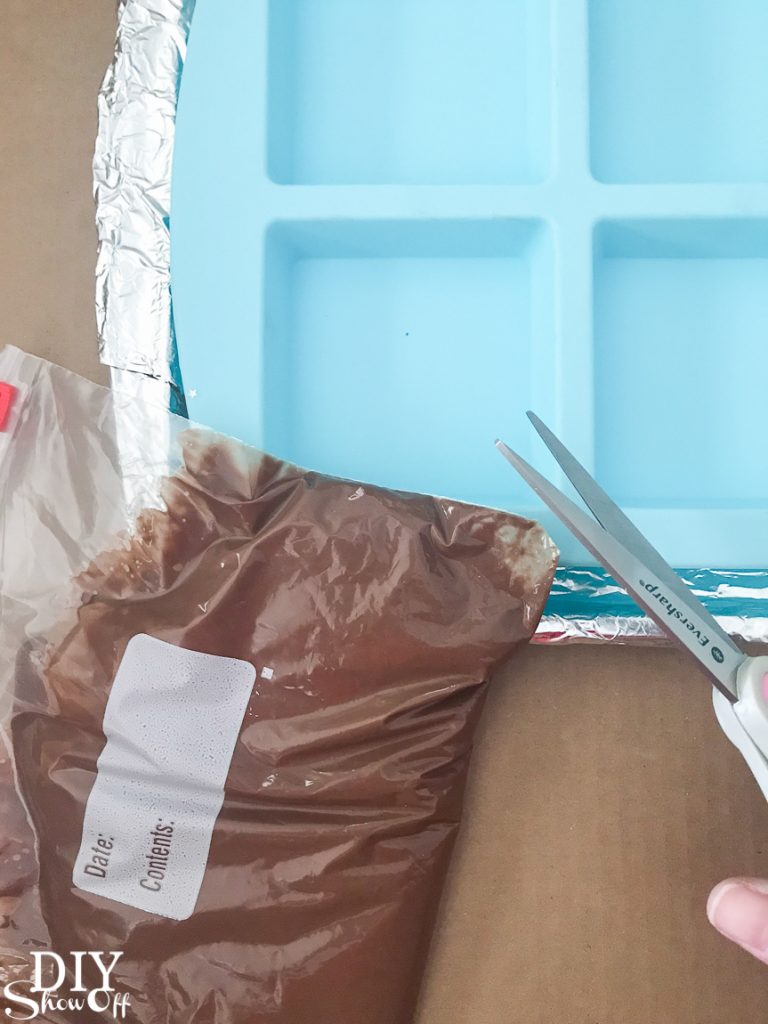
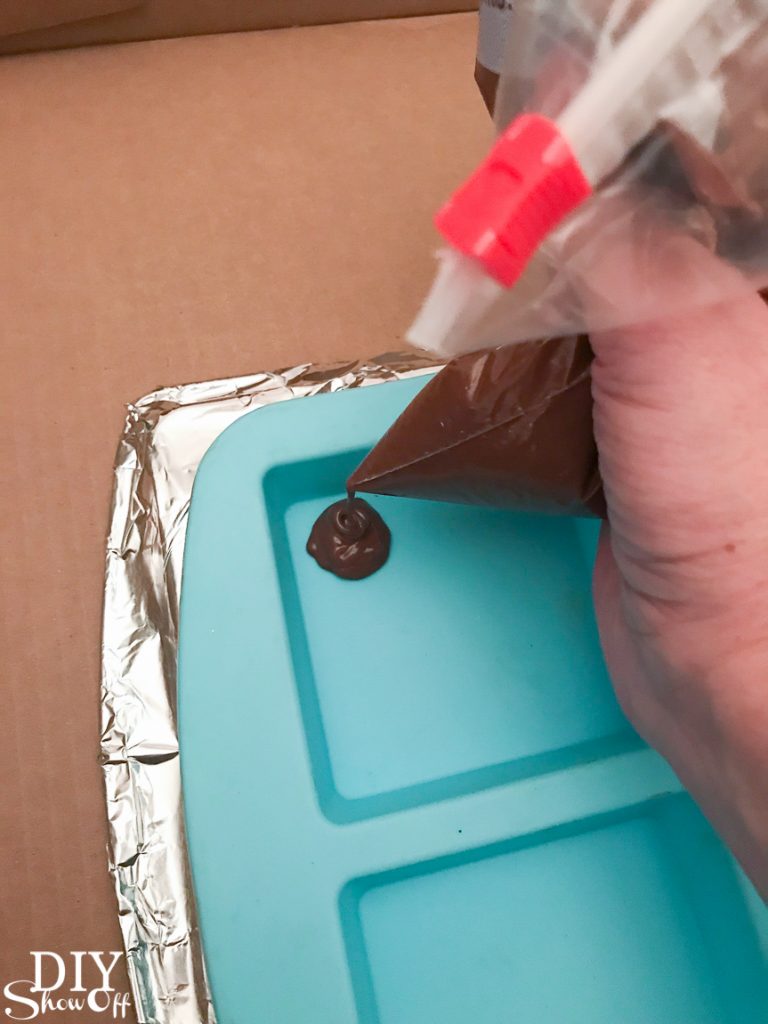
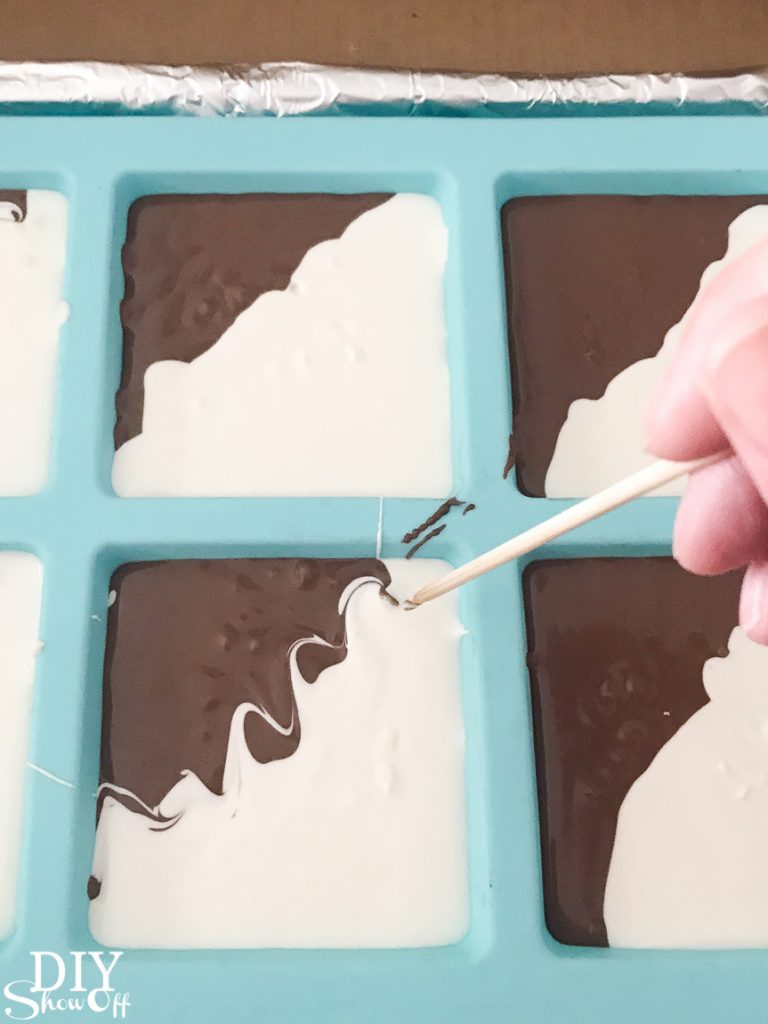
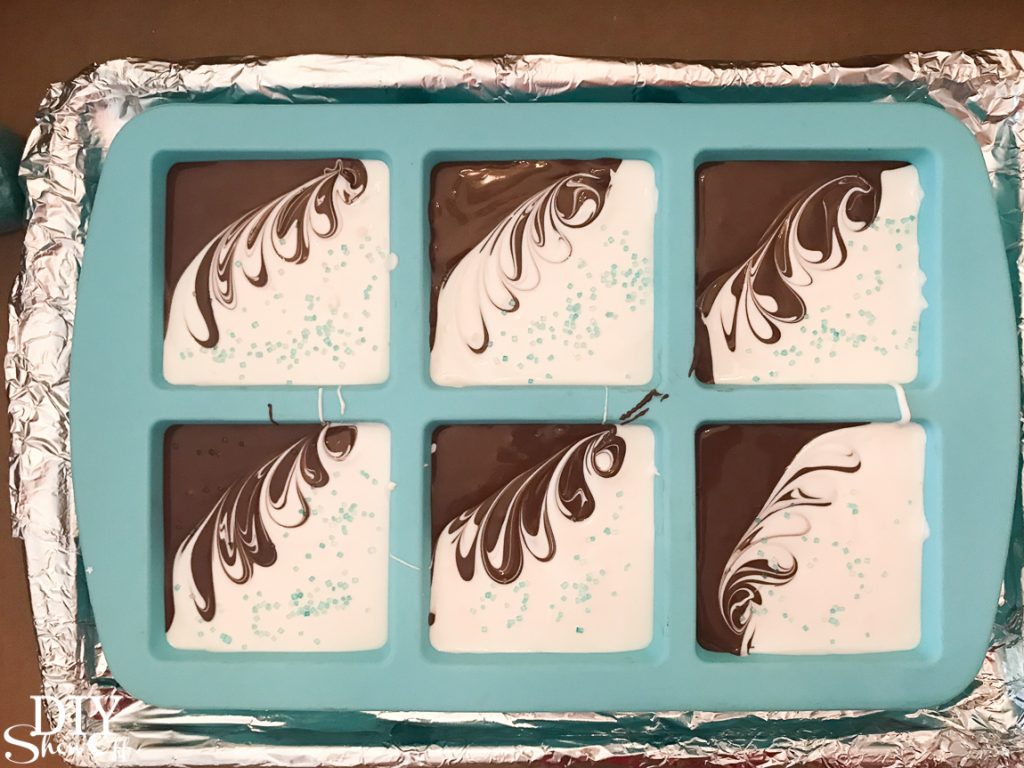
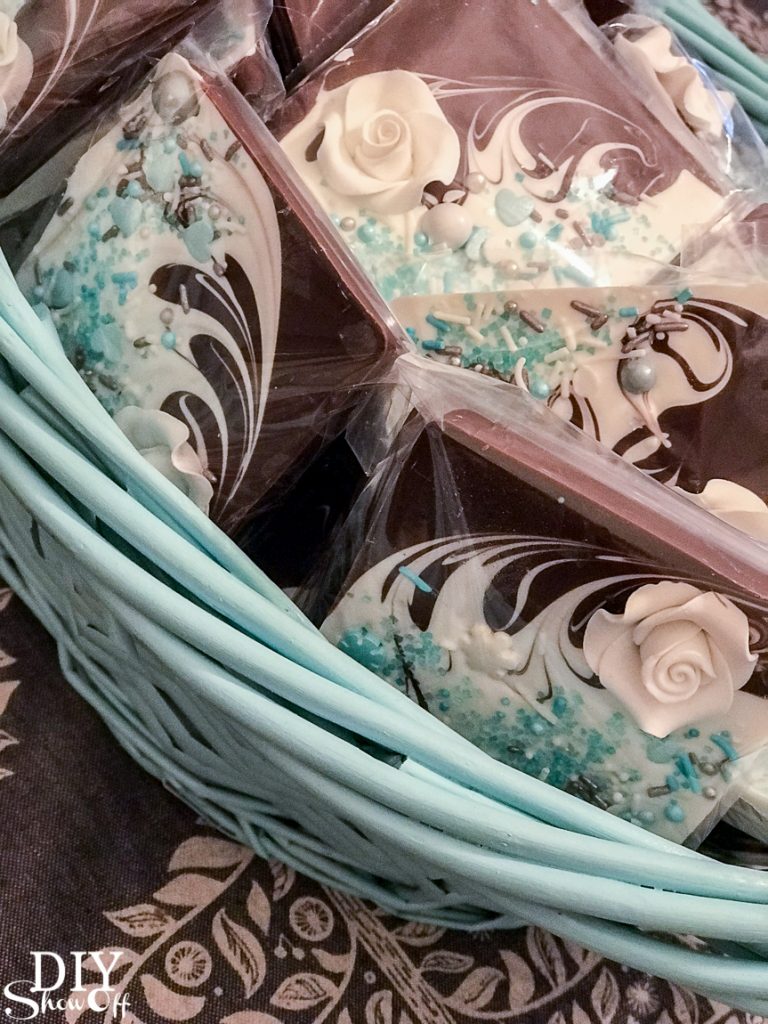 Warning – not only are they a beautiful sweet treat, they’re so addicting to create! Here is the very first batch that started my madness (without the swirl technique)…
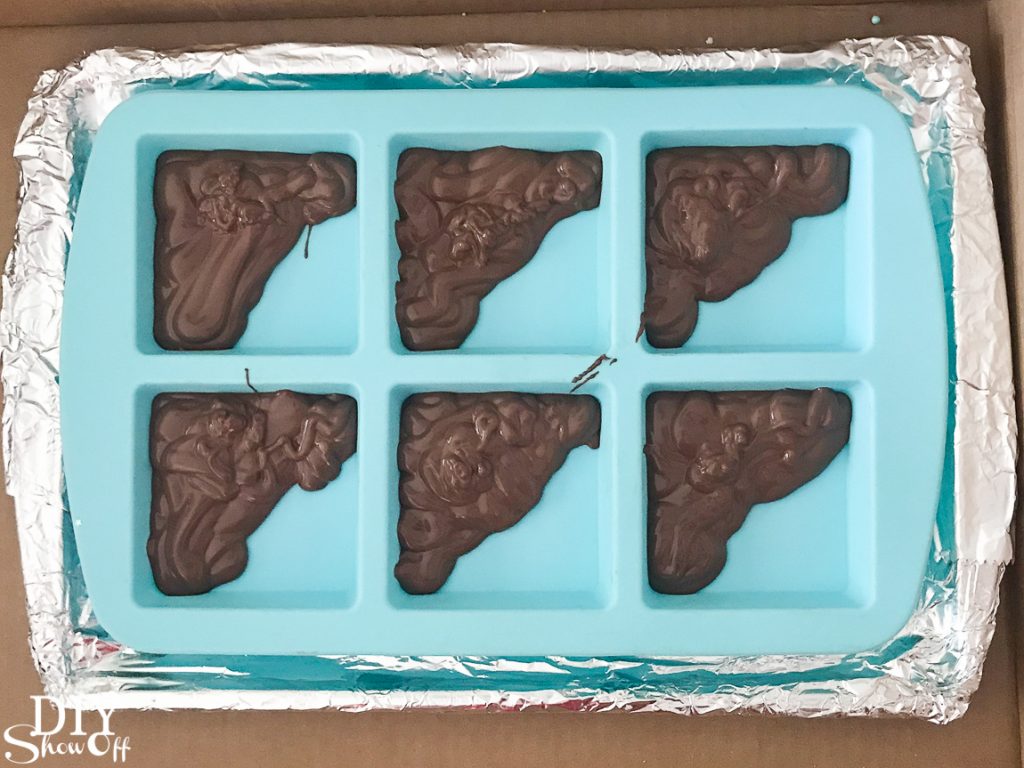