A Chartreuse Door

Mini-makeover…

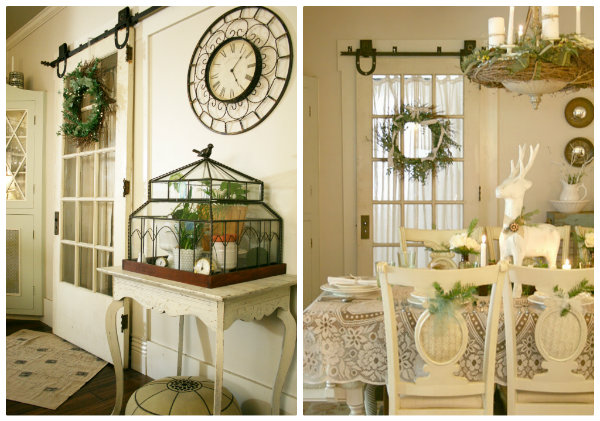
When we first installed the sliding door, I embraced it’s original old paint.

interior sliding door

But over the past year, it did feel more “dirty” even after a good scrubbing than “charming”. It just reminded me of the cold weather and dirty snow…blah. You can’t tell from the pictures. But it did have that dirty old worn finish.

Remember how my brain sometimes works with DIY? It’s usually a spur of the moment decision that wasn’t in my plan for the day or ever. That happened with painting the sliding door in our dining room.

And remember when I painted the door in the apartment renovation

apartment door

I fell in looooove with that color. A beautiful happy shade of green.

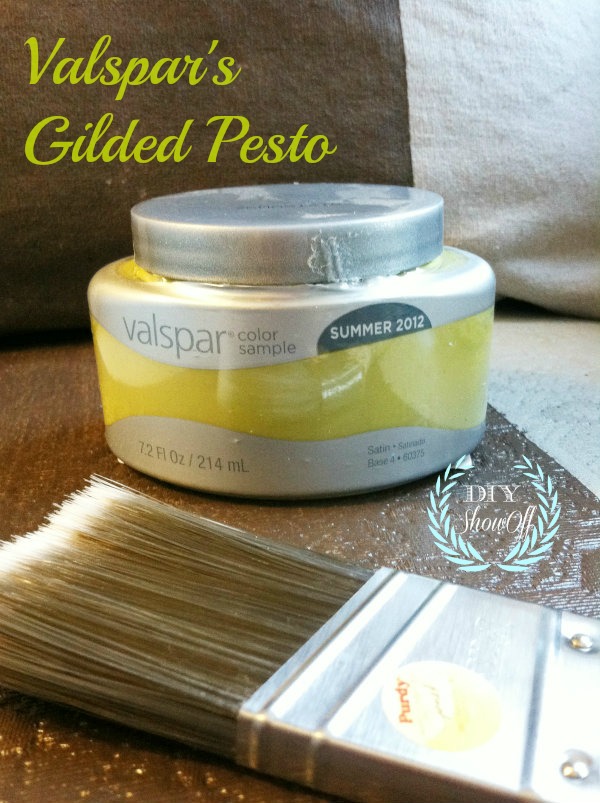
The beginning of the new year consisted of cleaning and organizing the basement somewhat. I stumbled across packed boxes of supplies and tools from the apartment renovation…still not unpacked since November. While putting things away, looky what I found:

Valspar Gilded Pesto

chartreuse green

And just like that, in that five minute time span, I decided to paint the sliding door in the dining room, to add some “spring” color to the dingy, dirty, neutral white. No wonder it takes me FOREVER to clean. Distractions get me every time.

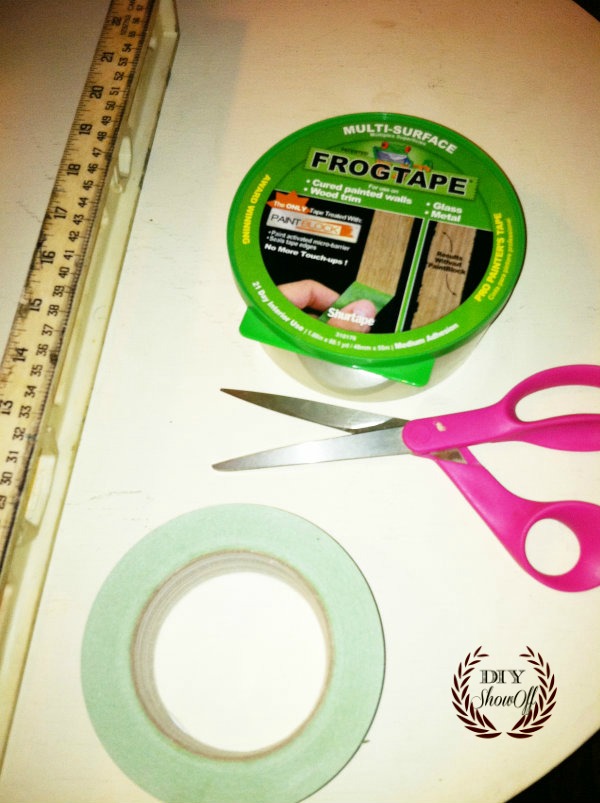
FrogTape

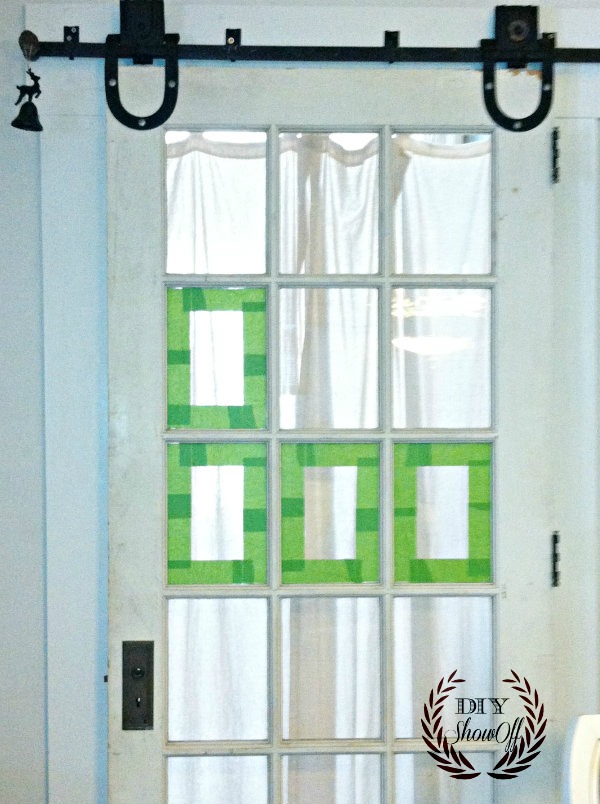
I started by taping off the glass around the mullions with my favorite stash of FrogTape, making sure the edge of the tape was flush against the corner where wood met glass. It doesn’t leave a sticky residue when removed…and I’m all for making a last minute DIY easier.

{you can see the dirty original paint job better in this picture}

FrogTape on glass

{curtain is for privacy in the guest room or maybe hiding junk in what’s become a storage room…ummm, I’m not telling}

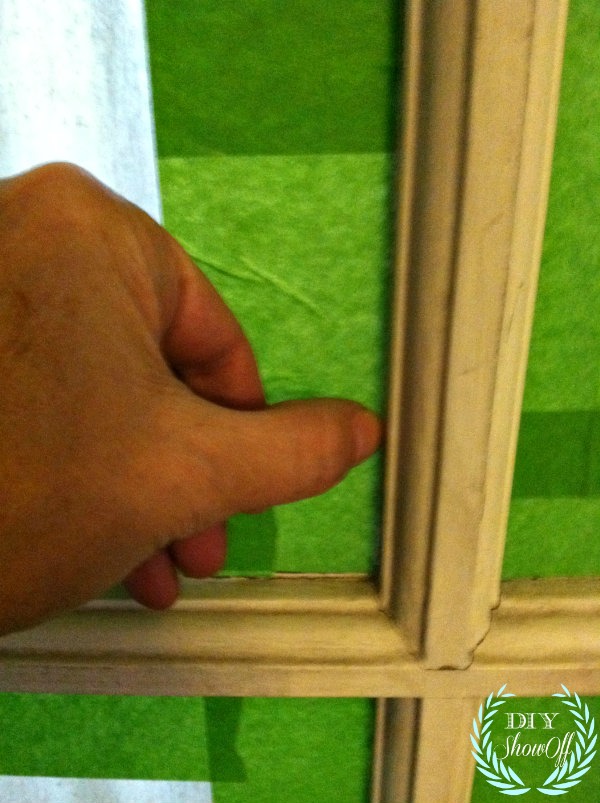
I used my thumb to burnish the edges of the Frogtape to prevent paint from seeping underneath.

burnishing the tape

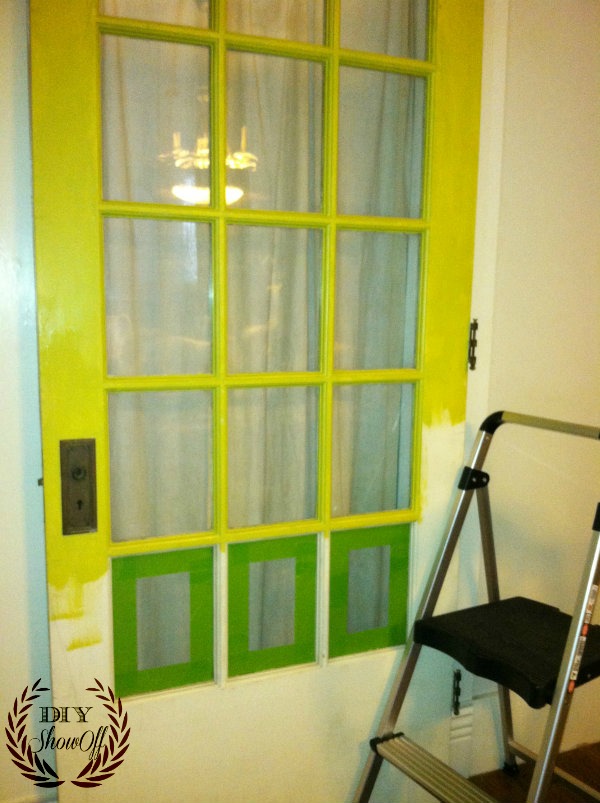
Then applied two coats of my sample container of paint.

painting door


{oops…One coat looked great while wet so I removed tape. I did a second coat on the flat parts after coat 1 was dry}

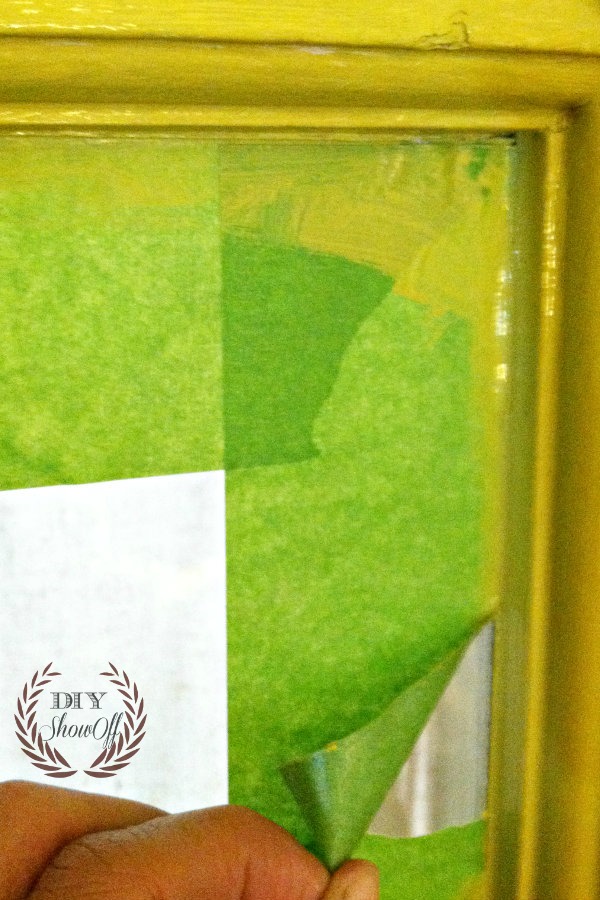
I removed the tape immediately after the second coat, pulling away from the wood.

removing tape

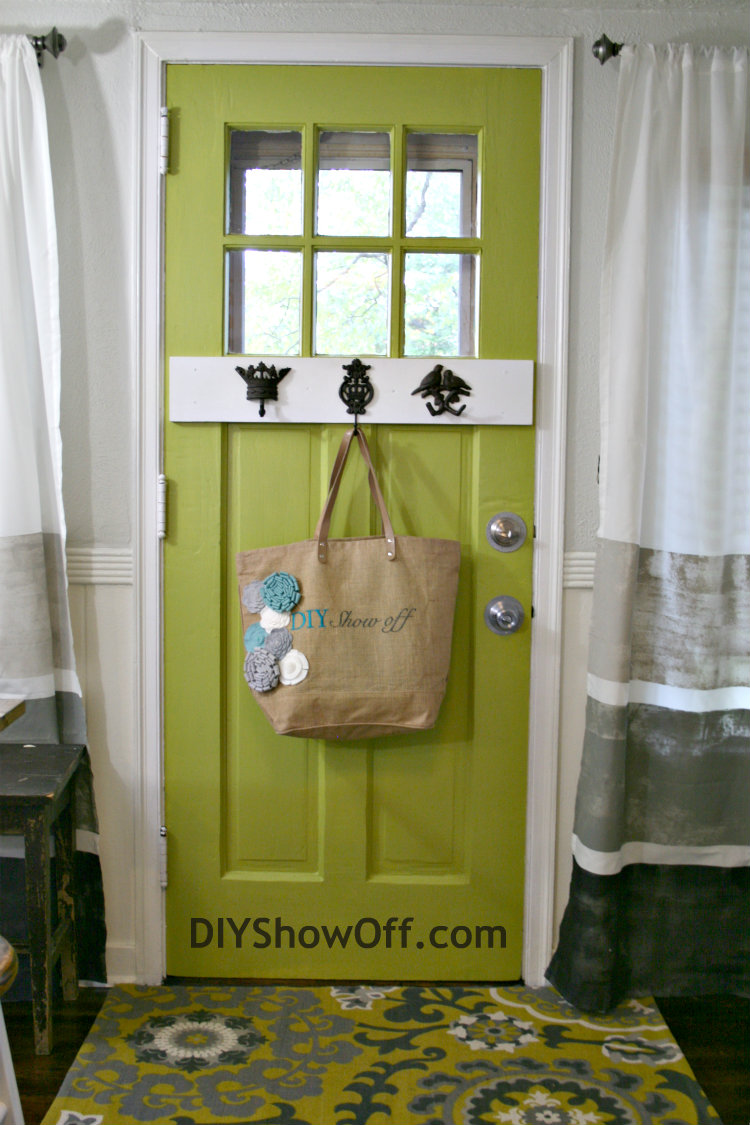
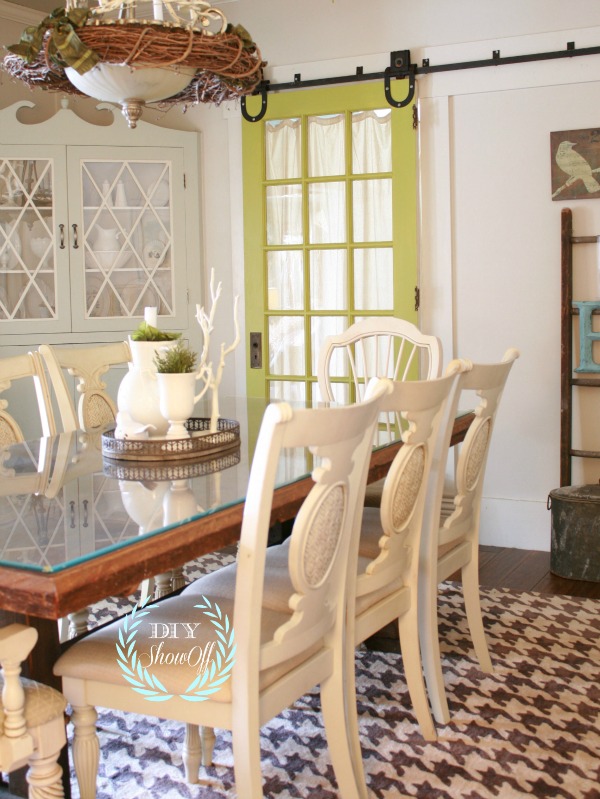
Ta-da…the after:

painted door after


again…here’s the before:

shabby chic dining room

What do you think? Do the seasons aid in changing your decor? How finding inspiration and materials that you forgot you had when cleaning and organizing? Either way…I’m loving the new pop of color!

chartreuse paint

  • paint the built ins and add hardware to the bottom doors
  • swap out the light fixture (wait ’til you see the new one!!!)

*This is a sponsored post brought to you by FrogTape. The opinions are completely my own based on my experience. Results may vary. 

FrogTape Blog Squad

Sharing at:

Beneath My Heart’s Best DIY Projects of January

FJI’s Saturday Night Special

Thrifty Decor Chick Before and After party

Tufted Upholstered Twin Headboard Makeover

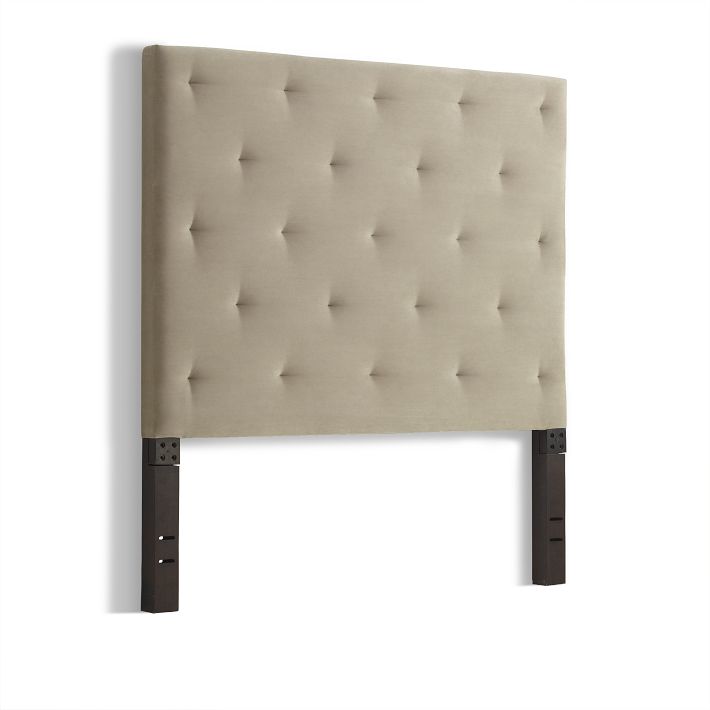
Ali needed a twin bed for her apartment. She wanted a neutral upholstered headboard with tufting.These were perfect for what she had in mind, except the $250+ price tag was not in her budget.

inspirationwest elm diamond tufted headboard

West Elm Diamond Tufted Headboard in sand

bellacor tufted headboard

Bellacor tufted twin headboard in premier oatmeal

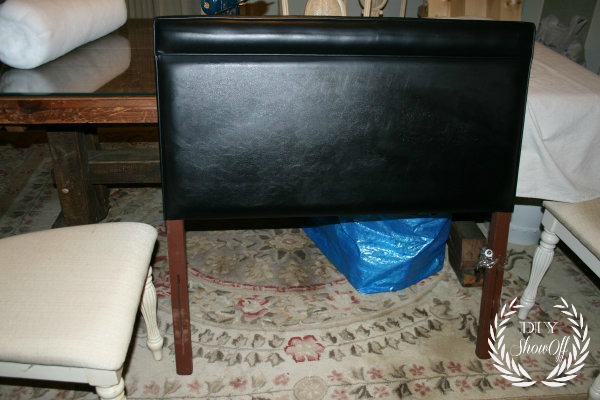
We were up for the DIY “get this look for less” challenge. We found this vinyl covered gem at a second hand store… {$20 including the bed frame!}

beforeupholstered headboard before

What we used:

  • old headboard
  • batting
  • fabric covered button kit
  • drop cloth
  • fishing line
  • FrogTape
  • staples & staple gun

Once I got the headboard home, I discovered that the headboard itself was not solid. There’s only a wood frame covered with vinyl. It’s hollow. Darn. But we moved forward, fingers crossed.

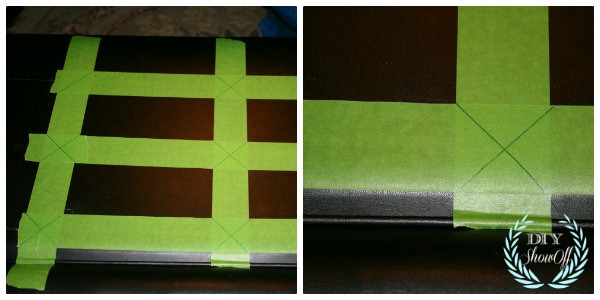
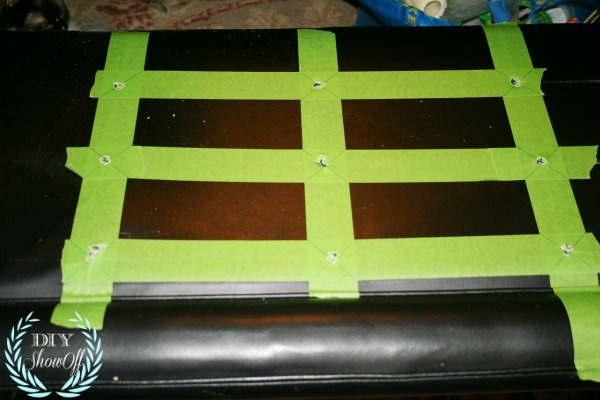
First step was to determine where the buttons for tufting would be placed. I created a grid on the back of the headboard using FrogTape.DIY headboard marking for tufts

Since marking black vinyl is a little tricky, the Frogtape helped to mark the areas I wanted to drill a hole…drilling headboard

I removed the FrogTape but it won’t hurt to keep it in place.

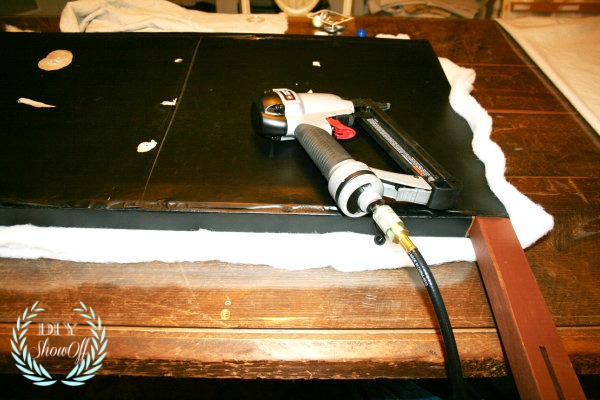
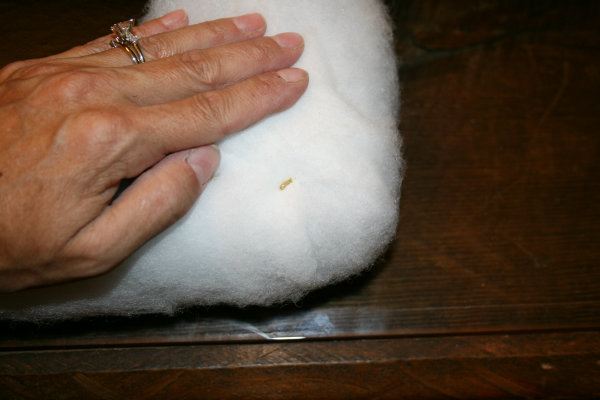
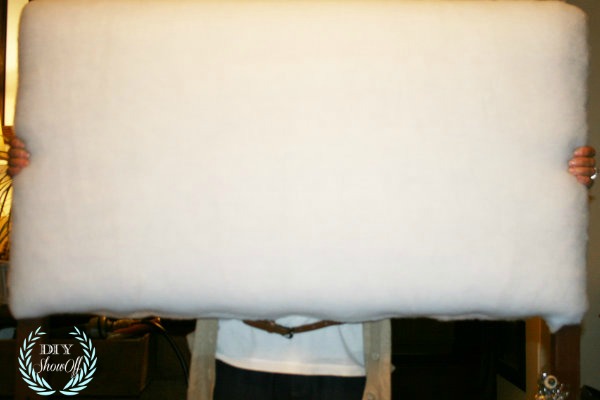
Next, I rested the headboard on top of a piece of batting and cut batting big enough to wrap around the edges onto the back side. You can use spray adhesive to help hold it into place.

Staple batting onto the back side of the headboard. stapling batting onto headboard

This is how I wrapped and secured the corners: by pulling the corner of the batting over the corner of the headboard, stapling, then folding and stapling the long edges of the batting. It was a little tricky around the leg of the headboard, just make sure batting lays smoothly.upholstered headboard corners

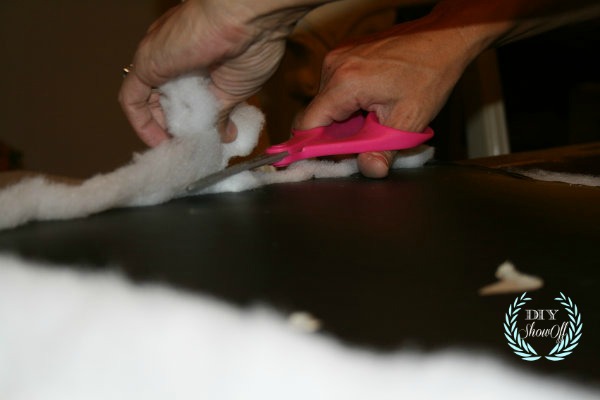
Carefully trim away the excess batting…trimming batting

Here’s how it looks from the front: upholstering a headboard

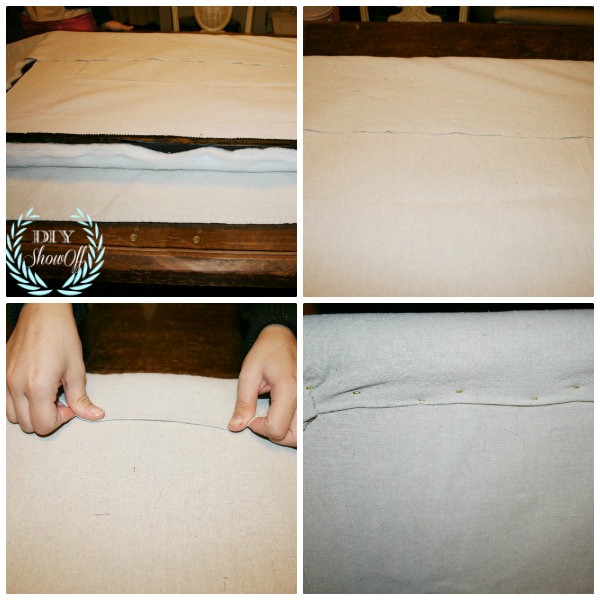
While I covered the back of the headboard with sheet of drop cloth measured and cut to fit the back side using spray adhesive to hold into place then followed the same steps above with the drop cloth fabric…DIY upholstered headboard

Ali covered buttons using dropcloth scraps {she’s less than thrilled about the photo op. lol}…covering tufting buttons

To create tufting with, use a finishing nail to hold the fishing line in place. To keep it from going through the drilled hole, place the nail through the loop in the thread. Lay the finishing nail across the back of the hole and loop the thread over the nail and back up through the hole. Repeat a few times and then tie off the thread to the finishing nail. Twist the nail to draw the button down into the fabric to the desired depth. Use a staple gun and staple diagonally across the nail to secure it and keep it from unwinding {more tufted button instructions at wikihow}.tufting an upholstered headboard

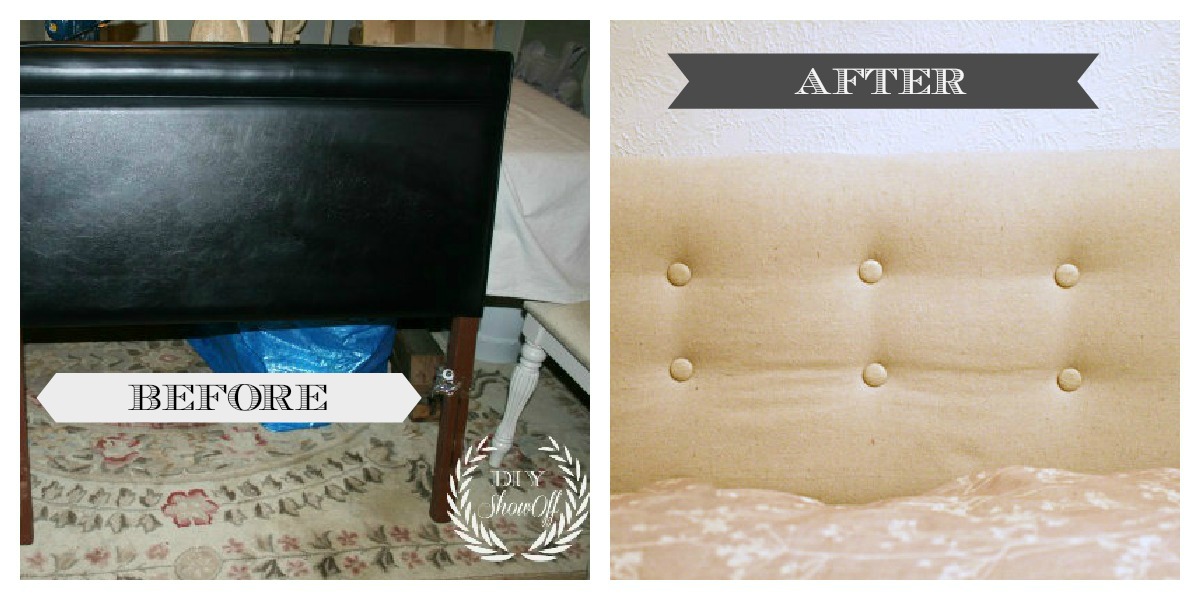
Before and After…

before and after headboard

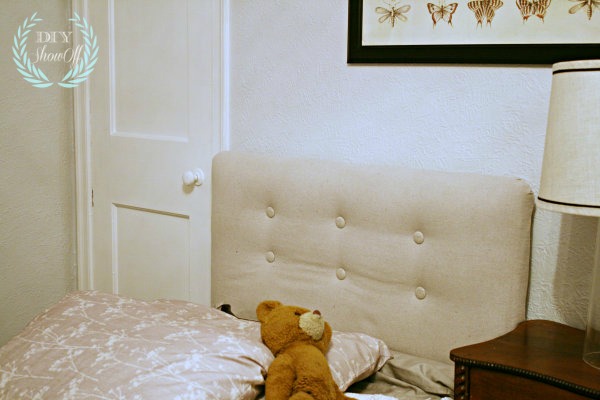
Total cost of DIY: less than $50!

DIY tufted upholstered headboard makeover

You might also like:

Stay tuned for more on the apartment decorating and reveal!

Facebook
DIY Show Off - FacebookDIY Show Off - TwitterDIY Show Off - PinterestDIY Show Off - FeedDIY Show Off - HomeTalkDIY Show Off - G+

This is a sponsored post brought to you by FrogTape. The opinions are completely my own based on my own experience. 

FrogTape Blog Squad
Sharing here: Transformation Thursday at The Shabby Creek CottageHome Stories A2ZDIY Show Off

Looking back: 2012 DIY recap

As a DIY’er, I’m always taking a look at what’s not finished, what needs work and planning my next project. But at the end of the year, I love looking back and reflecting on everything we did accomplish. 2012 was a busy year! Here is a recap of some of my DIY. {Warning: This is long. Who knew? Some of these feel like a lot longer than the past year.}

First and foremost…whether you’re a long time DIY Show Off reader or it’s your first visit…welcome! And THANK YOU for your support and encouragement in 2012. 2013 will be my 6th year of blogging and I’m looking forward to many more years!

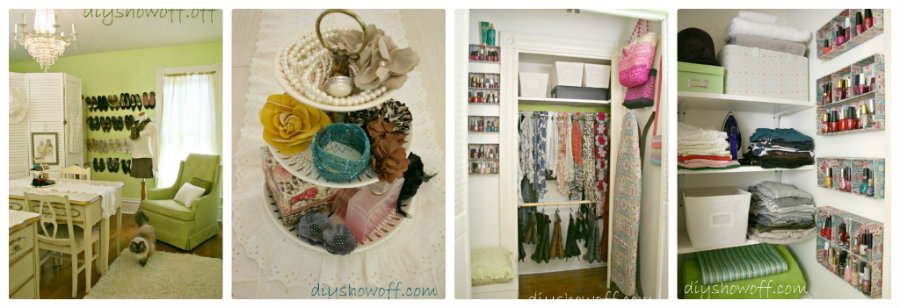
January – a DIY dressing room reveal with ideas for organization

dressing room

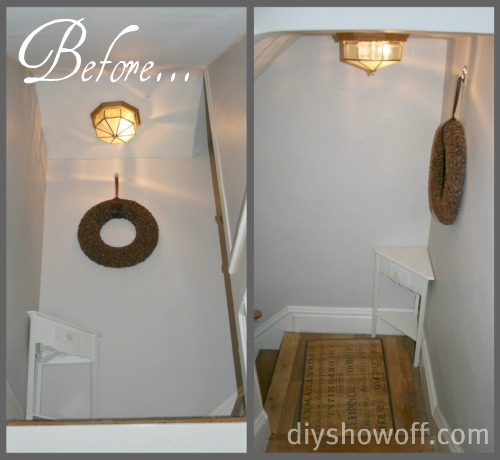
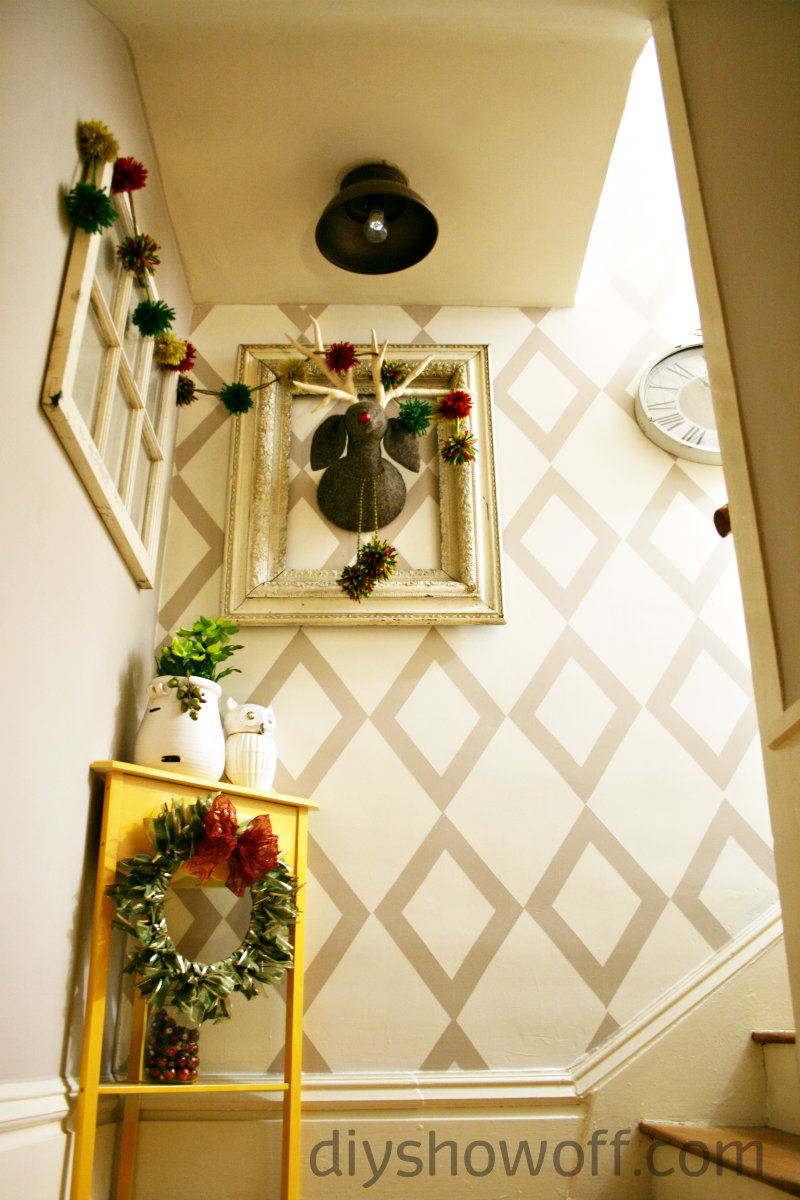
 a stairway/landing makeover

after {now} and all dressed up for Christmas…

stair landing Christmas time

February: vintage inspired craft room reveal

vintage craft room

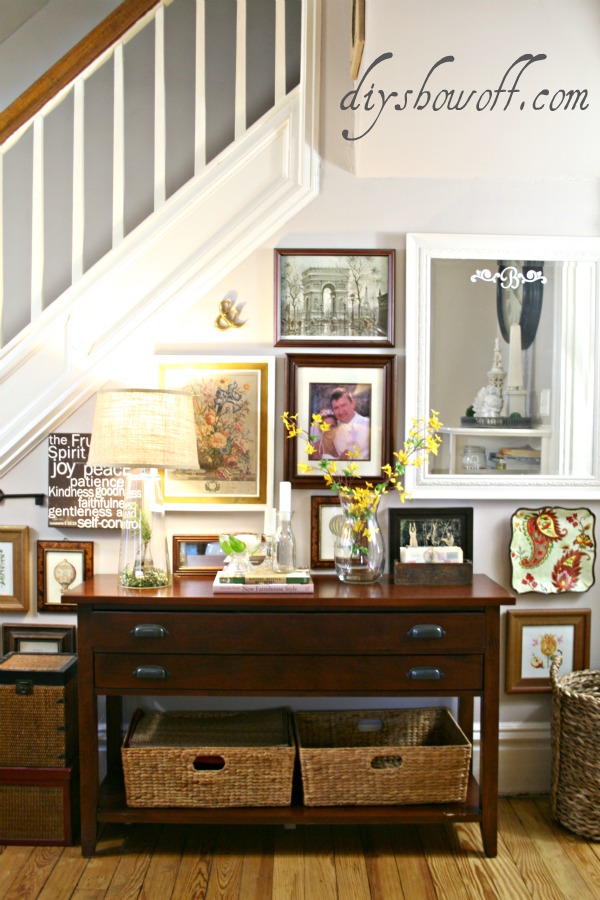
Reading nook and living room updates…we’ve since installed new distressed wide plank bamboo flooring.

gallery wall, thrift store wall art, console table, stair wall, living room

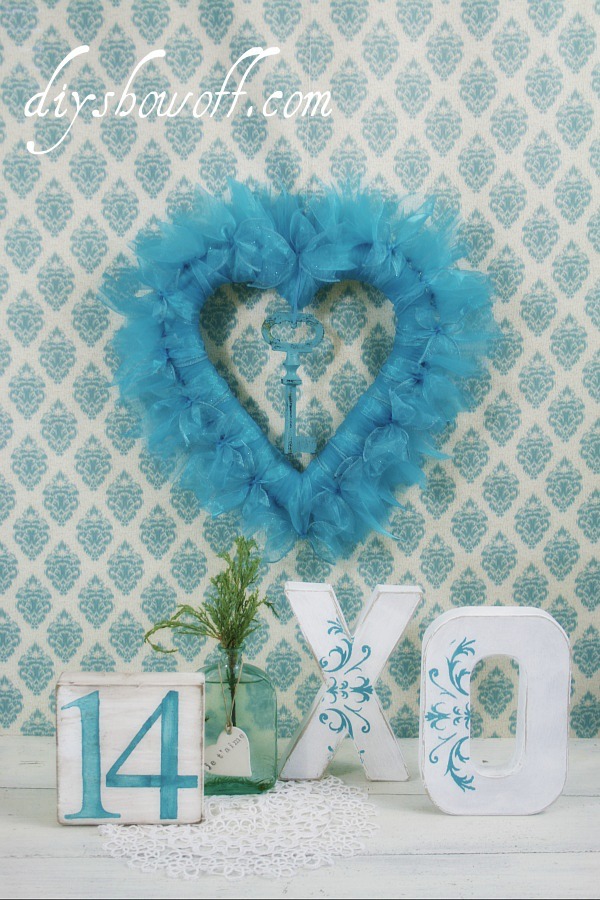
blue Valentine DIY decorative accents

fun wood block accent tutorial
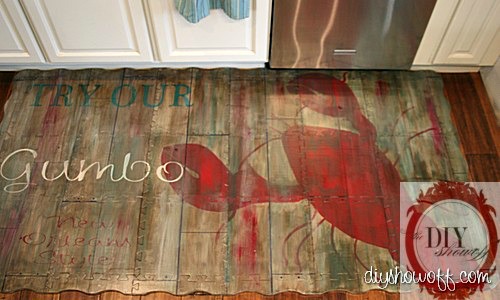
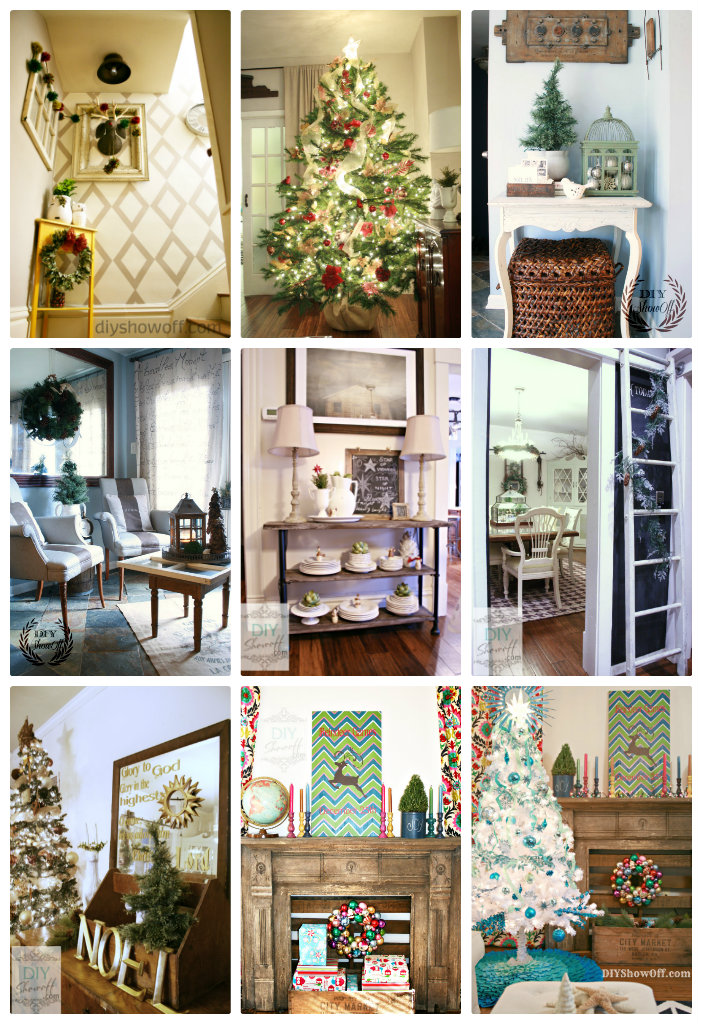
March: a painted foam puzzle playmat

painted foam playmat, rustic vintage restaurant sign, do it yourself, tutorial painted rug

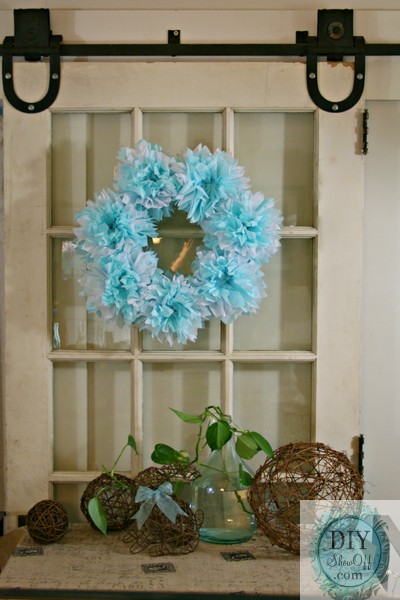
a tissue paper pouf wreath

tissue paper wreath

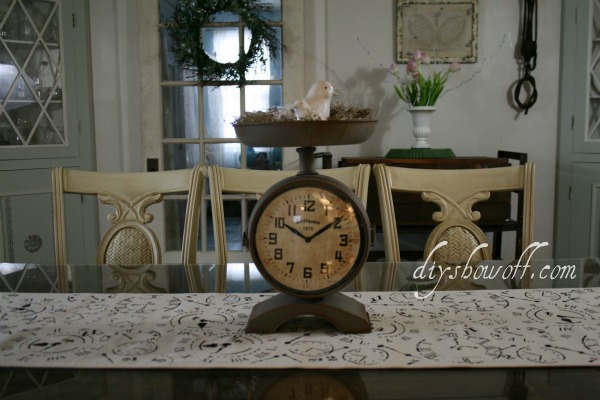
 a DIY canvas table runner

clock theme dining room

Easter decorating DIY

 Easter, decor, do it yourself, faux chocolate bar sign, wood sign, centerpiece

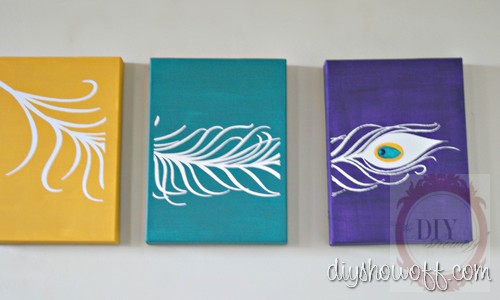
DIY peacock feather triptych

April: easy DIY baseboard tutorial
DAP Dyna Flex baseboard caulking tutorial

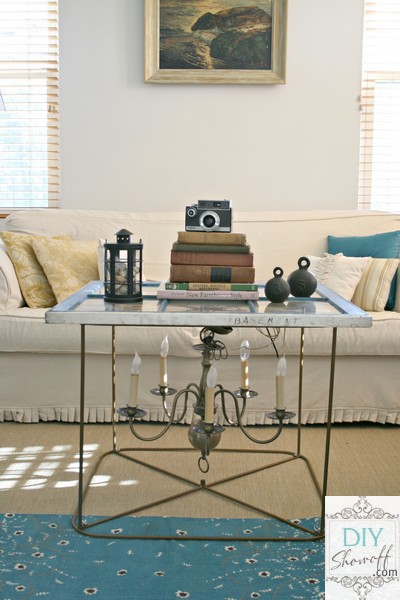
and talking about chandeliers

repurposed coffee table

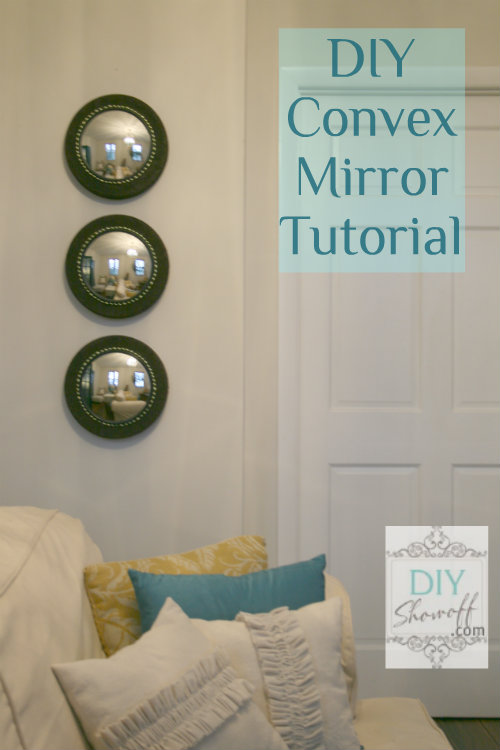
May: Styrofoam convex mirror tutorial

DIY convex mirror tutorial

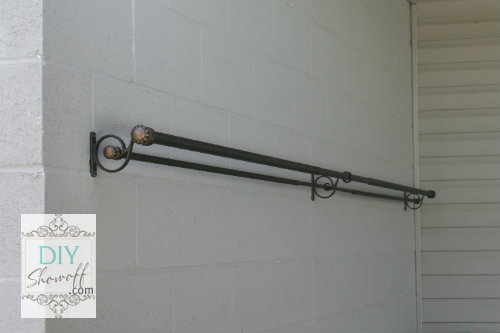
opening the pool at mom’s! I shared my mom’s idea for hanging beach towels…a DIY beach towel rack from large double curtain rod.

curtain rod towel bar

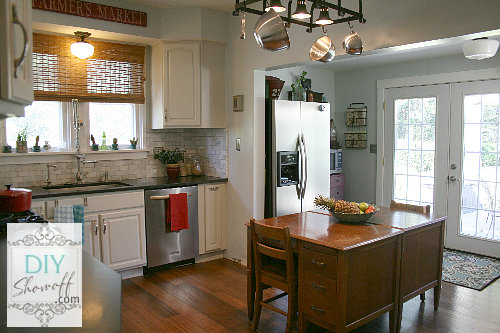
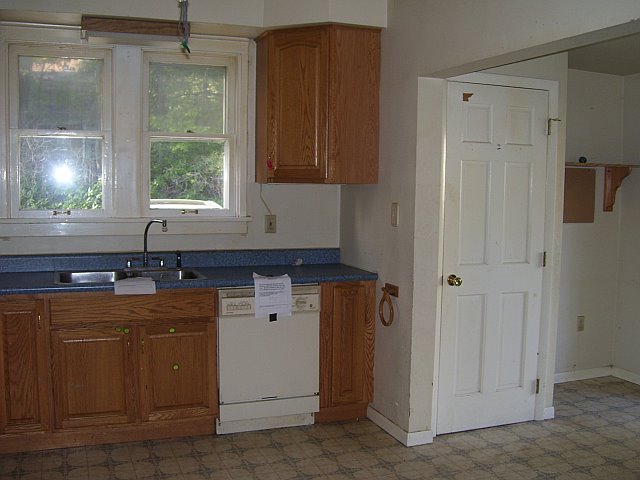
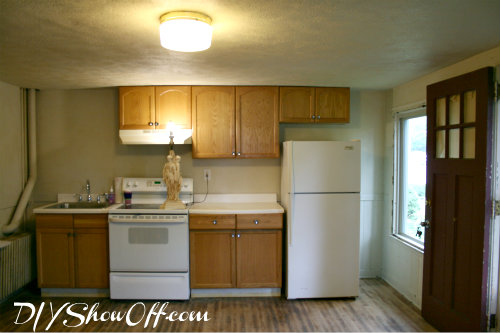
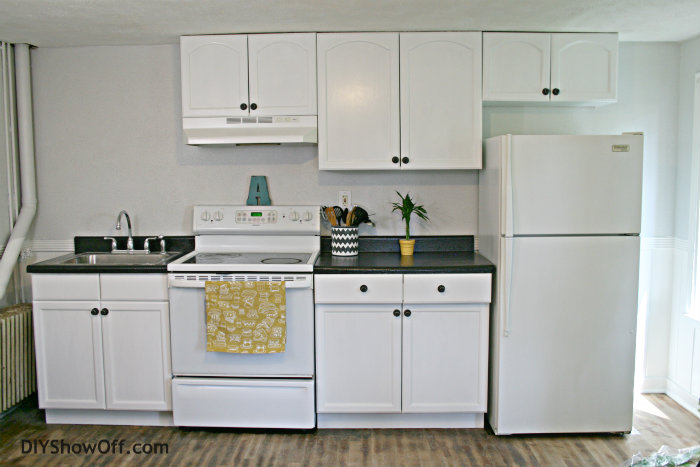
In June, I found some “before” kitchen pictures and shared our kitchen makeover in reverse…

now…

farmhouse kitchen

{more of our eclectic farmhouse kitchen details}

before…

farmhouse kitchen before

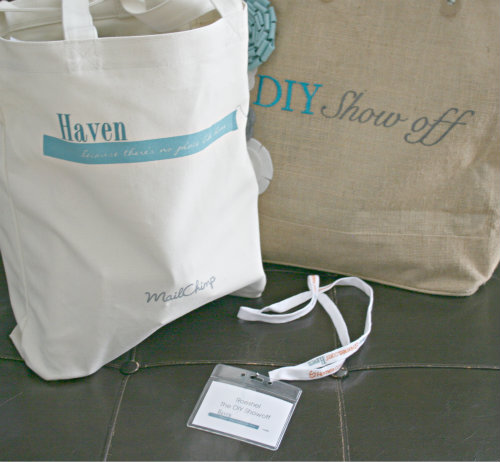
The Haven conference was definitely a 2012 highlight: my favorite topics {DIY and decorating} and meeting others I’ve “known” who share my love of DIY and blogging…who’s going this year? This girl right here!

Haven 2012 swag bag

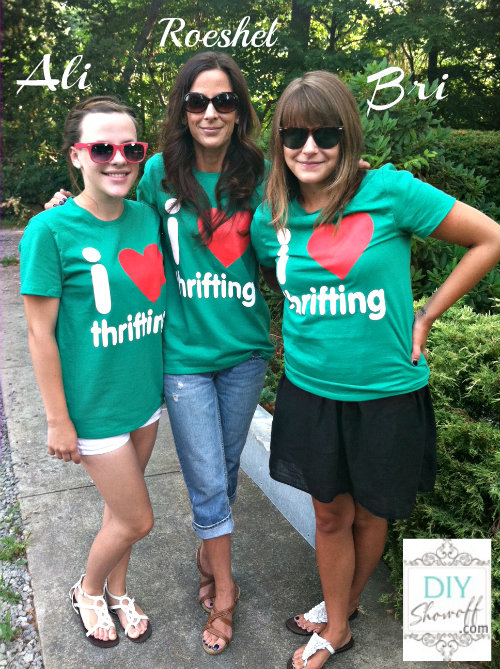
July – I had the pleasure of hosting the Pittsburgh I LOVE Thrifting Day for the 2nd year! An opportunity for my favorite past time: spending time with my girls and family, thrift store shopping and meeting local blog friends.

DIY Show Off #ilovethrifting

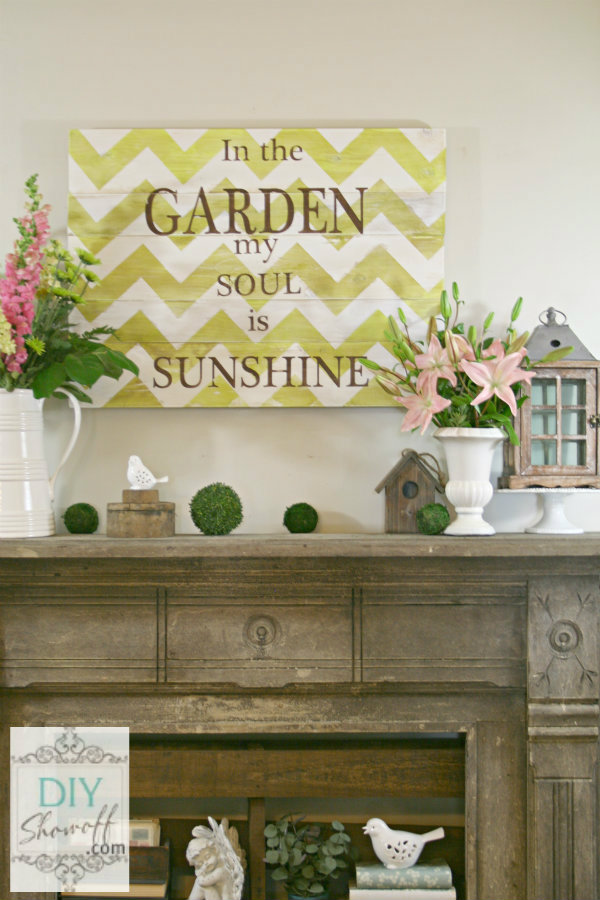
August: DIY distressed chevron sign {wood plank}…

garden sign

headboard door pediment

DIY repurposed headboard

Summer & Fall 2012:

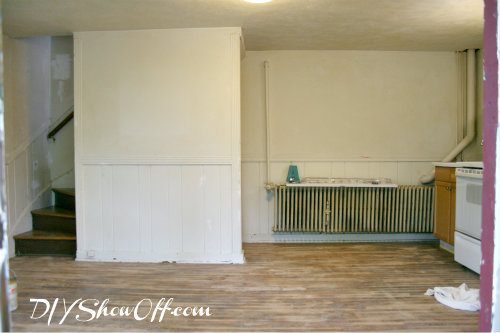
before

 apartment walls before

Apartment renovation – I took on renovating a tiny three room apartment from minor cosmetic to interior decorating. From refinishing floors, lots of clean up and painting, a budget friendly bathroom makeover and tons of DIY thrifty decorating fun! While meant to be a summer project, it’s turned out to take a little more time. I don’t mind. You know I love working, DIY and decorating. I will be taking final photos this week and sharing the reveal in the next few days! So exciting! But here are some projects related to renovating and decorating the tiny apartment that I did have a chance to share…

after

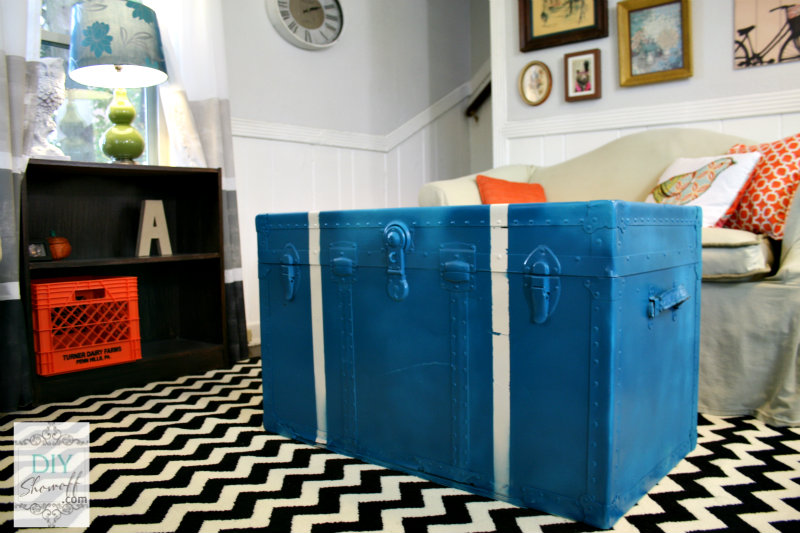
Tiffany & Co. spray painted steamer trunk

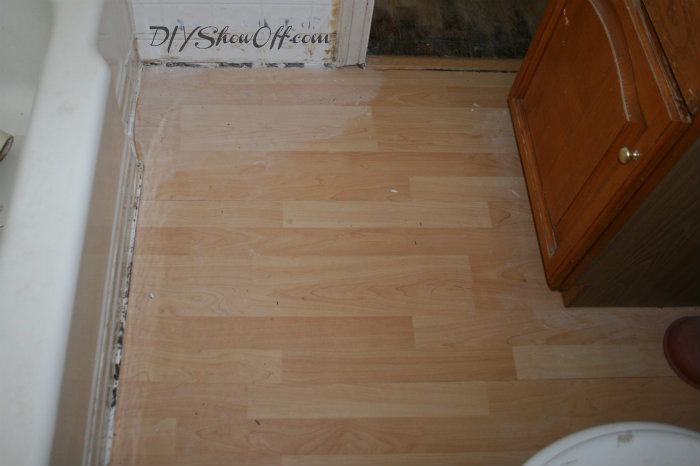
bathroom floor before

bathroom makeover - before

bathroom floor after {tips for tiling}

Daltile Carrara ceramic tile

See all things related to the apartment renovation here! Reveal and more project updates coming soon.

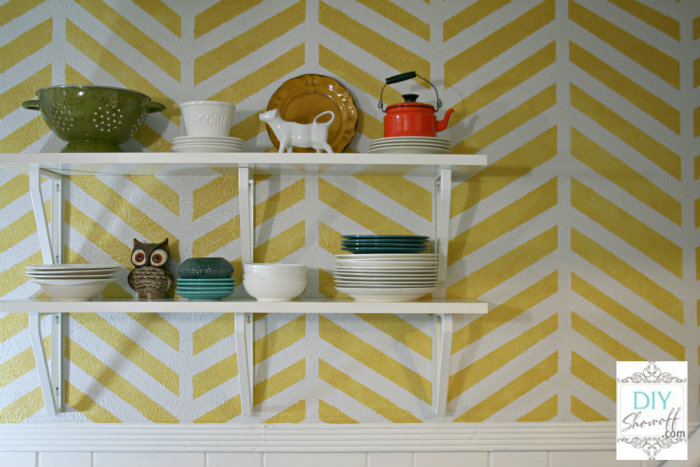
herringbone accent wall

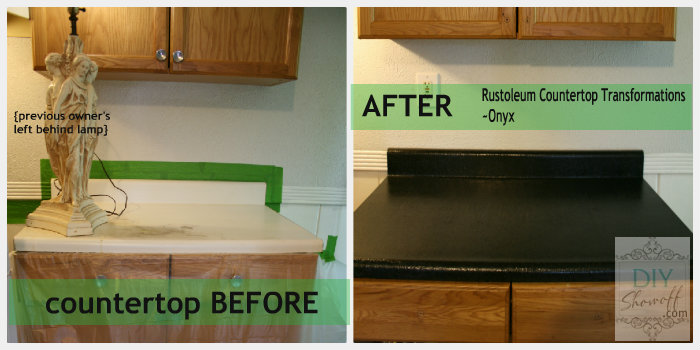
Rustoleum Countertop Transformations:

Rustoleum Countertop Transformations before and after

Rustoleum Cabinet Transformations/painting kitchen cabinets:

before

apartment kitchen before

after

Rustoleum Cabinet Transformations pure white

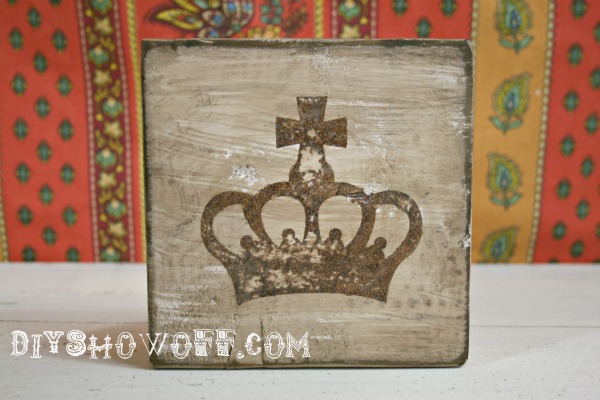
September: rustic DIY sign tutorial

distress sign tutorial at DIY Show Off

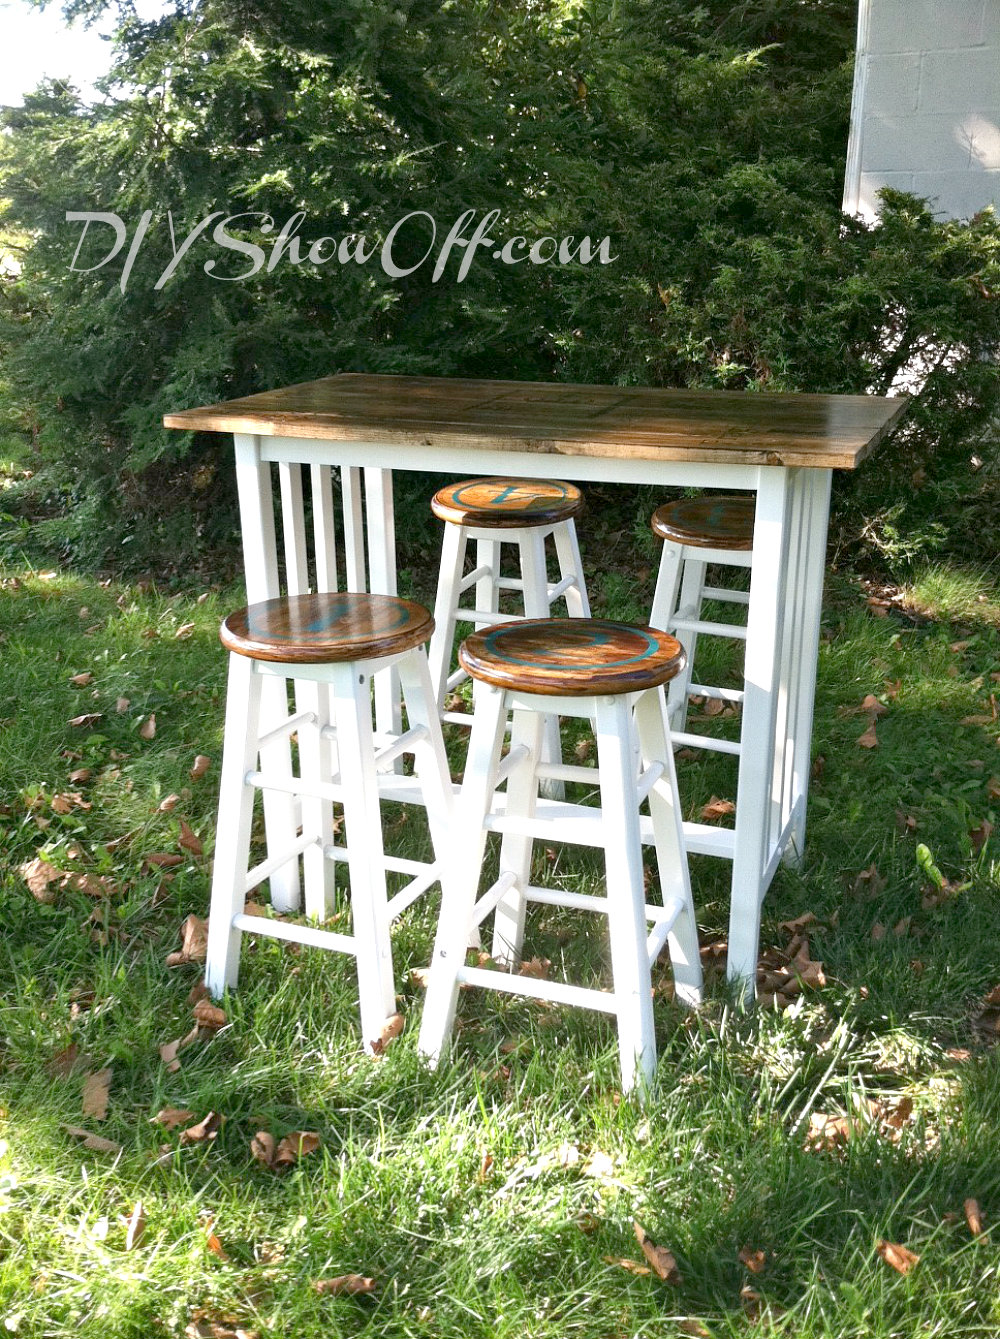
a kitchen bar makeover. An outdated kitchen bar set gets a new look for a tiny eat in apartment kitchen.kitchen island makeover

October: A little behind the scenes of the DIY Show Off blog. {more of my blogging story and the “real” life behind blogging…not as glamorous as it look!}

life of a blogger quote

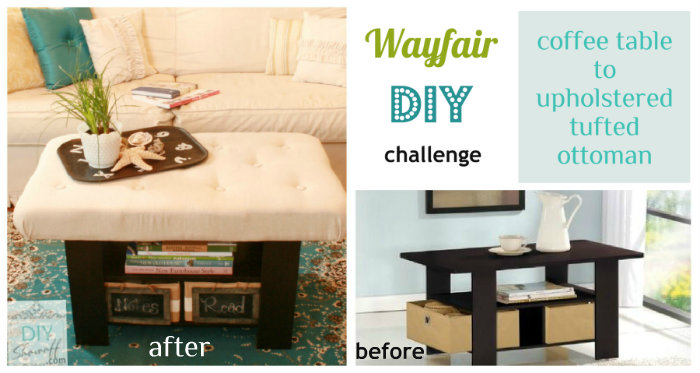
November: how to turn a coffee table into an upholstered ottoman.

DIY upholstered tufted ottoman

Decembersitting room mini-makeover.

and a little motivation with colorful Christmas decorating to get the family room makeover going in 2013…

colorful eclectic Christmas

Coming up in 2013? It’s a little ambitious, but here’s a look at my DIY wish list:

  • family room renovation – time to get this eclectic room done! I’m considering making it a bit of a craft space as well. Current craft space is a bit jam packed and upstairs. Who needs a family room right next to a living room anyway?
  • front door and front entryway – I long for a front door, a beautiful welcoming front entry for welcoming guests.
  • pantry and kitchen island – these were meant for 2012 but never started.
  • laundry room makeover – I have the ugliest laundry room on the planet. When we moved in, I relocated it from the scary spidery basement to the first floor. That’s all I can say.
  • bathrooms…I have 2 upstairs that need renovated. Huge embarrassing bathroom spaces. I’m ready for a dream bathroom, relaxing cottage style.
  • master bedroom…always last on the DIY priority list, but maybe ’13 will be the lucky year. ?
  • Not DIY…rescuing a dog (working from home = little socialization and missing the company of our doxie).
  • Haven 2013! Bring it on!
  • Working on some blog design and layout changes as well. Toying with the idea of a new lifestyle blog (with DIY here of course) but thoughts of keeping up with two blogs is sort of scary!

Want to see more DIY?

Would you be interested in DIY Show Off continuing the annual yearly “looking back” linky party? In the past, it’s run the first week of January.

Like what you see? Stay up-to-date in 2013…
Facebook
DIY Show Off - FacebookDIY Show Off - TwitterDIY Show Off - PinterestDIY Show Off - FeedDIY Show Off - HomeTalkDIY Show Off - G+