


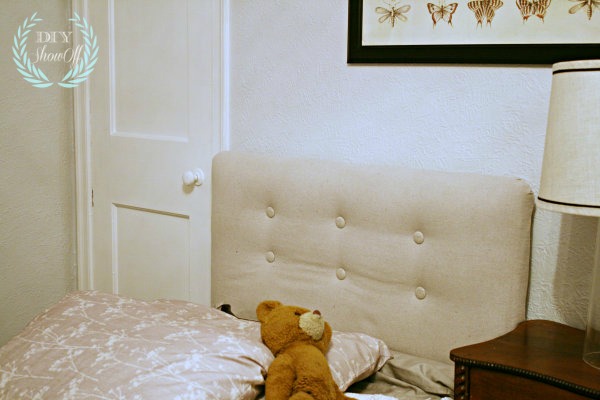
Ali needed a twin bed for her apartment. She wanted a neutral upholstered headboard with tufting.These were perfect for what she had in mind, except the $250+ price tag was not in her budget.
inspiration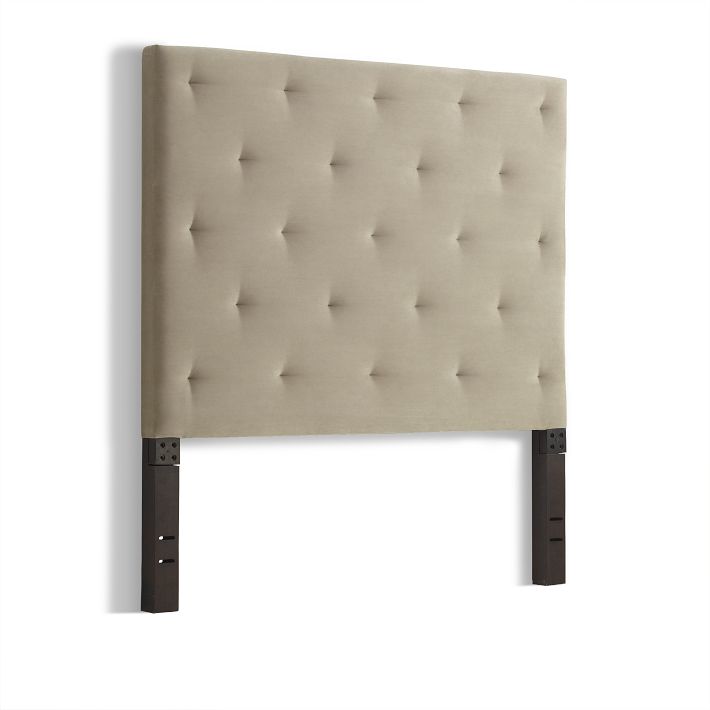
West Elm Diamond Tufted Headboard in sand
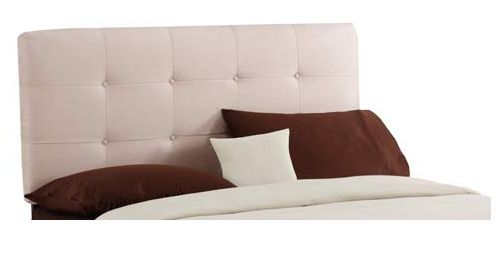
Bellacor tufted twin headboard in premier oatmeal
We were up for the DIY “get this look for less” challenge. We found this vinyl covered gem at a second hand store… {$20 including the bed frame!}
before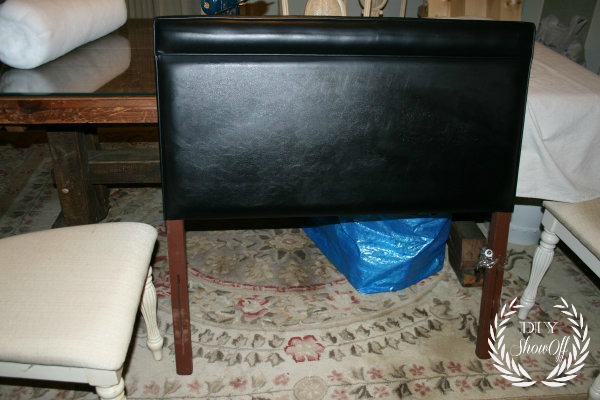
What we used:
- old headboard
- batting
- fabric covered button kit
- drop cloth
- fishing line
- FrogTape
- staples & staple gun
Once I got the headboard home, I discovered that the headboard itself was not solid. There’s only a wood frame covered with vinyl. It’s hollow. Darn. But we moved forward, fingers crossed.
First step was to determine where the buttons for tufting would be placed. I created a grid on the back of the headboard using FrogTape.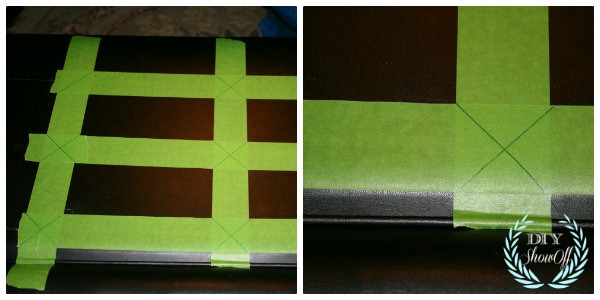
Since marking black vinyl is a little tricky, the Frogtape helped to mark the areas I wanted to drill a hole…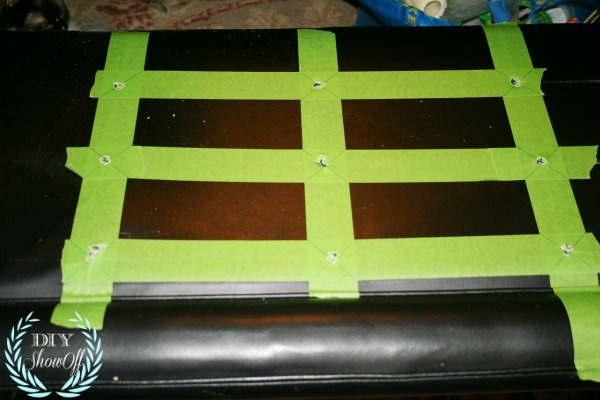
I removed the FrogTape but it won’t hurt to keep it in place.
Next, I rested the headboard on top of a piece of batting and cut batting big enough to wrap around the edges onto the back side. You can use spray adhesive to help hold it into place.
Staple batting onto the back side of the headboard. 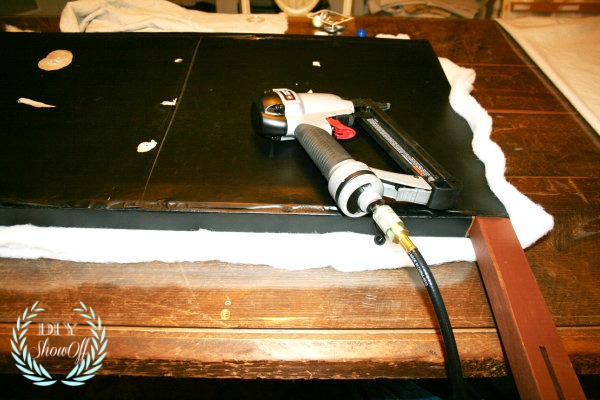
This is how I wrapped and secured the corners: by pulling the corner of the batting over the corner of the headboard, stapling, then folding and stapling the long edges of the batting. It was a little tricky around the leg of the headboard, just make sure batting lays smoothly.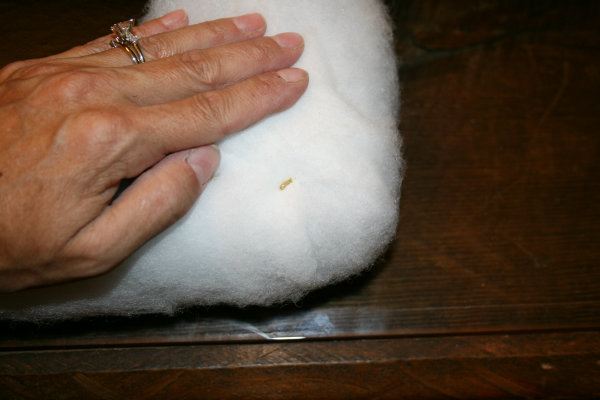
Carefully trim away the excess batting…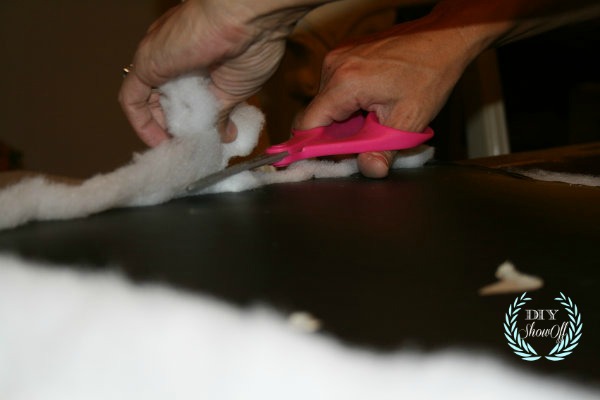
Here’s how it looks from the front: 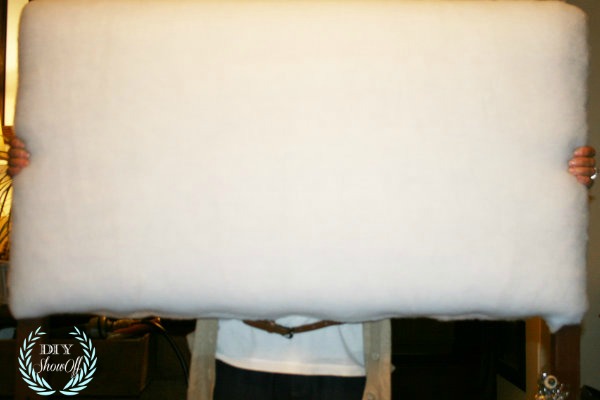
While I covered the back of the headboard with sheet of drop cloth measured and cut to fit the back side using spray adhesive to hold into place then followed the same steps above with the drop cloth fabric…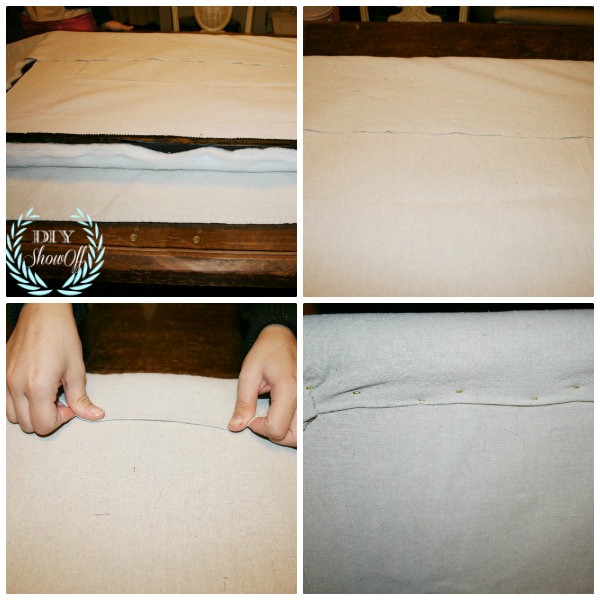
Ali covered buttons using dropcloth scraps {she’s less than thrilled about the photo op. lol}…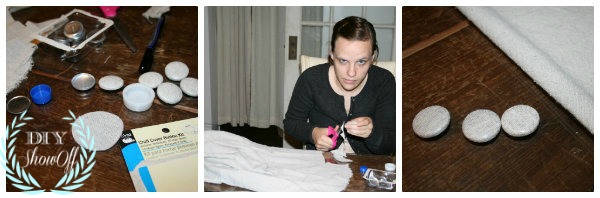
To create tufting with, use a finishing nail to hold the fishing line in place. To keep it from going through the drilled hole, place the nail through the loop in the thread. Lay the finishing nail across the back of the hole and loop the thread over the nail and back up through the hole. Repeat a few times and then tie off the thread to the finishing nail. Twist the nail to draw the button down into the fabric to the desired depth. Use a staple gun and staple diagonally across the nail to secure it and keep it from unwinding {more tufted button instructions at wikihow}.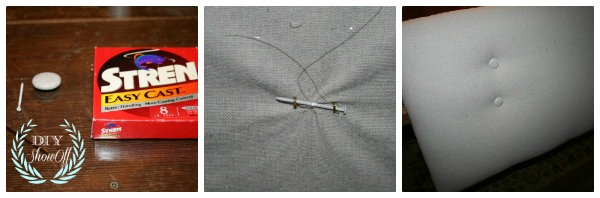
Before and After…
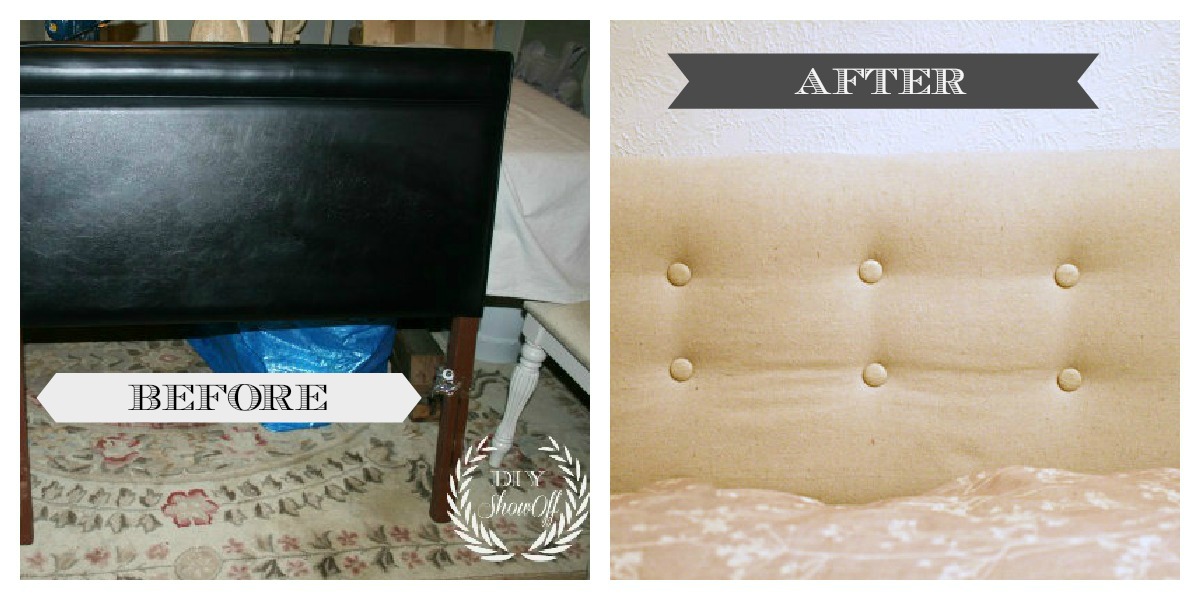
Total cost of DIY: less than $50!
You might also like:
-
How to Upholster a Headboard featuring the Sweetest Digs
- Nailhead Drop Cloth Headboard by Tenth Avenue South
- Julia’s DIY Upholstered Headboard
Stay tuned for more on the apartment decorating and reveal!


![]()

This is a sponsored post brought to you by FrogTape. The opinions are completely my own based on my own experience.
![]()
Sharing here: Transformation Thursday at The Shabby Creek Cottage


