DIY Hanging Organizer (for peg hooks)

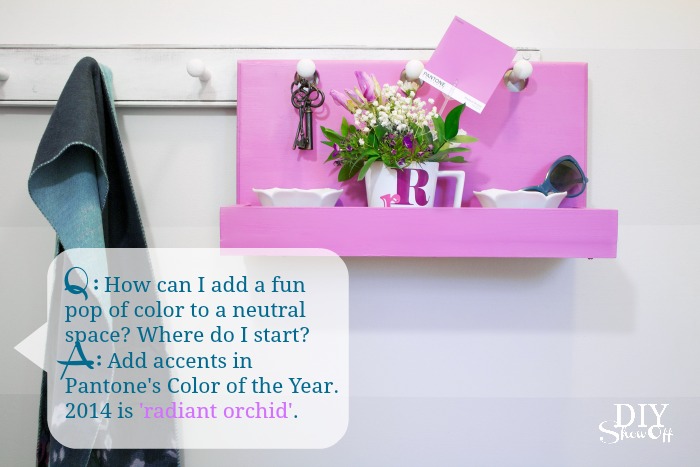
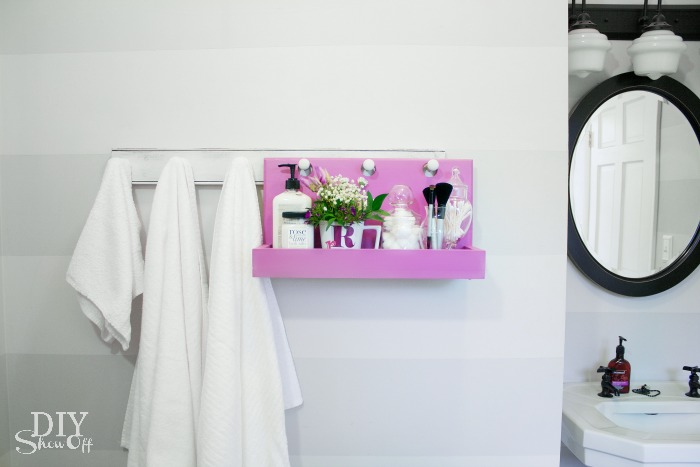
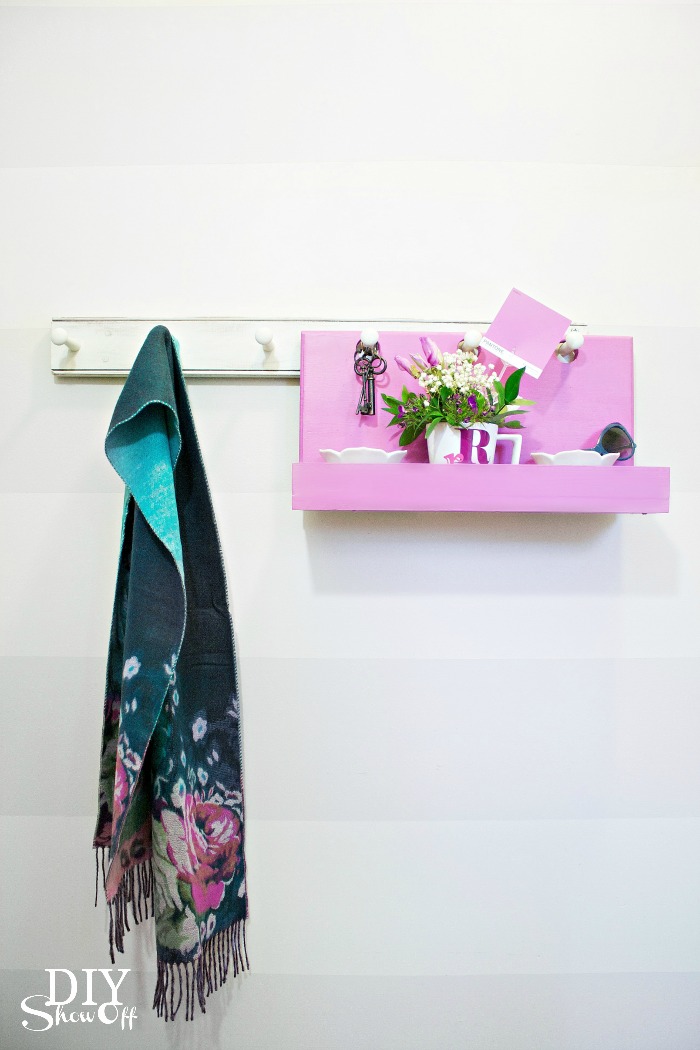
How do you add a fun pop of color to an otherwise neutral room? Try Pantone’s Color of the Year for something you may not normally choose. The Lowe’s Creative Idea March challenge was to use Valspar’s Radiant Orchid. Just a small touch adds elegance to my white and gray space. 

Pantone Color of the Year Radiant Orchid

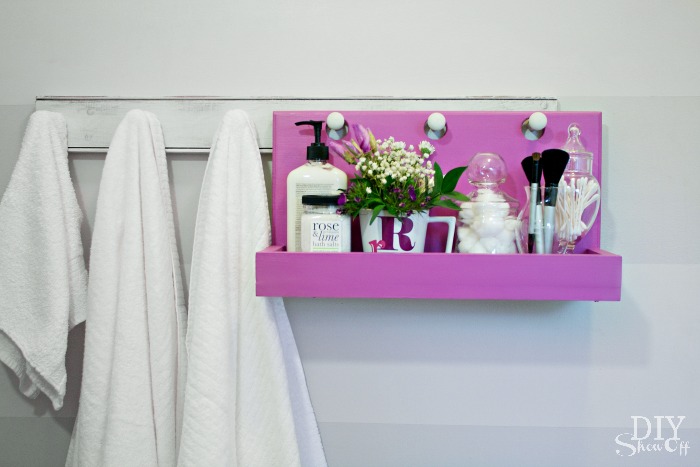
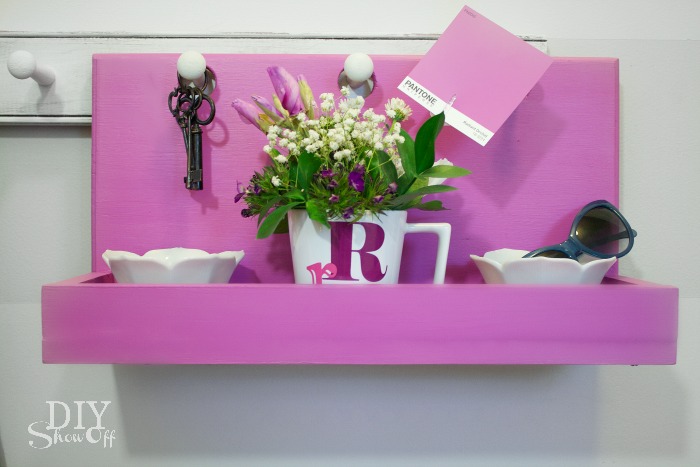
Inspired by PB’s Gabrielle system, I created a wooden peg hook organizing caddy from scrap wood. 

DIY Hanging Organizer Tutorial

Materials I used: Most of my wood was purchased at Lowe’s and is left over from previous projects with the exception of the .50 yard sale find piece shown below. Adjust measurements according to your own needs or scrap wood measurements. Inexpensive pine works well for this project.

  • 1″ x 10″ x 18 1/2″ (back)
  • 1″ x 6″ x 18 1/2″ (bottom)
  • 1″ x 2″ x 4″ (sides)
  • 1″ x 2″ x 18 1/2″ (front)
  • 1″ deep (or however thick your peg hook rack is)  x 1″ tall  x 6″ wide (back stop piece)
  • Gorilla Wood Glue
  • 1 1/2″ wood screws
  • Wood filler
  • Valspar Radiant Orchid 

What I did:

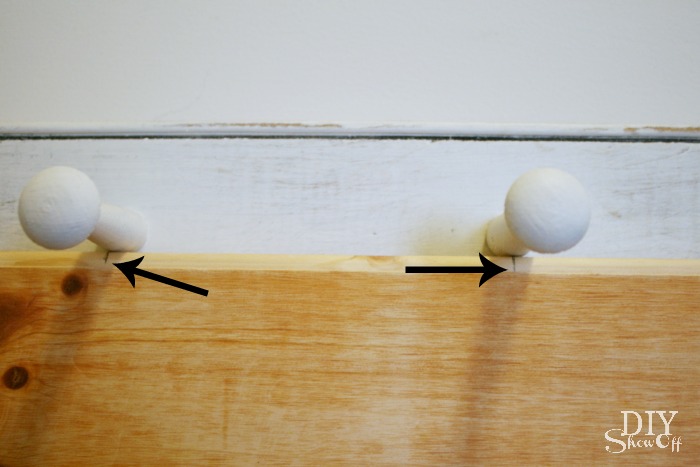
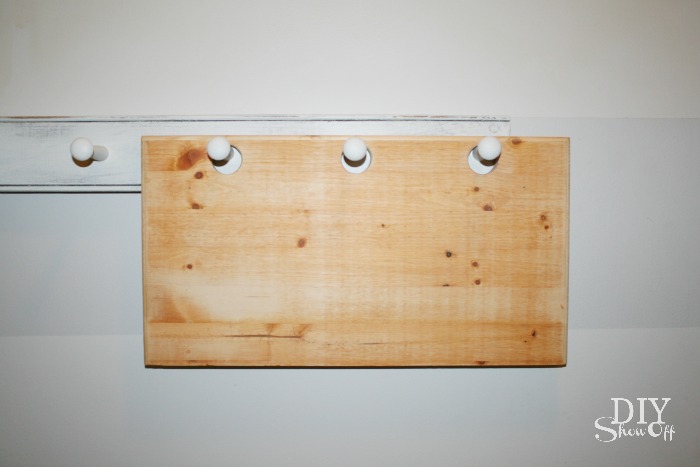
Mark the center top of the back piece of wood. Hold up to a peg on your coat rack, lining the center with the center of a peg. On the wood, mark the center of each peg placement.

DIY peg hook caddy tutorial

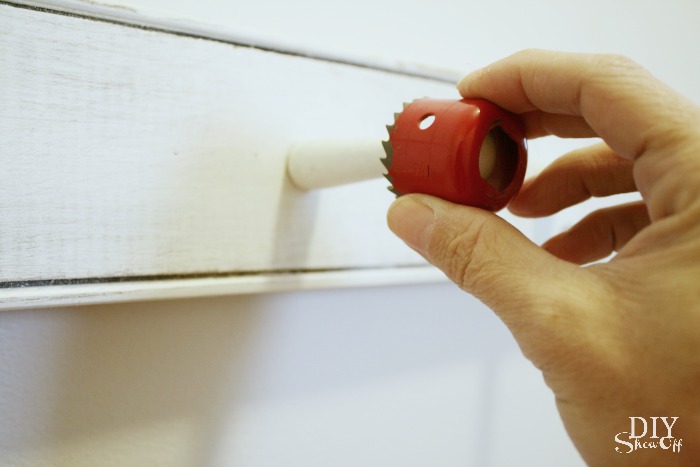
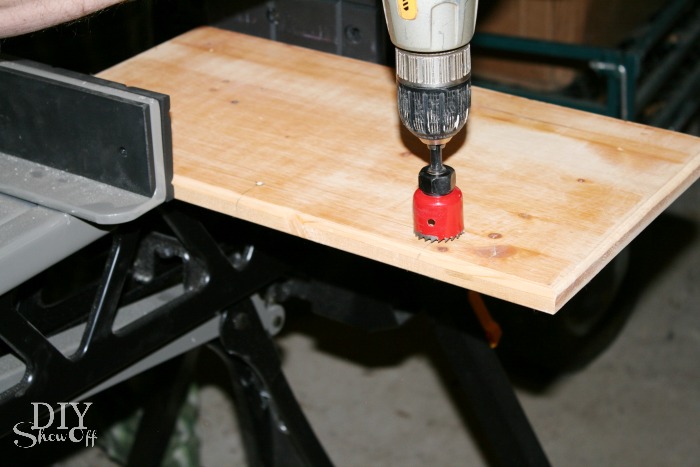
Decide which hole saw bit is just a little bigger than the pegs. 

DIY peg hook caddy tutorial

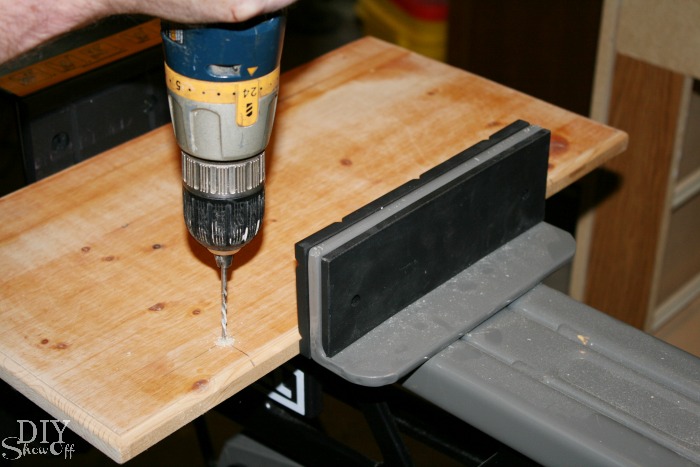
You’ll want your holes to be near the top end. I used a ruler to measure down about 2″ from the top and a level to make a cross mark to show the center of each hole. Drill tiny pilot holes where the pencil marks meet.

DIY peg hook caddy tutorial

Attach the hole saw bit to your drill and using the pilot hole as a guide for the center drill bit, drill/cut holes. I think our hole saw bit is a little dull so the back side of my wood is splintered. (Thankfully no one will see that side!)

DIY peg hook caddy tutorial

Sand and wipe clean all wood pieces. Hang on pegs to ensure holes line up.

DIY peg hook caddy tutorial

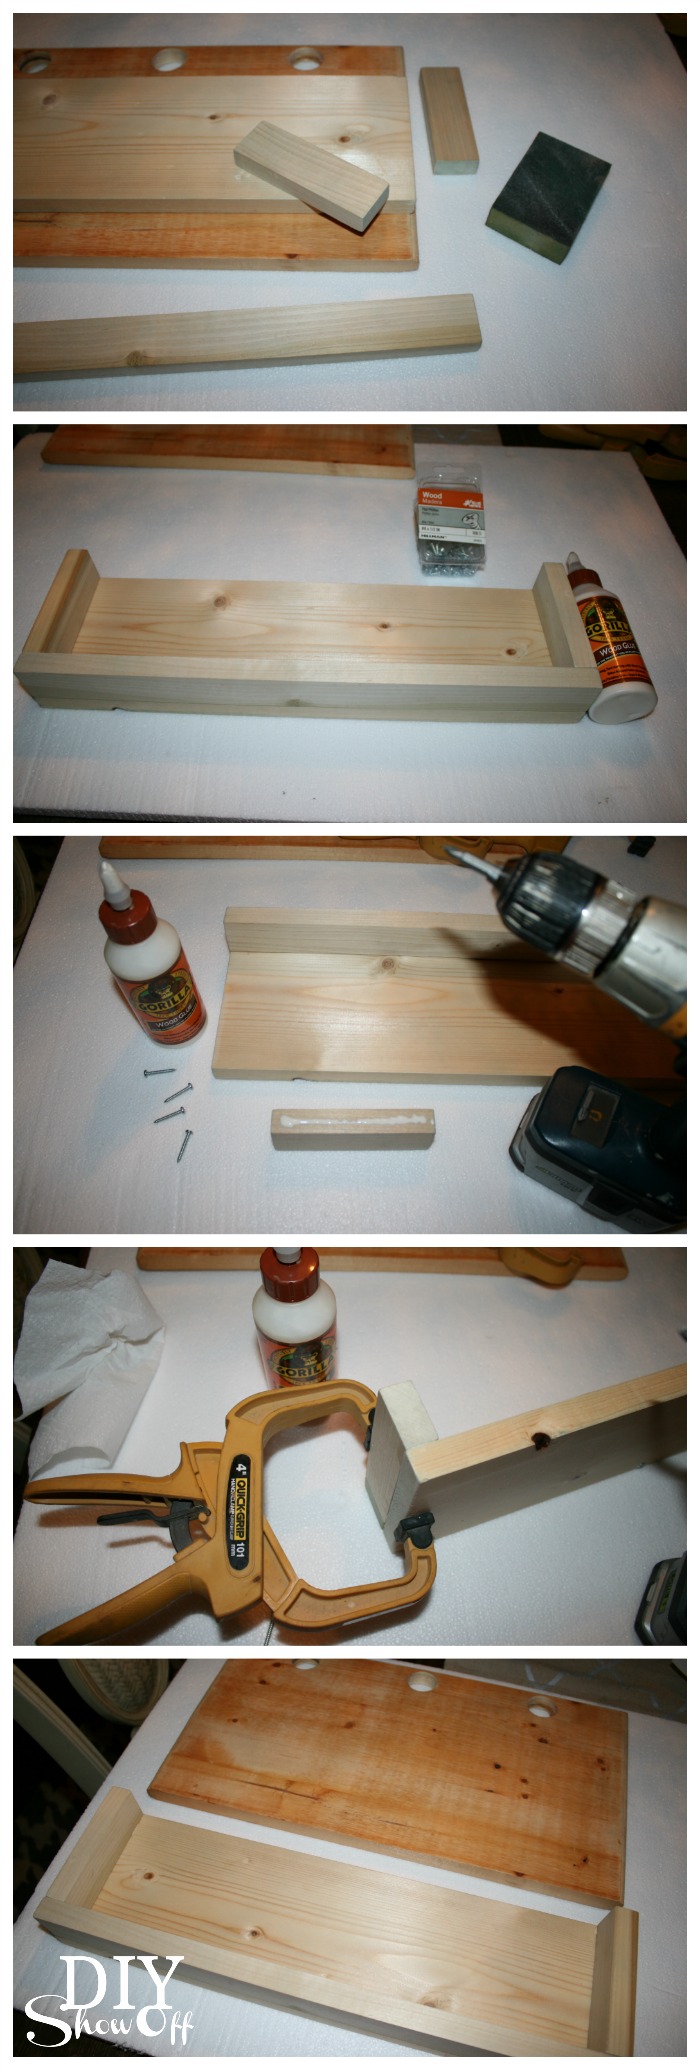
Using wood glue, wood screws and clamps, assemble your caddy and let dry. I attached my screws from the bottom and back so they weren’t seen but you could also countersink screws, fill and sand.

DIY peg hook caddy tutorial

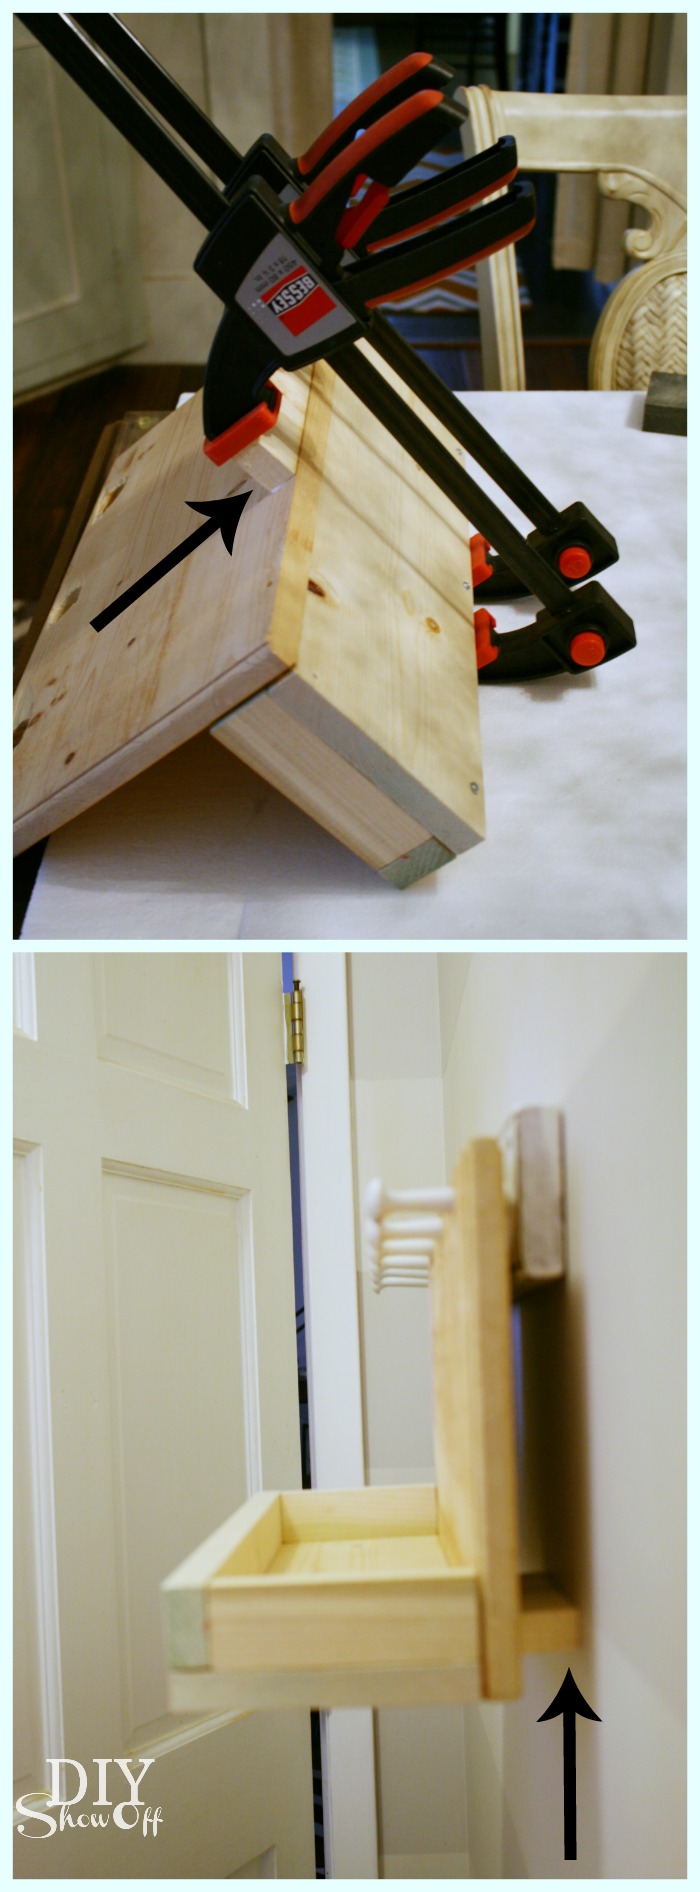
I thought that was it for the construction until I tested it hanging on my peg hooks. Oops, front heavy. Using just wood glue and a clamp, I attached the back stop piece to the center bottom of the back. This ensures that the caddy will hang level.

DIY peg hook caddy tutorial

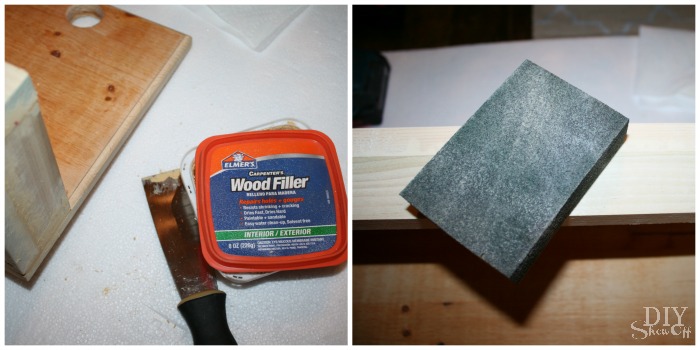
Using wood filler, fill all seams and cracks. Let dry, sand smooth and wipe clean. 

DIY peg hook caddy tutorial

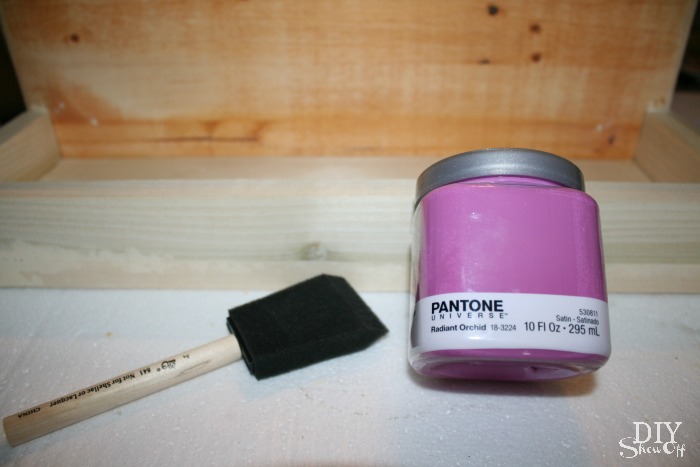
Paint the entire wood caddy. Mine took two coats. Radiant Orchid wouldn’t have been my first choice but it’s growing on me and it’s nice to do something bold and fun for a change. I love the Valspar sample size paint…more than enough and perfect for adding colorful accents. Down the road all it takes is a new coat of a different color to re-freshen things up. 

DIY peg hook caddy tutorial


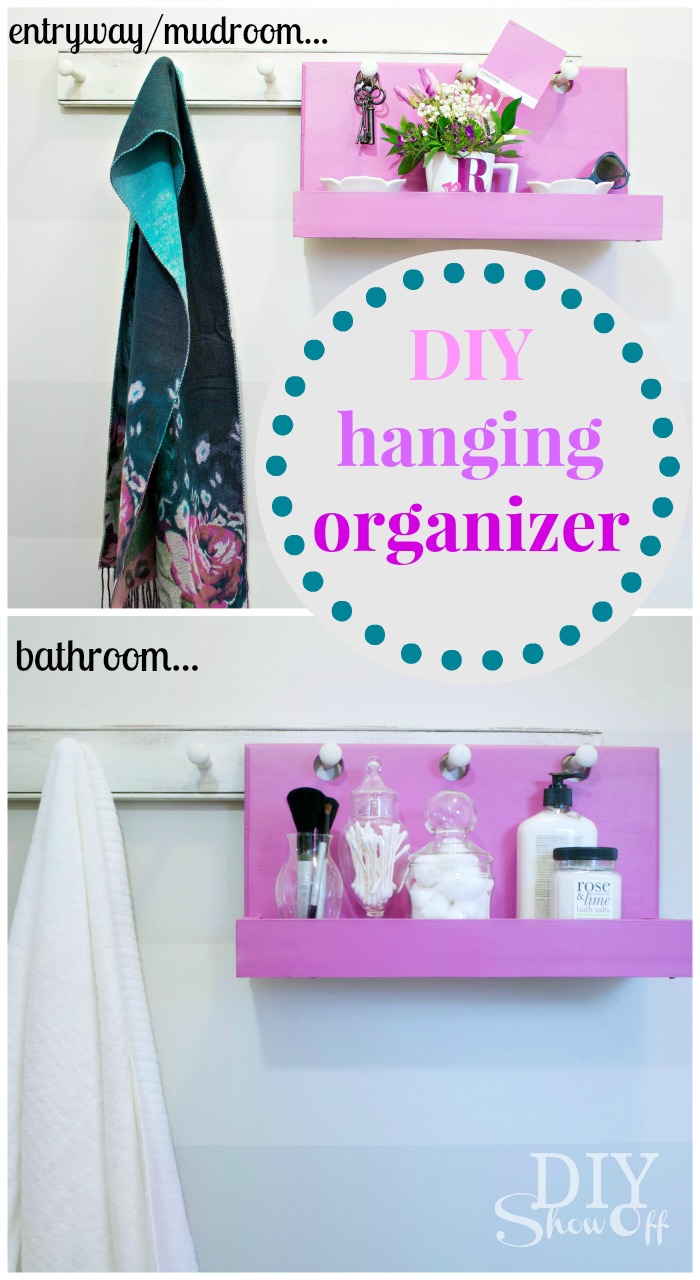
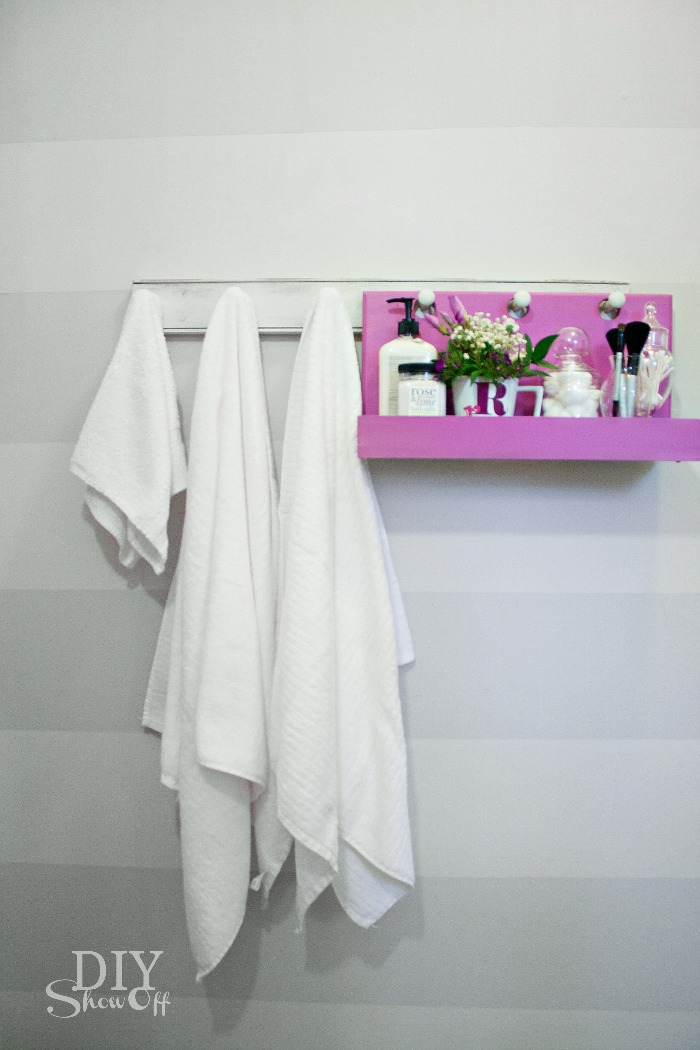
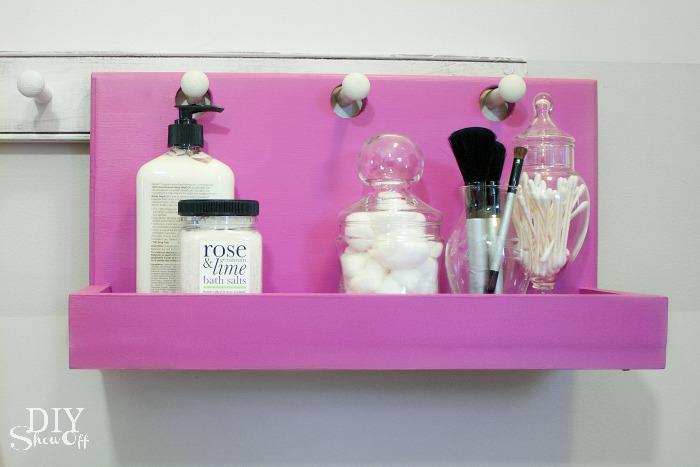
Now I have a shelf/tray for decorative items, toiletries in the bathroom

bathroom organization - DIY peg hook hanging shelf

DIY hanging peg hook organizer

hanging peg hook organizer

bathroom peg hook hanging organizer

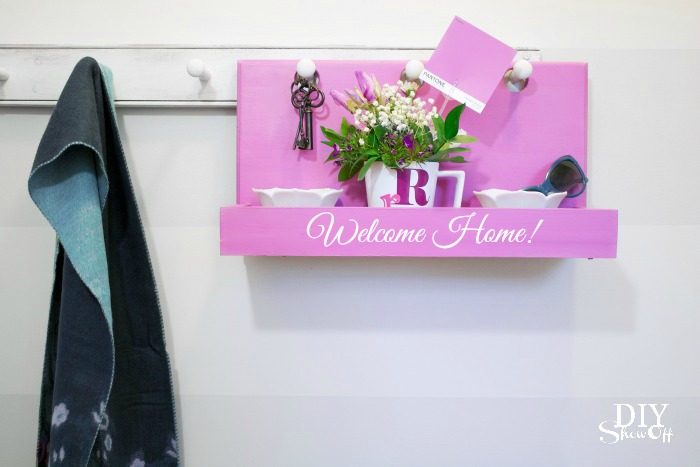
Great for keys, wallet, sunglasses, change, cell phone near the door in the mudroom or entryway. 

Peg Hook Hanging DIY Organizer

DIY peg hook mudroom entryway organizing hanging caddy

PB inspired peg hook shelf caddy organizer

My peg hook is located in my bathroom but I’d really love to have something like this near the door as well. How about you? 

More DIY ideas at Lowe’s Creative Ideas, follow Lowe’s on InstagramPinterest and sign up for the Creative Ideas magazine and app!    

LCI

*Disclaimer: As a member of the Lowe’s Creative Ideas Creators and Influencers network, I received a Lowe’s gift card to complete this challenge. As always, all ideas and opinions are in my own words. The blog post above is what worked for me. Results may vary. Remember to work in a well-ventilated area and to take the proper safety precautions.

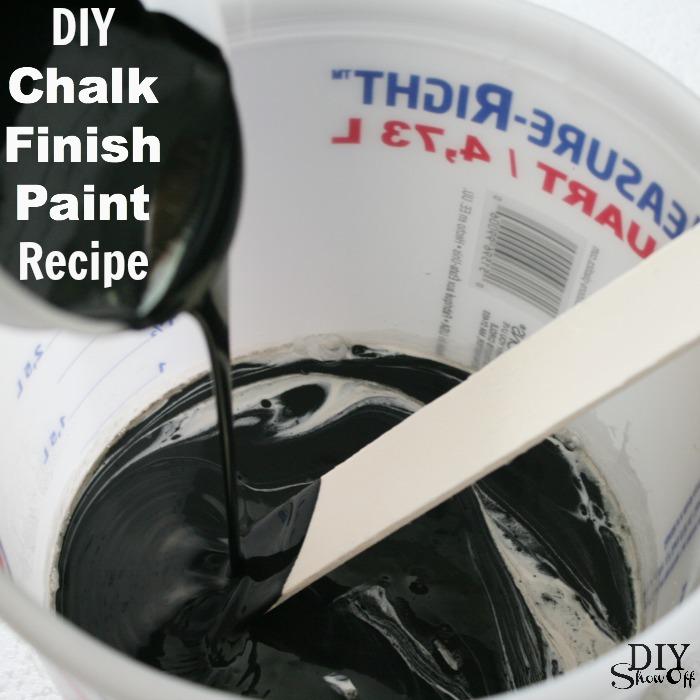
Chalk Finish Paint Recipe

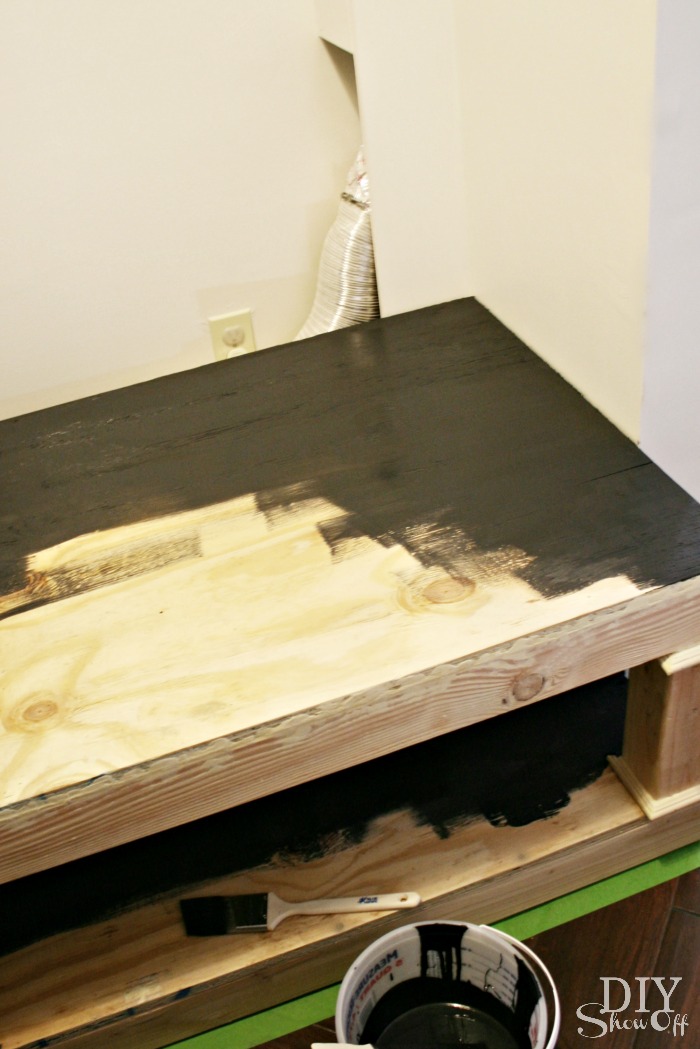
I’ve been working on a much needed laundry room makeover (I know! What the heck! We just recently revealed an open pantry makeover and a sweet bathroom transformation). We’ve been busy! But you’re about to get a laundry room sneak peek! As a member of the Lowe’s Creative Ideas team, I had the opportunity to whip up a batch of homemade chalk finish paint and the laundry pedestals I built just happened to be ready for a coat of paint. 

DIYShowOff Laundry Room Pedestals

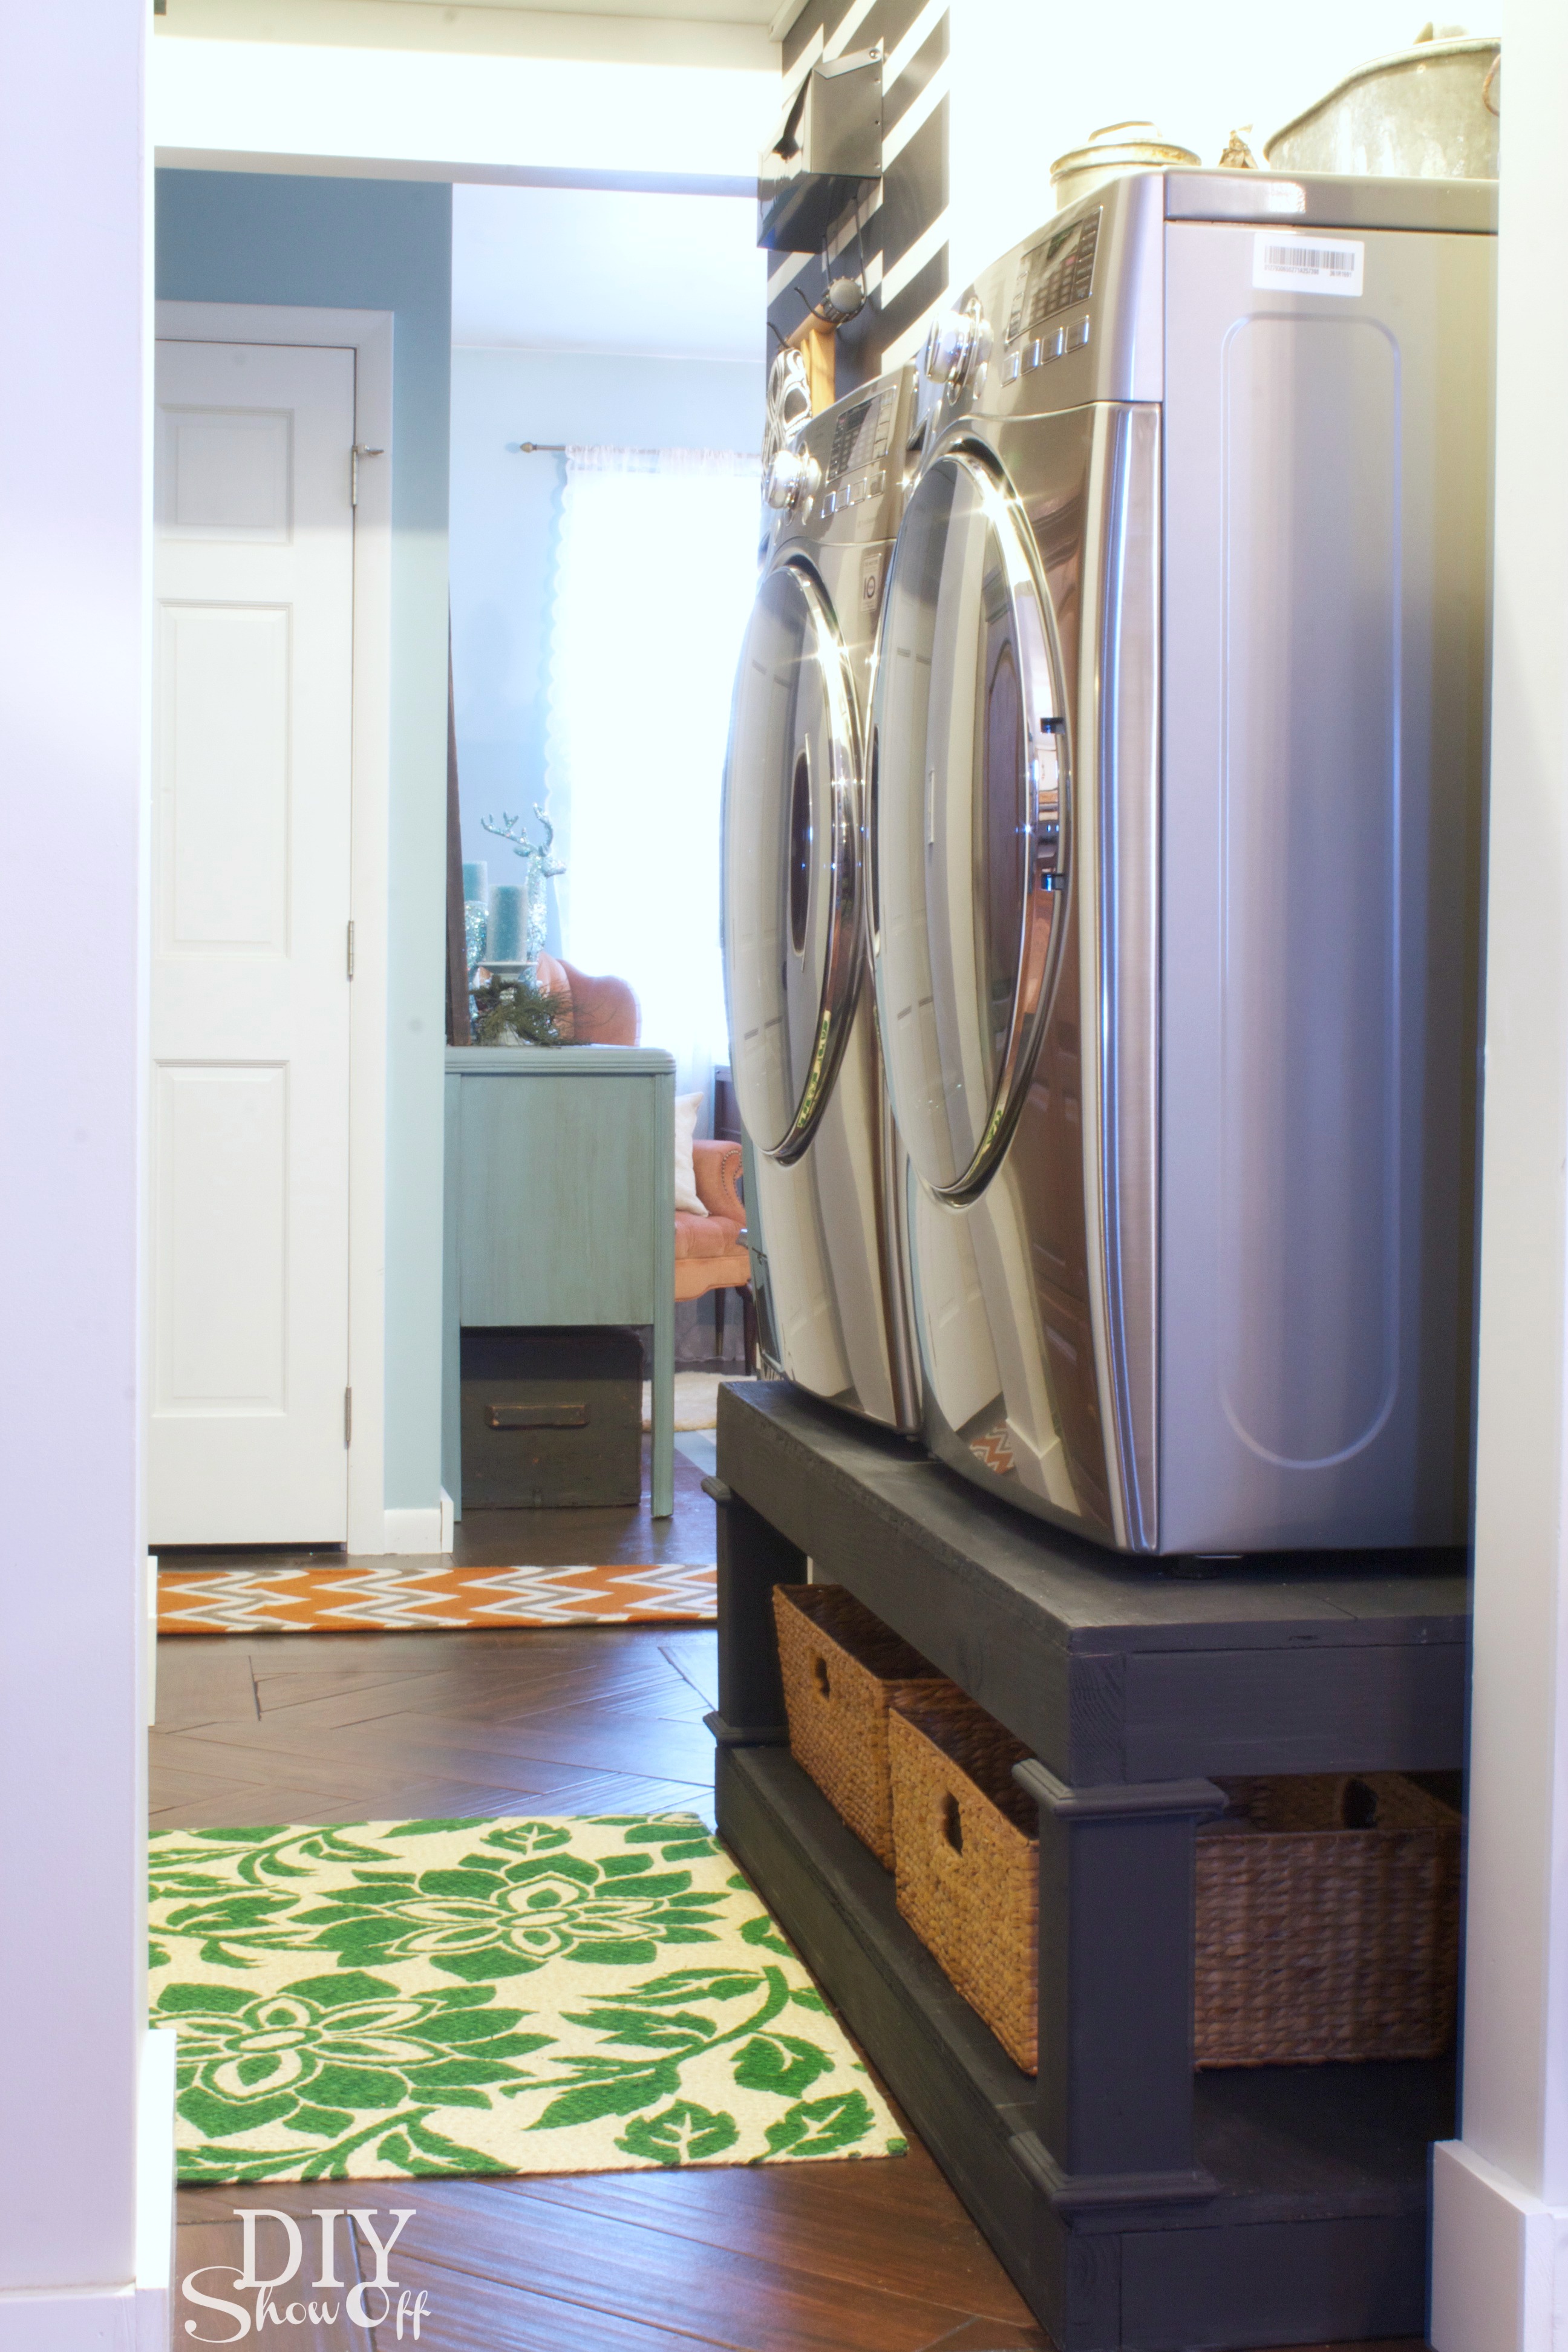
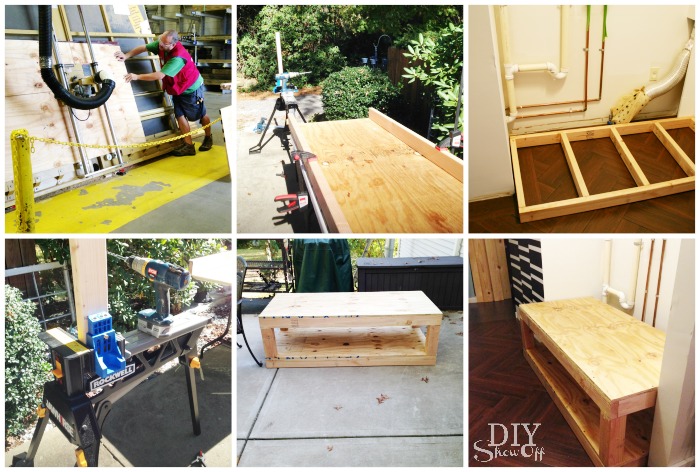
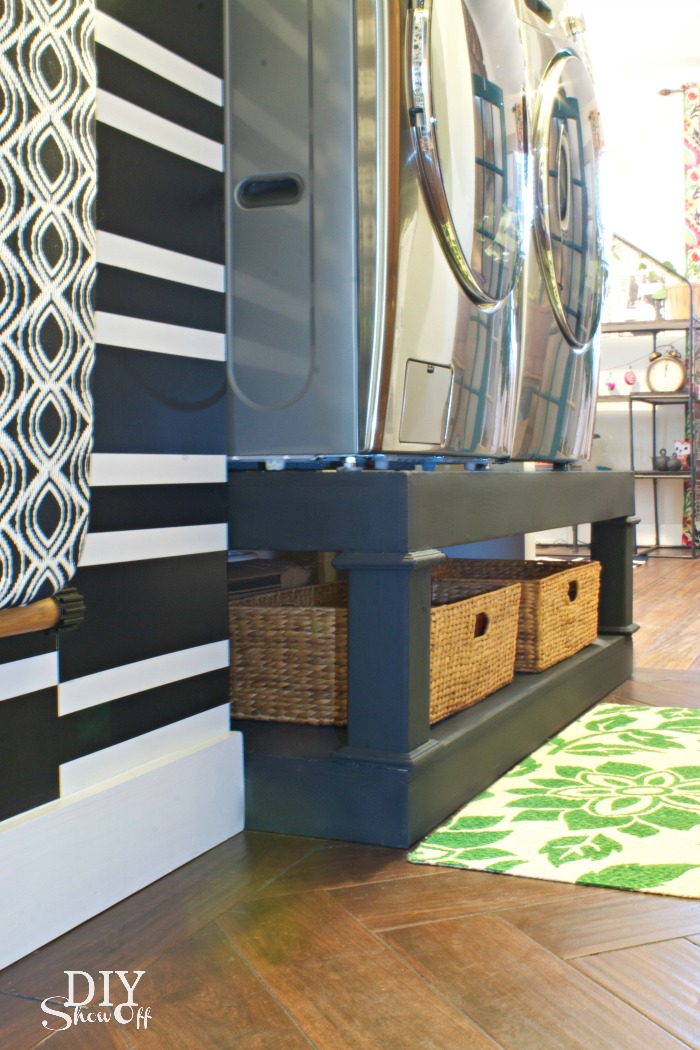
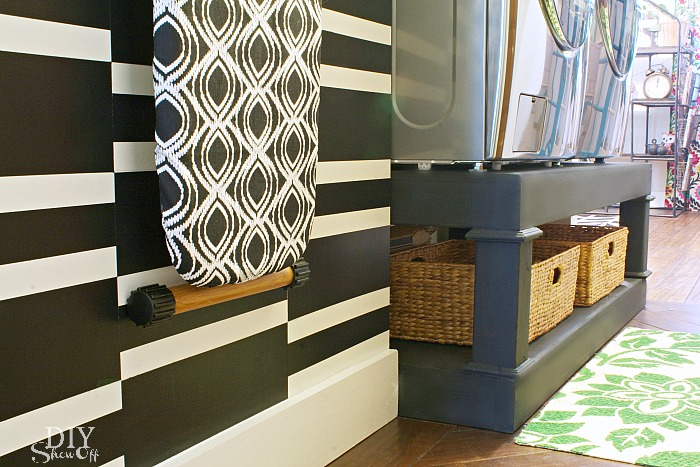
Note: My laundry pedestals are an Ana-White plan and my first ever real DIY build. What a challenge to say the least! But I’m happy to say: I’m so glad it’s just done! It doesn’t look half bad! It’s functional! My new washer and dryer are at just the right height and I love the addition of a little storage space just underneath. Perfect fit for baskets, laundry baskets too!

DIY laundry pedestal

Chalk-Finish Paint Recipe

DIY Chalk Finish Paint Recipe at DIYShowOff

You’ll need:

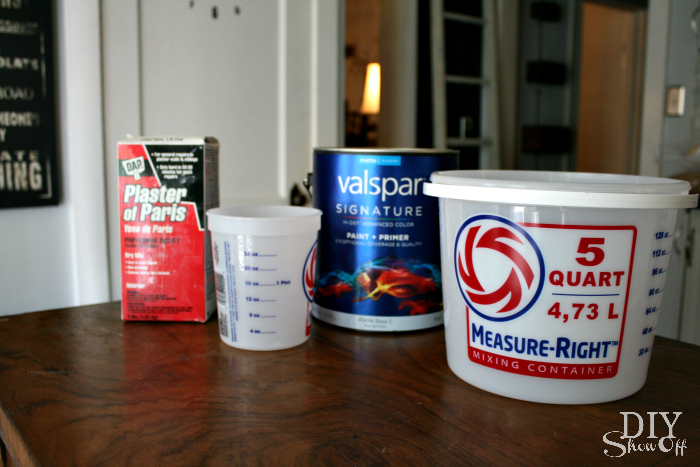
Chalky Finish Paint Materials

  • Valspar Signature latex flat paint or latex paint with built-in primer
  • Plastic paint bucket
  • Stir sticks
  • Plaster of Paris
  • Plastic measuring cups (do not reuse for food)
  • Water (use cool, not warm)

How to mix it up:

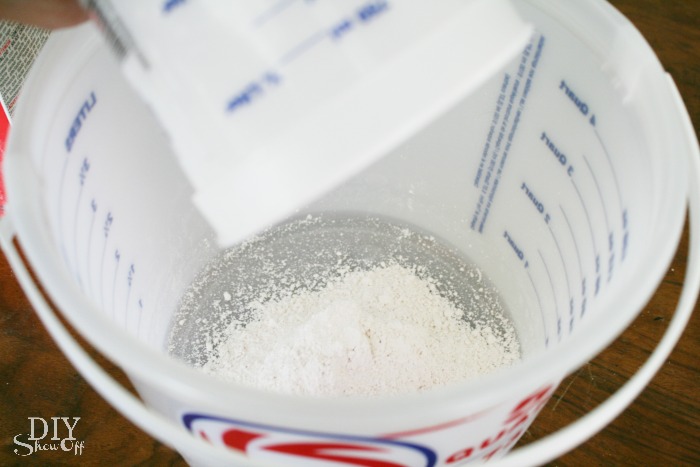
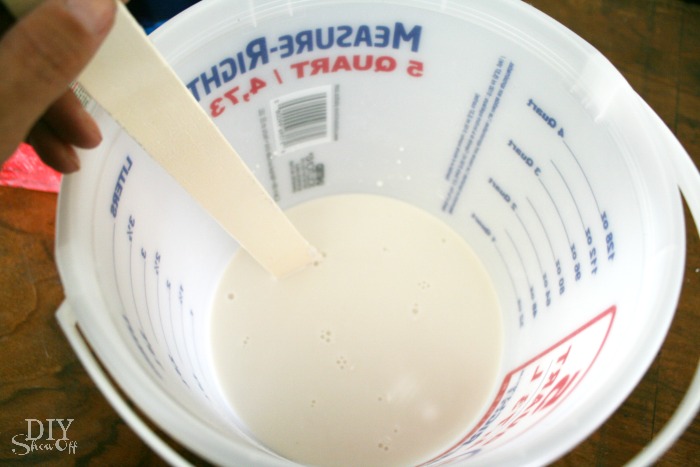
1. Mix 1/3 cup of plaster of Paris with 1/3 cup cold water in a plastic bucket.

DIY chalk finish paint tutorial

+

DIY chalky finish paint tutorial

2. Stir until completely smooth. 

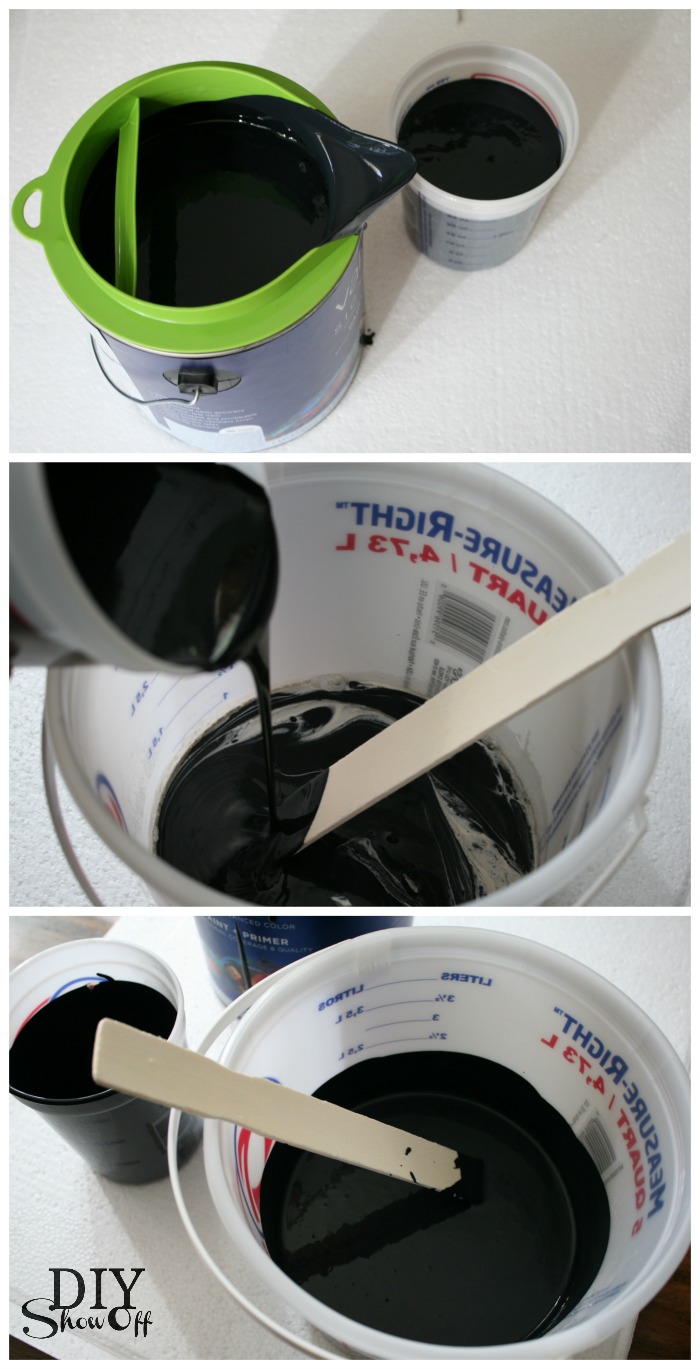
3. Mix with one cup latex paint and stir completely.

+

how to make DIY chalk finish paint

4. Paint!

chalk finish paint

* Makes enough chalk finish paint for one coat for a 6-drawer dresser. Should not be stored and reused. (Although I did cover and re-use without problem for touch ups after installing the washer and dryer.) For smaller projects, mix less using these proportions, mix more for larger projects. Nontoxic.  To dispose, let dry completely in the container before disposing in trash.

DIY laundry pedestal

What I think:

I have to say, I’m really impressed. I love how smooth it brushes on. I love the chalky-finish. Most of all, I LOVE that primer isn’t needed. I decided on black for the laundry pedestals…

do-it-yourself laundry pedestal


{you’ll have to wait on the rest of the laundry room details but coming soon!}

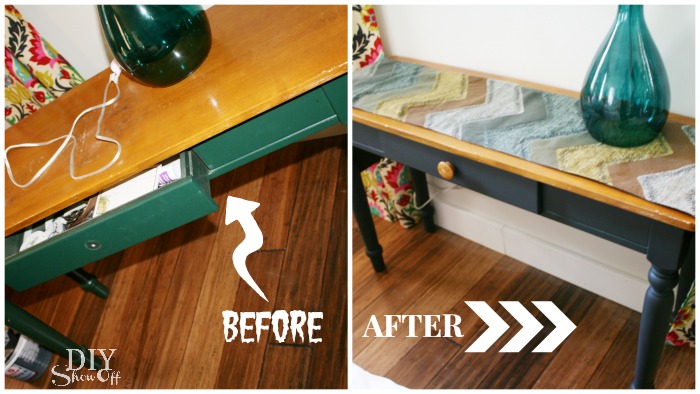
and I then I moved on to painting over a hunter green console table…

DIY-chalk-finish-paint before and after

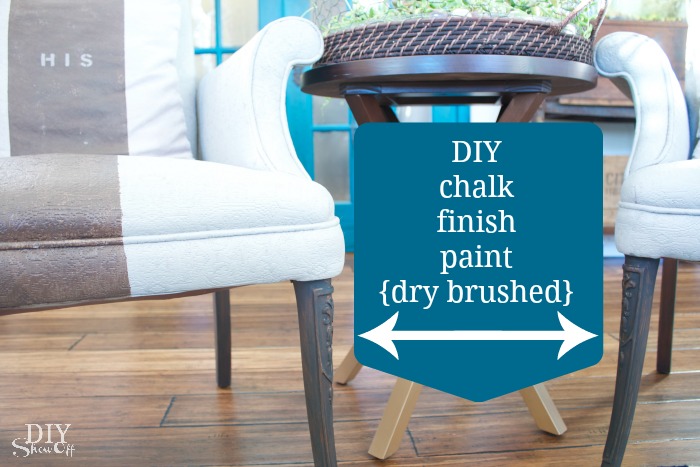
and dry-brushed it onto the legs of my painted upholstered chairs. 

DIY chalk finish paint, dry brushed

  • Easy to make!
  • No primer!
  • Great coverage!
  • Pretty finish!

What do you think? I’d say it’s a success and will definitely be using this recipe again on other projects in the future! 

More DIY ideas at Lowe’s Creative Ideas, follow Lowe’s on InstagramPinterest and sign up for the Creative Ideas magazine and app!   LCI

*Disclaimer: As a member of the Lowe’s Creative Ideas Creators and Influencers network, I received a Lowe’s gift card to complete this challenge. As always, all ideas and opinions are in my own words. The blog post above is what worked for me. Results may vary. Remember to work in a well-ventilated area and to take the proper safety precautions.

Tips for Making a DIY Industrial Pipe Shelving Unit

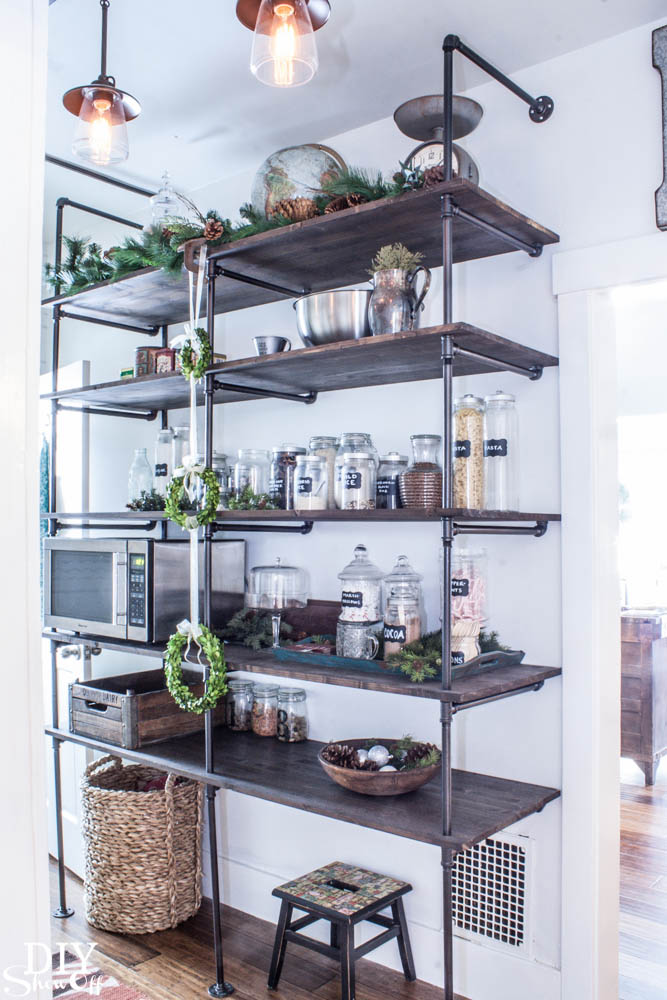
I recently shared the open pantry before and after reveal and the star of that DIY ‘show off’ is definitely the industrial pipe shelving…Industrial Pipe Shelving As a part of the January Creative Storage challenge for the Lowe’s Creative Ideas team, today I’m sharing a tutorial on what we did to use as tips for creating your own.
Accessories: 


THIS IS LONG and sounds confusing BUT if you’re making one of your own, I think being detailed will help make the plan, design and build easier along with other tutorials and tips you may come across in your search for how to make DIY industrial pipe shelving. 

CONTINUE TO THE TUTORIAL