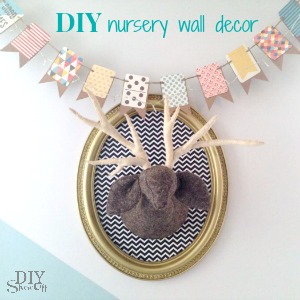
DIY Nursery Wall Decor

I’ve been giving our guest room a bit of a makeover to include a little nursery space for my very first grand child who is scheduled to arrive next month. I can’t wait! You guys, a sweet baby boy will be here soon! I’m so excited, I can’t stand it! 

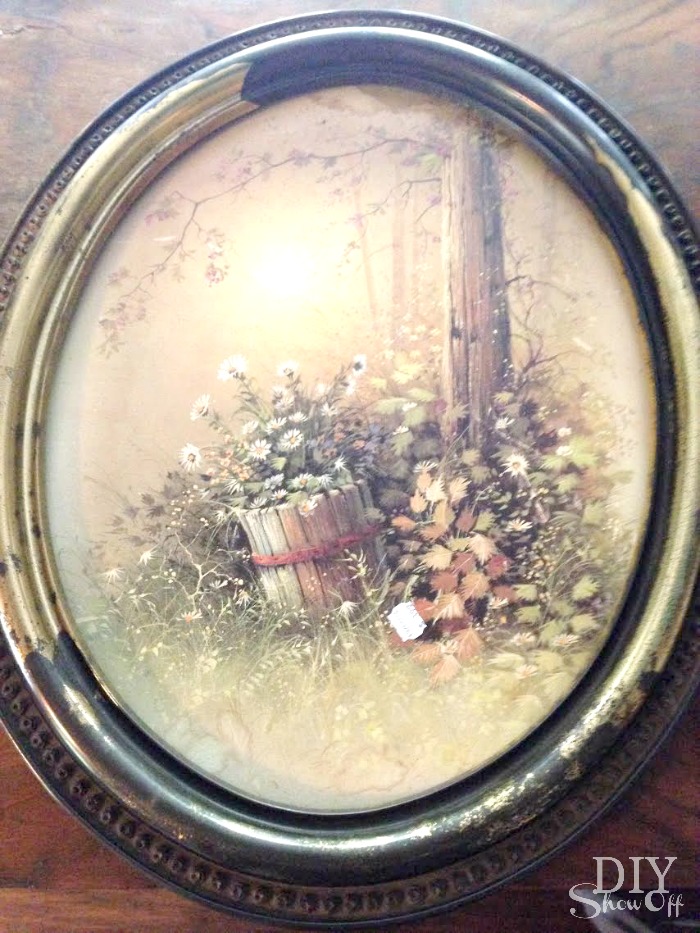
Materials: I found this old oval wall art at the thrift store for 3.99.

DIY nursery wall art  tutorial

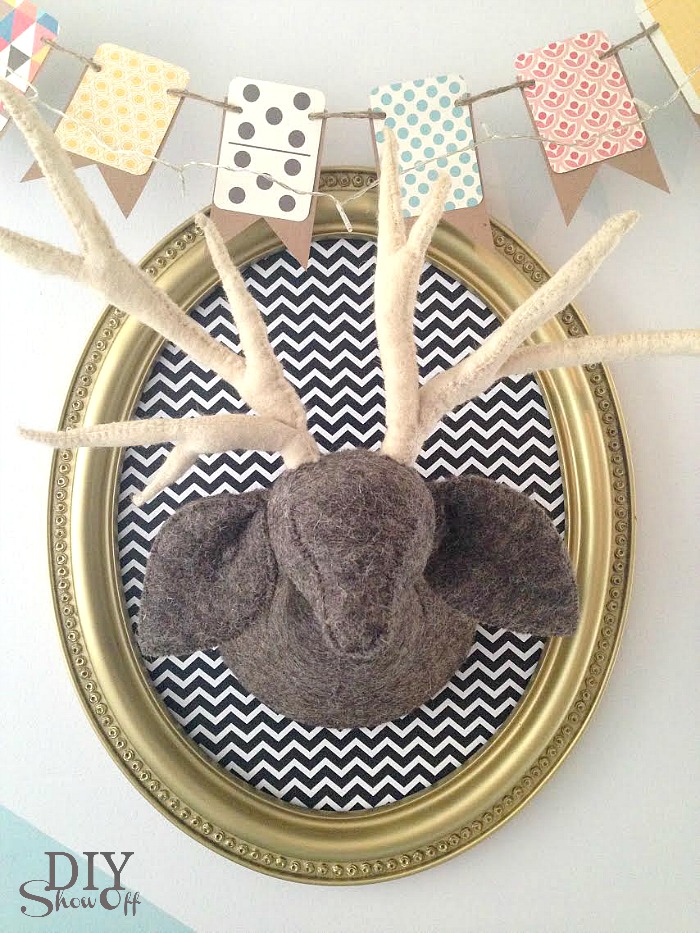
I had the wrapping paper and felted deer head (used in our stairwell/landing makeover originally. I looked and it’s no longer for sale…sorry but I did see awesome paper mache deer heads at Michaels that would work well too…plus you can paint/decoupage to coordinate with your room.). So this is a thrifty treasure for me…just $3.99 for the dusty framed print + shopping the house since I had the spray paint on hand already too. 

What I did: Gave everything a good cleaning and removed the backing from the frame (set aside). 

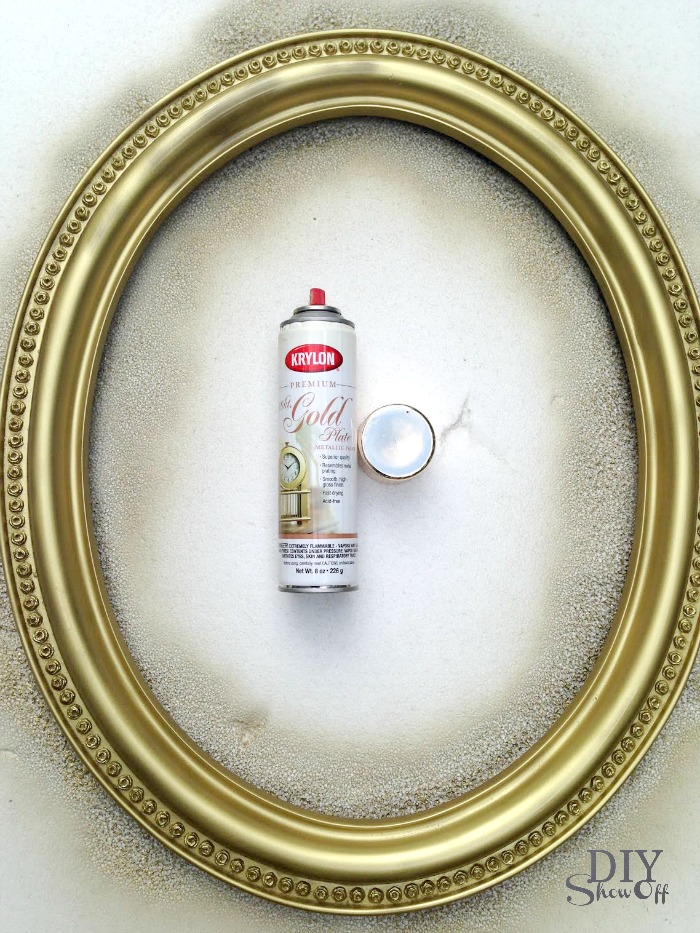
I spray painted the frame gold and let it dry. 

DIY nursery wall art  tutorial

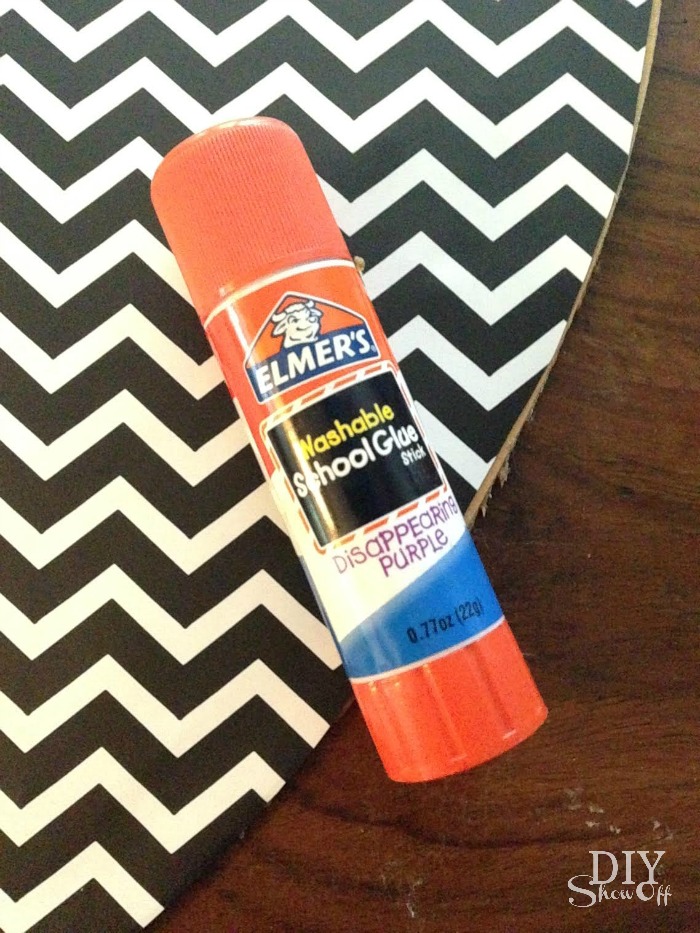
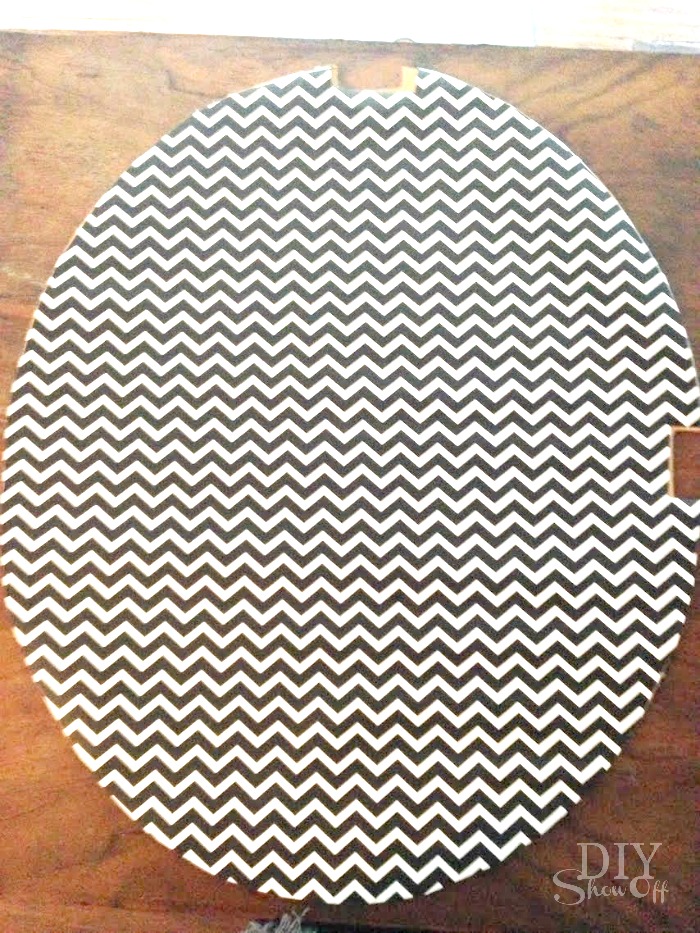
I traced the oval backing onto chevron wrapping paper. I did glue the wrapping paper over the print on the front. However, it’s not required if you’d like to preserve the print.  DIY nursery wall art  tutorial DIY nursery wall art  tutorialDIY nursery wall art  tutorial
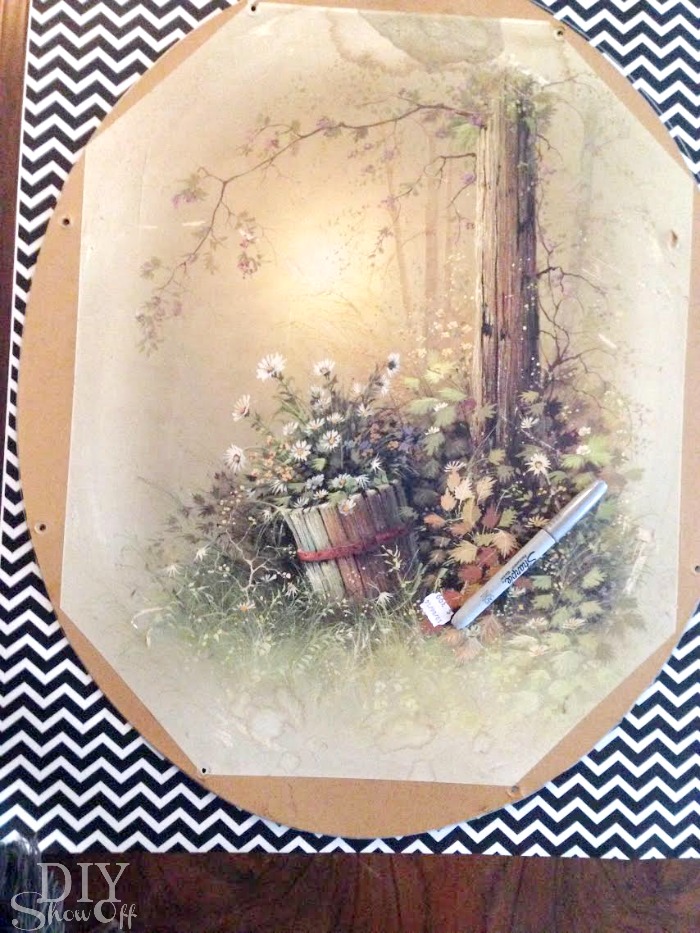
Then just reattached the backing to the frame. 

DIY nursery wall art  tutorial

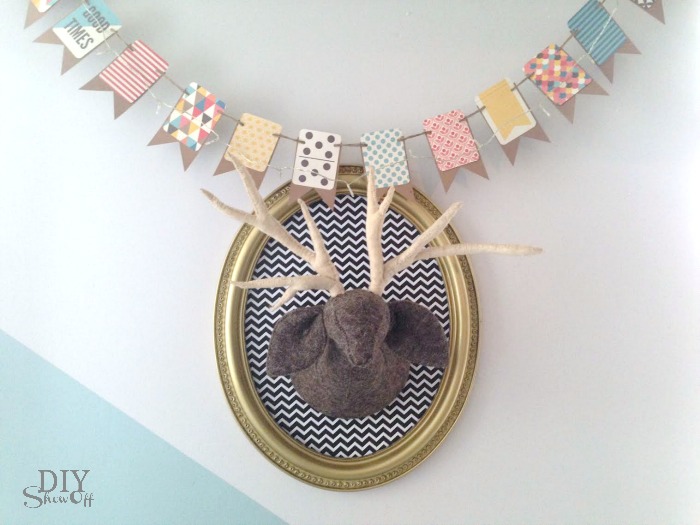
I hung it on the wall and hammered a nail in the center to hang the felted deer head and added a DIY banner…just card stock, Project Life cards (scrapbook section at Michaels) and twine. I added a string of mini LED fairy lights too. 

nursery wall decor tutorial @diyshowoffnursery wall decor tutorial @diyshowoff

See my guest room nursery space for more nursery ideas:

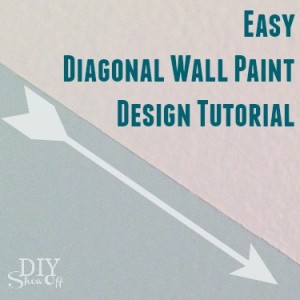
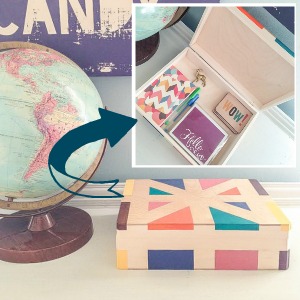
combined guest room nursery reveal @diyshowoffDIY nursery wall decor at diyshowoff.comeasy diagonal wall paint design tutorial @diyshowoffpainted craft box DIY at diyshowoffDIYShowOff Michaels Makers back to school book ends feature

*This post is sponsored by Happy Crafters. Tutorial, experience and opinion is my own.  Check out all the supplies at Happy Crafters for inspiration for your next project. 

And yes…it’s crazy here. From Halloween to baby shower to some Christmas decorating, a guest room/nursery makeover, an entire home before/after in progress (family members), always Young Living recipes, events and sharing my story, and another small apartment nursery nook. There’s a LOT going on and DIYShowOff is ALL over the place! You may want to subscribe to get reminders to check back often! 😉 

Have a great week!

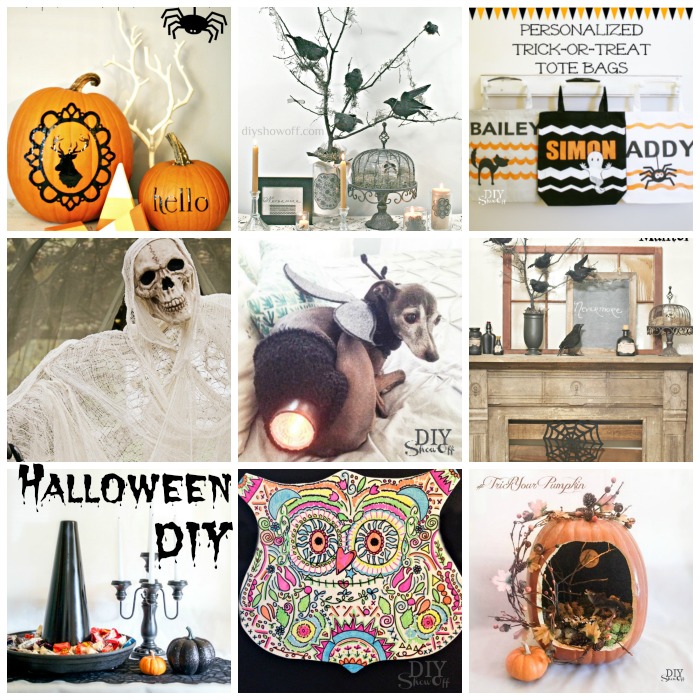
DIY Halloween Projects

Boo! It’s nearing the end of October and I wanted to share of some of the past DIYShowOff Halloween projects for some inspiration. 
Halloween DIY projects @diyshowoff

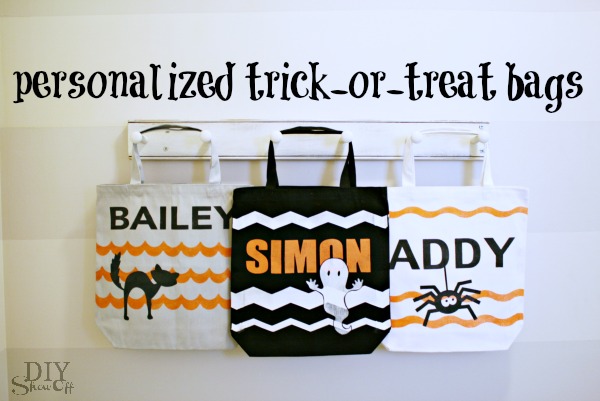
Trick or Treat Bags

DIY personalized trick or treat bags

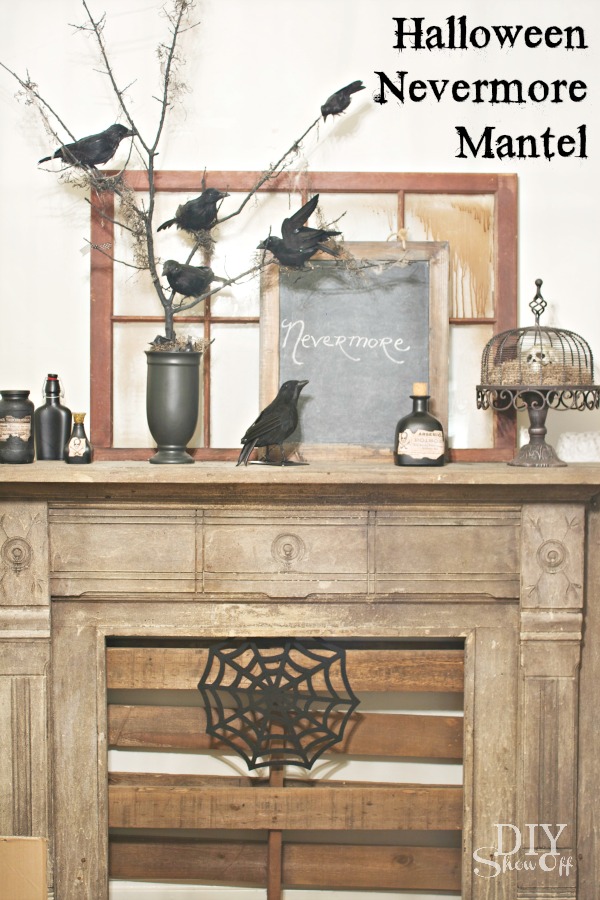
The Raven Halloween Mantel

Nevermore Halloween Mantel

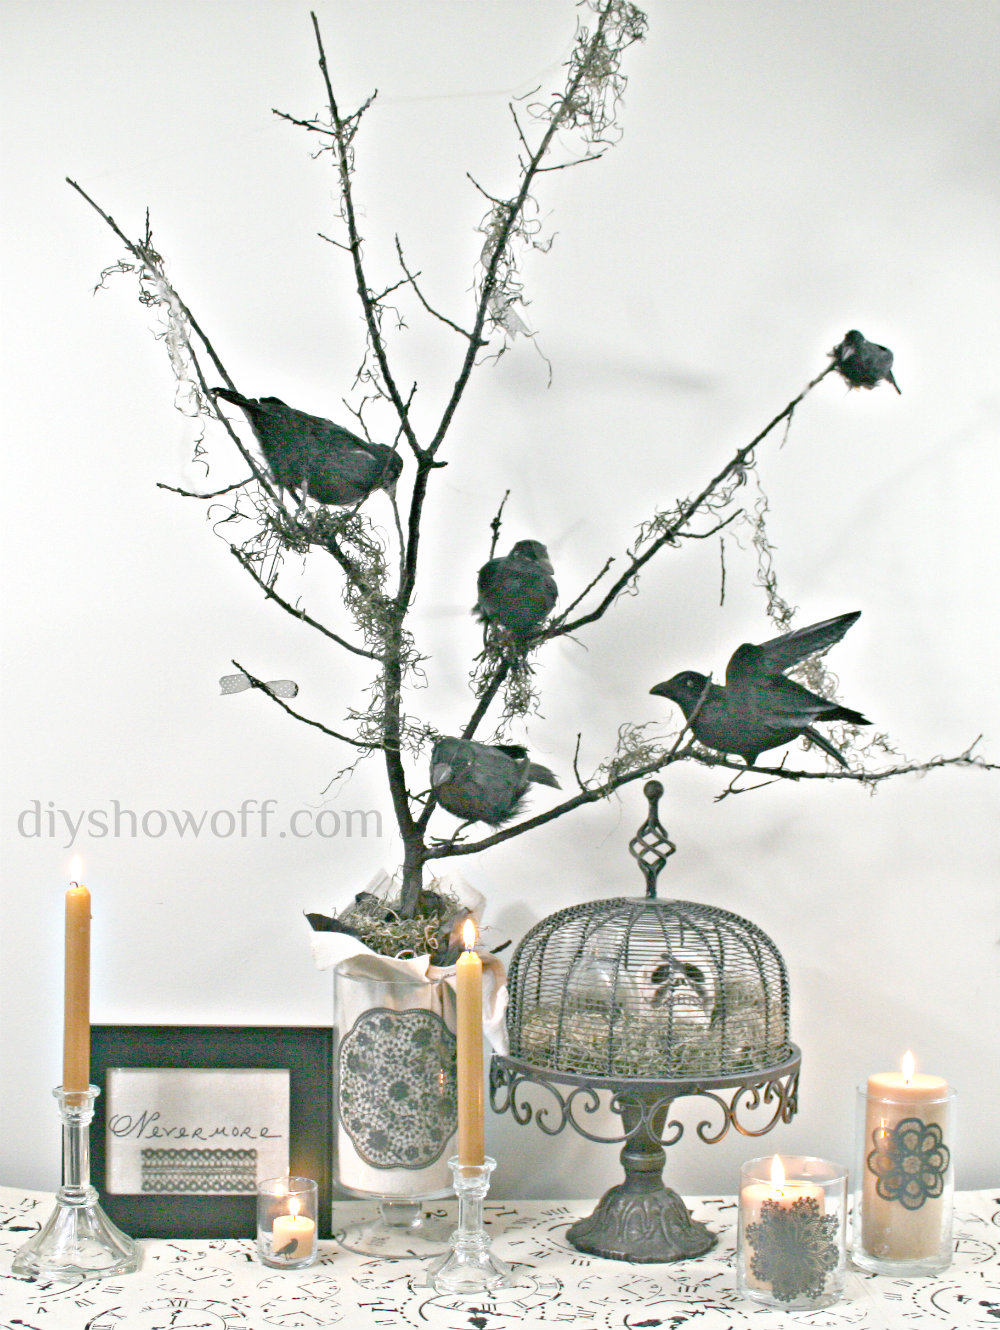
Nevermore Tree Tutorial

DIY Halloween Nevermore Tree

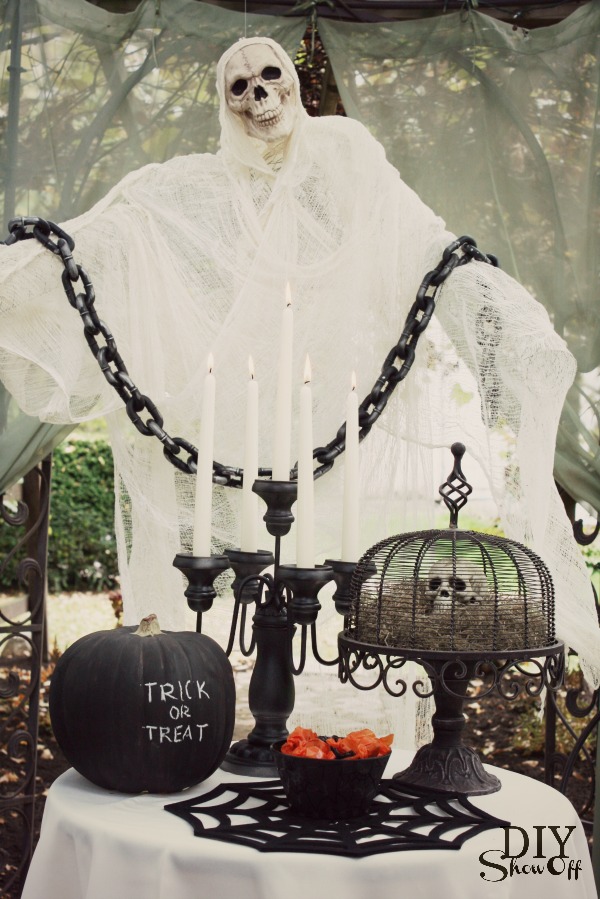
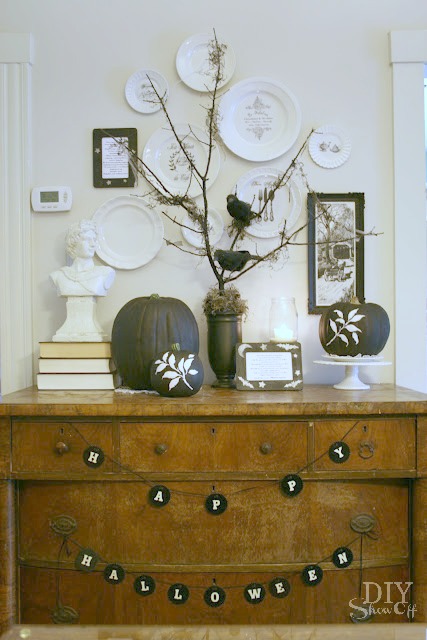
 Halloween Vignette

Halloween vignette


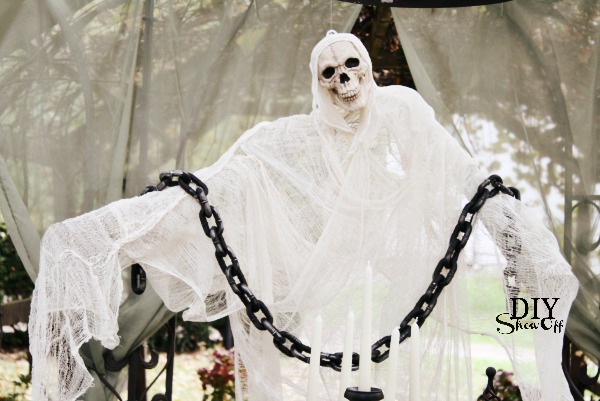
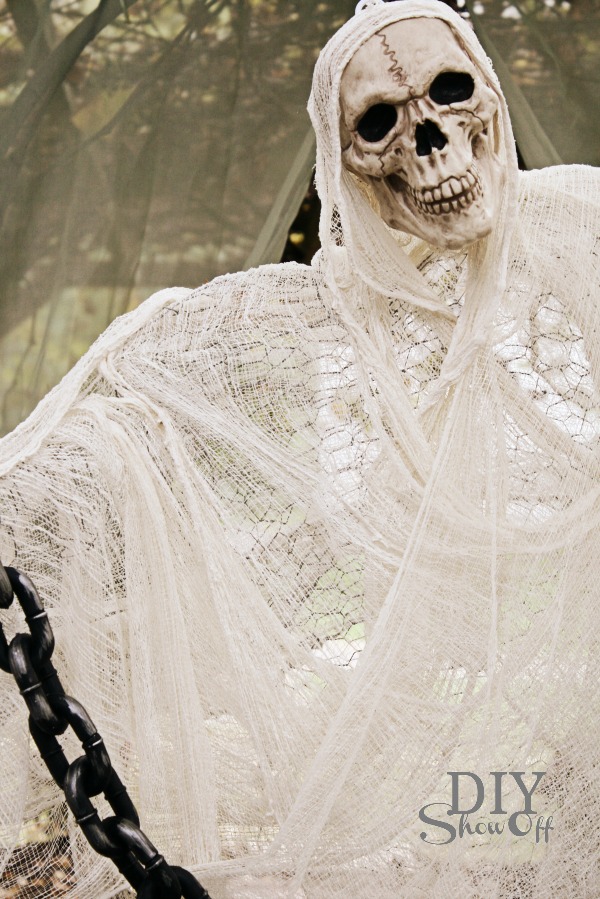
Spooky DIY Ghost Display

spooky ghost tutorialDIY cheesecloth chicken wire ghostDIY ghost tutorial

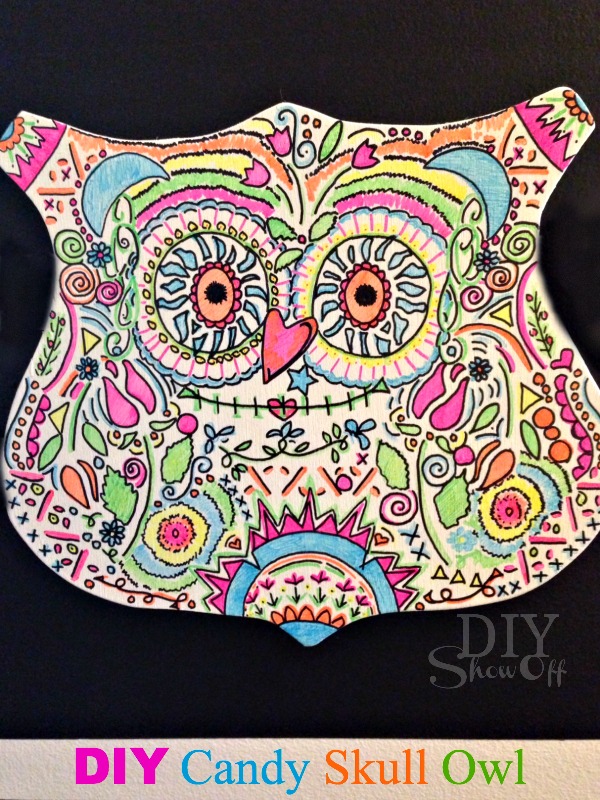
Candy Skull Owl

DIY Neon Sharpie Candy Skull Owl Tutorial

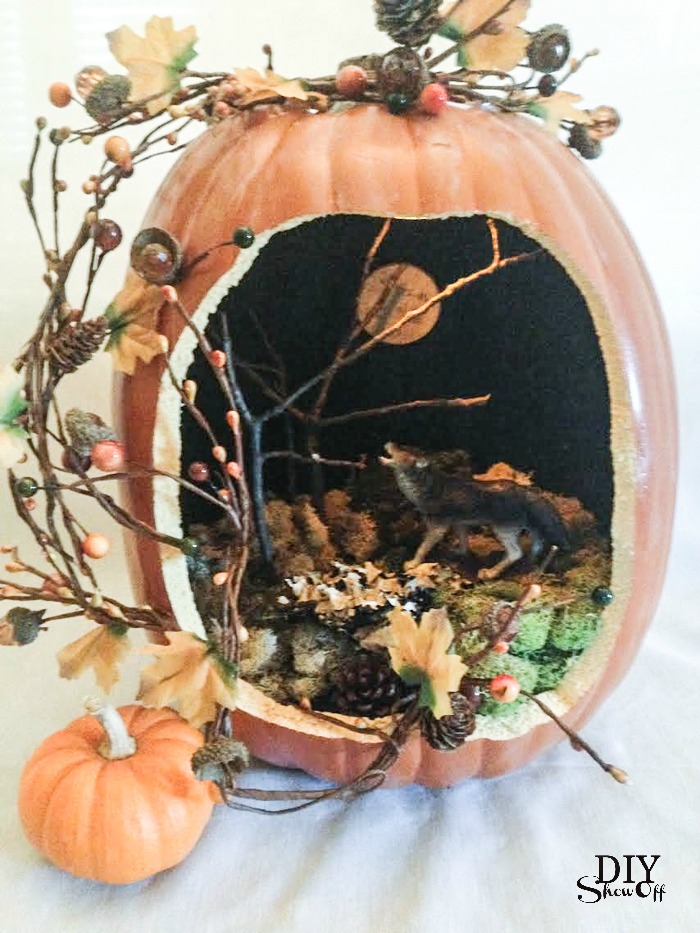
Scenic Jackolantern

full moon scenic jackolantern at diyshowoff

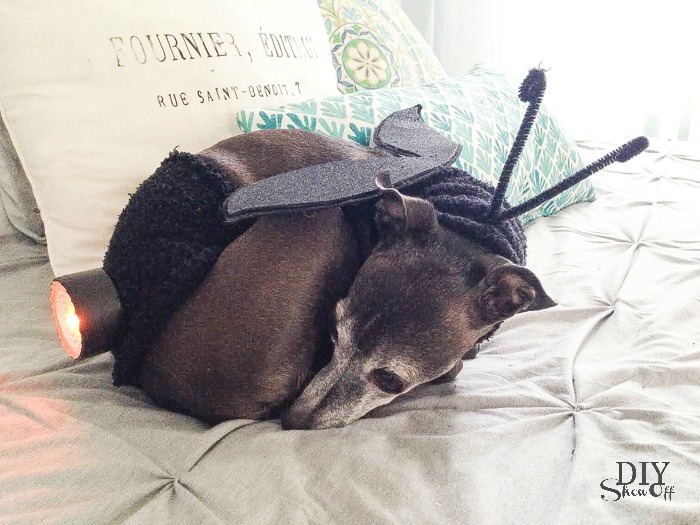
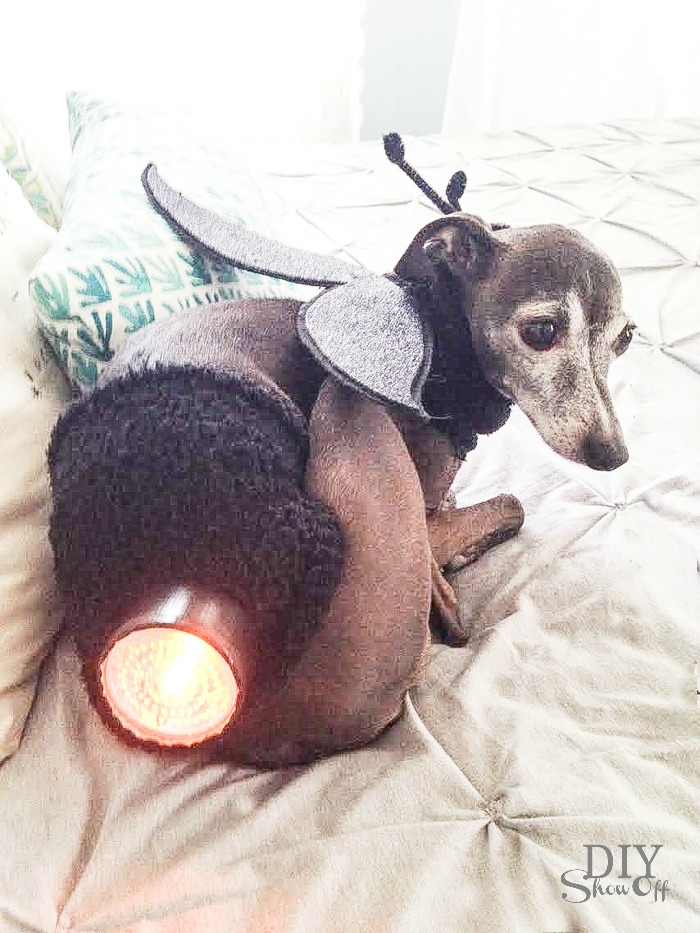
Firefly Dog Costume

lightning bug halloween dog costume tutorial at diyshowoff #michaelsmakerslightning bug halloween dog costume tutorial at diyshowoff #michaelsmakers

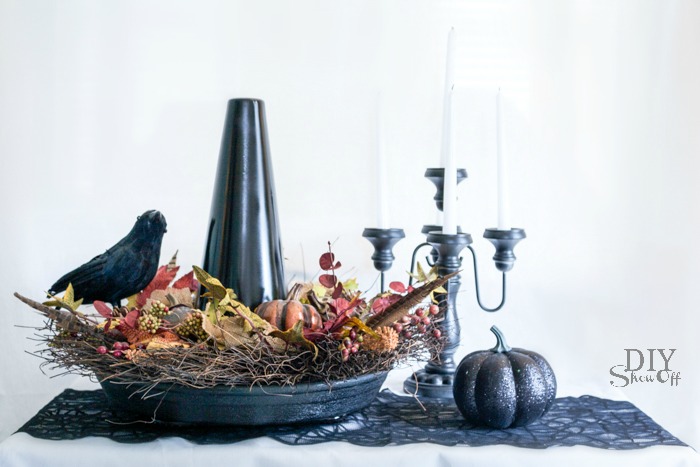
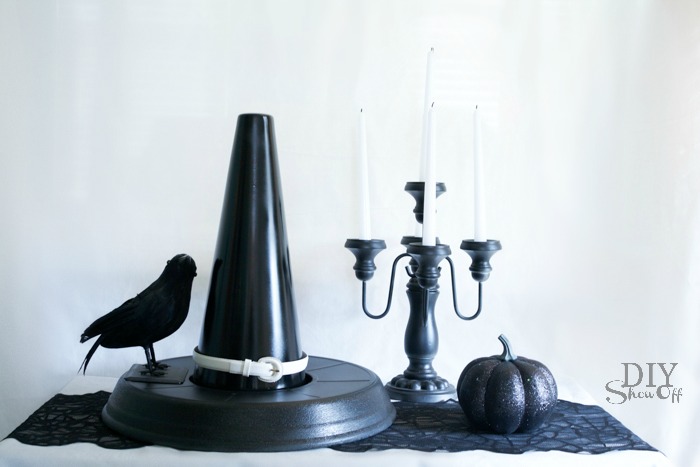
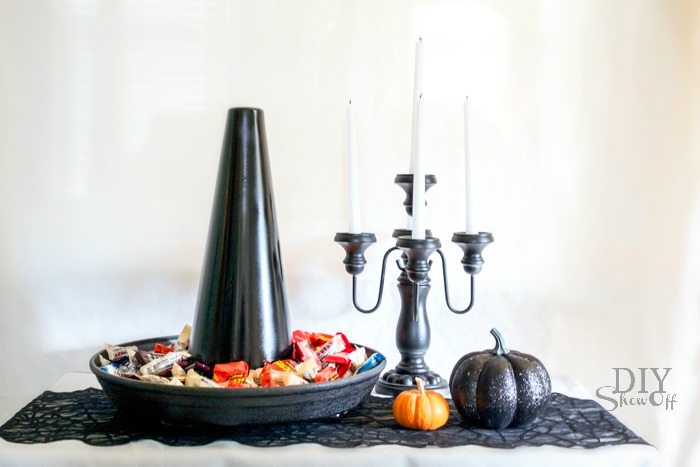
Witch Hat Candy Dish/Decor

DIY witch hat Halloween centerpiece tutorial DIY Witch Hat Halloween decor tutorial @diyshwoff DIY Witch Hat candy dish/serving tray tutorial @diyshwoff

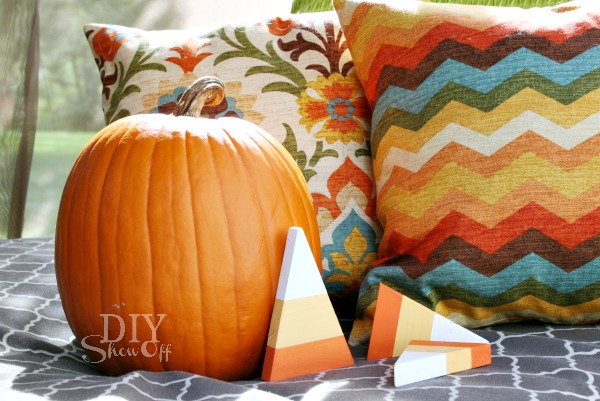
Candy Corn Decor

DIY Halloween/Fall craft: decorative wooden candy corn pieces

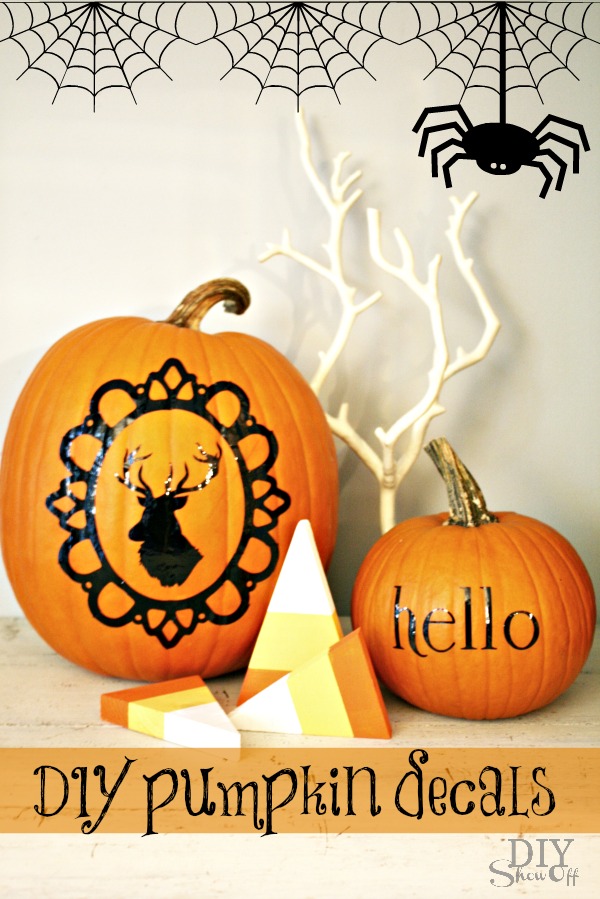
Silhouette Pumpkins

DIY vinyl pumpkin decals

Do you have some Halloween DIY to share? Link it up to this week’s That DIY Party!

That DIY Party - autumn

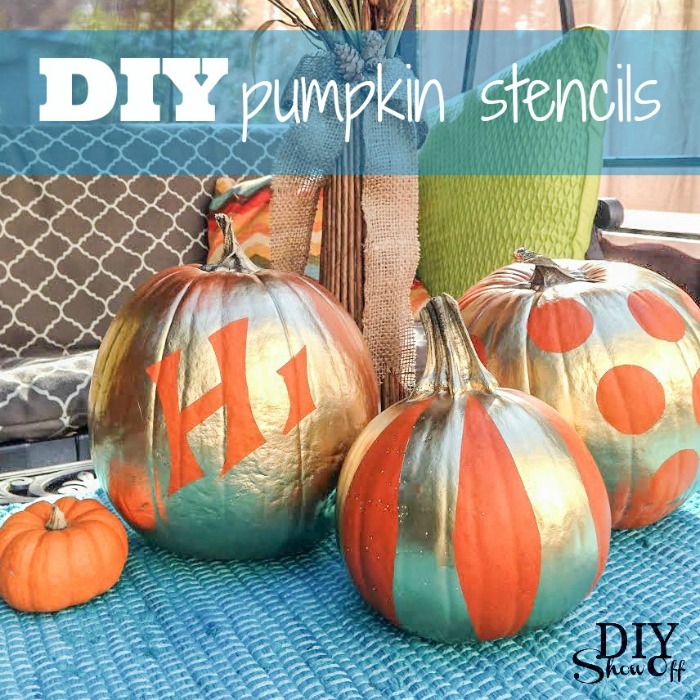
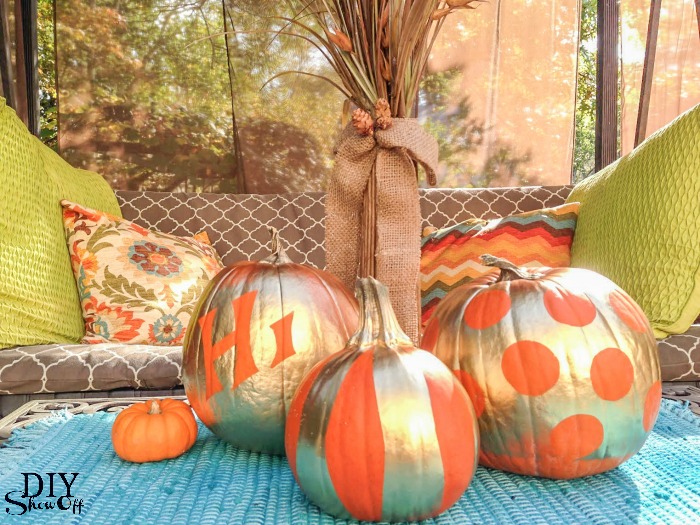
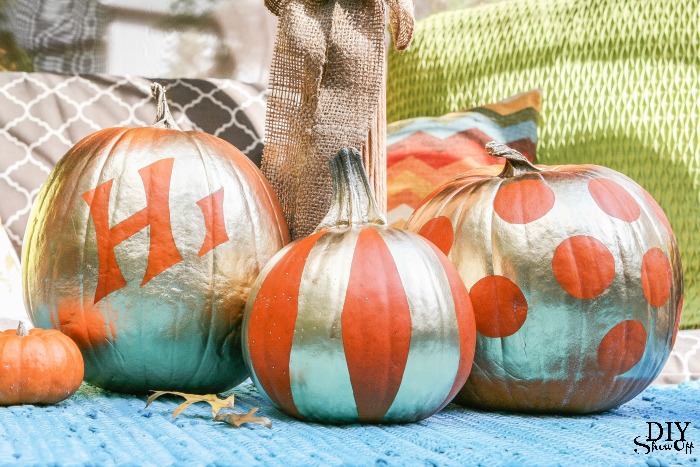
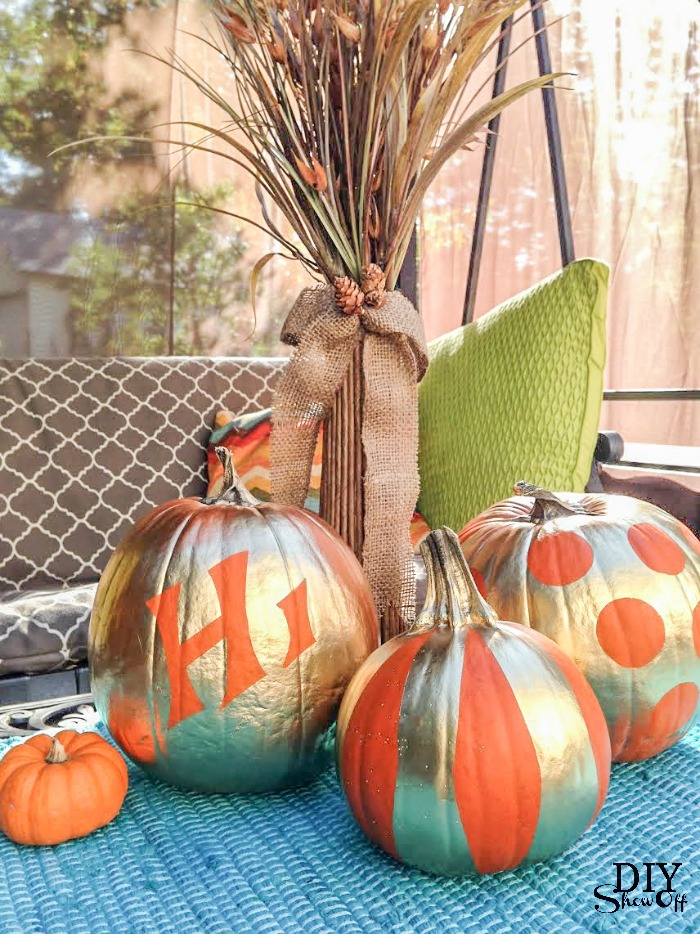
DIY Pumpkin Stencils

DIY Pumpkin Stencil Tutorial 

DIY pumpkin stencils at diyshowoff.com


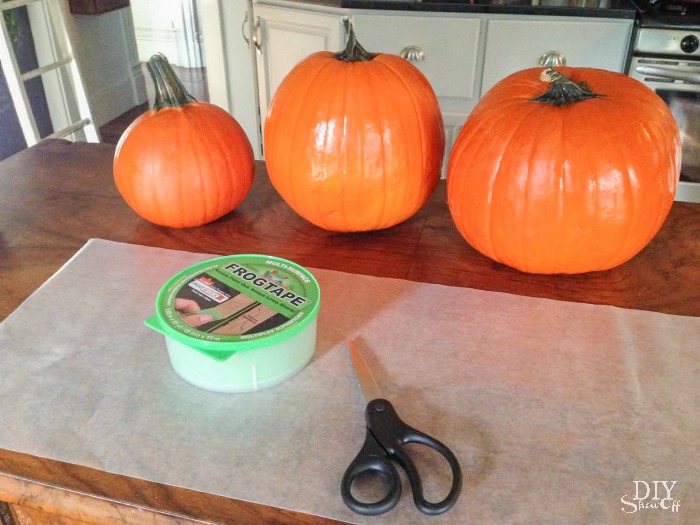
Materials:

  • Pumpkins
  • FrogTape® Multi-Surface
  • Wax paper
  • Spray Paint

DIY pumpkin stencils materials

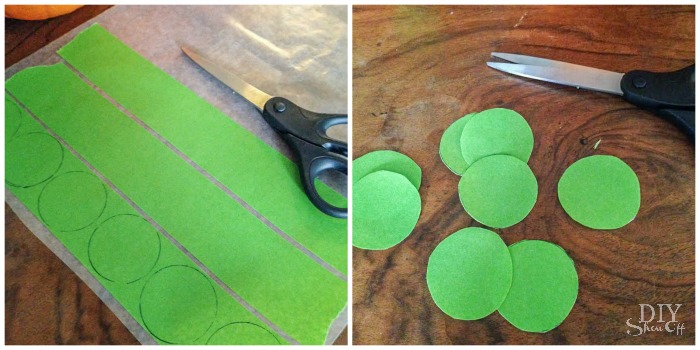
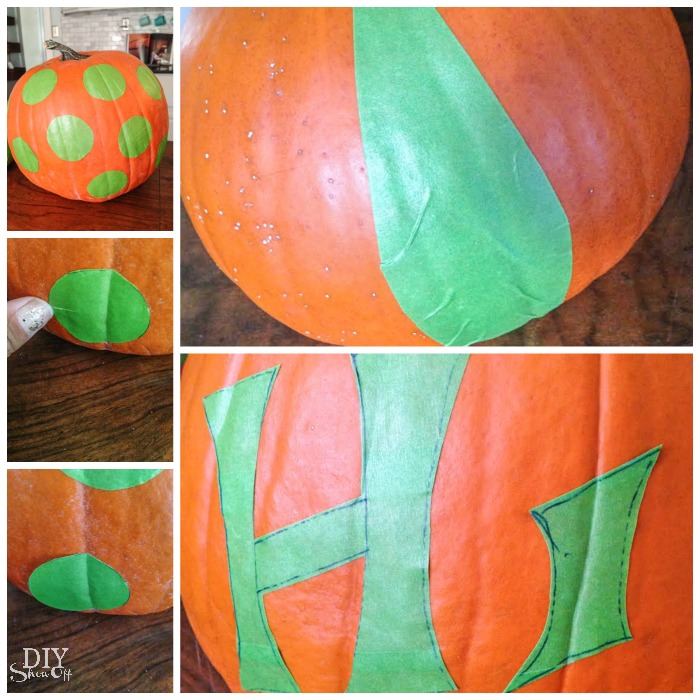
1. Adhere pieces of FrogTape to wax paper.

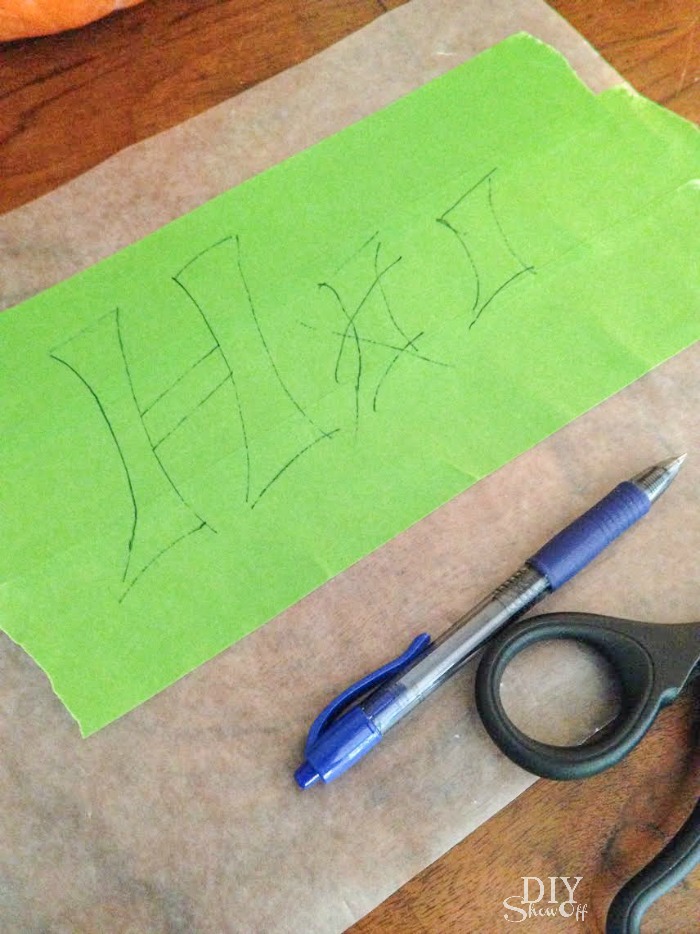
2. Using a pattern (I made mine from a piece of paper), freehand or by tracing shapes; create stickers. 

3. Cut out stencils. I folded a few of mine to create more.

FrogTape pumpkin stencil tutorial @diyshowoffDIY FrogTape stencils DIY pumpkin stencils with FrogTape at diyshowoff

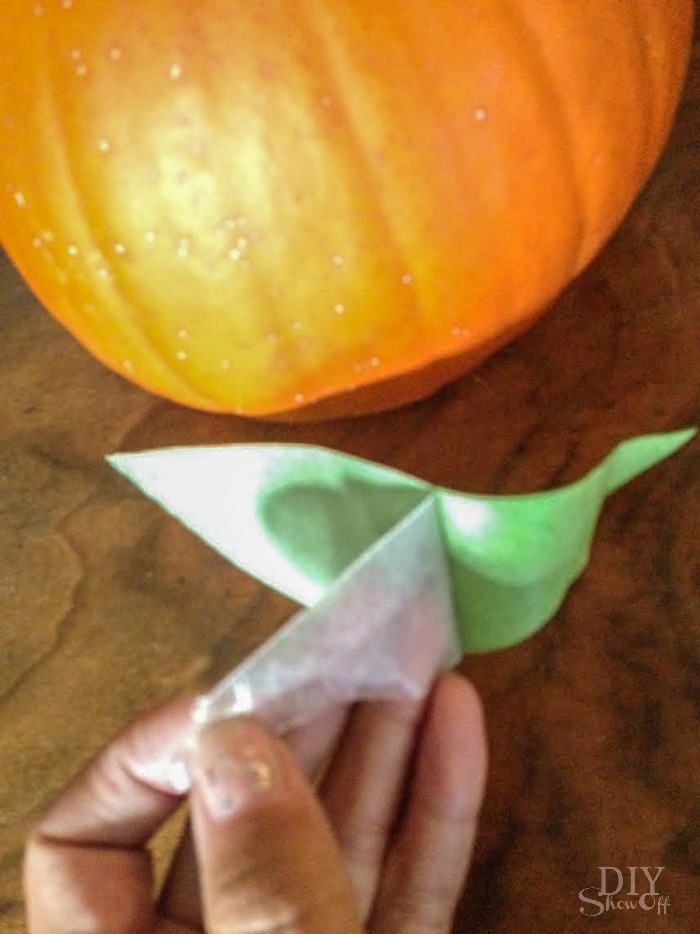
4. Remove wax paper backing and apply your DIY FrogTape stencils to the clean, dry surface of a pumpkin.

FrogTape pumpkin stencil tutorial @diyshowoff

5. Use your thumbnail to burnish the edges of the tape and to smooth out creases.

FrogTape pumpkin stencil tutorial @diyshowoff

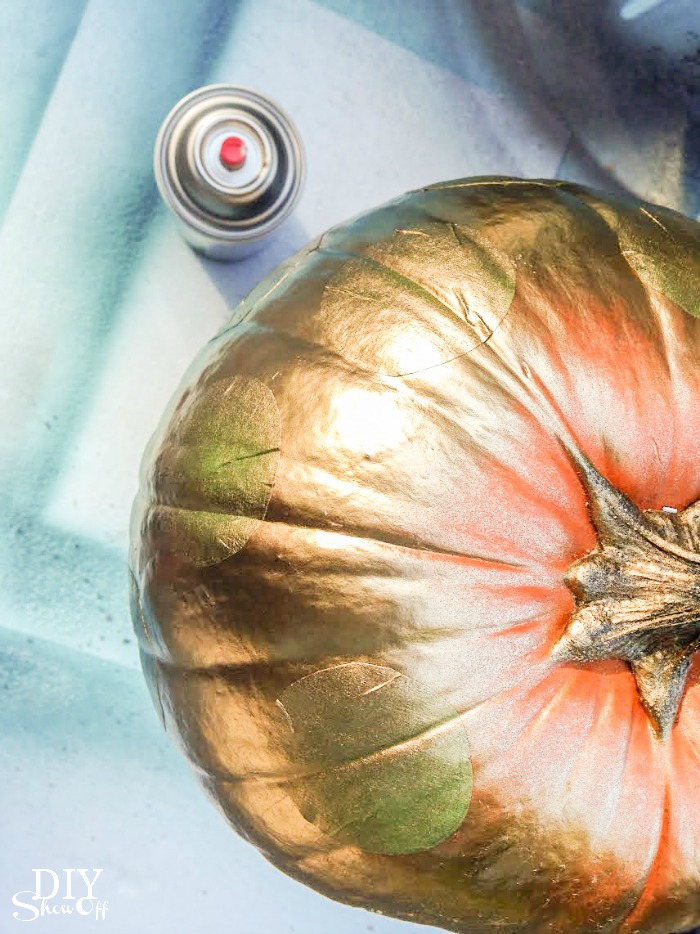
6. Tape off stem if desired. Spray paint pumpkin.

FrogTape pumpkin stencil tutorial @diyshowoff

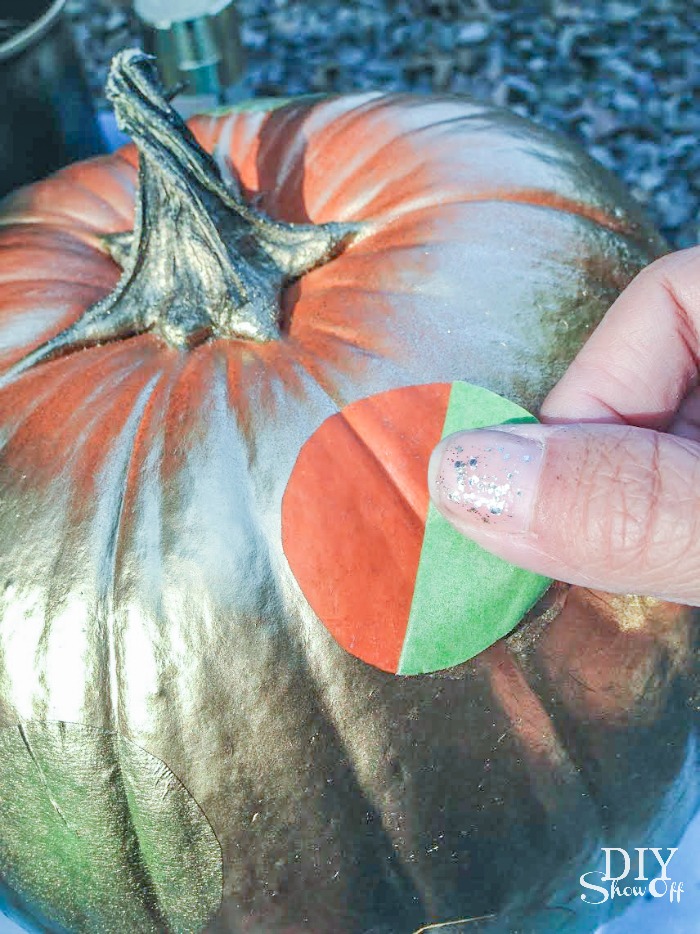
7. Paint dried really fast for me since I just did a light coat with some of the pumpkin showing through in most places. After just a few minutes, remove stickers/stencils. 

FrogTape pumpkin stencil tutorial @diyshowoff

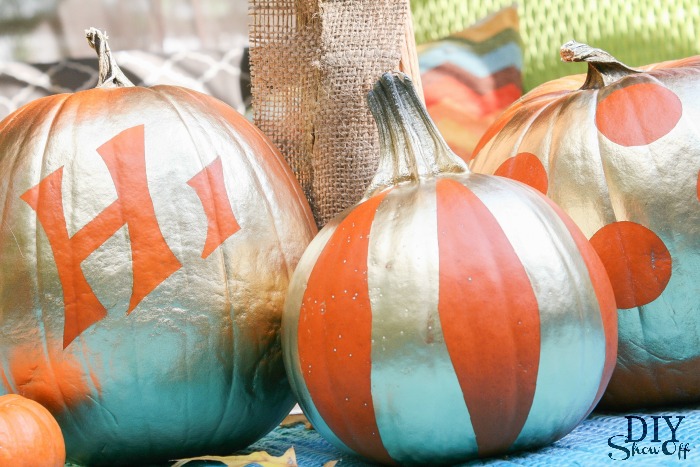
Display!

FrogTape pumpkin stencil tutorial @diyshowoffFrogTape pumpkin stencil tutorial @diyshowoffFrogTape pumpkin stencil tutorial @diyshowoffFrogTape pumpkin stencil tutorial @diyshowoff

FrogTape Blog Squad

Disclaimer: I received compensation to complete this project for using FrogTape® products. All opinions, projects and ideas are based on my own experience.