DIY Nursery Reveal (and more) – The House of Wood

I love meeting “new-to-me” DIY blog friends. I just recently met Jen from The House of Wood. Jen is a songwriter. When she’s not writing, recording or touring, she is enjoying everything life has to offer with her husband and growing family. Being 7 months pregnant hasn’t stopped Jen from DIY-ing! She loves DIY as much as we do and she just calls it “nesting” so she doesn’t get any grief from her husband. haha!

The House of Wood

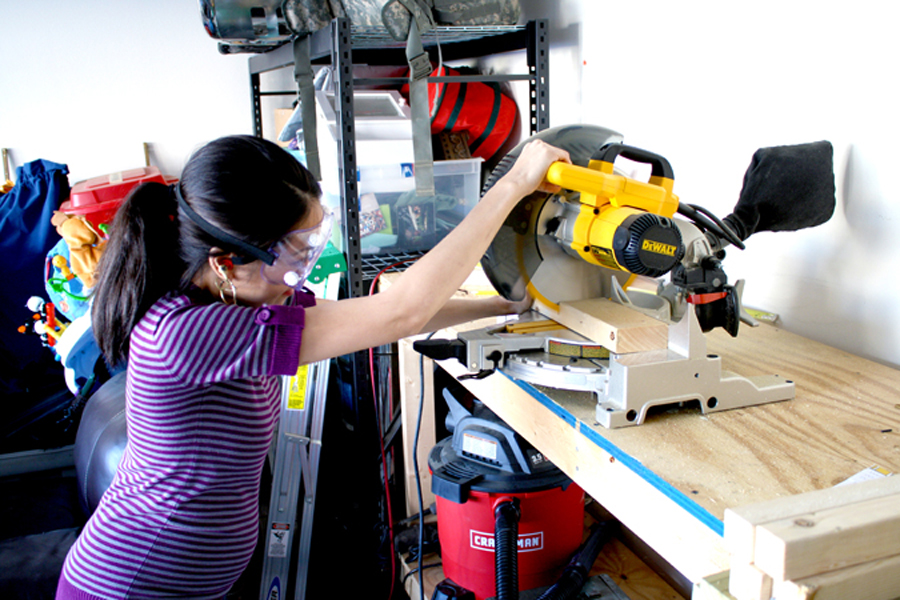
She looks so cute too with her safety glasses and little baby bump (had to include this picture too, Jen!)

Jen

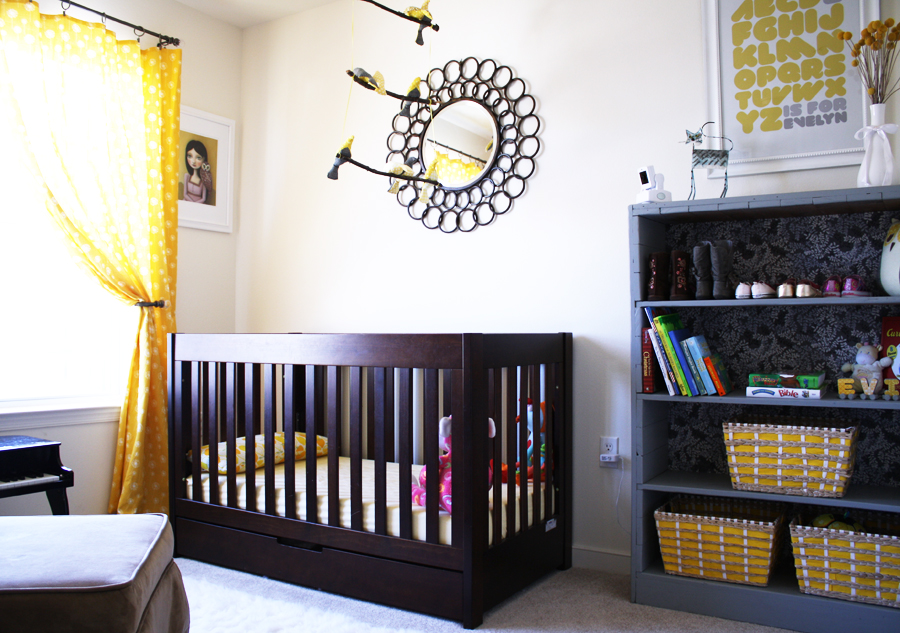
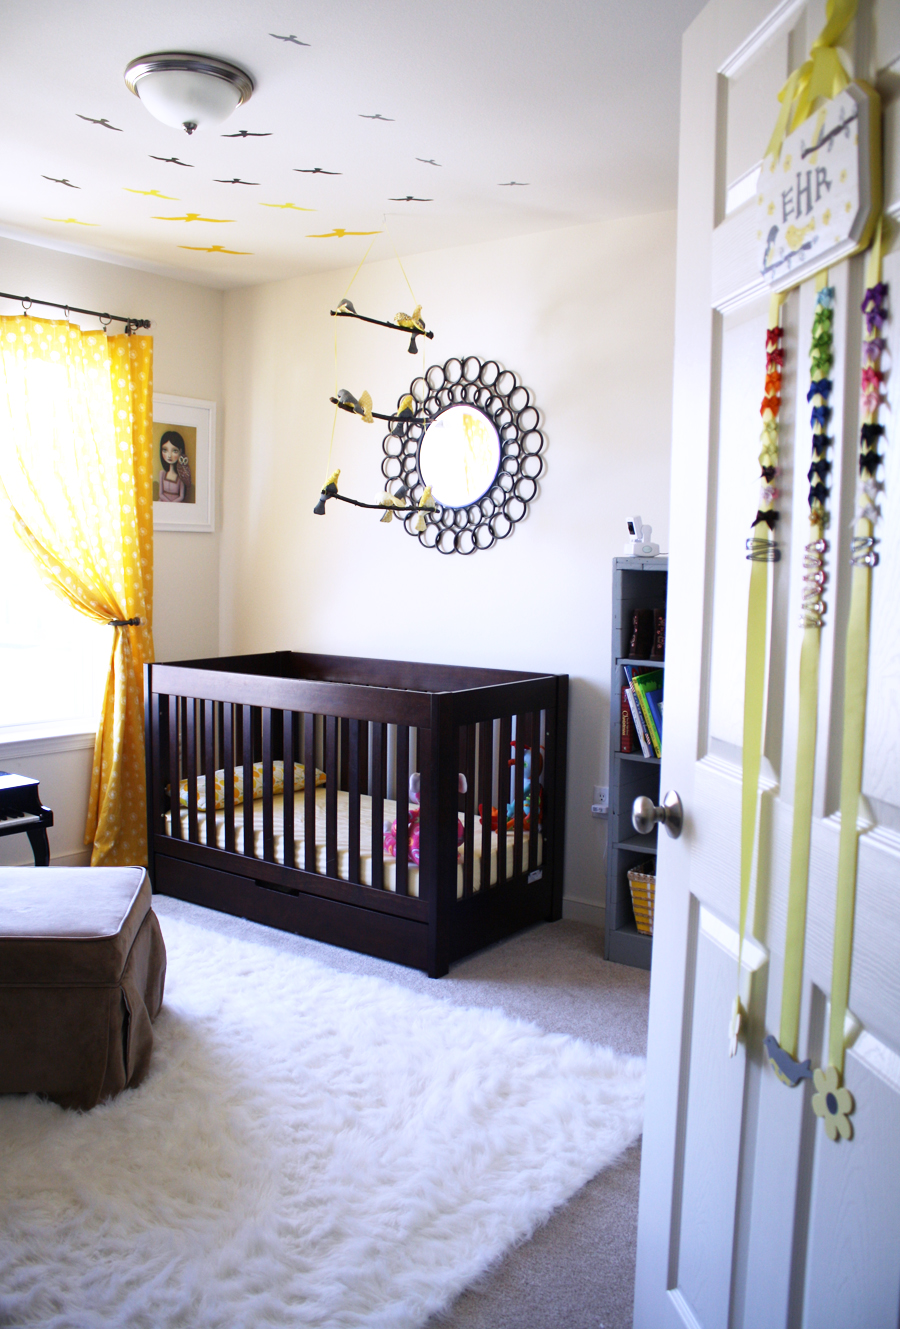
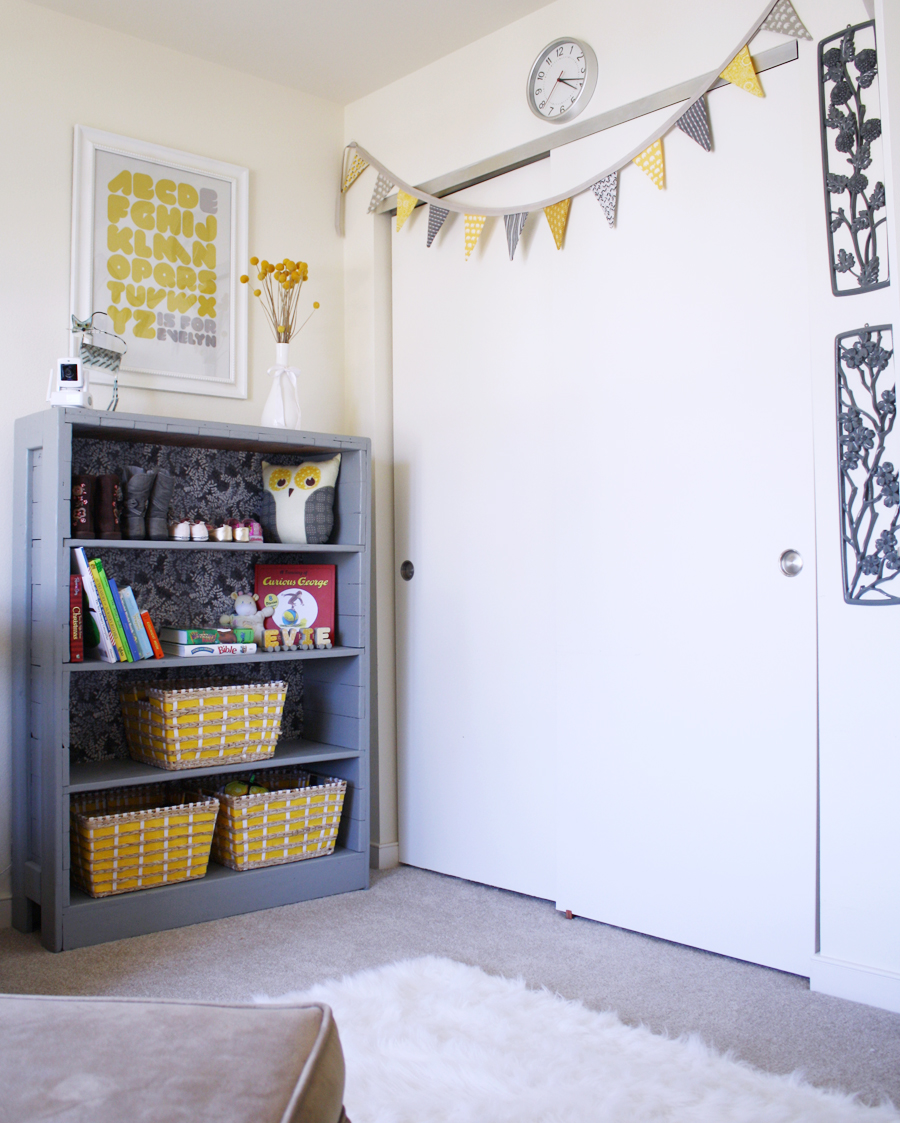
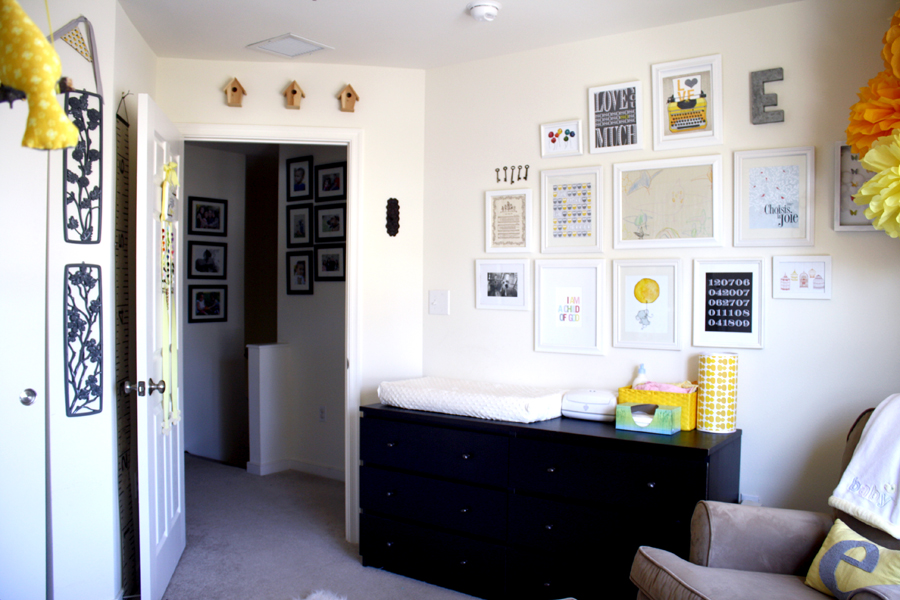
Her little girl’s room is super sweet and packed full of DIY projects.

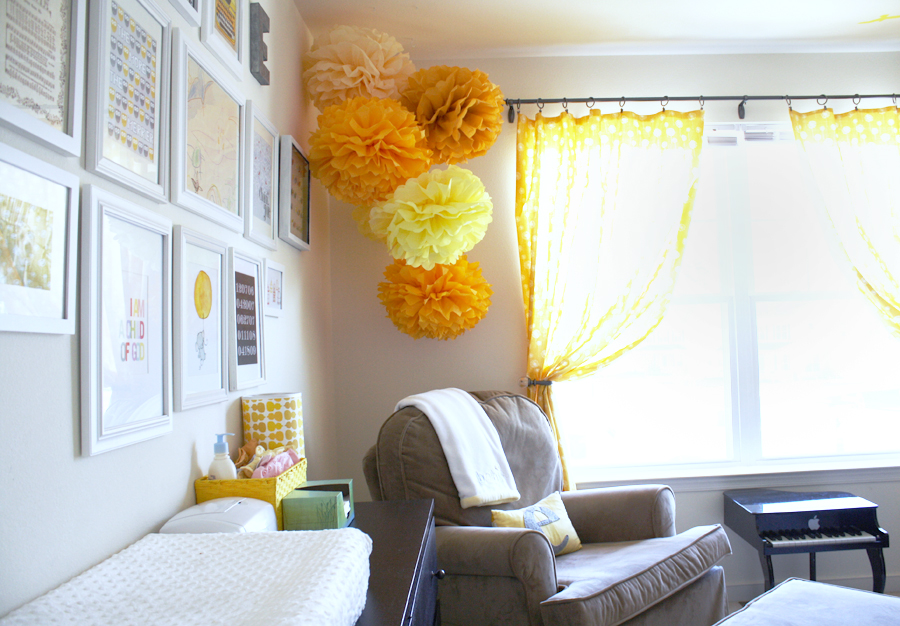
Yellow and Gray Birdie Nursery Tour – a full nursery tour with a bunch of DIY projects involved: curtains, crib skirt, pillows, bookshelf, bunting, mobile, and more! Visit Jen’s original post for links to the ‘how to’ for each project and full details. 

DIY nursery reveal

yellow nursery DIY

nursery makeover

DIY nursery reveal

DIY nursery gallery wall

Adorable!

There are so many other great DIY projects at The House of Wood. Here are just a a couple sneak peeks:

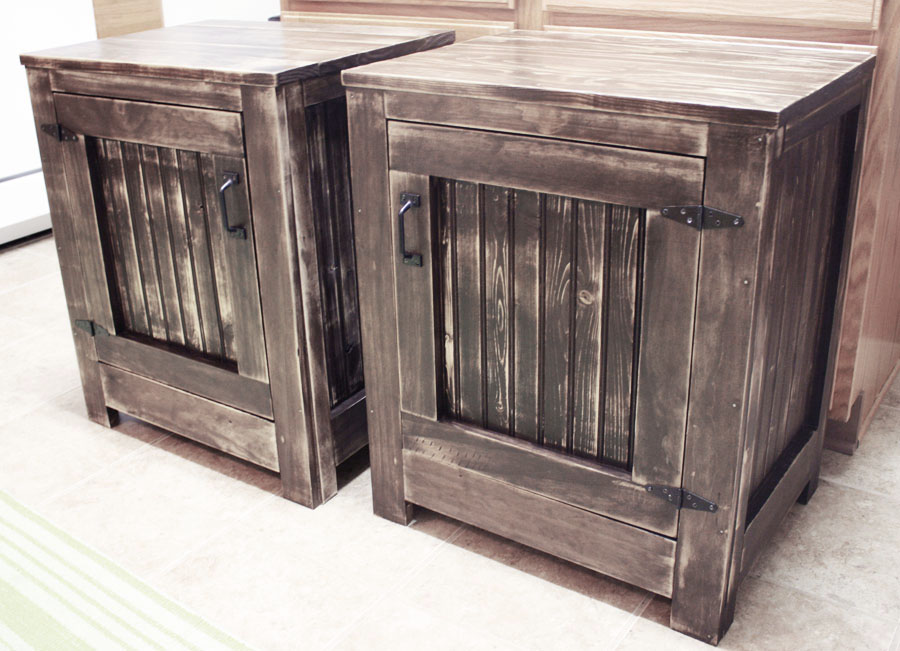
Restoration Hardware Night Stand Knock Off Tutorial

DIY restoration hardware inspired end tables

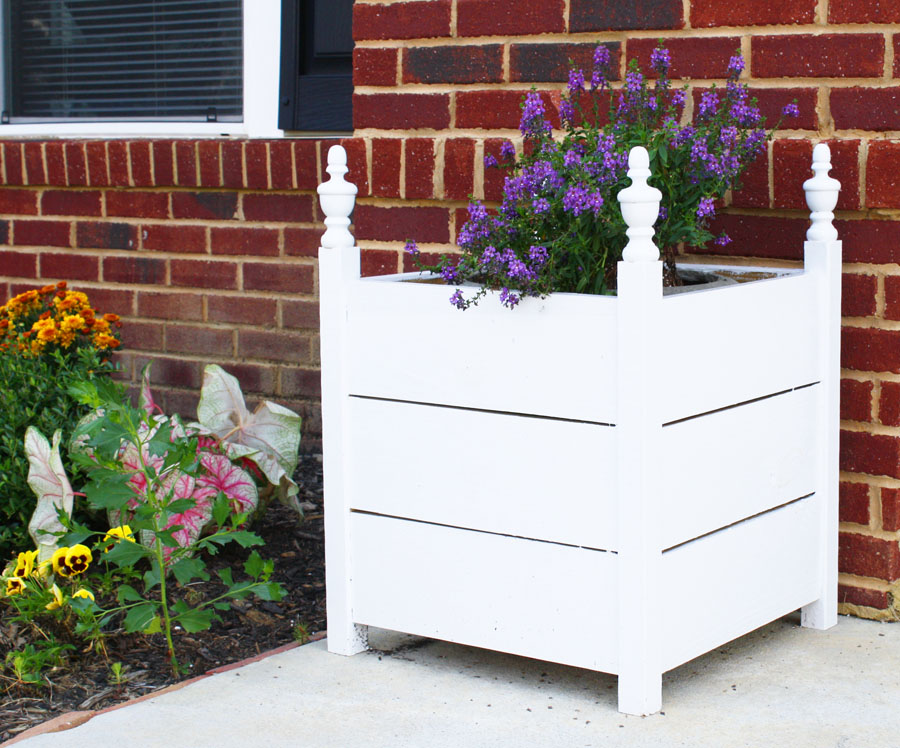
DIY Box Planter Tutorial

DIY box planters

Go ahead – you’re invited to stop over, introduce yourself, say ‘hello’ and be inspired.

The House of Wood

DIY Show Off - FacebookDIY Show Off - TwitterDIY Show Off - PinterestDIY Show Off - Feed


DIY Project Parade and Highlights

It’s weekly DIY party time and you’re invited! It’s the start of my favorite reason for blogging – when you can show off and I can see what you’ve been working on. Share your creativity in the DIY linky party and browse the other thumbnails for inspiration for your next DIY project.

DIY project Parade linky party button

I was only able to fit in a small craft project this week which I’ll be sharing with you soon but my sister, Patti, did find a house to rent! Woo hoo! She’ll be here for good in about one week! And since I know the owner of the rental house who’s familiar with my DIY and decorating passion, I have the freedom to help Patti make the rental “home”! I’m so excited and will be patching and painting walls a lot this week while she’s packing boxes and hopefully some room makeovers to share this summer.

This past week’s party links were amazing, friends! You are so clever, so creative and I don’t know where you find the time {have you noticed I didn’t even have time to blog the past two days? That’s NEVER happened!} but I’m so inspired by your awesome talent! Here are some highlights from last week:

I LOVE stripes and this gorgeous hall reveal from The Poor Sophisticate is a must see.
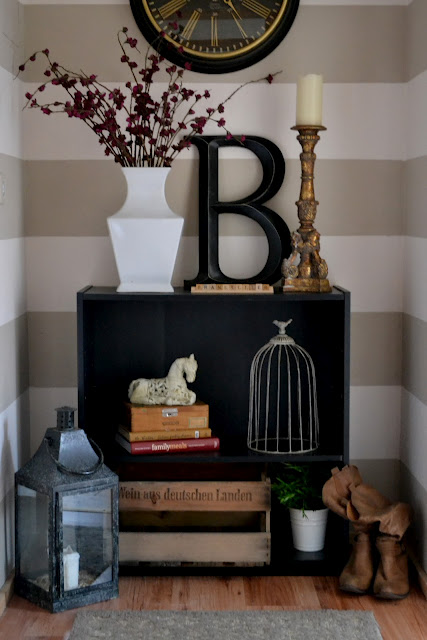
horizontal striped hallway

Find out how to get this beautiful textured painted look at Lake Girl Paints. SO pretty!
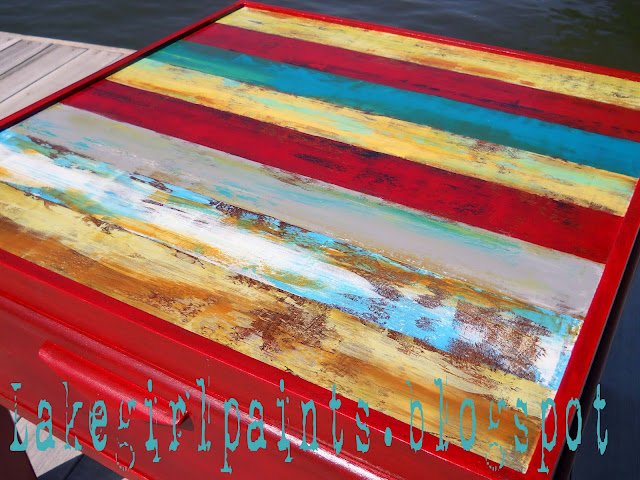
striped textured painted accent table

Domestically Imperfect has an awesome rustic/industrial bathroom vanity to show off…
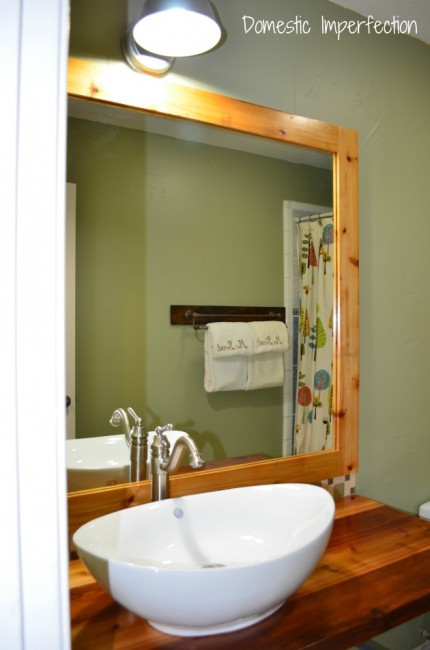
DIY rustic industrial bathroom vanity

There’s a glam master bedroom makeover going on at My Champagne Taste and you’ve likely seen this stunning silver leaf dresser before, but it’s just one of my favorite details in this beautiful room…
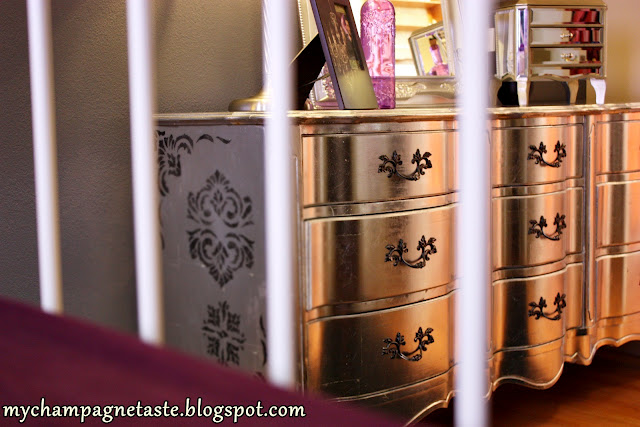
Master bedroom makeover

Betsy Speert is quickly becoming one of my favorite sources of cottage inspiration. Her latest being a cottage living room reveal…
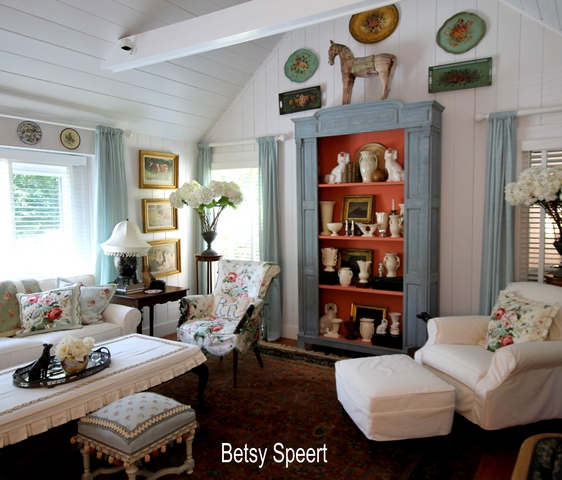
cottage living room makeover

If you’ve followed DIY Show Off for a while, you know we currently do not have a front door. I can’t help envying this fun blue door at Bees Knees Bungalow.
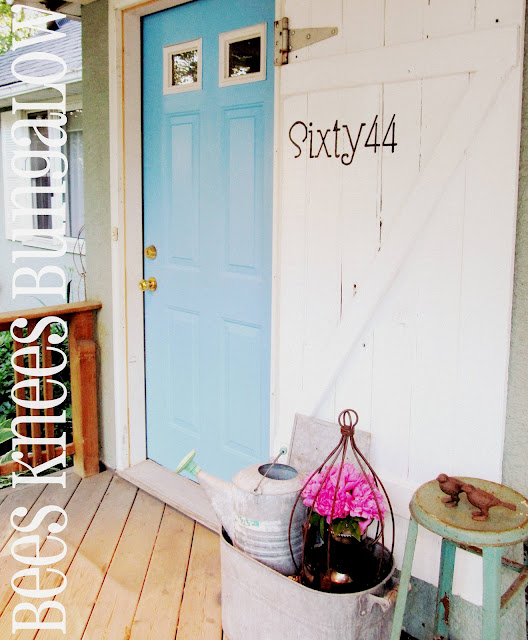
blue door

Gail from My Repurposed Life never fails to amaze me with her beautiful work. She makes it look easy and shares a great tutorial. This awesome kids’ table is built from scratch…

DIY kids table

See MORE unbelievable super fun DIY at last week’s party here.

Let’s see what you’ve been up to!

DIY Show Off
<div align="center"><a href="https://diyshowoff.com/category/other/diy-project-parade/" title="DIY Show Off"><img src="https://i899.photobucket.com/albums/ac195/Roeshel/DIYprojectparadebutton-1.png" alt="DIY Show Off" style="border:none;" /></a></div>
  1. Please use the button above or text and link to this post to share the linky love. Here is the link: https://diyshowoff.com/category/other/diy-project-parade/.
  2. Your post must be recent, shared at one DIY Project Parade only (not continuously) and be DIY related.
  3. Include your name or blog name and project title. Add your permalink (not your blog url, but your DIY project post url).
  4. Or email your link to thediyshowoff@gmail.com and I will add it for you.
  5. This blog linky party is for DIY projects only. Links not related to DIY will be deleted. Please share your link one week only.  Please do not link recipes, giveaways, linky parties, promotions or a collection of inspiration. 
  6. NOW you can “like” the links!  What a fun idea!  Most liked links may be included in a post of DIY Project Parade highlights later in the week, featured on DIY Show Off Facebook or Pinterest.
  7. Visit a few other links to make some friends and to collect some creative inspiration! If viewing in an email or reader, click here to see the links and join the party.

I know summer is a slow blog season. Lots to do and little free time. Thank you for being here, for sharing your DIY and decorating and for your sweet comments. Have a great week!

Linking up? Thanks for helping to spread the word!

DIY Show Off - FacebookDIY Show Off - TwitterDIY Show Off - PinterestDIY Show Off - Feed


Rustic DIY and Enamel Tag Tutorial

  • Beautiful reclaimed barnwood
  • Lovely painted distressed furniture
  • Numbers!
I love each of those things, don’t you? Meet: Kimberly from

serendipity blog

Kimberly is a professional home stager and decorator and a nature at decorating and do-it-yourself projects. Here are some of my favorites:

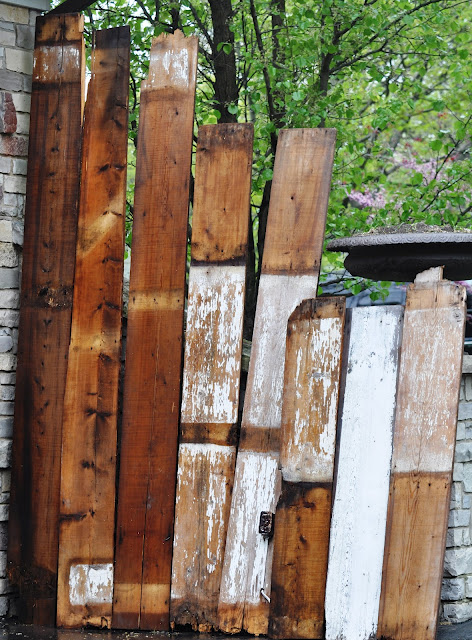
100 year old reclaimed barnwood before:

reclaimed barnwood

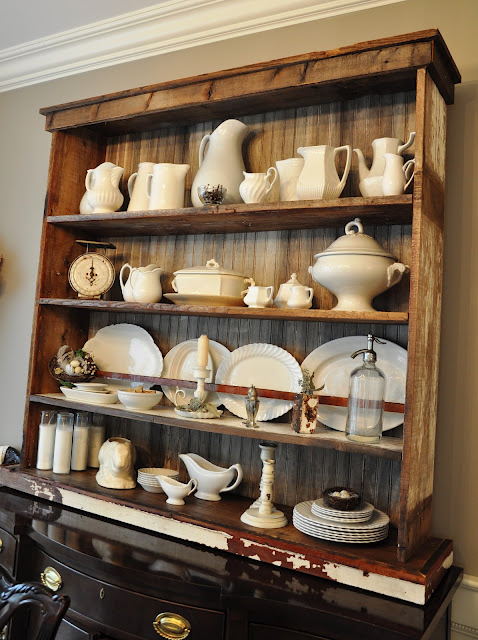
Now: Reclaimed Barnwood Hutch

DIY barnwood hutch

Love!

Dresser Before and After

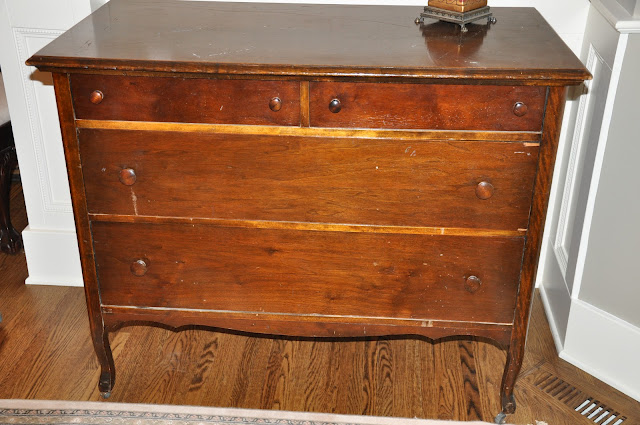
And a tired old dresser before…

wood dresser before

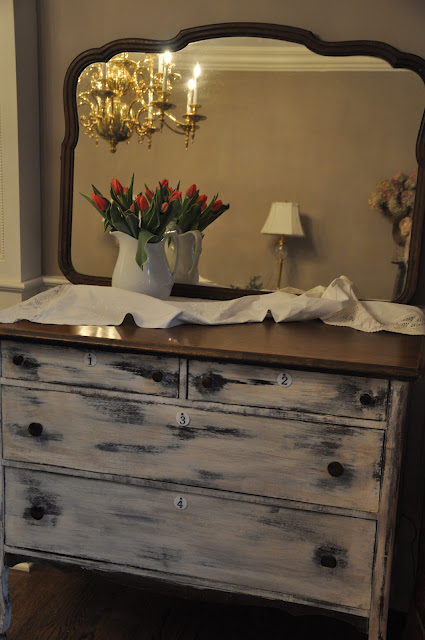
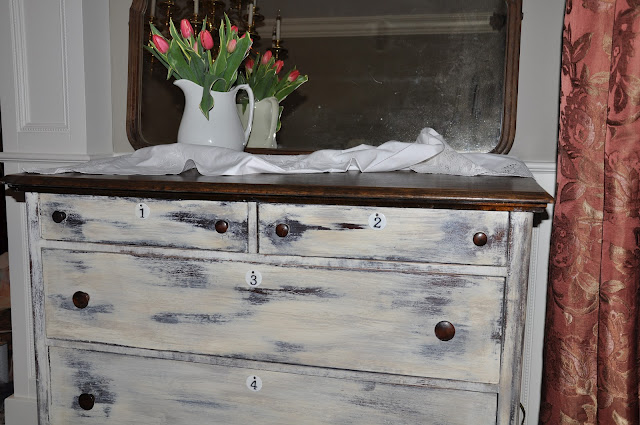
gets a new distressed paint technique and a new purpose in the dining room… oh-la-la!

painted distressed dresser

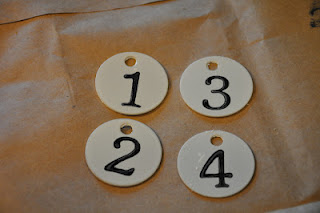
See those pretty number tags too? I don’t know what it is about numbers but I love the charm it adds to decor, don’t you? Kimberly shares how to make these sweet little charms…

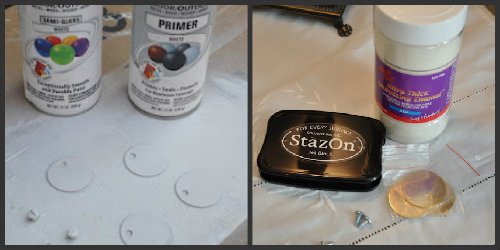
Here’s what you need:

  • Key tag blanks. (I got mine from Ace Hardware, they are steel with a brass finish and are about 1 and 1/2″ across)
  • Paint and primer (white..but I’m considering doing some blue  or dark green ones with white numbers)
  • StazOn Stamp Ink (and number stamps)
  • Embossing Enamel (clear)
DIY enamel tag supplies
Prime and paint the tags. Once dry, stamp the numbers using StazOn.
number tag tutorial
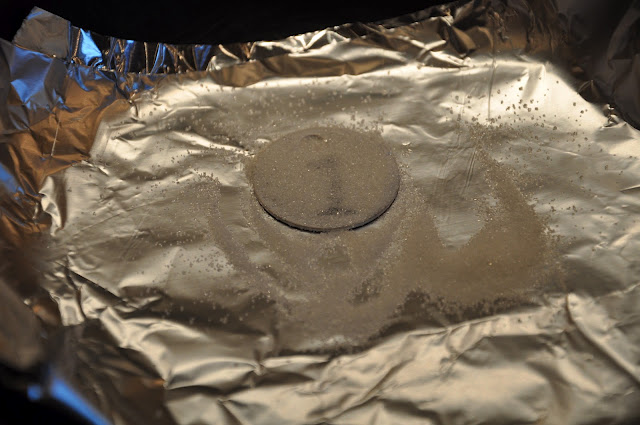
Line a skillet (frying pan) with foil. (or use an electric skillet). Place the tag on the foil and sprinkle with the embossing powder.
DIY enamel tags
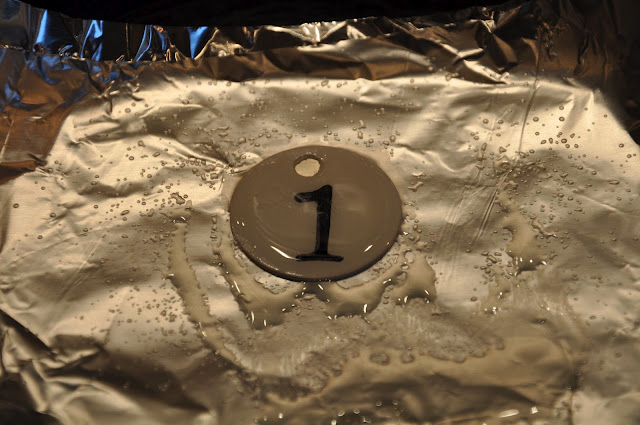
Turn the heat to medium and watch as the embossing powder turns to liquid.
enamel tag tutorial
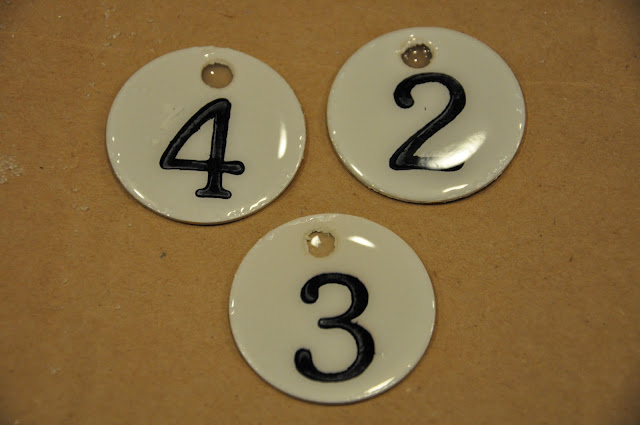
When the embossing powder is completely smooth and transparent, gently remove the foil (with the tag on it) from the pan and place it on a rack to cool.
enamel number tag tutorial
When the tag is partly cool, but before it is completely cool, gently peel the foil from the tag. and return the tag to the rack until it is completely cool. I also used a nail to remove the powder which had filled the hole while the tag was still warm.
So cool!
dresser after
To pin from original sources and to see more creative DIY and decorating from Kimberly, visit Serendipity.

For more information on enamel tags, see the original inspiration at Can’t Stop Making Things.

Easy Ottoman Makeover

Wow! Martha from

Leone Design

makes her ottoman makeover so easy, I want to tear mine apart right now and give it a makeover! Take a look at this for inspiration:

Thrift store ottoman – before shot:

1. First, remove upholstery nails and save for use on the finished piece.
2. She covered the top and sides with the same fabric (so that it would show through the burlap).
3. Next she covered the sides with strips of coffee sacks.

4. She painted the legs to bring the light cream.
5. Martha used tacky glue and duct tape (to hold in place) to tack down the sides/seams.

After an hour or so of drying, She simply removed the duct tape.

Isn’t this so fun? I love the mix of striped fabric with grain sack burlap! Great job, Martha!


What do you think? Love it, right?!

To pin from the original source and see more amazing DIY from Martha (so many furniture makeovers with lots of helpful tips) at

leonedesign.wordpress.com.


DIY Drawer Shelves

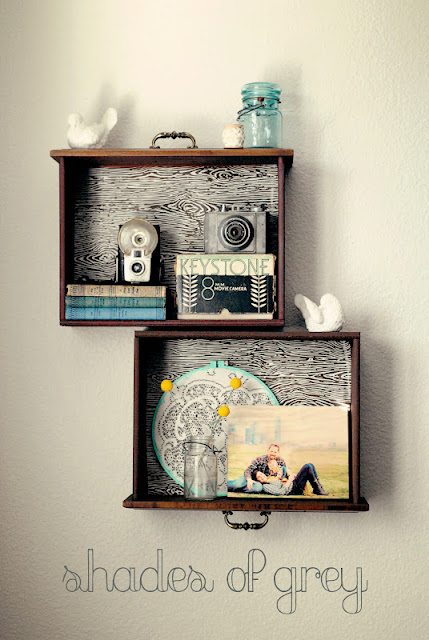
Creative budget friendly ideas like these side table drawers turned wall shelves are such an inspiration. Beautiful, practical and so fun! DIY friends, I’d like to introduce you to Katie, lifestyle blogger at

Shades of Grey blog

and I’m honored to ‘show off’ her latest creative do-it-yourself project:

Katie was working with a limited budget of less than $20. She  wanted shelving and wanted it to be something you don’t see everyday. This is her creative solution…

DIY wall shelves