I had the pleasure of meeting Ethan from One Project Closer in real life last summer at the Shaw/HGTV Home Design Challenge. Ethan was a partner in the winning team. The team at One Project Closer shares crafts and DIY tutorials and reviews. Today he’s here to introduce you to One Project Closer with an easy way to update chairs.
This is a guest post by Ethan from One Project Closer.
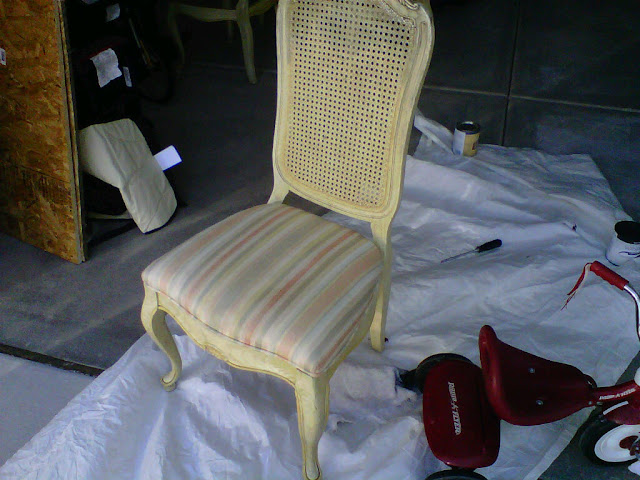
Reupholstering chairs and cushions may sound like a daunting task, but it doesn’t have to be. With a few tools and some DIY spirit, you can give old seat cushions new life. My wife and her mother recovered six dining room chairs, and I was able to take pictures of the whole process. Read on to learn how you can conceal ugly stains and worn fabric on your own chairs.
Reupholstering Chairs
Reupholstering six chairs only took a few hours and it wasn’t very expensive at all. The cost is almost entirely the upholstery fabric so just wait until Joanne’s has a sale or you find a coupon. Here are the necessary tools and materials you’ll need before starting.
- Heavy-duty stapler
- 1/2″ staples
- Screwdriver
- Scissors
- Upholstery fabric
Most seat cushions are held in place with a few (usually hidden) screws. Flip your chair upside-down and remove the screws. We found one in each corner.
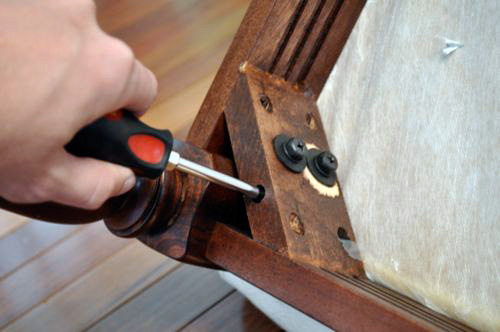
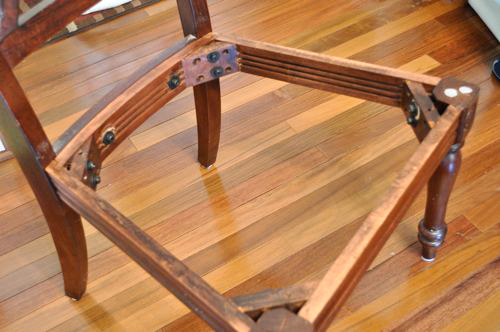
We didn’t bother to remove the existing fabric because there’s really no need. You can just cover right over it.
My wife bought a fun zebra print upholstery fabric to give our dining room a fresh, new look. No matter what pattern you chose, just make sure it’s upholstery fabric because it’s more durable. Otherwise, your new seats won’t last very long.
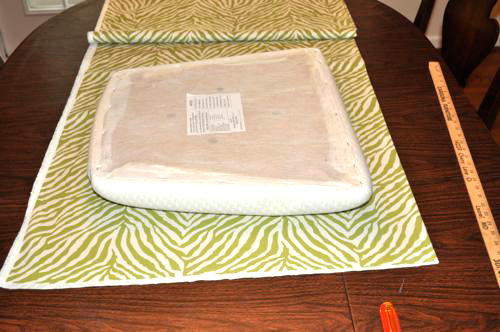
Place the seat cushion upside-down on the upholstery fabric, and measure out the necessary dimensions. Add about three inches to each side so that the fabric will be long enough to wrap underneath the cushion. Remember, it’s better to have too much than too little. You can always cut any excess later. We oriented the zebra strips across the seat cushion. If your fabric has a pattern, make sure you keep it consistent with the other cushions.
We used a heavy-duty staple to staple the fabric to the bottom of the cushion. Starting on the front side, put staples every couple of inches. Then, on the opposite site (the back) pull the fabric tight (but not too tight) and staple that side. Repeat these steps with the other two sides, and leave the corners open for now.
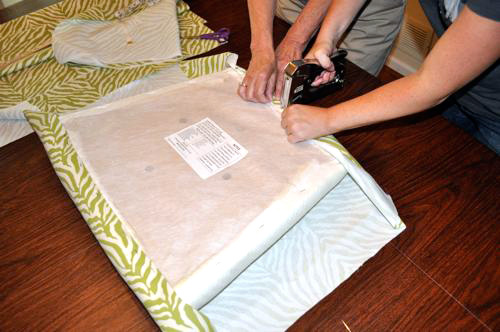
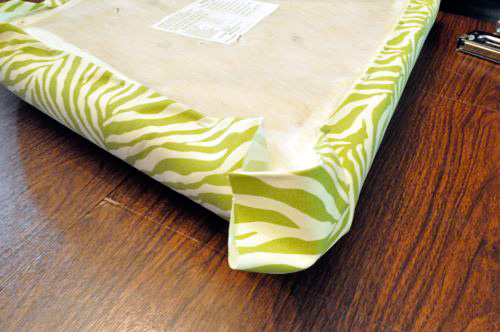
As you’re stapling, the goal is to smooth away wrinkles, and the corners are the most difficult. To make the turn, we used overlapping pleats. Start on one side, make a small pleat and then continue in a likewise fashion through the entire corner. Staple the heck out of the corners!
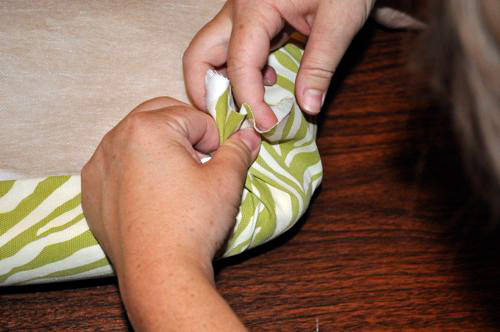
After everything is stapled and you’re happy with how the cushion looks, trim away any excess fabric.
Once we had completed all six cushions, we sprayed ’em with ScotchGuard to better prevent any future stains. This was an important step because we have two young girls ages 1 and 3, and they always seem to spill or drop food. As you’re screwing the cushions back on, don’t over-tighten the screws or the wood may strip.
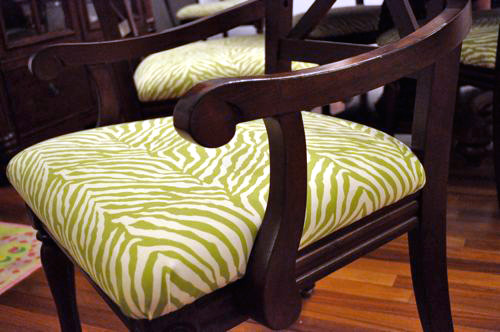
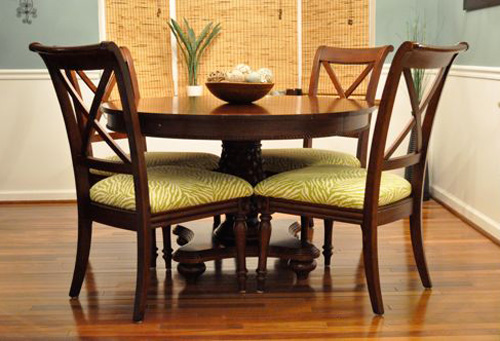
Now it’s time to enjoy the “new” chairs!
One Project Closer is a website where Fred, Kim, Jocie, and I share how-to projects, tool reviews, coupons for home improvement centers, and crafty projects. We hope you’ll stop by OPC for great resources like building a shed or making merlot cupcakes. We also provide the most up-to-date list of coupons for home improvement stores like this Lowe’s coupon page. Stop by and say hello! Join the DIY party.