{THAT DIY PARTY} Highlights

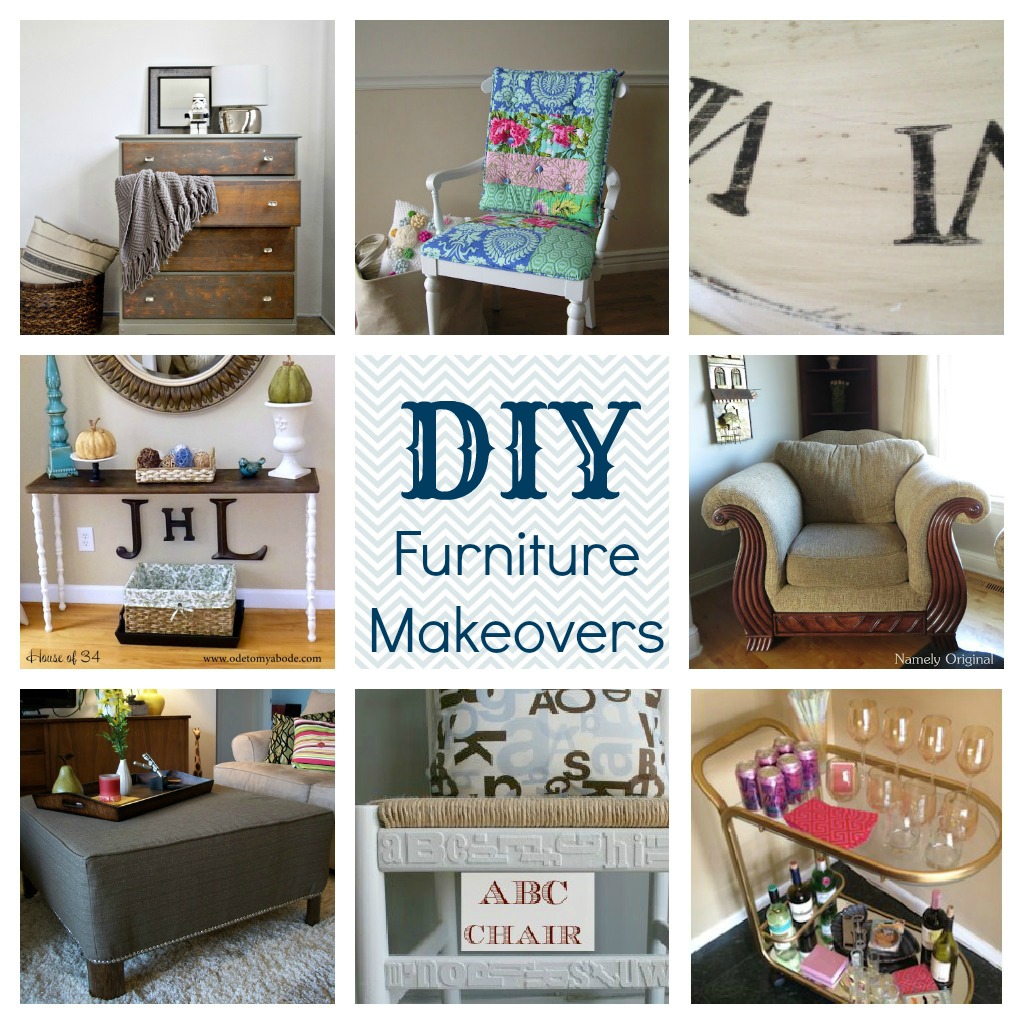
THAT DIY PARTY from last week had some inspiring awesome projects I wanted to point out to you.

diy highlights

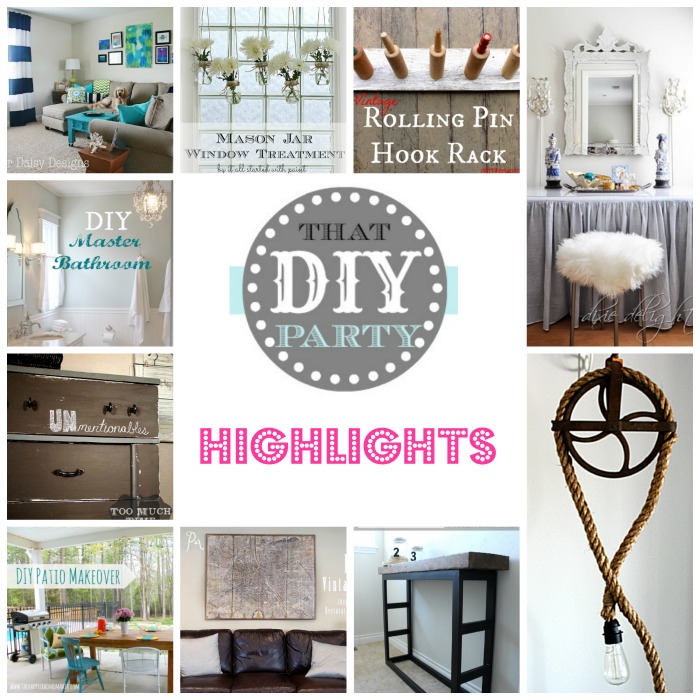
 Please visit the links below for full details from these talented DIY’ers…{be prepared to be ‘wowed’!}

DIY Party Highlights

Rooms

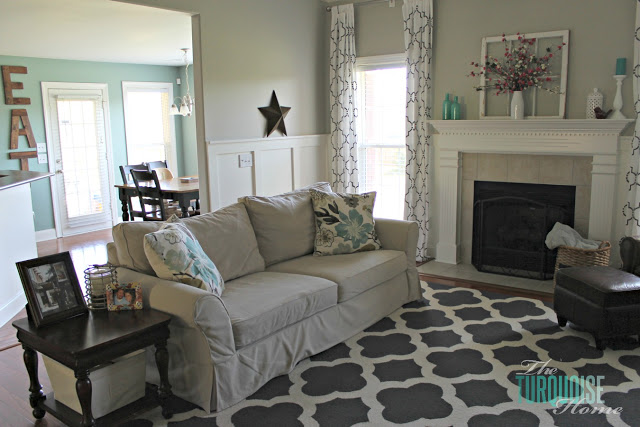
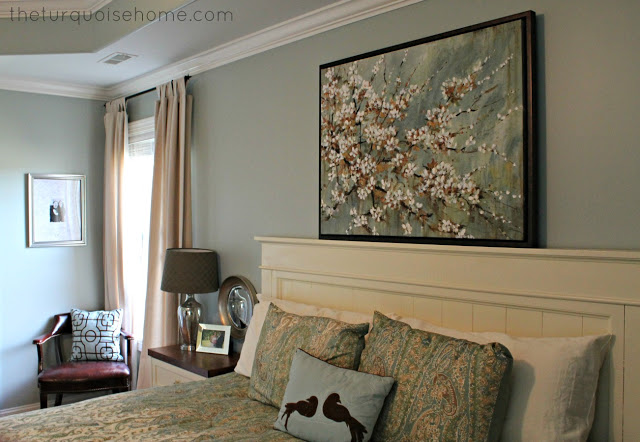
Living Room Reveal – The Turquoise Home

living room makeover

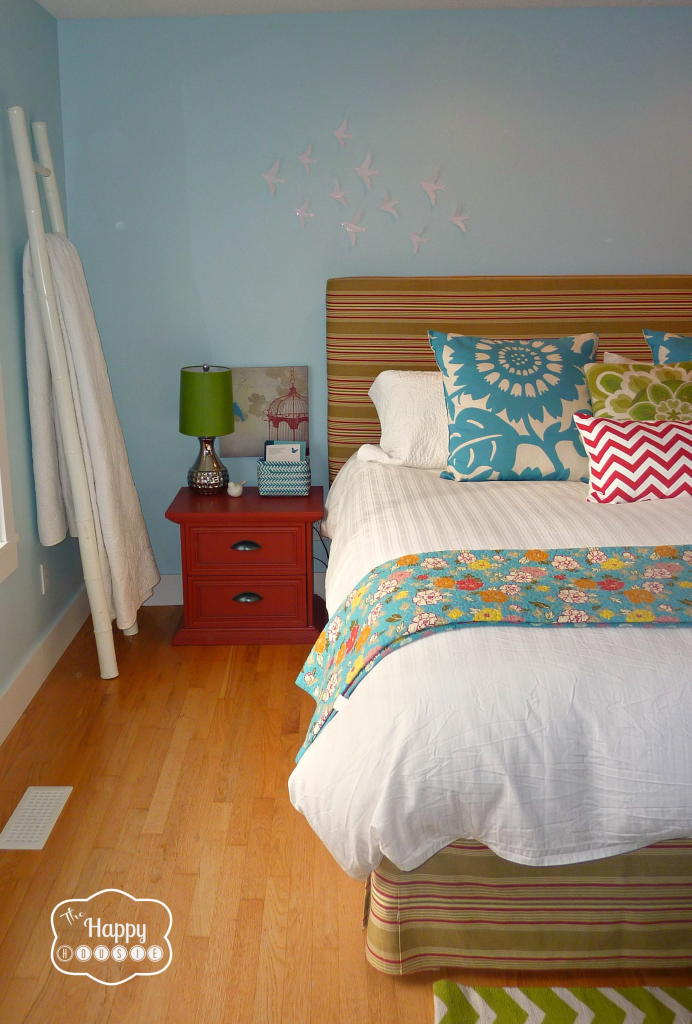
Almost Free Master Bedroom Makeover – The Happy Housie

master bedroom makeover

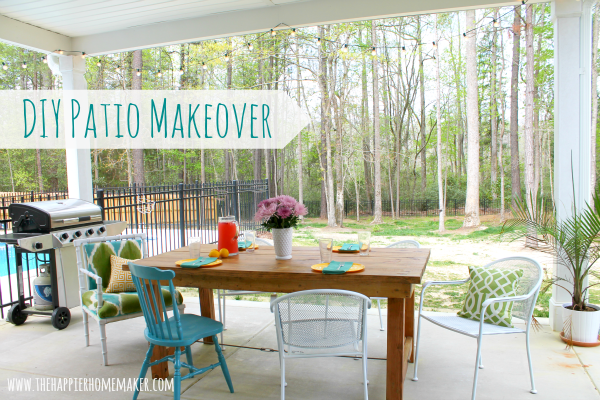
Patio Makeover – The Happier Homemaker

patio makeover

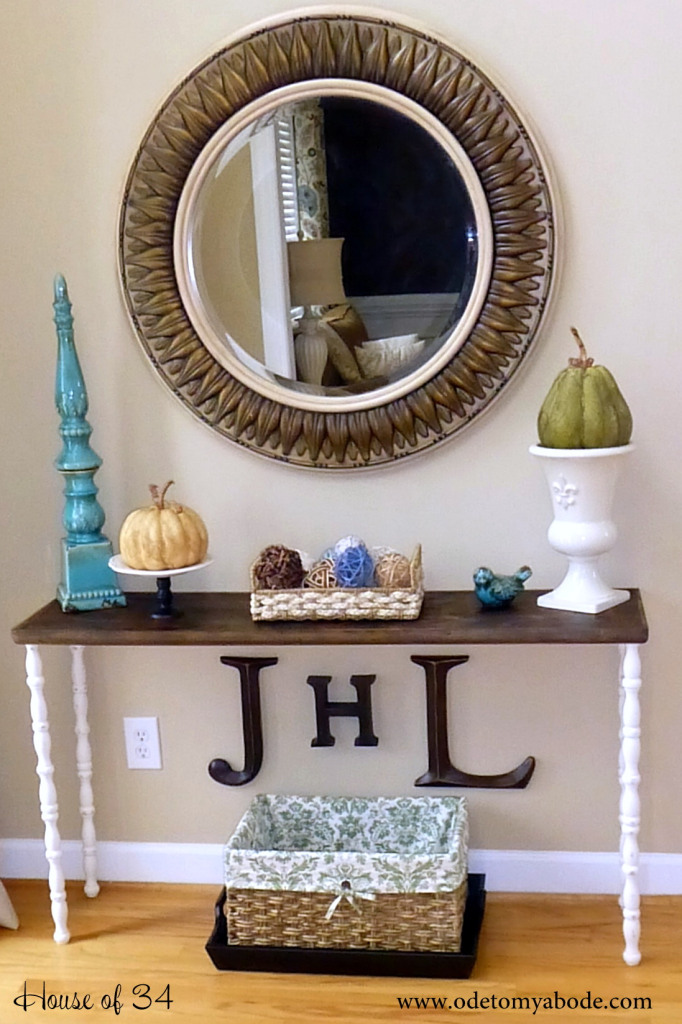
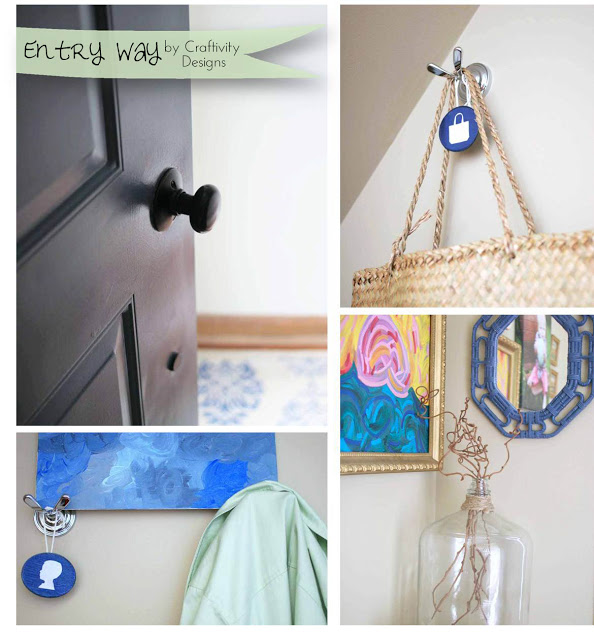
Entryway Command Center – Craftivity Designs

entry way makeover

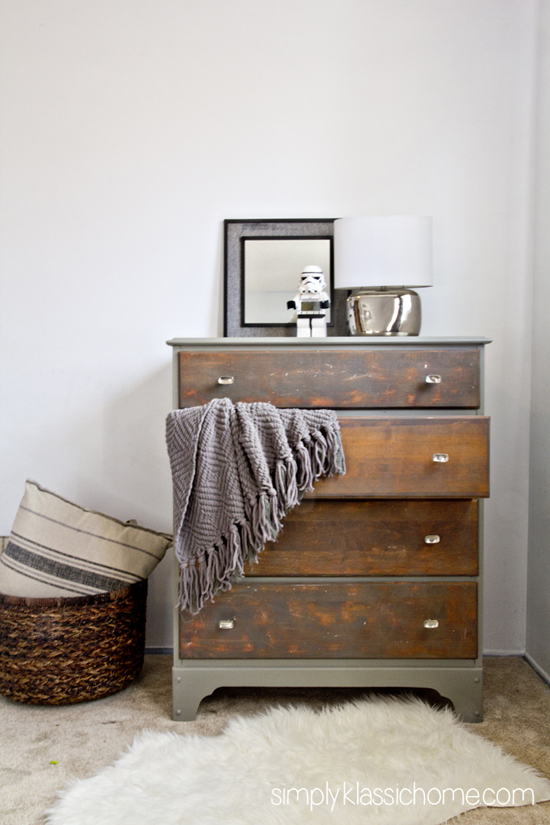
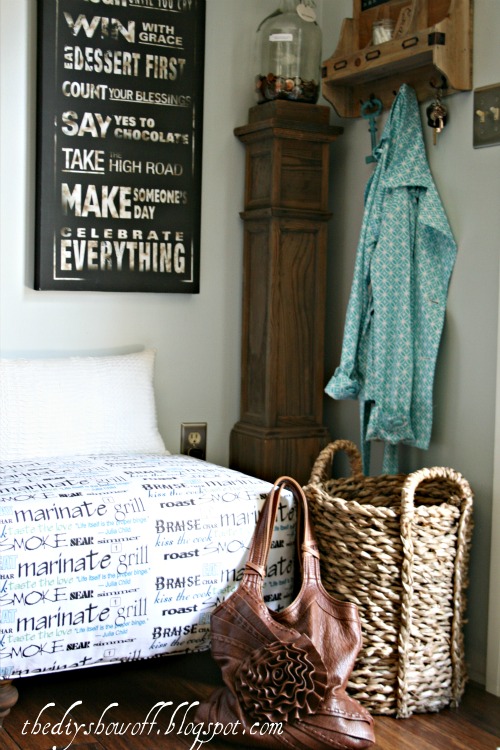
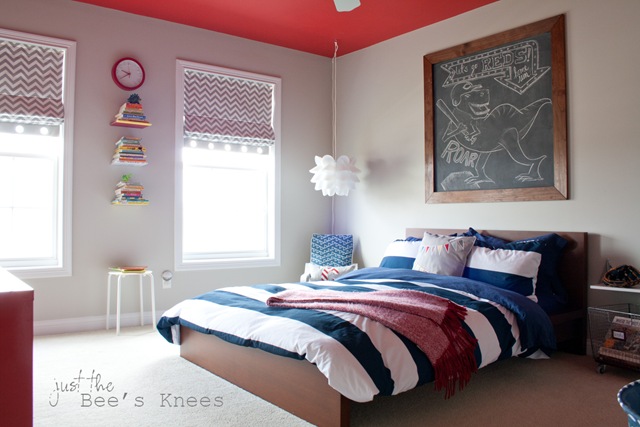
Boy’s Bedroom – Just the Bee’s Knees

boys bedroom makeover

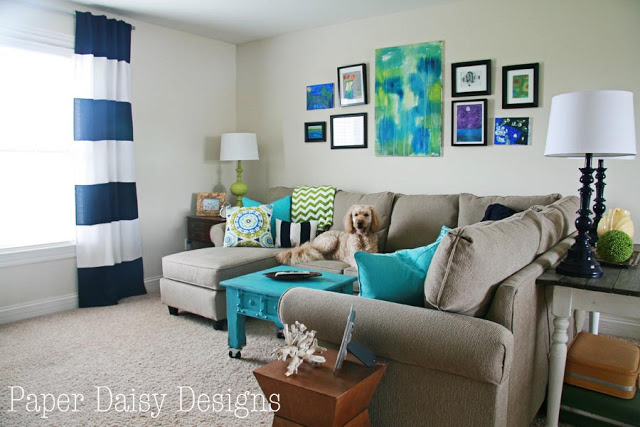
Media Room – Paper Daisy Designs

media room makeover

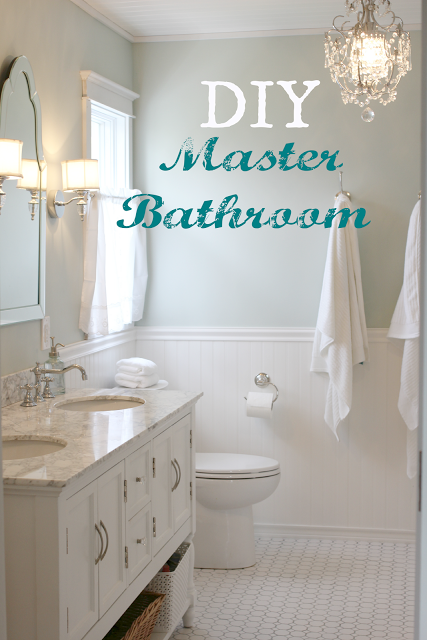
Master Bathroom Makeover – Golden Boys & Me

master bathroom makeover

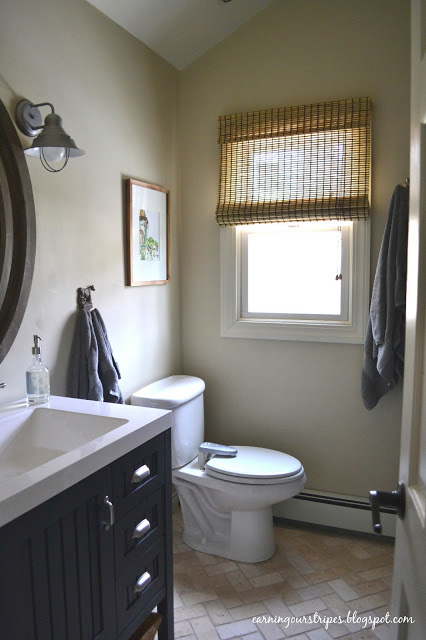
Bathroom Makeover – Earning Our Stripes
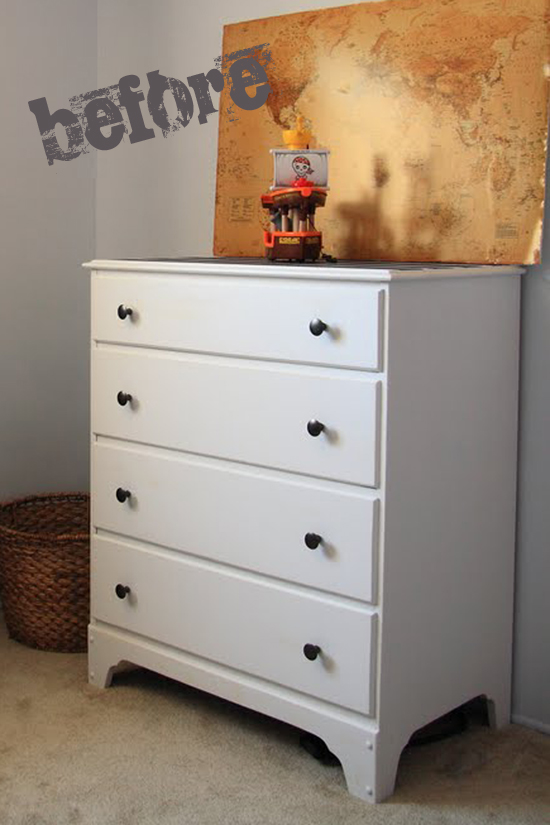
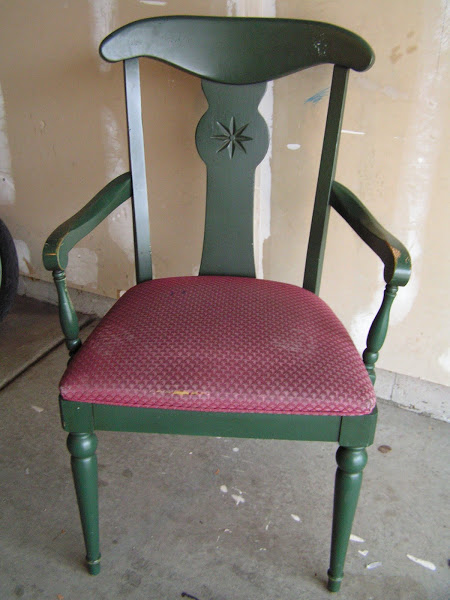
bathroom makeover

Furniture

Vanity Table Makeover – Dixie Delights

vanity makeover

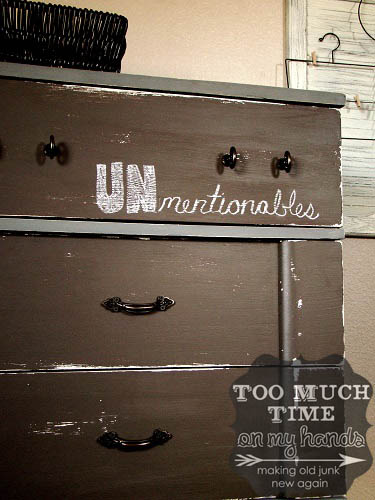
Chalkboard Dresser – Too Much Time on my Hands

chalkboard dresser

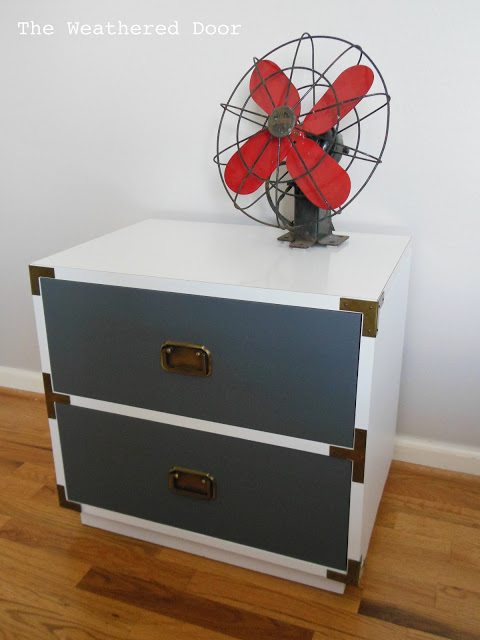
Campaign Nightstand Makeover – The Weathered Door

campaign nightstand makeover

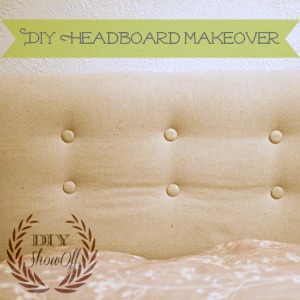
DIY Farmhouse Headboard – The Turquoise Home

diy farmhouse headboard

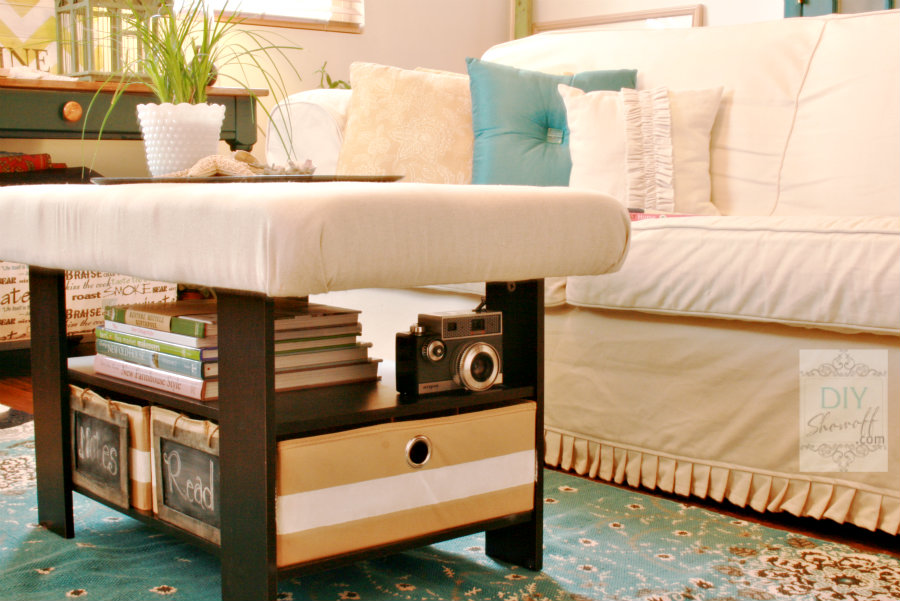
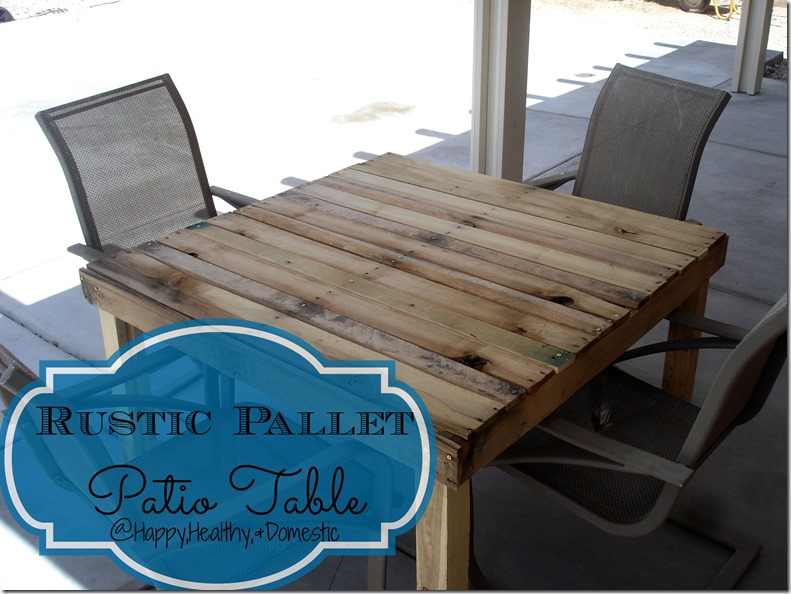
Pallet Table – Happy, Healthy & Domestic

pallet table

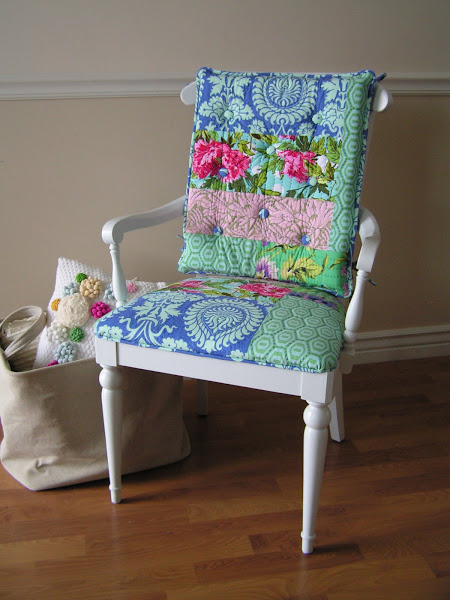
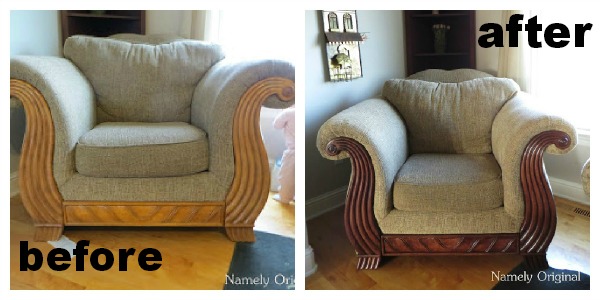
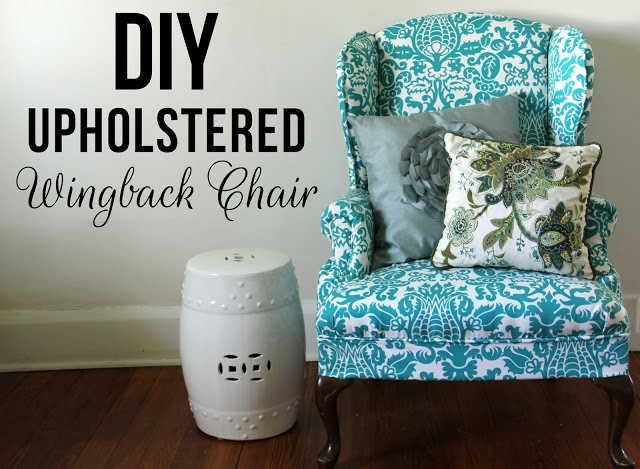
DIY Upholstered Wingback Chair – Lovely Little Life

diy-upholstered-wingback chair

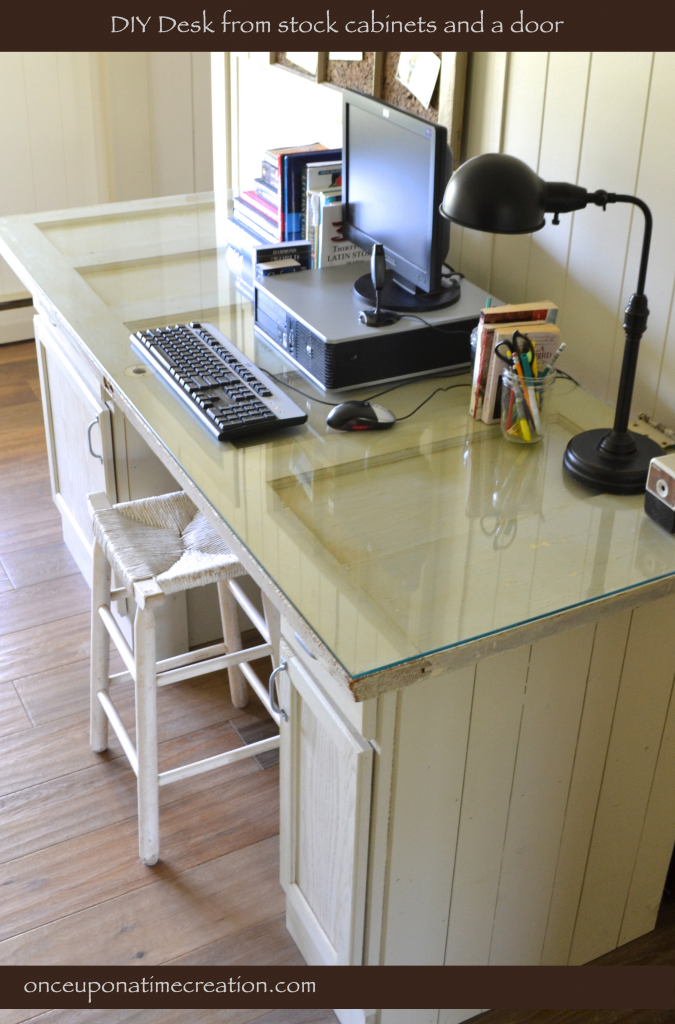
Once Upon a Time Creation – DIY vintage door/cabinet desk

diy vintage door desk

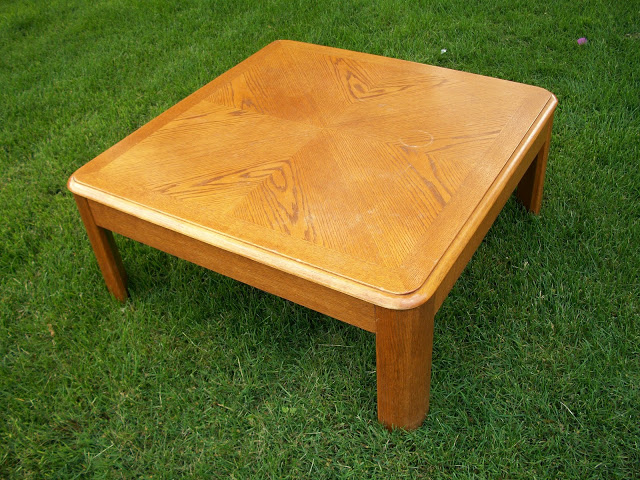
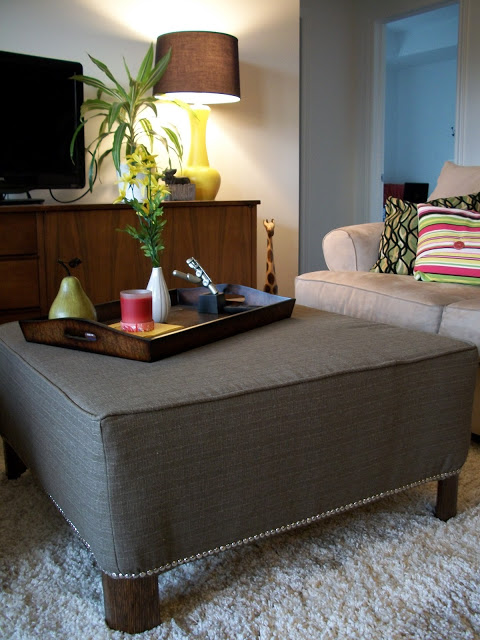
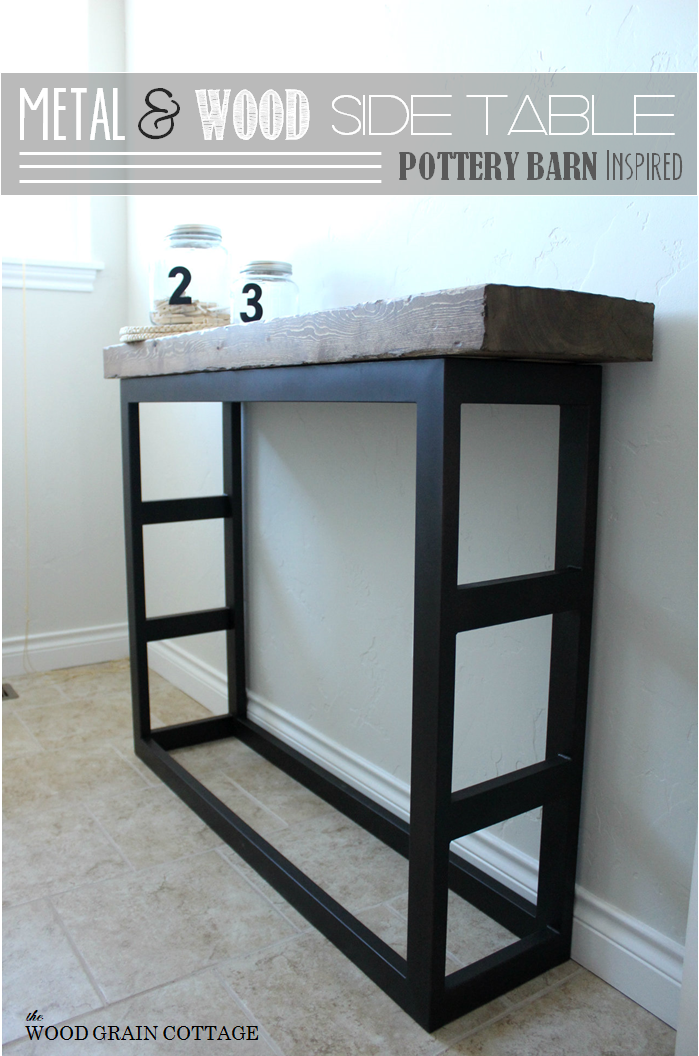
Pottery Barn inspired side table – Wood Grain Cottage

pottery barn inspired table

Misc. DIY Projects

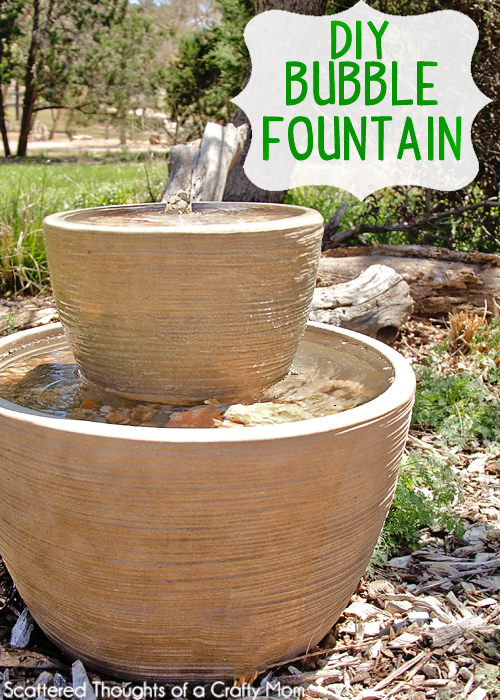
DIY bubble fountain – Scattered Thoughts of a Crafty Mom

diy bubble fountain

Mason Jar Window Treatment – It All Started with Paint

mason jar window treatment

DIY Pulley Light – Vintage Prairie Style

diy pulley light

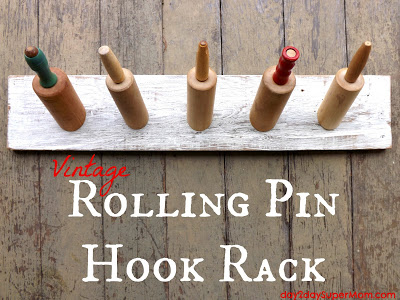
Vintage Rolling Pin Hook Rack – Day2Day Super Mom

vintage rolling pin hook rack

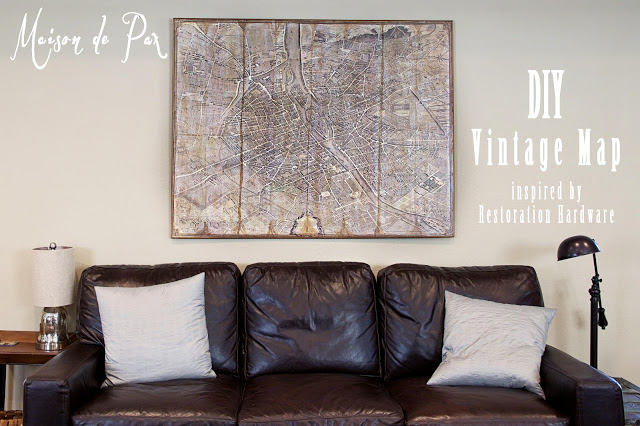
Restoration Hardware Vintage Paris Map Knock Off – Maison de Pax

restoration hardware paris map knock off

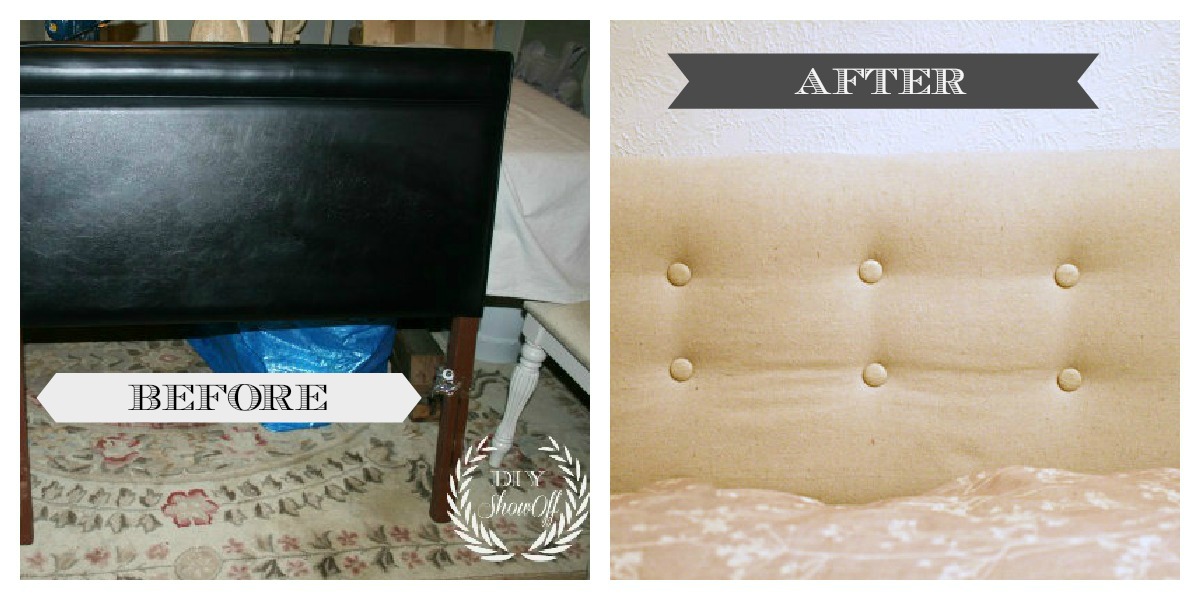
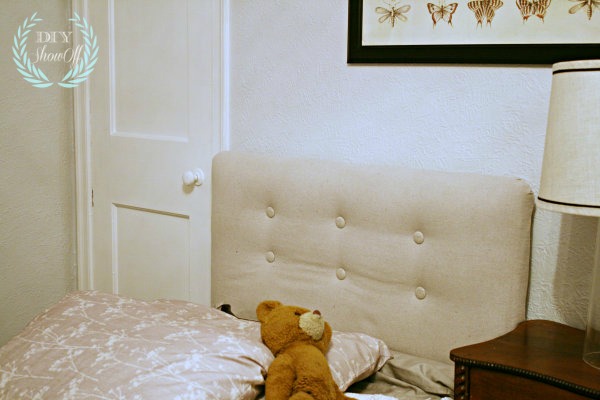
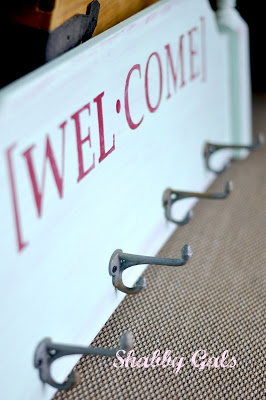
Repurposed Headboard – Shabby Gals

repurposed headboard coat rack

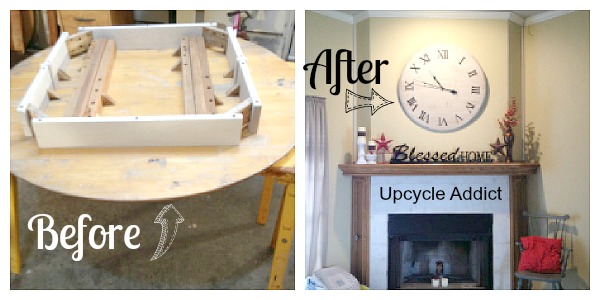
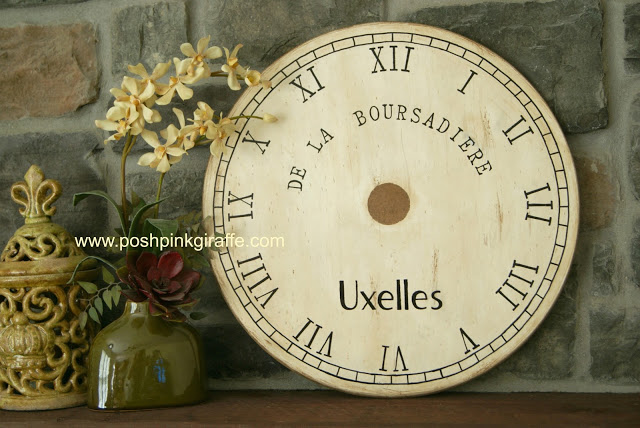
Posh Pink Giraffe – Pottery Barn inspired Clock

Pottery Barn inspired clock

Awesome and so inspiring! Thanks to everyone who participates and ‘shows off’ their DIY projects!

Want a chance for your DIY to be pinned or featured? You’re invited every week to link up to THAT DIY PARTY!

that diy link party

Fabulous DIY Furniture Makeovers – before and after

Some of our super talented blog friends are showing off their fabulous furniture DIY projects today. Be sure to visit each amazing blog for the original post.

DIY-Furniture-Makeovers

Kristin from Simply Klassic Home: Being a single mom for a large part of my life, I can appreciate Kristin’s creativity when it comes to creating a beautiful home on a single mom’s budget. The dresser before was sort of ordinary.Simply KlassicDesign-dresser-before

and the awesome after has tons of rustic charm…Simply Klassic Design-two-toned-dresser-after


Sachiko from Tea Rose Home found an Ethan Allen chair at the thrift store, not her favorite color combination…Tea Rose Home - chair-before

but a little DIY attention and now it’s darling…with beautiful fabrics and hand quilted cushions.

ea Rose Home - chair-makeover


Live from B5: One of my favorite DIY projects is transforming an old table into an ottoman and Melanie did an amazing job!

table beforeLive from B5 -coffee-table

NOW: upholstered ottoman with nailhead trimLive from B5 - diy-ottoman

House of 34 – BUILT this pretty console/entryway table. Don’t you love those spindly legs and beautiful stained top?ode to my abode - DIY-entry-table

Hello Boudreau: This bar cart before was nothing special…http://www.helloboudreau.blogspot.com/2012/09/my-diy-bar-cart.html

but after! WOW! Party time! hello boudreau - bar-cart-after

Namely Original: Great idea! Good solid furniture with wood trim not the right color, gets a makeover using gel stain. Beautiful rich tone, instant update and matches the other wood tones in the living room. Namely Original - chair-makeover

Upcycle Addict: An old table top is transformed into a large clock for a fraction of the price of a brand new one with similar large dimensions. Easy DIY & BIG impact!Upcycle Addict-DIY-big-clock

and here are a few of my past furniture makeover projects…

ABC chairpainted upholstered chairs


tips for building an ottomantips for building an ottoman

coffee table with upholstered topDIY upholstered tufted ottoman

steamer trunk – coffee tablesteamer trunk coffee table

kitchen bar makeoverkitchen island finished

DIY upholstered headboard makeover

See more DIY furniture makeovers.


Tufted Upholstered Twin Headboard Makeover

Ali needed a twin bed for her apartment. She wanted a neutral upholstered headboard with tufting.These were perfect for what she had in mind, except the $250+ price tag was not in her budget.

inspirationwest elm diamond tufted headboard

West Elm Diamond Tufted Headboard in sand

bellacor tufted headboard

Bellacor tufted twin headboard in premier oatmeal

We were up for the DIY “get this look for less” challenge. We found this vinyl covered gem at a second hand store… {$20 including the bed frame!}

beforeupholstered headboard before

What we used:

  • old headboard
  • batting
  • fabric covered button kit
  • drop cloth
  • fishing line
  • FrogTape
  • staples & staple gun

Once I got the headboard home, I discovered that the headboard itself was not solid. There’s only a wood frame covered with vinyl. It’s hollow. Darn. But we moved forward, fingers crossed.

First step was to determine where the buttons for tufting would be placed. I created a grid on the back of the headboard using FrogTape.DIY headboard marking for tufts

Since marking black vinyl is a little tricky, the Frogtape helped to mark the areas I wanted to drill a hole…drilling headboard

I removed the FrogTape but it won’t hurt to keep it in place.

Next, I rested the headboard on top of a piece of batting and cut batting big enough to wrap around the edges onto the back side. You can use spray adhesive to help hold it into place.

Staple batting onto the back side of the headboard. stapling batting onto headboard

This is how I wrapped and secured the corners: by pulling the corner of the batting over the corner of the headboard, stapling, then folding and stapling the long edges of the batting. It was a little tricky around the leg of the headboard, just make sure batting lays smoothly.upholstered headboard corners

Carefully trim away the excess batting…trimming batting

Here’s how it looks from the front: upholstering a headboard

While I covered the back of the headboard with sheet of drop cloth measured and cut to fit the back side using spray adhesive to hold into place then followed the same steps above with the drop cloth fabric…DIY upholstered headboard

Ali covered buttons using dropcloth scraps {she’s less than thrilled about the photo op. lol}…covering tufting buttons

To create tufting with, use a finishing nail to hold the fishing line in place. To keep it from going through the drilled hole, place the nail through the loop in the thread. Lay the finishing nail across the back of the hole and loop the thread over the nail and back up through the hole. Repeat a few times and then tie off the thread to the finishing nail. Twist the nail to draw the button down into the fabric to the desired depth. Use a staple gun and staple diagonally across the nail to secure it and keep it from unwinding {more tufted button instructions at wikihow}.tufting an upholstered headboard

Before and After…

before and after headboard

Total cost of DIY: less than $50!

DIY tufted upholstered headboard makeover

You might also like:

Stay tuned for more on the apartment decorating and reveal!

Facebook
DIY Show Off - FacebookDIY Show Off - TwitterDIY Show Off - PinterestDIY Show Off - FeedDIY Show Off - HomeTalkDIY Show Off - G+

This is a sponsored post brought to you by FrogTape. The opinions are completely my own based on my own experience. 

FrogTape Blog Squad
Sharing here: Transformation Thursday at The Shabby Creek CottageHome Stories A2ZDIY Show Off