DIY Nursery Wall Decor

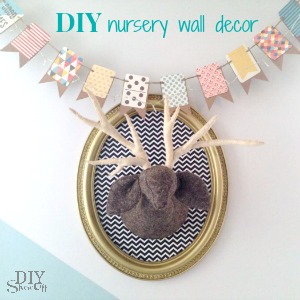
I’ve been giving our guest room a bit of a makeover to include a little nursery space for my very first grand child who is scheduled to arrive next month. I can’t wait! You guys, a sweet baby boy will be here soon! I’m so excited, I can’t stand it! 

Materials: I found this old oval wall art at the thrift store for 3.99.

DIY nursery wall art  tutorial

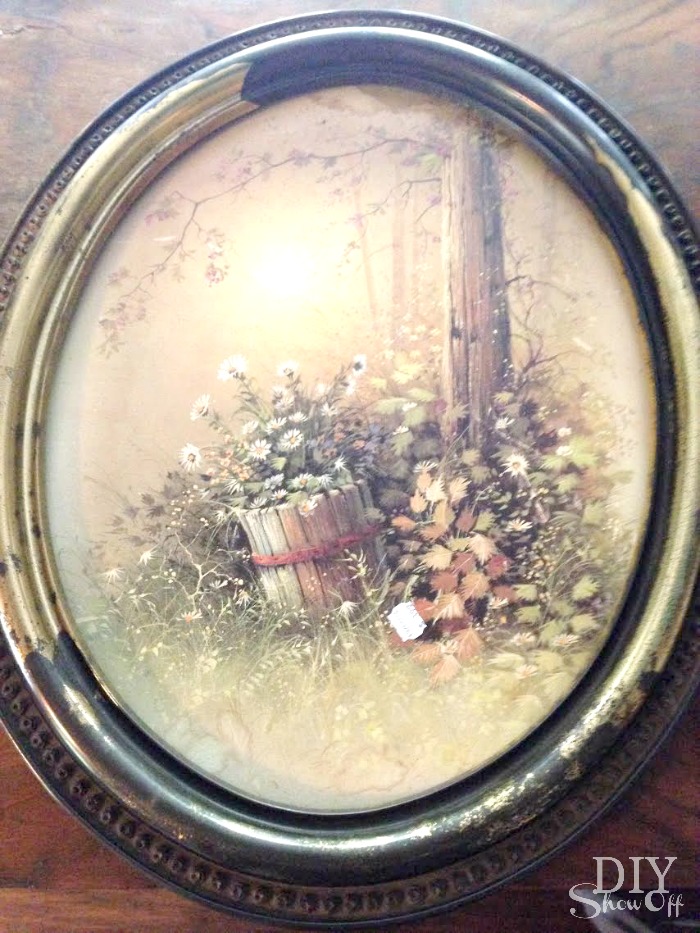
I had the wrapping paper and felted deer head (used in our stairwell/landing makeover originally. I looked and it’s no longer for sale…sorry but I did see awesome paper mache deer heads at Michaels that would work well too…plus you can paint/decoupage to coordinate with your room.). So this is a thrifty treasure for me…just $3.99 for the dusty framed print + shopping the house since I had the spray paint on hand already too. 

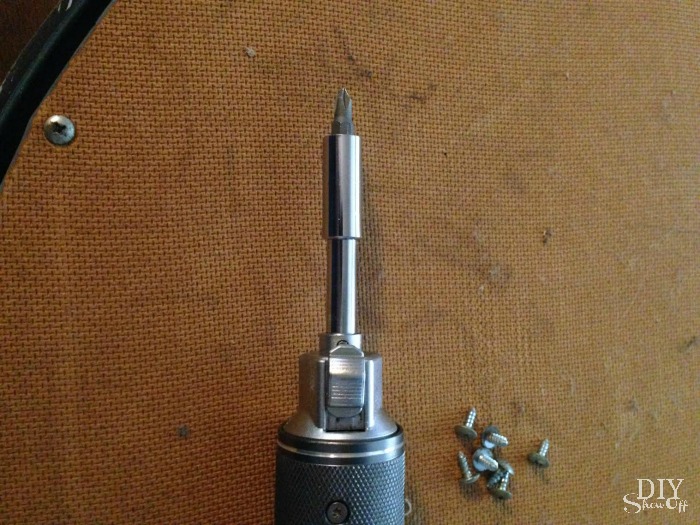
What I did: Gave everything a good cleaning and removed the backing from the frame (set aside). 

I spray painted the frame gold and let it dry. 

DIY nursery wall art  tutorial

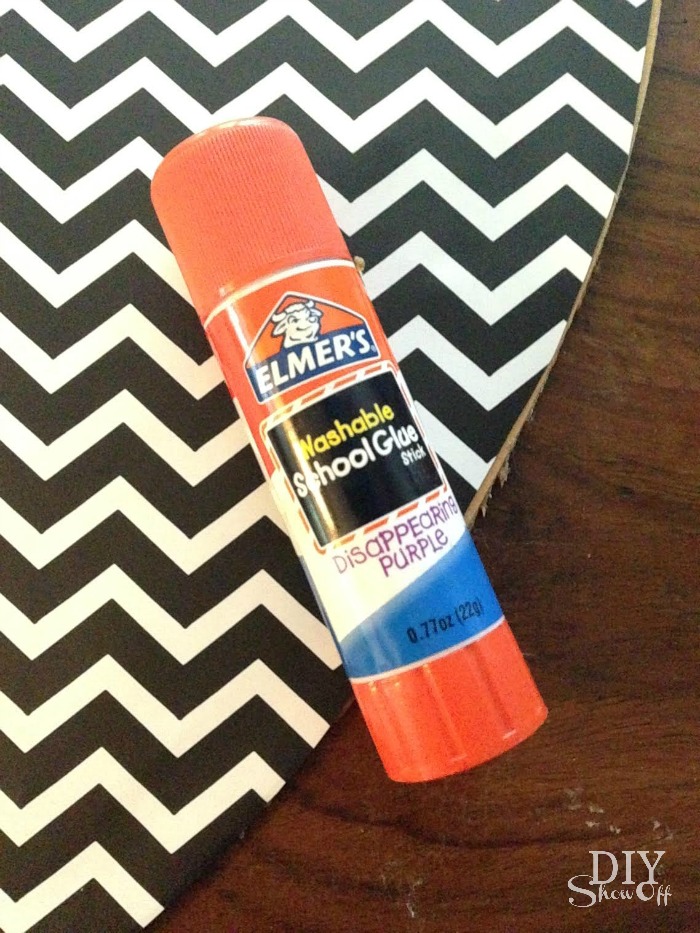
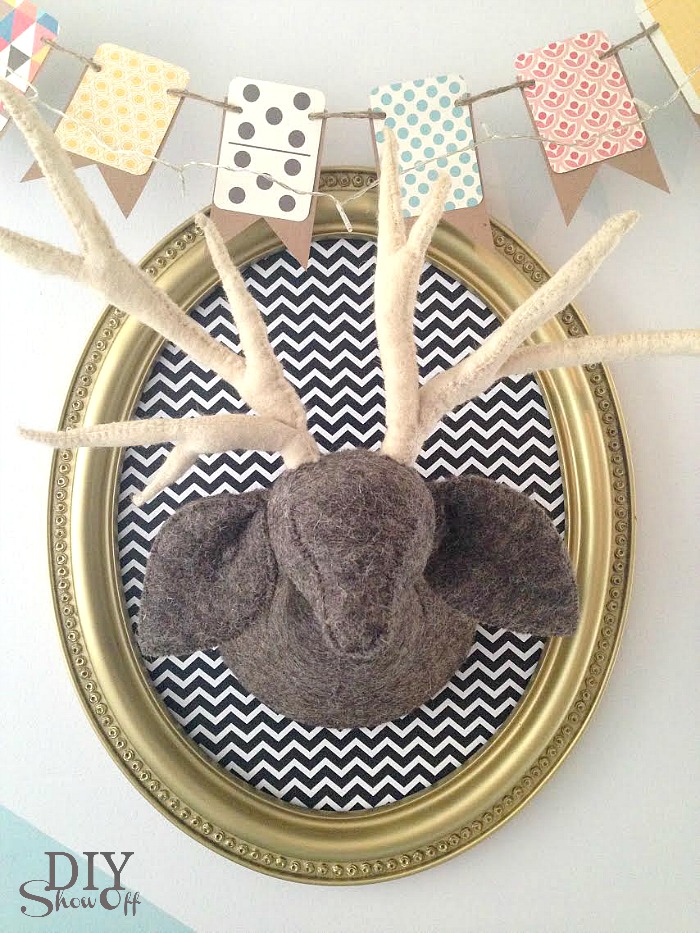
I traced the oval backing onto chevron wrapping paper. I did glue the wrapping paper over the print on the front. However, it’s not required if you’d like to preserve the print.  DIY nursery wall art  tutorial DIY nursery wall art  tutorialDIY nursery wall art  tutorial

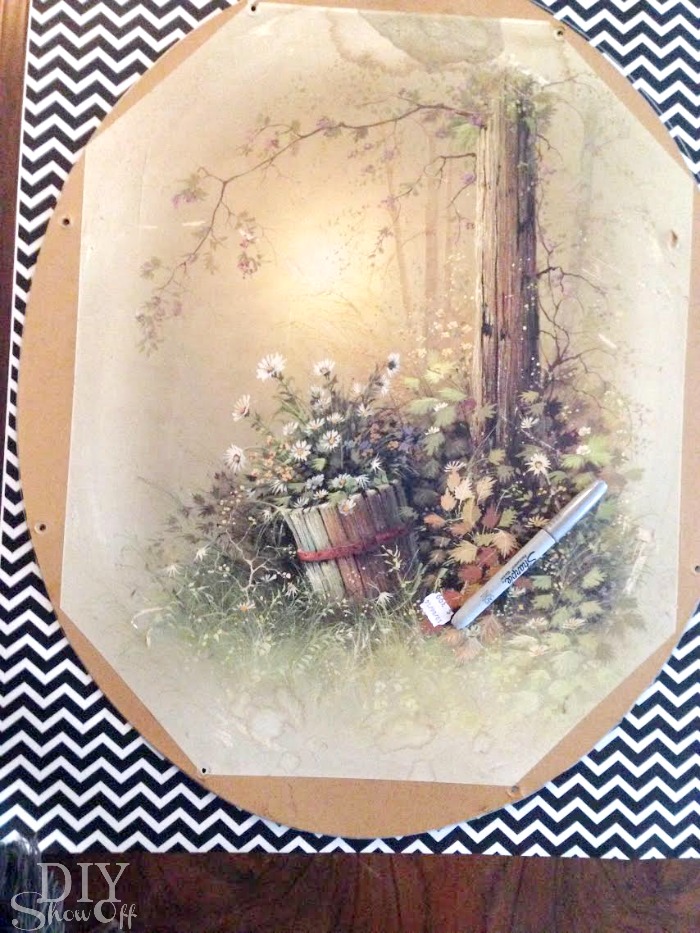
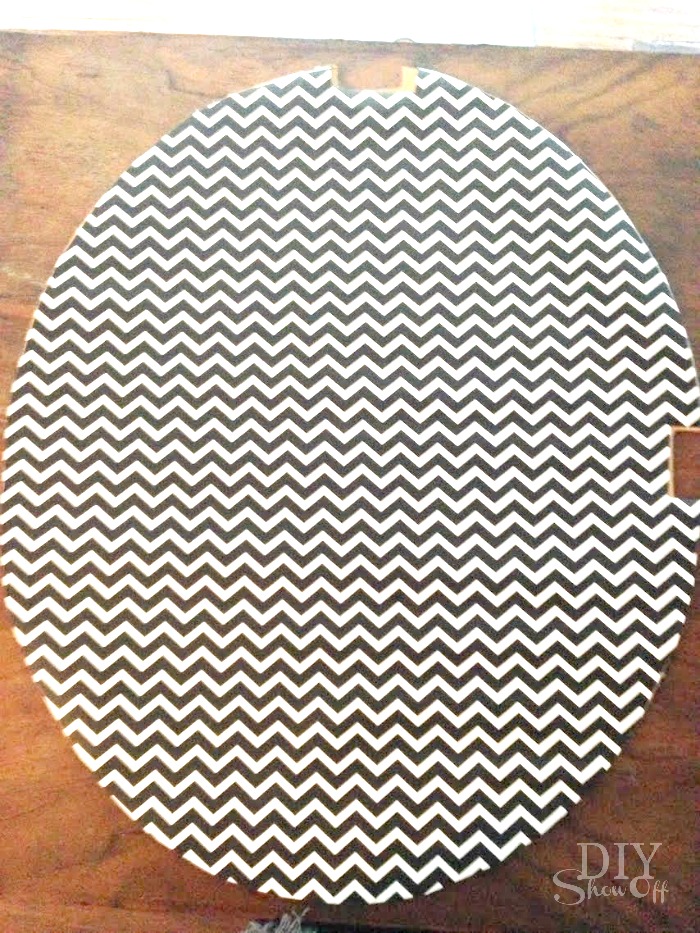
Then just reattached the backing to the frame. 

DIY nursery wall art  tutorial

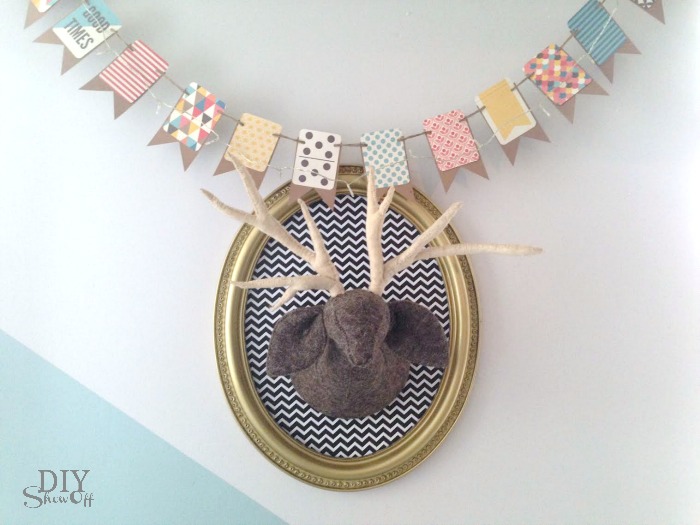
I hung it on the wall and hammered a nail in the center to hang the felted deer head and added a DIY banner…just card stock, Project Life cards (scrapbook section at Michaels) and twine. I added a string of mini LED fairy lights too. 

nursery wall decor tutorial @diyshowoffnursery wall decor tutorial @diyshowoff

See my guest room nursery space for more nursery ideas:

combined guest room nursery reveal @diyshowoffDIY nursery wall decor at diyshowoff.comeasy diagonal wall paint design tutorial @diyshowoffpainted craft box DIY at diyshowoffDIYShowOff Michaels Makers back to school book ends feature

*This post is sponsored by Happy Crafters. Tutorial, experience and opinion is my own.  Check out all the supplies at Happy Crafters for inspiration for your next project. 

And yes…it’s crazy here. From Halloween to baby shower to some Christmas decorating, a guest room/nursery makeover, an entire home before/after in progress (family members), always Young Living recipes, events and sharing my story, and another small apartment nursery nook. There’s a LOT going on and DIYShowOff is ALL over the place! You may want to subscribe to get reminders to check back often! 😉 

Have a great week!

Easy DIY Indoor Outdoor Honeycomb Wall Art

As a member of the Lowe’s Creative Ideas team, I have the opportunity to participate in monthly DIY challenges. One of the themes for April is outdoor wall art. I just happen to have a bare outdoor wall. This easy DIY indoor/outdoor honeycomb wall art project is super easy and perfect for decorating an outdoor wall in our covered party patio area. 

easy DIY hexagon wall art at diyshowoff.com

 Materials I used:

hexagon wall art tutorial at diyshowoff.com

What I did:

I spray painted the pieces of the drawer organizers (not assembled) using Valspar Outdoor Spray Paint. I sprayed one side Peacock Blue and let dry about 6 hours then flipped and sprayed the other side Koi Pond and let dry overnight. 

Once the paint was dry, I assembled my pieces. The honeycomb-shaped organizers simply snap together. No tools required!

easy honeycomb wall art tutorial

Since I have 3 sets, I assembled two sets with closed ends and one with open ends (both options shown on pamphlet with instructions included in the box).

easy DIY hexagon honeycomb wall art

You could even leave them white = the only DIY is snapping them together! I hung mine using Command outdoor light clips. 

Face on: 

Easy DIY hexagonhoneycomb wall art tutorial at diyshowoff.comDIY honeycomb hexagon wall art at diyshowoff.comeasy hexagon wall art at diyshowoff.com

From the side:

honeycomb wall art tutorial at diyshowoff.comDIY honeycomb wall art at diyshowoff.comhex wall art at diyshowoff.com

From above: 

DIY hexagon wall art tutorial at diyshowoff.com

They’re very light weight so not ideal for displaying heavy items but a great way to add color, dimension and interest to an otherwise plain outdoor or even indoor wall. I tucked in a few succulents for now.

outdoor hexagon patio wall art at diyshowoff.com

My covered patio area still hasn’t been cleaned up for summer. I just grabbed some accessories for photo-staging. Pardon the leaves and dirt!

outdoor honeycomb patio wall art at diyshowoff.com

The outdoor hexagon/honeycomb wall art is going to look great on that back wall when the patio is cleaned up. See the patio when it IS ready for summer lounging and entertaining here.

barn patio makeover

LCI Spring

I received a Lowe’s gift card to complete this challenge. Opinion and above idea is 100% my own. More DIY ideas at Lowe’s Creative Ideas, follow Lowe’s on InstagramPinterest and sign up for the Creative Ideas magazine and app!  

More of my Lowe’s Creative Ideas challenges:

DIY hanging organizer - Pantone radiant orchidDIY Chalk Finish Paint Recipepipe shelving how toDIY foldable luggage rack tutorial DIYShowOfftire flower planter tutorial at DIYShowOffLCR dice game tutorial

How Wonderful Life is While You’re in the World – DIY sign tutorial

I think this lyric to “Your Song” by Elton John is the perfect accessory to the world map in our family room. DIY sign

Materials:

  • Adhesive Vinyl – Happy Crafters
  • Transfer Paper
  • Scrap Wood Plank
  • Acrylic Craft Paint

Tools: Silhouette Cameo, scissors, gift card/credit card (for burnishing/rubbing), foam paint brush

Tutorial:

Paint scrap wood plank. Mine is is a 1×3 about 46 inches in length. Let dry. 

Using the Silhouette Studio software, I created my design utilizing “felt marker” font. Silhouette design studio

Load the vinyl into the Silhouette Cameo vinyl side up and ‘send to cut’. Be sure to adjust the settings for vinyl. 

There are two ways to use vinyl as a stencil. If painting the letters, weed away the letters to create a stencil. I wanted to paint my sign (not the lettering), so I removed all of the negative part of the design, leaving the vinyl letters (like stickers).DIY sign tutorial

Apply transfer paper, sticky side down directly to the vinyl decal. Transfer paper ensures that everything is lined up properly when ‘transferring’. You could apply the vinyl in the same way you’d apply stickers, but keeping a straight line is a challenge!

Rub the transfer paper with a credit card or gift card to ‘transfer’ the vinyl to the transfer paper. Remove the wax paper backing.

Place vinyl (sticky side down) onto the wood plank. 

Rub with a gift card. 

Remove transfer paper (it may be a little tricky…I peel it away slowing, almost creating a crease in the transfer paper to get the vinyl decal to stick to the painted wood. 

Make sure all letters are nice and stuck. 

Paint the sign. I did a light coat using a sort of dry brush (foam brush) technique for a worn look.DIY wood plank sign tutorial

Before paint dries, carefully remove vinyl lettering.

Optional: sand and/or glaze for an antiqued, distressed look. Seal. Hang using picture hanging hardware or Command velcro strips. 

Perfect for a little Valentine sentiment, too. What song lyric would your sign display?How wonderful life is while your in the world. DIY Sign Tutorial


*This post is sponsored by Happy Crafters. Tutorial, experience and opinion is my own.  I really love working with this vinyl. Check out all the supplies at Happy Crafters for inspiration for your next project. 

HClogopngsmall