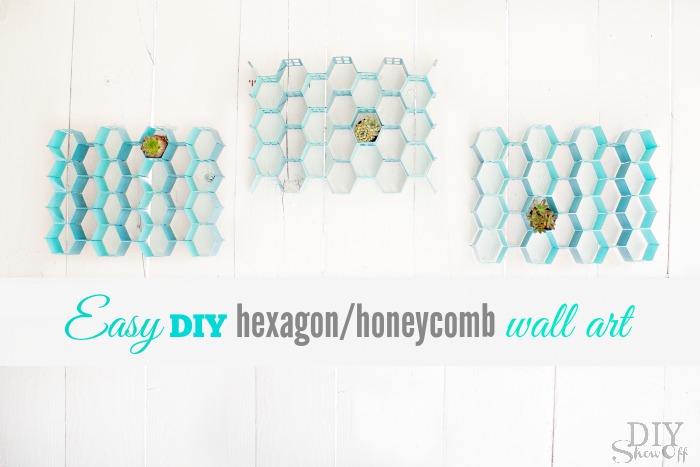
As a member of the Lowe’s Creative Ideas team, I have the opportunity to participate in monthly DIY challenges. One of the themes for April is outdoor wall art. I just happen to have a bare outdoor wall. This easy DIY indoor/outdoor honeycomb wall art project is super easy and perfect for decorating an outdoor wall in our covered party patio area.
Materials I used:
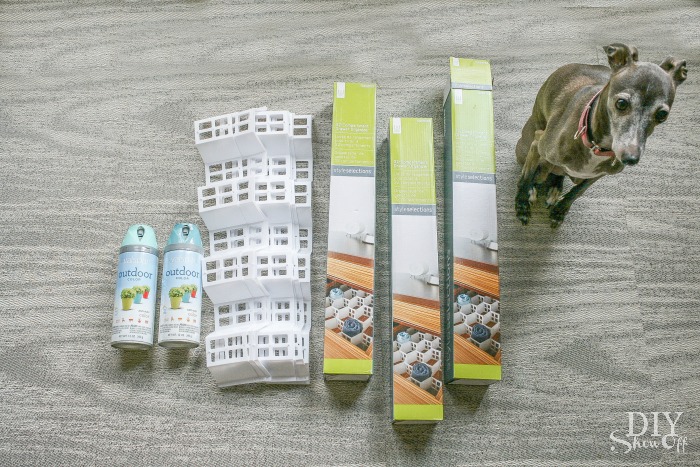
- Style Selections Drawer Organizer x 3
- Valspar Outdoor Spray Paint (colors: 1-Koi Pond and 1-Peacock Blue)
What I did:
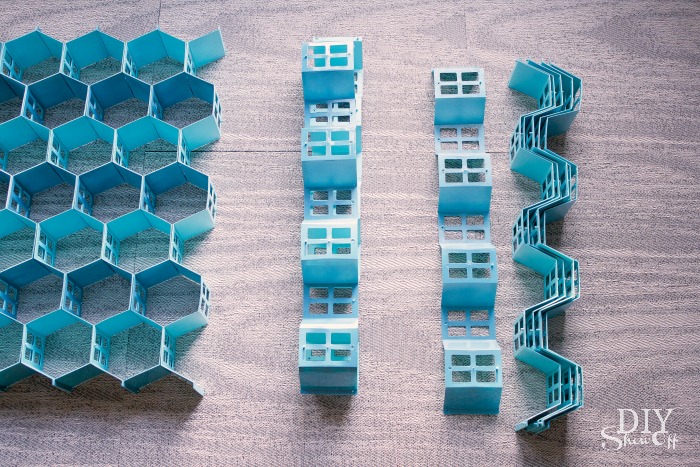
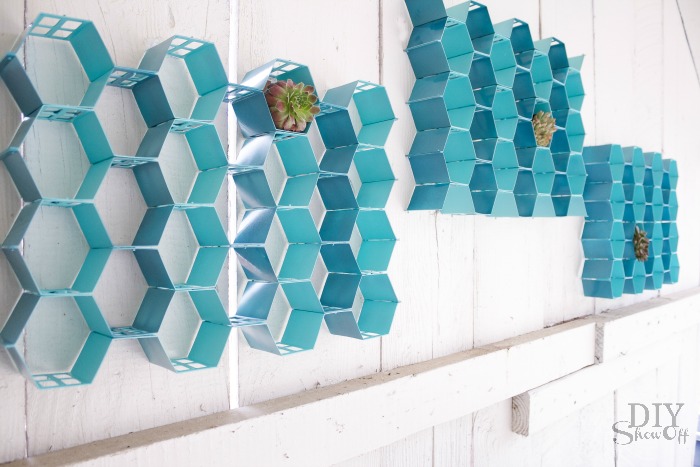
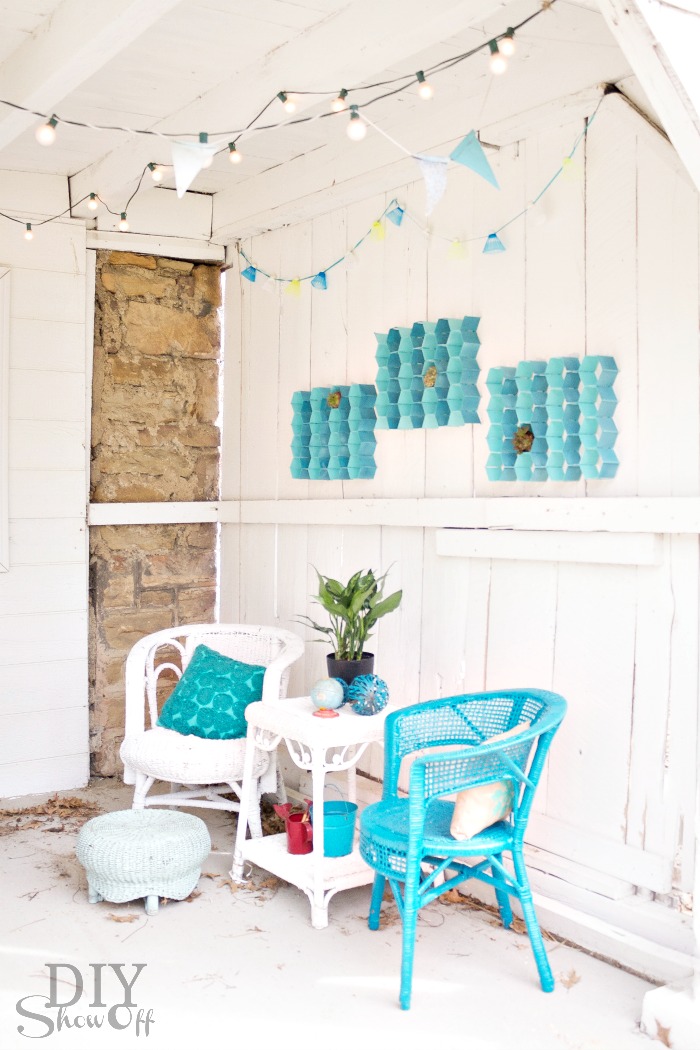
I spray painted the pieces of the drawer organizers (not assembled) using Valspar Outdoor Spray Paint. I sprayed one side Peacock Blue and let dry about 6 hours then flipped and sprayed the other side Koi Pond and let dry overnight.
Once the paint was dry, I assembled my pieces. The honeycomb-shaped organizers simply snap together. No tools required!
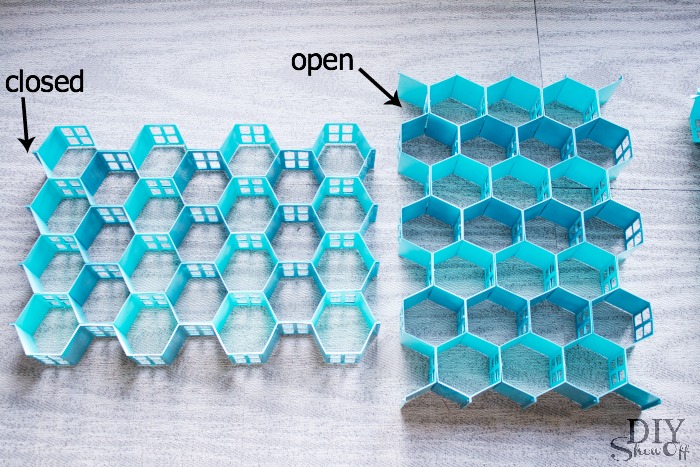
Since I have 3 sets, I assembled two sets with closed ends and one with open ends (both options shown on pamphlet with instructions included in the box).
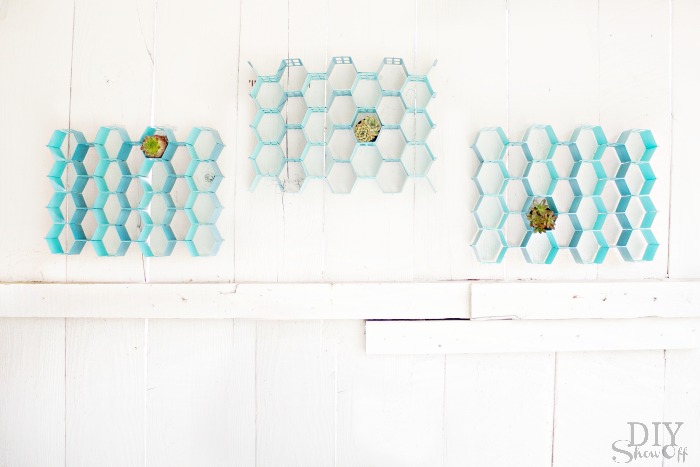
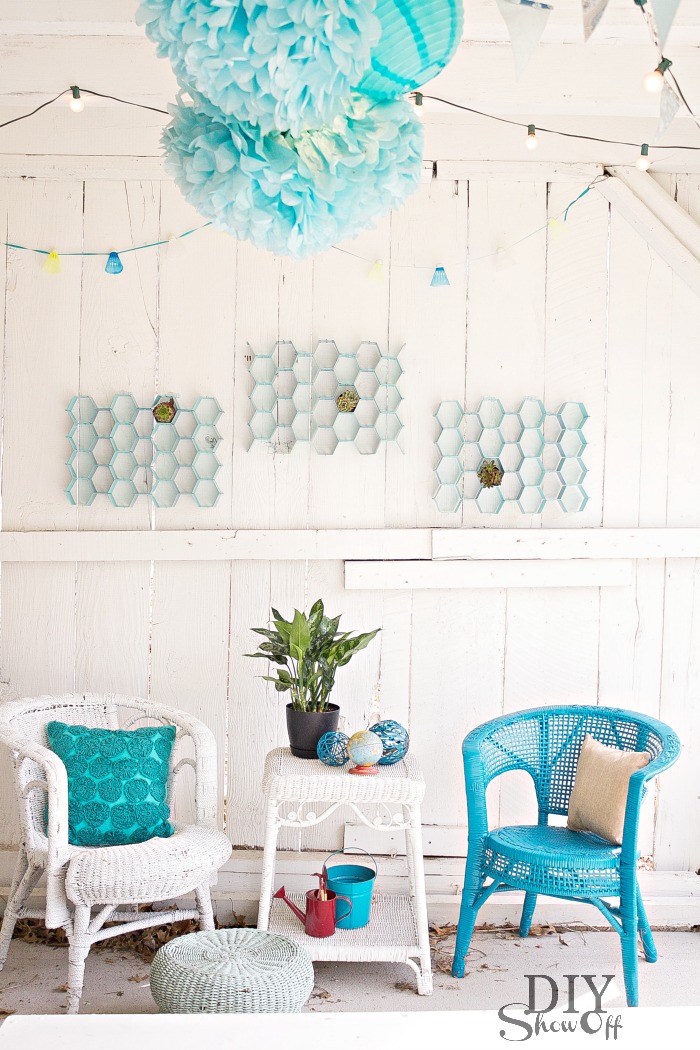
You could even leave them white = the only DIY is snapping them together! I hung mine using Command outdoor light clips.
Face on:
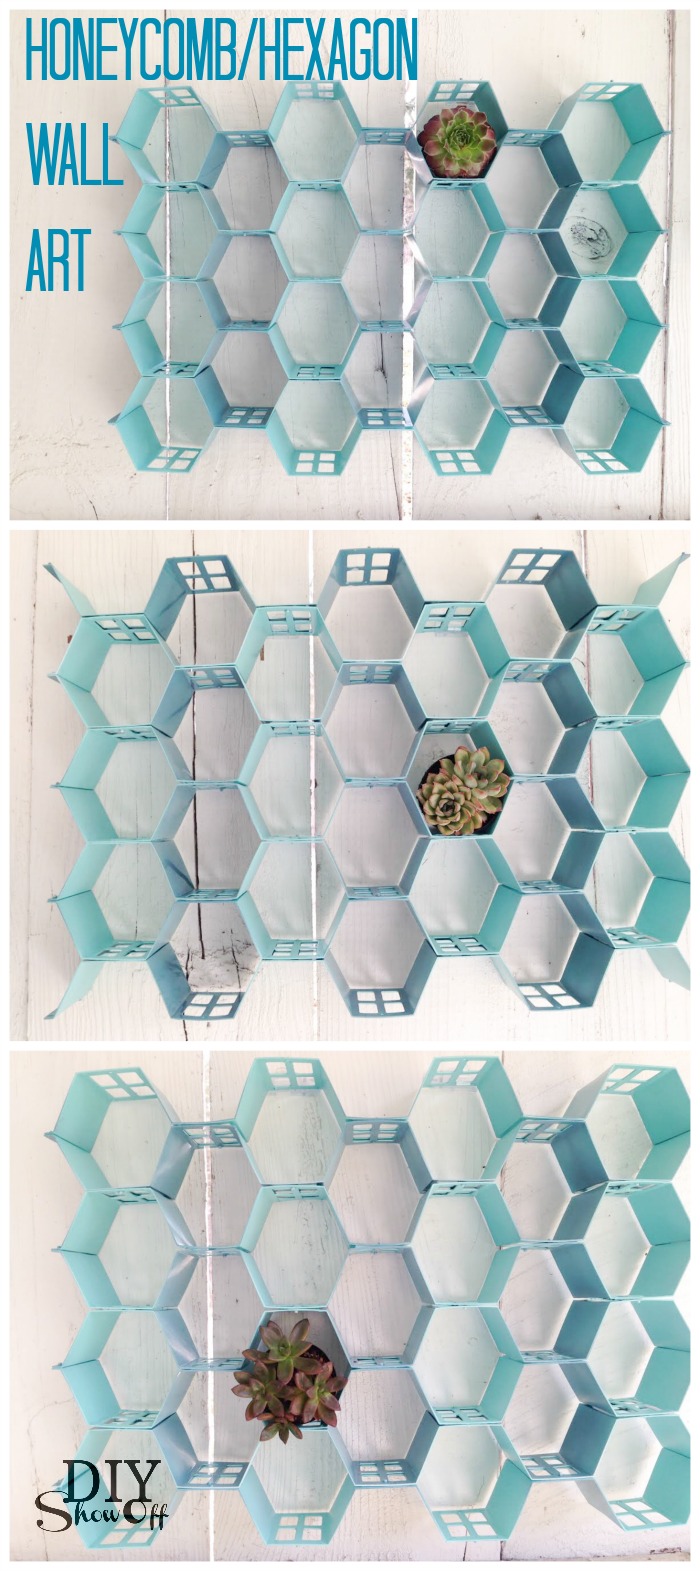
From the side:

From above:
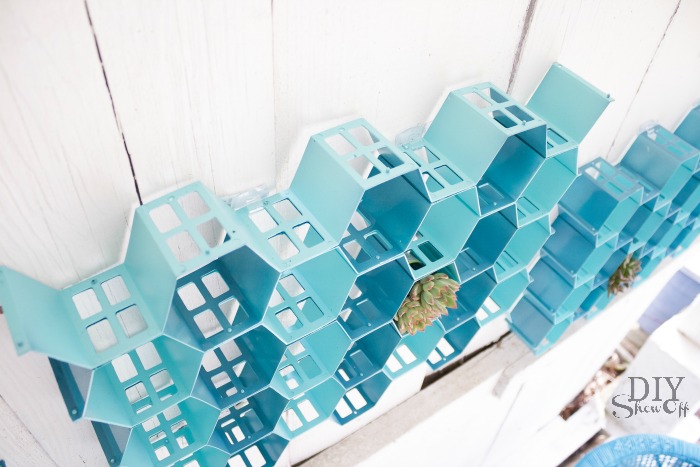
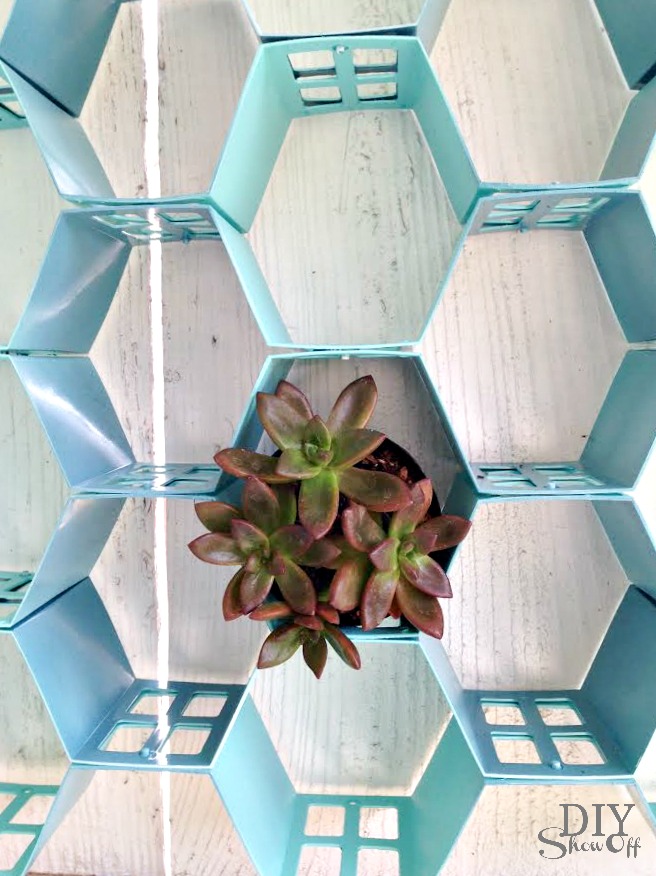
They’re very light weight so not ideal for displaying heavy items but a great way to add color, dimension and interest to an otherwise plain outdoor or even indoor wall. I tucked in a few succulents for now.
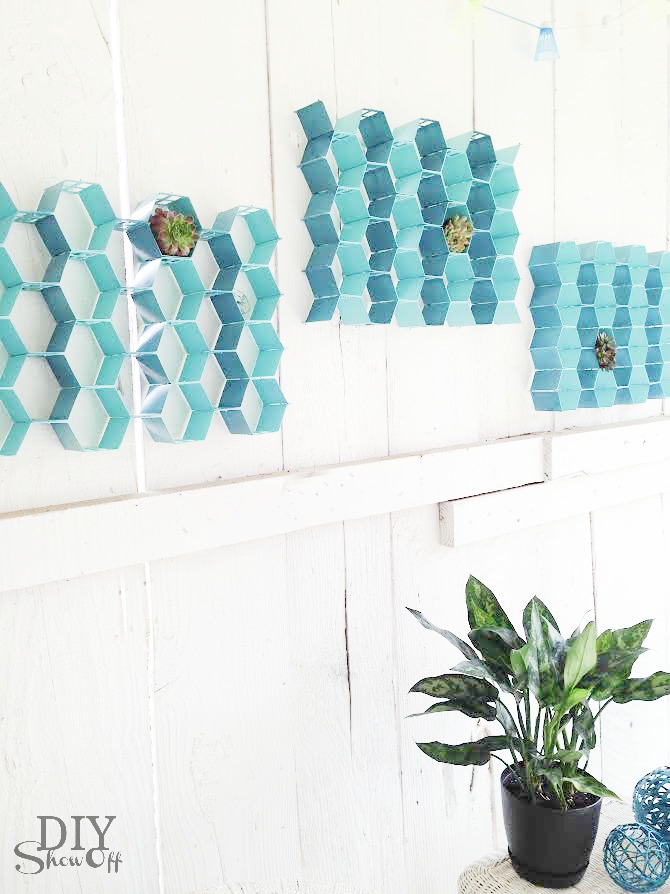
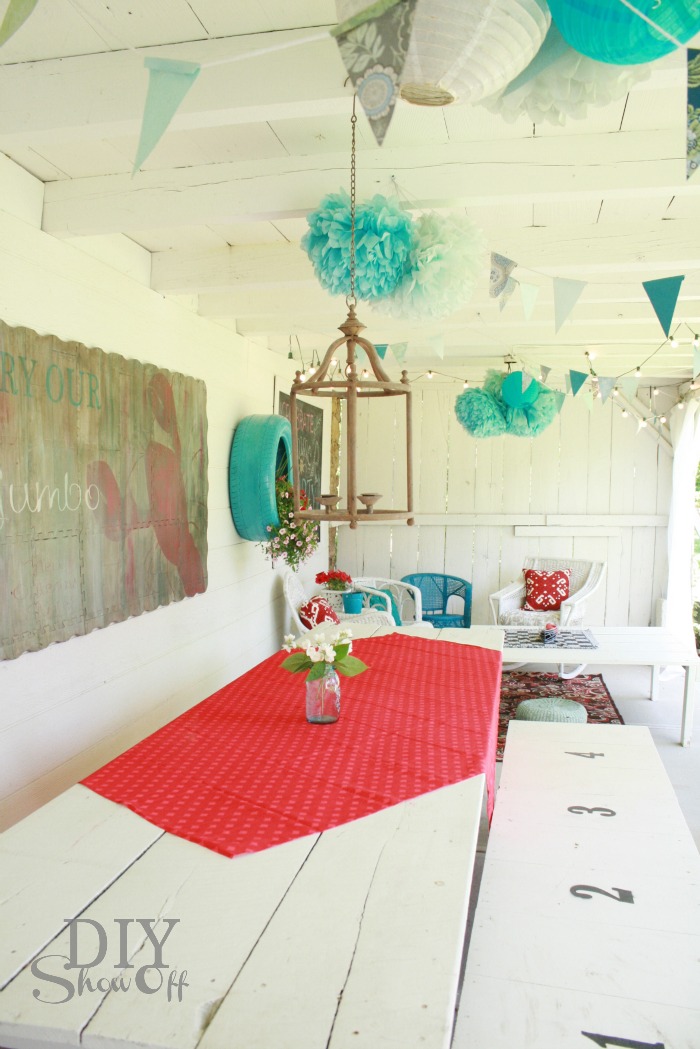
My covered patio area still hasn’t been cleaned up for summer. I just grabbed some accessories for photo-staging. Pardon the leaves and dirt!
The outdoor hexagon/honeycomb wall art is going to look great on that back wall when the patio is cleaned up. See the patio when it IS ready for summer lounging and entertaining here.

I received a Lowe’s gift card to complete this challenge. Opinion and above idea is 100% my own. More DIY ideas at Lowe’s Creative Ideas, follow Lowe’s on Instagram, Pinterest and sign up for the Creative Ideas magazine and app!
More of my Lowe’s Creative Ideas challenges: