‘Deck the halls with boughs of holly…fa-la-la-la-la-la”…well, I did that once. Holly is quite scratchy! Ouch! Guess what?! Hometalk.com and CountryLiving.com are hosting a Home for Christmas themed blog hop! Oh my Christmas! Time to belt out your favorite Christmas carols, top your cocoa with some marshmallows and to get inspired! Grab your slippers and get your pin-finger ready while you’re at it!
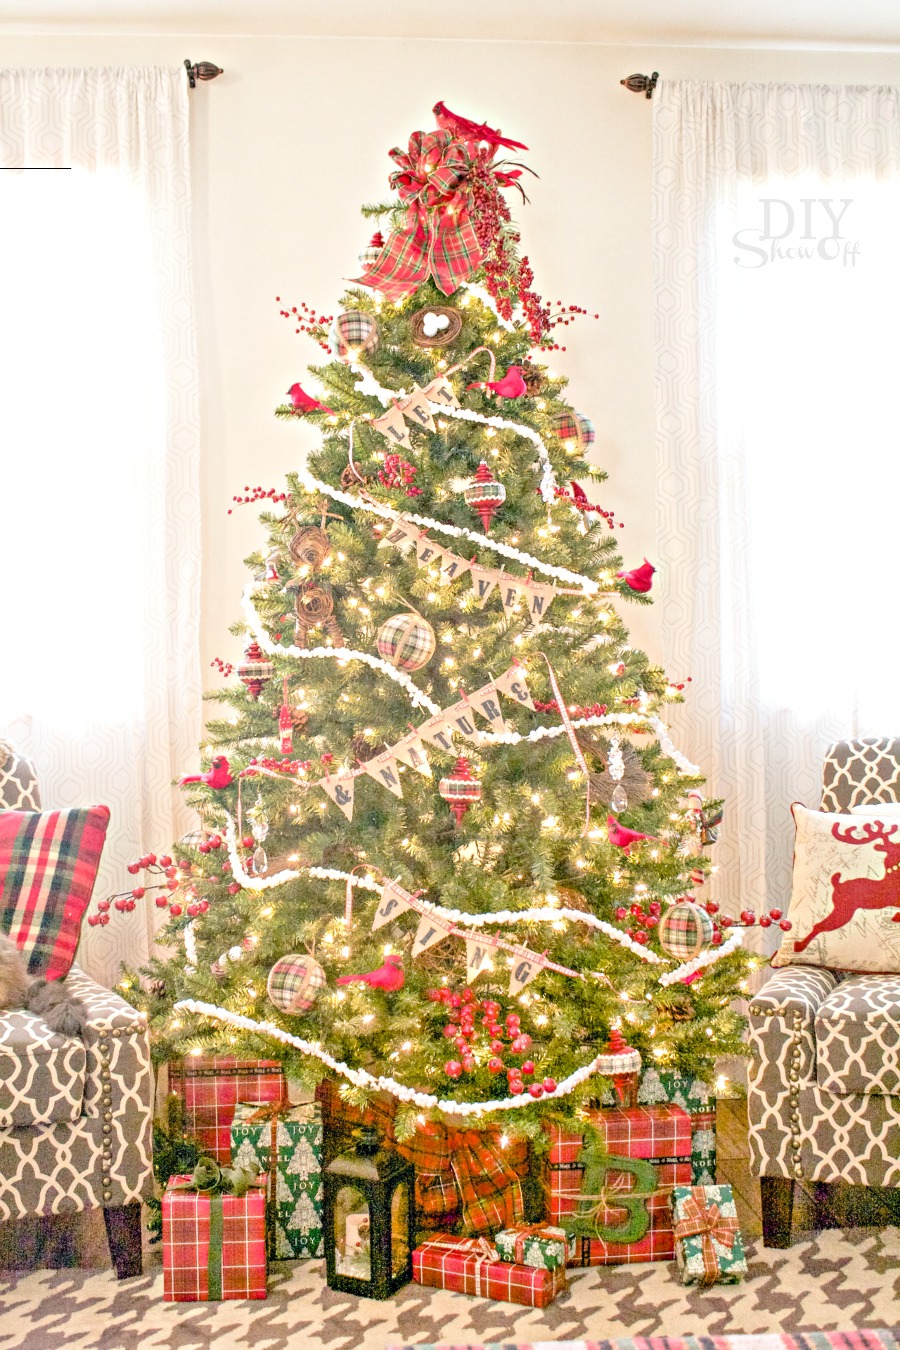
Once the Christmas tree was all decorated for the holidays,
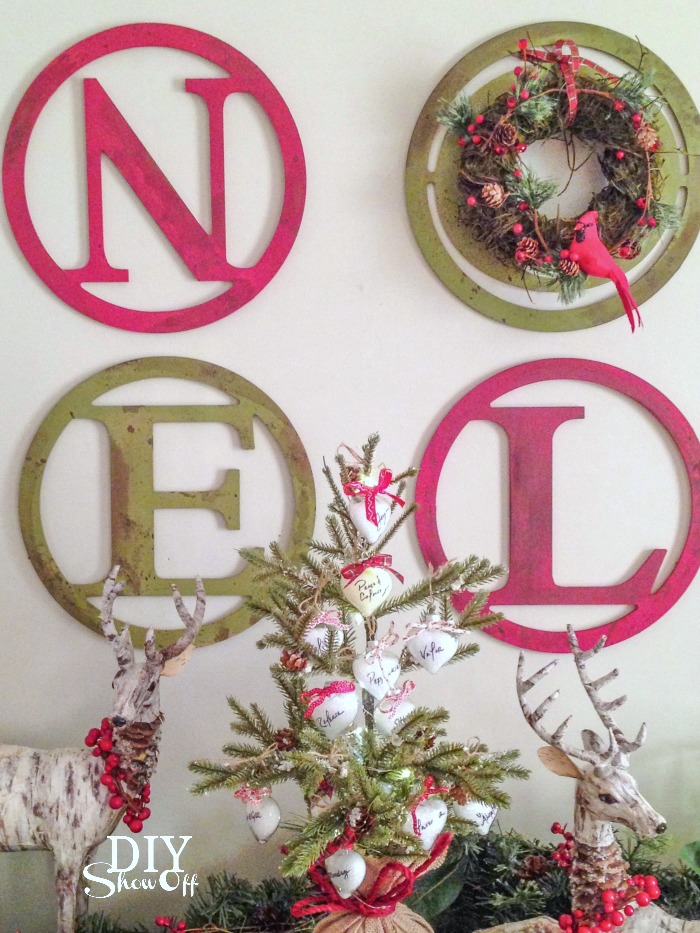
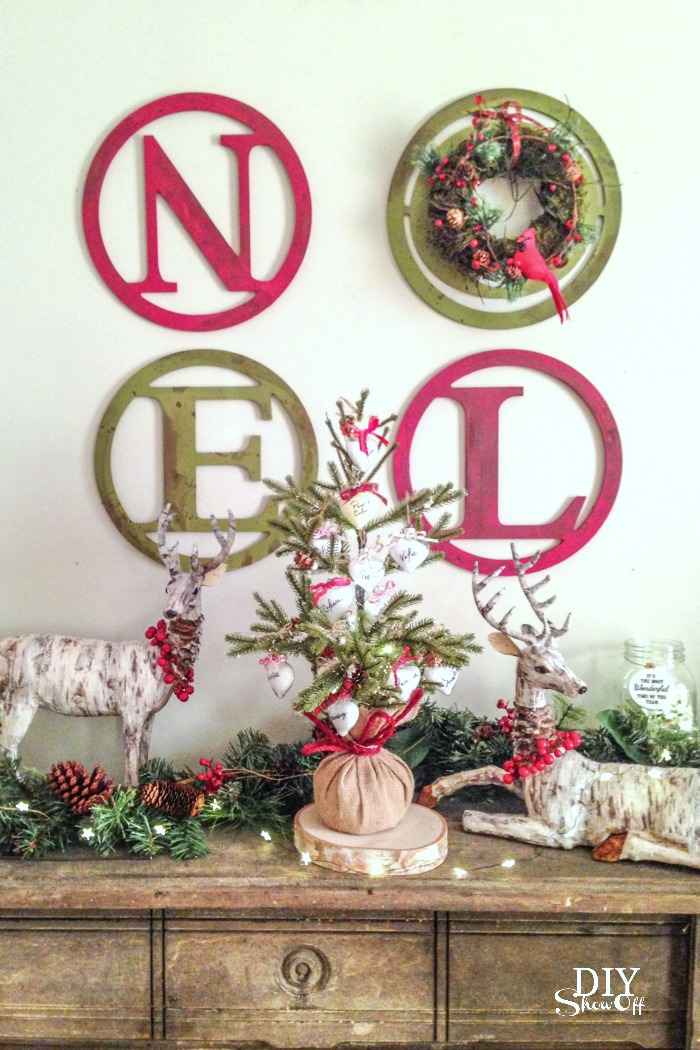
I needed a little holiday cheer for above the mantel. The stormy beach portrait that’s there most of the rest of the year really wasn’t going to work. So I decided on a “NOEL” idea for filling the empty space. Did you see the cute wooden circled monogram letters at Michaels? I knew I wanted to do something with them. This is the perfect project!
Materials I used: (I’ve included some affiliate links so you can find the supplies easily and to maybe add a little jingle to Santa’s wallet.Ty!)
- extra large monogram wreath letters N – O – E – L
- craft paint and foam brushes (I chose berry red and forest moss)
- paper towels
- velcro picture hanging strips
- TransTint dye (Note: a bit on the pricy side, but this dye is AWESOME! It’s water based so it’s not oily and makes for a gorgeous wood stain. Tip: Easiest clean up ever! Just let brush dry and hide styrofoam cup on a shelf in the basement/out of the way. Dye will evaporate. Simply add water and resume use on your next project!) That bottle is going to last YEARS!
- paint or chip brush
What I did:
1. I gave each letter two coats of paint and let dry. Note: One coat/dry brushing would actually look fantastic too! I wish I was a little more carefree. One coat/dry brushing means step 4 is going to look WAY better…so adopt a technique as if you’d had an extra cup of eggnog. Tip: If hanging in a grid pattern and using two colors like I did, paint the N and L the same color and the O and E the same color to avoid one color on the left, one color on the right. Mix it up!
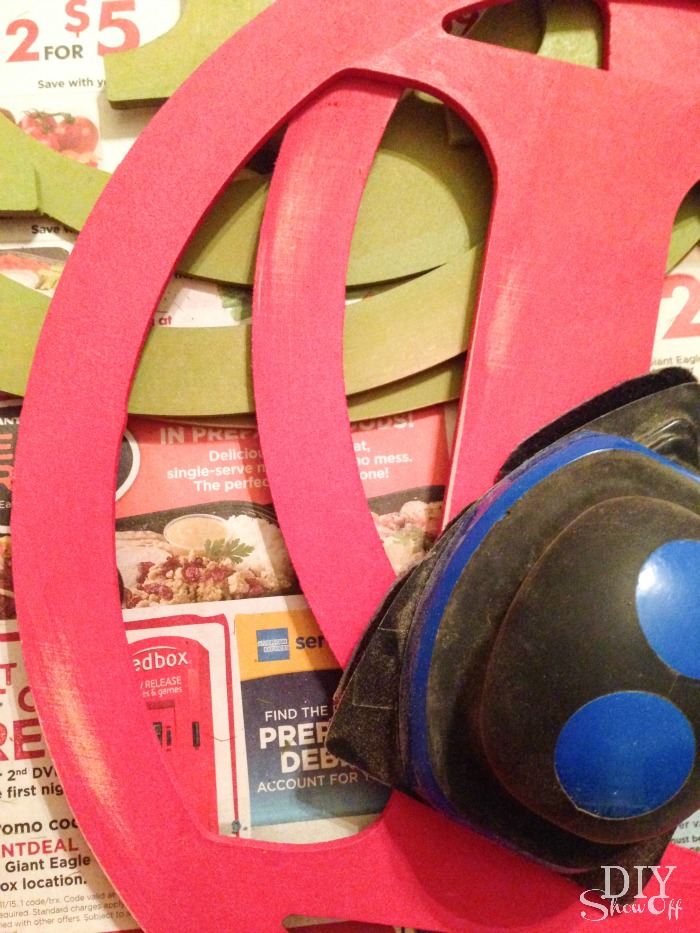
2. Sand the edges, distress as desired.
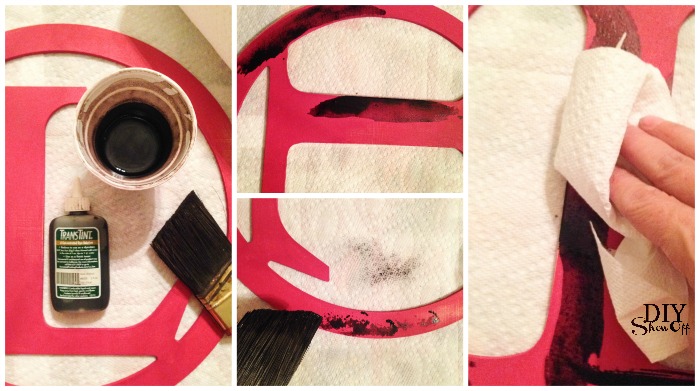
3. Next, add a drop or two of TransTint dye to water in a styrofoam cup, more TransTint dye for a darker tone if desired. TransTint dye WILL stain fingers and work surface. I recommend wearing gloves and protecting your work table with layers of newspaper or a tarp or old vinyl table cloth or if you live in a warmer climate (lucky you…make up the guest room for my impending arrival!), work outside.
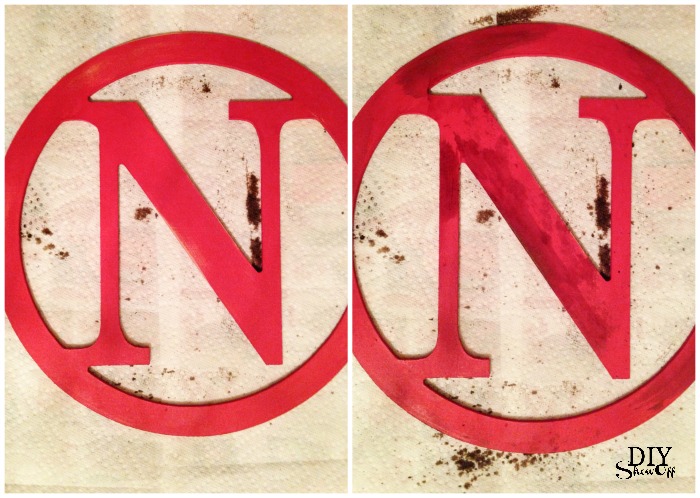
4. Dip the brush into the TransTint dye, tapping excess from the brush. Randomly brush, fling, stipple, drip (get messy and creative – have fun!) the TransTint dye onto the painted wooden letters. Wipe away or dab with paper towels as needed. Sprinkle TransTint to create a “dirty, worn, aged” finish.
5. Let dry TransTint dye dry overnight.
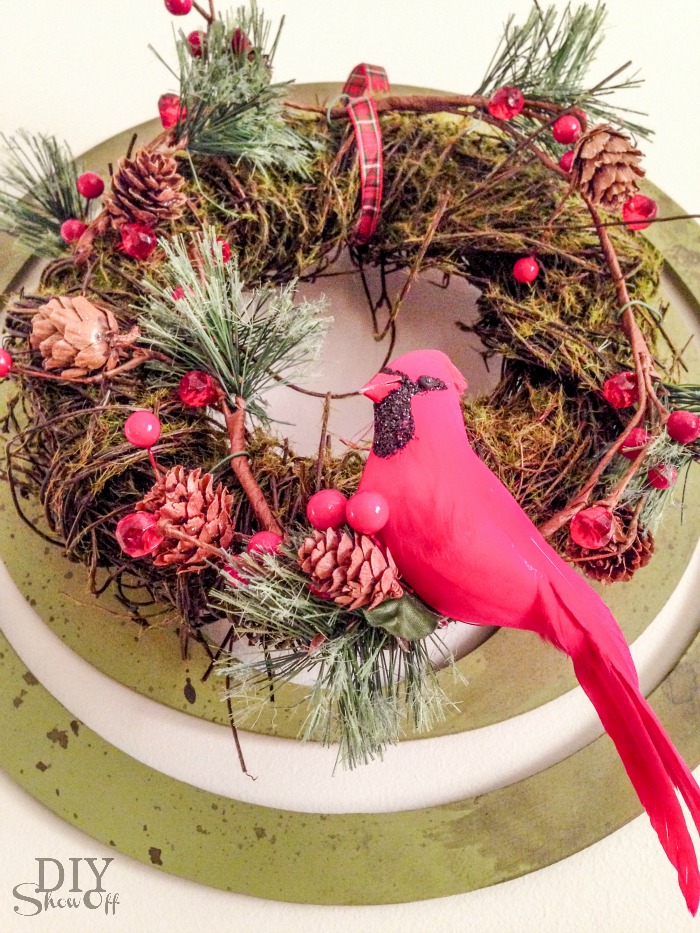
6. Optional: Secure a small holiday wreath to the “O” with a ribbon for a touch of texture.
7. Hang and display using velcro picture hangers. You might want to grab a level while you’re at it.
I love the worn, aged finish. Vintage goodness! What do you think?
See MORE holiday DIY and decorating inspiration from these sweet and talented HomeTalk friends:
 Loading InLinkz ...





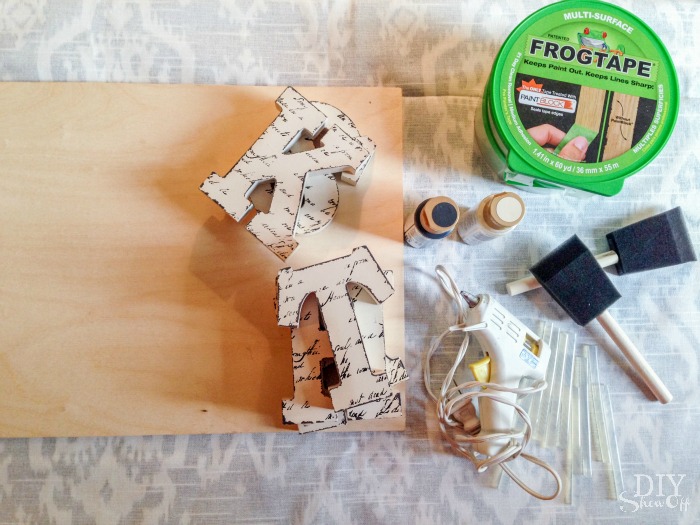

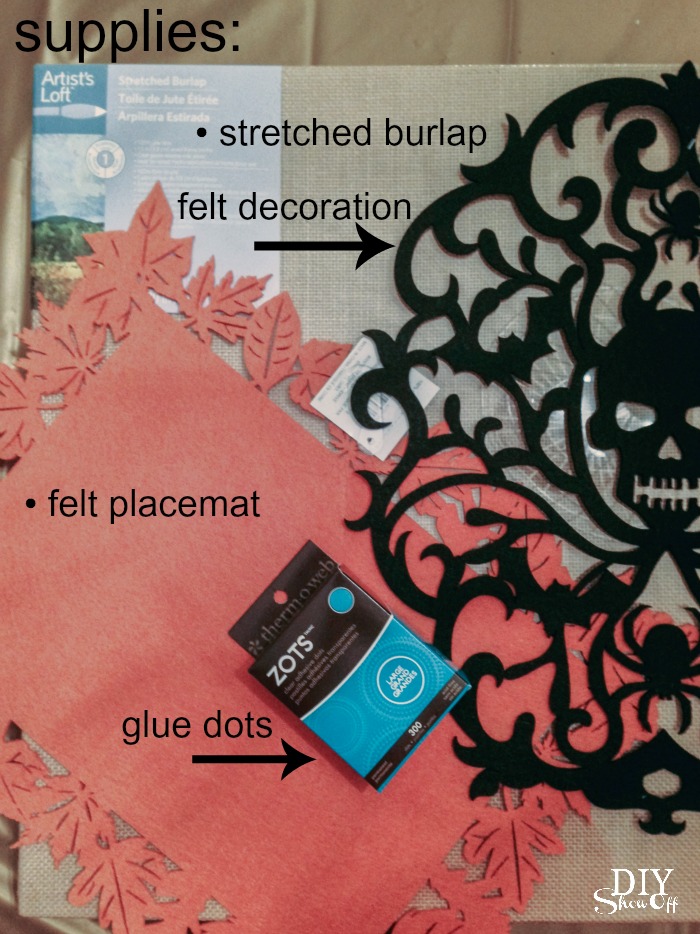 You’ll need these items from the craft store: